Red Velvet Cheesecake Cake
This post may contain affiliate links. Please read my disclosure policy.
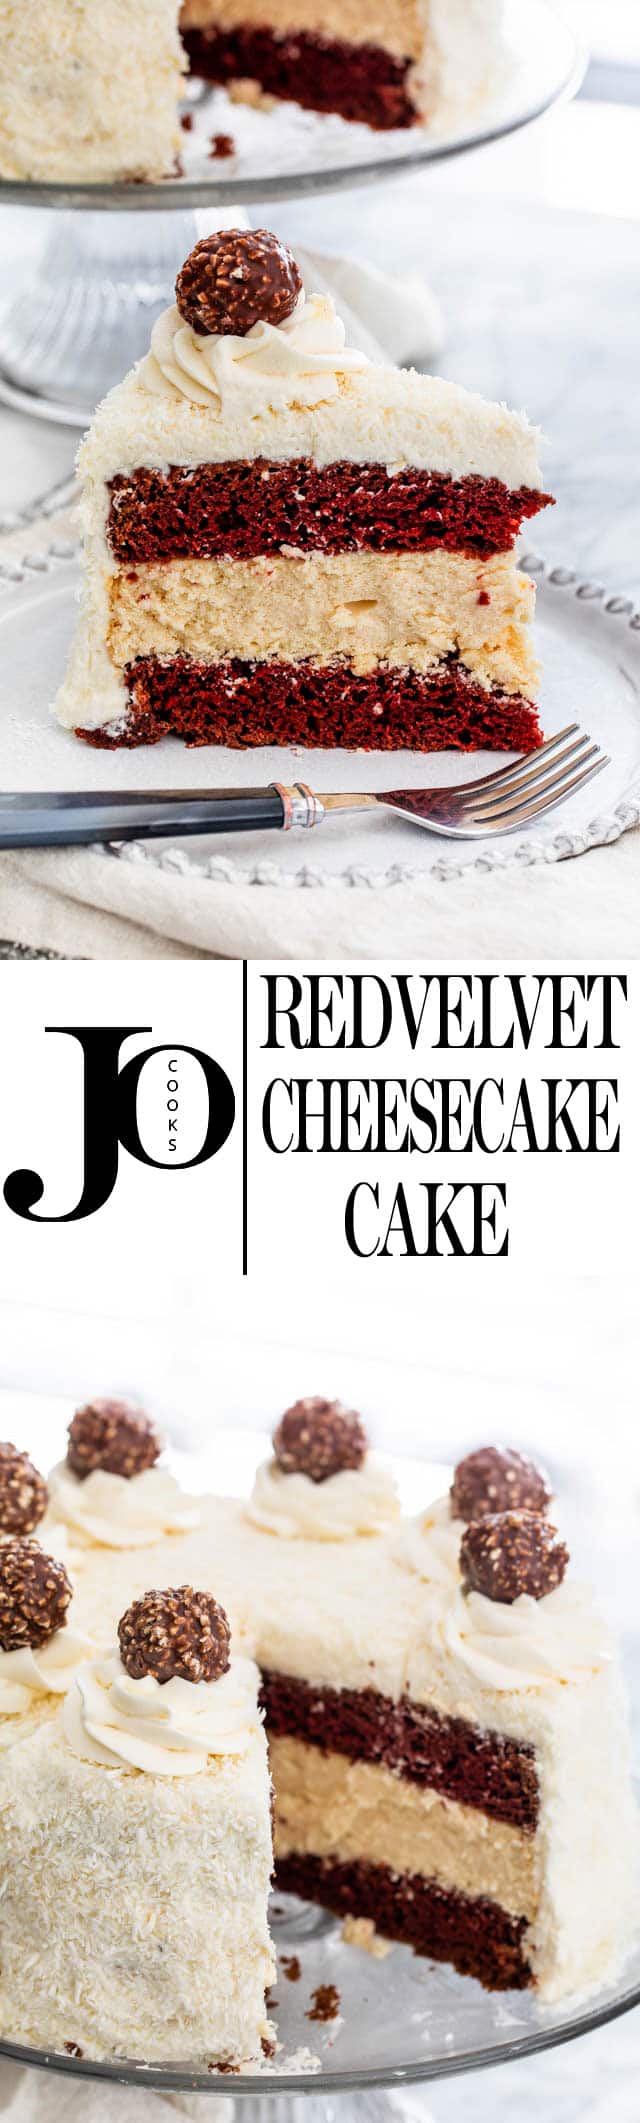
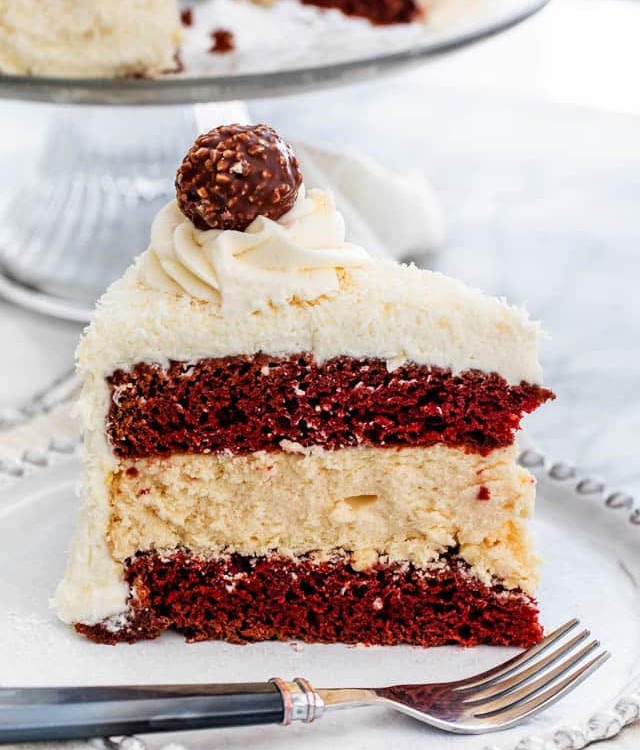
Can you imagine anything more luxurious than this Red Velvet Cheesecake Cake? Cheesecake sandwiched between two layers of red velvet cake, coated in a whipped cream cheese icing, and covered in shaved coconut. So, what are you waiting for?

What Is Red Velvet Cake
It is traditionally a red, red-brown, or scarlet coloured chocolate layer cake topped with cream cheese icing. Red velvet cakes have been around since the Victorian Era and they used to be served as a fancy dessert.
The “red” comes from the red dye that is used to make the cake red, without the red food coloring, it’s simply a chocolate cake. The term “velvet” was a description of the cake because of its soft and velvety texture.

How To Make the Cheesecake
I know we all strive for that perfect cheesecake with a smooth top, but for this recipe, don’t stress! The cheesecake is sandwiched between two layers of red velvet cakes. If you end up with cracks, no one will ever know!
To achieve a gorgeous and silky layer of cheesecake, beat the three packages of cream cheese until smooth. Add the sugar, sour cream, vanilla, and beat until creamy. Mix in one egg at a time until the mixture it well combined.
To make sure I had the perfect sized cheesecake mixture, I used the exact same type of 9 inch cake pan that I used for the red velvet cake layers. Line the pan with parchment paper, spritz with cooking spray, and you’re ready to get this cheesecake baking!
Cook the cheesecake until it begins to brown slightly around the edges. Store it in the fridge until completely cooled.

How to Make the Red Velvet Cake
This red velvet cake recipe is basically an adaptation of my chocolate cake which I’ve been making for years. It’s a tried and true recipe, which I consider fool proof. This recipe has been perfected over the years, so I know it will work. My secret ingredient in this cake is the coffee which really deepens the chocolate flavor in the cake. You will not taste coffee at all!
I split the batter evenly into two 9 inch pans, the same size as the pan I baked the cheesecake in. Once the cakes are fully cooked, allow them to come to room temperature, then store them in the fridge until you’re ready to assemble.

How to Assemble Red Velvet Cheesecake Cake
This cake really couldn’t be easier to put together! Once the cakes are fully cooled and ready to go, you can make your whipped cream cheese frosting. Start with a layer of red velvet cake on the bottom. Very carefully place the cheesecake, ensuring it doesn’t break, and top it with the final layer of red velvet cake. Coat the entire cake with a healthy layer of frosting, and pat shredded coconut to coat the entire cake.
You can stop here if you like! The cake will look like gorgeous white velour. I put the rest of our frosting in a piping bag and topped this cake with nice and big dollops, and finished it off with a Ferrero Rocher chocolate atop each dollop of icing.
Tips to Make the Best Red Velvet Cheesecake Cake
- Always use ingredients that are at room temperature. Especially when it comes to the cream cheese. If your cream cheese is at room temperature, it’s a lot easier to mix and won’t leave lumps.
- Do not open the oven door while the cakes are baking. It’s difficult, but if you want to see how your cakes are doing, use the oven light to peek inside.
- Do not over bake! The cheesecake layer will still be a bit jiggly when you take it out of the oven, but once it cools it’ll firm right up.
- Cool the cakes until they come to room temperature. Cover tightly with plastic wrap and refrigerate overnight, or at least 4 to 8 hours. This will make layering much easier.
- I used a red food coloring gel for the red velvet layers that I bought at Michael’s. It gives me what I consider the perfect red color. You always have the option of using natural food coloring such as beets. I have used beets before to make red velvet cupcakes for a bake sale and they turned out great, although you don’t get quite the rich red color as you do by using red food coloring gel.
- I love to add a cup of strong coffee to my red velvet cake because it enhances the flavor of the chocolate. However, don’t worry, the coffee will not overpower the taste, you won’t even know it’s there!

Looking for More Delicious Cakes? Try These:
- Red Velvet Cake
- Cheesecake
- Carrot Cake
- Lemon Yogurt Cake
- German Chocolate Cake
- Red Velour Cake
- Black Velvet Cake
Before You Begin! If you make this, please leave a review and rating letting us know how you liked this recipe! This helps our business thrive & continue providing free recipes.
Red Velvet Cheesecake Cake
Video
Ingredients
Red Velvet Cake
- 1 ½ cups all-purpose flour
- 1 ½ cups sugar (granulated)
- 1 tablespoon cocoa powder
- 1 teaspoon salt
- 1 teaspoon baking powder
- 1 teaspoon baking soda
- ¾ cup buttermilk
- ½ cup coconut oil
- 2 large eggs
- 1 teaspoon vanilla extract
- ¾ cup coffee (hot)
- 1 tablespoon red gel food coloring
Cheesecake
- 24 ounce cream cheese (softened, at room temperature (3 packages of 8 oz each))
- ½ cup sugar (granulated)
- 2 tablespoons all-purpose flour
- 1 teaspoon vanilla extract
- ½ cup sour cream
- 2 large eggs
Cream Cheese Frosting
- 1 ½ cups whipping cream
- 16 ounce cream cheese (softened, at room temperature (2 packages of 8 oz each))
- 1 teaspoon vanilla extract
- 1 ½ cups icing sugar (same as powdered sugar or confectioner’s sugar)
Other Optional Toppings
- 1 cup sweetened coconut (shredded)
- 8 Ferrero Rocher
Before You Begin! If you make this, please leave a review and rating letting us know how you liked this recipe! This helps our business thrive & continue providing free recipes.
Instructions
Red Velvet Cake
- Preheat the oven to 350℉.
- Prepare the baking pans: Prepare 2 9 inch cake pans. Cut out 2 parchment paper circles that will fit inside each pan and spray them with some cooking spray. Make sure to spray some cooking spray up the sides of the pans too.
- Make the cake batter: In the bowl of your mixer, add the flour, sugar, cocoa powder, salt, baking powder, baking soda and using the paddle attachment mix everything together until well combined, on low speed.
- In a large bowl mix together the buttermilk, coconut oil, eggs, and vanilla extract. Whisk in the coffee and food coloring.
- Add the wet ingredients to the mixer bowl and mix everything over medium speed for about 2 minutes, until everything is well combined. Scrape the bottom of the bowl with a spatula and mix as needed. Add more red food coloring as needed to get to the desired color. Pour the batter into the 2 prepared pans, equally.
- Bake: Place the cake pans in the oven and bake for 30 to 35 minutes. To test if the cake is done, insert a toothpick in the middle of the cake and if it comes out clean, it’s done. Let the cake cool in the pans for about 30 minutes, then turn them out onto a cooling rack or a cutting board and cool completely.
Cheesecake
- Preheat oven to 325℉. Cut out a parchment paper circle that will fit inside a cake pan.
- Make the cheesecake batter: Beat the cream cheese, sugar, flour, and vanilla in a large bowl until smooth and there are no visible clumps. Mix in the sour cream.
- Add the eggs, one at a time and mix on low speed until well blended. Do not over mix. Scrape down the sides of the bowl and remix as necessary. Pour this batter in the prepared cake pan.
- Transfer the cake to the oven and bake for 45 minutes. To check if the cake is done, shake the pan and the cake should pretty much be set, except for the center which should still jiggle slightly.
- Turn off the oven and leave the oven door open. Let the cake cake cool in the oven until it comes to room temperature. This should prevent cracks.
Cream Cheese Frosting
- Prepare the cream cheese frosting: In the bowl of your mixer whip the whipping cream until soft peaks form. Remove from mixer bowl and refrigerate until ready to use.
- In the bowl of your mixer, beat the cream cheese together with the vanilla extract and icing sugar, until smooth. Fold in the whipping cream gradually until well combined.
Assemble The Cake
- Assemble the cake: Cut the top part of the red velvet cake first so that it’s nice and flat.
- Start by placing a red velvet round on the bottom of a cake platter, followed by the cheesecake, then the last velvet round with the bottom side up.
- Using a spatula, spread the cream cheese frosting evenly over the top of the cake and up the sides.
- Top with shredded coconut if preferred and/or chocolate.
- Refrigerate until ready to serve.
Notes
- I don’t have buttermilk, can I use milk instead: You can actually make your own buttermilk by adding a tbsp of lemon juice. You will notice it start to curdle, so you can use this instead, however, I recommend using buttermilk for best results.
- Why are you adding coffee to the red velvet cake and will it taste like coffee: Coffee is added to enhance the flavor of the chocolate and no, you will not taste the coffee in the cake at all.
- Can I use liquid food coloring instead of gel: I strongly recommend using red gel food coloring. You need a lot less gel to get the desired color, plus I always find when using liquid food color that it gives the cakes a weird taste.
- Store the cake in the refrigerator for up to 3 days, or if you have a cake platter with a lid it can last for up to 5 days.
- You can see the video on how to make the red velvet cake here.
- You can see the video on how to make the cheesecake here.
Nutrition Information
Notice: Nutrition is auto-calculated for your convenience. Where relevant, we recommend using your own nutrition calculations.

How many eggs in the red velvet cakes?
2 large eggs, sorry about that, recipe has been updated.
I am interested in making this gorgeous cake but noticed you didn’t write oil or butter in the cake ingredients but mentioned coconut oil in the directions. Could you mention the amount we need?
Thanks for catching that! I have updated the recipe card, but it is 1/2 cup coconut oil 🙂