Mongolian Beef
This post may contain affiliate links. Please read my disclosure policy.
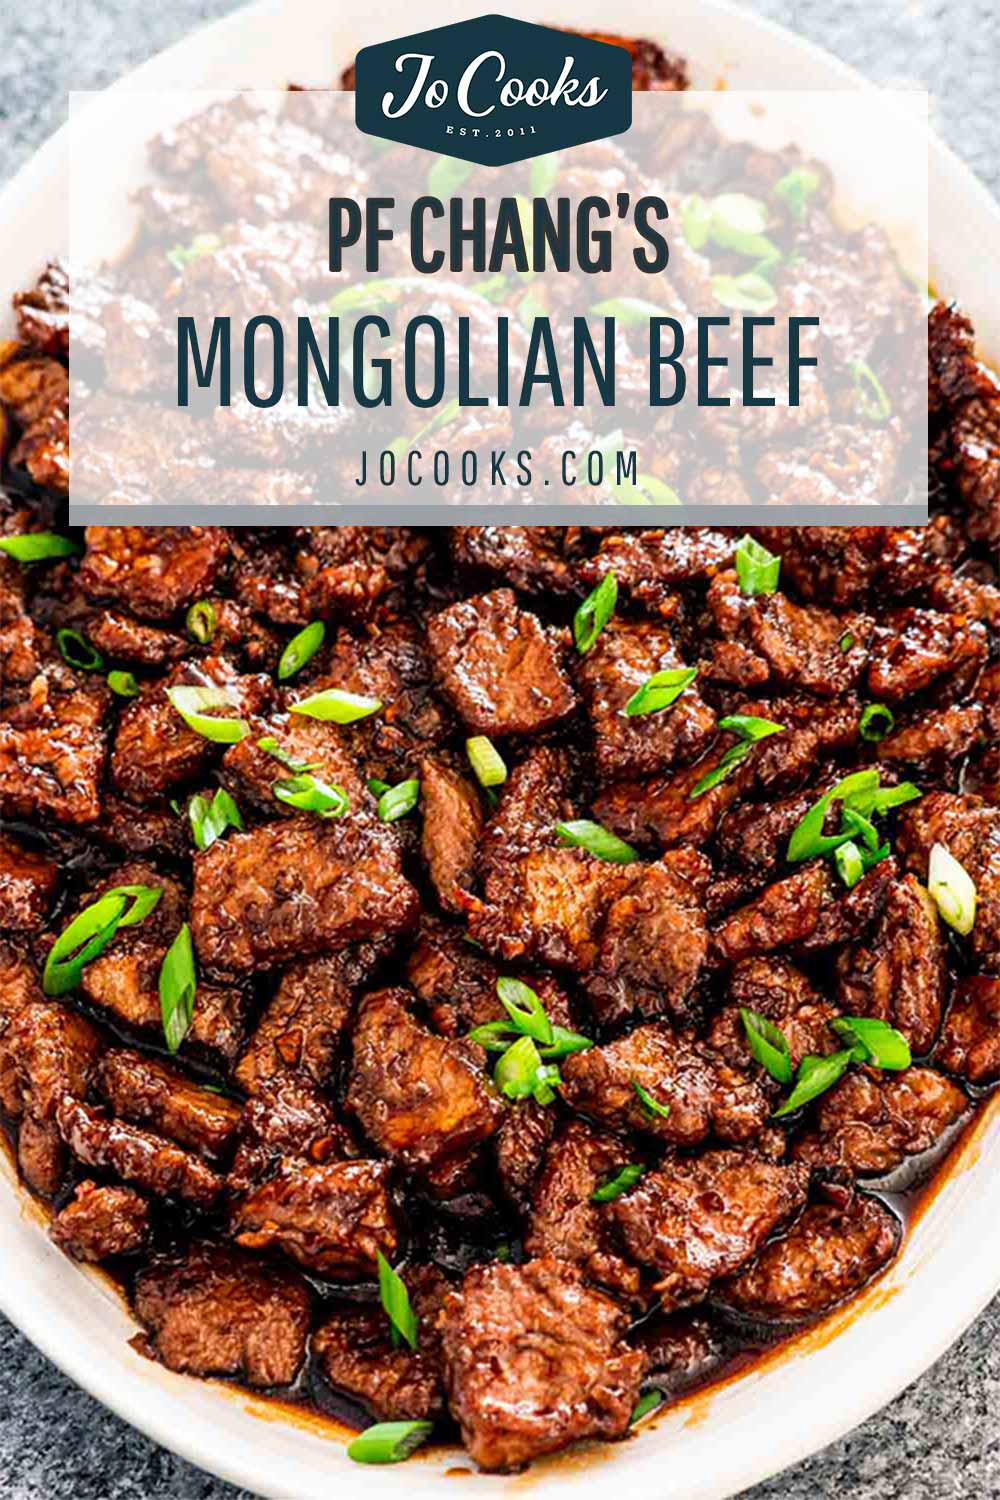
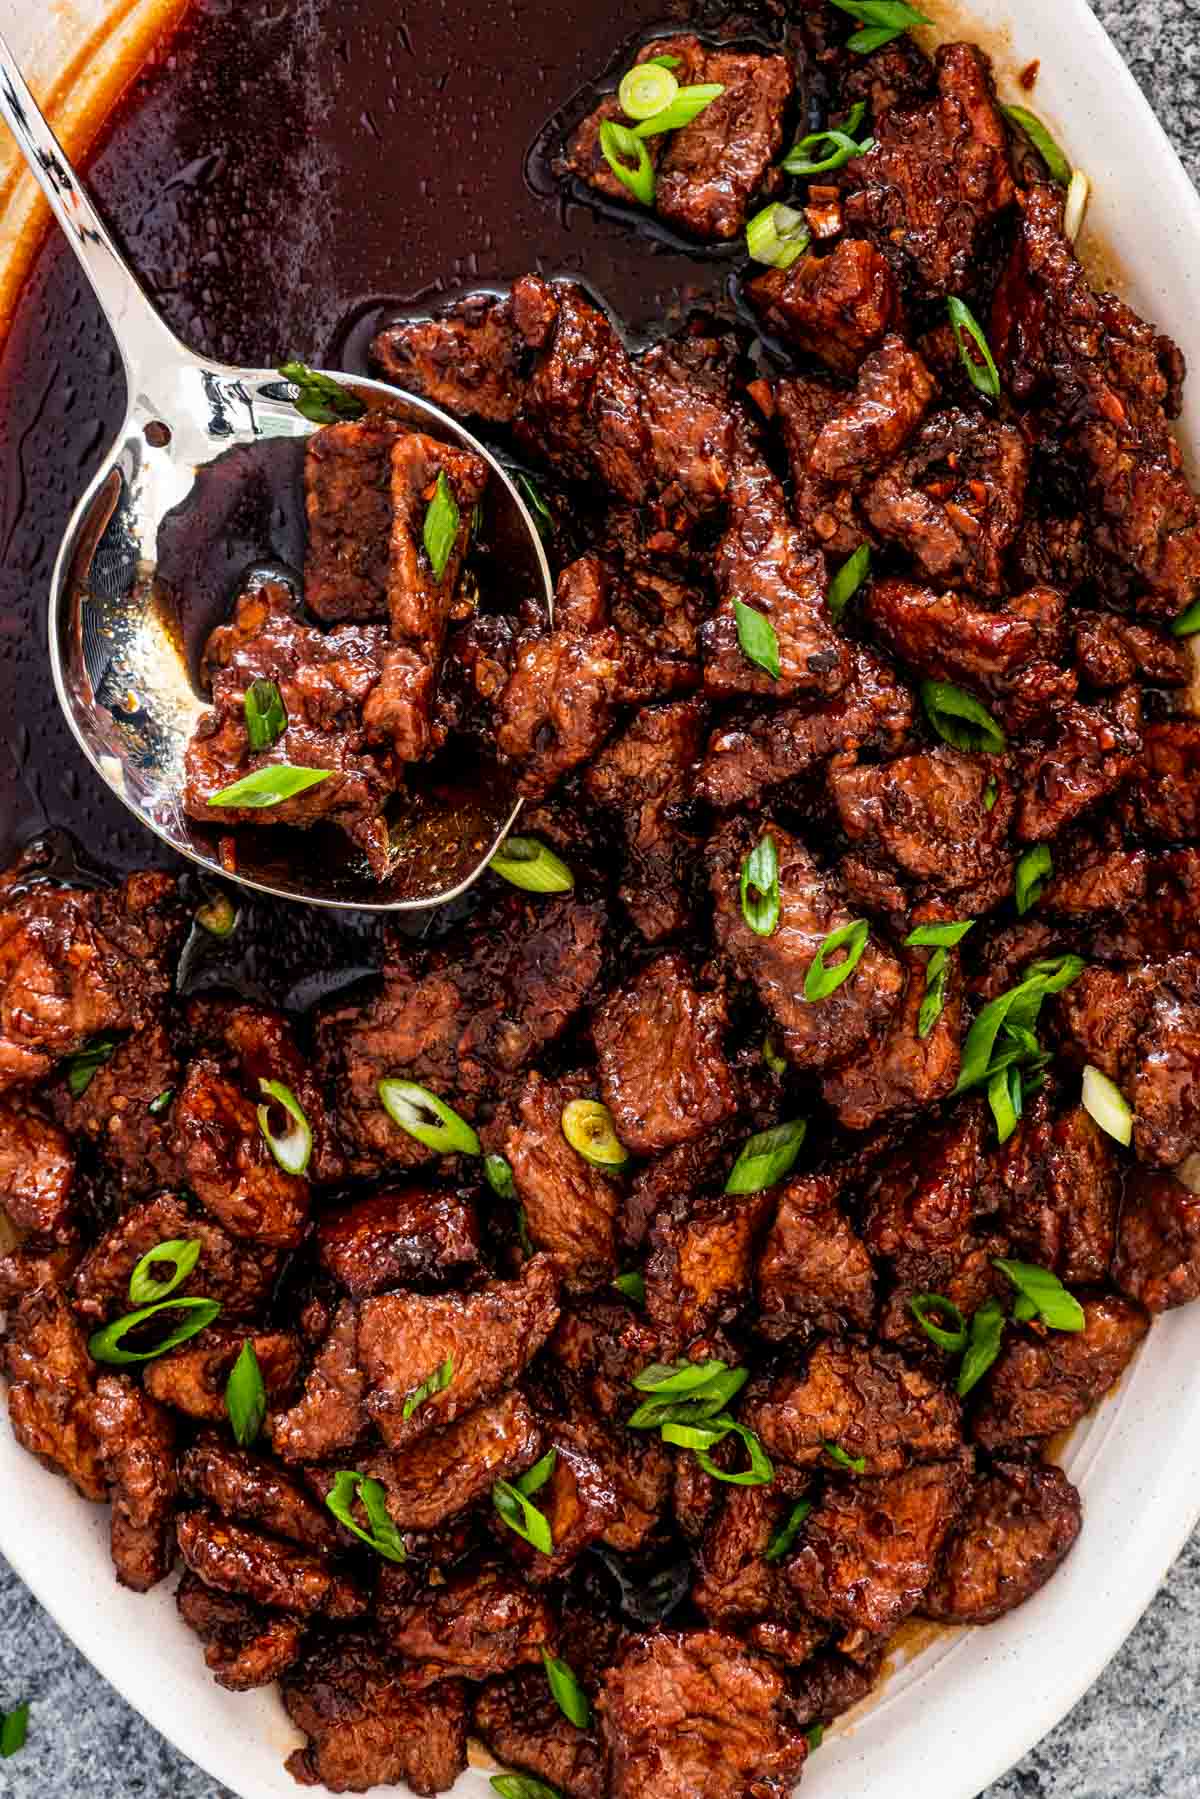
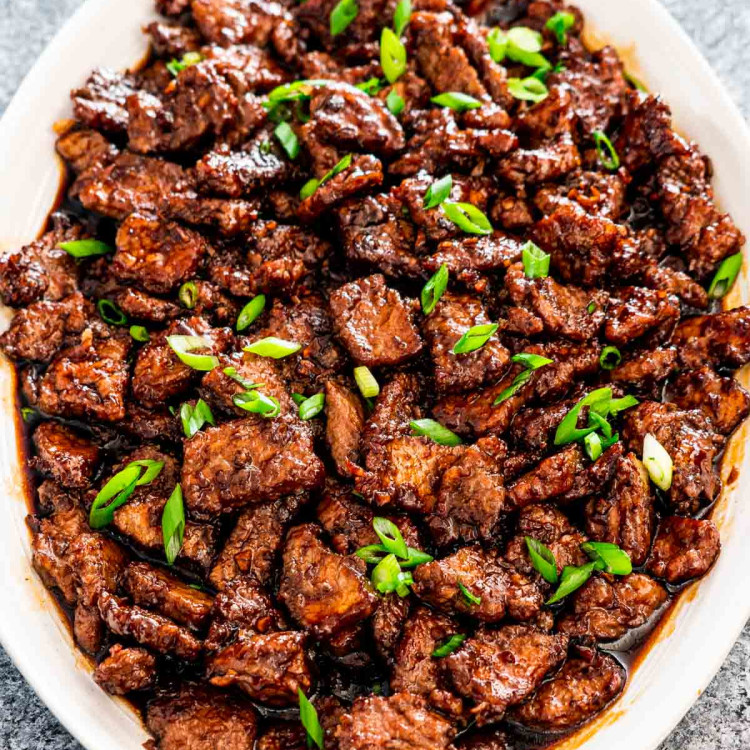
This Mongolian Beef is a popular restaurant favorite. It’s so simple to make and is even better than the original! Loaded with Asian flavors and ready in a flash, this recipe features tender pieces of beef coated in a sweet garlic soy sauce.
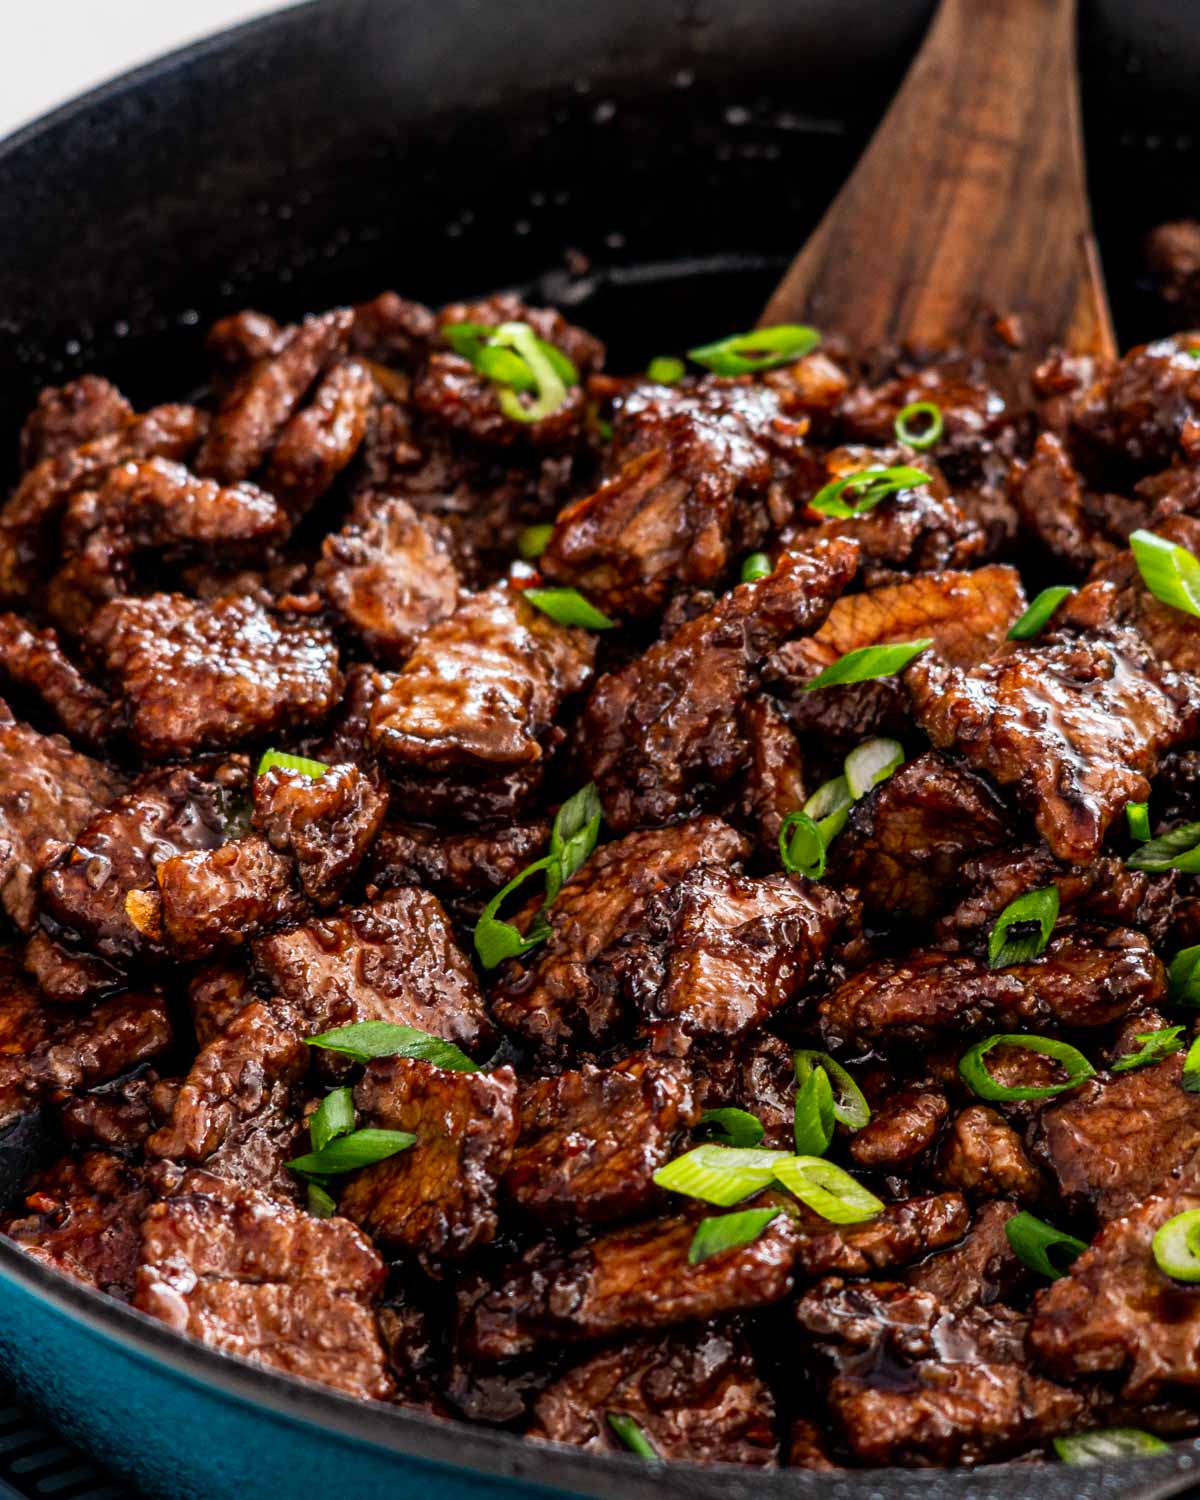
Easy Mongolian Beef At Home
Ever since I stopped working in the US, I’ve definitely missed some of my favorite dishes from places like PF Chang’s. It used to be my go to spot to grab an awesome lunch when I worked in Michigan so obviously I was highly motivated to replicate it here!
My version here is as addictive as candy, trust me you won’t be able to stop eating. With such an easy recipe, just a few steps and simple ingredients will help you bring to life the most delicious Mongolian Beef you’ll ever try! So let’s get copycat’ing!
Mongolian Beef Highlights
- Sweet And Savory. If you love the combination of sweet and savory, then you’ll love this thinly sliced beef with this incredible sweet and savory sauce.
- Quick And Easy. This recipe, although it may look complicated, it’s seriously quick to put together and easy to make. While the sauce is reducing, simply cook the beef to speed up the process.
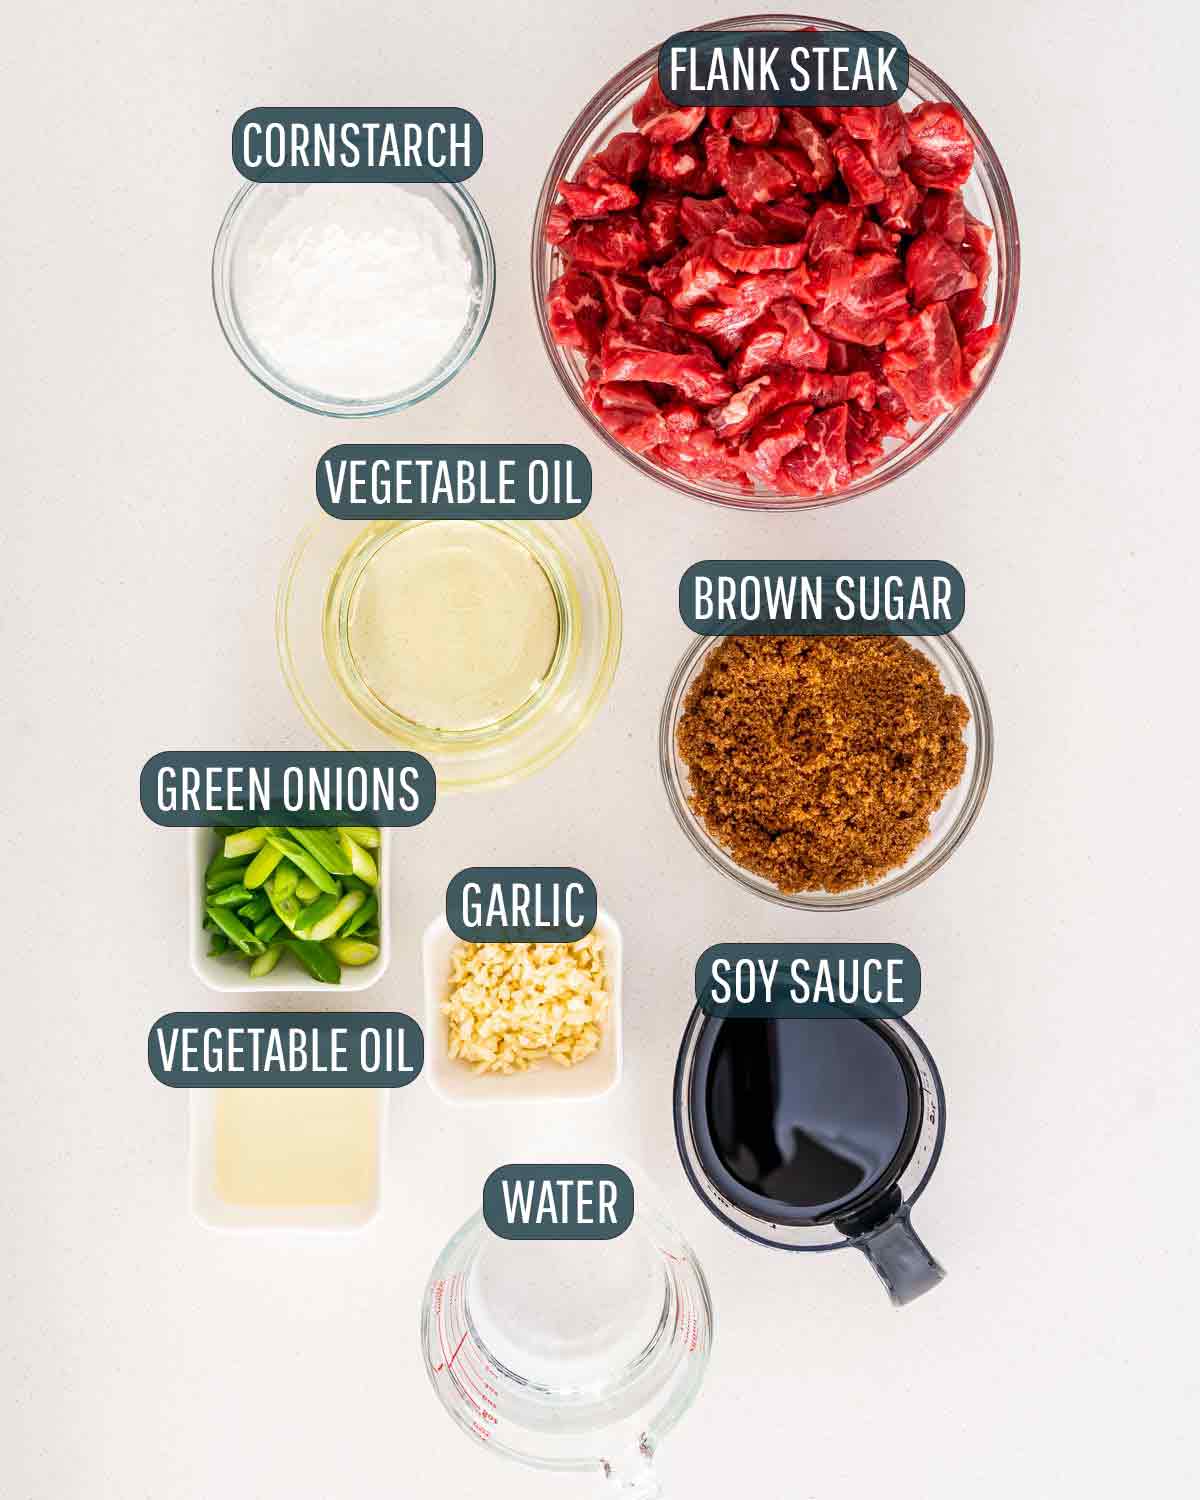
- Beef – Flank steak is best for this recipe, as it cooks well when sliced up nice and thin. Other options would be sirloin or skirt steak.
- Vegetable oil – For our sauce and later for frying, be sure to use something neutral tasting such as canola oil or sunflower oil.
- Cornstarch – We’re going to use this to crisp up the beef so be sure not to skip this important ingredient.
- Soy sauce – Low sodium as usual, we want to control our sodium content.
- Brown sugar – We need a bit of sugar to sweeten up this sauce. I prefer a dark brown sugar, but light brown sugar will work as well.
- Garlic – Use as much or little as you like. You can also use a garlic ginger paste.
- Garnish – I love to garnish this with sliced green onions and some toasted sesame seeds.
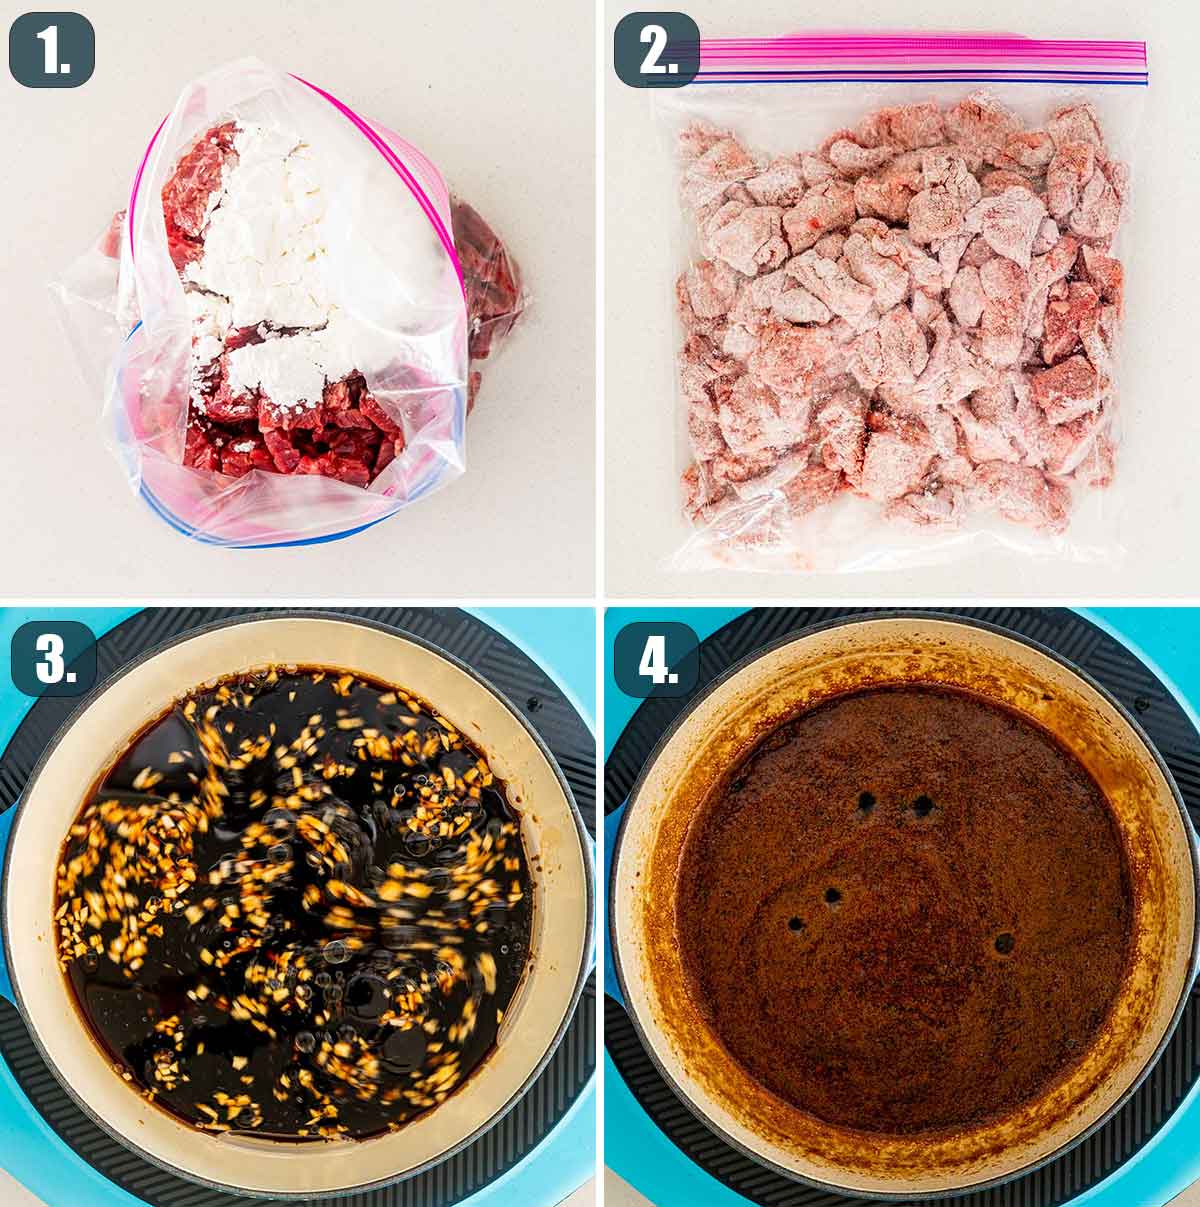
- Prepare the beef: Slice the steak into small thin pieces against the grain. In a large ziploc bag add the cornstarch and add the beef pieces. Close the ziploc bag and shake really well. Refrigerate until ready to use.
- Make the sauce: In a small sauce pan add the 2 tbsp of vegetable oil, soy sauce, brown sugar, garlic and water. Stir and cook over medium heat until sauce thickens. It took me about 15 to 20 minutes until the sauce thickened and reduces by about half. Set aside.
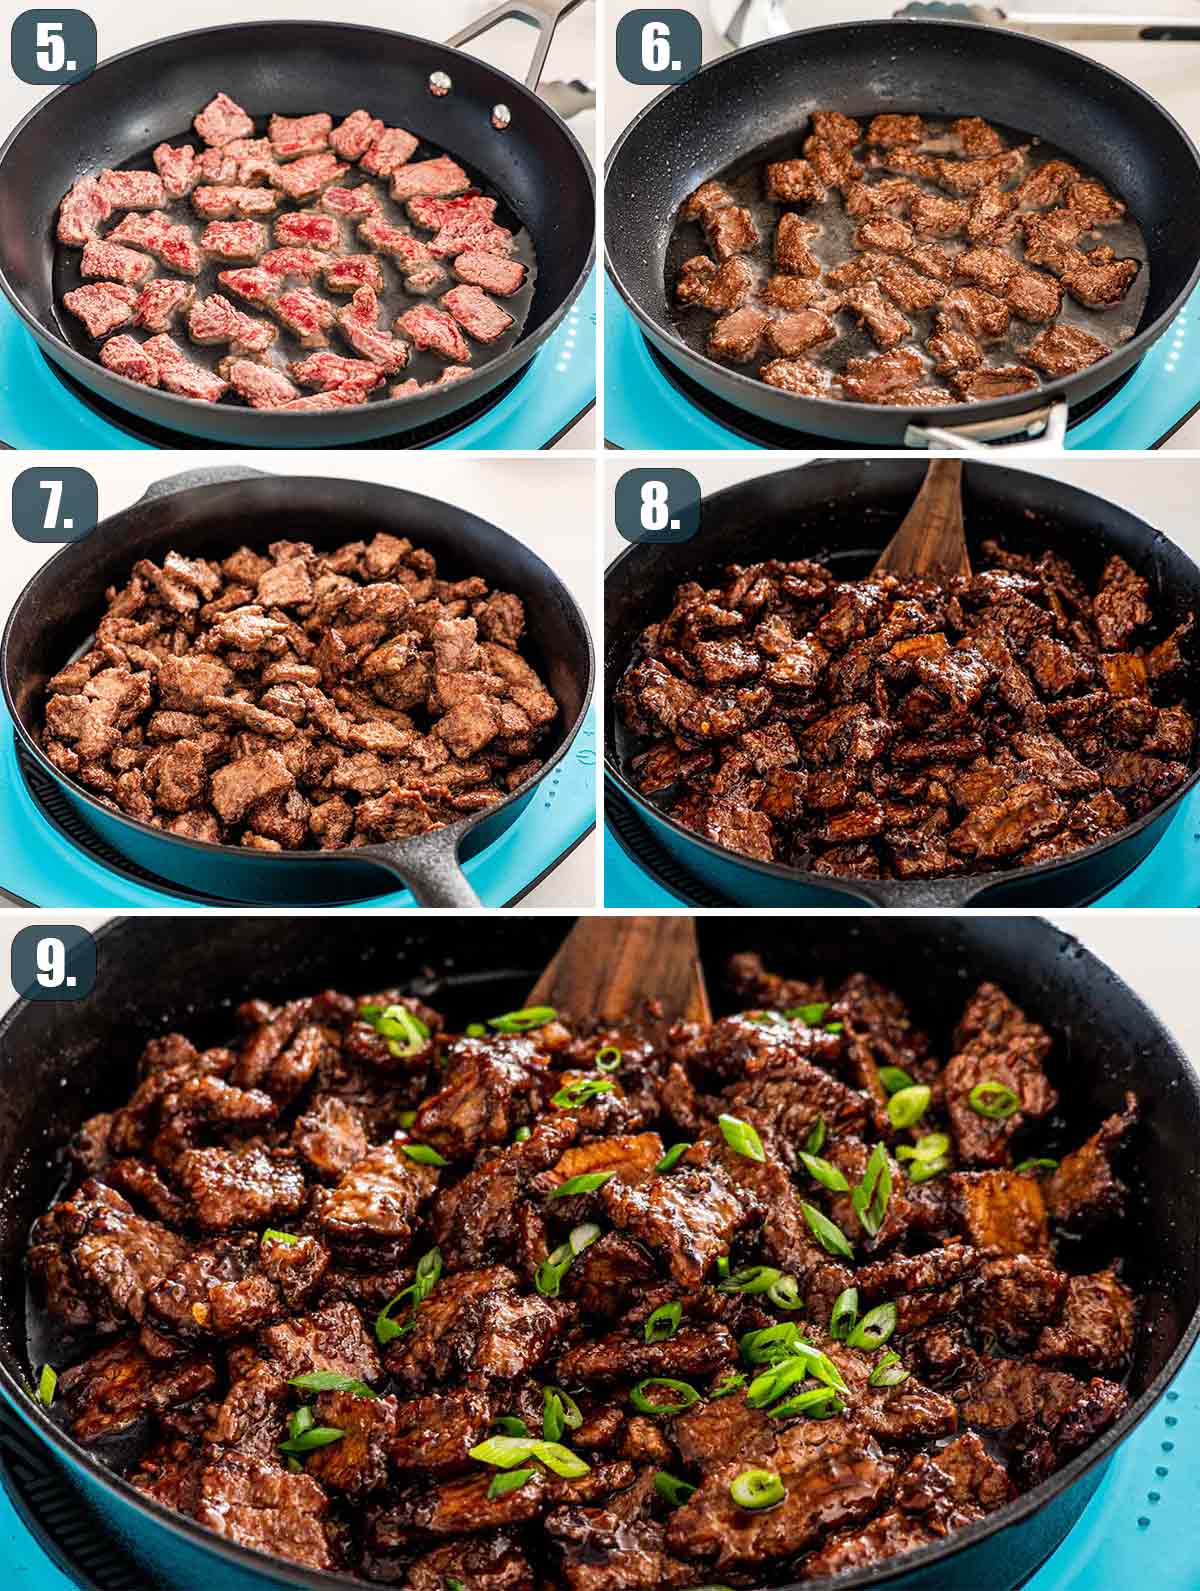
- Fry the beef: In a non stick skillet heat the vegetable oil. When the oil is hot, add a few pieces of beef and cook until browned on both sides. The beef will cook quick, about 2 minutes. You will have to do this in batches, so the beef doesn’t stick together, it took me 3 batches to finish all the beef. Add more oil, between batches, if needed. Remove beef from skillet to a bowl and discard any leftover oil from the skillet.
- Toss the beef with sauce: Return all the beef to skillet and pour all the sauce sauce over it. Toss everything together well and cook for 2 more minutes, just until the beef heats back up.
- Garnish and serve: Garnish with sliced green onions and/or toasted sesame seeds. Serve hot over rice.
What Is Mongolian Beef
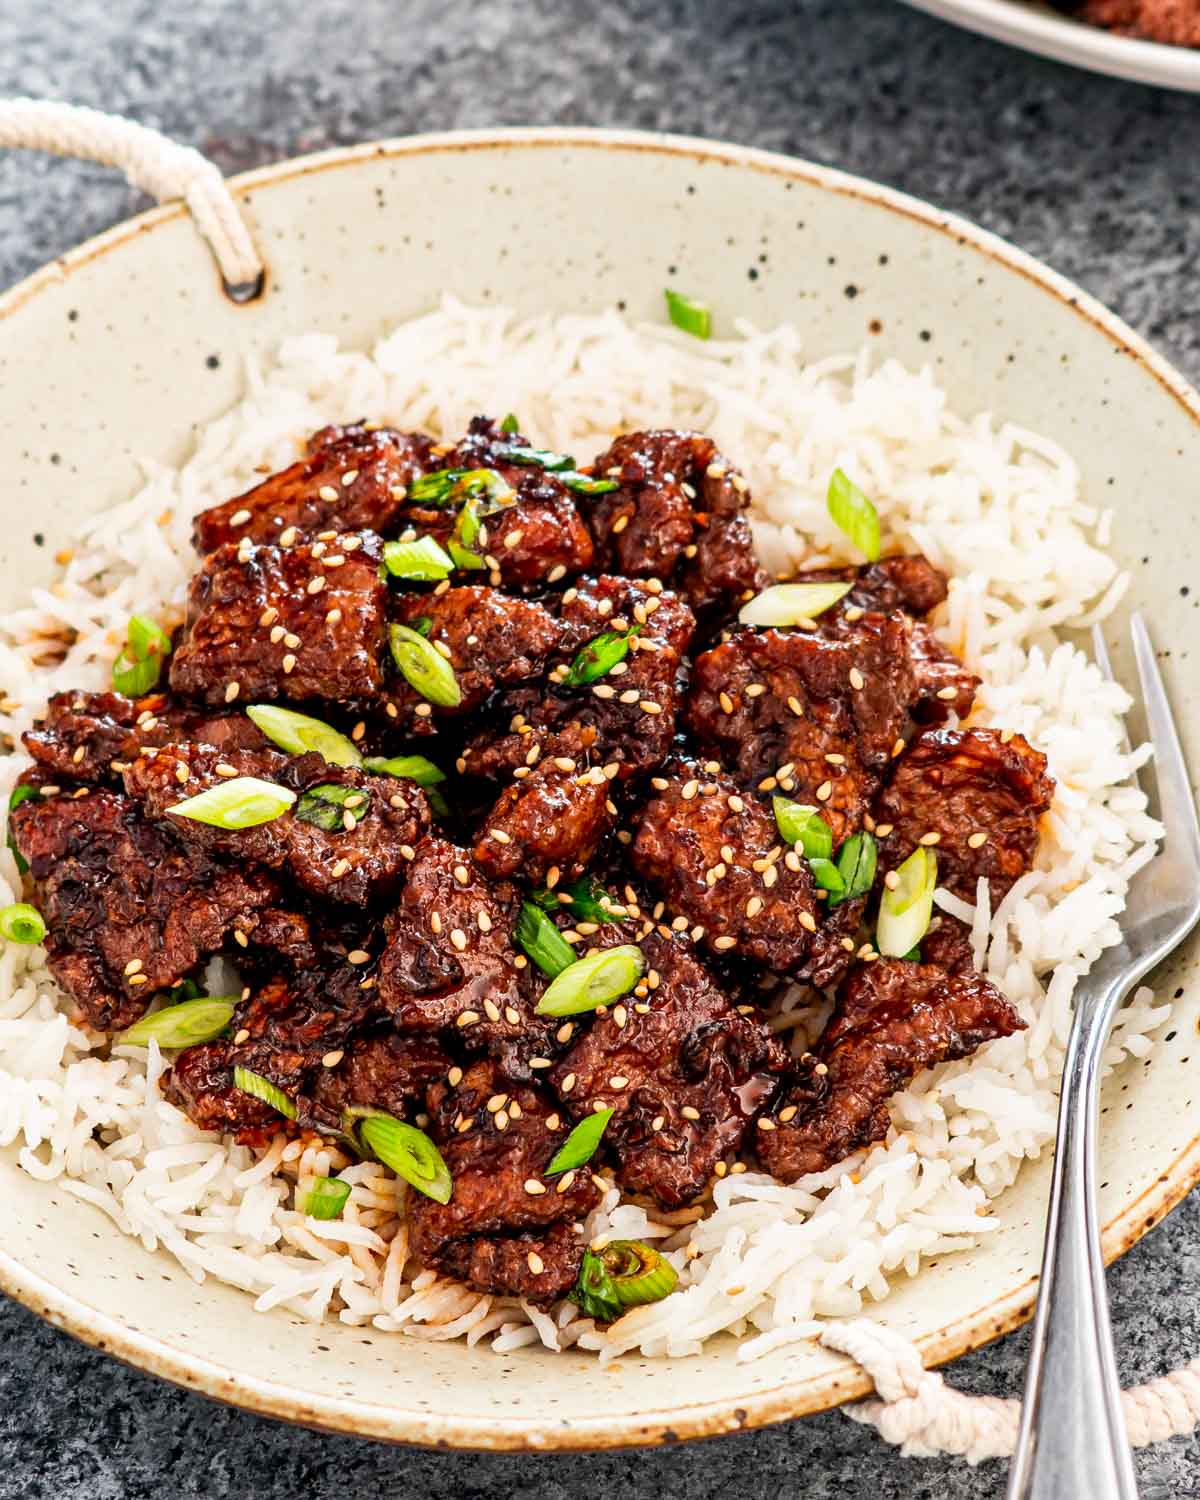
This dish is pretty dang westernized, so it’s safe to say it’s not quite Mongolian fare. Especially since you mostly see it in Chinese American restaurants! It consists of sliced beef nice and thin and cooked down in an amazingly rich, sweet and savory sauce.
What Kind Of Beef Can I Use?
I strongly recommend using flank steak in Mongolian Beef because it’s inexpensive and it’s best for this kind of dish since it cooks really well when sliced nice and thin. Another option would be to use sirloin steak or skirt steak.
What Other Ingredients Can I Add To This Dish?
Just because the name of the recipe states beef, doesn’t mean that beef is all we can use! Try some thinly sliced chicken breast or thighs, or even thinly sliced pork tenderloin.

Expert Tips
- To easily slice the flank steak, place it in the freezer for about 20 minutes before slicing. This will make it so much easier to slice it as thinly as possible. Always slice the beef against the grain.
- Make sure to toss the beef with cornstarch before cooking and let it sit for 5 minutes before searing. This is known as velveting and you’ll end up with very tender and cripsy meat. Do not use flour, the results will not be the same.
- For even more tender beef, you can marinate the beef after slicing in some baking soda for a few minutes. Rinse and continue with the recipe as instructed.
- Don’t overcrowd the beef when frying. Do it in 2 or 3 batches and add more oil if needed in between batches.
Leftovers
This Mongolian beef can be stored in an airtight container in the fridge for up to 3 days.
You can also freeze in single portions in airtight containers or freezer bags for up to 3 months. Just reheat in the microwave or oven straight from the freezer.
More Delicious Recipes To Try
Before You Begin! If you make this, please leave a review and rating letting us know how you liked this recipe! This helps our business thrive & continue providing free recipes.
Mongolian Beef
Video
Ingredients
- 2 pound flank steak
- ½ cup cornstarch
- ½ cup vegetable oil
For sauce
- 2 tablespoon vegetable oil
- 1 cup soy sauce (low sodium)
- 1 cup brown sugar
- 4 cloves garlic (minced)
- ½ cup water
Optional Garnish
- 2 green onions (chopped)
- sesame seeds
Before You Begin! If you make this, please leave a review and rating letting us know how you liked this recipe! This helps our business thrive & continue providing free recipes.
Instructions
- Prepare the beef: Slice the steak into small thin pieces against the grain. In a large ziploc bag add the cornstarch and add the beef pieces. Close the ziploc bag and shake really well. Refrigerate until ready to use.
- Make the sauce: In a small sauce pan add the 2 tbsp of vegetable oil, soy sauce, brown sugar, garlic and water. Stir and cook over medium heat until sauce thickens. It took me about 15 to 20 minutes until the sauce thickened and reduces by about half. Set aside.
- Fry the beef: In a non stick skillet heat the vegetable oil. When the oil is hot, add a few pieces of beef and cook until browned on both sides. The beef will cook quick, about 2 minutes. You will have to do this in batches, so the beef doesn't stick together, it took me 3 batches to finish all the beef. Add more oil, between batches, if needed. Remove beef from skillet to a bowl and discard any leftover oil from the skillet.
- Toss the beef with sauce: Return all the beef to skillet and pour all the sauce sauce over it. Toss everything together well and cook for 2 more minutes, just until the beef heats back up.
- Garnish and serve: Garnish with sliced green onions and/or toasted sesame seeds. Serve hot over rice.
Notes
- To easily slice the flank steak, place it in the freezer for about 20 minutes before slicing. This will make it so much easier to slice it as thinly as possible. Always slice the beef against the grain.
- Make sure to toss the beef with cornstarch before cooking and let it sit for 5 minutes before searing. This is known as velveting and you’ll end up with very tender meat. Do not use flour, the results will not be the same.
- For even more tender beef, you can marinate the beef after slicing in some baking soda for a few minutes. Rinse and continue with the recipe as instructed.
- Don’t overcrowd the beef when frying. Do it in 2 or 3 batches and add more oil if needed in between batches.
- This Mongolian beef can be stored in an airtight container in the fridge for up to 3 days. You can also freeze in single portions in airtight containers or freezer bags for up to 3 months. Just reheat in the microwave or oven straight from the freezer.
- Originally shared April 2014.
Nutrition Information
Notice: Nutrition is auto-calculated for your convenience. Where relevant, we recommend using your own nutrition calculations.