Baked Ravioli
This post may contain affiliate links. Please read my disclosure policy.
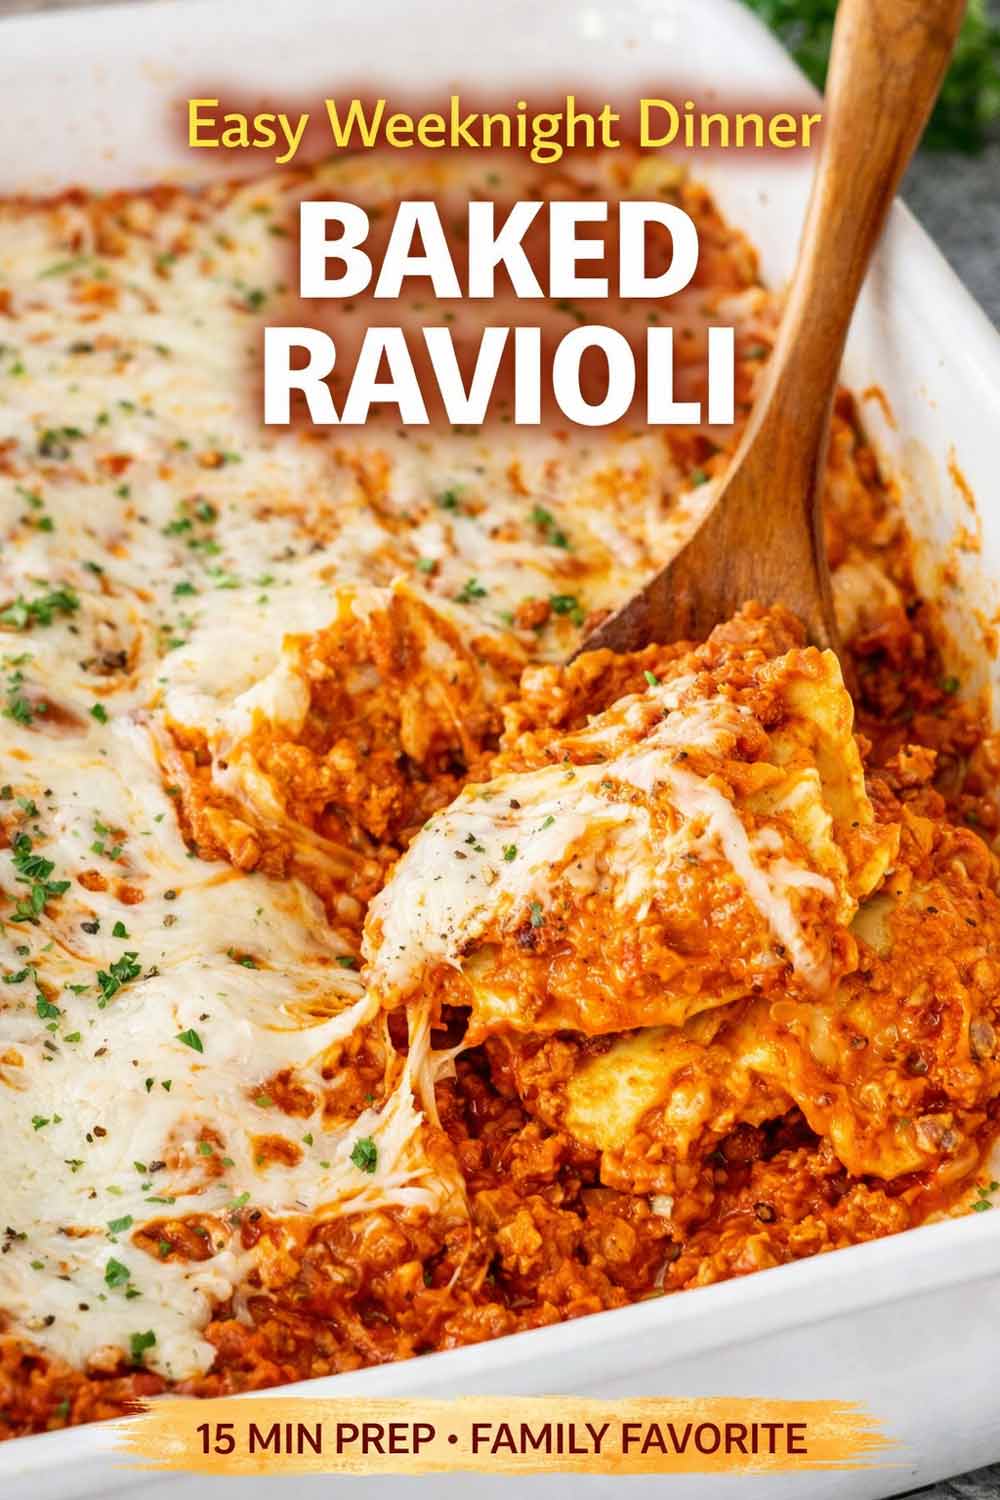
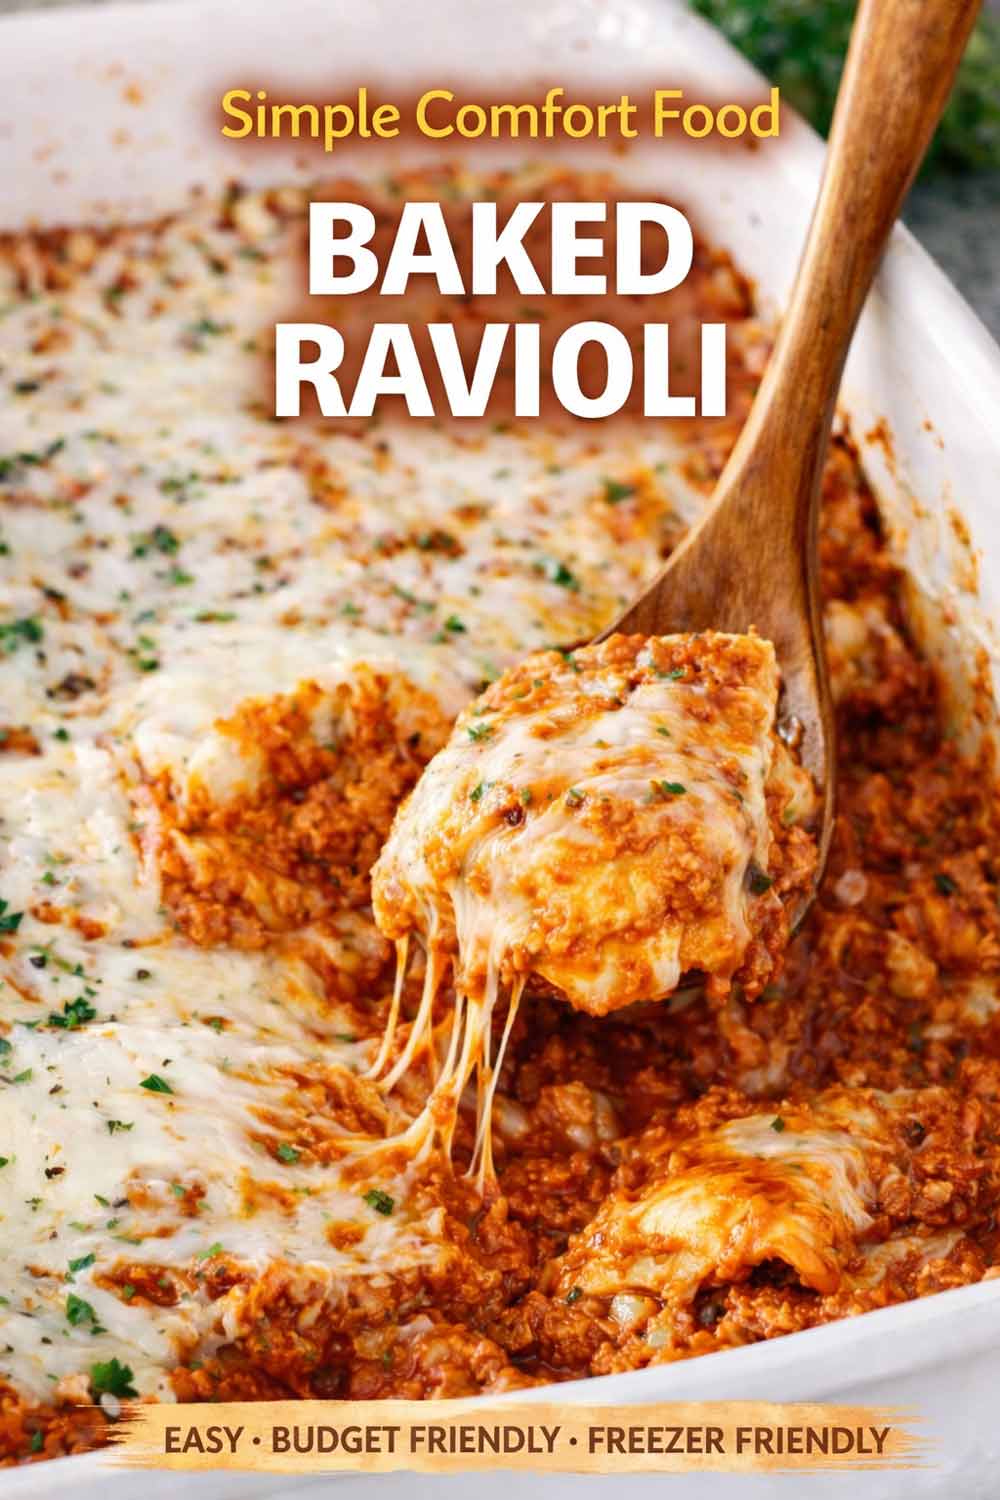
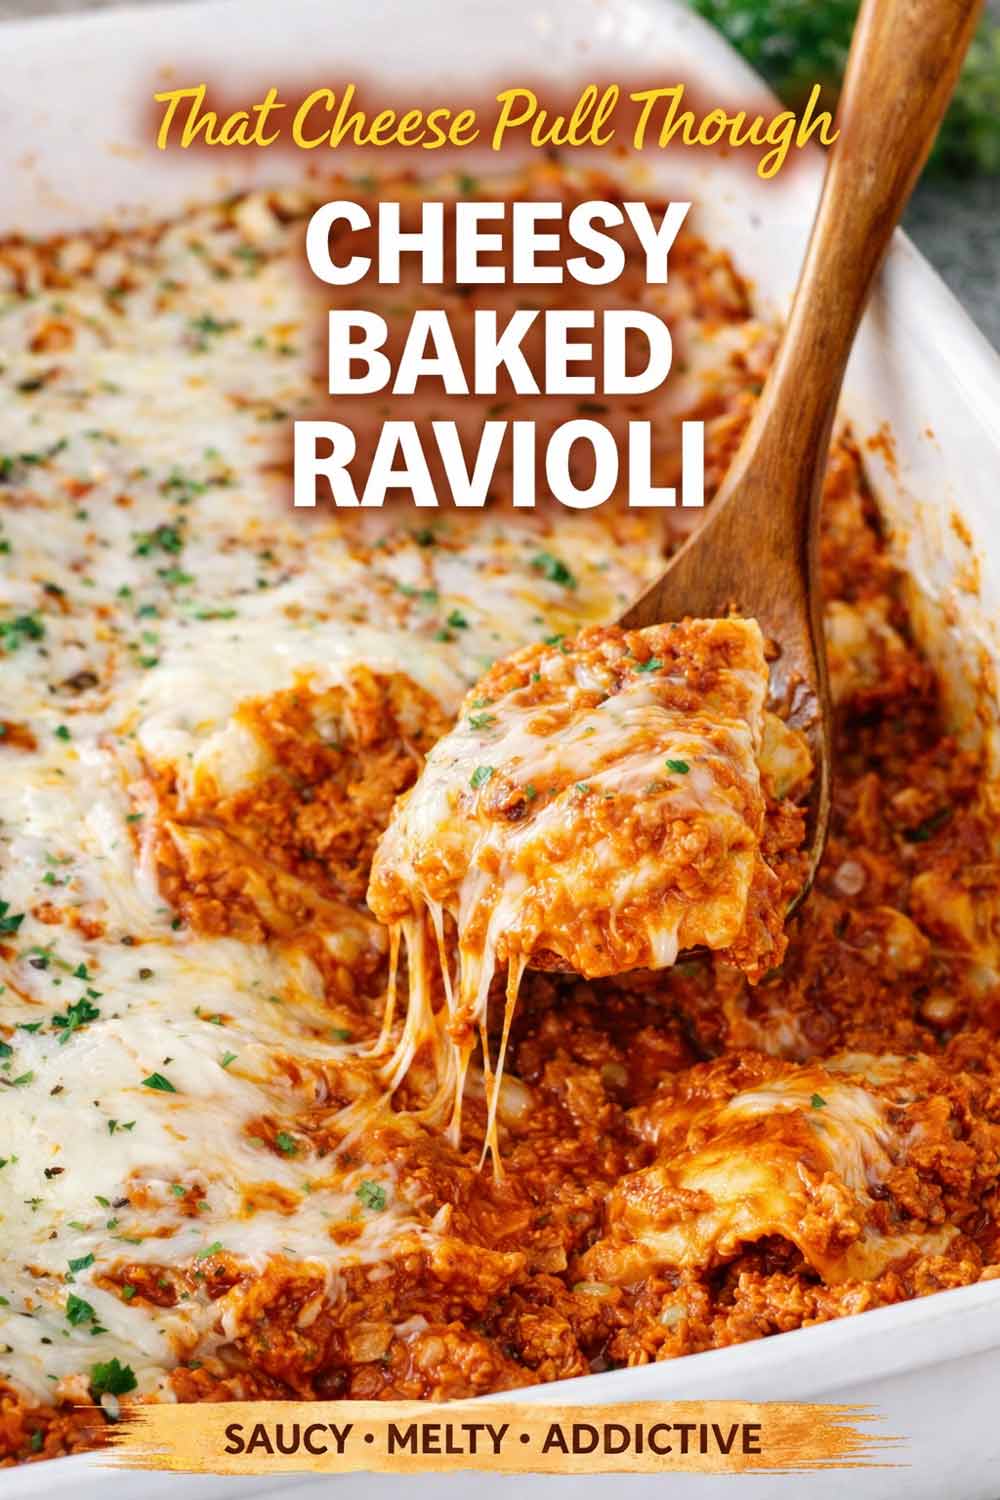
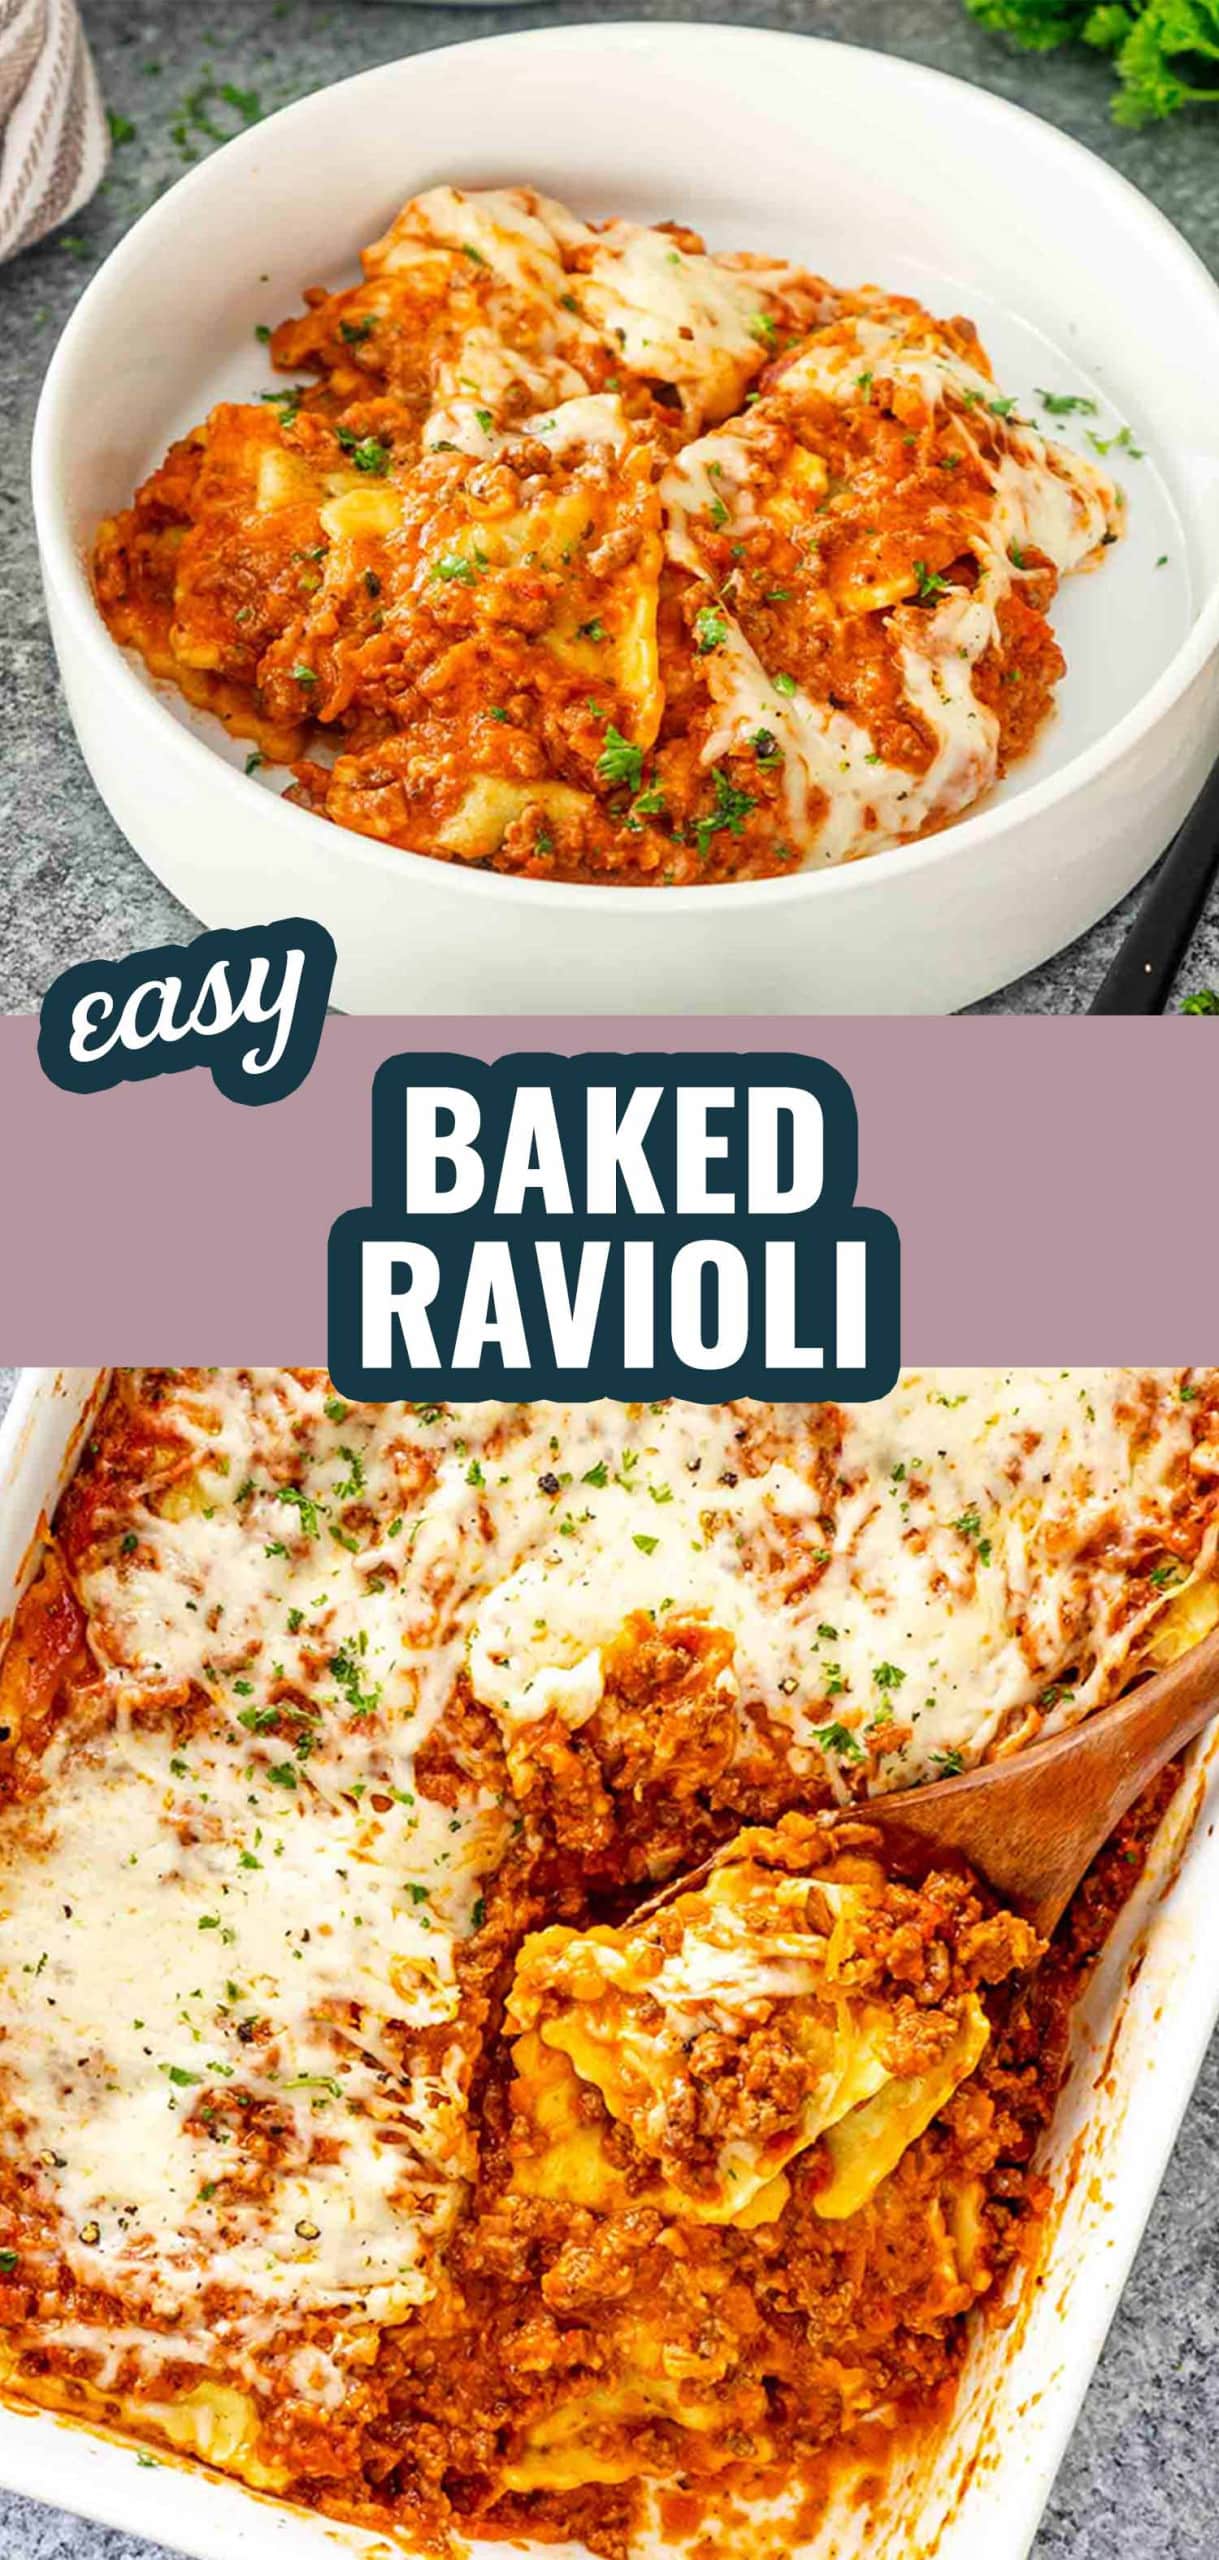
If you are still standing over a pot of boiling water just to cook frozen ravioli for this Baked Ravioli casserole, please stop. I have spent decades making every possible mistake in the kitchen so you can skip straight to the good part. Boiling the pasta first is a total myth that usually ends in a soggy mess. We are going to skip that pot and use a simple sauce strategy that guarantees tender pasta and a rich, bubbly finish every single time.
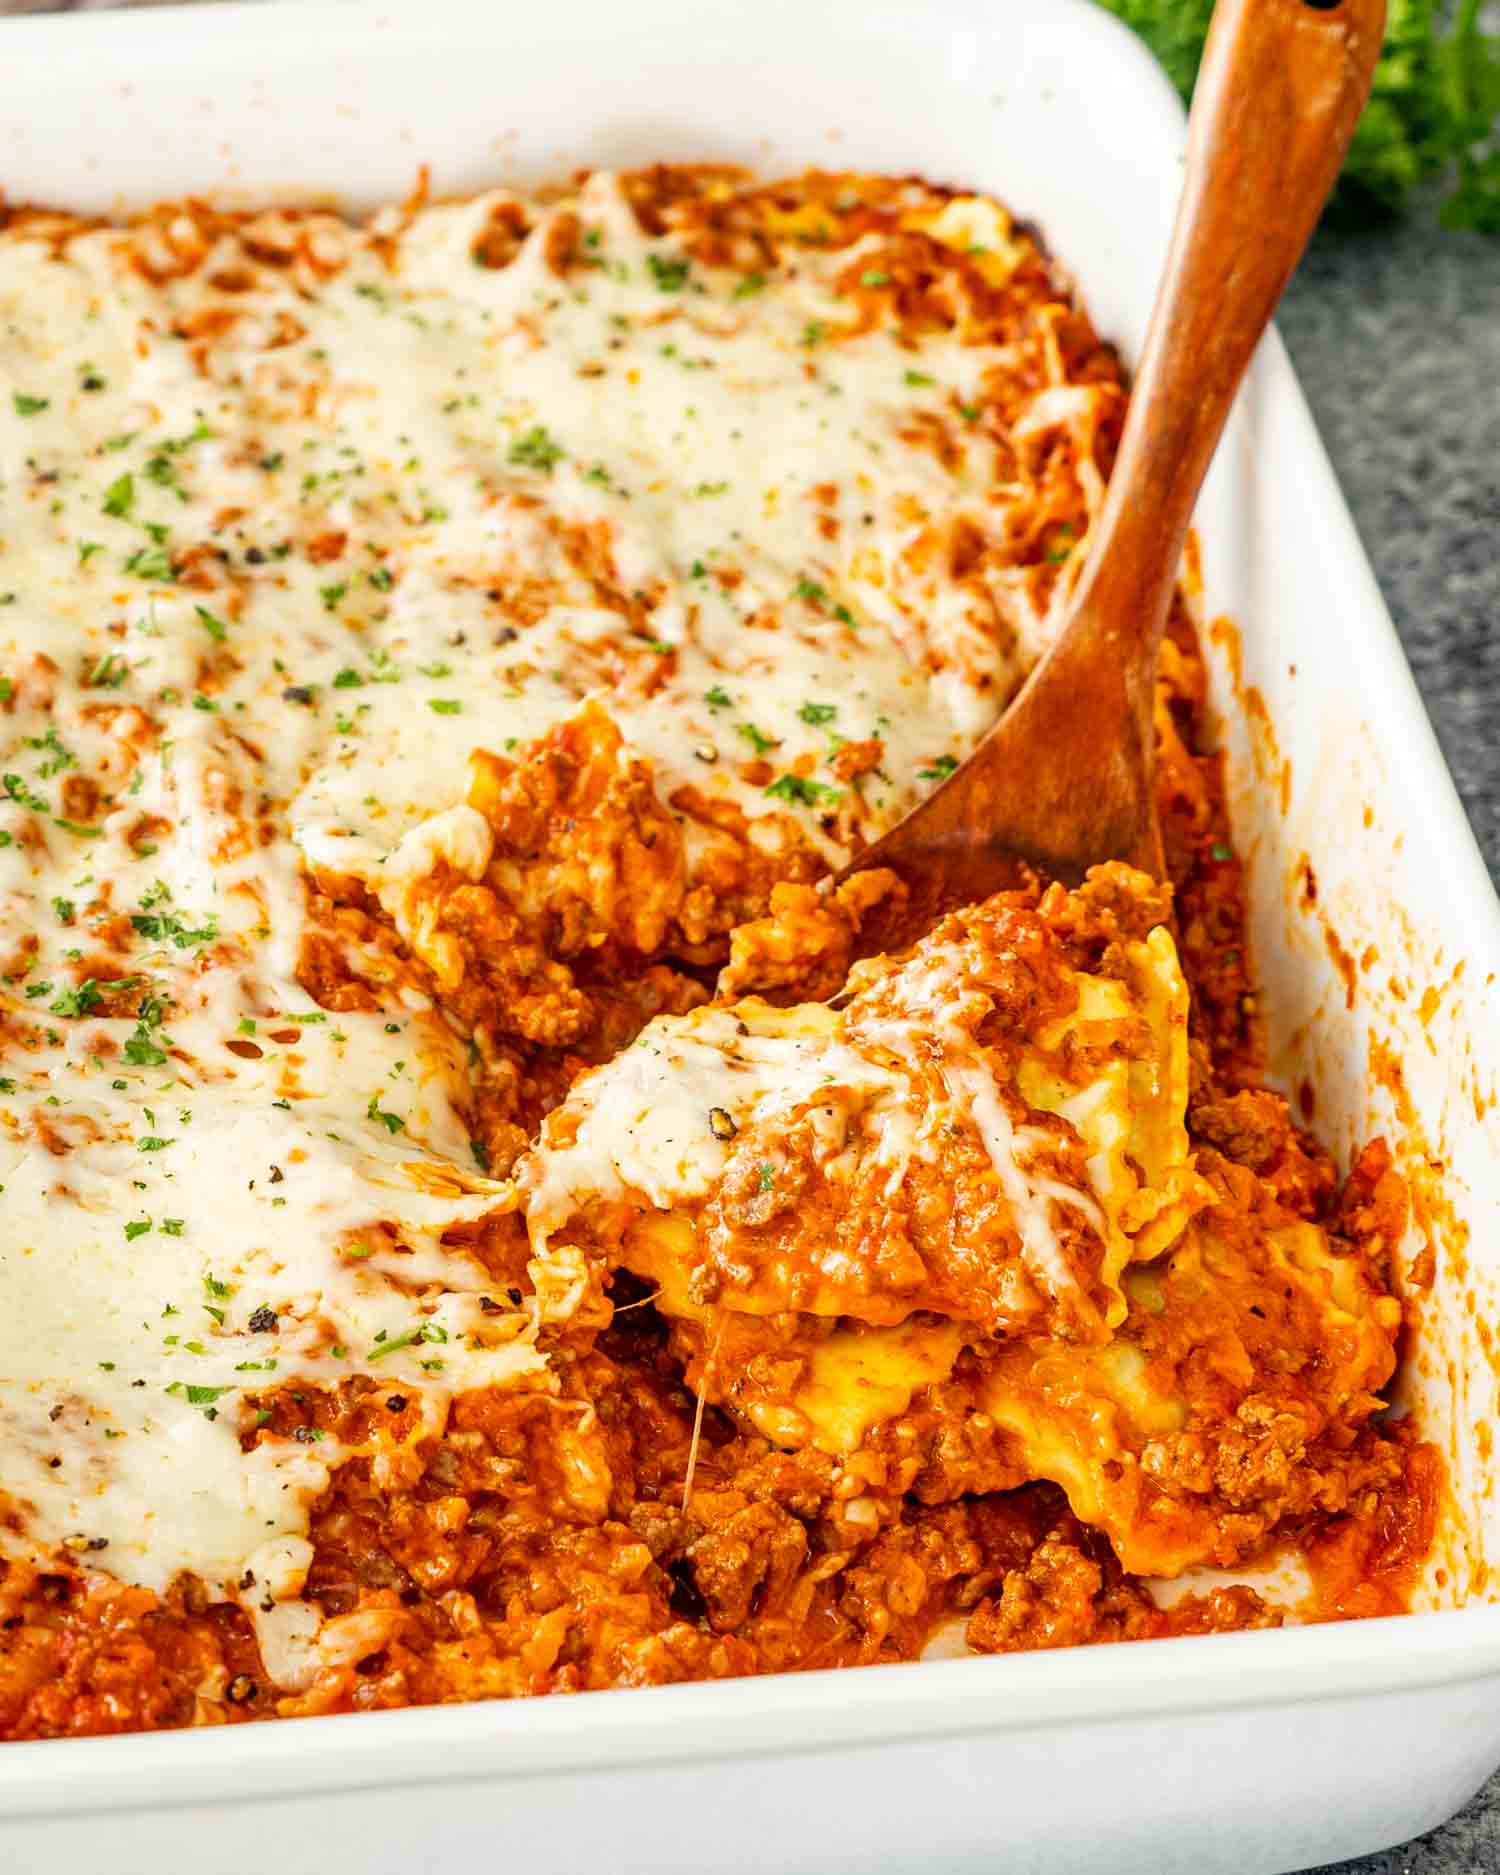

Baked Ravioli (The “Lazy Lasagna” Method)
This is my ultimate “Emergency Casserole.” It has all the soul soothing glory of a 4 hour lasagna with the bubbly cheese and rich meat sauce we all crave, but it comes together in about 30 minutes.
The real secret to a perfect bake is what I call a Hybrid Pink Sauce. Most recipes tell you to just dump a jar of marinara over the pasta and hope for the best. The problem is that frozen ravioli needs a specific kind of moisture to cook properly without becoming watery.
By stirring a splash of heavy cream into your meat sauce, you create a protective layer of fat. This fat coats the ravioli and lets it poach perfectly in the oven. It keeps the pasta plump and prevents the sauce from separating. You get all the comfort of a slow cooked meal with a fraction of the dishes and zero percent of the stress.
Why You’ll Love This Baked Ravioli
If you have ever made a pasta bake only to end up with a puddle of red water at the bottom of the dish, you are in the right place. We are not doing that today.
- No Boiling Required: Most people think you have to boil the ravioli first. Those people are wrong. We are poaching the pasta directly in the sauce. It is the only way to get that perfect “al dente” bite without the ravioli falling apart.
- That Pink Sauce: A jar of marinara on its own is a bit “meh.” We are adding a splash of heavy cream to create a rich, silky sauce that actually clings to the pasta instead of sliding off.
- Zero Effort Lasagna: This is essentially a lasagna for people who have a life. You get the beef, the sauce, and the layers of cheese, but you skip the 2-hour prep time.
- The “Fridge Foraging” Special: This is incredibly forgiving. If you have a bag of frozen cheese ravioli, great. Spinach and ricotta? Even better. Use whatever is hiding in the back of your freezer.
The Bottom Line: It is fast, it is cheesy, and it is a guaranteed win for anyone who is too tired to actually “cook: but still wants a meal that tastes like they did.
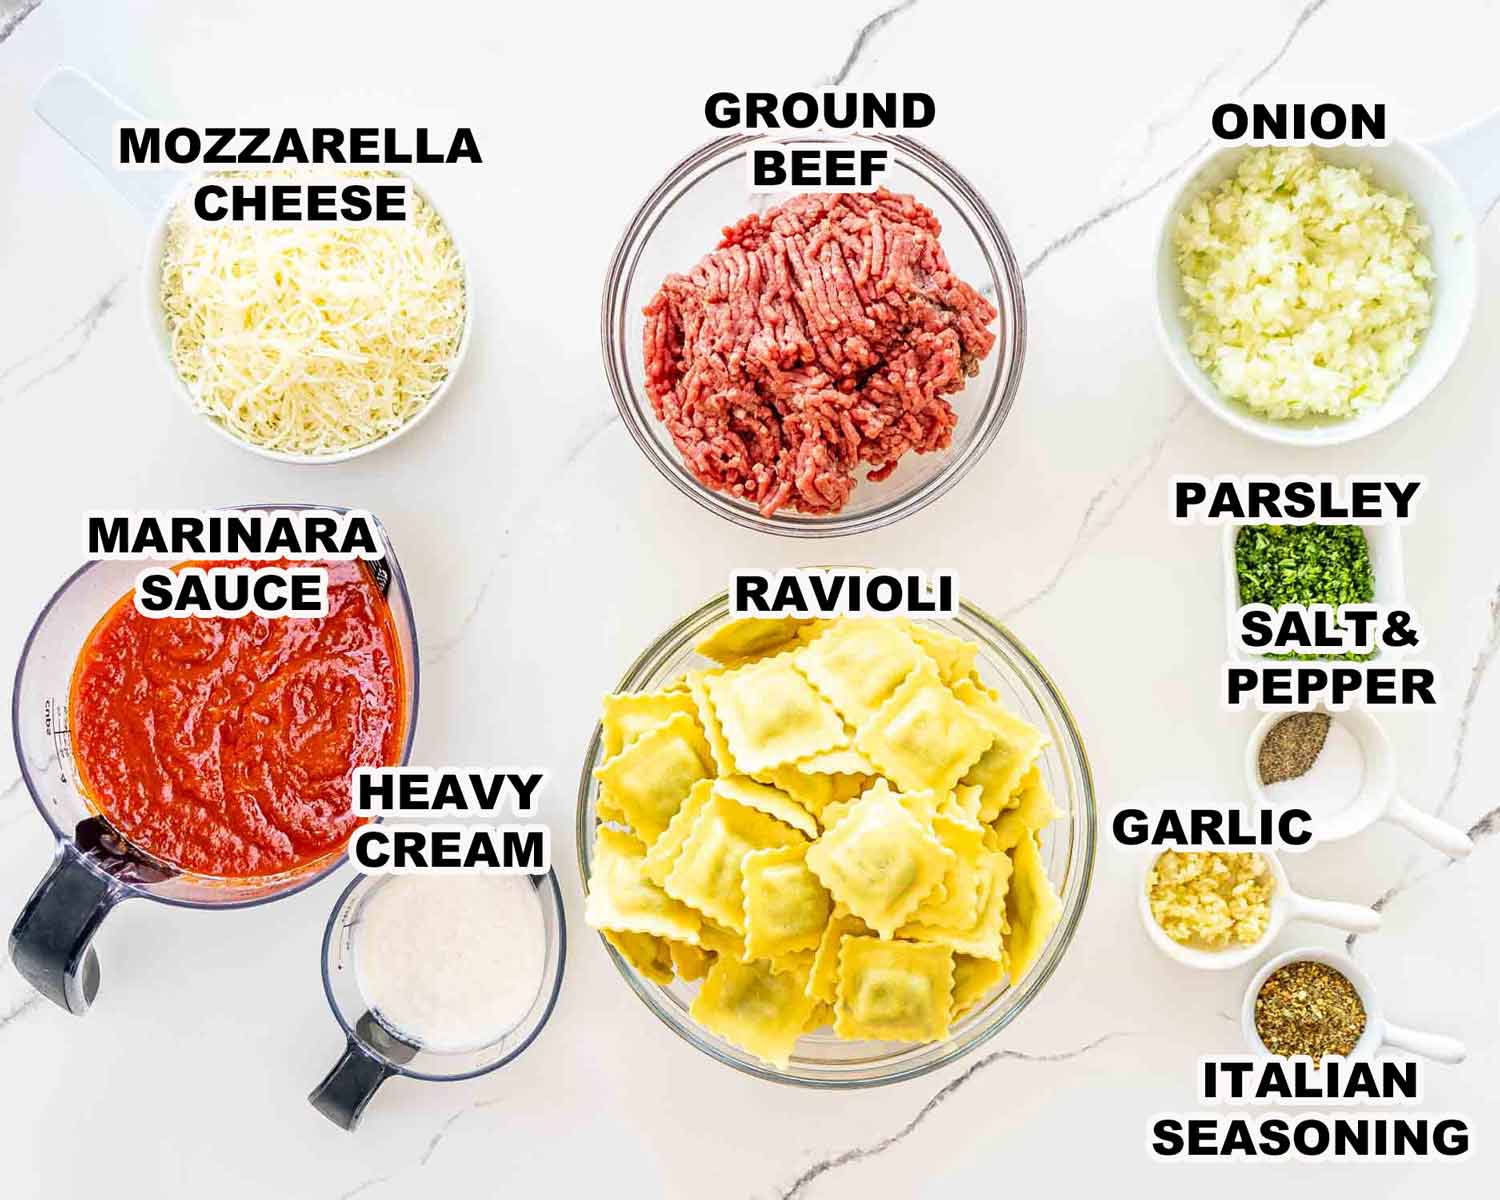
Key Ingredients & Tips
- Frozen Ravioli: You do not need the expensive “fresh” stuff from the refrigerated aisle for this. In fact, frozen ravioli is actually better here because it holds its shape during the long bake. I usually go with cheese or spinach and ricotta.
- Extra Lean Ground Beef: Since we are layering this in a casserole, you do not want a pool of grease sitting on top of your pasta. Use extra lean beef. If you only have higher fat beef, make sure you drain it thoroughly after browning or your cheese layer will just slide right off.
- The “Pink” Sauce Secret: We are combining a standard 24 ounce jar of marinara with half a cup of heavy cream. This isn’t just for flavor. The fat in the cream keeps the sauce from breaking down and getting watery while the pasta poaches in the oven.
- Freshly Shredded Mozzarella: Please put down the bag of pre-shredded cheese. It is coated in potato starch to keep it from clumping, which means it will never melt into that glorious, stretchy blanket we want. Buy a block and shred it yourself. Your 30-second workout will be rewarded with a much better melt.
- Italian Seasoning: If your jar has been sitting in the pantry since the last leap year, toss it. Freshly dried herbs make a massive difference in a quick sauce like this.
- Jo’s Pro Tip: When you are assembling this, always start with a thin layer of sauce on the very bottom of the dish before you add the first layer of ravioli. This acts as a heat buffer and prevents the bottom layer of pasta from sticking to the glass or getting crunchy.
This isn’t rocket science, but there is a method to the madness. Follow these steps and I promise you will never go back to boiling your pasta again.
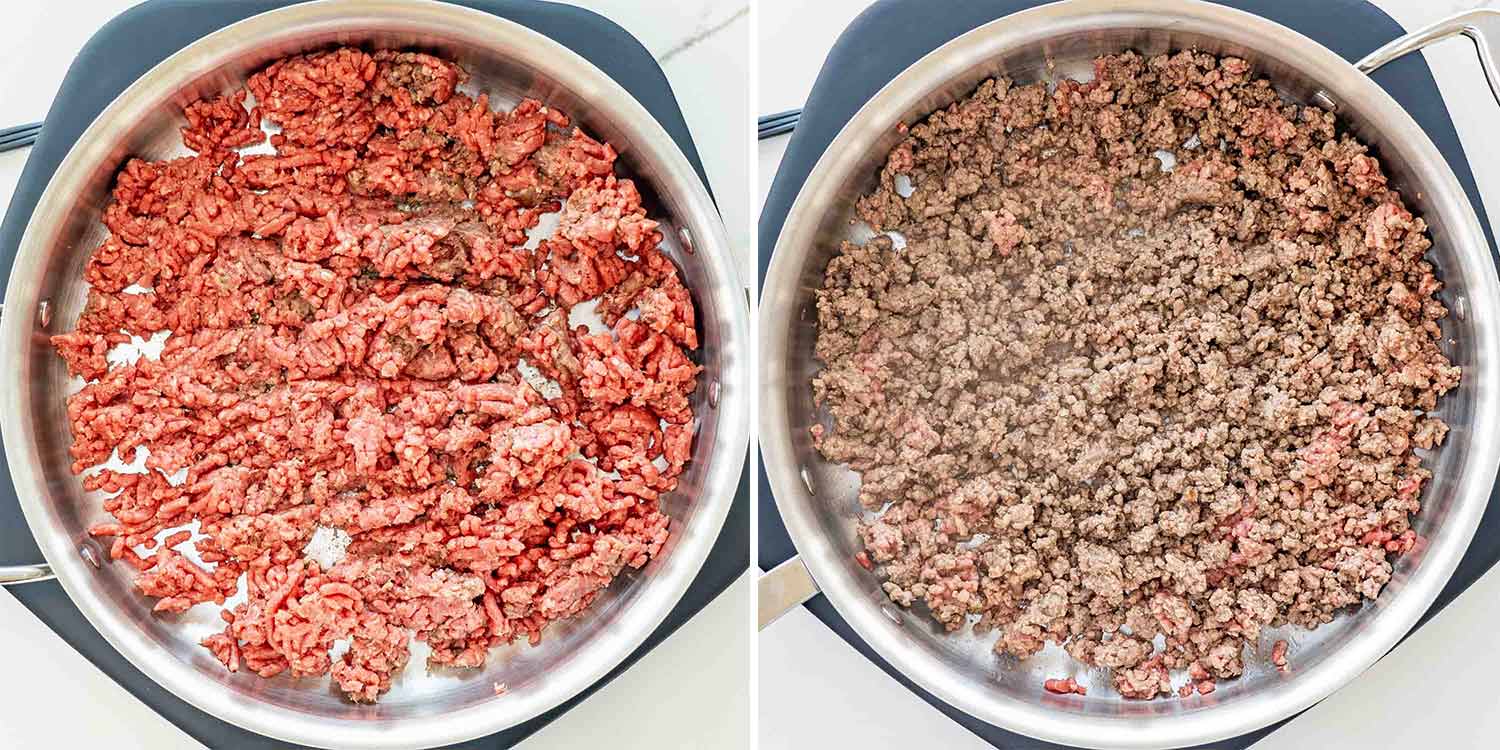
Start by browning your ground beef in a large skillet. You want to get some actual color on the meat because that is where the flavor lives. Season it generously with salt, pepper, and that Italian seasoning. If you see a lot of liquid pooling in the pan, drain it. We want a rich sauce, not a greasy soup.
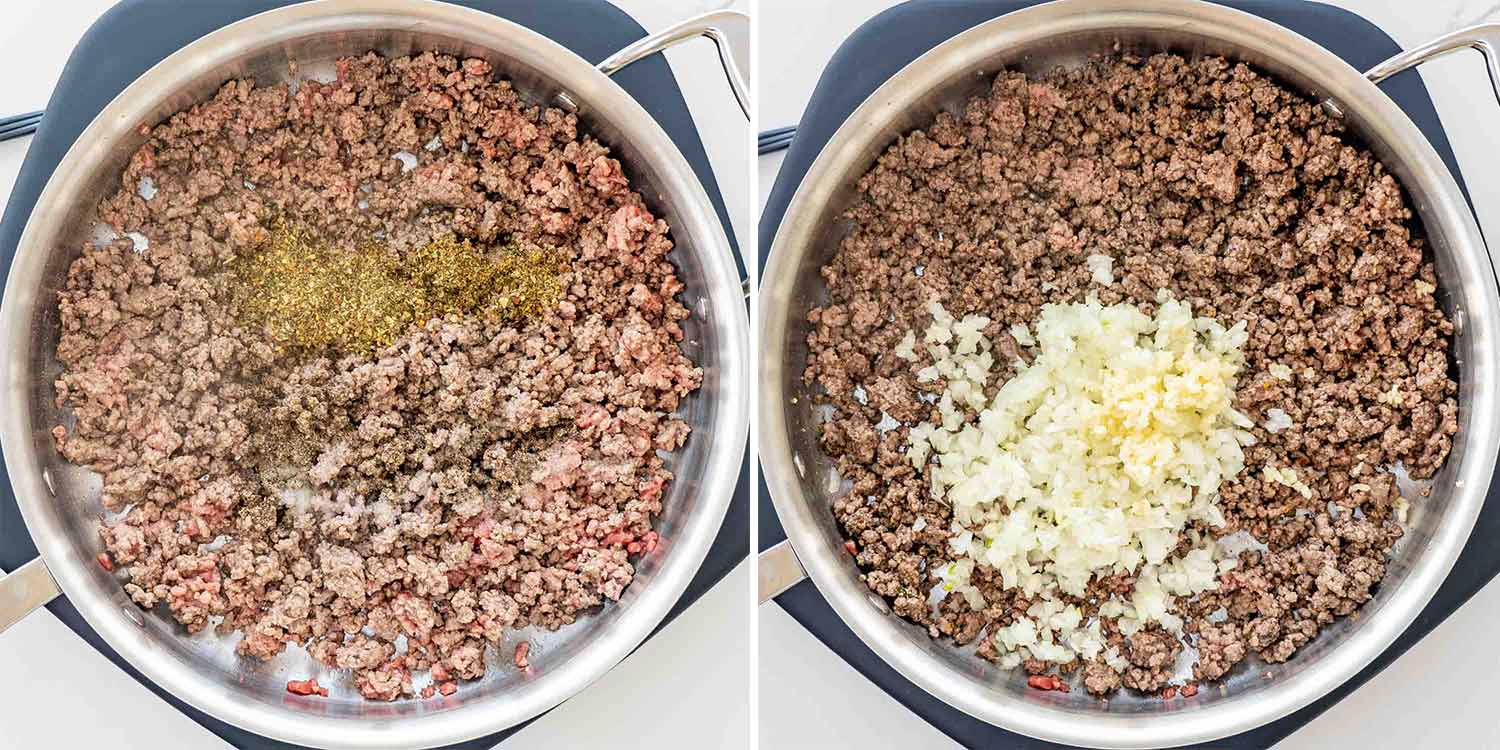
Once the beef is browned, toss in your onion and garlic. We are cooking them just until they are soft and fragrant. This takes about three to five minutes. Do not rush this part. Burnt garlic is a mood killer and raw onions have no business in a 15-minute prep meal.
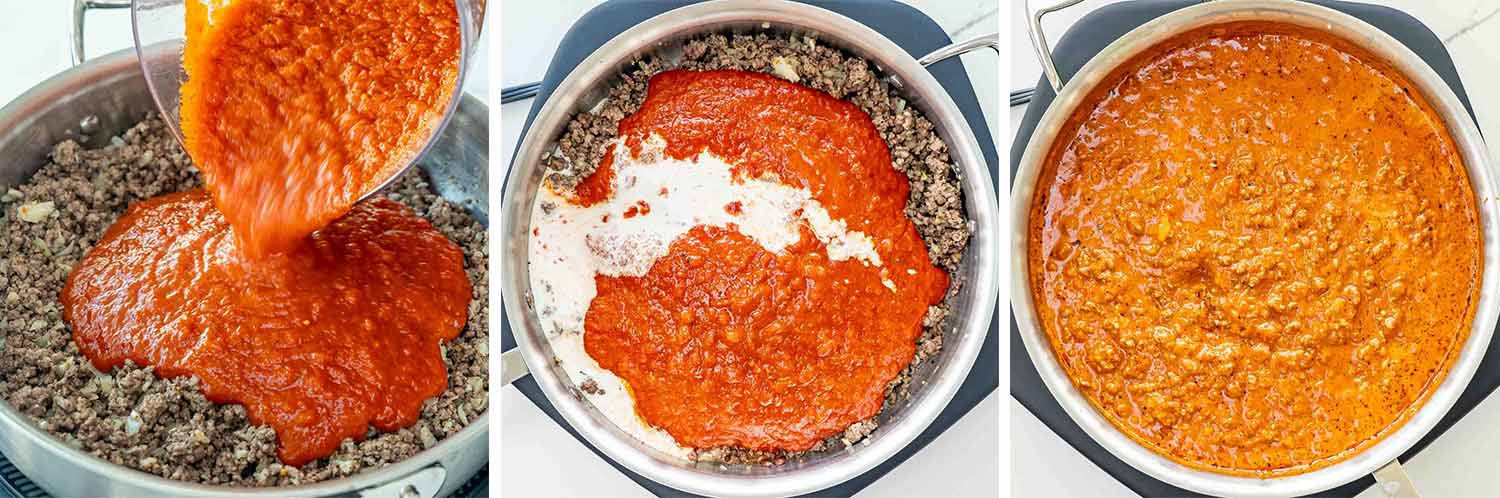
Now, pour in your marinara and that splash of heavy cream. Give it a good stir until it turns that beautiful, silky pink color. Let it simmer for about ten minutes. This allows the flavors to actually meet each other and get acquainted. It also ensures the sauce is piping hot when it hits the frozen ravioli, which is the key to a perfect “no-boil” bake.
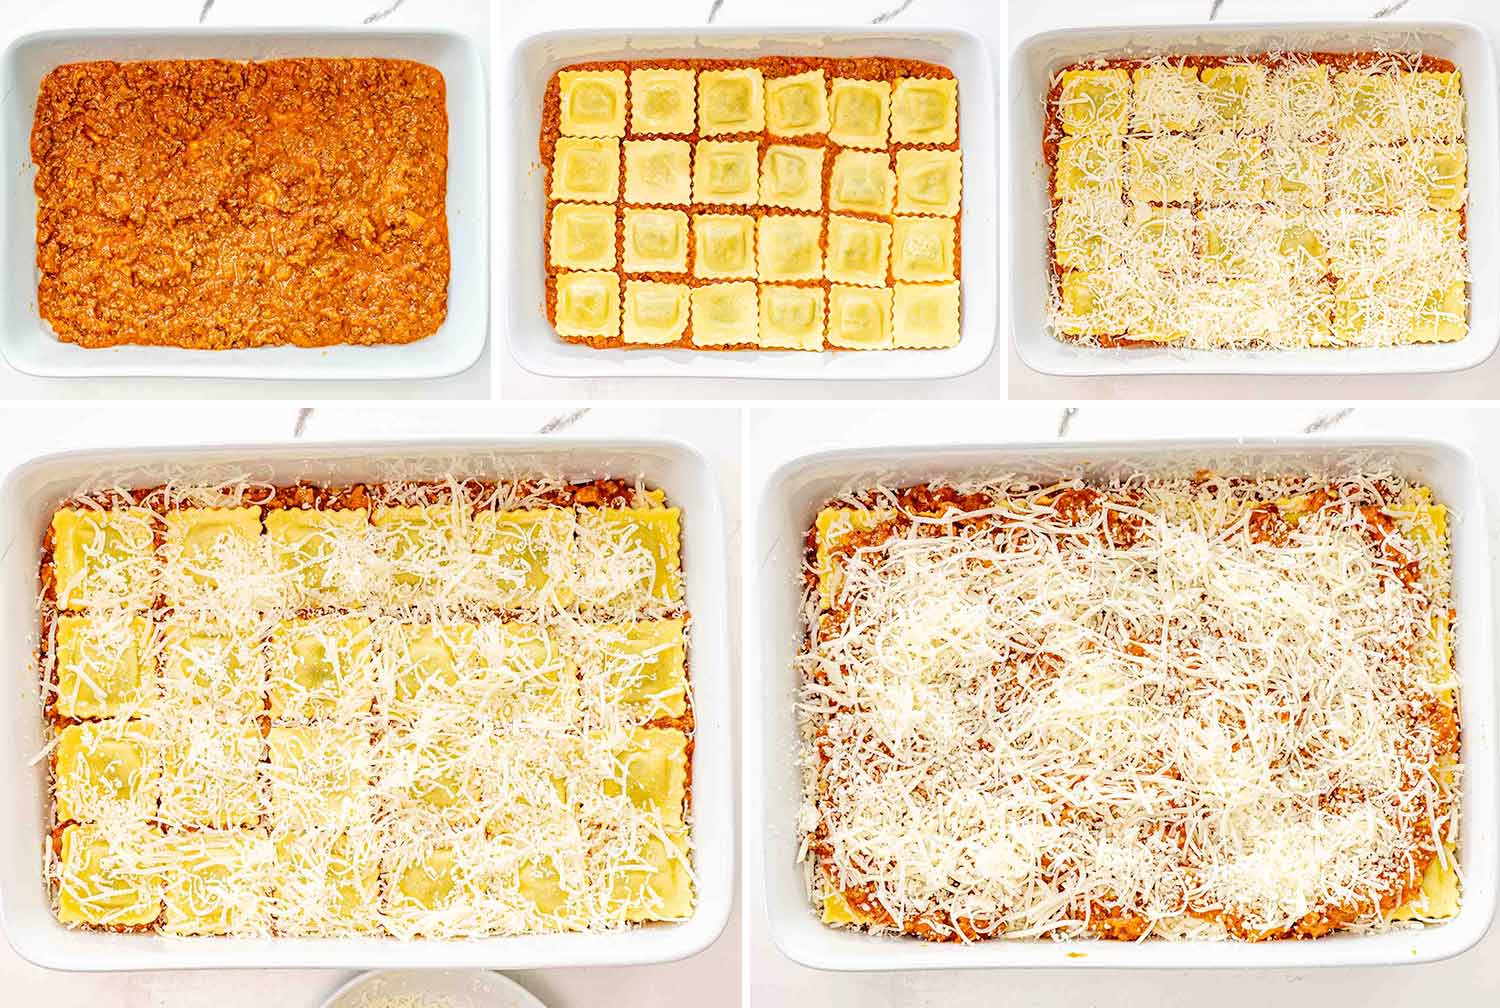
Grab your 9×13-inch baking dish and grease it with a little olive oil. Spread a thin layer of your meat sauce on the bottom first. This is your insurance policy against sticking.
Now, layer half of your frozen ravioli on top of the sauce. Sprinkle on a generous handful of that freshly shredded mozzarella. Repeat the layers until you run out of ingredients. I usually get two solid layers of ravioli out of this. End with a thick, unapologetic blanket of cheese on top.
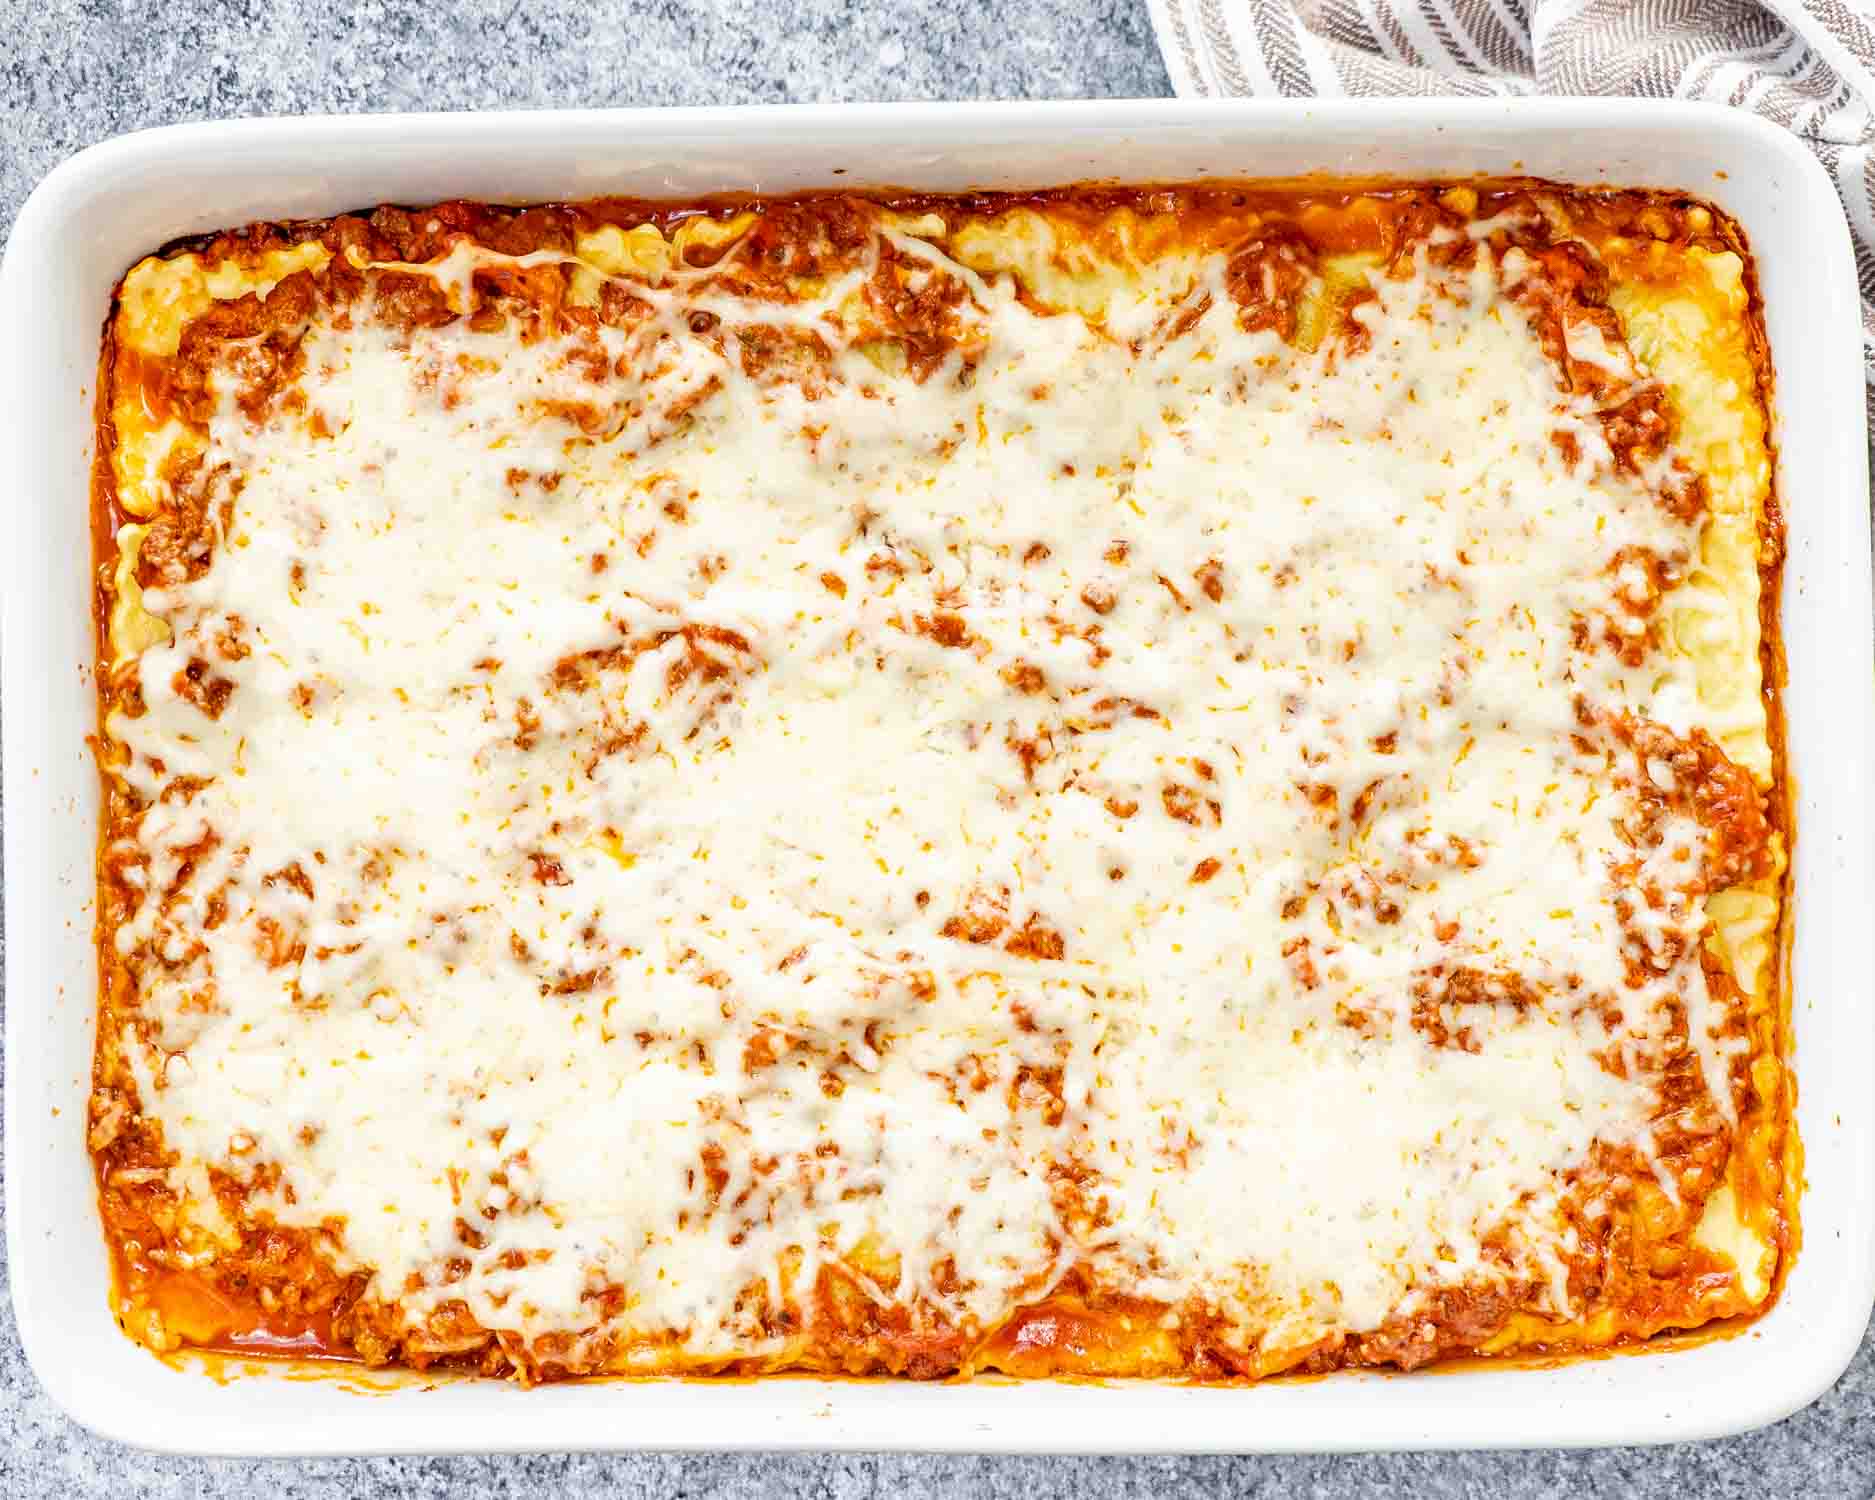
Cover the dish tightly with foil. This is crucial because the foil traps the steam that “poaches” the ravioli. Bake at 375°F (190°C) for 30 minutes.
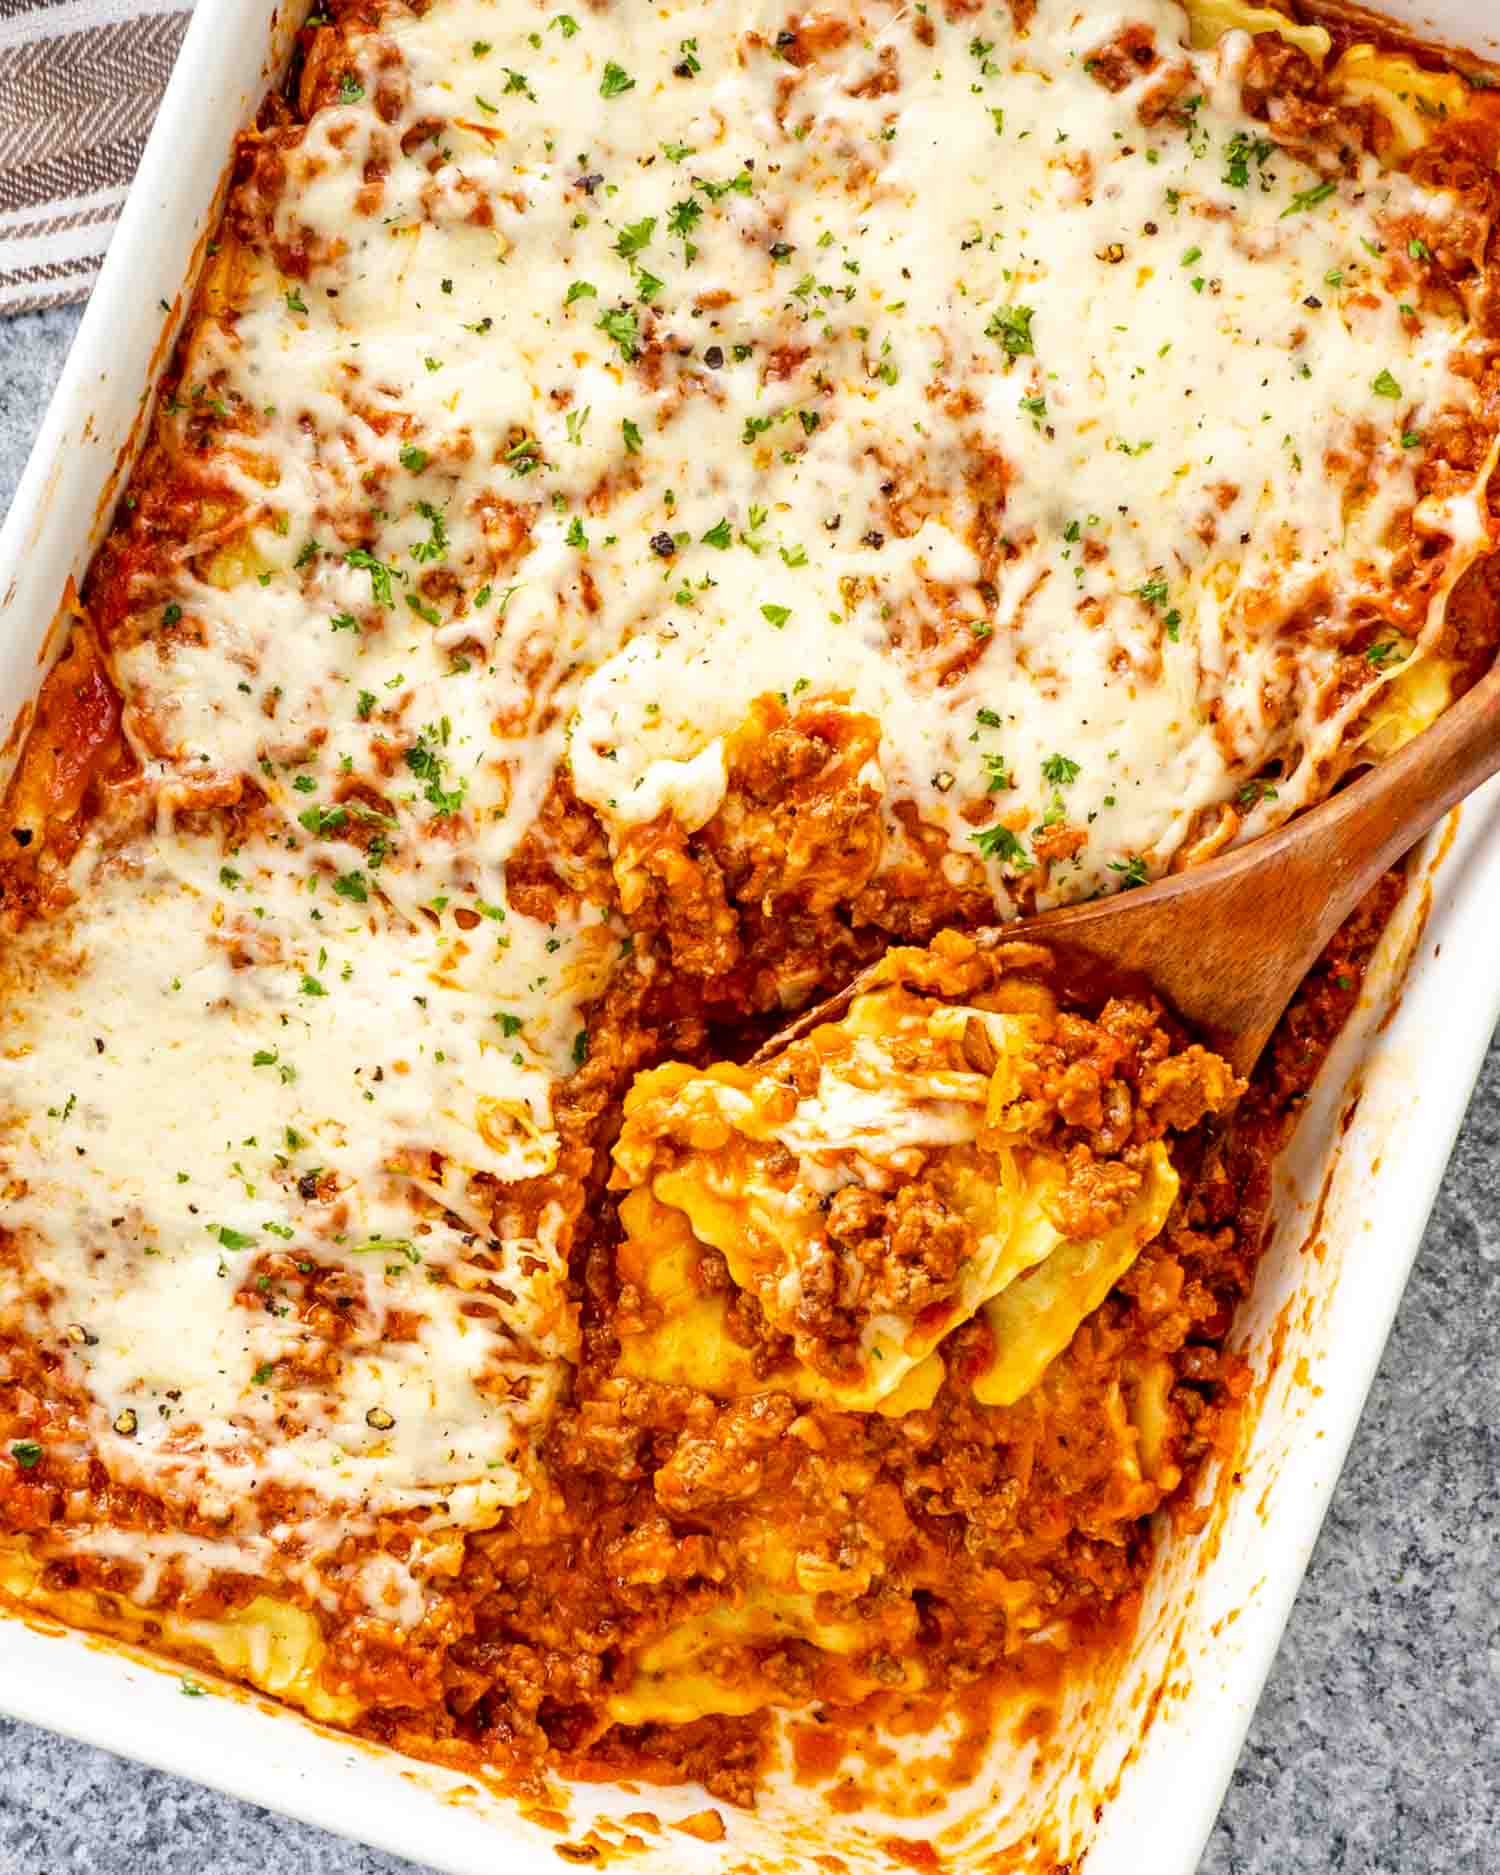
After 30 minutes, pull the foil off and bake for another 15 minutes. We want the cheese to be melted, bubbly, and starting to get those gorgeous golden-brown spots.
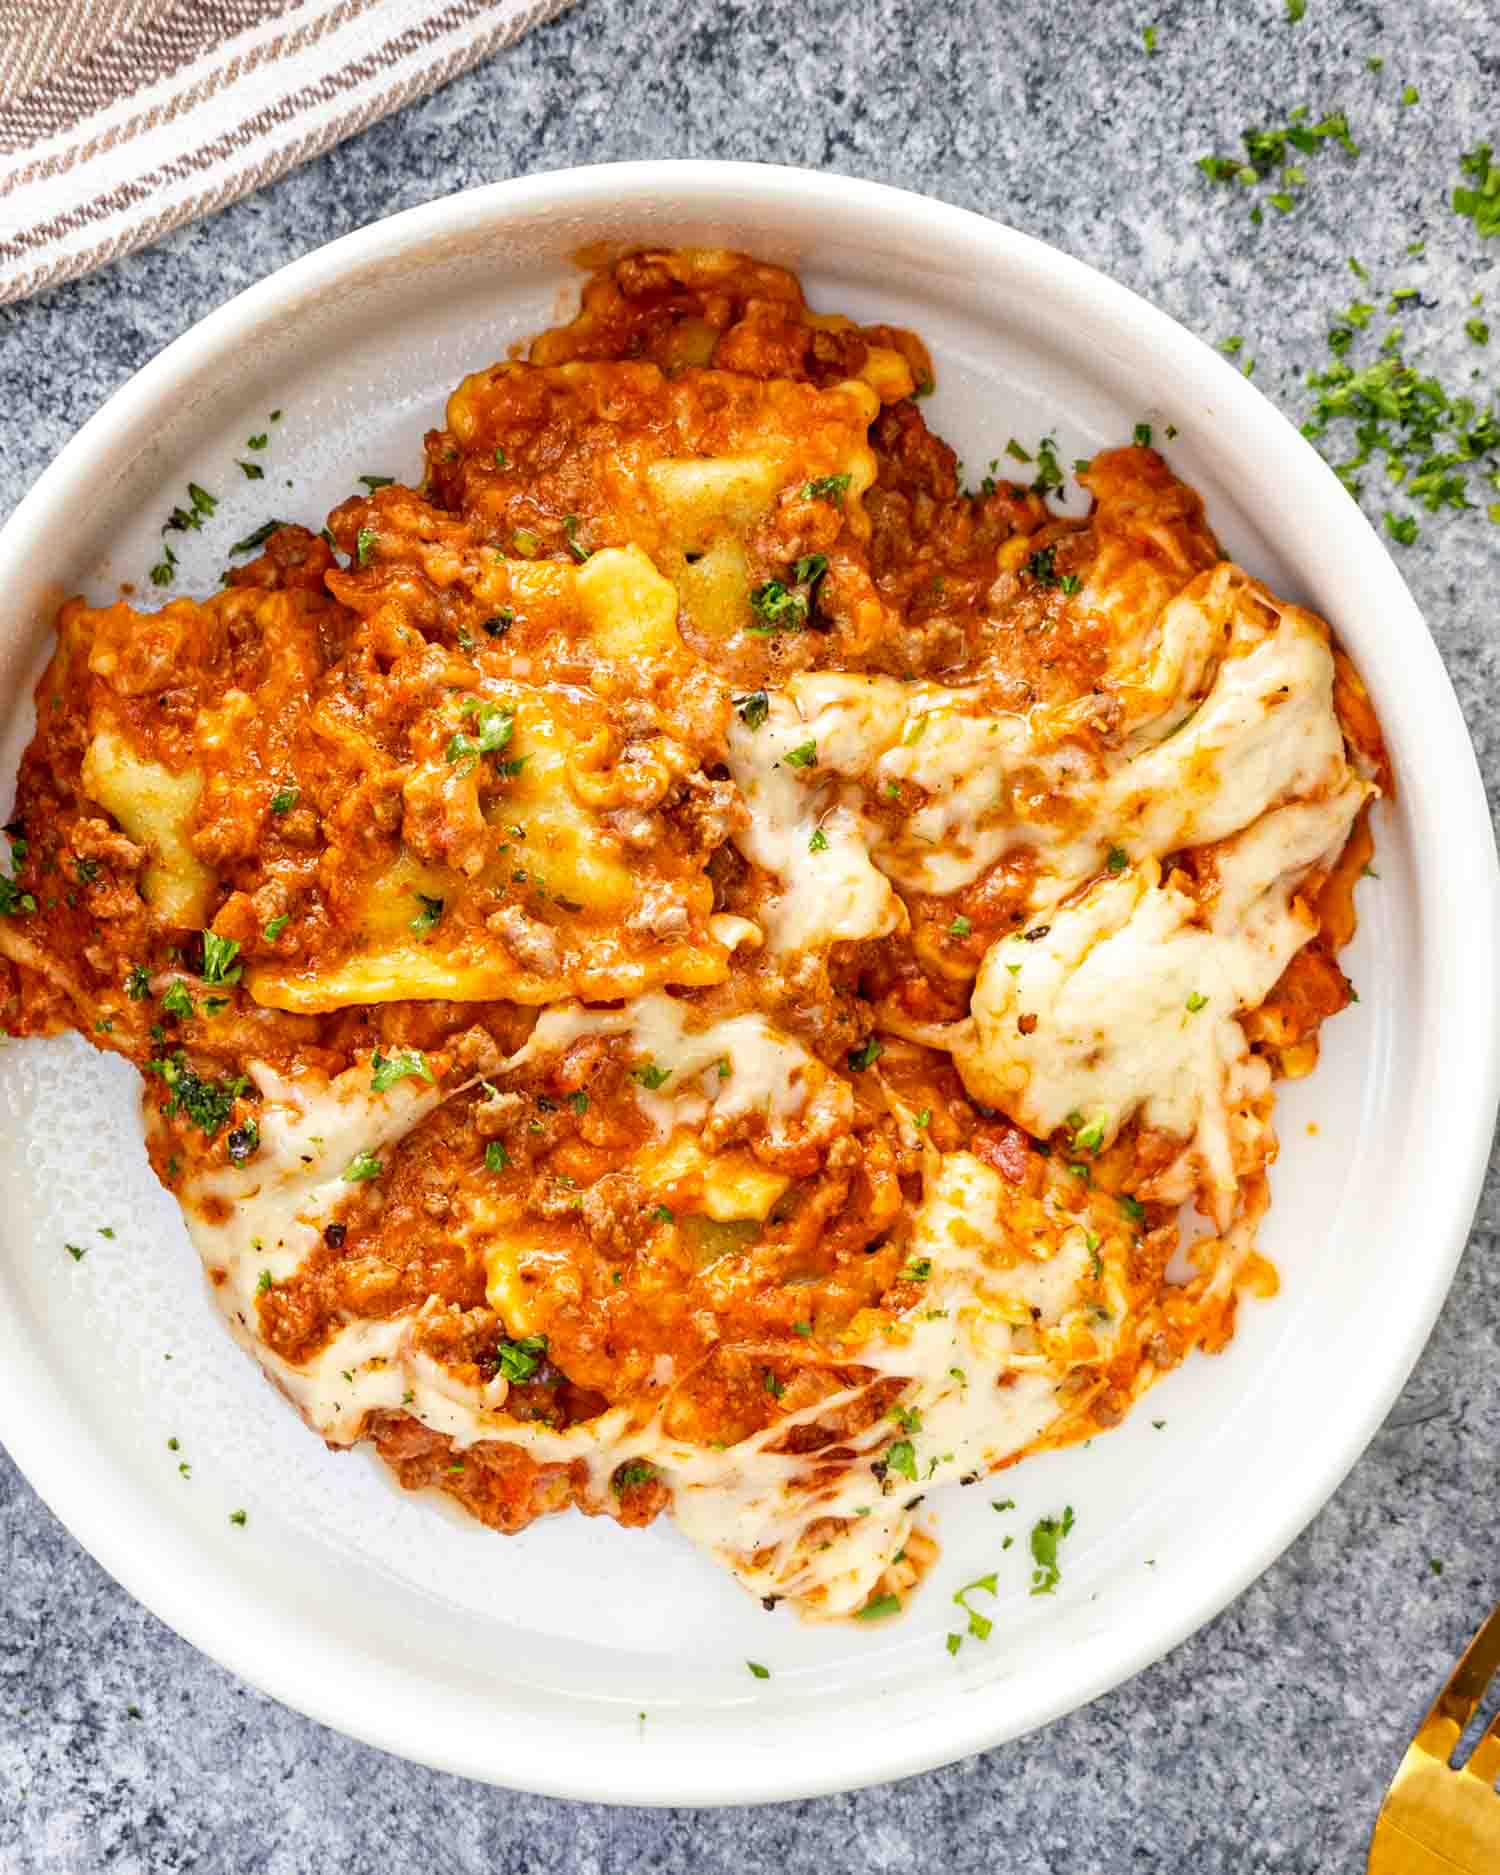
I know it smells incredible, but you must let it rest for five to ten minutes before you dive in. This gives the sauce a chance to set so you get clean slices instead of a ravioli landslide. Garnish with some fresh parsley or basil for a pop of color, and you are ready to serve.
Which Ravioli is Best for Baking?
After testing this with every bag in the freezer aisle, I have a few strong opinions. For this specific bake, frozen ravioli is the undisputed champion. It is sturdier than the “fresh” refrigerated kind, which means it can handle a 45-minute stint in the oven without falling apart.
In terms of fillings, cheese or spinach and ricotta are my go-to choices because they pair perfectly with the creamy meat sauce. If you want to use meat-filled ravioli, just keep in mind the dish will be very heavy. No matter what you choose, make sure the ravioli are completely frozen when they hit the pan. Do not thaw them first or you will end up with a soggy mess.
How Long To Bake Ravioli (Covered vs Uncovered)
Timing is everything when you are dealing with frozen pasta and melted cheese. I have tested this every which way, and the 30/15 rule is the gold standard for a 9×13-inch dish.
- The Covered Phase (30 Minutes): We keep the dish tightly covered with foil for the first 30 minutes. This creates a steam chamber. Without the foil, the top layer of ravioli would dry out and become crunchy before the middle is even thawed.
- The Uncovered Phase (15 Minutes): This is where the magic happens. We remove the foil to let the excess moisture evaporate and to give the mozzarella that perfect, golden brown crust.
If you are doubling the recipe or using a deeper dish, you might need to add ten minutes to the covered phase. Just poke a fork into the center; if it goes through the pasta like butter, you are ready to uncover and brown.
How To Serve
When it comes to serving up this delectable Baked Ravioli, the possibilities are endless! Here are some mouthwatering recipe ideas to complement this dish:
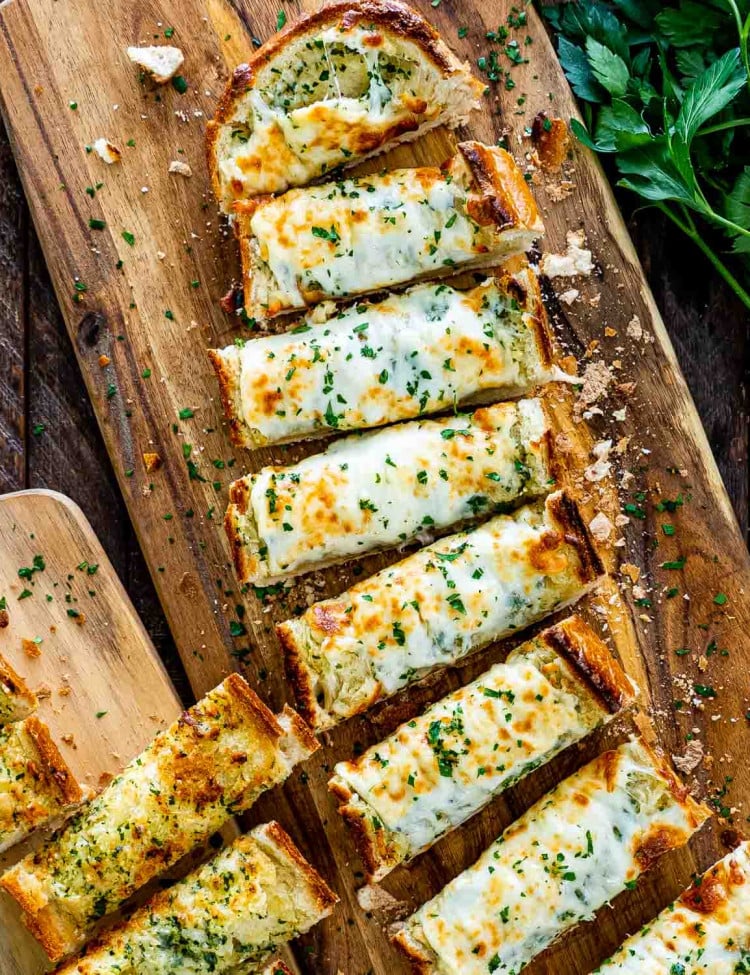
Easy Garlic Bread
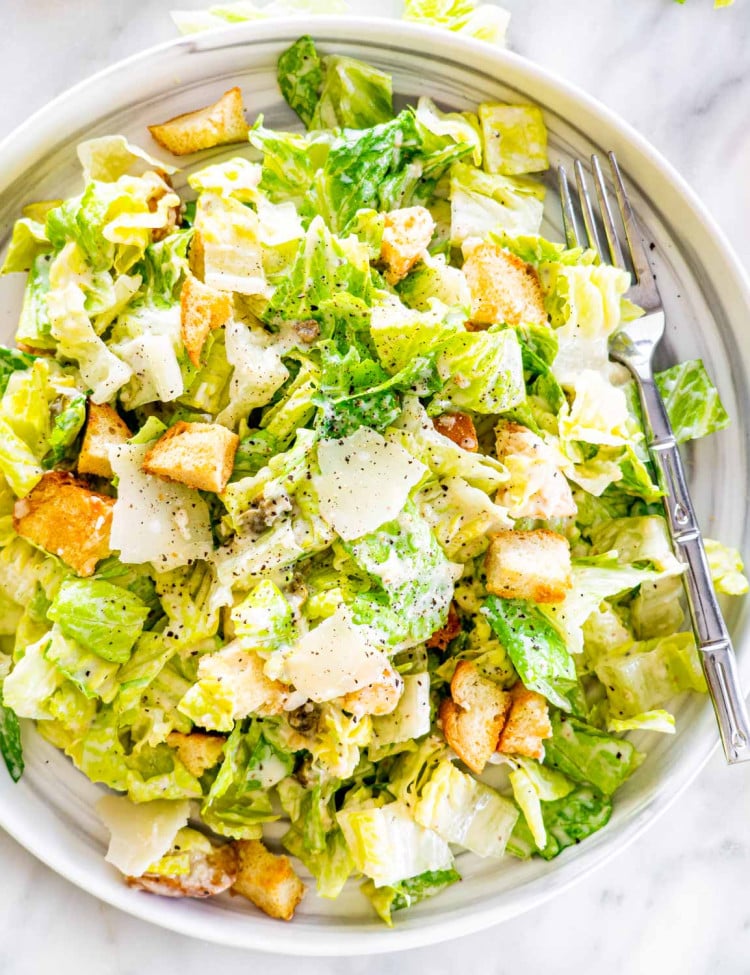
Caesar Salad Recipe
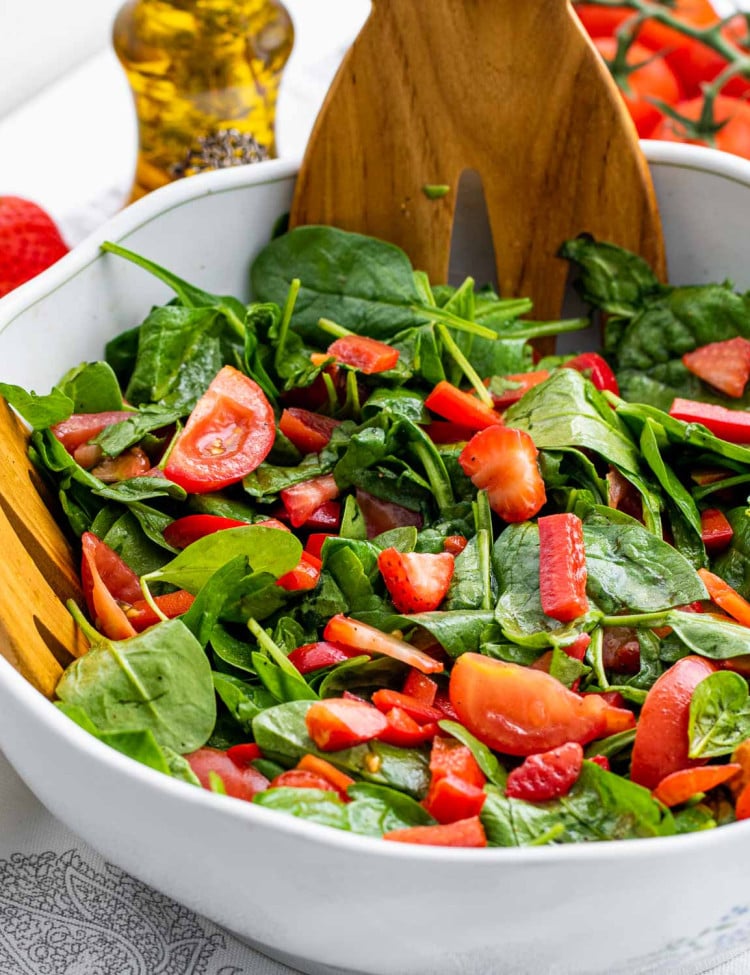
Strawberry Spinach Salad
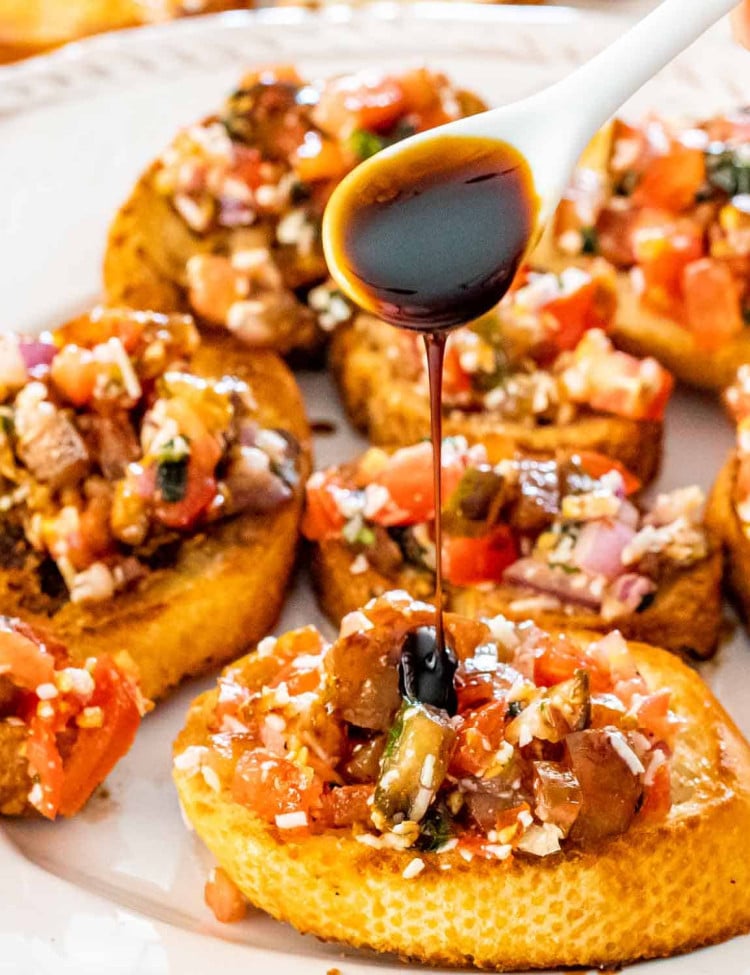
Easy Bruschetta Recipe
I have spent enough time in the kitchen to know that recipes are usually just a suggestion. This Baked Ravioli is incredibly forgiving, so feel free to raid your pantry and make it your own.
Variations and Substitutions
- Swap the Protein: If you are not a fan of beef, ground turkey or chicken works perfectly here. Just remember that poultry is leaner and has less flavor, so you might want to add an extra pinch of salt or a splash of Worcestershire sauce. For a real flavor boost, try using mild or spicy Italian sausage instead.
- Make it Vegetarian: You can easily skip the meat altogether. To keep the sauce hearty, I recommend sautéing some finely chopped mushrooms or bell peppers with the onions. Just make sure you still use the heavy cream to maintain that silky texture.
- The “Green” Version: If you want to sneak some vegetables into your dinner, stir a few handfuls of fresh baby spinach into the hot sauce right before you start layering. The heat from the sauce will wilt the spinach perfectly as it bakes.
- Cheese Swaps: Mozzarella is the classic choice for that cheese pull, but a bit of sharp provolone or a sprinkle of freshly grated Parmesan on top adds a great salty kick. Just stay away from the pre-shredded stuff if you want that professional melt.
- Sauce Variations: You can always swap the marinara for a jar of vodka sauce or even a creamy Alfredo. If you go the Alfredo route, skip the heavy cream addition or the whole thing will be far too rich.
A Note on Gluten-Free: If you are using gluten-free frozen ravioli, keep a close eye on the bake time. In my experience, gluten-free pasta tends to go from “perfect” to “mush” much faster than standard wheat pasta. I recommend checking for doneness at the 25 minute mark during the covered phase.
Storing and Reheating
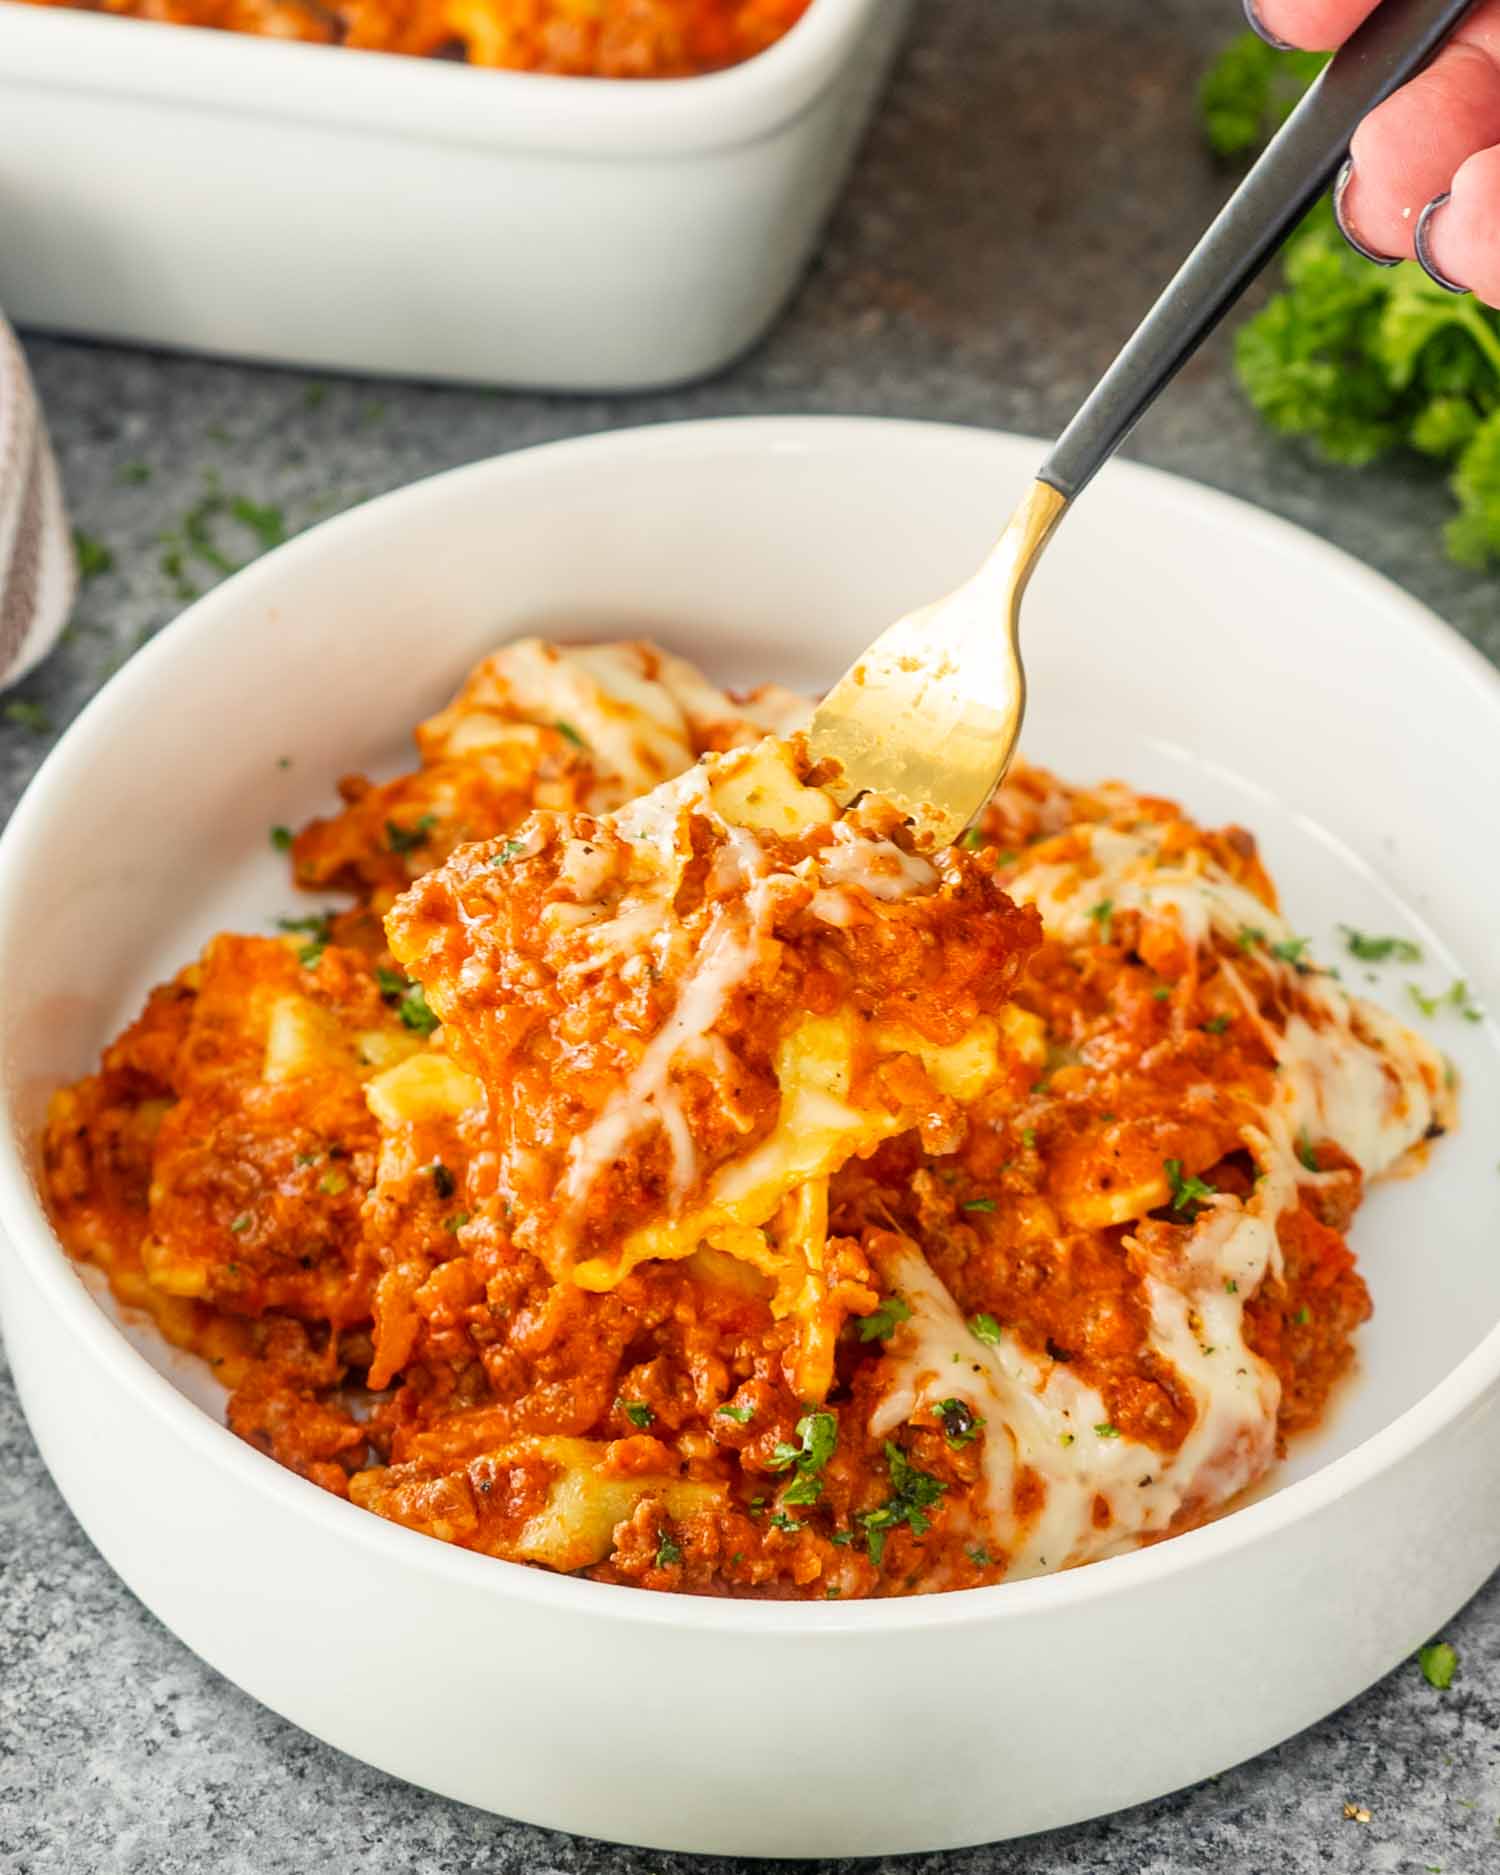
If you happen to have leftovers, you are in luck. This is one of those dishes that actually tastes better the next day after the flavors have had a chance to really settle.
- To Freeze: You can freeze the baked ravioli for up to 3 months. I recommend freezing individual portions in freezer safe bags. It makes for the perfect “emergency lunch” when you have zero time to cook.
- To Store: Let the casserole cool completely before transferring it to an airtight container. It will stay fresh in the refrigerator for up to 4 days.
- To Reheat: The microwave works fine for a quick lunch, but if you want to keep that cheese crust perfect, use the oven. Put a single portion in a small oven-safe dish, splash a tiny bit of water or extra sauce on top to keep it moist, and bake at 350°F until it is heated through.
Try These Delicious Pasta Recipes Next
- Creamy Ravioli
- One Pot Sausage Meatball Pasta
- Mushroom Boursin Pasta
- Instant Pot Spaghetti
- Toasted Ravioli
Before You Begin! If you make this, please leave a review and rating letting us know how you liked this recipe! This helps our business thrive & continue providing free recipes.

Baked Ravioli
Video
Ingredients
- 1 pound ground beef (extra lean)
- salt and pepper (to taste)
- 1 tablespoon Italian seasoning
- 1 small onion (finely chopped)
- 3 cloves garlic (minced)
- 24 ounces marinara sauce (1 jar)
- ½ cup heavy cream
- 1 pound frozen ravioli (beef or cheese)
- 2 cups mozzarella cheese (shredded)
- fresh parsley (chopped, for garnish)
Before You Begin! If you make this, please leave a review and rating letting us know how you liked this recipe! This helps our business thrive & continue providing free recipes.
Instructions
- Add the ground beef to a large skillet and brown over medium heat. Season with salt and pepper and Italian seasoning. Drain any excess grease, if needed.

- To the beef, add the chopped onion and garlic. Cook until the onion is soft and translucent.
- Stir in the marinara sauce and heavy cream to the beef mixture. Let it simmer for 10 minutes, until the sauce thickens slightly and the flavors are well combined.

- Preheat your oven to 375°F (190°C) and grease a 9×13-inch baking dish with olive oil.
- Spread a layer of the creamy beef sauce on the bottom of the dish. Arrange a layer of frozen ravioli on top. Sprinkle with a third of the mozzarella and Parmesan cheeses. Repeat the layers, ending with a final layer of sauce and cheese.

- Cover with foil and bake for 30 minutes. Uncover and bake for an additional 15 minutes, until the cheese is melted and bubbly.

- Let the dish rest for a few minutes after baking. Sprinkle with freshly chopped parsley before serving.


Equipment
Notes
- The Sauce Consistency: If your marinara sauce is naturally very thick, feel free to add a tablespoon or two of water along with the heavy cream. You want the sauce to be pourable so it can properly poach the frozen ravioli. If the sauce is too thick, the pasta won’t have enough moisture to soften.
- The “Doneness” Test: Every oven and every brand of frozen ravioli is slightly different. If you are unsure if it is done, use the fork test. Poke a fork into the center of the casserole. If it glides through the ravioli with zero resistance, the pasta is cooked. If it feels firm or “rubbery,” put the foil back on and bake for another five to ten minutes.
- Meat Substitutions: You can use Italian sausage, ground turkey, or even ground pork. If you choose a very lean meat like turkey, I recommend adding a splash of Worcestershire sauce or an extra half teaspoon of salt to the skillet to keep the flavor from falling flat.
- Cheese Matters: I know the pre-shredded cheese in the bag is tempting, but it is coated in cellulose to prevent clumping. This means it will never give you that gooey, professional cheese pull. Take two minutes to shred a block of mozzarella yourself. You will thank me later.
- Make Ahead Instructions: You can assemble this entire dish up to 24 hours in advance. Cover it tightly and keep it in the refrigerator. When you are ready to bake, you may need to add five to ten minutes to the “covered” portion of the bake time since you are starting with a cold dish and cold sauce.
- Storing and Freezing: This casserole freezes beautifully. Once it is baked and cooled, you can freeze individual portions in airtight containers for up to 3 months. To reheat, let it thaw in the fridge overnight and pop it in the oven at 350°F until the cheese is bubbly again.
Nutrition Information
Notice: Nutrition is auto-calculated for your convenience. Where relevant, we recommend using your own nutrition calculations.