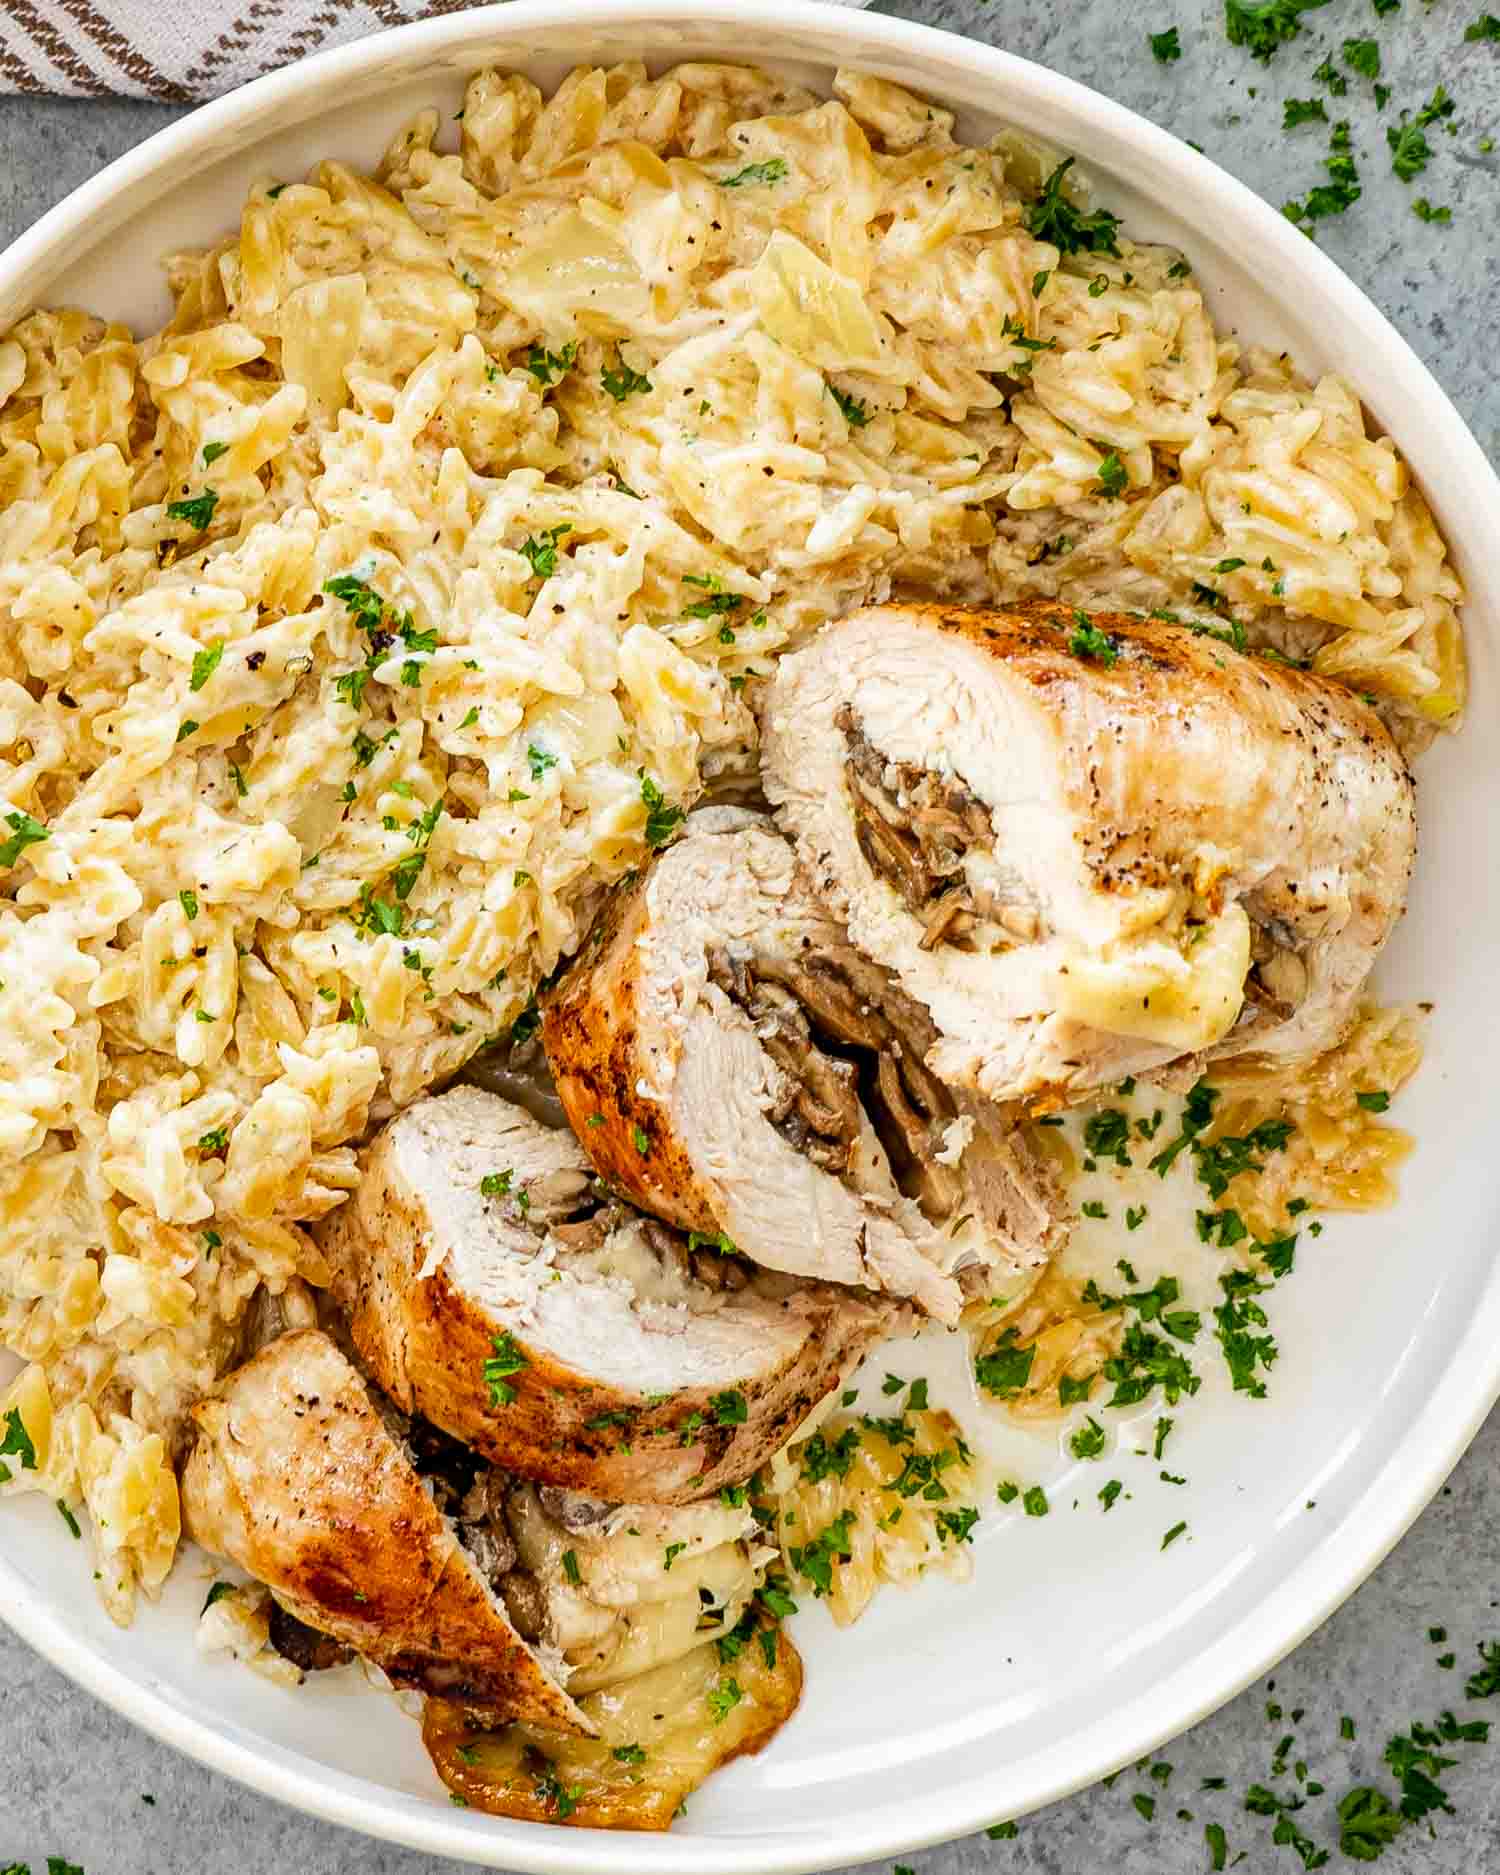
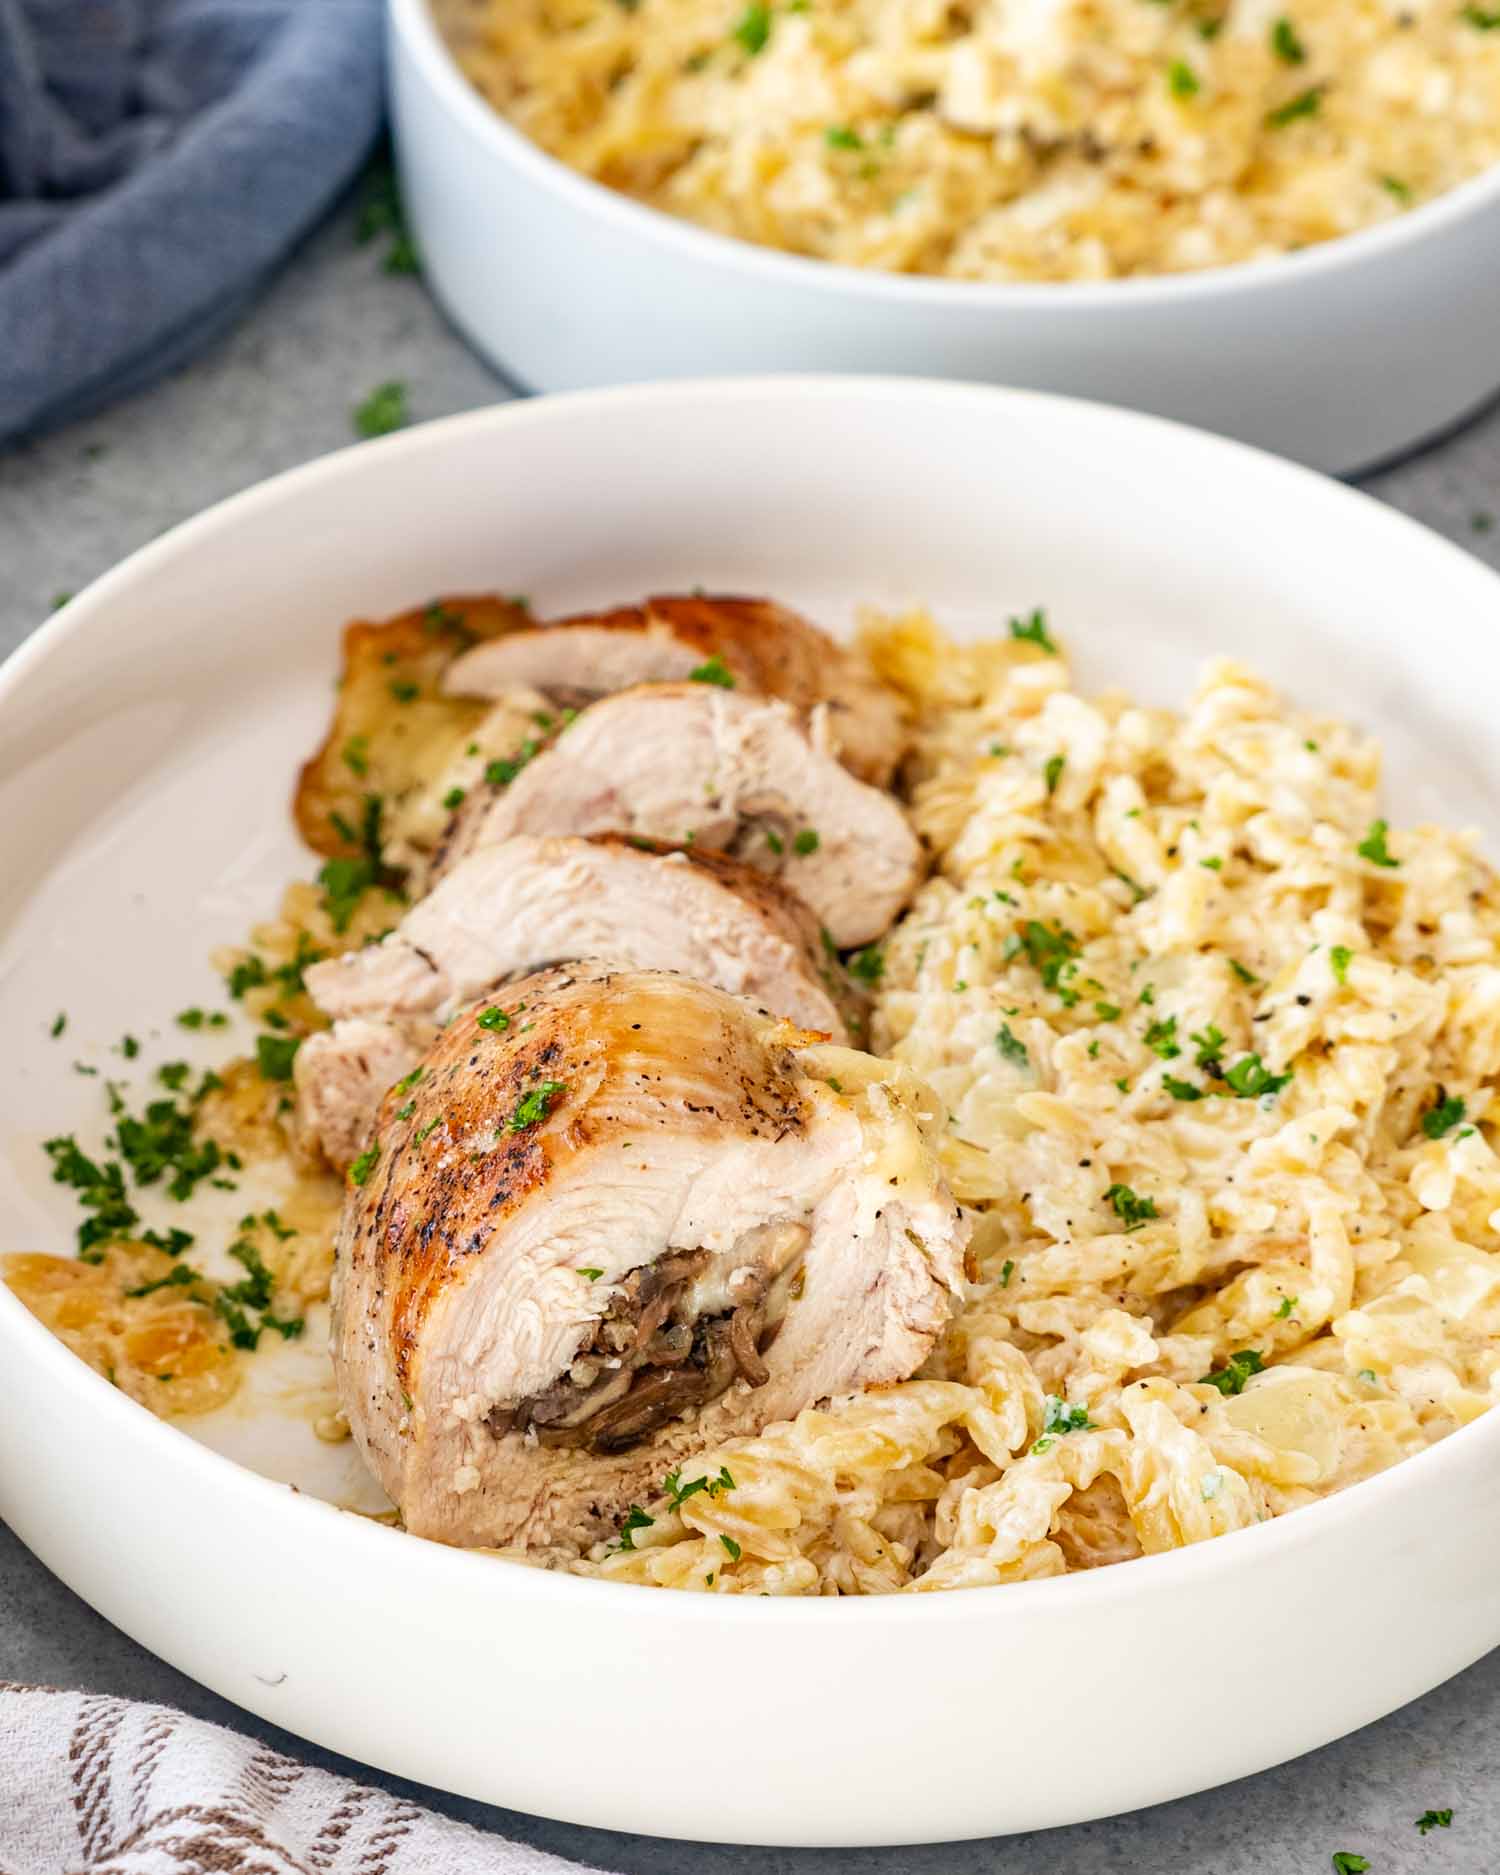
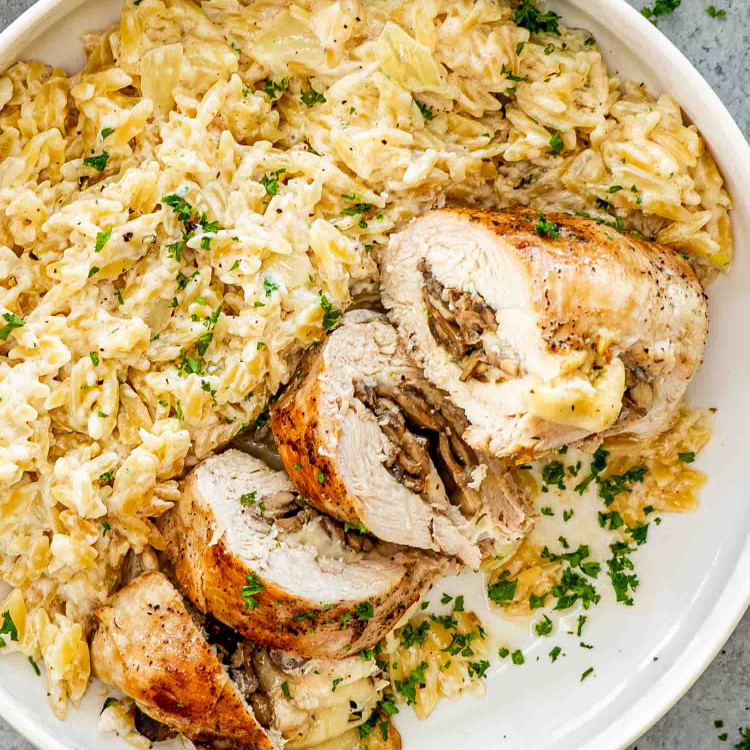
Mushroom Stuffed Chicken Breast
This post may contain affiliate links. Please read my disclosure policy.

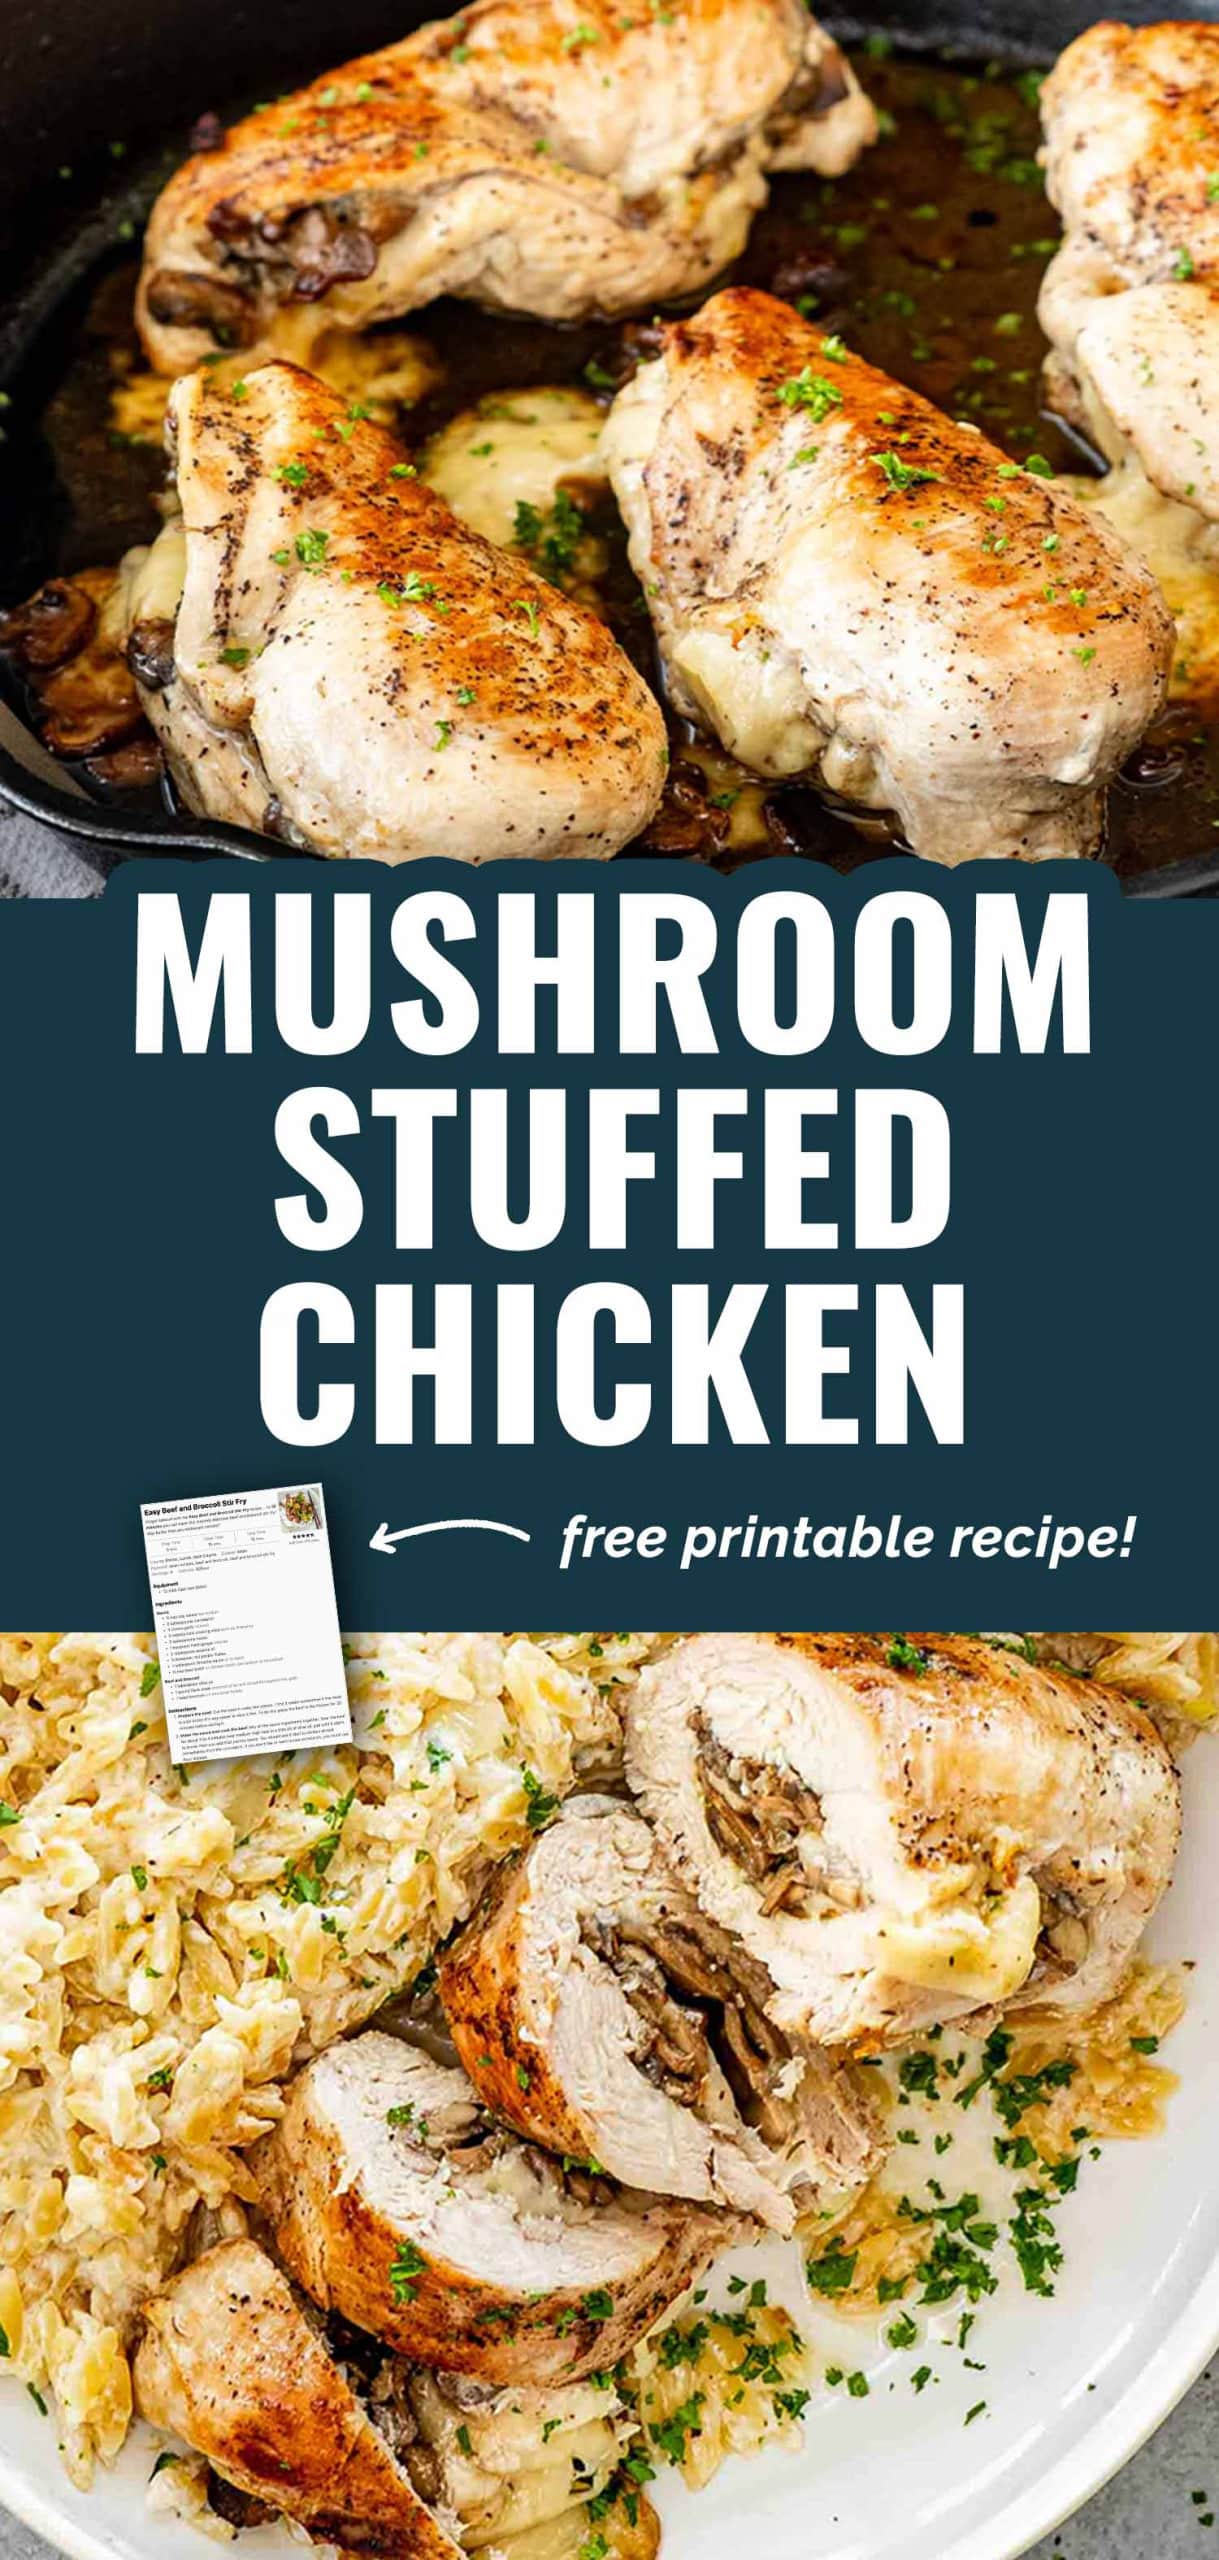
Forget those dry and boring chicken breasts that have been haunting your weeknight dinners. This Mushroom Stuffed Chicken Breast is a total game changer because I’m going to show you how to keep the filling inside the meat instead of all over your pan. It is juicy and cheesy and honestly tastes like you spent hours in the kitchen when you really just mastered one simple trick.

Mushroom Stuffed Chicken Breast
Let’s be honest: most stuffed chicken is a disaster waiting to happen. You usually end up with meat as dry as a desert and a sad pile of cheese that made a break for it the second things got hot in the oven. But we are putting an end to that nonsense right now with this Mushroom Stuffed Chicken Breast.
If you are looking for a bland or “virtuous” little salad substitute, you have wandered into the wrong neck of the woods. This chicken is unashamedly cheesy and packed with so much savory mushroom goodness that you might actually enjoy a weeknight for once. It is fancy enough to impress your mother in law but simple enough to throw together when your brain is completely fried.
Why You’ll Love My Mushroom Stuffed Chicken Breast
- Zero Soggy Filling: By cooking the mushrooms first, we ensure the filling is concentrated and flavorful rather than a watery mess inside the meat.
- Cheese Lockdown: I use a specific searing technique that helps seal the pocket so your Swiss cheese stays inside the chicken instead of escaping onto the pan.
- Gourmet Results: It looks like a fancy restaurant meal but uses basic staples you probably already have in your fridge and pantry.
- Actually Juicy: We skip the long bake times that turn chicken into leather and focus on a quick sear and a targeted finish in the oven.

Key Ingredients & Tips
- Look for large and thick breasts. You need enough “real estate” to cut a deep pocket without slicing through the other side.
- Mushrooms: Either cremini or white mushrooms will work.
- Swiss Cheese: This is the secret weapon because it has a high melting point. It gets gooey and delicious but does not turn into a liquid puddle as fast as mozzarella.
- Fresh Garlic: Please put away the jarred stuff for this recipe. Freshly minced garlic provides a sharp and aromatic punch that makes the mushrooms sing.
- Dried Thyme: It adds a subtle and earthy floral note. If you hate thyme, rosemary or oregano are perfectly fine backups.
- The Mushroom Dry Out: Do not crowd the pan when you cook the mushrooms. They need space to brown properly. If you pile them in, they will steam in their own juices and lose that meaty texture we want.
- Secure The Goods: I know you think you can skip the toothpicks, but you cannot. Think of them as tiny surgical stitches keeping your dinner together. Use two or three and weave them through the meat to seal that pocket tight.
- The Cold Cheese Trick: Use cold cheese slices straight from the fridge. This gives the chicken time to sear and start cooking before the cheese reaches its melting point and tries to escape.
- Trust The Thermometer: Stop cutting into your chicken to see if it is done. You are letting all the juice out. Use a meat thermometer and pull the chicken at 160°F. It will finish climbing to the safe zone while it rests.
- Give It A Rest: This is the most important step. If you cut into that chicken the second it leaves the pan, you will have a lake of juice on your plate and dry meat in your mouth. Five minutes of patience makes all the difference.
How To Cut A Perfect Pocket
- The Setup: Lay the chicken flat and press your palm firmly on top. This keeps the meat steady and your fingers safe.
- The Entry: Insert a sharp knife into the thickest side of the breast. Use a slow sawing motion to create a three inch opening.
- The Depth: Slice inward but stop a half inch before you hit the other side. You want a pocket for the filling, not two separate pieces of meat.
- The Space: Widen the inside of the cut slightly with the tip of your knife. This creates a roomy cave for the mushrooms and cheese without making the exterior hole too large.
Pro Tip: If you accidentally cut all the way through, just use a toothpick to “staple” the hole shut. It is a kitchen mistake, not a tragedy.
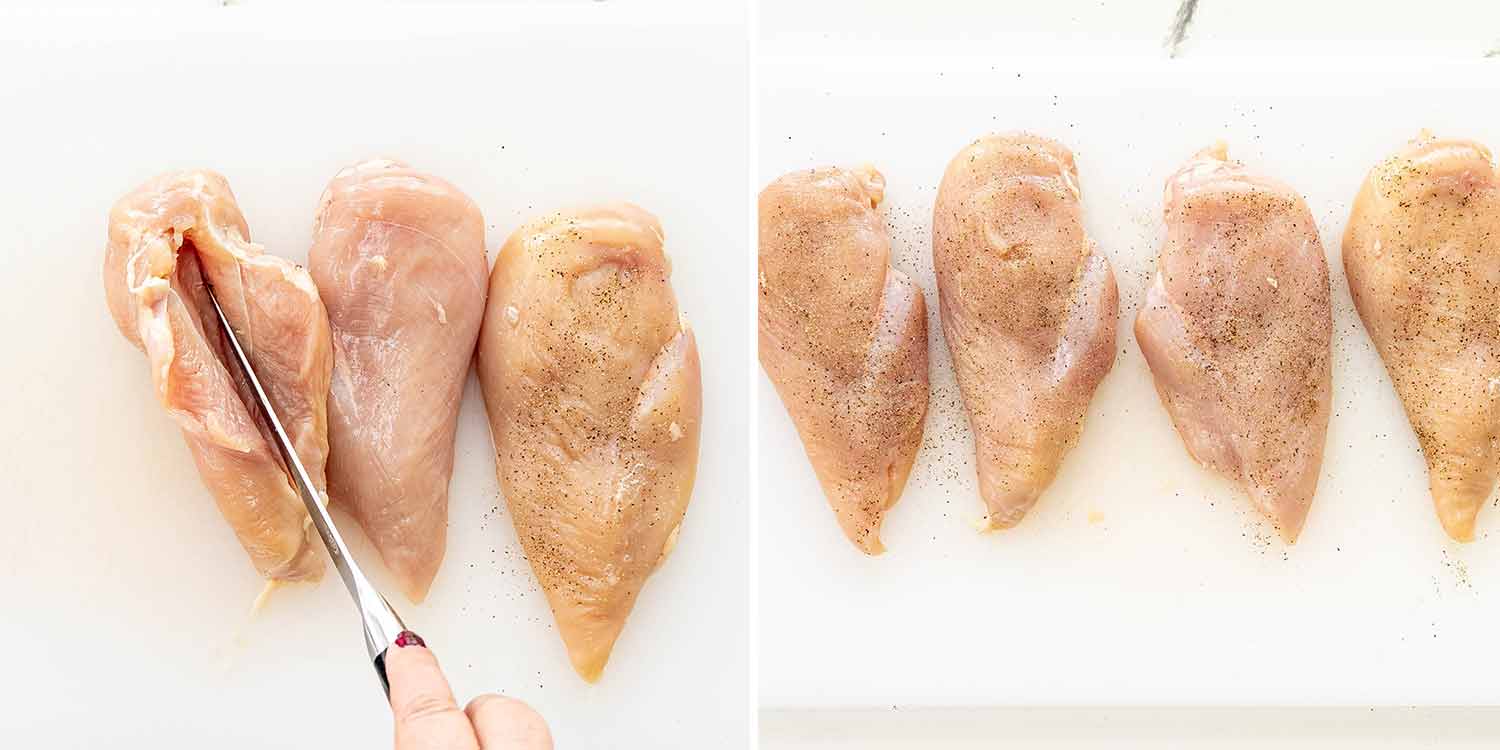
When you slice into the chicken you are looking to create a roomy cave without a back door. Your knife should go deep enough to hold plenty of filling but stop short of the other side. If you see light through the meat you have gone too far and will need to use an extra toothpick to seal that leak later.
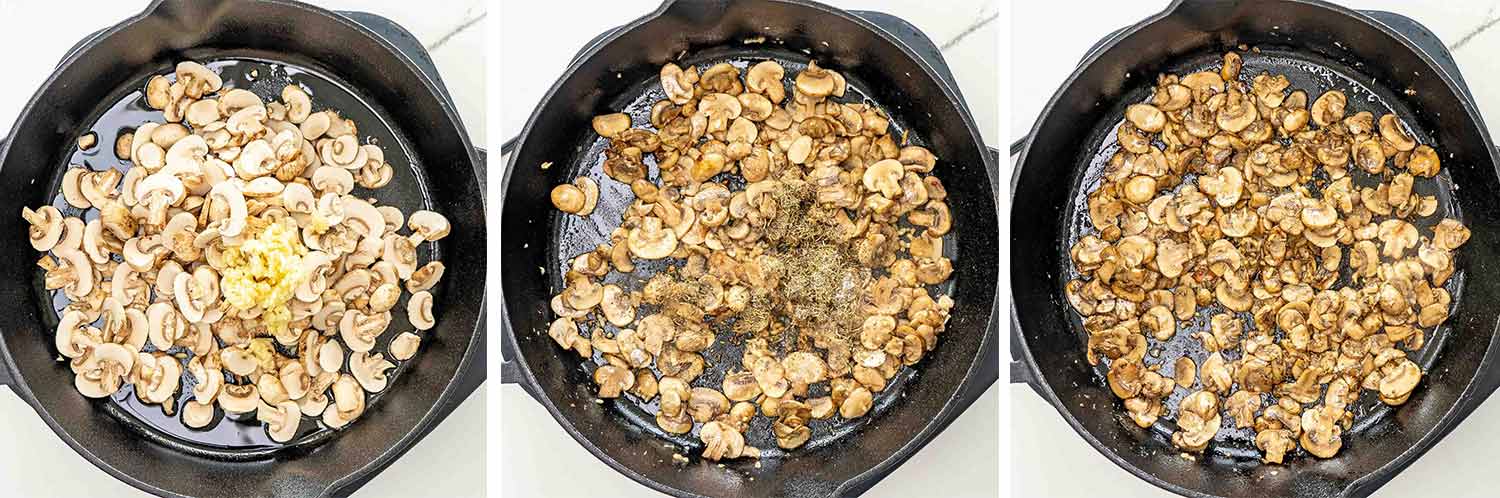
When you first toss the mushrooms into the skillet they will look like a lot of volume. Do not panic. They will shrink as they release their moisture. You want to cook them until they are a deep golden brown and the pan is completely dry. If there is still liquid in the pan your chicken will be soggy.
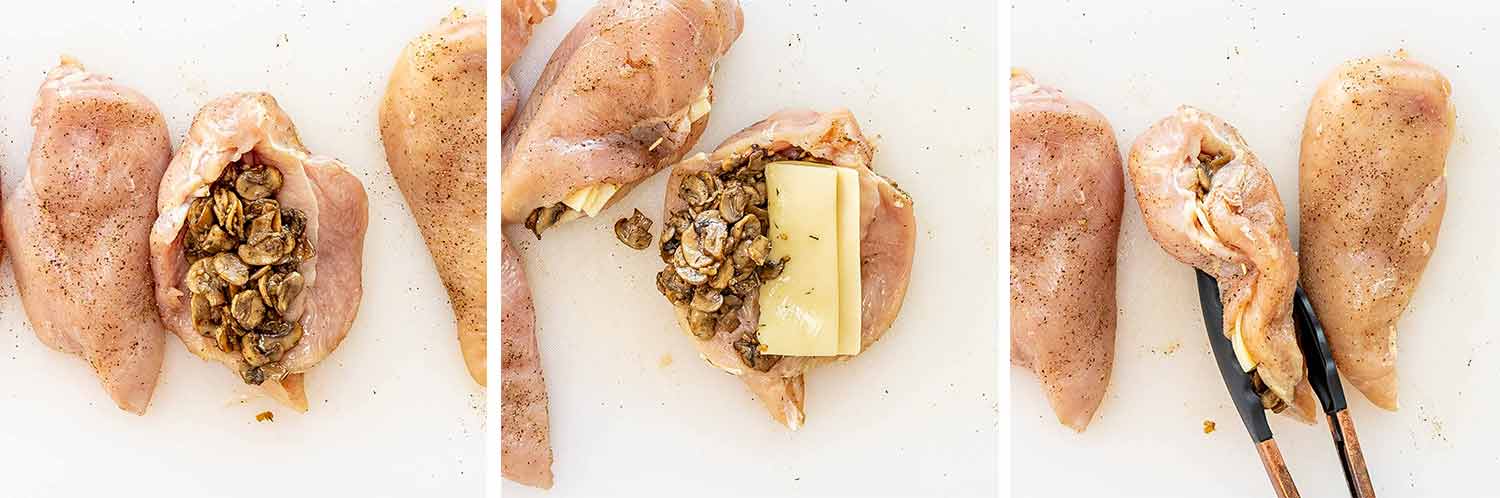
Tuck the mushrooms in first and then the cheese. When you use the toothpicks do not just stick them in straight. You want to weave them through the meat like a needle and thread. The goal is a tight and secure seal that keeps the Swiss cheese locked inside where it belongs.
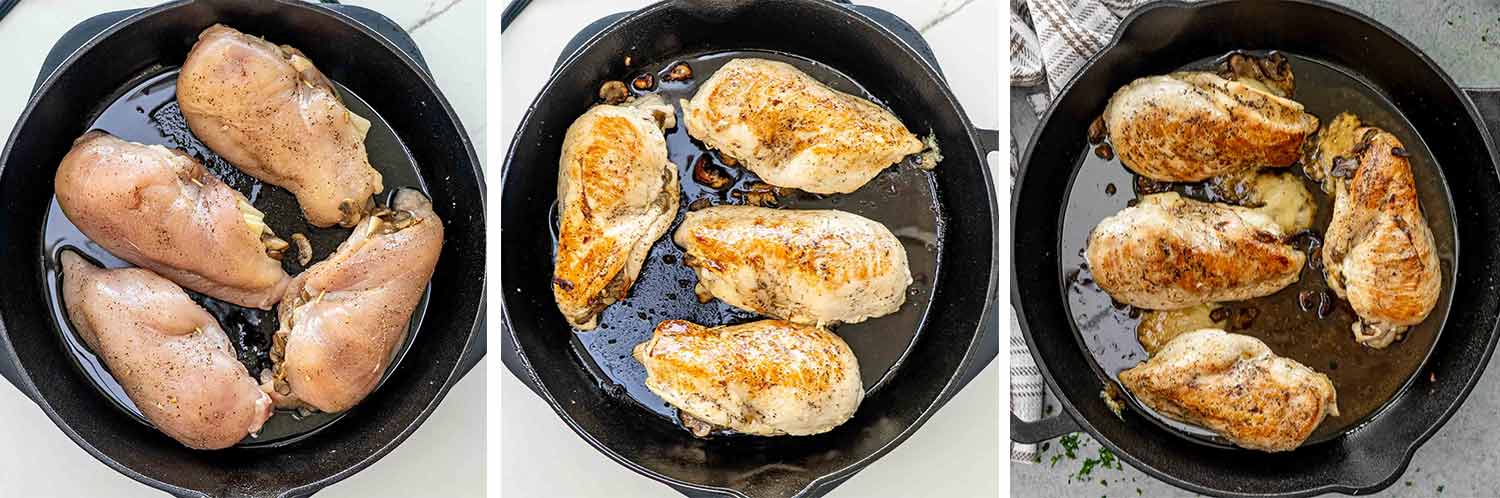
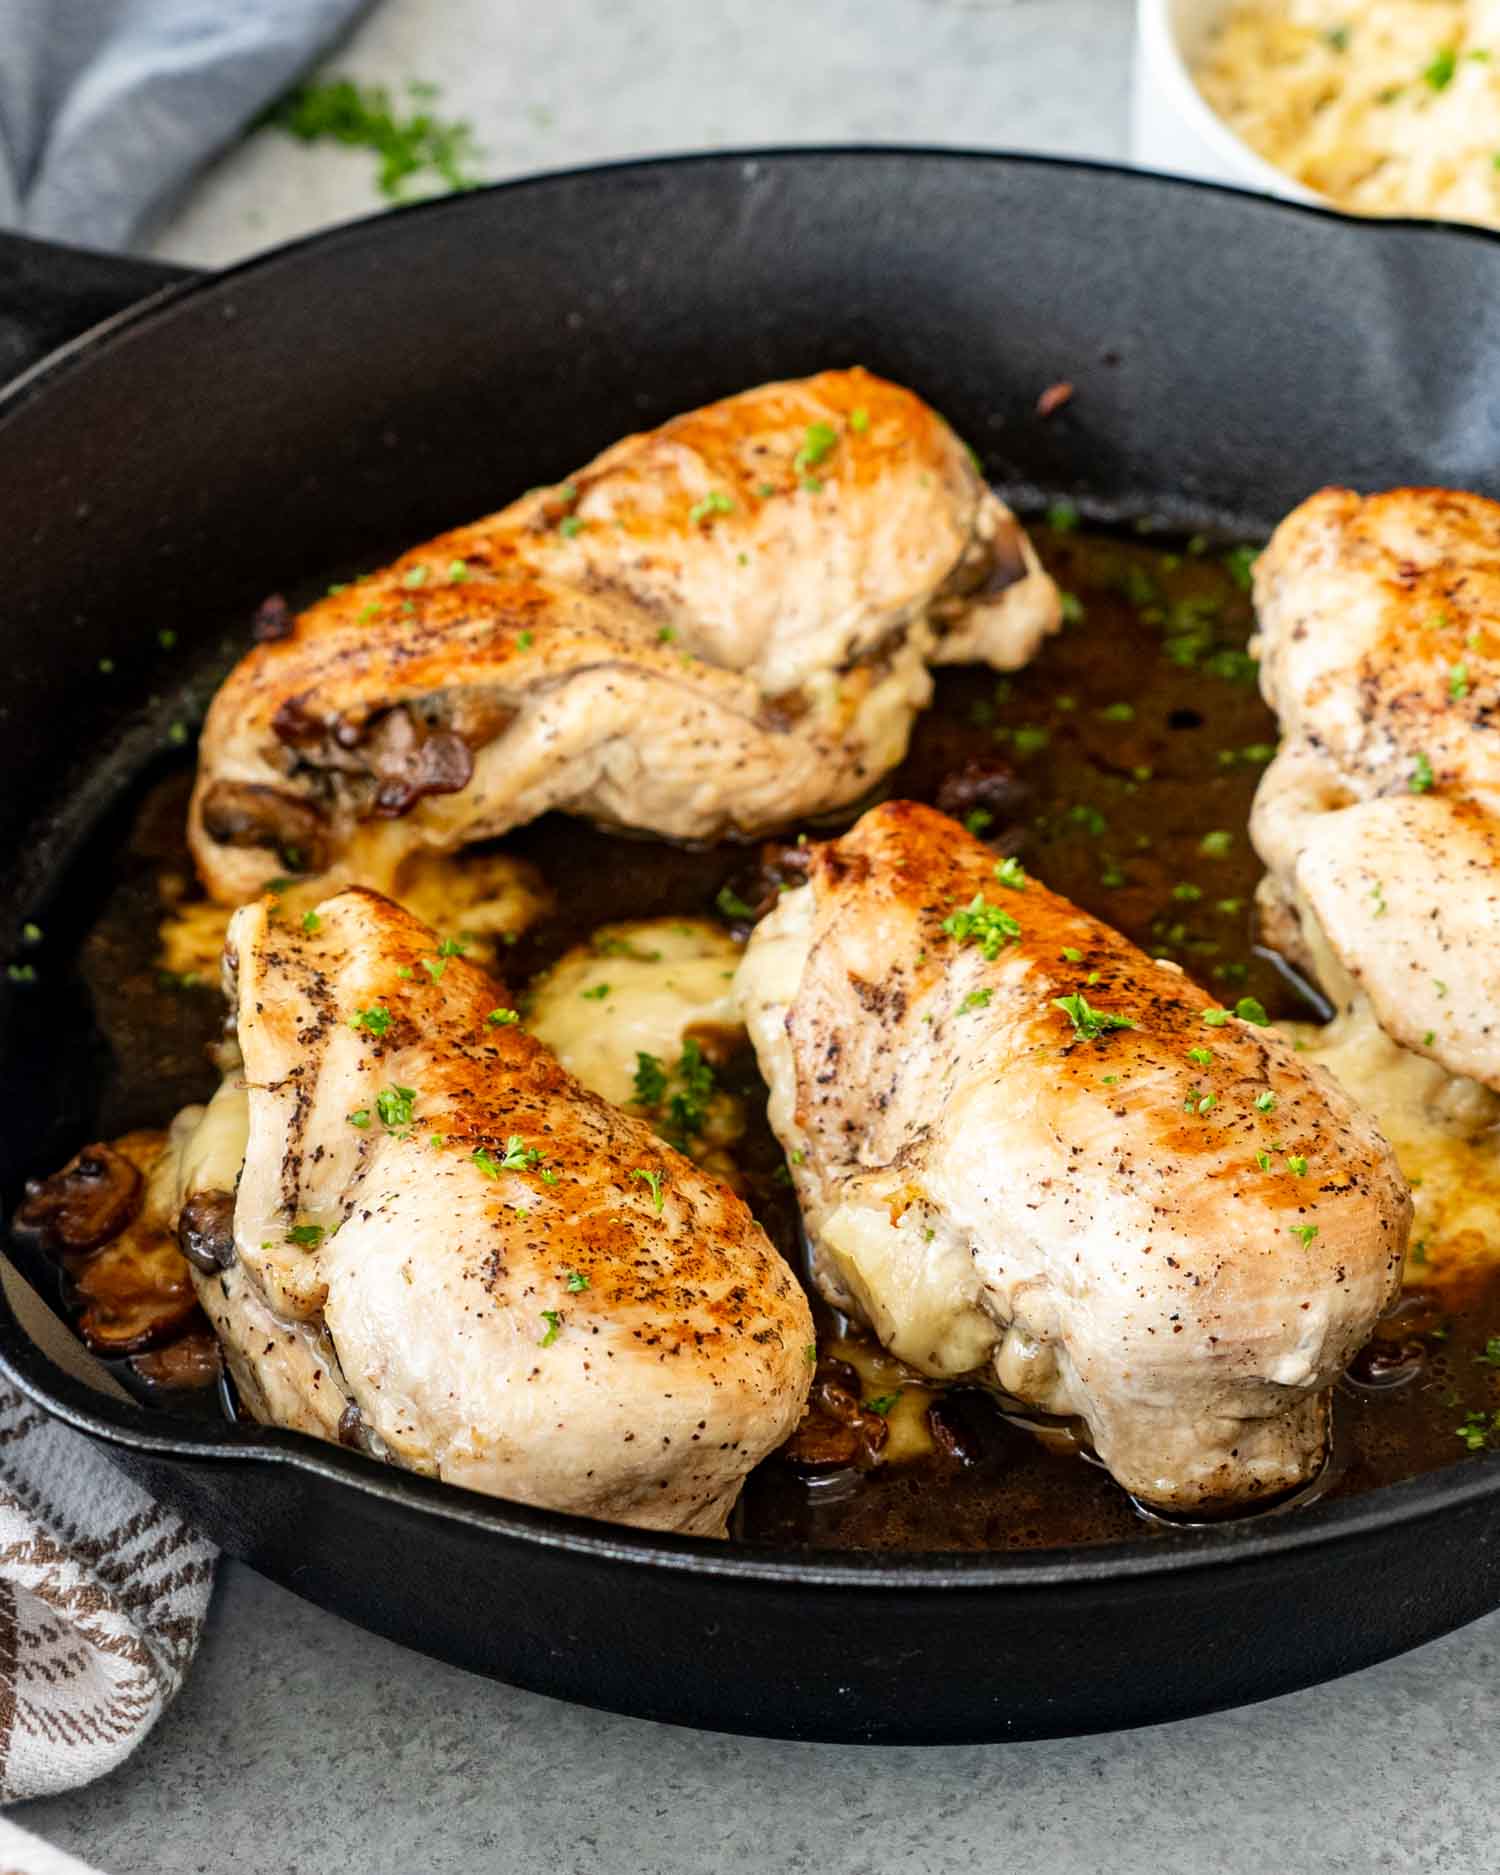
When the chicken hits the hot oil it should sizzle immediately. Do not move it for at least 3 minutes. You are looking for a heavy and golden crust that acts as a structural wall for the meat. If you try to flip it and it sticks just give it another minute to release on its own.
As the chicken bakes it will firm up to the touch. The most important thing to look for is 160°F on your thermometer. The meat will look opaque and the cheese will be starting to bubble near the opening. Pull it out now and let it rest so the juices stay in the meat instead of on your plate.
Expert Tips For Juicy Chicken
- Room Temperature: Take the chicken out of the fridge 15 minutes before cooking. Cold meat hits a hot pan and toughens up instantly.
- The Sear Is Vital: Do not skip the skillet. Searing creates a golden crust that adds flavor and helps hold the shape of the breast.
- Pull It Early: Take the chicken out of the oven when it hits 160°F. Carryover cooking will bring it to the safe 165°F mark while it sits.
- Hands Off: Once the chicken is in the pan or oven, stop moving it around. It needs constant contact with the heat to develop that beautiful color.
- The 5 Minute Rest: This is nonnegotiable. Resting allows the fibers to relax and reabsorb the juices so they do not end up on your cutting board.
How To Prevent Cheese Leakage
- The Cold Start: Keep your Swiss cheese in the fridge until the very second you are ready to stuff it. Cold cheese takes longer to melt, which gives the chicken a head start on cooking.
- The Tuck and Fold: Fold your cheese slice into a smaller square or roll it up before inserting it. This keeps the edges away from the opening and deeper inside the meat.
- The Toothpick Seal: Do not just poke a toothpick through the middle. Weave it through the meat like a needle and thread to “sew” the opening shut.
- The Mushroom Barrier: Place your mushroom mixture into the pocket first, then add the cheese. The mushrooms act as a delicious dam that helps keep the melting cheese from sliding out.
- Level Baking: Make sure your chicken is sitting level in the pan. If the breast is tilted toward the opening, gravity will do its job and pull that cheese right onto the skillet.
Recipe Variations To Try
- The Spinach Sneak: If you feel the need to justify this cheesy masterpiece with some “health,” wilt a handful of baby spinach in with the mushrooms. It adds a pop of color and makes you feel like you have made a responsible life choice while still eating a face full of melted cheese.
- The Caramelized Onion Upgrade: If you have an extra 10 minutes and a soul, sauté some thinly sliced yellow onions until they are sweet and jammy. Combining them with the mushrooms is a flavor power move that will make you wonder why you ever ate plain chicken.
- The Cheese Identity Crisis: Swiss is the sophisticated choice, but if your heart belongs to something else, go for it. Sharp white cheddar adds a great bite, or use Gouda if you want to feel fancy. Just stay away from the pre-shredded stuff in a bag; it is coated in potato starch and will not give you that glorious cheese pull we are after.
- The Creamy Makeover: If you want to go full “gourmet bistro,” stir a dollop of cream cheese or ricotta into your mushroom mix. It turns the filling into a thick and decadent sauce that is basically a hug for your chicken breast.
Air Fryer Directions
If you have joined the air fryer cult, you will be happy to know this recipe is a perfect candidate for your favorite countertop appliance. It is fast, efficient, and keeps the kitchen from turning into a sauna.
- The Setup: Preheat your air fryer to 375°F. While it warms up, give the basket a quick spray with oil so your chicken does not decide to become a permanent resident.
- The Stuffing: Follow the same prep as the oven version. Make sure those toothpicks are woven in tight because the air fryer fan is basically a small hurricane and will try to blow your cheese right out of the pocket.
- The Cook: Place the chicken in a single layer with plenty of space between the breasts. Cook for 15 to 18 minutes.
- The Flip: You do not actually need to flip these. The circulating air handles the bottom, and flipping just increases the chances of a cheese blowout. Leave them alone and let the machine do its job.
- The Finish: Check for that 160°F internal temperature. If they look a little pale, give them a quick spritz of oil in the last two minutes to help that golden color along. Rest them for five minutes before you even think about touching those toothpicks.
How To Serve
Since you have already done the heavy lifting of stuffing and searing, you want sides that are low maintenance but still look like they belong on the same plate.

15 Minute Creamy Garlic Parmesan Orzo

Tomato Basil Salad
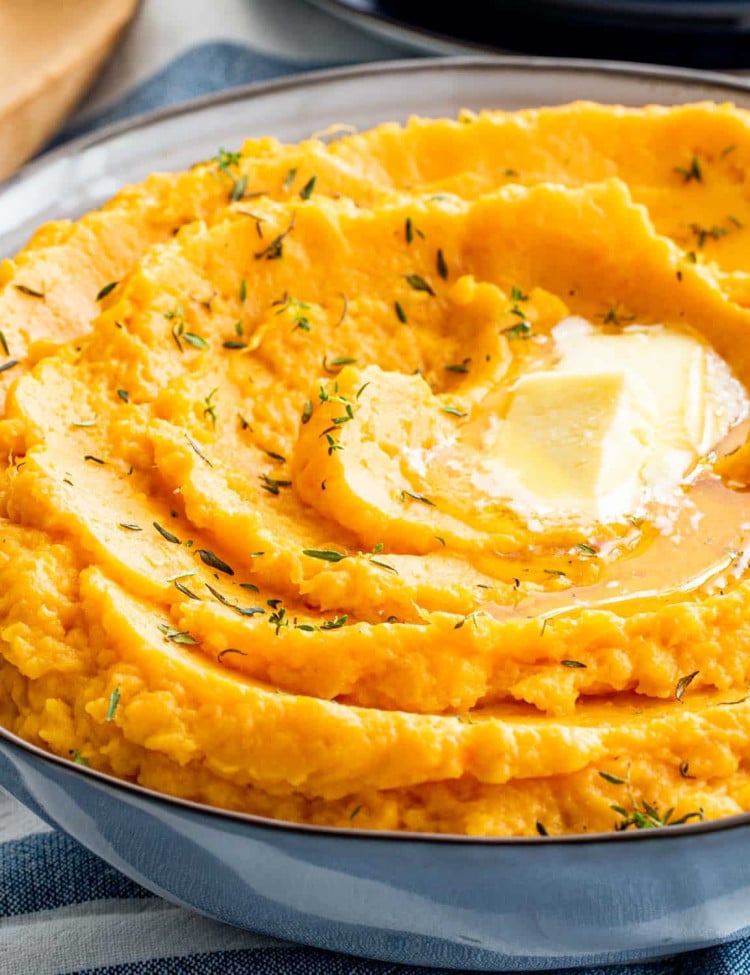
Mashed Sweet Potatoes
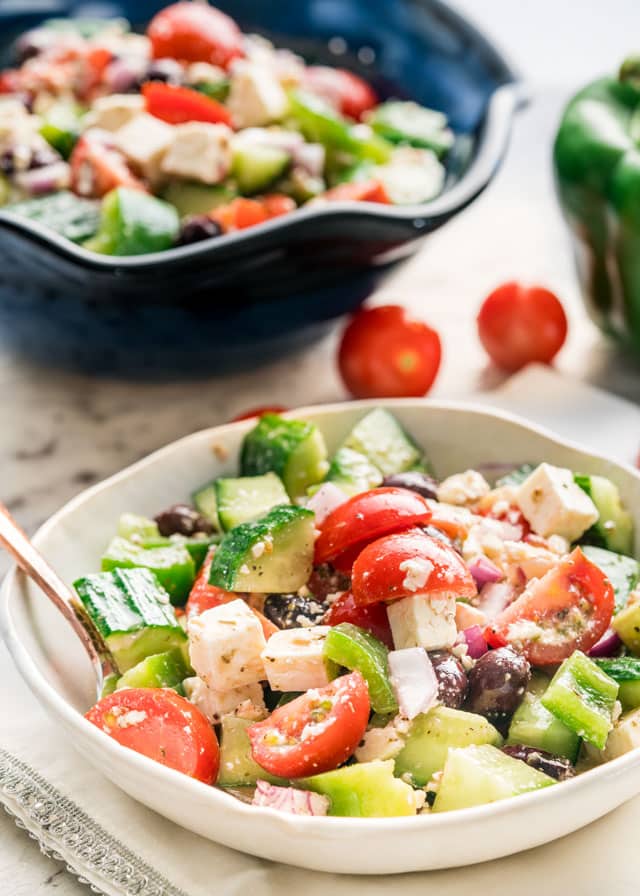
Greek Salad
Storing and Reheating
The Fridge Sit: Store any leftover chicken in an airtight container for up to 3 days. Just make sure the meat has cooled down completely before you lock it away, or the steam will turn that golden crust into a soggy apology.
The “Don’t Kill It” Reheat: Microwave is the enemy of juicy chicken. If you must use it, go for low power in short bursts. For the best results, use your air fryer at 350°F for about 5 minutes. It wakes up the cheese and crisps the outside without turning the meat into a hockey puck.
The Oven Method: If you have more time, pop the chicken into a baking dish with a tiny splash of water or broth and cover it with foil. Bake at 350°F until the cheese is gooey again. The foil traps the moisture so the chicken stays tender.
Freezing Strategy: You can freeze these for up to 2 months, but do it before you cook them for the best quality. Wrap the stuffed, raw breasts tightly in plastic wrap and foil. When the craving hits, thaw them in the fridge overnight before searing and baking as usual.
Discover More Chicken Recipes
- Mushroom Chicken Paprikash
- Mushroom Chicken Bites
- Chicken and Mushrooms in Creamy Dill Sauce
- Chicken With Creamy Mushroom Sauce
- Marry Me Chicken
Before You Begin! If you make this, please leave a review and rating letting us know how you liked this recipe! This helps our business thrive & continue providing free recipes.
Mushroom Stuffed Chicken Breast
Video
Ingredients
- 4 large chicken breasts (boneless and skinless)
- salt and pepper (to taste)
- 2 tablespoons olive oil
- 4 cloves garlic (minced)
- 1 teaspoon dried thyme
- 1½ cup cremini or white mushrooms (sliced)
- 4 slices Swiss cheese
Before You Begin! If you make this, please leave a review and rating letting us know how you liked this recipe! This helps our business thrive & continue providing free recipes.
Instructions
- Preheat your oven to 375°F (190°C).
- Make a pocket in each chicken breast by cutting along the side. Be careful not to cut all the way through. Season the outside and inside of the chicken breasts with salt and pepper.
- In a skillet over medium heat, add 1 tablespoon olive oil, garlic, and mushrooms. Cook until mushrooms are browned, about 5 minutes. Add thyme and season with salt and pepper. Remove from heat and let it cool slightly.
- Stuff each chicken breast pocket with the mushroom mixture, and then insert a slice of Swiss cheese into each pocket. Secure with toothpicks if necessary.
- In the same skillet, heat the remaining olive oil over medium-high heat. Sear the chicken breasts until golden, about 3 minutes per side.
- Transfer the skillet to the oven, or place the chicken breasts in a baking dish if your skillet isn't oven-safe, and bake for 20 minutes or until the chicken is cooked through. The internal temperature should read 165°F (74°C) when it’s ready.
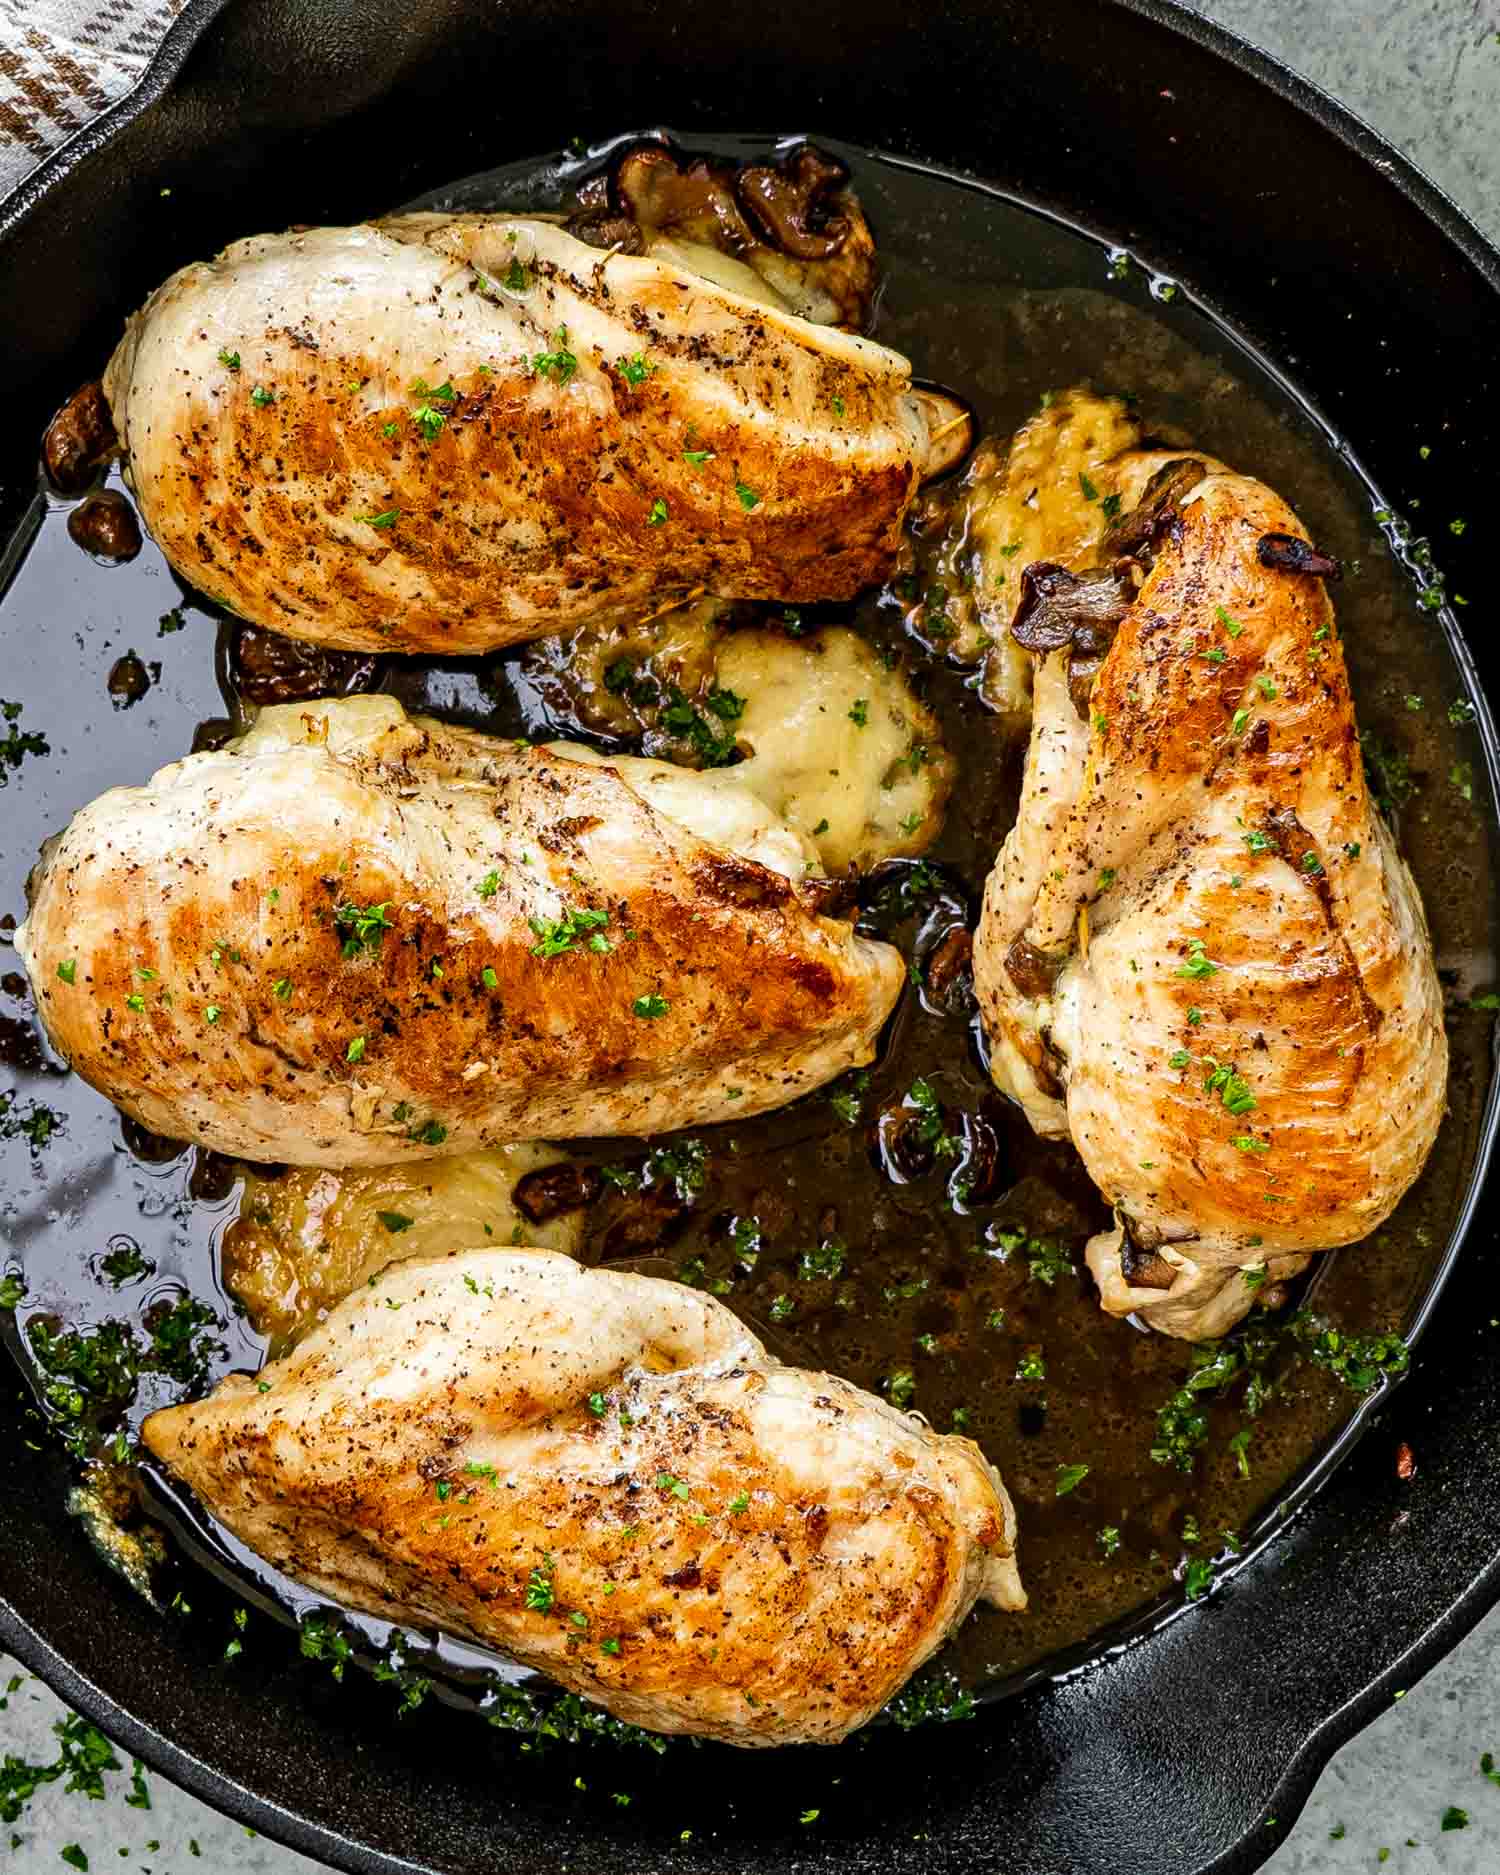
- Let the chicken rest for a few minutes before serving to keep those juices locked in. Serve hot, garnished with additional thyme if desired.
Equipment
Notes
- If your skillet isn’t oven-safe, transfer the seared chicken to a baking dish before baking.
- Leftover chicken keeps well in the fridge for up to 3 days or in the freezer for 2 months.
- For a dairy-free option, omit the Swiss cheese or use a non-dairy cheese alternative.
Nutrition Information
Notice: Nutrition is auto-calculated for your convenience. Where relevant, we recommend using your own nutrition calculations.
