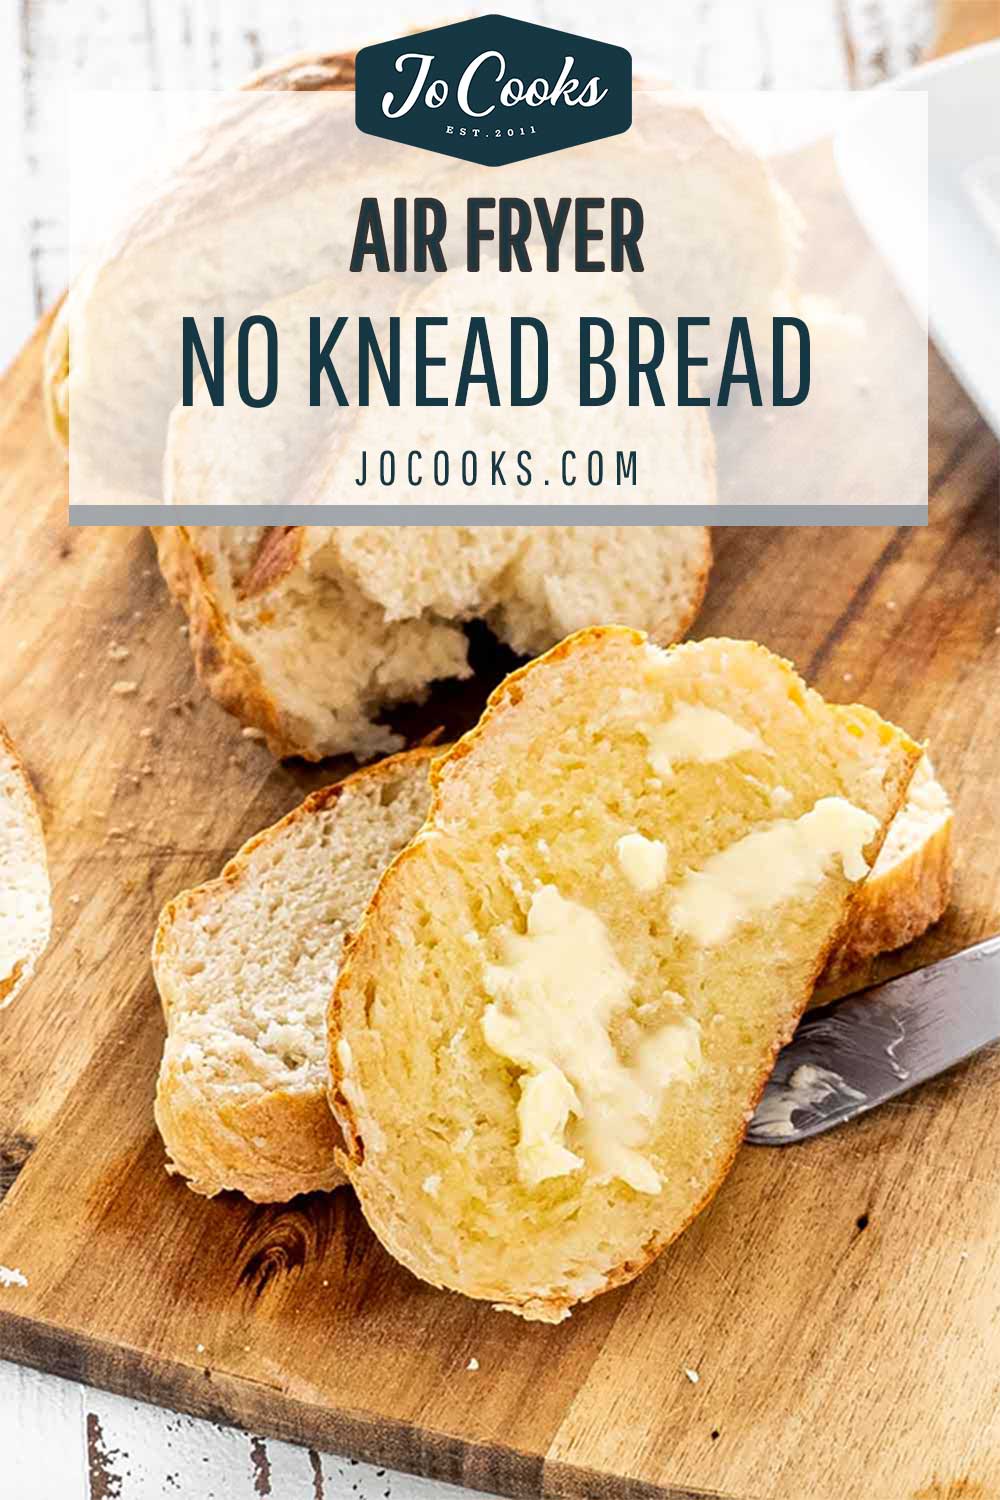
Air Fryer No Knead Bread
This post may contain affiliate links. Please read my disclosure policy.
Yes, your Air Fryer is perfect for making No Knead Bread! This bread requires just 4 ingredients and no kneading required. Perfect for sandwiches, toast or just about anything you’d want to eat bread with. So unbelievably delicious, you’ll never want to make this butter slathered crusty bread any other way.
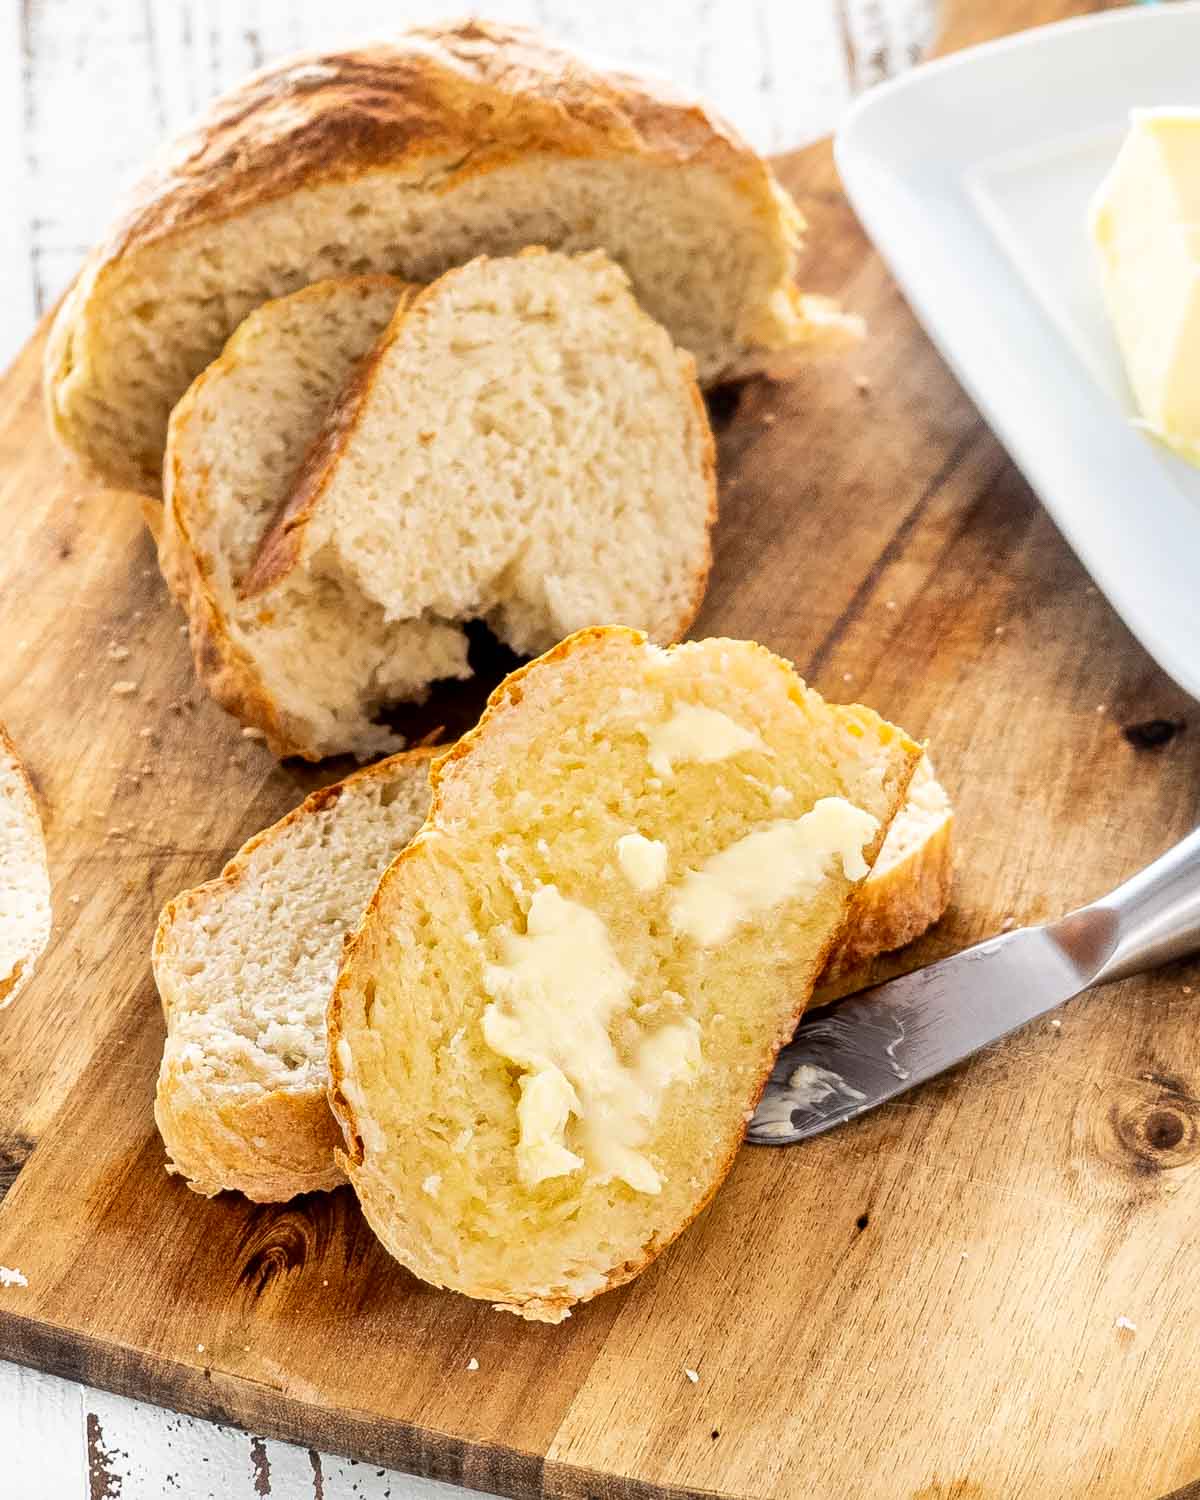
The Perfect No Knead Bread
I’ve first shared this no knead bread with you many years ago and have since made many different versions of it and many different ways. It’s quite a popular recipe and there’s reason for that. It’s incredibly simple and only 4 ingredients are required. But now, I want to show you that you can also make this bread in your air fryer.
I love coming up with different ways to use the air fryer, and I love the fact that you can even bake in it! But what I love about this bread the most is its simplicity. The ingredients are relatively the same as for my well known no knead bread but definitely a whole lot quicker because I’ve used instant yeast to speed the process. My famous artisan bread also has the same ingredients but the way it’s made is totally different.
The thought of baking bread in an air fryer doesn’t seem right, but this amazingly fast method for making fresh bread is crazy good. Did I mention it’ll also fill your house with the wonderful aroma of freshly baked bread? With this fool-proof method, you end up with a perfect loaf of bread, every single time!
Air Fryer No Knead Bread Highlights
✅ NO KNEADING REQUIRED. As the name suggests, there really is no kneading required. Simply add all the ingredients to a large mixing bowl and stir using either a wooden spoon or a plastic spatula until all the ingredients come together!
✅ PERFECT CRUST. Because you air fry the bread at a high temperature with a piece of tented foil on top of the bread, this will create steam inside the pot and cook it perfectly. For the last 10 minutes, you remove the foil to allow the bread to finish baking. During this time the bread turns a gorgeous golden brown color, with an incredible crust.
✅ ONLY 4 INGREDIENTS. That’s right, you only need 4 ingredients, that I guarantee you already have: flour, yeast, salt and water.
✅ QUICK TO MAKE. This is the best way to make a quick rustic loaf of bread.
✅ VERY ECONOMICAL. With only a handful of basic staple ingredients, this crusty loaf costs very little. There’s no additional costs unless you want to add in some cheese, nuts, or other ingredients to your loaf.
Ingredients You’ll Need
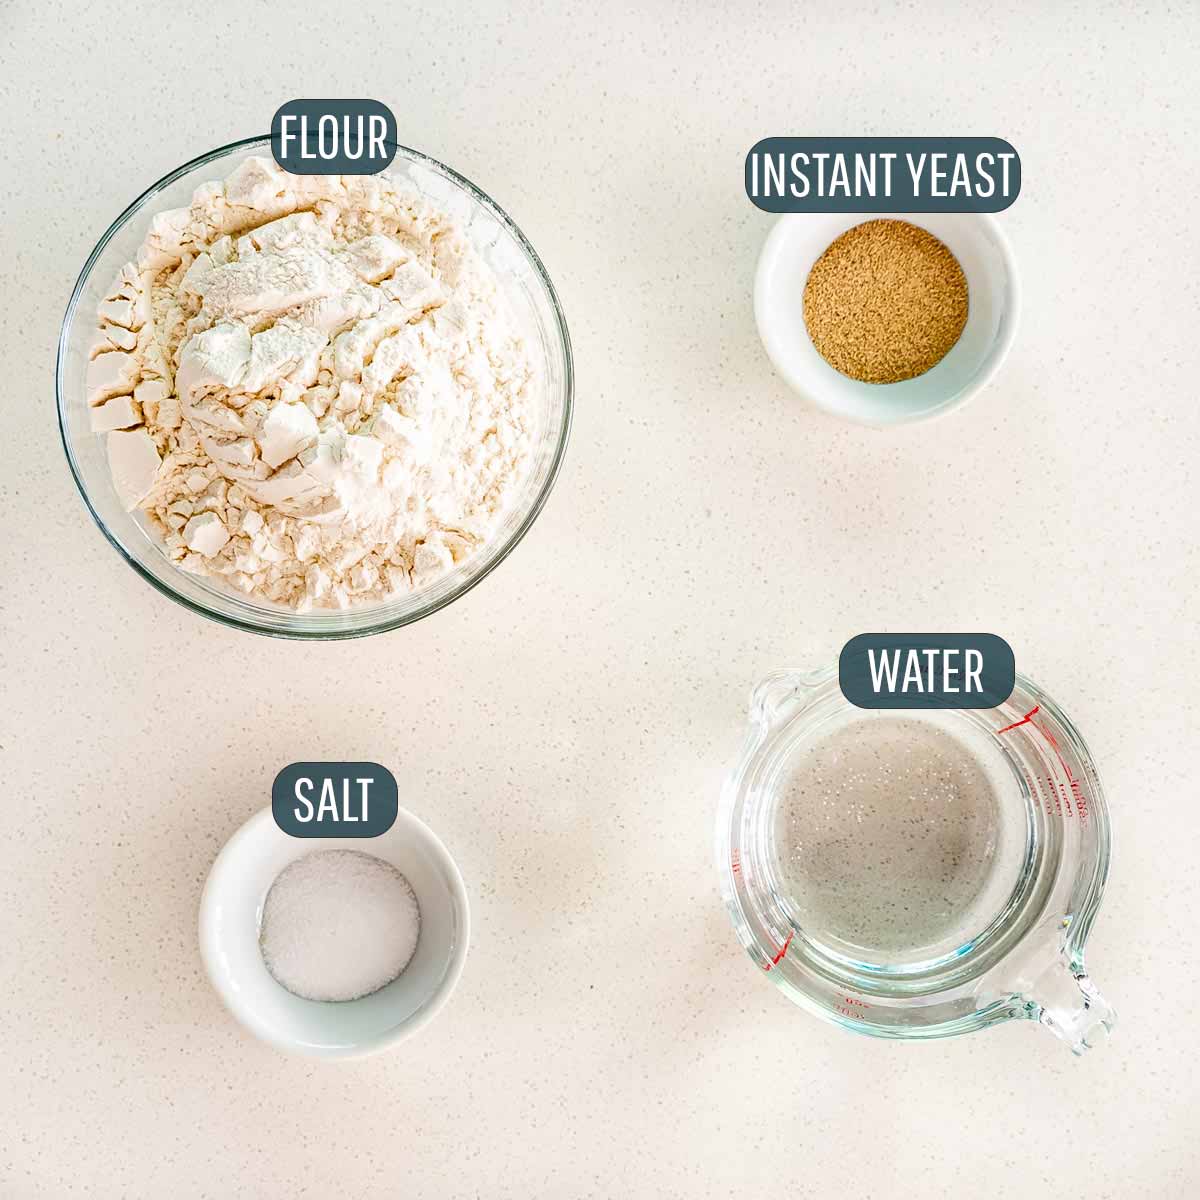
- FLOUR – You’ll need to use all-purpose flour for this recipe. If you’d like to use whole wheat flour, check out my recipe here for Whole Wheat No Knead Bread.
- SALT – Use as much or as little as you’d like. Just don’t skip it, without it the bread won’t have any taste at all.
- YEAST – In this recipe I call for instant yeast which I recommend using when you want the bread ready fairly quickly. However, active dry yeast can be used as well but the technique is a little bit different. If you’d like to try it, check out my recipe for No Knead Bread.
- WATER – It’s super important to make sure your water is at room temperature as it will affect the outcome of your yeast.
How To Make No Knead Bread In The Air Fryer
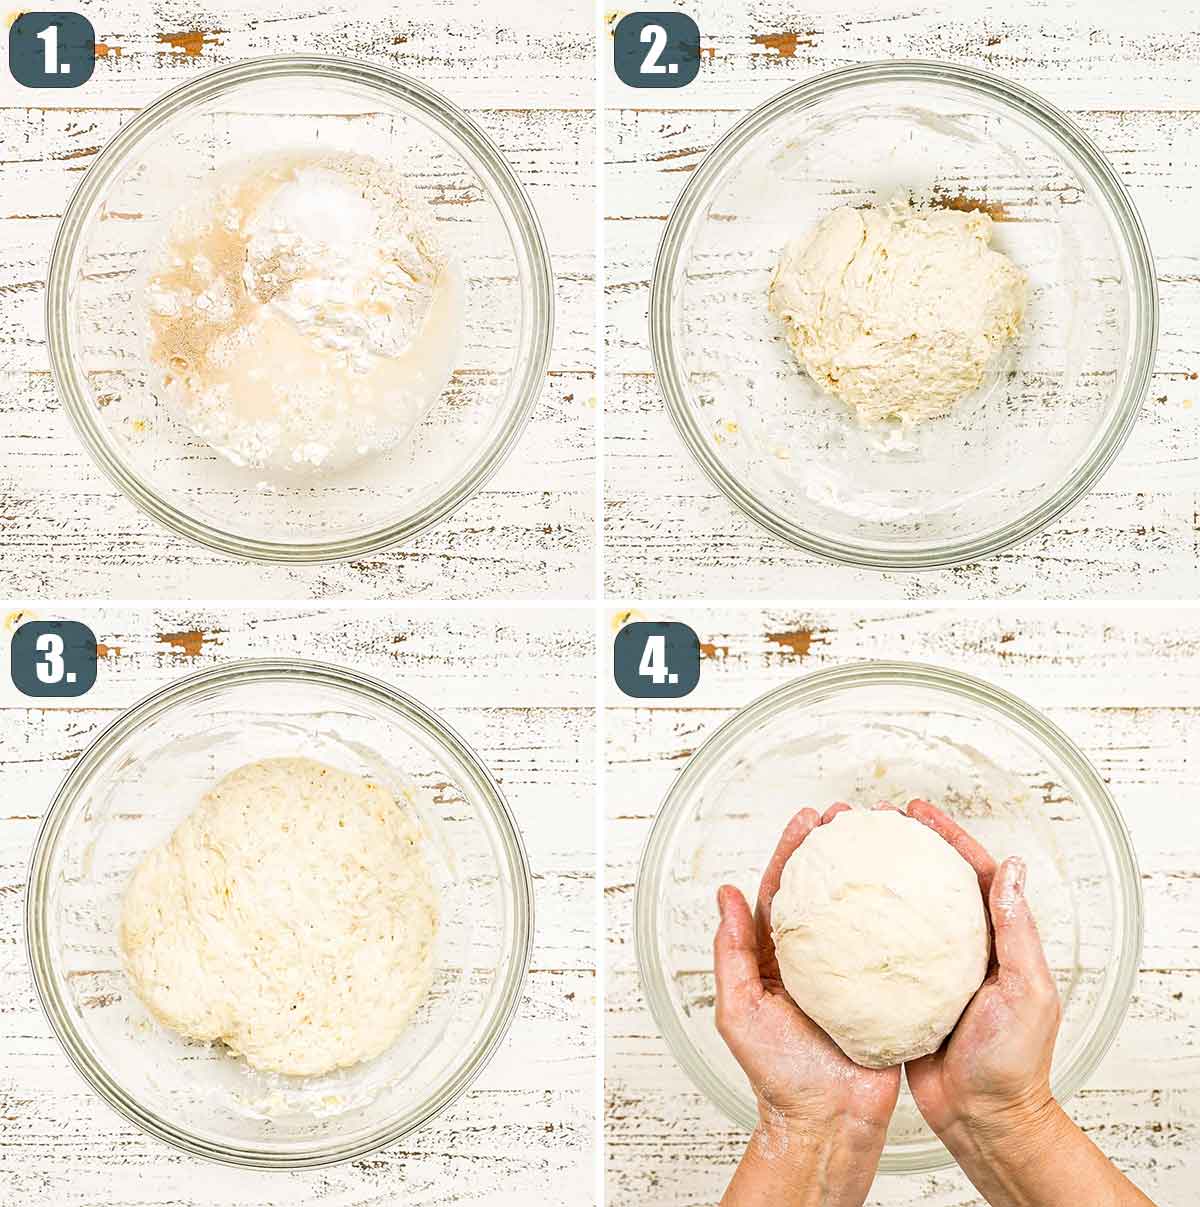
Form The Dough
In a big bowl mix the flour, salt, instant yeast and water into the bowl and using a spatula or a wooden spoon, mix it until well incorporated. The dough will be sticky and shaggy.
Allow It To Rise
You’ll want to cover the bowl with plastic wrap and let it sit on your counter or inside your unheated oven for 2 to 3 hours. During this time, the dough should double in size.
Preheat The Air Fryer And Baking Pan
Place an air fryer-safe baking dish that fits into the basket of your air fryer. I used a 6″ round pan but you could use up to an 8″ pan, just depends how big your air fryer is. Preheat the air fryer to 400°F for 20 minutes with the pan in it.
Shape The Dough
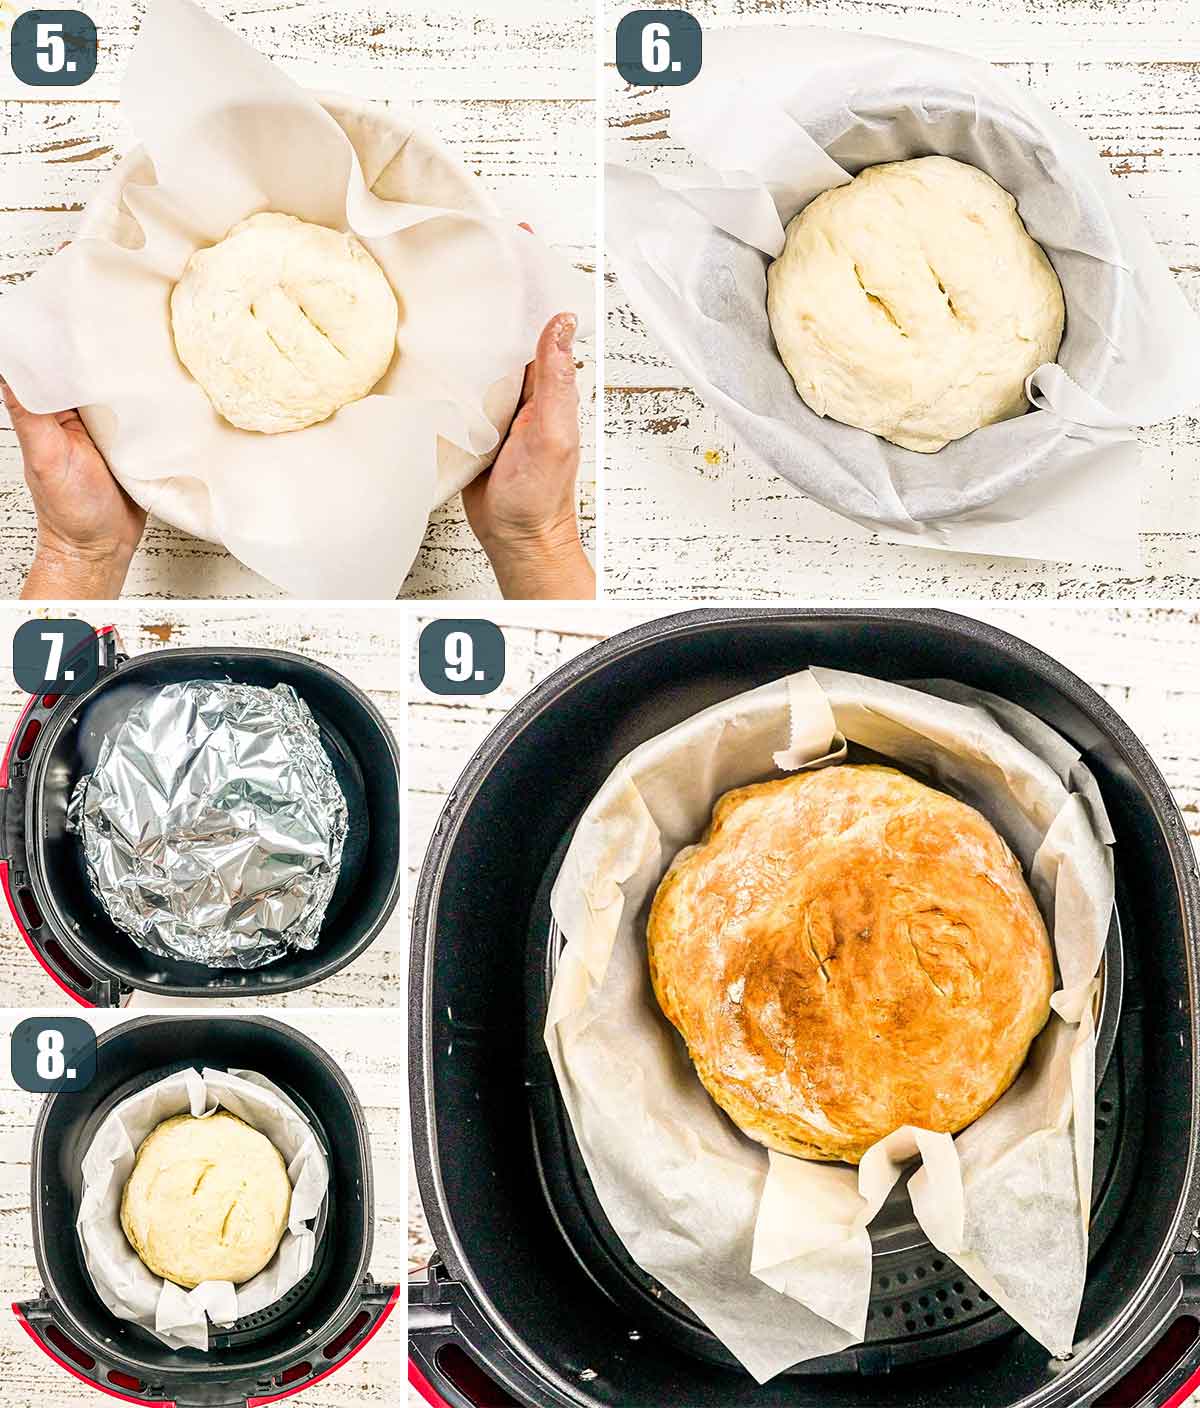
Meanwhile, flour your hands really well and also sprinkle a bit of flour over the dough. With your floured hands gently remove the dough from the bowl and roughly shape it into a ball. Take the ball of dough and place it over a piece of parchment paper. Transfer the dough with the parchment paper into a bowl and cover with a dry, clean kitchen towel until the pan has been preheated.
Carefully, remove the pan from the air fryer basked, then lift the parchment paper and drop it in the pot, with parchment paper and all. You can also score the top of the dough with a sharp knife. This will not only make your bread look pretty, but it can also prevent it from cracking. Carefully cover the pan with aluminum foil, tightly seal the edges, and place the pan back into the air fryer basket, shut the lid, and then it’s bake time.
Bake The Bread
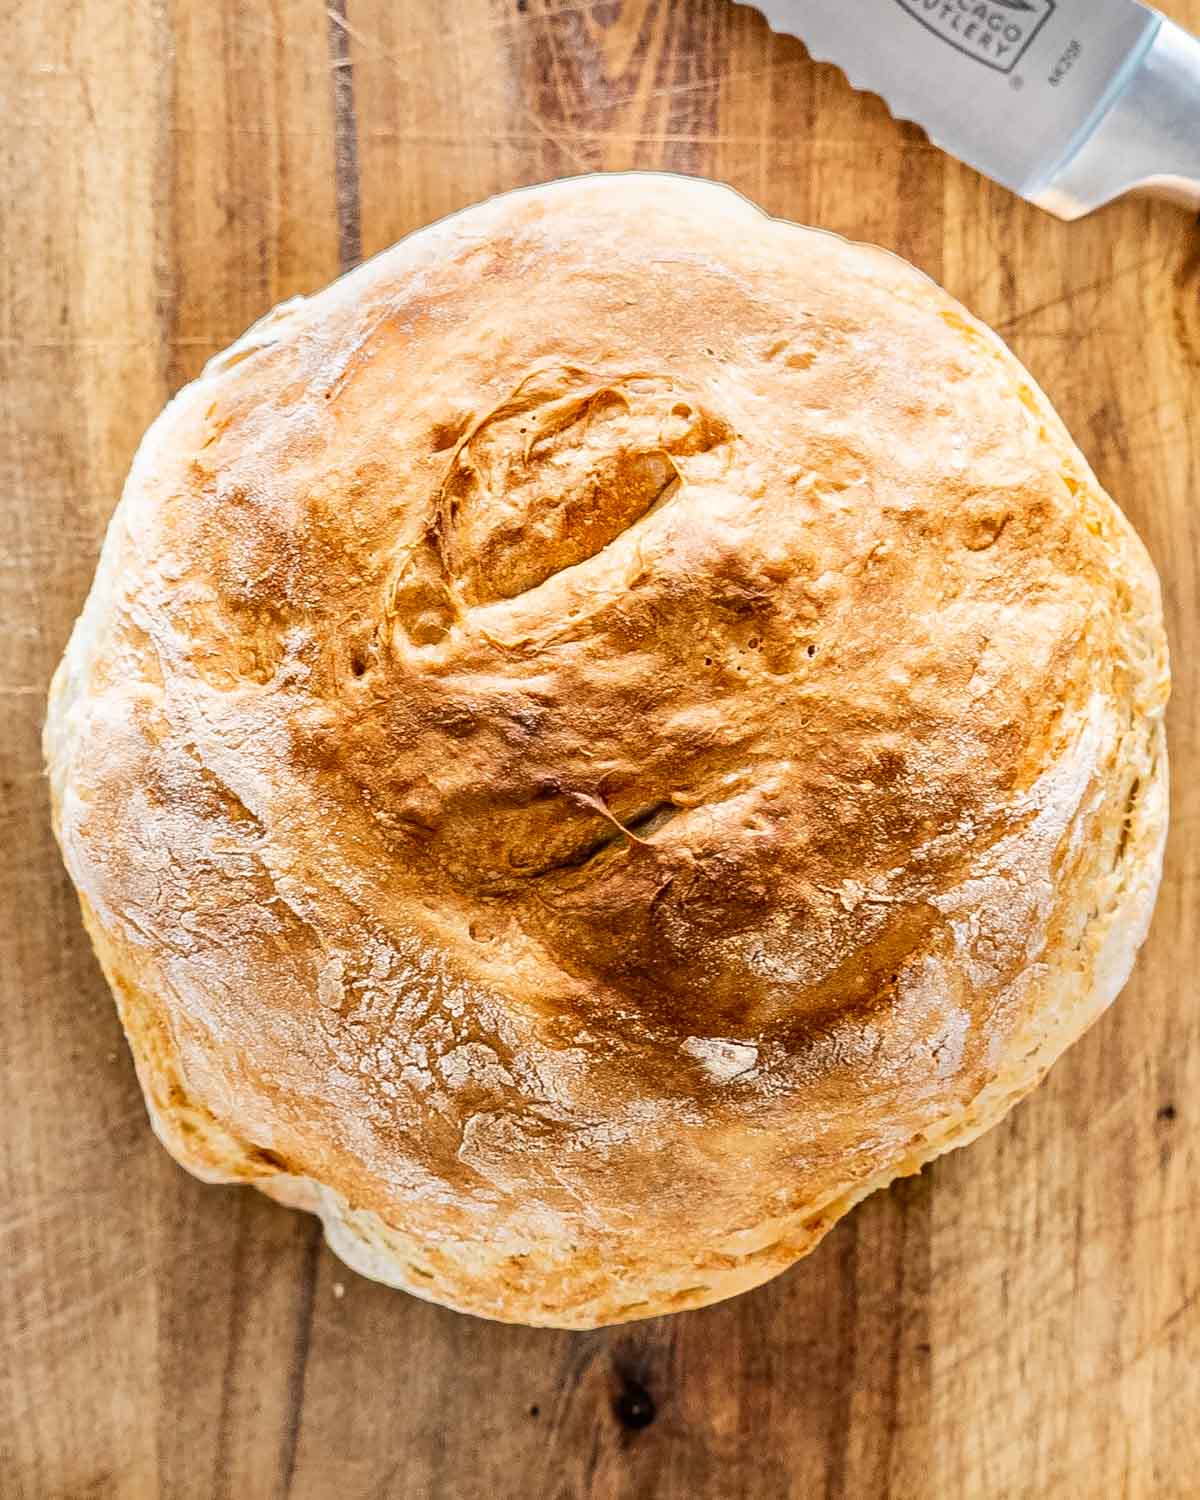
Bake the bread for 20 minutes then open the basket and carefully remove the foil. Close the basket and bake for another 10 minutes or until golden brown. The bread is cooked when it sounds hollow when you tap it. I turned the bread upside down after 5 minutes to allow it to brown on the bottom too (as seen in the video) but this is totally optional.
What Is No Knead Bread?
No Knead Bread was first published in the New York Times about 10 years ago. This bread requires no kneading which is why it’s become so popular. You basically throw everything in a bowl, mix it up, let it sit around for a few hours and let the yeast do its work, then bake it.
How Do I Know When My Bread Is Done Baking?
Tap the bottom! Take the bread out of the Dutch oven, turn it upside down and give the bottom a firm thump with your thumb, or a knock – if it sounds hollow, it’s done. You can also use a thermometer to check the internal temperature of the bread, when it reaches between 190°F and 200°F, your bread is done.
Can I Use Bread Flour?
The difference between bread flour and all-purpose flour is that bread flour has more protein, so yes you can use it, but keep in mind that the crust will be a bit thicker. If you do use bread flour, you’ll need to increase the amount of water by 2 teaspoons per cup of flour.
Why Is My Bread Too Dense?
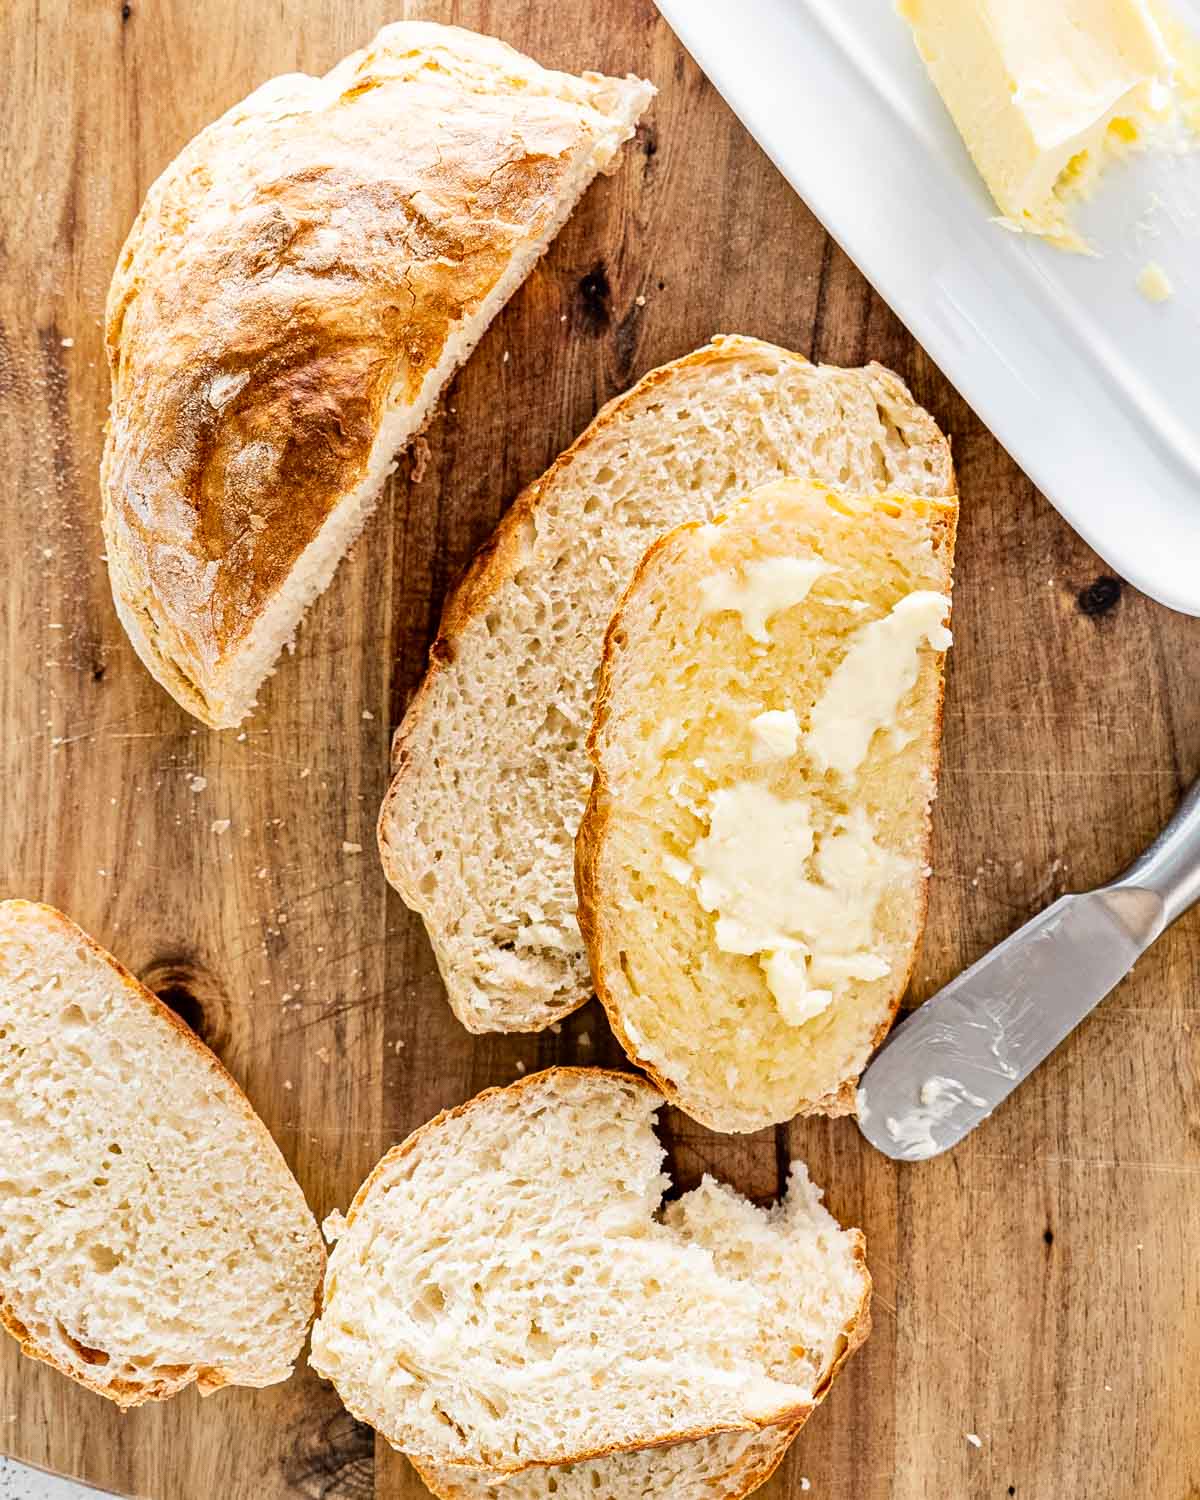
Usually bread will be too dense when there is too much flour. Keep in mind this dough will be pretty sticky, do not add more flour than specified. Other factors that come into play are humidity and age of flour. Little yeast, long rise, sticky dough are keys to a good, light loaf. Also do not over mix the dough in the beginning, there really is no kneading required.
Can I Double The Recipe?
Yes! I actually halved the recipe here because I wanted to make sure the pan I used fit in the air fryer. But if you have an 8 inch pan and it fit in your air fryer, go ahead and double the recipe which will still make a loaf of bread.
Can I Freeze The Dough?
Yes you can, the bread will still be crusty and delicious, it will just be a bit denser.
Expert Tips For
- Do not refrigerate the dough as it rises. It needs a warm environment to rise, either on the counter or proof it in the oven. If your oven has a PROOF function, then go ahead and use it!
- Want an easy way to know if your bread is done? Take the bread out of the air fryer pan, turn it upside down and give the bottom a firm thump with your thumb, or a knock and if it sounds hollow it’s done.
- I used a 6″ round prepared pan, but had room for a 7 or 8″ one which I would recommend. If using an 8″ pan then go ahead and double the recipe.
What’s Yeast Got To Do With It?
- Always check the expiration date on your yeast and make sure it hasn’t expired. All your yeast products whether it’s in a jar or a package should be stamped with a “Best if Used by” date. Always make sure you check this date, even when you purchase the yeast.
- To keep your yeast fresh and longer lasting, unopened yeast packages or jars should be stored in a cool or dry place such as your cupboard.
- However, you can also store your yeast in the fridge or freezer. If you do store it in the freezer and need to use yeast for your baking, make sure you take out the amount you need and let it sit at room temperature for at least half hour before using.
- Once your yeast package or jar has been opened, you must refrigerate the yeast or freeze it in an airtight container.
- One thing to remember about your yeast, is that it is a living organism and over time it will lose activity, even if you’ve never opened the jar or package. So if you don’t bake often, buy the smaller yeast packages rather than a big jar of yeast.
Leftovers
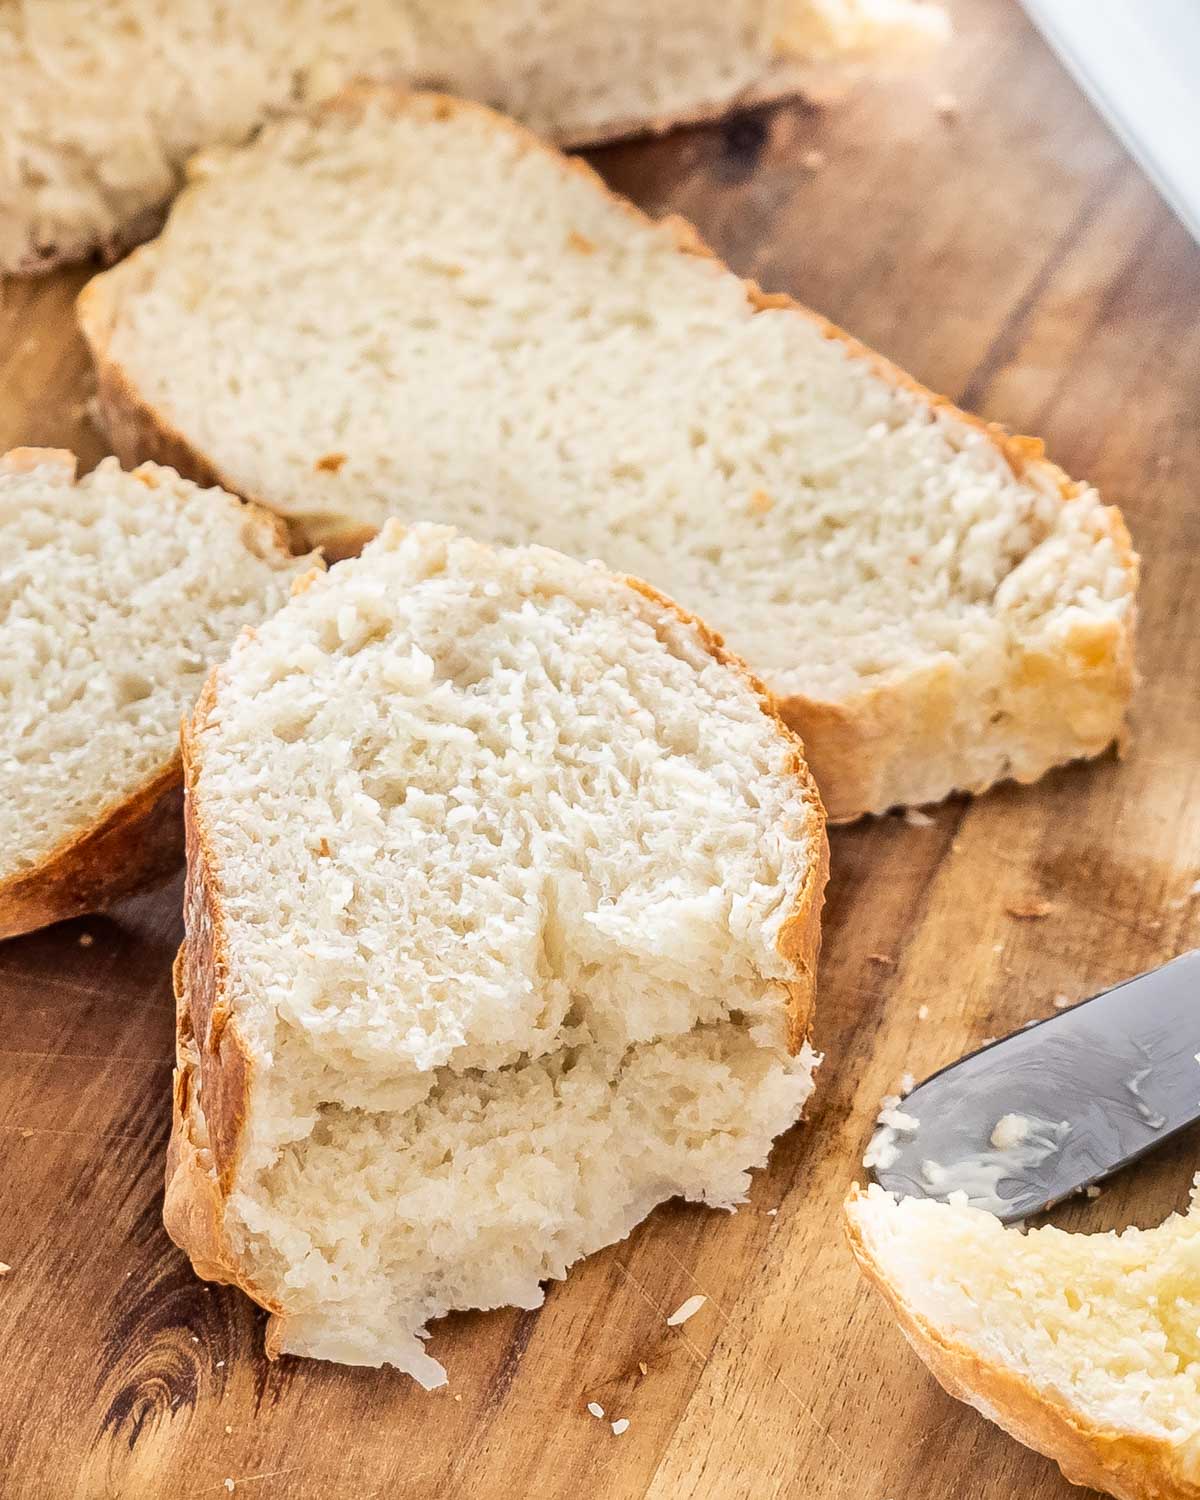
This bread can dry out a little easily so it is best to store it tightly wrapped in plastic wrap or in an airtight container to preserve it longer. You can store it like this for about 3 to 4 days right on the counter or freeze it for up to 3 months.
More Great Recipes To Try
Before You Begin! If you make this, please leave a review and rating letting us know how you liked this recipe! This helps our business thrive & continue providing free recipes.

Air Fryer No Knead Bread
Video
Ingredients
- 1½ cup all-purpose flour
- 1 teaspoon salt
- 1 teaspoon instant yeast
- ¾ cup water (room temperature)
Before You Begin! If you make this, please leave a review and rating letting us know how you liked this recipe! This helps our business thrive & continue providing free recipes.
Instructions
- Form the dough: In a big bowl mix the flour, salt, instant yeast and water into the bowl and using a spatula or a wooden spoon, mix it until well incorporated. The dough will be sticky and shaggy.
- Allow it to rise: You’ll want to cover the bowl with plastic wrap and let it sit on your counter or inside your unheated oven for 2 to 3 hours. During this time, the dough should double in size.
- Preheat the air fryer: Place a 6-inch round pan into the basket of your air fryer. Preheat the air fryer to 400°F for 20 minutes with the pan in it.
- Shape the dough: Meanwhile, flour your hands really well and also sprinkle a bit of flour over the dough. With your floured hands gently remove the dough from the bowl and roughly shape it into a ball. Take the ball of dough and place it over a piece of parchment paper. Transfer the dough with the parchment paper into a bowl and cover with a dry, clean kitchen towel until the pan has been preheated. Carefully, remove the pan from the air fryer basked, then lift the parchment paper and drop it in the pot, with parchment paper and all. You can also score the top of the dough with a sharp knife. This will not only make your bread look pretty, but it can also prevent it from cracking. Carefully cover the pan with aluminum foil, tightly seal the edges, and place the pan back into the air fryer basket, shut the lid, and then it’s bake time.
- Bake the bread: Bake the bread for 20 minutes then open the basket and carefully remove the foil. Close the basket and bake for another 10 minutes or until golden brown. The bread is cooked when it sounds hollow when you tap it. I turned the bread upside down after 5 minutes to allow it to brown on the bottom too (as seen in the video) but this is totally optional.
Equipment
Notes
- Do not refrigerate the dough as it rises. It needs a warm environment to rise, either on the counter or proof it in the oven. If your oven has a PROOF function, then go ahead and use it!
- Want an easy way to know if your bread is done? Take the bread out of the air fryer pan, turn it upside down and give the bottom a firm thump with your thumb, or a knock and if it sounds hollow it’s done.
- I used a 6″ round prepared pan, but had room for a 7 or 8″ one which I would recommend. If using an 8″ pan then go ahead and double the recipe.
- This bread can dry out a little easily so it is best to store it tightly wrapped in plastic wrap or in an airtight container to preserve it longer. You can store it like this for about 3 to 4 days right on the counter or freeze it for up to 3 months.
Nutrition Information
Notice: Nutrition is auto-calculated for your convenience. Where relevant, we recommend using your own nutrition calculations.
