Fast and Easy No Knead Bread
This post may contain affiliate links. Please read my disclosure policy.


This Fast and Easy No Knead Bread is crusty, golden and ridiculously easy to make. Four ingredients and zero effort is all that’s required. Mix, rise, bake and pretend you spent all day making it.


My No Knead Bread, Reinvented
When I first shared my original No Knead Bread, I had no idea it would become one of the most loved recipes on the blog. I was blown away by how many of you loved it. It’s the kind of bread that made even self proclaimed non-bakers feel like pros. But after it went viral, one question kept popping up. Can we make it faster? Challenge accepted.
About six years ago, I went back into the kitchen and started tweaking, testing, and yes, eating a lot of bread in the process. This faster version was the result, with the same beautiful crust and soft fluffy crumb, but ready in a fraction of the time. I also doubled the ingredients so you end up with one big, bakery style loaf that looks like it came straight out of a professional oven.

Why You’ll Love This Fast No Knead Bread
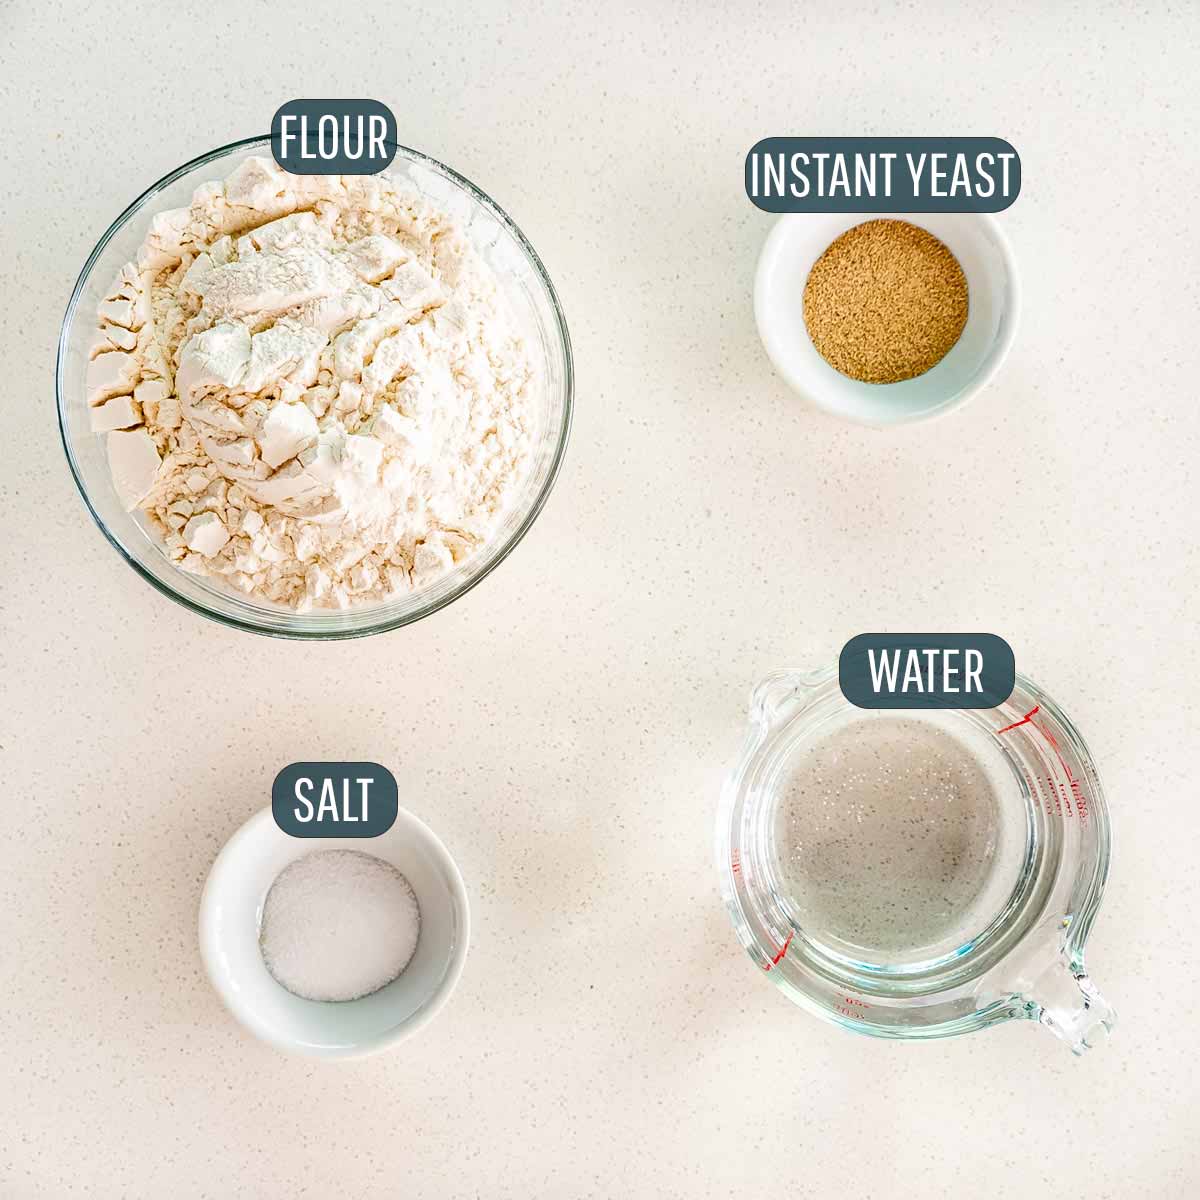
- Four simple ingredients. Flour, yeast, salt, and water. That’s it. No fancy equipment or bread baking degree required.
- Ready in about 2½ hours. No overnight rise, no waiting half a day for your dough to wake up. Just mix, rise, bake, and enjoy.
- Huge bakery-style loaf. This recipe makes one giant crusty loaf that looks like it came straight from a professional oven.
- Crispy crust, soft inside. That perfect balance of crunch and chew that makes every slice worth the carbs.
- Proven winner. Thousands of readers swear by this faster method, and I’ll bet you’ll never go back to store-bought again.
Ingredients You’ll Need
- Flour: Regular all-purpose flour works perfectly here. If you’ve got bread flour, it’ll give you a chewier texture, but it’s not a must.
- Yeast: I use instant yeast because it skips the activation step and makes this recipe way faster. Check the date on your packet, old yeast won’t rise, no matter how positive you are.
- Water: Make sure it’s lukewarm, not hot. You’re trying to wake up the yeast, not send it into shock. Around 105°F to 110°F (40°C to 43°C) is your sweet spot.
- Salt: Don’t skip it. It controls the yeast and brings out flavor. If you’re using kosher or sea salt, use a little less since the grains are bigger.
- Dutch oven: This is what gives you that crispy, bakery-style crust. If you don’t have one, use any heavy, oven safe pot with a lid.
- Flour everywhere: The dough will be sticky, messy, and might make you question your life choices for a second. That’s exactly how it should look.
First, let’s gather our ingredients. You’ll need water, instant yeast, all-purpose flour, and salt. That’s it! If you want to add some mix-ins like nuts or seeds, feel free to do so.

In a large mixing bowl, whisk together the water and yeast until combined. In a separate bowl, mix the flour and salt. Pour the flour mixture into the yeast mixture and stir with a wooden spoon until a sticky dough forms. It’s important not to overmix the dough, so just stir until everything is combined.

Cover the bowl with a dry kitchen towel and let the dough rise for about an hour, or until it has doubled in size.

Once the dough has risen, use a spatula to loosen it from the sides of the bowl. Flour your hands and sprinkle a bit of flour over the dough to prevent sticking. Gently remove the dough from the bowl and shape it into a ball. Place the dough onto a sheet of parchment paper and let it rise for another 30 minutes.

While the dough is rising, preheat your oven to 450°F and place a Dutch oven with its lid on inside to heat up during the preheat. Once the dough has finished its second rise, carefully remove the Dutch oven from the oven and take off the lid. Pick up the parchment paper and place the dough inside the pot. Put the lid back on and bake for 35 minutes with the lid on, and an additional 20-25 minutes with the lid off, or until the bread is golden brown.
Take the bread out of the pot and let it cool completely on a wire rack before slicing. Once cooled, slice it up and serve with butter or your favorite toppings. Enjoy!

Frequently Asked Questions
Why is my dough so sticky?
Because it’s supposed to be! Sticky dough is what gives this bread that gorgeous open crumb and chewy texture. If it feels like a gooey mess, that’s a good sign. Don’t add more flour unless it’s completely unmanageable. Flour your hands and the counter, then scoop it up like you mean it.
Can I use active dry yeast instead of instant?
You can! Just mix it with the warm water first and let it sit for about 10 minutes until it gets foamy. It might need a bit more rise time, but the result will still be amazing.
What if my bread doesn’t rise?
Check your yeast, if it’s expired or has been sitting in the pantry since last Christmas, it’s probably dead. Also make sure your water isn’t too hot; that’ll kill the yeast faster than you can say “flat loaf.” And remember, cold kitchens slow down the rise. Find a warm corner and give it time.
Do I really need a Dutch oven?
It’s the magic behind that crispy crust. The Dutch oven traps steam, which gives you that golden, crackly exterior. If you don’t have one, use any heavy oven-safe pot with a lid or even a deep casserole dish. In a pinch, a baking stone and an overturned pot can do the trick.
How do I know when it’s done baking?
The old school method still works best, turn it upside down and give the bottom a tap. If it sounds hollow, it’s done. Or be fancy and use a thermometer; it should read around 200°F (93°C).
Can I add other stuff to it?
Absolutely. Try mixing in herbs, cheese, nuts, or seeds right from the start. Rosemary and garlic? Yes please. Cheddar and jalapeño? Even better. Just don’t overload it or you’ll weigh down the dough.
How do I make sure the crust stays crispy?
Let it cool completely before slicing. Cutting it too soon releases steam and softens the crust. Once it’s cooled, store it loosely wrapped in a kitchen towel or a paper bag, never in plastic unless you like chewy crusts.
Can I freeze it?
Totally. Let it cool, wrap it tightly in plastic wrap or foil, then pop it in a freezer bag. It’ll keep for up to 3 months. Reheat it in a low oven and it’ll taste freshly baked.

Serving Suggestions
This bread goes with pretty much everything. Slice it thick and serve it warm with butter and a sprinkle of flaky salt, which is my favorite way. But this bread is perfect for dunking so here are some of my favorite dishes to serve it with:

Cream Of Mushroom Soup
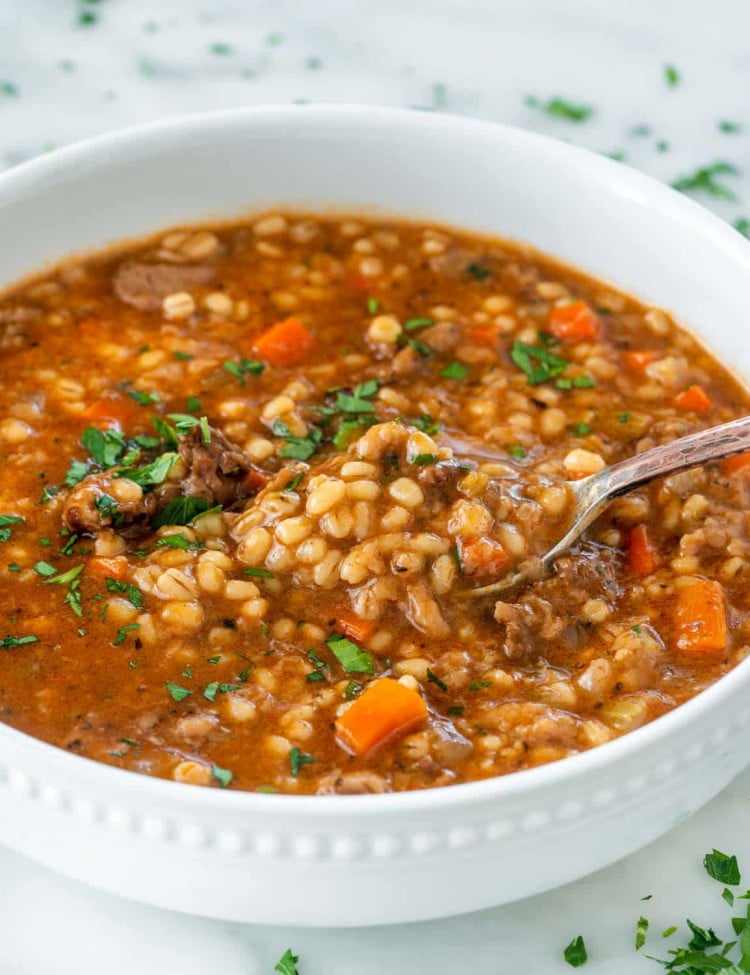
Beef Barley Soup
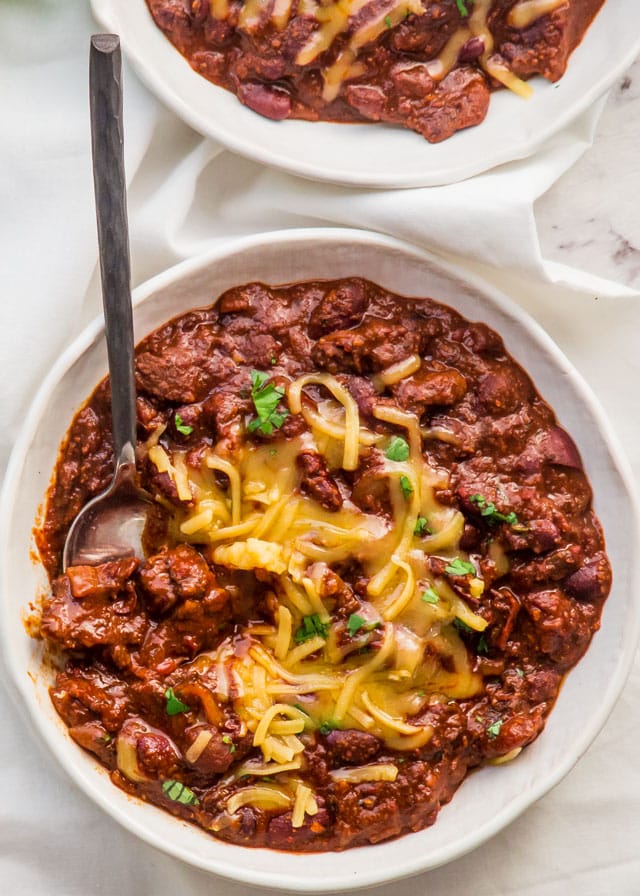
World’s Best Chili

Broccoli Cheddar Soup

How To Store Bread
Let the bread cool completely before wrapping it up. I usually keep mine in a clean kitchen towel or a paper bag so the crust stays crisp. Avoid plastic unless you like it soft. It’ll keep for about 2 to 3 days at room temp, or freeze it for up to 3 months. To bring it back to life, pop it in a 350°F (177°C) oven for 10 minutes, it’ll taste freshly baked again.
Volume vs Weight Measurements
When it comes to baking, volume and weight don’t always match up, and that can be confusing! Measuring by volume (cups) tells you how much space an ingredient takes up, while measuring by weight (grams) tells you how heavy it actually is. For example, a cup of flour weighs about 125 grams, while a cup of water weighs about 240 grams. That’s why recipes written in grams are more precise, especially for bread, where small changes in moisture can make a big difference. In my no knead breads, you’ll often see the flour and water appear close in number when using metric, but that’s because grams measure weight and milliliters measure volume, and 1 ml of water happens to equal 1 gram.
Try These Delicious Breads Next
- Dutch Oven No Knead Bread
- No Knead Skillet Bread
- Whole Wheat No Knead Bread
- No Knead One Hour Cinnamon Rolls
- No Knead Hot Cross Buns
- Muffuletta Bread
- No Knead Honey Oat Bread
- Ciabatta
- No-Knead Baguette
- No Knead Cinnamon Raisin Bread
- No Knead Potato Bread
Before You Begin! If you make this, please leave a review and rating letting us know how you liked this recipe! This helps our business thrive & continue providing free recipes.

Fast and Easy No Knead Bread
Video
Ingredients
- 3 cups water (lukewarm)
- 4½ teaspoon instant yeast ((2 packets))
- 6 cups all-purpose flour
- 1 tablespoon salt
Before You Begin! If you make this, please leave a review and rating letting us know how you liked this recipe! This helps our business thrive & continue providing free recipes.
Instructions
- In a large mixing bowl, whisk together the 3 cups of warm water and the 4½ teaspoons of yeast. In a separate bowl, mix the 6 cups of flour and 1 tablespoon of salt well. Dump the flour mixture into the yeast mixture. Using a wooden spoon or spatula, mix the dough until it is well combined.
- Cover the bowl with a dry kitchen towel and set the dough aside to rise for 1 hour, or until doubled in size.
- After your dough has risen, use a spatula to loosen the dough from the edges of the bowl. Flour your hands really well and also sprinkle a bit of flour over the dough. With your floured hands gently remove the dough from the bowl and roughly shape it into a ball. Place the dough onto a large sheet of parchment paper and cover with a dry kitchen towel to rise for another 30 minutes.
- Preheat your oven to 450℉ and place your 6 quart Dutch oven with its lid on inside to heat up during the preheat.
- Take the pot out of the oven, and remove the lid. Pick up the dough by grabbing all four corners of the parchment paper, and carefully place the dough inside the pot.
- Place the lid back onto the pot, and return it to the oven. Bake for 35 minutes with the lid on, and 20-25 minutes with the lid off, or until the bread is golden brown.
- Remove the bread from the pot and allow it to cool completely before slicing.
Equipment
Notes
- I use a large 6 quart Dutch oven for this recipe since it makes one big loaf. If your Dutch oven is smaller, cut the recipe in half.
- The dough should look sticky and messy. That’s what gives you that beautiful chewy texture.
- Make sure your water is warm, not hot, and that your yeast is fresh. That’s half the battle won right there.
- You can add herbs, cheese, or seeds if you want to play around with flavors. Just mix them in at the beginning.
- To check if your bread is done, tap the bottom. It should sound hollow. Or, if you have a thermometer, aim for about 200°F (93°C) inside.
Nutrition Information
Notice: Nutrition is auto-calculated for your convenience. Where relevant, we recommend using your own nutrition calculations.
