No Knead Whole Wheat Bread
This post may contain affiliate links. Please read my disclosure policy.
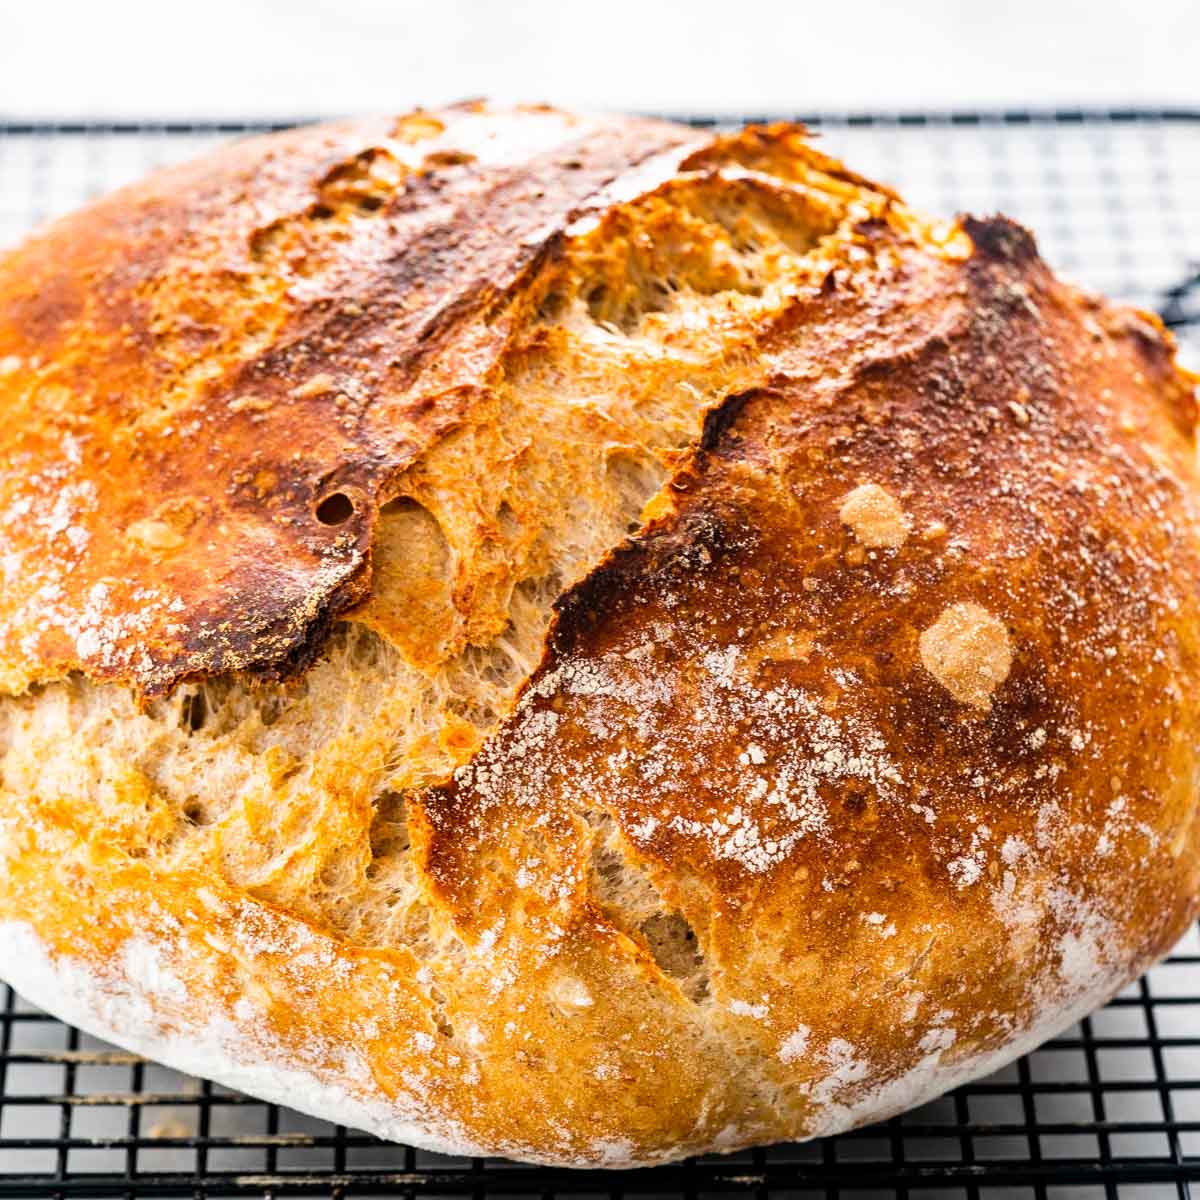
As the name states, there’s no kneading required for this loaf! My No Knead Whole Wheat Bread requires just 5 ingredients and gives you a healthy and delicious whole wheat crusty bread.
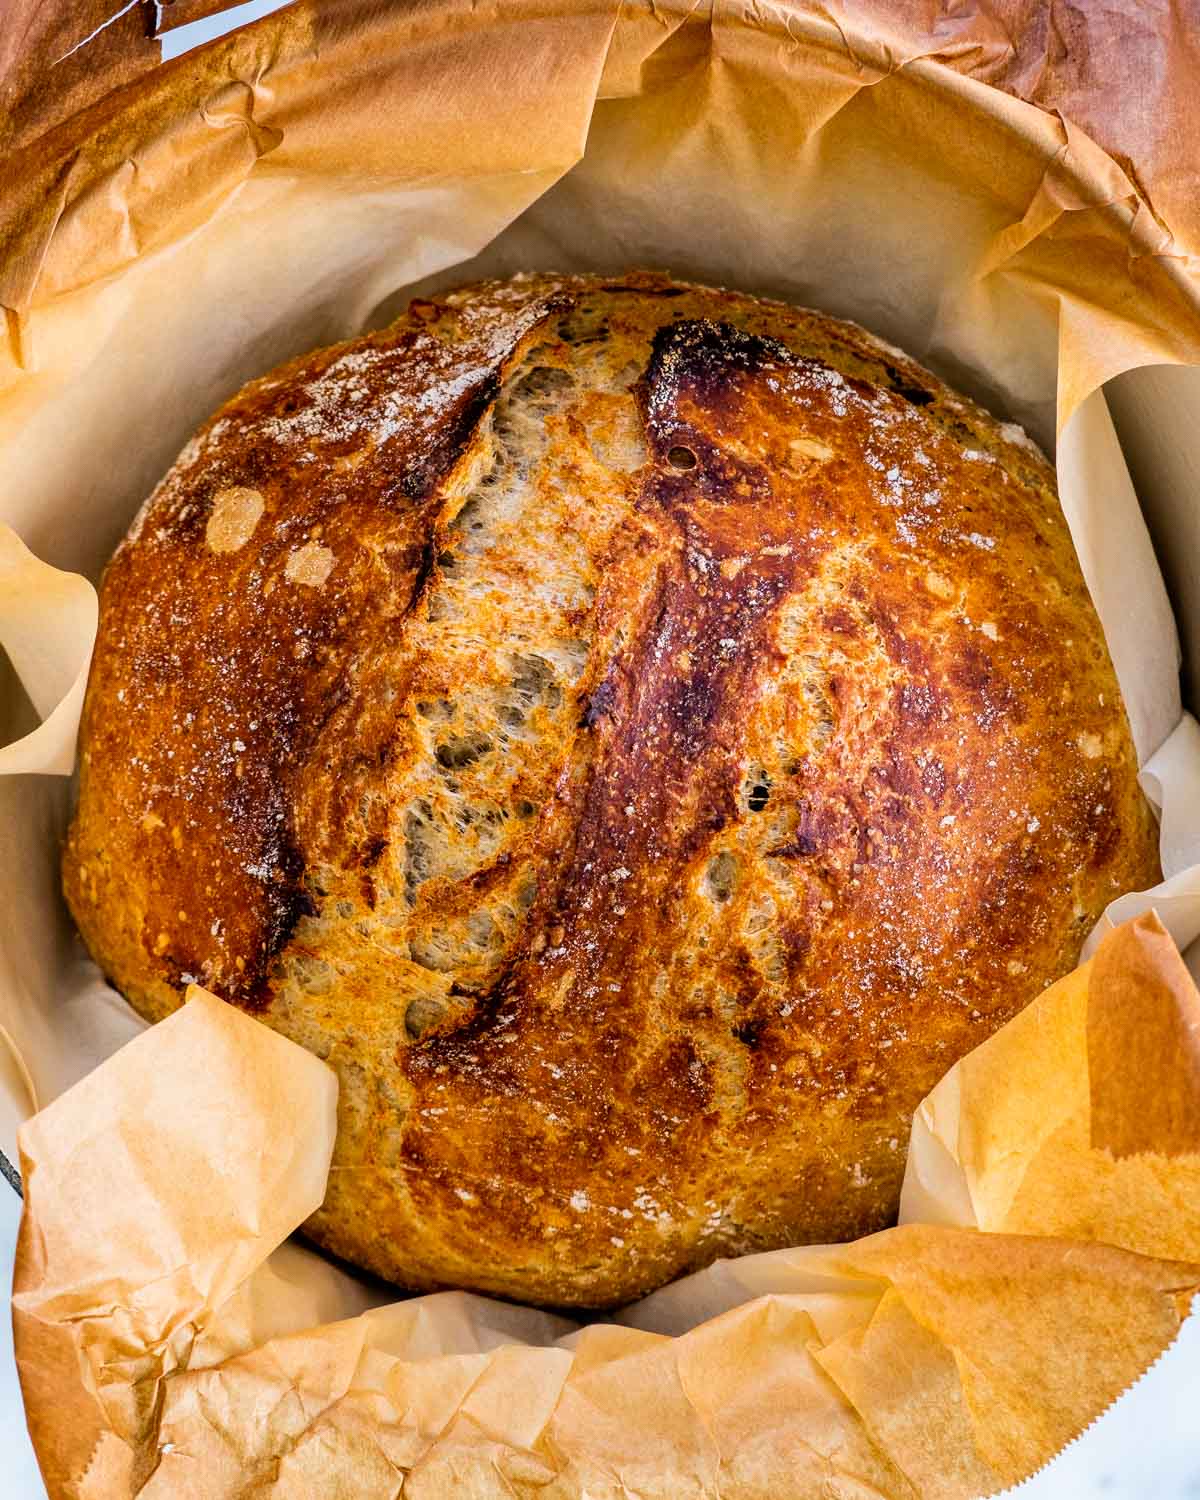
I’ve made this bread before with only white all-purpose flour, but one of the most common question I get from you guys is “Can I make this bread with whole wheat flour?”. The answer is simple, yes! I have made this with all whole wheat flour and also with half whole wheat and half all-purpose, which is what this recipe is.
Many times when you buy whole wheat bread, it’s usually always made with some all-purpose flour, not just whole wheat. This bread is healthy and delicious, as I always say, there’s nothing better than freshly made bread.
Why Make This No Knead Whole Wheat Bread
- No Kneading Required
- Fool-Proof Recipe
- Easy To Make For Beginners
- Requires only 5 Simple Ingredients
- Healthy and Delicious
You cannot make an easier bread than this. There’s no kneading required, you simply mix the ingredients with a wooden spoon in a big bowl, cover it with plastic wrap and leave it on your counter overnight. Bask in the glory of this easy no knead whole wheat bread recipe so let’s get baking!
Ingredient Notes
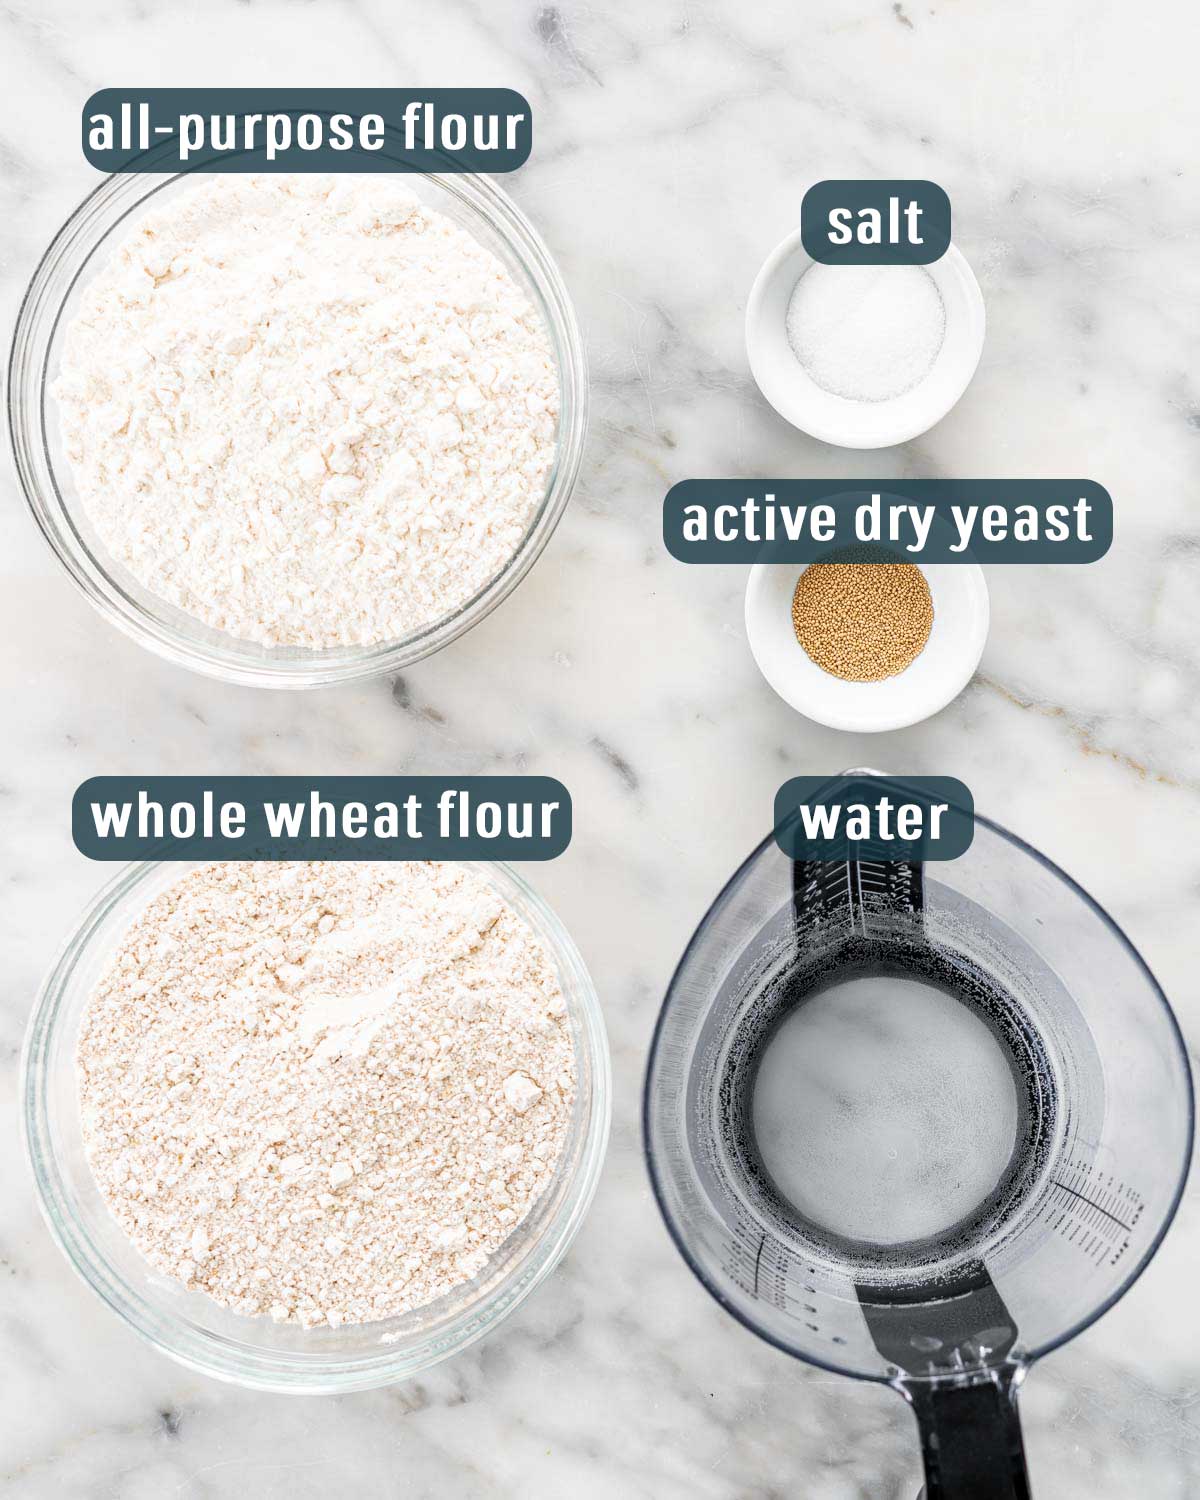
- Flour – We are using whole wheat flour and all-purpose flour. I like mixing the two, to get a fluffier bread, if you use only whole wheat you’ll still get a great bread, but just a bit denser.
- Salt – Use as much or as little as you’d like. Just don’t skip it, without it the bread won’t have any taste at all.
- Yeast – I used active dry yeast, you can use instant yeast if that’s what you have.
- Water – Make sure it’s at room temperature!
How To Make No Knead Whole Wheat Bread
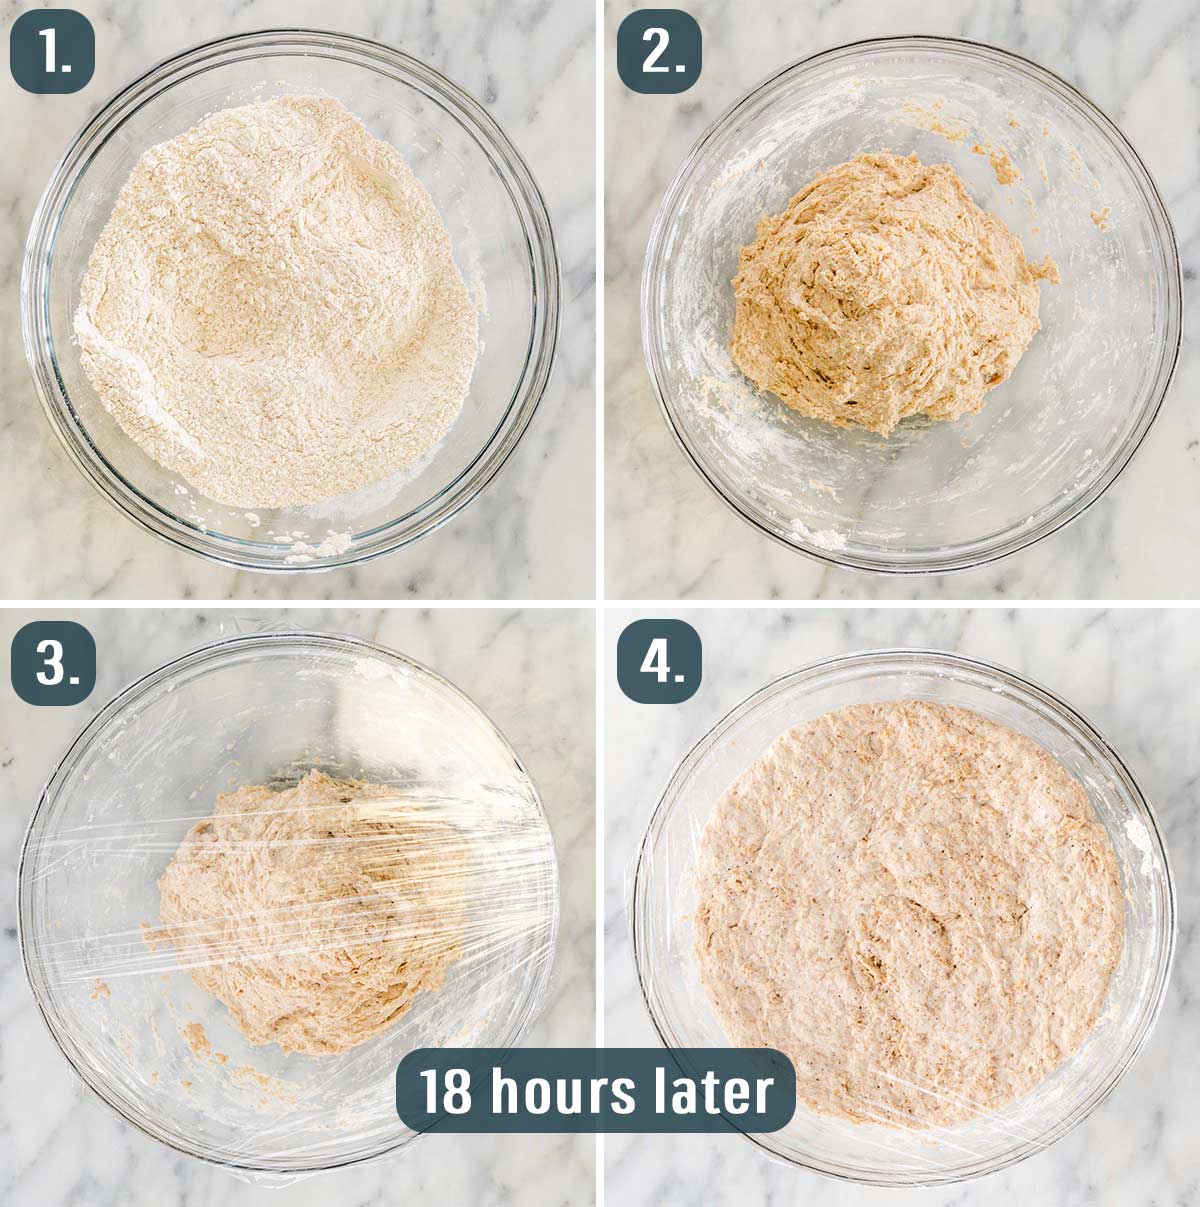
- Mix Ingredients and Rest: In a big bowl combine whole wheat flour and all-purpose flour, salt and yeast. Pour the water into the bowl and using a spatula or a wooden spoon, mix it until it’s all incorporated. It will be sticky, so just mix until most of the flour is incorporated. Cover the bowl with plastic wrap and let it sit on your counter for 12 to 18 hours.
- Preheat Oven and Pot: Preheat oven to 475°F. Add your Dutch Oven to the oven and heat it as well while you’re prepping the dough.
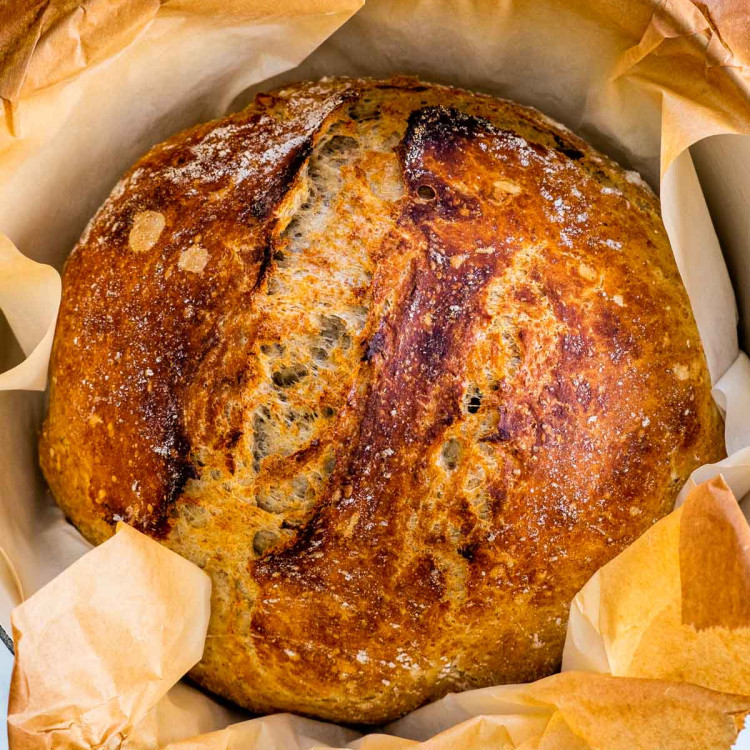
- Shape Dough: Flour your hands really well and and sprinkle plenty of flour over the dough in the bowl. With your floured hands gently remove the dough from the bowl, scraping at the sides first, adding more flour as needed (see video) and roughly shape it into a ball. Take the ball of dough and drop it directly into the pot or place it on a piece of parchment paper and grab the parchment paper with the dough and place it in the pot. Be careful not to burn yourself, the pot will be quite hot, so use oven mitts to handle it. Cover the pot with the lid and place it back in the oven.
- Bake: Bake the bread for 30 minutes covered with the lid on, after which remove the lid and bake for another 10 to 15 minutes until golden brown. and crusty.
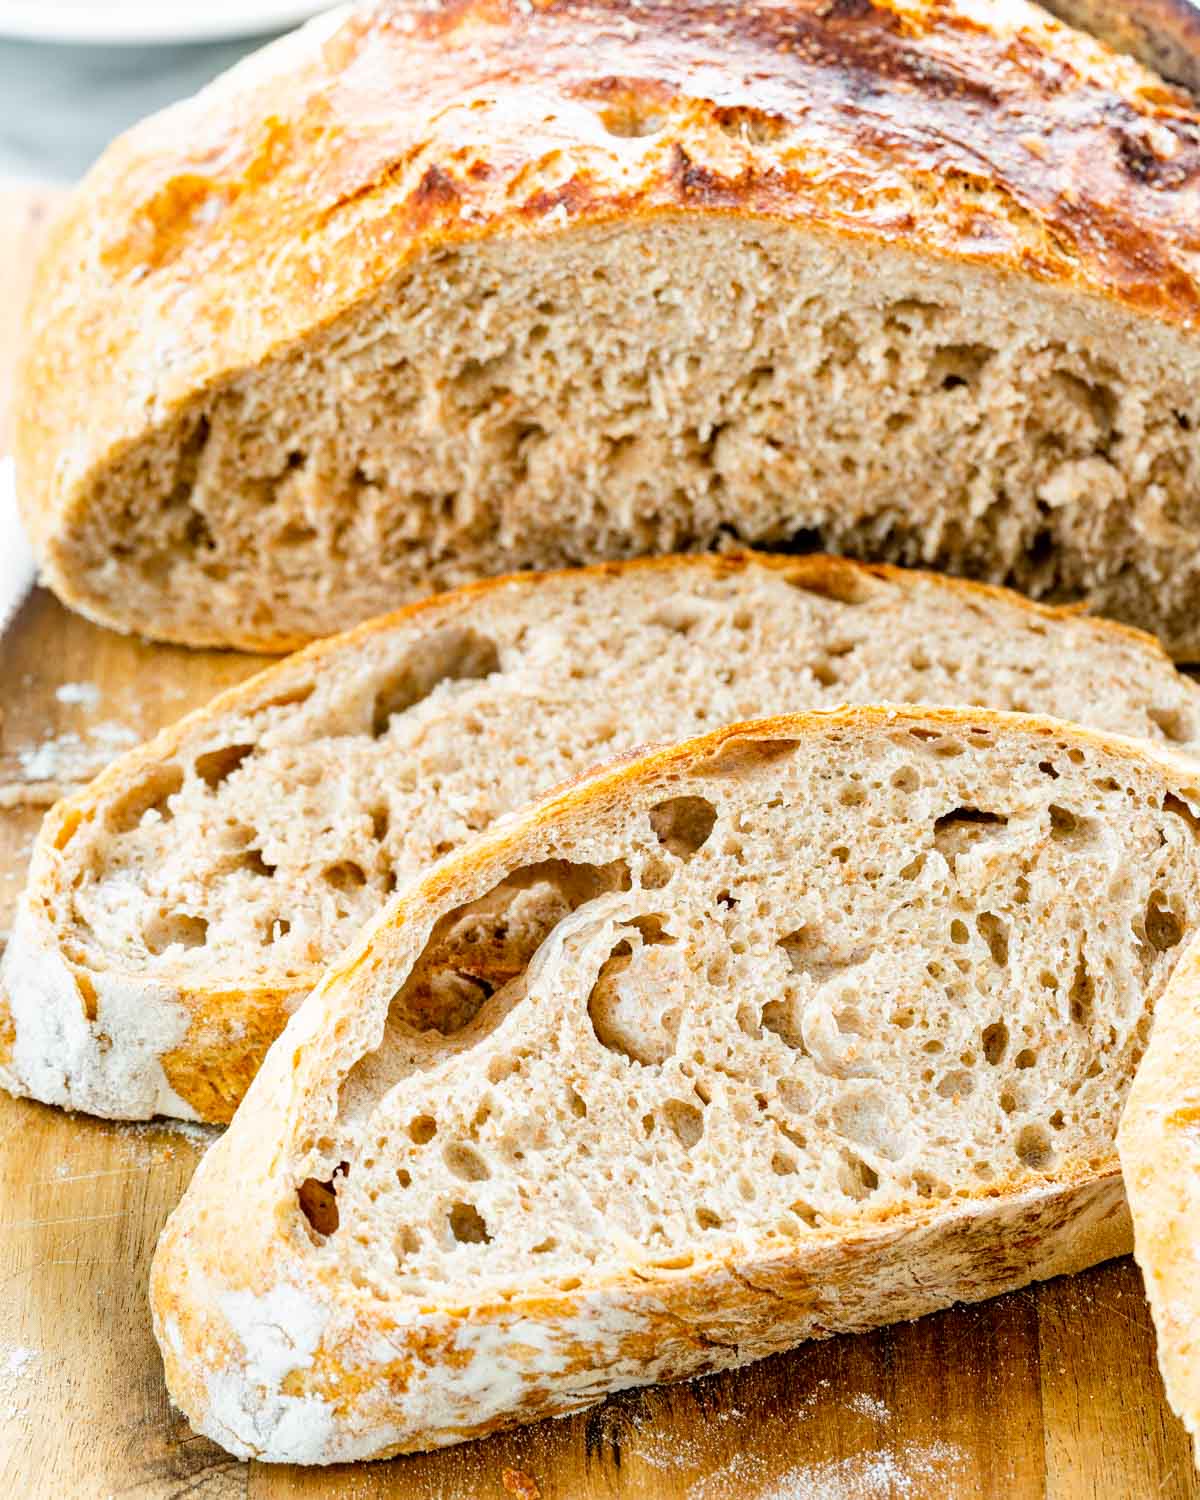
- Cool: Remove from the oven, transfer to a cooling rack and let cool before slicing and serving.

Frequently Asked Questions
Why Is My Bread Chewy?
Usually your bread will be chewy when there isn’t enough gluten formation or you’re using a low-protein flour. Make sure you let your bread dough rest for at least 12 hours to give it enough time for gluten formation. I have left the dough rest for up to 24 hours, so you should be ok, I recommend around 18 hours.
Why Is My Bread Dense?
Usually bread will be too dense when there is too much flour. Keep in mind this dough will be pretty sticky, do not add more flour than specified. Other factors that come into play are humidity and age of flour. Little yeast, long rise, sticky dough are keys to a good, light loaf.
I Don’t Have A Dutch Oven, What Can I Use Instead?
If you don’t have a Dutch Oven, a covered metal pot would work as well, just make sure it can stand up to 475°F heat. A 4 quart Calphalon soup pot with lid would work as well. If your pot doesn’t have a lid, you can cover the pot with heavy-duty aluminum foil, just make sure you seal the pot well.
Why Do I Have To Cover The Pot For The First 30 Minutes?
Covering the pot for the first 30 minutes, will create steam inside, which is what creates the crust on the bread.
How Do I Know When My Bread Is Done Baking?
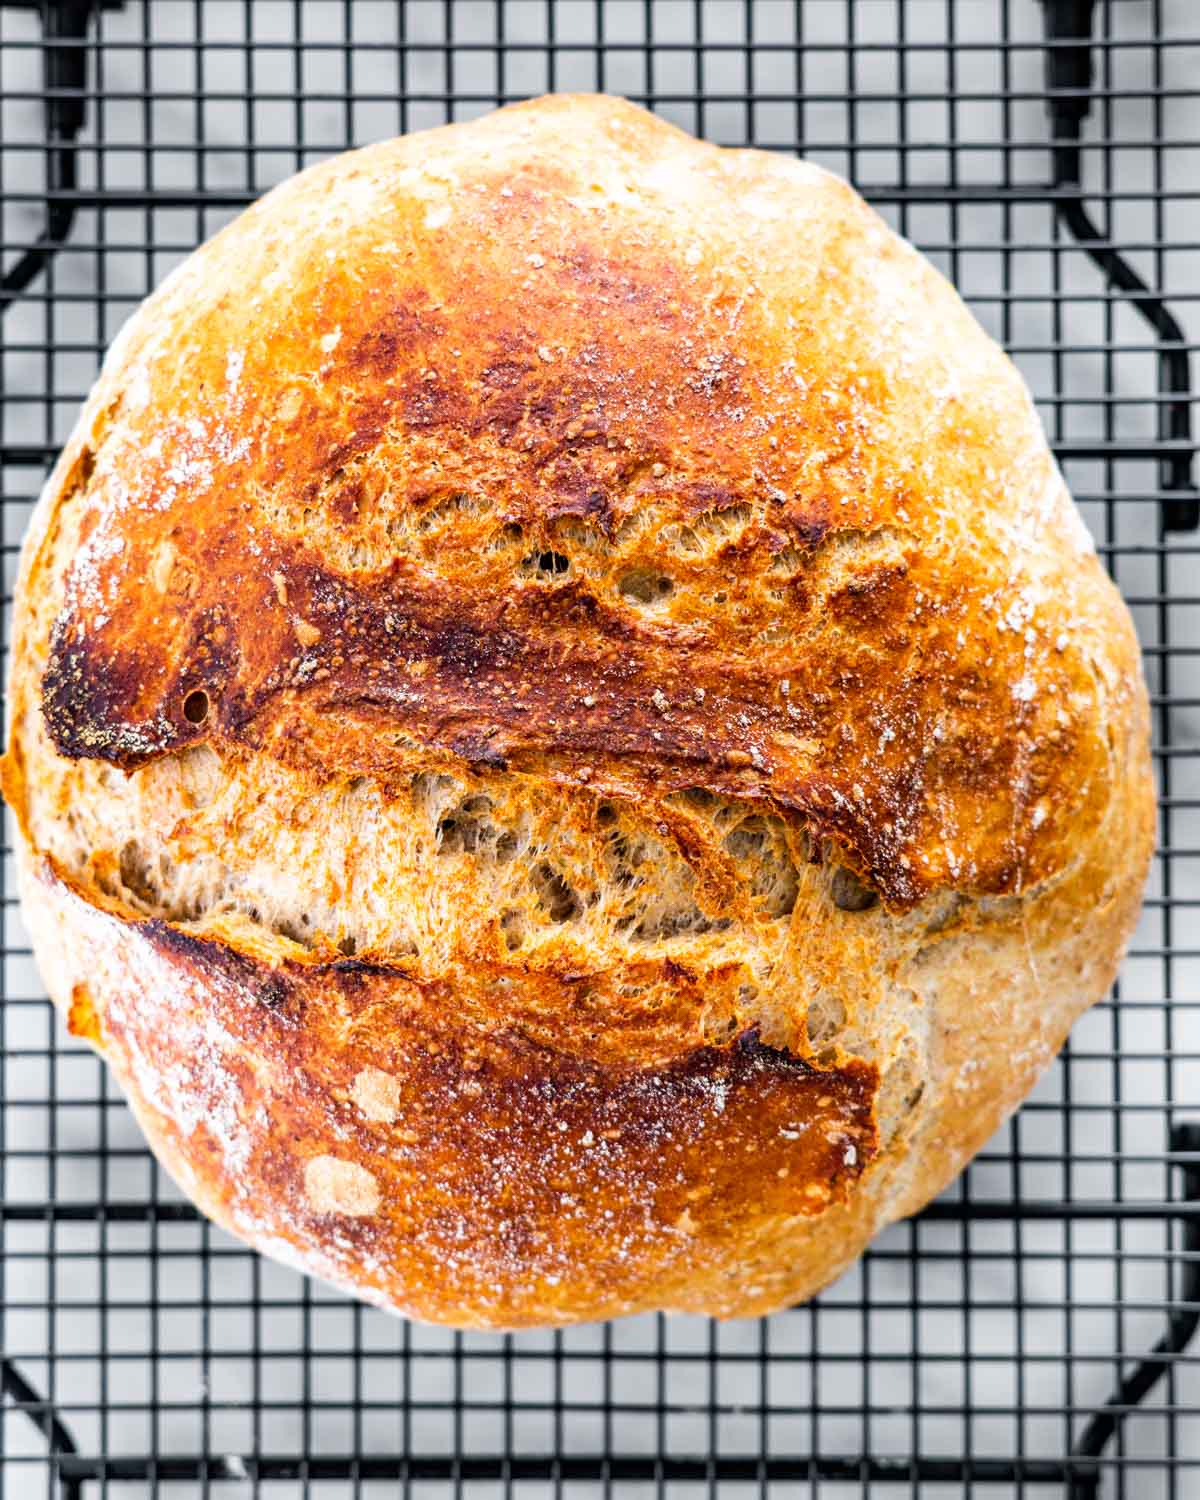
Tap the bottom! Take the bread out of the Dutch oven, turn it upside down and give the bottom a firm thump with your thumb, or a knock -if it sounds hollow, it’s done. You can also use a thermometer to check the internal temperature of the bread, when it reaches between 190°F and 200°F, your bread is done.
Tips
- Once your yeast package or jar has been opened, you must refrigerate the yeast or freeze it in an airtight container.
- Always check the expiration date on your yeast and make sure it hasn’t expired. All your yeast products whether it’s in a jar or a package should be stamped with a “Best if Used by” date.
- Do not refrigerate the dough as it rises, yes it will be safe on your counter for 18 hours.
- If you want to add other ingredients such as seeds, herbs or cheese, add them in the beginning when combining all the ingredients.
- The slow rise at room temperature is what gives no knead bread its power. I’ve been asked many times if it needs to sit around for that long and the answer is simply, yes! The yeast needs time to perform its magic.
- To prevent your bread from sticking to the pot, make sure you pot is hot enough before adding the dough, or use parchment as mentioned in instructions. If the pot is very hot at the bottom, you bread will instantly begin to cook, letting it rise smoothly. Another option is to sprinkle some cornmeal on the bottom of the pot.

Storing
This bread can dry out a little easily so it is best to store it tightly wrapped in plastic wrap or in an airtight container to preserve it longer. You can store it like this for about 3 to 4 days right on the counter.
Freezing/Make Ahead
If you want to save your bread for longer, or make this loaf in advance: bake as instructed, let cool, wrap tightly or transfer to an airtight container and freeze for up to 3 months.
More Great Recipes To Try
Before You Begin! If you make this, please leave a review and rating letting us know how you liked this recipe! This helps our business thrive & continue providing free recipes.
No Knead Whole Wheat Bread
Video
Ingredients
- 2 cups whole wheat flour
- 2 cups all-purpose flour
- 2 teaspoon salt
- ¾ teaspoon active dry yeast
- 2 cups water (room temperature)
Before You Begin! If you make this, please leave a review and rating letting us know how you liked this recipe! This helps our business thrive & continue providing free recipes.
Instructions
- Mix Ingredients and Rest: In a big bowl combine whole wheat flour and all-purpose flour, salt and yeast. Pour the water into the bowl and using a spatula or a wooden spoon, mix it until it's all incorporated. It will be sticky, so just mix until most of the flour is incorporated. Cover the bowl with plastic wrap and let it sit on your counter for 12 to 18 hours.
- Preheat Oven and Pot: Preheat oven to 475°F. Add your Dutch Oven to the oven and heat it as well while you're prepping the dough.
- Shape Dough: Flour your hands really well and and sprinkle plenty of flour over the dough in the bowl. With your floured hands gently remove the dough from the bowl, scraping at the sides first, adding more flour as needed (see video) and roughly shape it into a ball. Take the ball of dough and drop it directly into the pot or place it on a piece of parchment paper and grab the parchment paper with the dough and place it in the pot. Be careful not to burn yourself, the pot will be quite hot, so use oven mitts to handle it. Cover the pot with the lid and place it back in the oven.
- Bake: Bake the bread for 30 minutes covered with the lid on, after which remove the lid and bake for another 10 to 15 minutes until golden brown. and crusty.
- Cool: Remove from the oven, transfer to a cooling rack and let cool before slicing and serving.
Equipment
Notes
- I have made this bread with 4 cups of whole wheat flour as well. If using all whole wheat flour, you may need a bit more water, especially if you live in a dry environment.
- Always check the expiration date on your yeast and make sure it hasn’t expired. All your yeast products whether it’s in a jar or a package should be stamped with a “Best if Used by” date. Always make sure you check this date, even when you purchase the yeast, who knows it could have been on the shelf past its expiry date.
- To keep your yeast fresh and longer lasting, unopened yeast packages or jars should be stored in a cool or dry place such as your cupboard. However, you can also store your yeast in the fridge or freezer. If you do store it in the freezer and need to use yeast for your baking, make sure you take out the amount you need and let it sit at room temperature for at least half hour before using.
- Do not refrigerate the dough as it rises, yes it will be safe on your counter for 18 hours.
- If you want to add other ingredients such as seeds, herbs or cheese, add them in the beginning when combining all the ingredients.
- The slow rise at room temperature is what gives no knead bread its power. I’ve been asked many times if it needs to sit around for that long and the answer is simply, yes! The yeast needs time to perform its magic.
- To prevent your bread from sticking to the pot, make sure you pot is hot enough before adding the dough, or use parchment as mentioned in instructions. If the pot is very hot at the bottom, you bread will instantly begin to cook, letting it rise smoothly. Another option is to sprinkle some cornmeal on the bottom of the pot.
- To check if the bread is cooked through, tap the bottom! Take the bread out of the Dutch oven, turn it upside down and give the bottom a firm thump with your thumb, or a knock -if it sounds hollow, it’s done. You can also use a thermometer to check the internal temperature of the bread, when it reaches between 190°F and 200°F, your bread is done.
- This bread can dry out a little easily so it is best to store it tightly wrapped in plastic wrap or in an airtight container to preserve it longer. You can store it like this for about 3 to 4 days right on the counter.
- If you want to save your bread for longer, or make this loaf in advance: bake as instructed, let cool, wrap tightly or transfer to an airtight container and freeze for up to 3 months.
Nutrition Information
Notice: Nutrition is auto-calculated for your convenience. Where relevant, we recommend using your own nutrition calculations.
