Checkerboard Cookies
This post may contain affiliate links. Please read my disclosure policy.
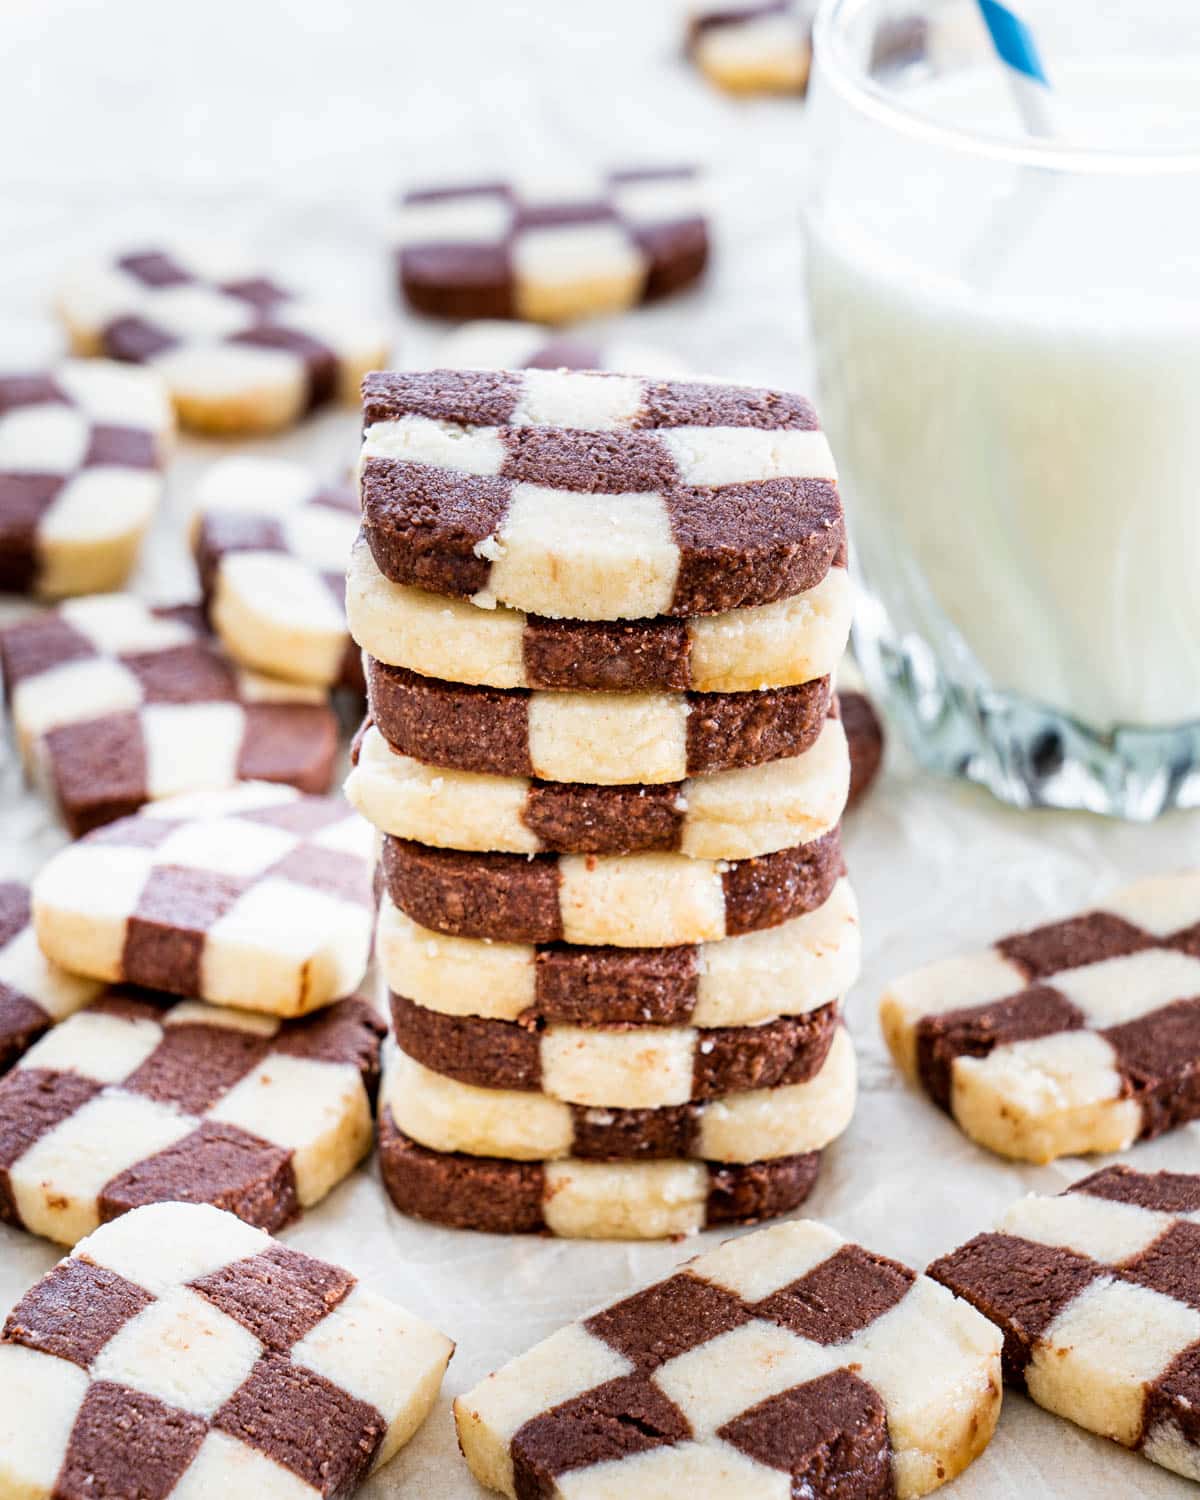
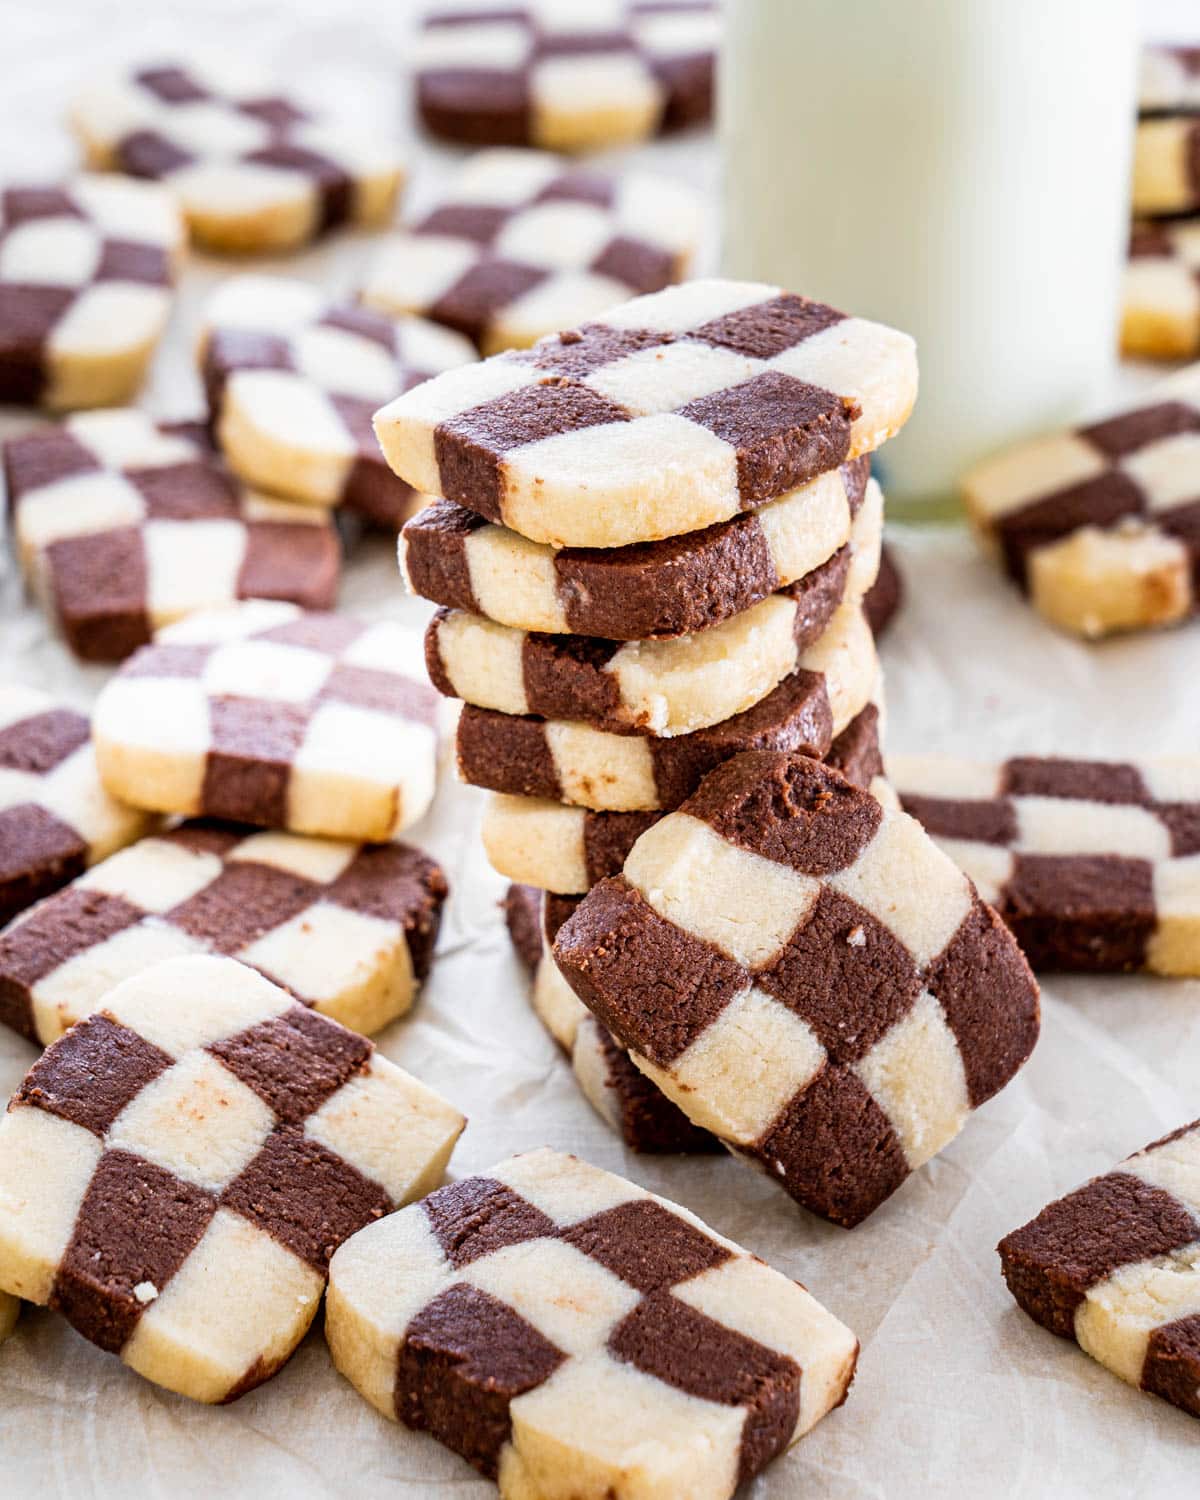
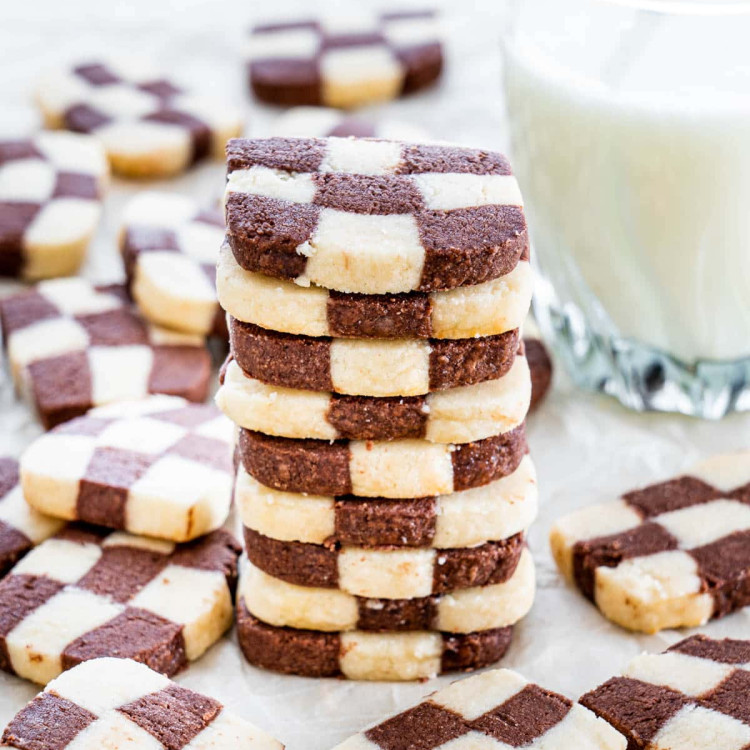
These Checkerboard Cookies are so appealing with their black and white checkerboard design that gives you both a chocolate and a vanilla flavored cookie in one.
Easy Checkerboard Cookies Recipe
I already started baking for Christmas and I must say my freezer is half full of cookies. These checkerboard cookies are also in my freezer now and they are perfect for freezing. They’re not as hard to make as you think, it’s a simple cookie dough, one plain and one with cocoa powder for the chocolate dough. And after that it’s just about assembly!
I could hardly wait to make these cookies. I made them a few times before and everyone is always so impressed with them and wants to know how they’re made. So here’s my recipe which I shared with you about 6 years ago with updated photos and content.
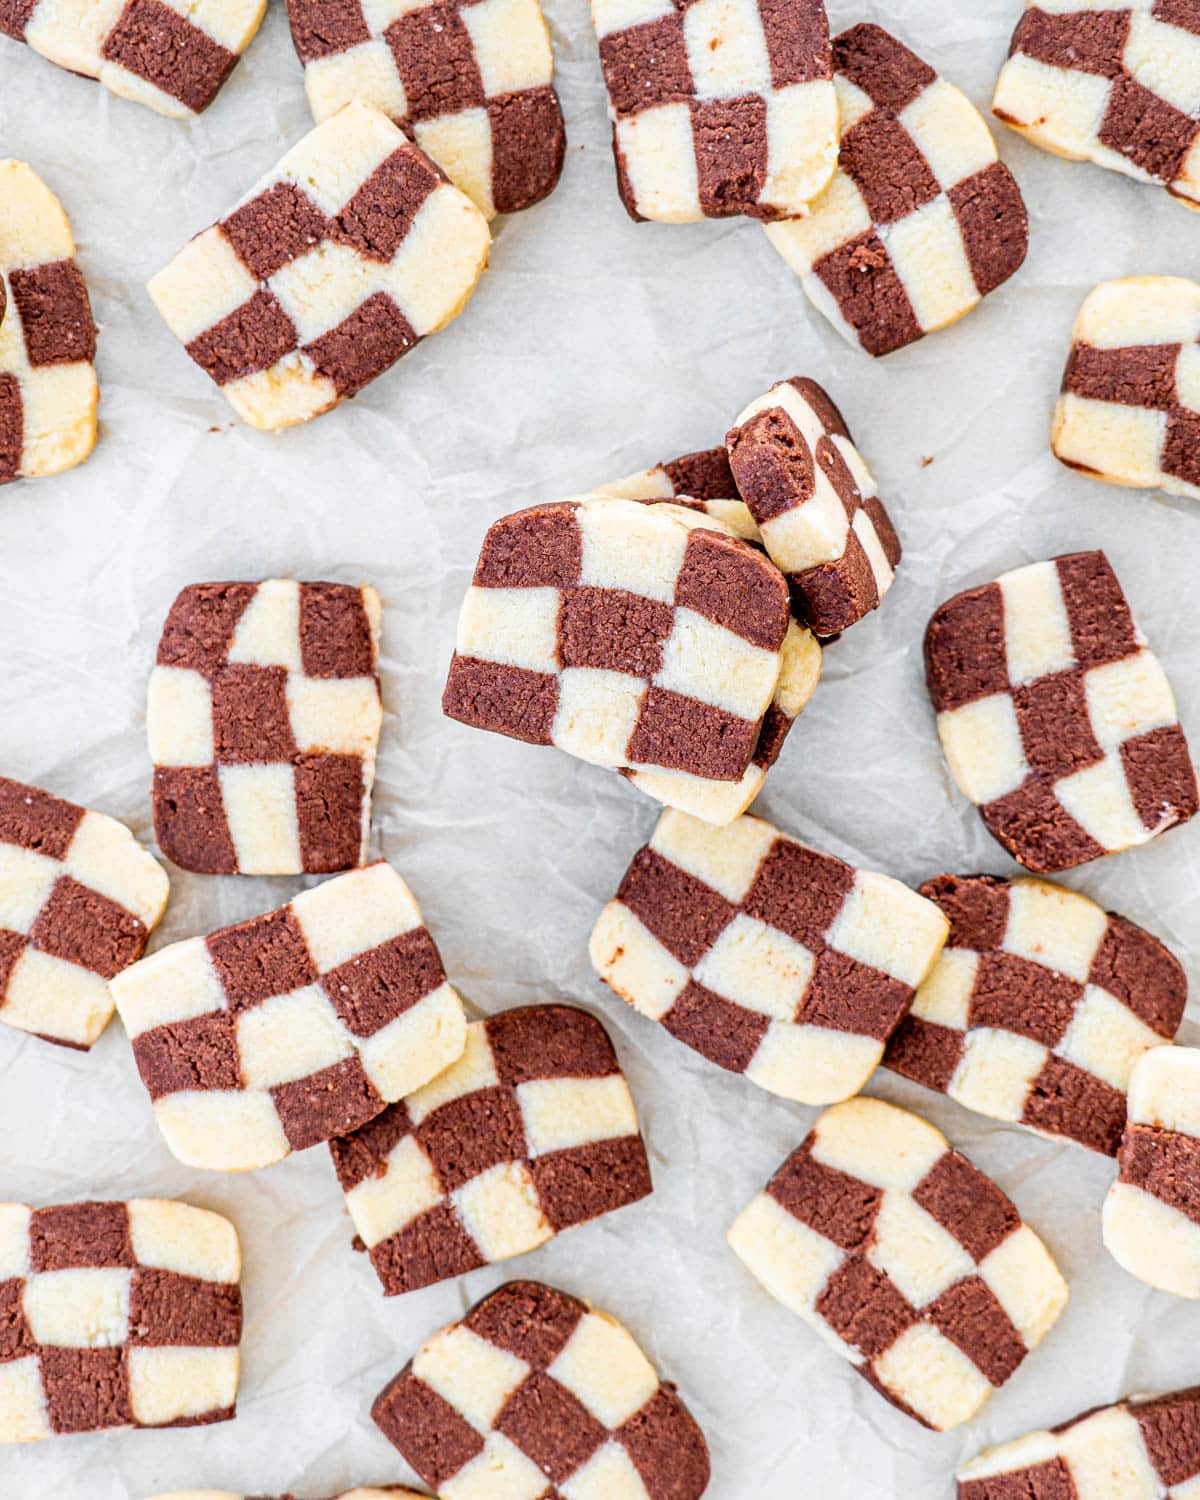
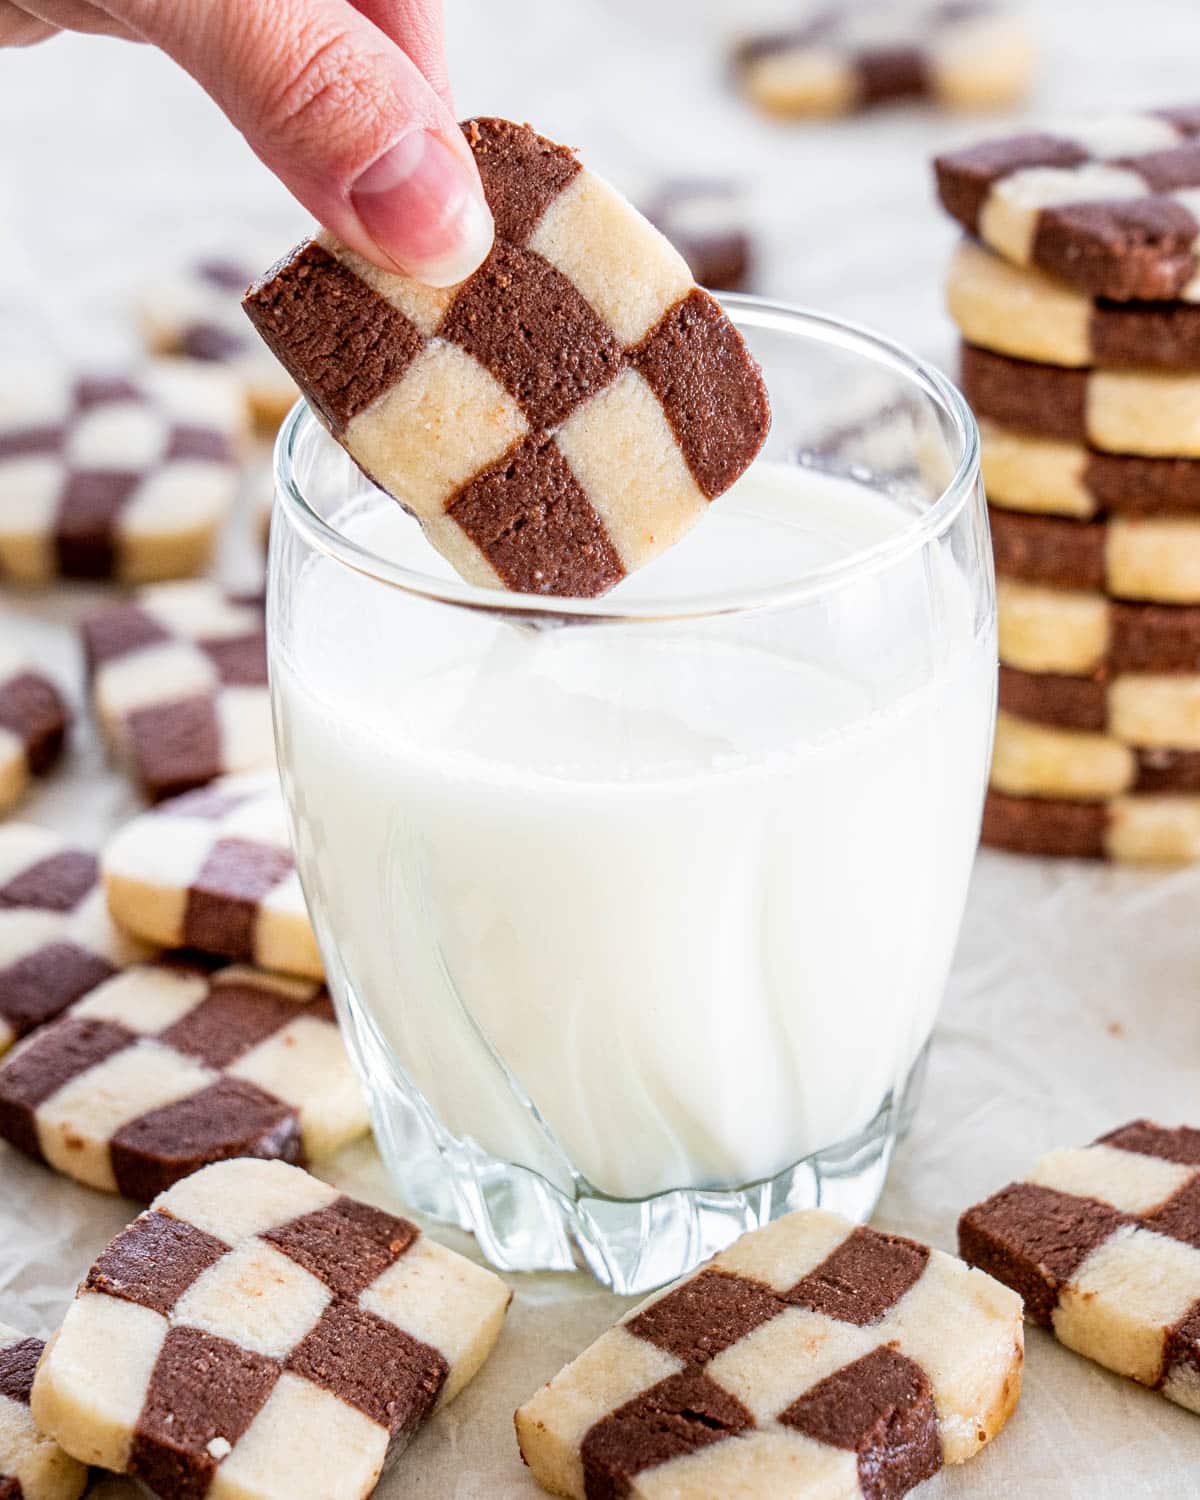
These checkerboard cookies are visually stunning and completely delicious with some rich cocoa powder and super bright lemon extract. You can give these away as little gifts or just feast on them with some milk in front of a fire, either way you’ll be happy!
Get Ready To Impress
The best part of whipping together these cookies is how impressed everyone will be by them once they lay their eyes on them! That’s the great thing about this time of year, you can bake all those treats you’ve been meaning to test out and become everyone’s all time favorite.
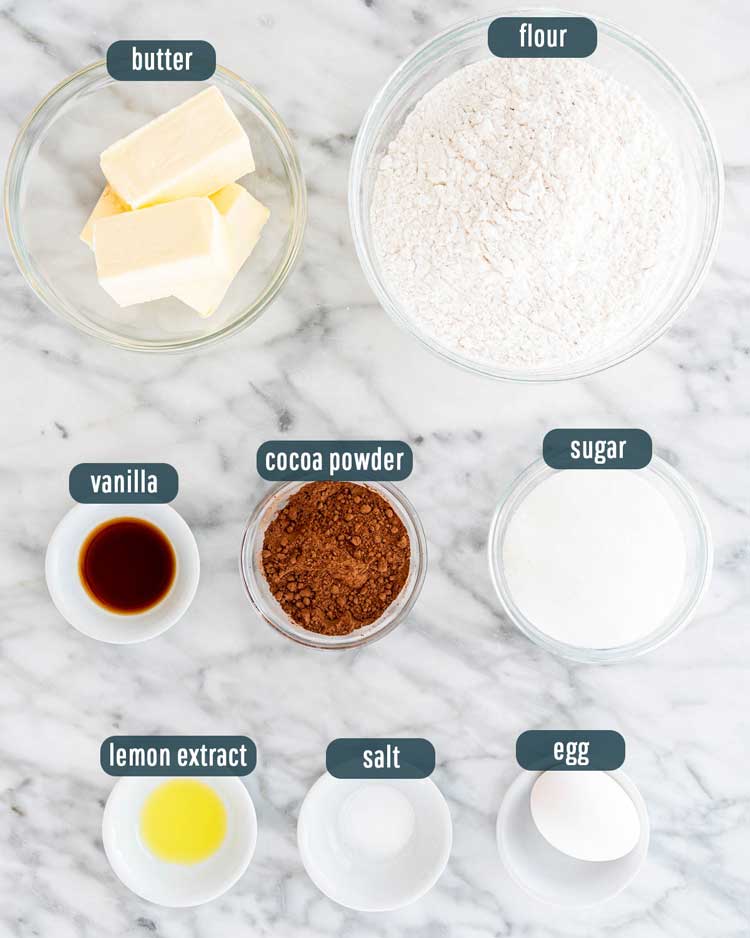
- Butter – Unsalted and softened.
- Sugar – Just some granulated white sugar! We want a nice clean, sweet flavor for our cookies today so keep it simple.
- Vanilla – Just a bit of vanilla extract to act as a flavor secret weapon.
- Lemon – We’re just using a bit of lemon extract today to give us a super fresh, bright bite. I’ll include a section below detailing how best to substitute this ingredient if you don’t have any on hand.
- Flour – All purpose flour is all we need today, don’t worry about picking up anything fancy – the fanciness comes later!
- Salt – All baked goods need seasoning, just throw in a little table salt.
- Cocoa – Some cocoa powder, this will give us a rich chocolate taste as well as being the dark element of our checkerboard.
- Egg – 1 egg, that’s all we need!
How To Make Checkerboard Cookies
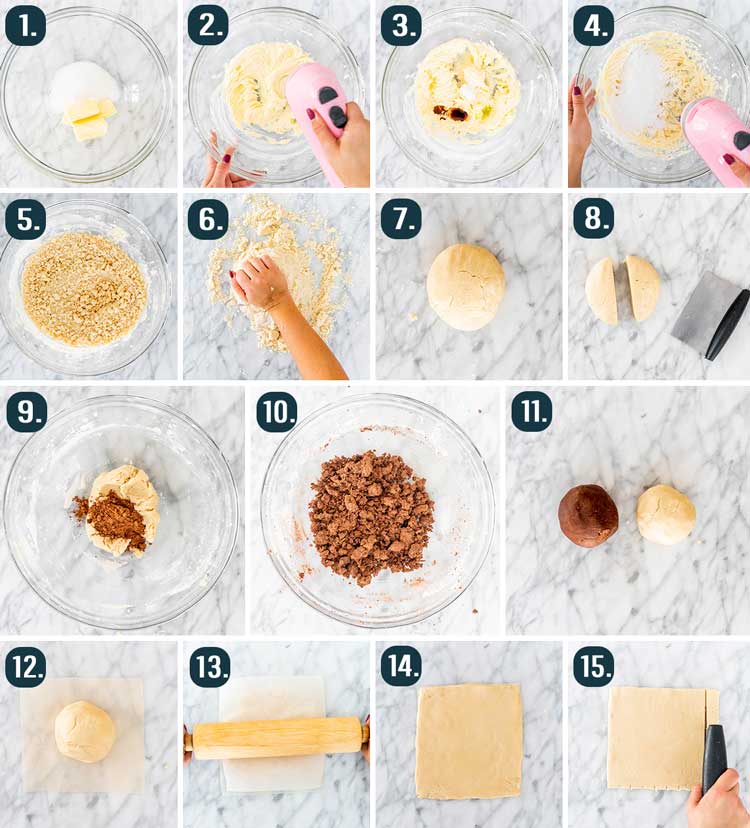
- Combine the dough: In the bowl of an electric mixer, cream butter and sugar until well blended, 1 to 2 minutes. Add vanilla extract, lemon extract, and salt. With mixer on low speed, gradually add flour, scraping down the sides of bowl.
- Knead the dough: Turn dough out onto a clean work surface; it will be loose and crumbly. Knead dough by pushing small amounts away from you with the heel of your hand for 1 to 2 minutes. Divide the dough in half. Put the other half back in the mixer and add the cocoa powder; mix until fully incorporated.
- Shape the dough: Place each half of the kneaded dough between two sheets of parchment paper. Using a rolling pin, shape dough into two 7-inch squares, about 3/8 inch thick. Using a sharp knife and a ruler, slice each square into nine 3/4-inch-wide strips.
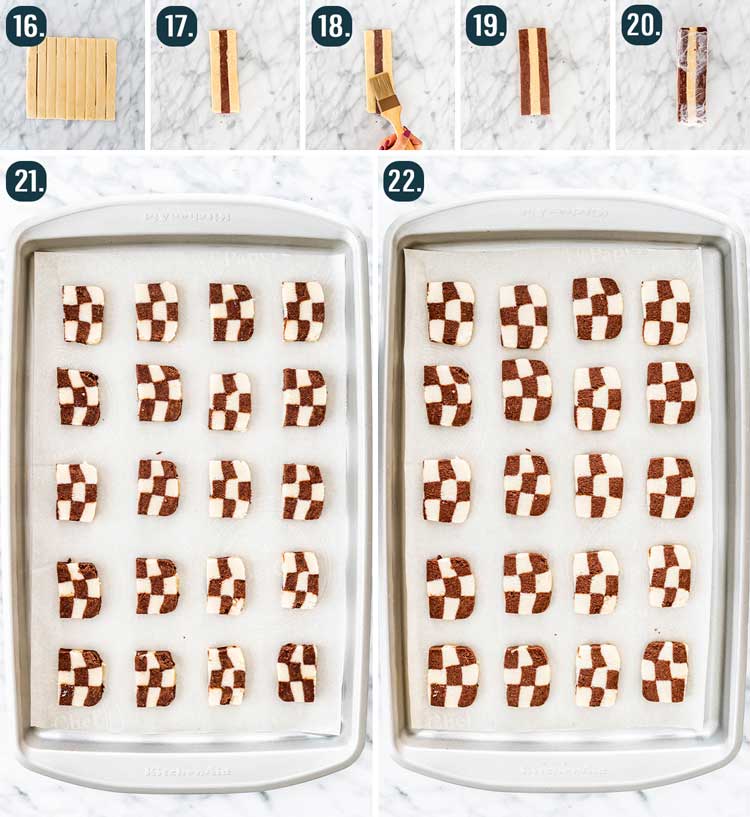
- Assemble the cookies: Whisk together the egg and 1 tablespoon water. Cover work surface with plastic wrap. Place three strips of dough on plastic, alternating white and chocolate strips. Brush tops and in between the strips with egg wash. Gently press strips together. Repeat, forming second and third layers, alternating colors to create a checkerboard effect. Wrap assembled log in plastic. Repeat process for second log, reversing color pattern. Refrigerate 30 minutes, or freeze 15 minutes.
Bake
- Preheat the oven to 350 degrees.
- Bake: Line two baking sheets with a Silpat baking mat or parchment paper. Slice each log into 1/4-inch-thick slices; place cookies on baking sheets. Bake until done, 10 to 12 minutes. Remove baking sheets from oven, and let cookies cool 2 minutes. Transfer cookies to a wire rack to cool completely.
No Lemon Extract On Hand?
That’s totally fine! Instead just swap it out for 1 teaspoon of fresh grated lemon peel. You can also use 1/8 teaspoon of lemon oil.
Can I Make These Cookies Gluten Free?
You sure can! Just substitute the regular old all purpose flour out for equal amounts of your favorite gluten free flour.
Storing Leftovers
Be sure to store these in an airtight container at room temperature and your cookies will last for 2 – 3 weeks! This will ensure you keep the cookies soft. If you don’t have an airtight container, add a slice of bread which will keep them soft. It works the same way as you would with a bag of open brown sugar.
Freezing
These checkerboard cookies are perfect for freezing! You can either wrap them individually or place them together in an airtight container. They will last in the freezer for 3 months, just thaw them on the counter overnight and enjoy!
Craving More Delicious Cookies?
- Best Ever Chocolate Chip Cookies
- Date Nut Pinwheel Cookies
- Chocolate Sugar Cookies
- Chocolate Rumballs
- Snickerdoodle Cookies
- Lemon Shortbread Cookies
- Peanut Butter Cookies
- Raspberry Pinwheels
Before You Begin! If you make this, please leave a review and rating letting us know how you liked this recipe! This helps our business thrive & continue providing free recipes.
Checkerboard Cookies
Video
Ingredients
- 1 cup butter (unsalted, softened (2 sticks))
- ½ cup sugar
- 1 teaspoon vanilla extract
- ¼ teaspoon lemon extract
- ¼ teaspoon salt
- 2½ cups all-purpose flour
- 3 tablespoon cocoa powder
- 1 large egg
Before You Begin! If you make this, please leave a review and rating letting us know how you liked this recipe! This helps our business thrive & continue providing free recipes.
Instructions
- Combine the dough: In the bowl of an electric mixer, cream butter and sugar until well blended, 1 to 2 minutes. Add vanilla extract, lemon extract, and salt. With mixer on low speed, gradually add flour, scraping down the sides of bowl.
- Knead the dough: Turn dough out onto a clean work surface; it will be loose and crumbly. Knead dough by pushing small amounts away from you with the heel of your hand for 1 to 2 minutes. Divide the dough in half. Put the other half back in the mixer and add the cocoa powder; mix until fully incorporated.
- Shape the dough: Place each half of the kneaded dough between two sheets of parchment paper. Using a rolling pin, shape dough into two 7-inch squares, about ⅜ inch thick. Using a sharp knife and a ruler, slice each square into nine ¾-inch-wide strips.
- Assemble the cookies: Whisk together the egg and 1 tablespoon water. Cover work surface with plastic wrap. Place three strips of dough on plastic, alternating white and chocolate strips. Brush tops and in between the strips with egg wash. Gently press strips together. Repeat, forming second and third layers, alternating colors to create a checkerboard effect. Wrap assembled log in plastic. Repeat process for second log, reversing color pattern. Refrigerate 30 minutes, or freeze 15 minutes.
- Preheat the oven to 350℉.
- Bake: Line two baking sheets with a Silpat baking mat or parchment paper. Slice each log into ¼-inch-thick slices; place cookies on baking sheets. Bake until done, 10 to 12 minutes. Remove baking sheets from oven, and let cookies cool 2 minutes. Transfer cookies to a wire rack to cool completely.
Notes
- Be sure to store these in an airtight container at room temperature and your cookies will last for 2 – 3 weeks!
- These checkerboard cookies are perfect for freezing! You can either wrap them individually or place them together in an airtight container. They will last in the freezer for 3 months, just thaw them on the counter overnight and enjoy!
Nutrition Information
Notice: Nutrition is auto-calculated for your convenience. Where relevant, we recommend using your own nutrition calculations.
