No Bake Butterfinger Bars
This post may contain affiliate links. Please read my disclosure policy.
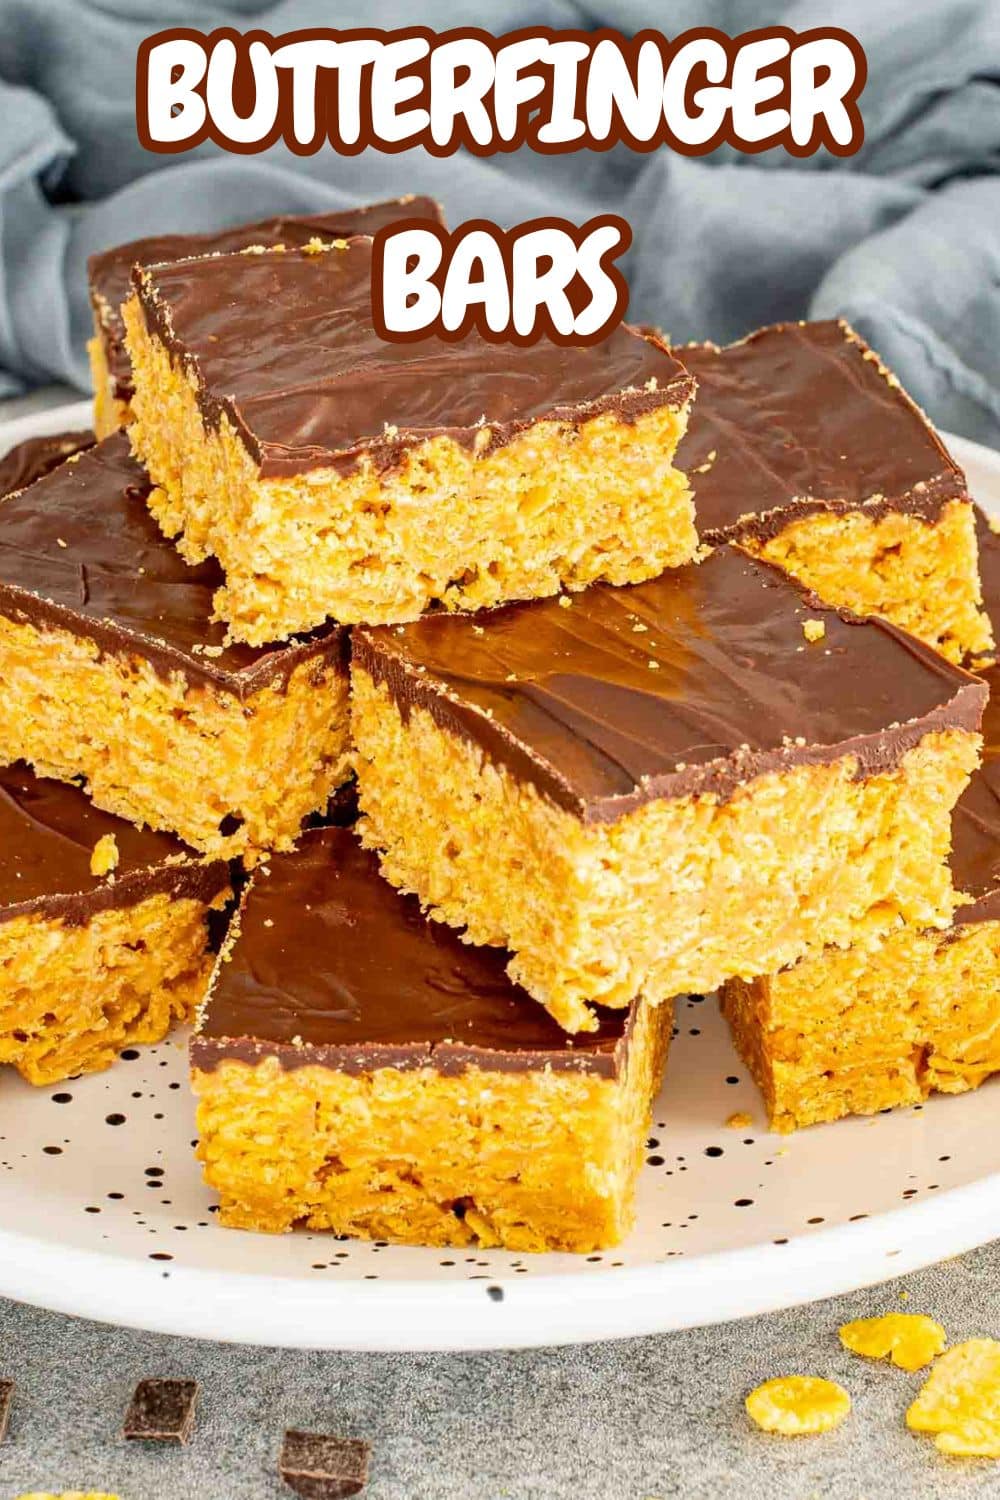
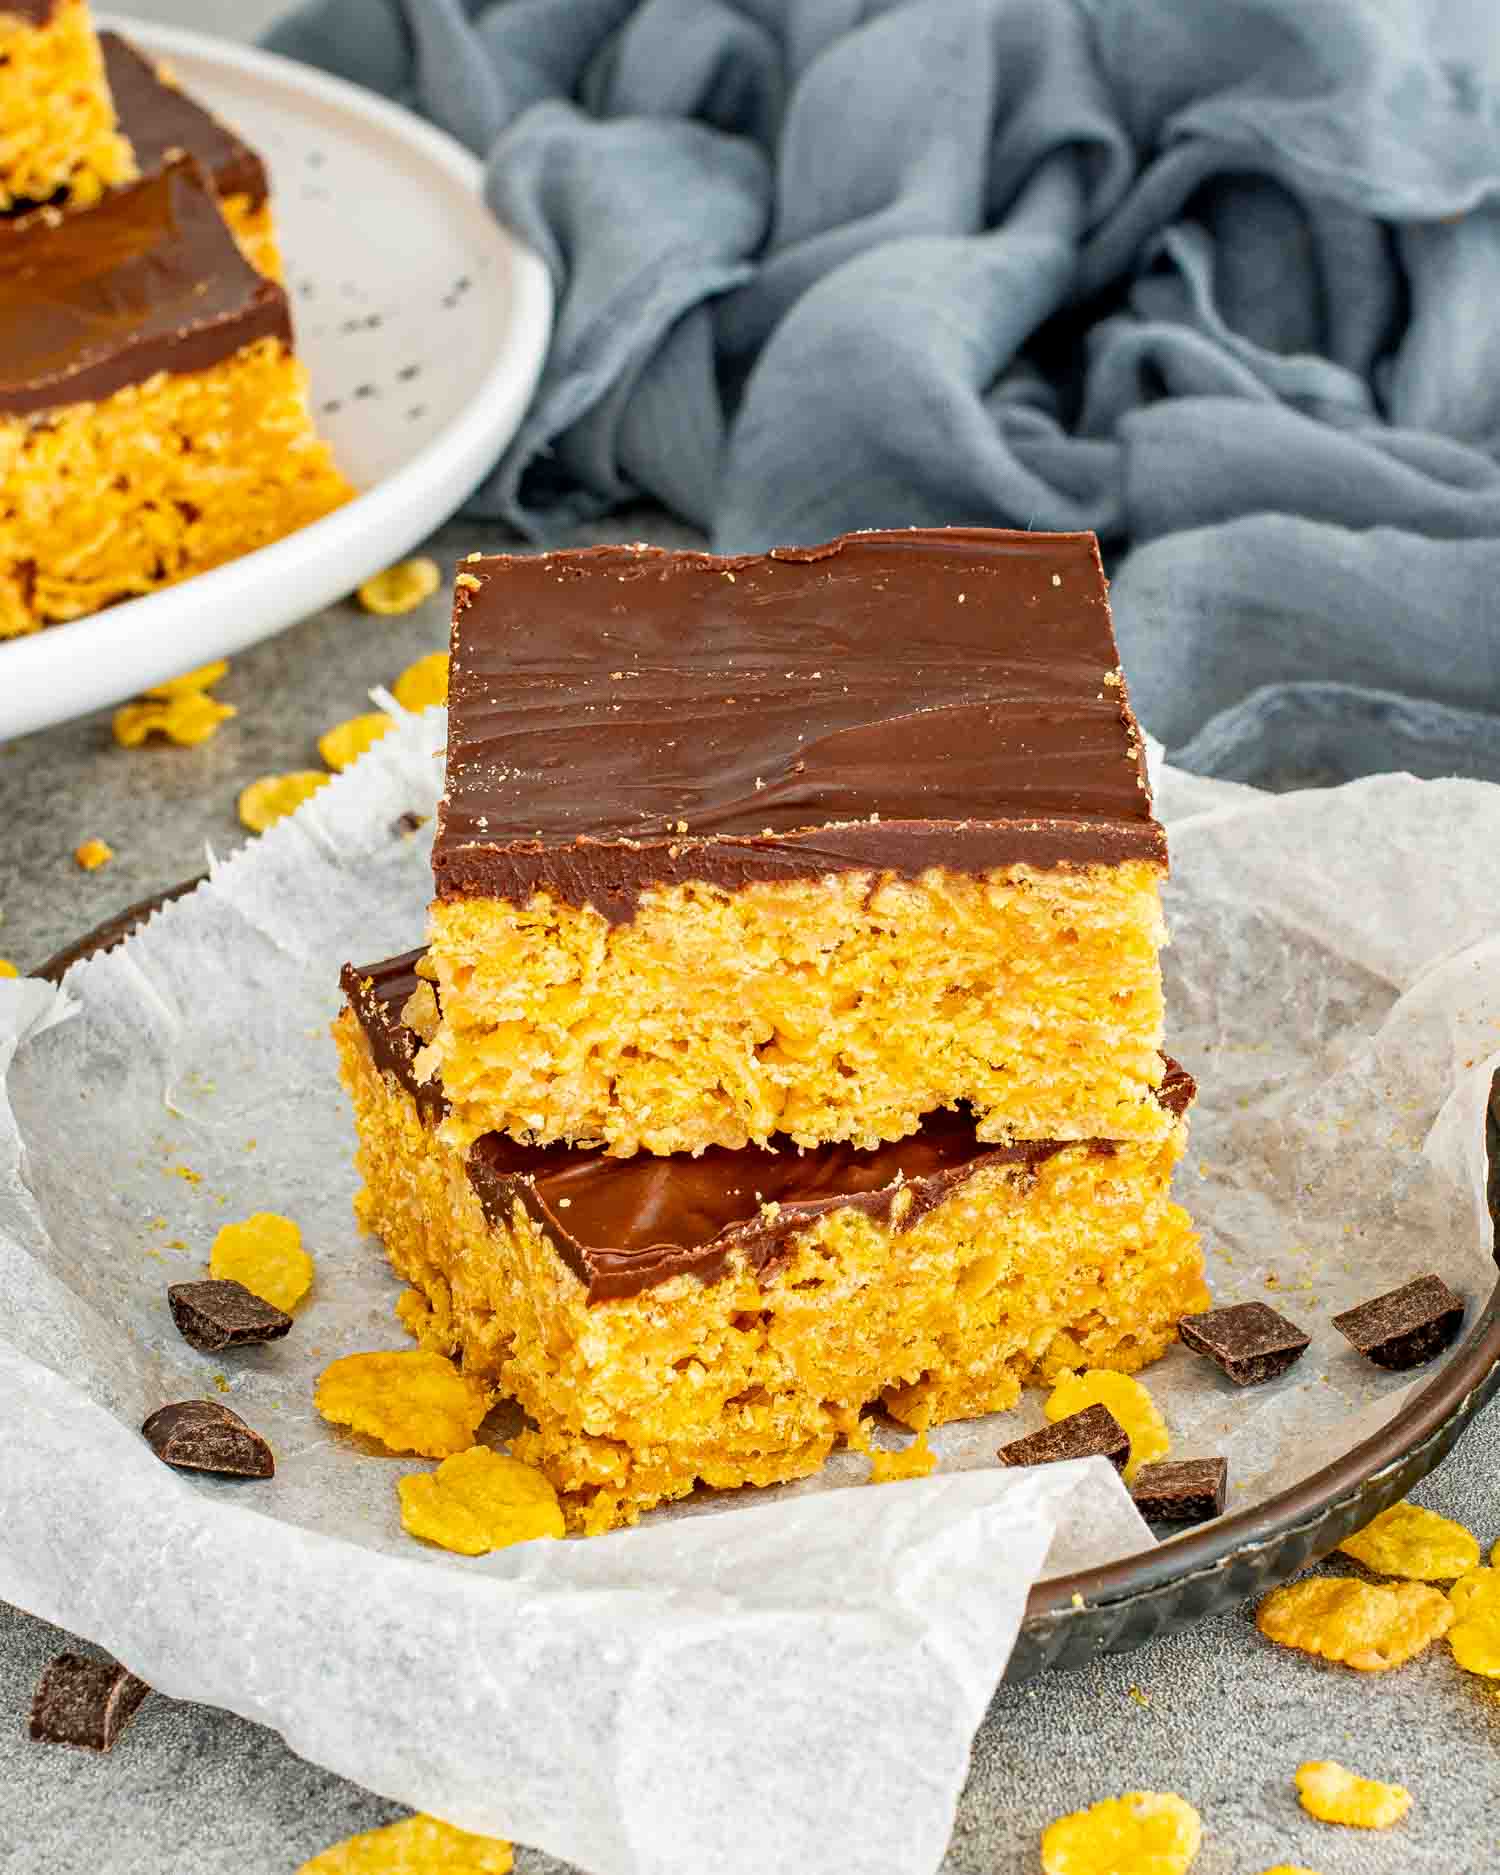
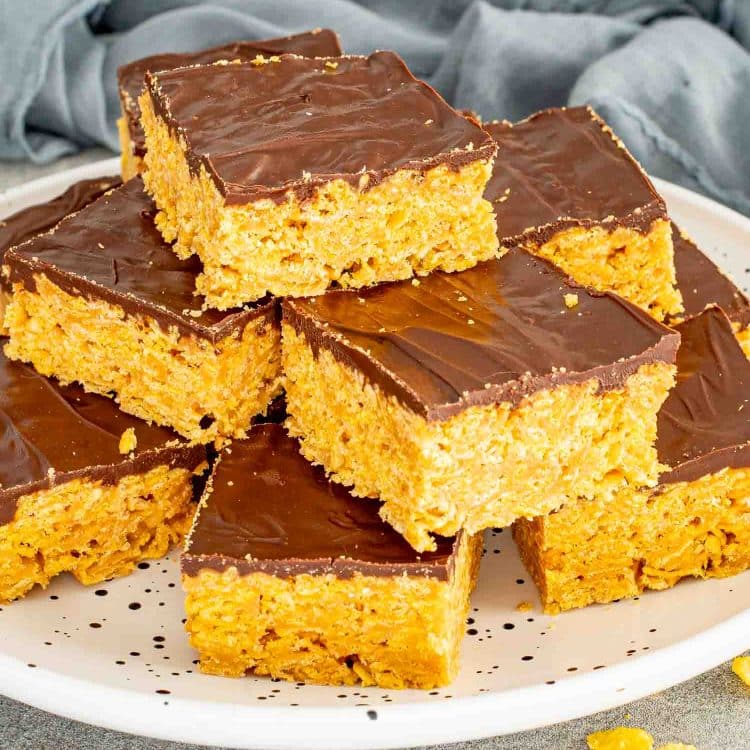
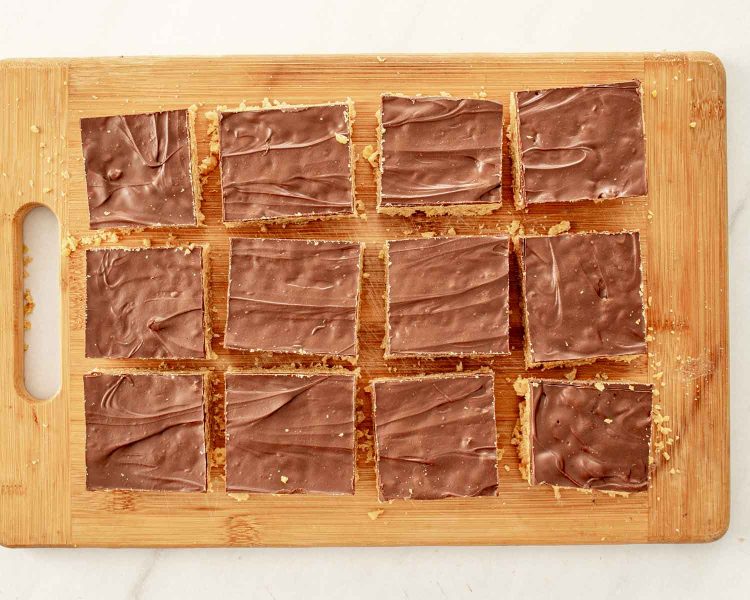
These No Bake Butterfinger Bars are crunchy, peanut buttery, chocolate topped squares made with cornflakes and a simple candy style peanut butter mixture. Once chilled, they slice into thick bars with that familiar crisp texture that makes Butterfinger candy bars so addictive.


5 Ingredient Butterfinger Bars
If you love the peanut butter crunch of a Butterfinger candy bar, these bars will hit the spot.
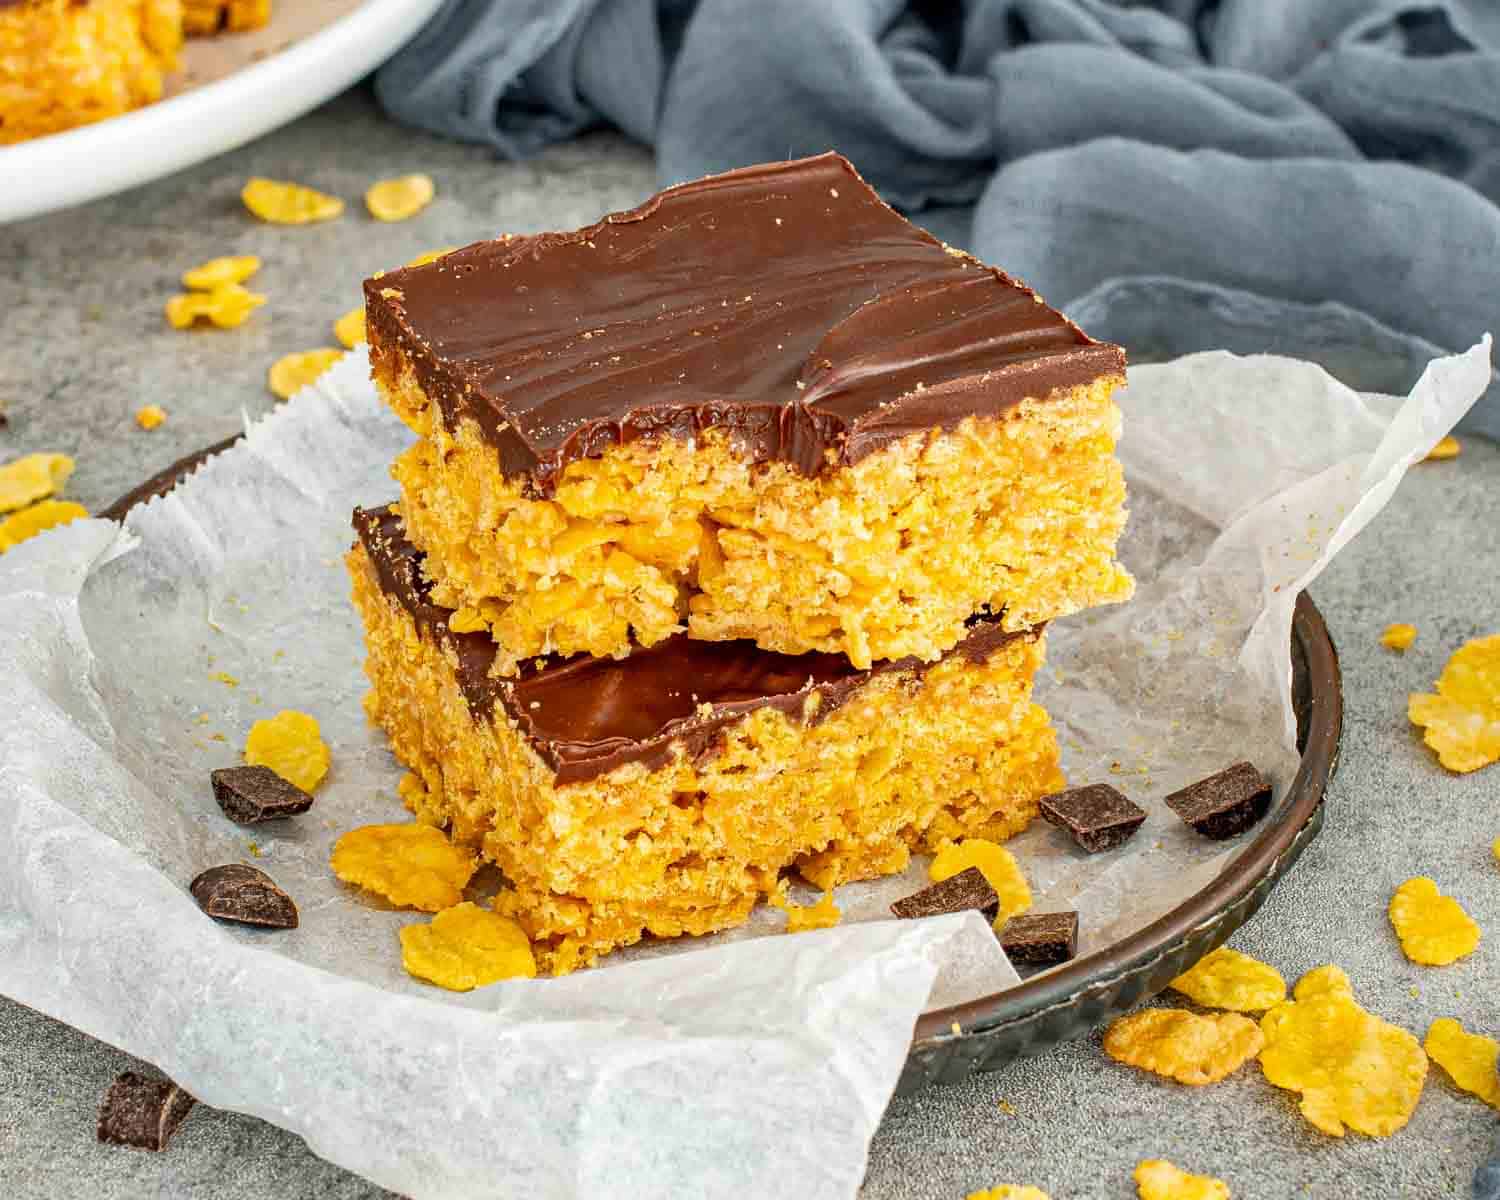
The base starts with cornflakes coated in a hot peanut butter and sugar mixture that firms up into a crisp candy like layer. Once pressed into the pan and topped with melted chocolate, the whole thing chills until it slices cleanly into thick bars with that unmistakable peanut butter crunch.
What I love about these bars is how simple they are. No oven, no complicated steps, and no special equipment. Just a saucepan, a bowl, and a pan. They are the kind of dessert that disappears quickly whether you bring them to a gathering or keep them in the fridge for a late night sweet craving.
Why You’ll Love These Butterfinger Bars
- No oven required: These bars come together completely on the stovetop and set in the fridge, which makes them perfect when you want an easy dessert without turning on the oven.
- That classic Butterfinger crunch: The cornflakes coated in the peanut butter mixture create the crisp, candy like texture that makes Butterfinger bars so addictive.
- Simple pantry ingredients: Most of the ingredients are things you probably already have in your kitchen like cornflakes, peanut butter, sugar, and chocolate.
- Perfect for make ahead: These bars actually slice better after they chill and firm up, so they are great to prepare ahead for gatherings or holidays.
- Easy to slice and serve: Once set, the bars cut cleanly into squares that hold together nicely without crumbling.

Key Ingredients & Tips
- Corn Syrup: This helps bind the bars together and gives the base that candy like texture. It also prevents the sugar from crystallizing. Heat it only until the mixture begins to bubble. Cooking it too long can make the bars hard.
- Granulated Sugar: The sugar creates the crisp structure once the bars cool. Stir constantly while heating so it dissolves evenly and does not scorch on the bottom of the pan.
- Creamy Peanut Butter: Use regular creamy peanut butter for the best texture. Natural peanut butter tends to separate and can make the bars oily or crumbly.
- Cornflakes: These give the bars their signature crunch and help mimic that Butterfinger texture. Fold them in gently so the flakes stay mostly intact instead of breaking down.
- Chocolate Chips: Semi sweet chocolate balances the sweetness of the peanut butter base. Milk chocolate can be used if you prefer a sweeter topping.
- Peanut Butter in the Chocolate Layer: Mixing a little peanut butter into the melted chocolate keeps the topping smooth and slightly softer so the bars are easier to slice.
- Press the Base Firmly: Press the cornflake mixture evenly into the pan using a spatula or lightly greased hands. A firm base helps the bars hold together when sliced.
- Line the Pan with Parchment: Leave some overhang on the sides so you can lift the bars out easily before cutting.
- Let Them Chill Completely: Give the bars enough time to set in the refrigerator before slicing. This helps the base firm up and the chocolate layer cut cleanly.
Substitutions and Variations
- Peanut Butter: Creamy peanut butter works best for texture. If you prefer a little crunch, crunchy peanut butter can be used instead.
- Chocolate: Semi sweet chocolate balances the sweetness of the base. Milk chocolate will make the bars sweeter, while dark chocolate adds a deeper flavor.
- Extra Peanut Butter Flavor: Stir an extra 2 to 3 tablespoons of peanut butter into the cornflake mixture for a stronger peanut butter taste.
- Butterfinger Style Topping: Crush a Butterfinger candy bar and sprinkle it over the chocolate layer before it sets for extra crunch.
- Butterscotch Twist: Replace half of the chocolate chips with butterscotch chips for a sweeter, slightly caramel like topping.
- Gluten Free Option: Most cornflakes are not gluten free, so check the label or use a certified gluten free cornflake cereal.
- Salted Version: Sprinkle a small pinch of flaky sea salt over the chocolate before it sets to balance the sweetness.
Common Mistakes To Avoid
- Cooking the sugar mixture too long: This is the big one. The corn syrup and sugar only need to heat until the sugar dissolves and the mixture just starts to bubble. If you let it boil away, the base turns hard and sticky instead of crisp. Think quick heat, not candy making marathon.
- Crushing the cornflakes too much: Be gentle when folding in the cornflakes. If you go at it like you’re mixing concrete, you’ll end up with crumbs instead of that crunchy Butterfinger style texture.
- Not pressing the base firmly enough: Once the mixture goes into the pan, press it down well. A spatula or lightly greased hands work great. If it’s loosely packed, the bars will fall apart when you cut them and nobody wants a pile of sweet rubble.
- Spreading the chocolate while everything is still blazing hot: Give the peanut butter base a few minutes to cool before spreading the chocolate. Otherwise the chocolate melts straight into the base and you lose that nice clean top layer.
- Cutting them before they set: I know it’s tempting. They smell amazing. But if you slice them too soon, they’ll fall apart. Let them chill long enough to firm up so you get clean bars instead of a sticky situation.
Make Ahead and Storage
- Make Ahead: These bars are perfect for making ahead. In fact, they slice even better after they have had time to chill and fully set.
- Refrigerator: Store the bars in an airtight container in the refrigerator for up to 1 week. The chilled texture keeps them firm and easy to slice.
- Freezer: These bars freeze very well. Wrap them tightly or store in a freezer safe container for up to 2 months. Let them thaw in the refrigerator before serving.
Frequently Asked Questions
Why are my Butterfinger bars hard instead of crunchy?
This usually happens when the sugar and corn syrup mixture cooks too long. Heat it only until the sugar dissolves and the mixture just begins to bubble, then remove it from the heat right away.
Why didn’t my bars set properly?
They likely need more chilling time. Make sure the bars refrigerate for at least 1 hour so the base can firm up and the chocolate topping can set.
Can I use natural peanut butter?
It’s best to use regular creamy peanut butter for this recipe. Natural peanut butter tends to separate and can make the bars oily or crumbly.
Can I use different cereal instead of cornflakes?
Cornflakes give these bars their classic Butterfinger style crunch. Other cereals may work, but the texture will be different.
Do these bars need to stay refrigerated?
They can sit at room temperature for a short time, but storing them in the refrigerator helps them stay firm and slice cleanly.
Can I freeze Butterfinger bars?
Yes. Wrap them well or store in an airtight container and freeze for up to 2 months. Thaw in the refrigerator before serving.
Try These Recipes Next
- Double Chocolate Loaf Cake (Super Moist)
- Lemon Chess Pie
- Moose Farts
- Peanut Butter Pie
- Lunch Lady Bars
- Snickers Bites
- Homemade Bounty Bars (Mounds Bars)
Before You Begin! If you make this, please leave a review and rating letting us know how you liked this recipe! This helps our business thrive & continue providing free recipes.
No Bake Butterfinger Bars
Ingredients
- 1 cup light corn syrup
- 1 cup granulated sugar
- 1¼ cups creamy peanut butter
- 8 cups cornflakes cereal
Chocolate Topping
- 1½ cups semi-sweet chocolate chips
- ¼ cup creamy peanut butter
Before You Begin! If you make this, please leave a review and rating letting us know how you liked this recipe! This helps our business thrive & continue providing free recipes.
Instructions
- Line a 9×13-inch baking dish with parchment paper, leaving some overhang for easy removal.
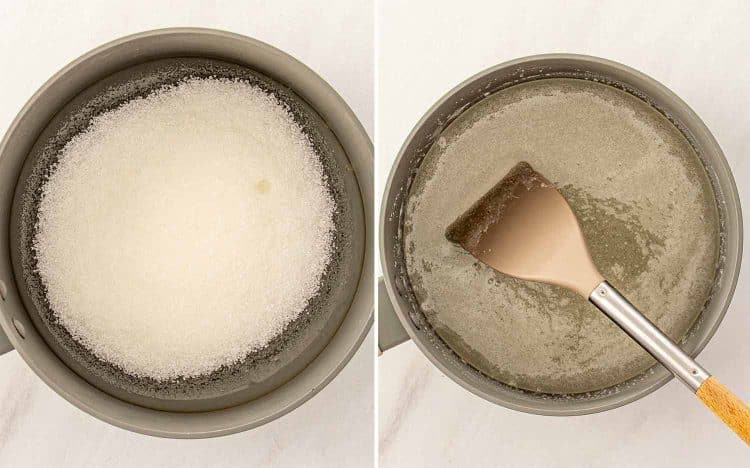
- Add 1 cup corn syrup and 1 cup sugar to a large saucepan. Cook over medium heat, stirring constantly, until the sugar dissolves and the mixture just starts to bubble.

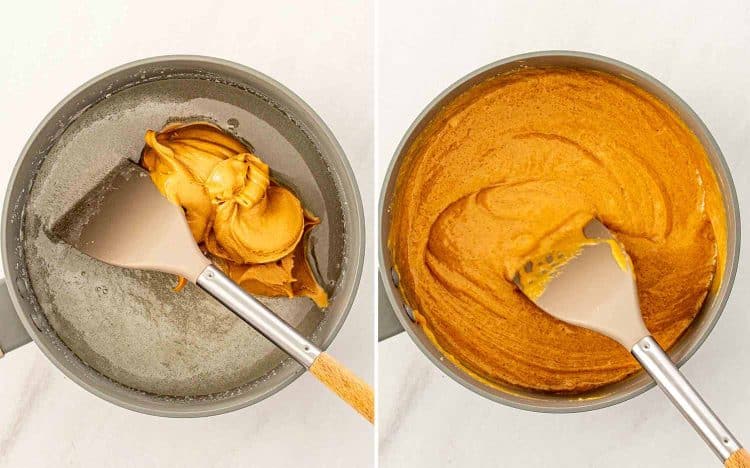
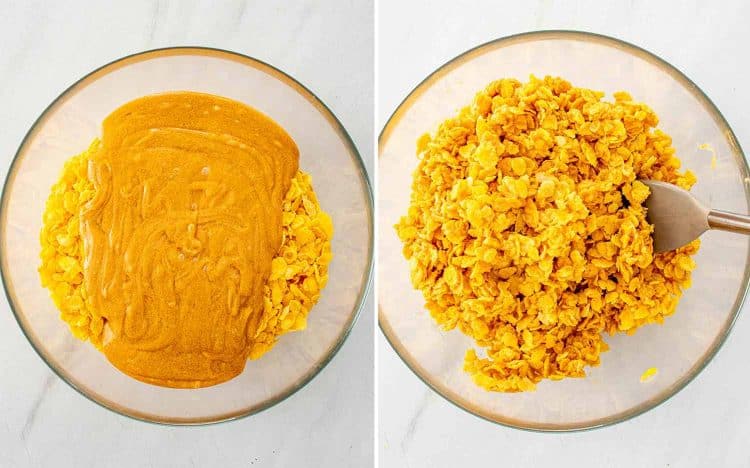
- Remove the pan from heat and immediately stir in 1¼ cups peanut butter until smooth.
- Add 8 cups cornflakes to a large bowl. Pour the peanut butter mixture over the cornflakes and gently fold until evenly coated, trying not to crush them too much.
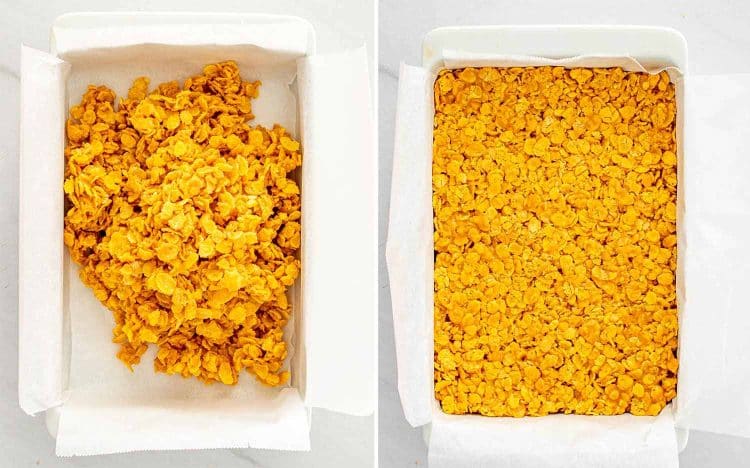
- Press the mixture firmly into the prepared pan, using a spatula or lightly greased hands to level it out.
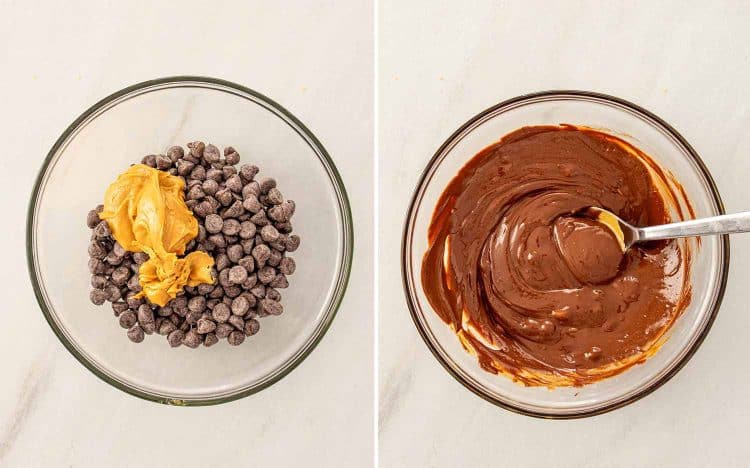
- In a microwave-safe bowl, combine 1½ cups chocolate chips and ¼ cup peanut butter. Heat in 20-second intervals, stirring between each, until smooth and melted.
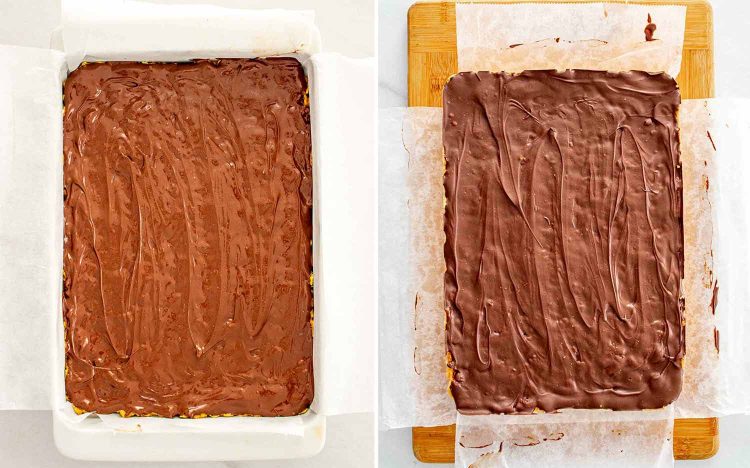
- Spread the chocolate mixture evenly over the cornflake base. Refrigerate for at least 1 hour, or until fully set.
- Lift the bars out using the parchment, slice into squares, and serve.

Notes
- Heat the sugar mixture just until it starts to bubble. Once the sugar dissolves and the mixture begins to bubble, remove it from the heat. Cooking it longer can make the bars hard instead of crisp.
- Use regular creamy peanut butter. Natural peanut butter can separate and make the bars greasy or crumbly.
- Fold the cornflakes gently. You want to coat them without crushing them too much so the bars keep that signature crunch.
- Press the base firmly into the pan. This helps the bars hold together and slice cleanly later.
- Let the base cool slightly before adding chocolate. If the base is too hot, the chocolate can melt too quickly and become messy instead of forming a smooth layer.
- Chill before slicing. Refrigerating for at least 1 hour helps the bars set properly and makes them easier to cut.
- For clean slices, use a sharp knife and wipe it between cuts.
Nutrition Information
Notice: Nutrition is auto-calculated for your convenience. Where relevant, we recommend using your own nutrition calculations.
