Fall-Apart Tender Osso Buco
This post may contain affiliate links. Please read my disclosure policy.

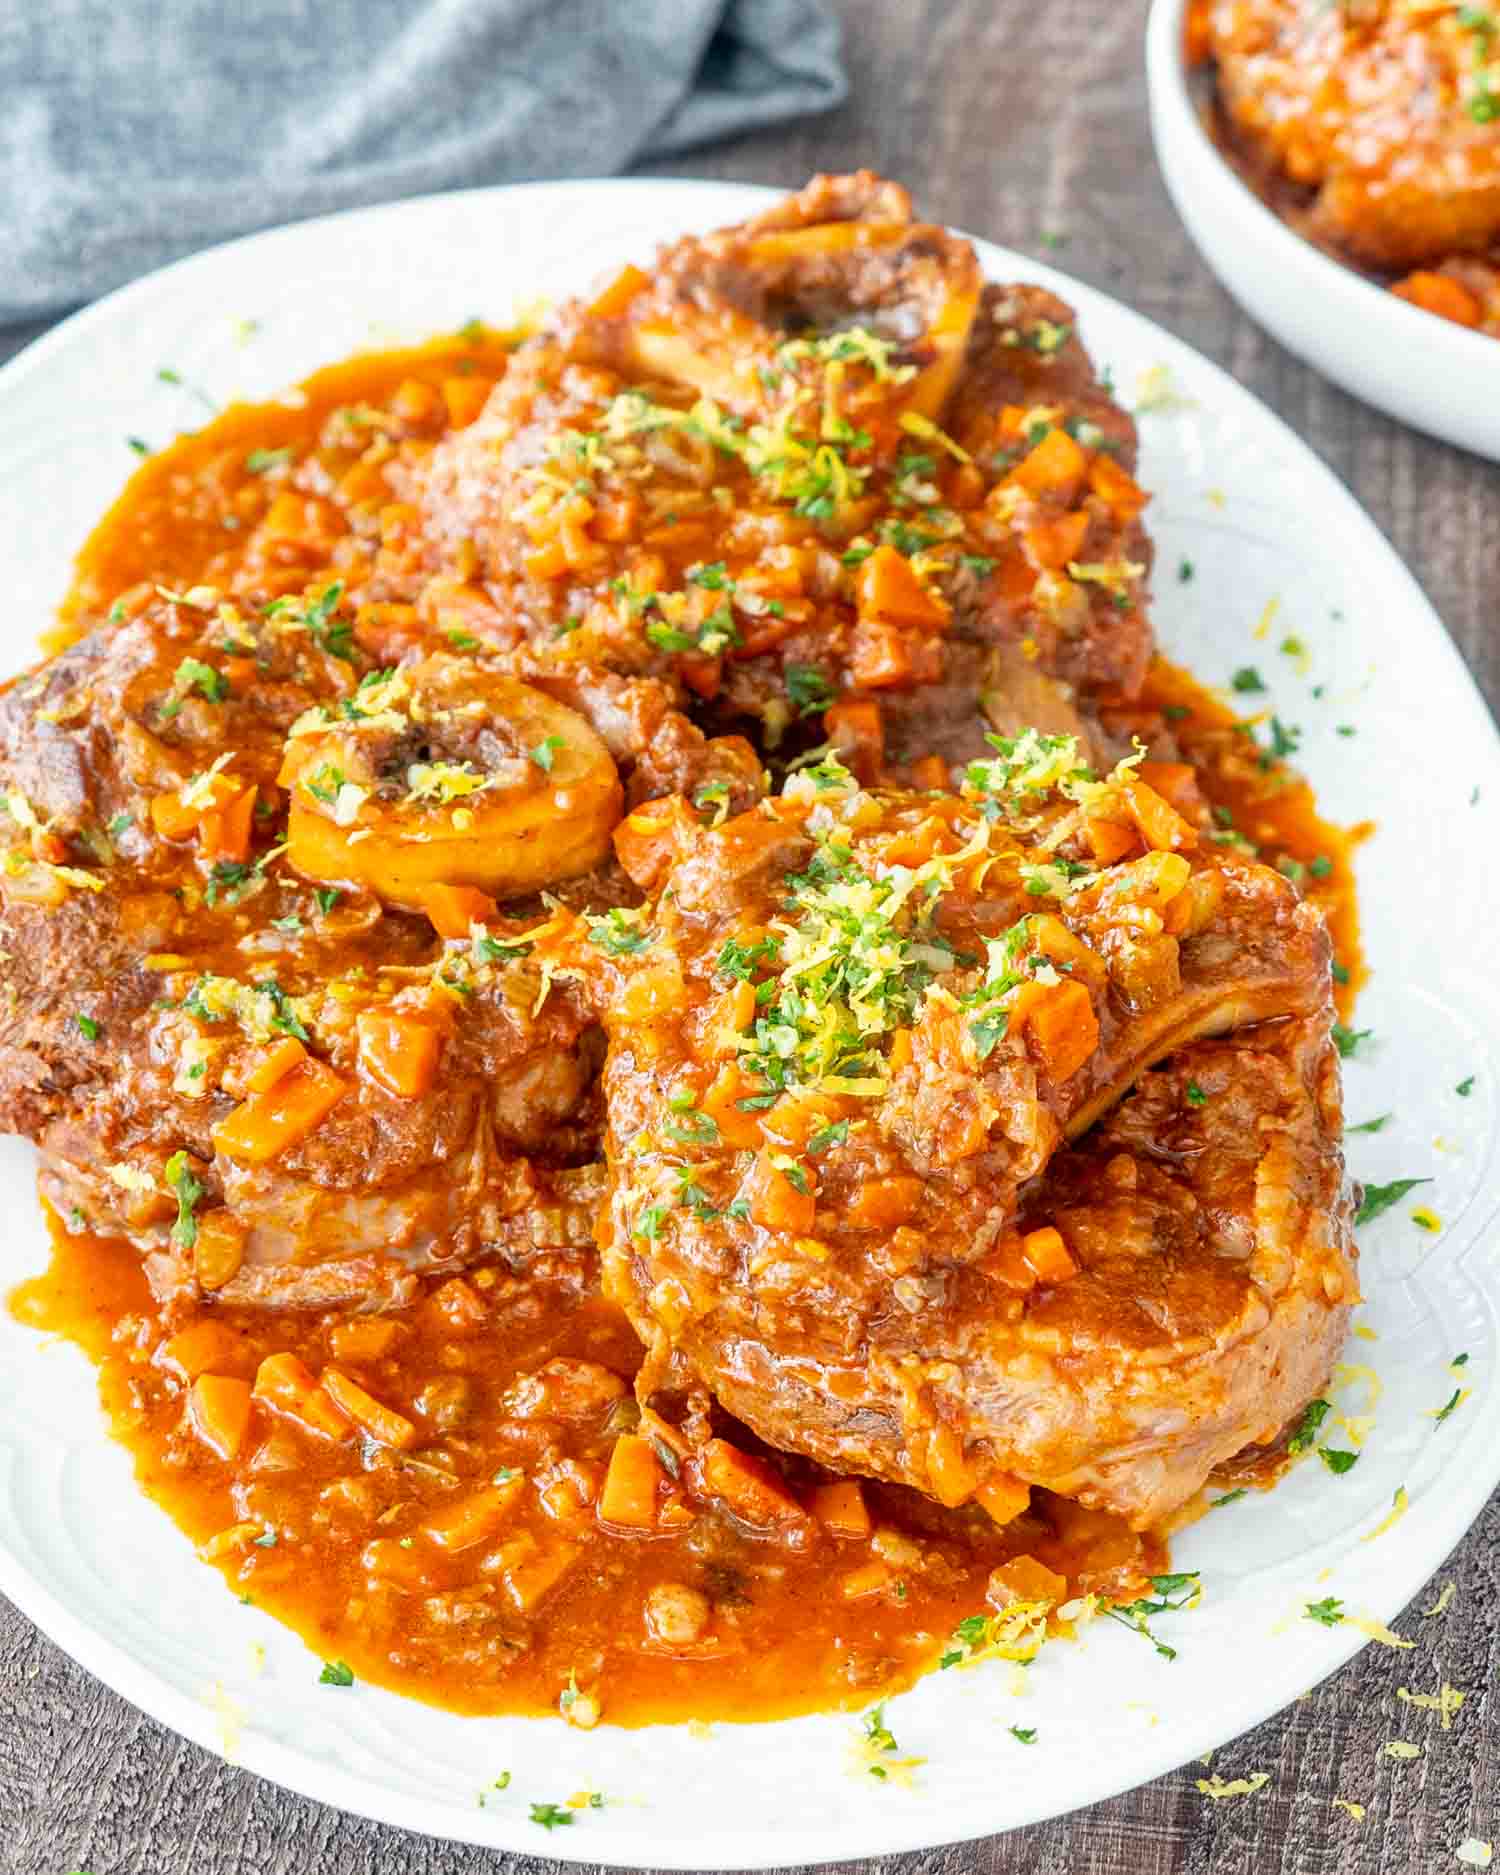
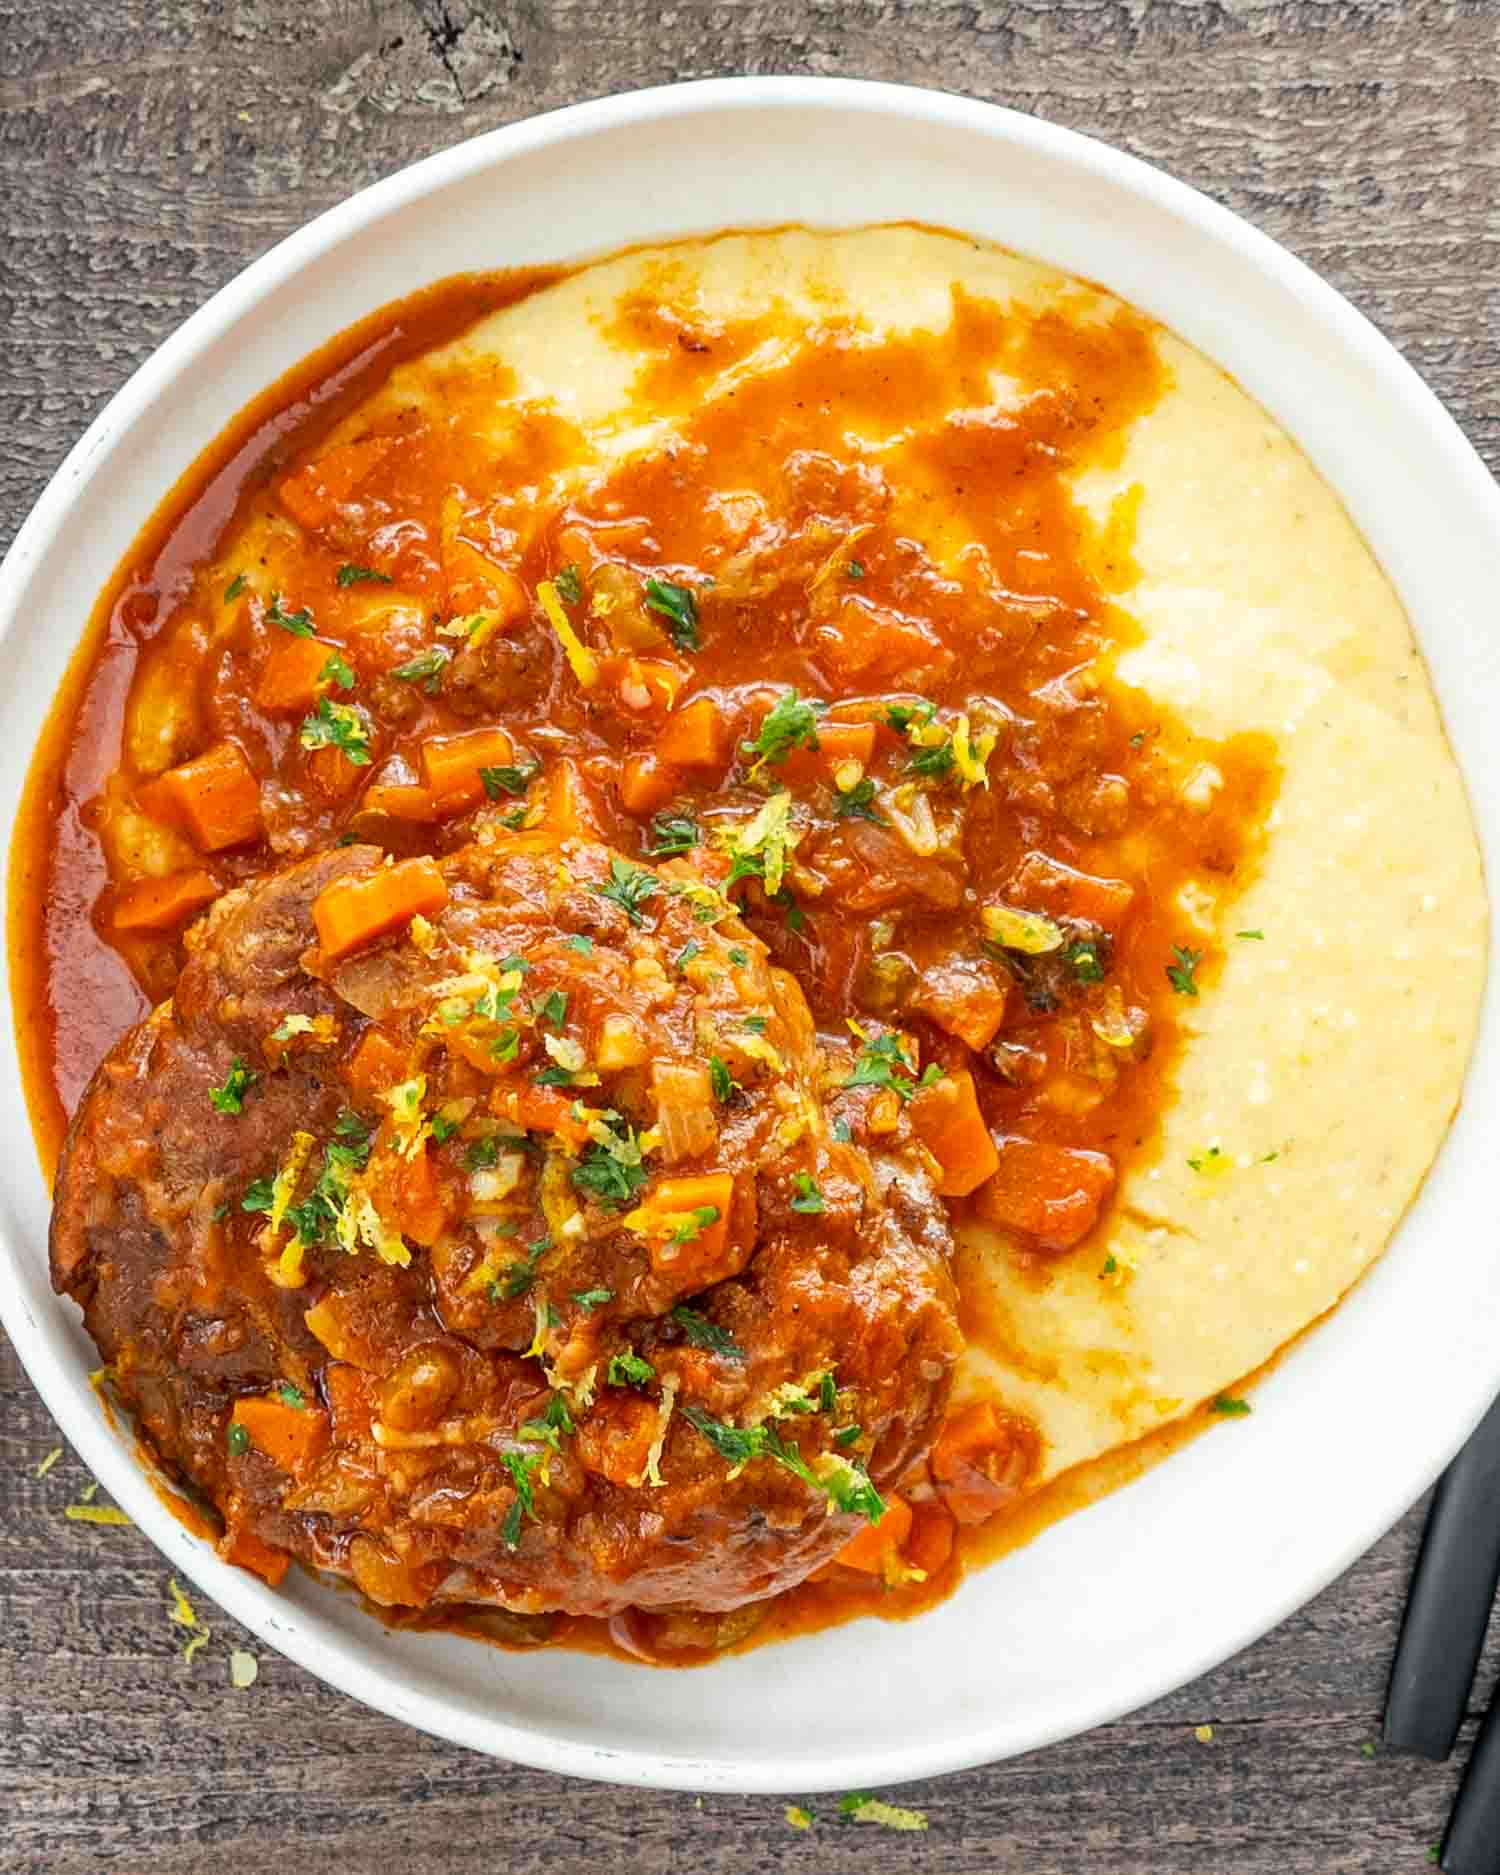
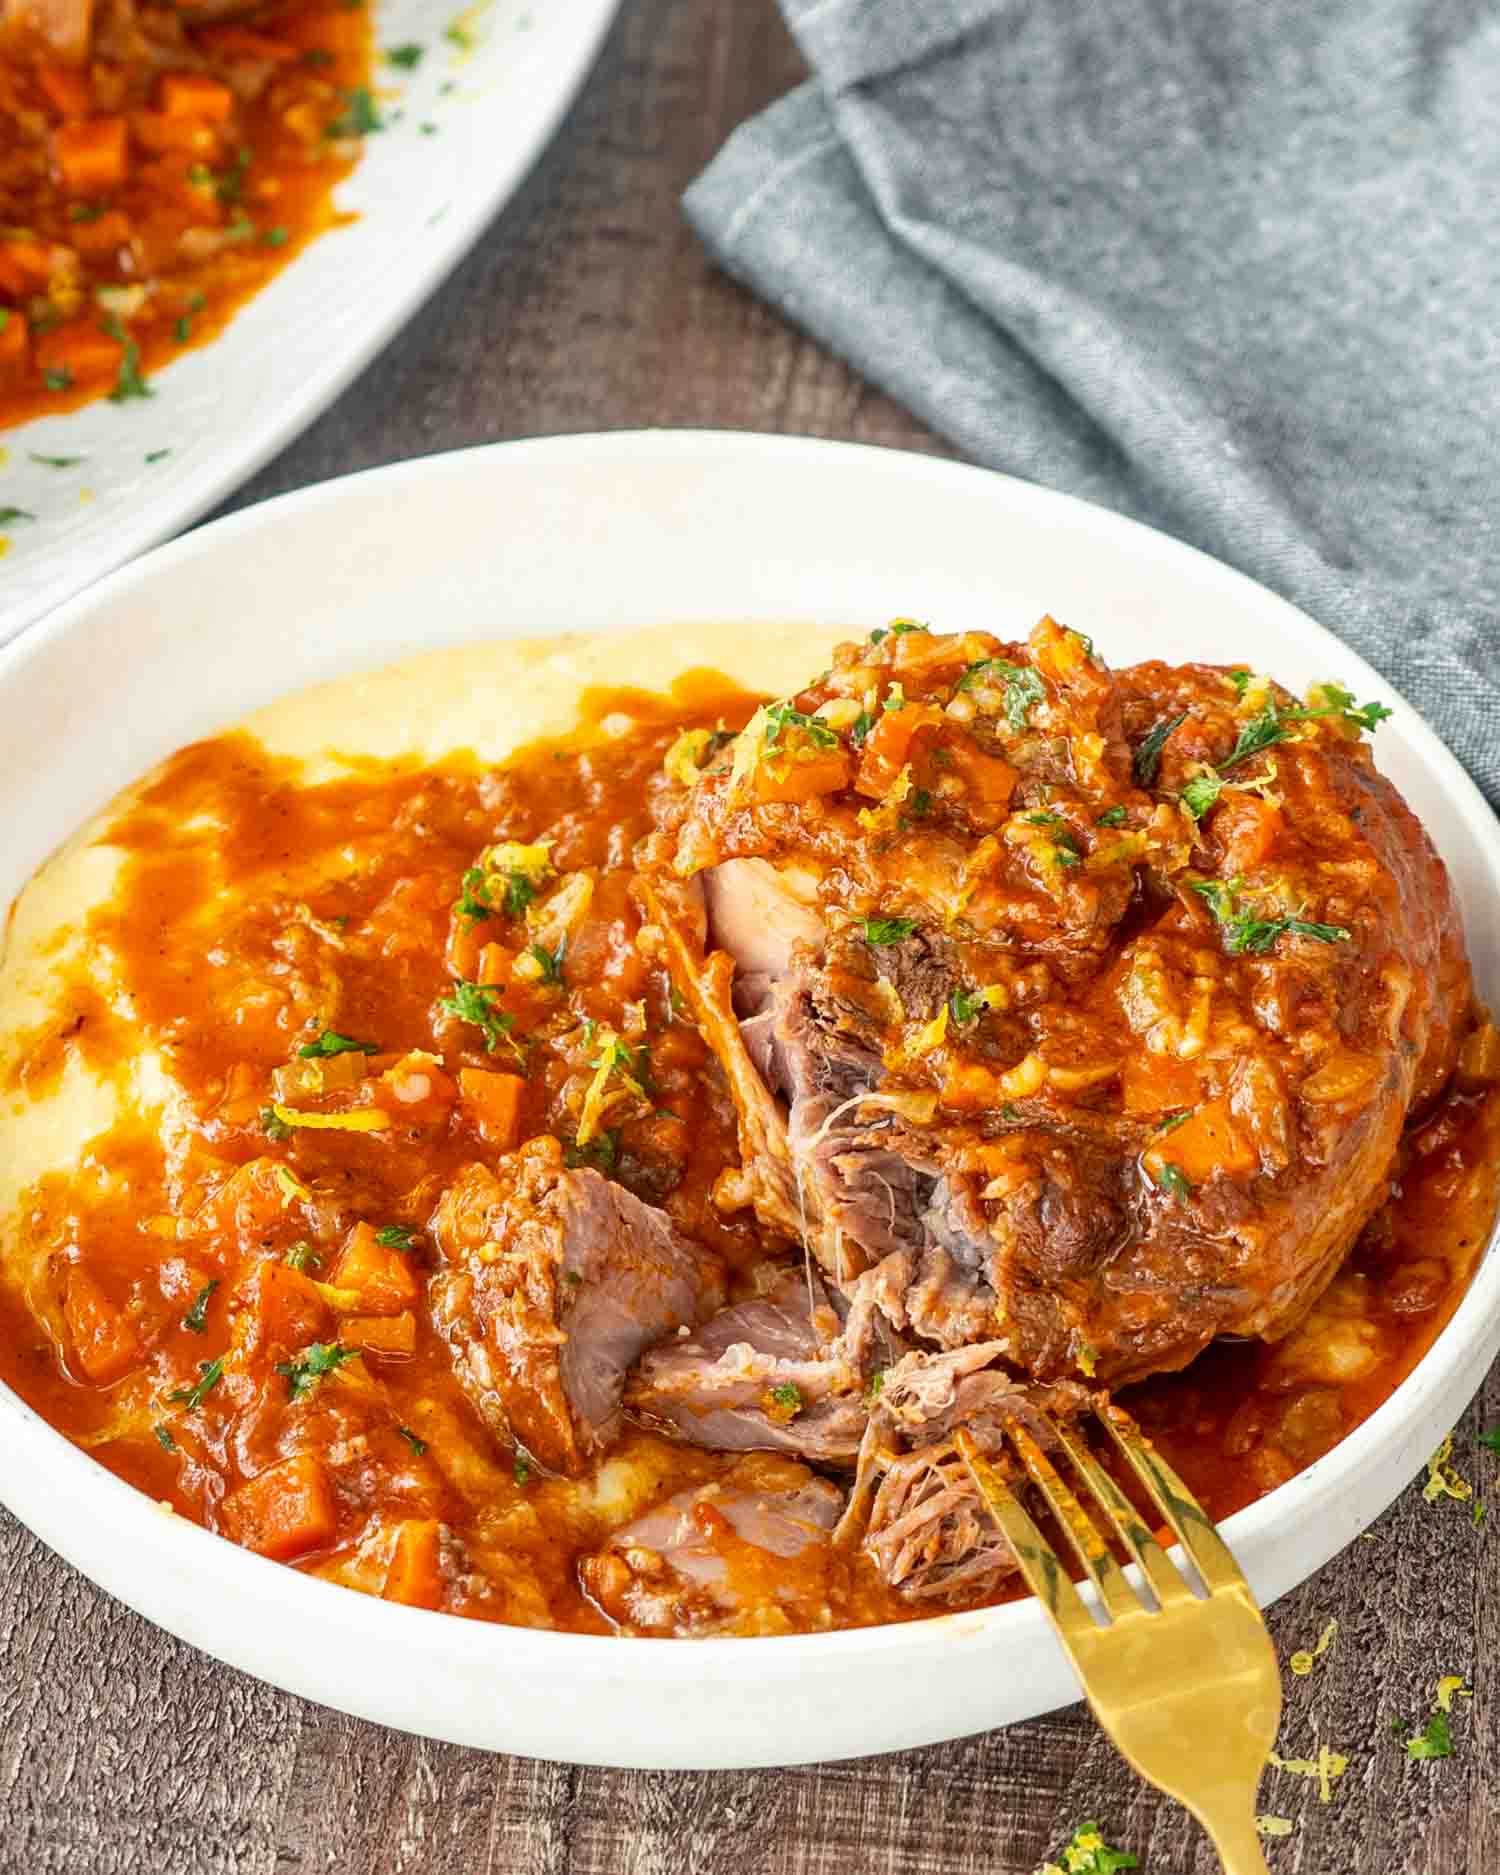
Osso Buco – fall-apart tender veal shanks slow-cooked in a rich, cozy tomato and wine sauce, finished with a fresh punch of gremolata.

There’s something magical about a dish that takes a little time and rewards you with fork-tender meat and a sauce so rich you’ll be shamelessly wiping the plate clean with a piece of bread. This Osso Buco is slow cooking at its absolute best, succulent veal shanks simmered low and slow in a tomato and white wine sauce, packed with deep, cozy flavor.
And just when you think it couldn’t possibly get any better, a bright punch of fresh gremolata comes in like a plot twist you didn’t know you needed. Fancy enough to impress guests, easy enough that you can casually pretend you weren’t checking the pot every 10 minutes like it’s a newborn baby.
Let’s break it down so you can pull this off like a total pro, no culinary school scars required.
Why You’ll Love This Osso Buco
- Fall-apart tender meat. The kind you barely need a knife for, just a fork, a glass of wine, and some serious self-control.
- Rich, cozy, slow-cooked flavor. Layers of deep tomato, garlic, wine, and herbs, the kind of sauce you’ll want to spoon over everything, including maybe your own face. No judgment.
- Surprisingly simple for such a fancy dish. Looks impressive, tastes impressive, but it’s basically just a lot of cozy simmering and the occasional happy kitchen dance.
- Gremolata = the plot twist. Just when you think it can’t get richer, the fresh hit of lemon and parsley wakes everything up like magic.
- Perfect for make-ahead magic. Like most braises, it tastes even better the next day, if you have the willpower to wait, that is.

- Pick good veal shanks. Look for shanks about 1½ to 2 inches thick, with plenty of marrow in the center. The marrow melts into the sauce as it cooks, making it even richer and silkier. Bonus points if you can find ones already tied with kitchen twine, it helps them hold their shape during braising (but honestly, it’s not mandatory).
- Pat your veal dry before dredging. Moisture = no sear. Pat those shanks dry with paper towels so they brown up beautifully instead of steaming like sad boiled meat.
- Brown your shanks properly, don’t rush it. You want deep golden crusts, not pale gray meat. Take your time here, this is where the flavor party starts.
- Use a good dry white wine. Nothing fancy, but if you wouldn’t drink it, don’t cook with it. Sauvignon Blanc, Pinot Grigio, or even a dry Riesling works.
- Low and slow wins the race. Simmer gently. Don’t crank the heat or you’ll end up with dry meat and split sauce. Slow braising = juicy, fall-apart magic.
- Gremolata isn’t optional. It might seem like just herbs, but that punch of lemon, garlic, and parsley cuts through all that rich sauce like a tiny food miracle. Do not skip it unless you want regret for dinner.
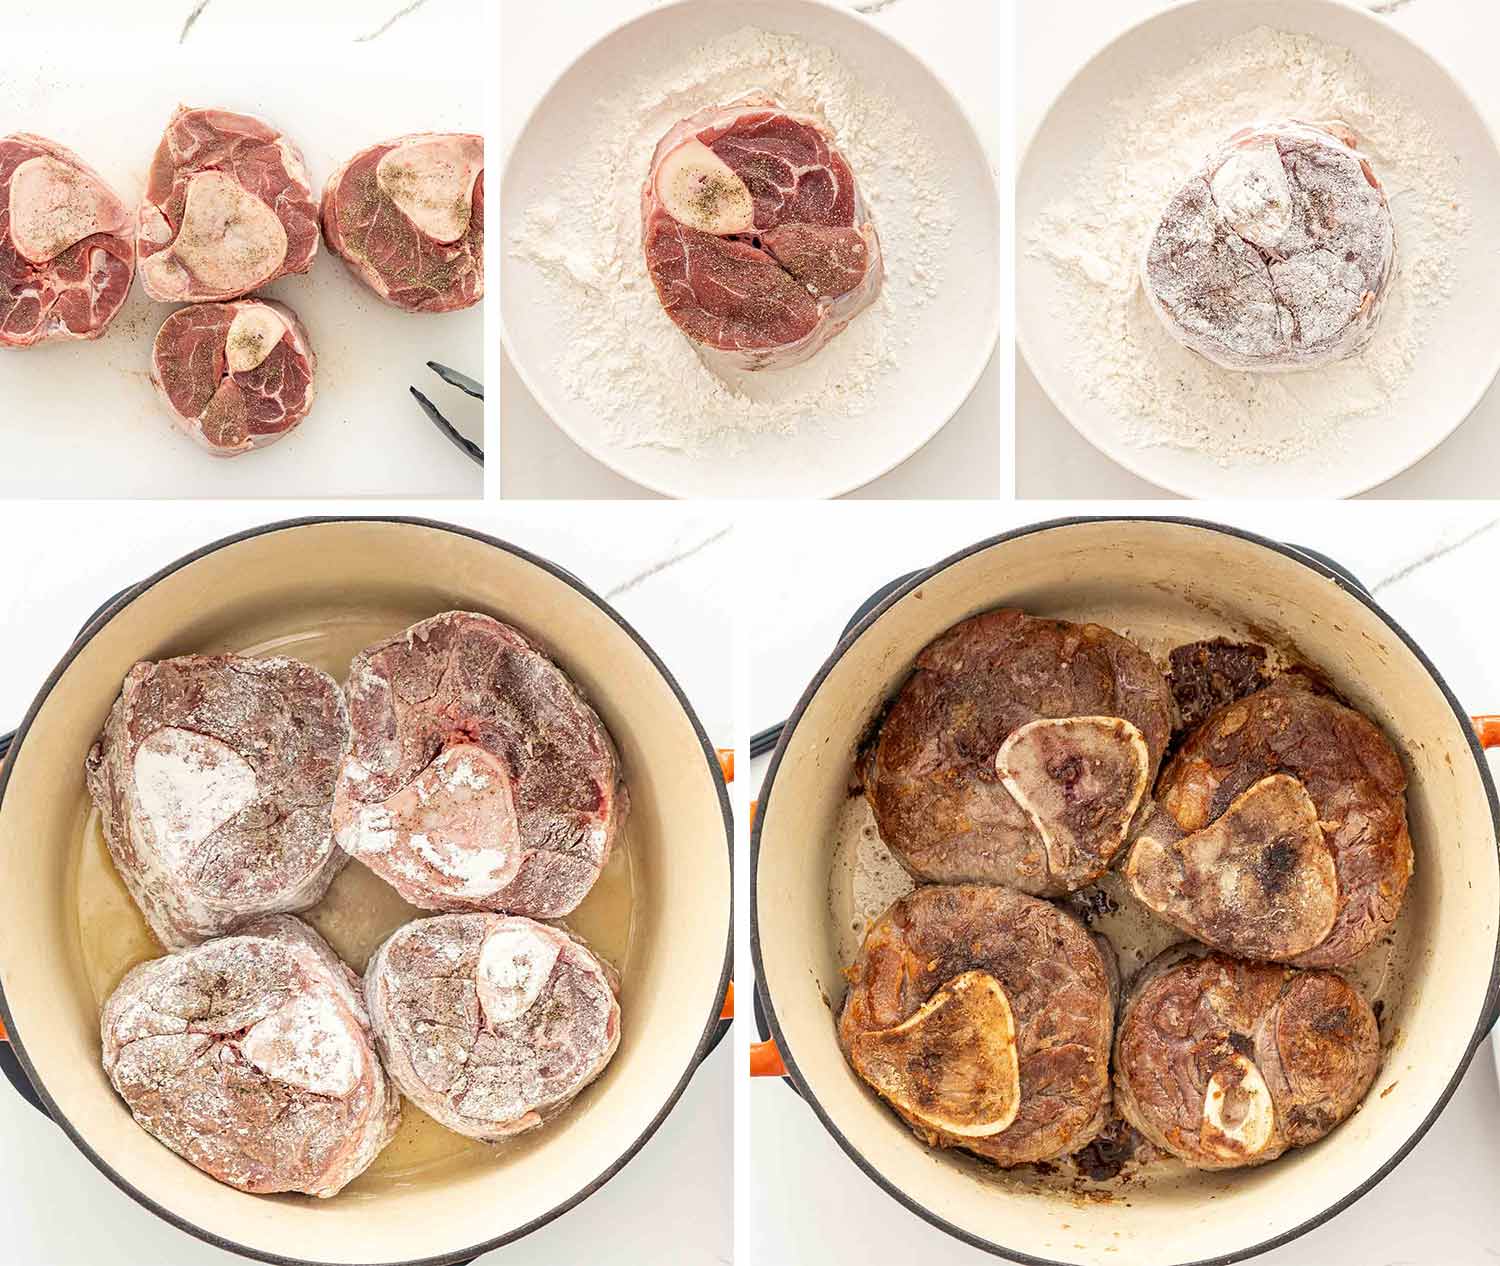
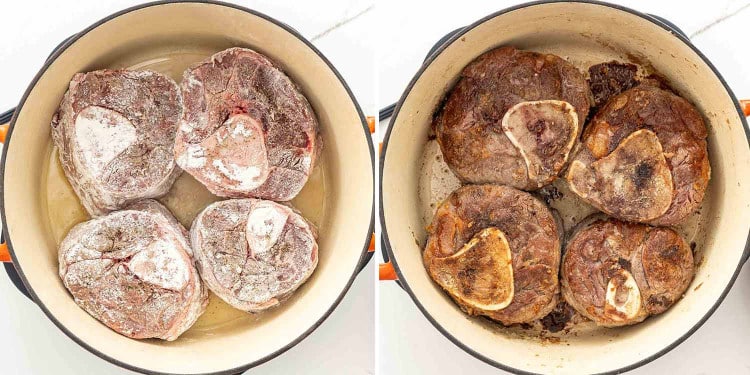
Pat the veal shanks dry with paper towels, no skipping! Season generously with salt and pepper, then lightly dredge them in flour, shaking off any extra. This gives you that gorgeous crust when you sear.
Heat the olive oil in a large Dutch oven over medium heat. Sear the shanks until deep golden on both sides, about 3–5 minutes per side. Work in batches if you need to, no crowding. Remove them to a plate once they’re beautifully browned.
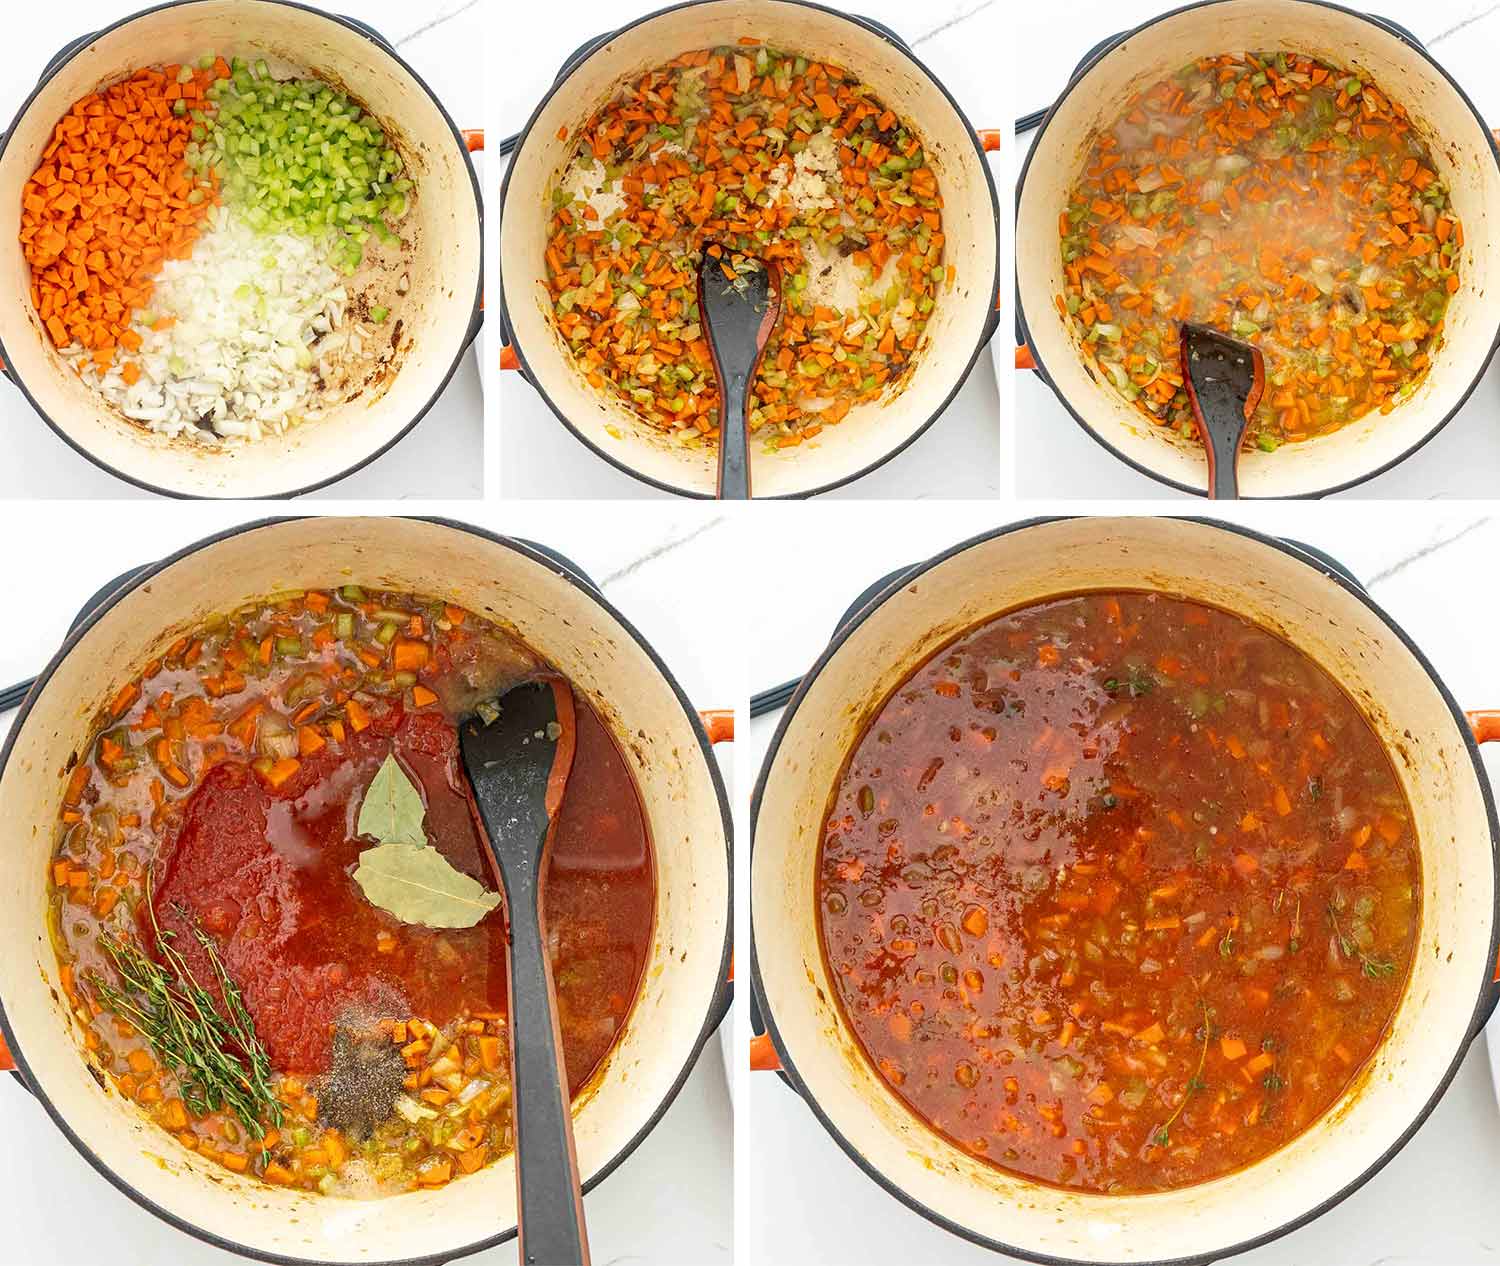
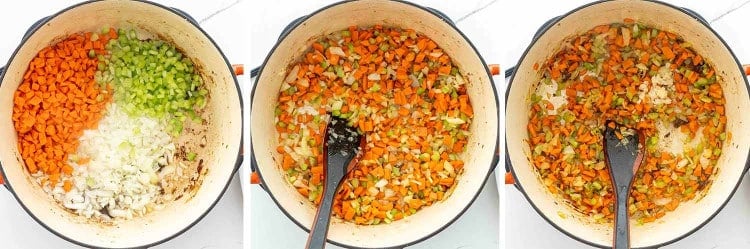
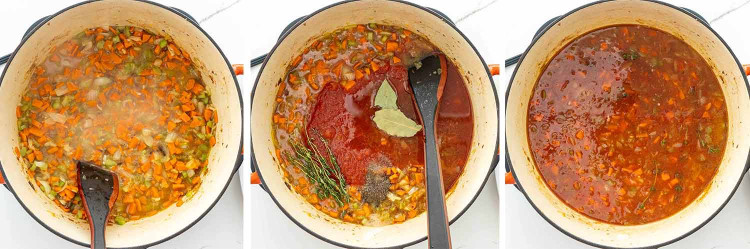
In the same pot (don’t you dare wipe it out, that’s flavor), add the onion, carrots, and celery. Cook for 5–7 minutes, scraping up the bits stuck to the bottom. Stir in the garlic and cook for another 30 seconds until fragrant.
Pour in the white wine and scrape the bottom of the pot like you mean it. Let it simmer until reduced by about half, this builds a deeper, richer sauce later.
Stir in the crushed tomatoes, beef broth, bay leaves, and thyme. Bring it up to a gentle simmer.

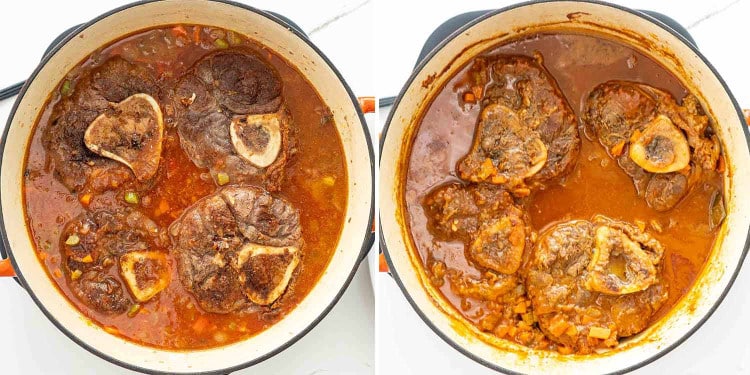
Tuck the browned shanks back into the sauce, making sure they’re mostly submerged. Cover the pot with a lid. Simmer gently on the stovetop (or in a 325°F oven) for about 1½ to 2 hours, until the meat is tender and practically falling off the bone. Peek occasionally to make sure it’s simmering softly, not boiling.
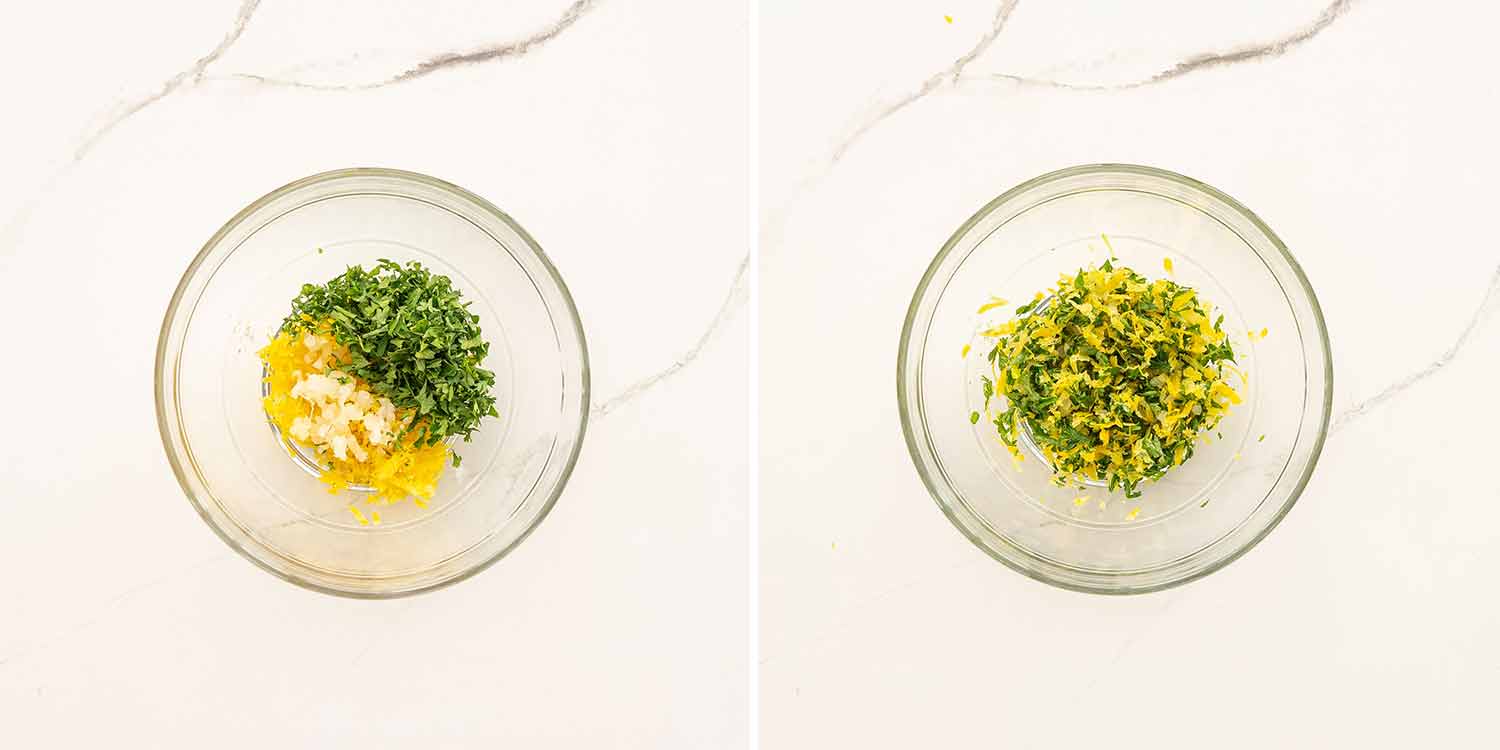
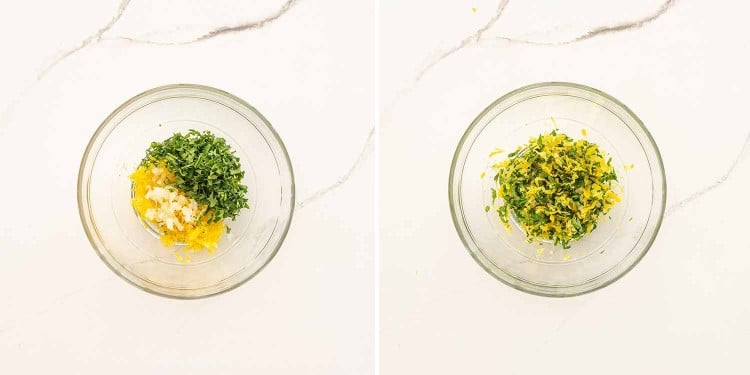
While the veal is finishing up, stir together the lemon zest, garlic, and parsley. This little sprinkle of freshness makes everything pop.
Discard the bay leaves and thyme sprigs. Plate the veal shanks, spoon plenty of that rich sauce over the top, and finish with a generous sprinkle of gremolata. Get your crusty bread ready, you’ll need it.
Serve With
Osso Buco is all about that rich, cozy sauce, so you definitely want something on the plate to soak it all up. Here’s what I love to serve it with:
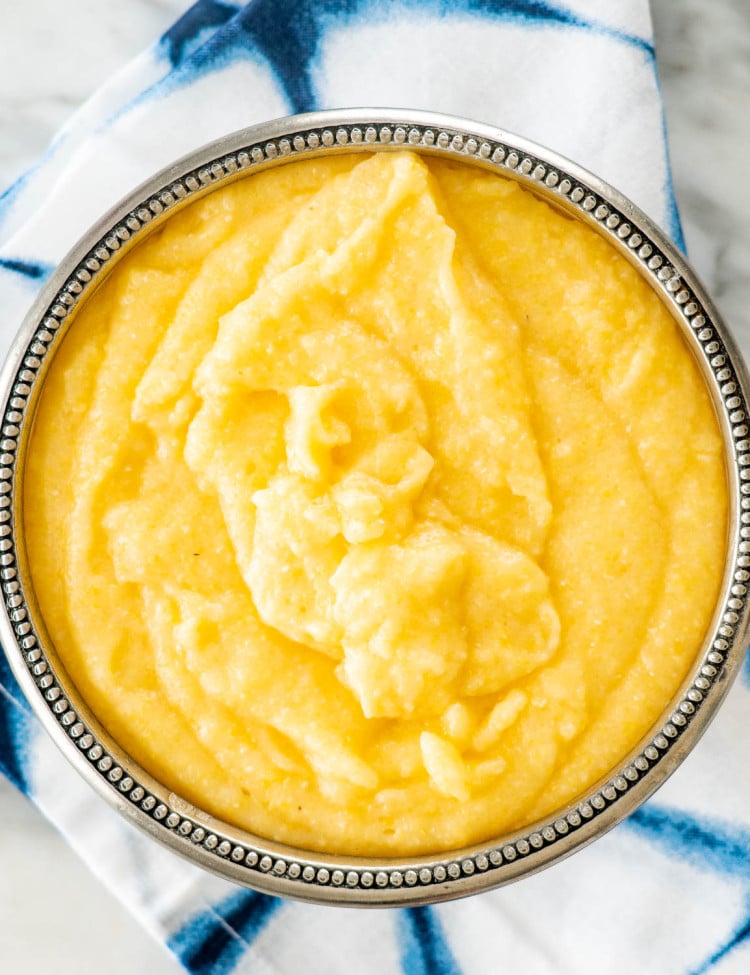
Creamy Polenta
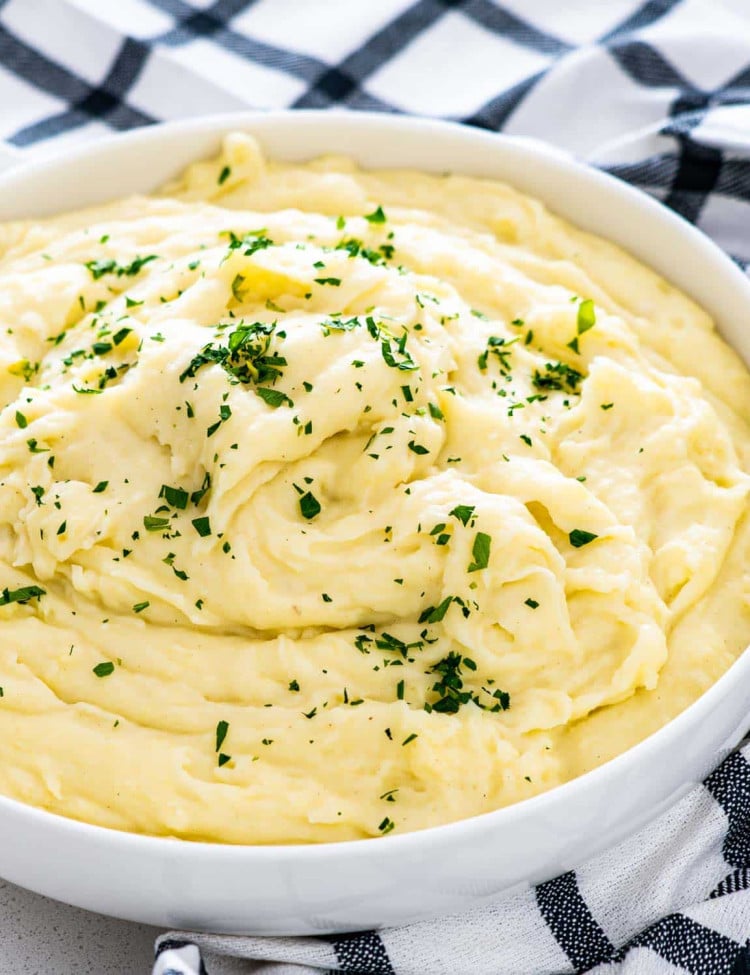
Mashed Potatoes
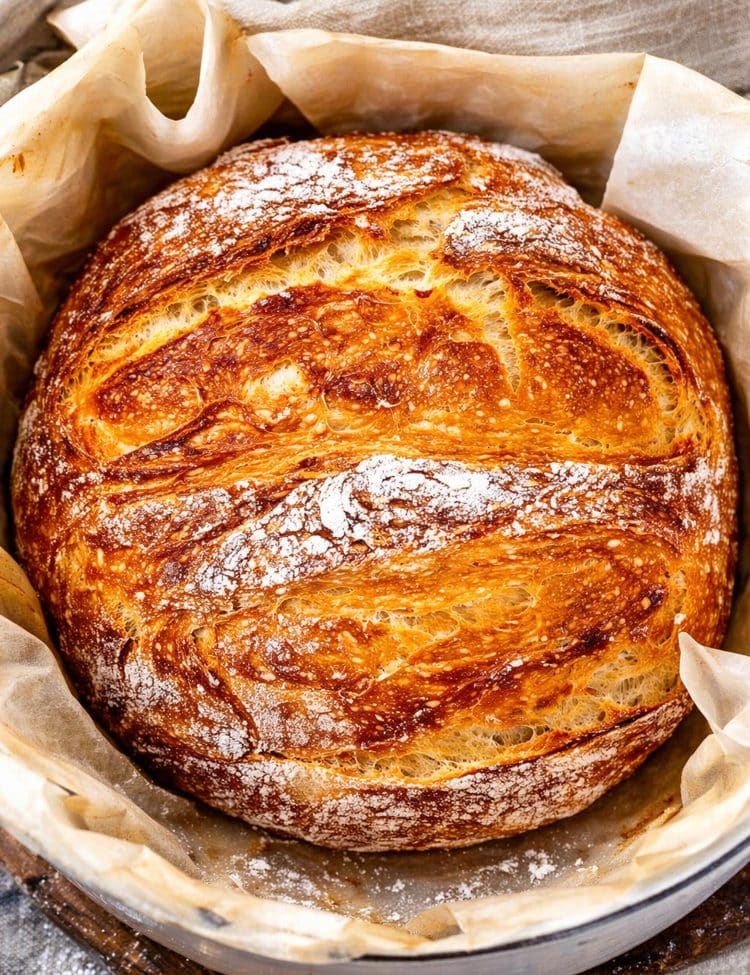
No Knead Bread
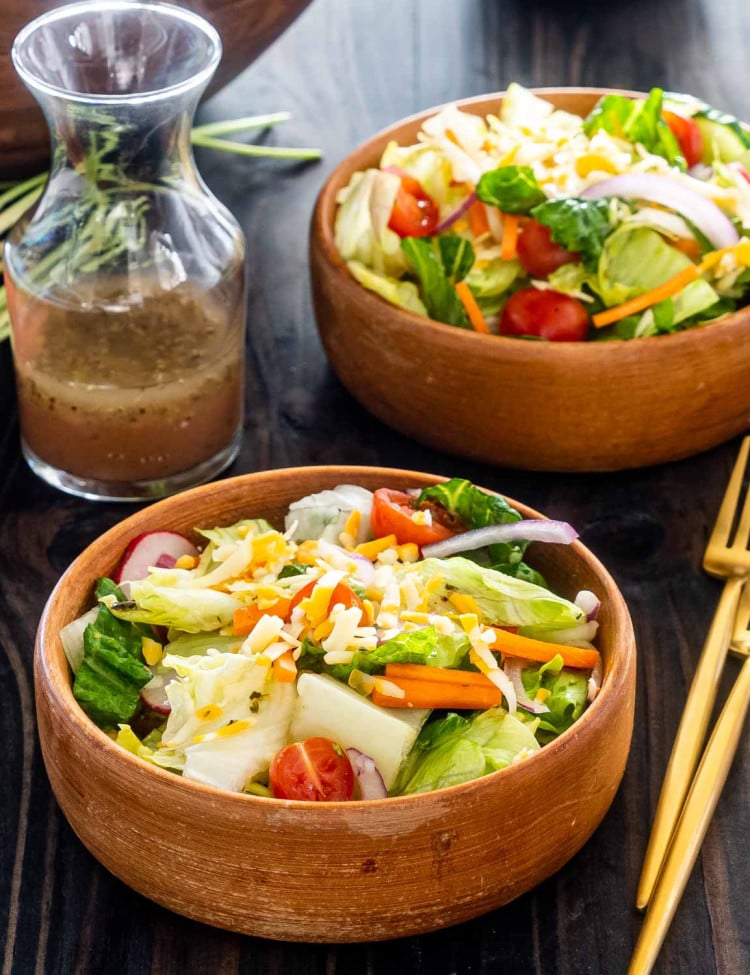
Easy Tossed Salad
Frequently Asked Questions
What is Osso Buco, anyway?
Osso Buco literally means “bone with a hole” in Italian, it refers to the marrow hole in the center of the veal shank. That little center of bone and marrow is pure magic as it cooks, it melts into the sauce and makes it ridiculously rich and silky.
Can I use beef shanks instead of veal?
Absolutely. Beef shanks are a great budget-friendly swap. They’re a little bigger and take a tiny bit longer to get fall-apart tender, but the flavor is fantastic. Just keep simmering low and slow until the meat practically falls apart when you nudge it.
Do I really have to brown the meat first?
Yes, yes, a thousand times yes. Browning the meat builds deep flavor right from the start. Skip it and you’ll still have dinner, but you’ll miss that rich, savory base that makes Osso Buco so special. (And honestly, it’s the most satisfying part.)
My sauce looks thin, what did I do wrong?
Nothing! The sauce thickens naturally as it cools and settles. If it’s still thinner than you like, just simmer it uncovered for a few extra minutes after the meat’s done. It’ll thicken up beautifully, and no one will know the difference.
Can I make Osso Buco ahead of time?
Yes, and honestly, it tastes even better the next day. The flavors deepen and mellow overnight. Just cool completely, refrigerate, and gently reheat on the stove over low heat when you’re ready to serve.
Can I freeze Osso Buco?
You sure can. Cool it completely, pack it into airtight containers (sauce and all), and freeze for up to 3 months. Thaw overnight in the fridge and reheat gently on the stove. If the sauce looks a little thick after freezing, just splash in a bit of broth or water.
What’s the best wine to use?
Pick a dry white wine you’d actually drink. Sauvignon Blanc, Pinot Grigio, or even a dry Riesling work beautifully. Save the super expensive bottles for sipping, mid-range wine is perfect for cooking.
What if I can’t find fresh thyme or bay leaves?
No panic needed. Dried thyme works fine (use about half the amount) and you can absolutely skip bay leaves if you have to. Your Osso Buco will still turn out delicious, promise.
Do I have to make gremolata?
Technically no, but honestly? Yes. That fresh pop of lemon, garlic, and parsley lifts all the rich flavors and makes the whole dish taste brighter and more balanced. It’s 2 minutes of effort for 1000% payoff.
Discover More Italian Dishes
- Chicken Parmesan
- Creamy Italian Sausage Pasta
- Chicken Cacciatore
- Pasta Puttanesca
- Italian Chicken Sheet Pan Dinner
Before You Begin! If you make this, please leave a review and rating letting us know how you liked this recipe! This helps our business thrive & continue providing free recipes.

Osso Buco
Video
Ingredients
- 4 veal shanks (about 2 inches thick)
- salt and pepper (to taste)
- ¼ cup all-purpose flour
- 3 tablespoons olive oil
- 1 large onion (chopped)
- 2 medium carrots (peeled and finely chopped)
- 2 stalks celery (finely chopped)
- 3 cloves garlic (minced)
- 1 cup dry white wine
- 1½ cups beef broth (low sodium)
- 14 ounces crushed tomatoes (1 can)
- 2 bay leaves
- 2 sprigs fresh thyme
For The Gremolata
- 1 tablespoon fresh lemon zest
- 2 cloves garlic (minced)
- 2 tablespoons fresh parsley (finely chopped)
Before You Begin! If you make this, please leave a review and rating letting us know how you liked this recipe! This helps our business thrive & continue providing free recipes.
Instructions
- Pat the veal shanks dry with paper towels. Season each shank with salt and pepper. Lightly dredge them in flour, shaking off any excess.

- In a large heavy-bottomed pot or Dutch oven, heat the olive oil over medium heat. Add the veal shanks, making sure not to overcrowd the pot. Brown each side for about 3-5 minutes or until they get a nice golden color. Remove and set aside.

- In the same pot, add the onion, carrots, and celery. Cook until the vegetables are softened, about 5-7 minutes. Add the minced garlic and sauté for another minute.
- Pour in the white wine, scraping the bottom of the pot to lift up the browned bits. Allow the wine to simmer and reduce by half. Add the crushed tomatoes, beef broth, bay leaves, and thyme to the pot. Stir well.
- Return the browned veal shanks to the pot, ensuring they are submerged in the sauce. Cover and let it simmer on low heat for about 1½ to 2 hours or until the meat is tender and falling off the bone.
- While the veal is cooking, mix together the lemon zest, minced garlic, and chopped parsley. This is your gremolata.
- Once the veal shanks are tender, discard the bay leaves and thyme sprigs. Plate each veal shank and spoon some sauce over the top. Sprinkle with gremolata before serving.

Equipment
Notes
- Veal Shanks: Look for shanks about 1½ to 2 inches thick with a good center of marrow, that’s where all the magic happens. Beef shanks can also be used for a budget-friendly option (they’ll just need a little extra braising time).
- Browning Is Non-Negotiable: Browning the shanks properly before braising builds deep flavor. Don’t rush it, this is where the magic starts.
- Wine: Use a dry white wine you’d happily sip. Mid-range is perfect, you don’t need anything fancy.
- Sauce Tips: If your sauce looks thin after cooking, simmer it uncovered for a few extra minutes until it thickens naturally. Leftovers thicken even more overnight.
- Gremolata: It’s not just garnish, it cuts through the richness and makes the whole dish taste lighter and brighter. Totally worth the 2 minutes to mix it up.
- Make-Ahead: Like most braised dishes, Osso Buco tastes even better the next day after the flavors have time to develop.
Nutrition Information
Notice: Nutrition is auto-calculated for your convenience. Where relevant, we recommend using your own nutrition calculations.
