Pound Cake Recipe
This post may contain affiliate links. Please read my disclosure policy.
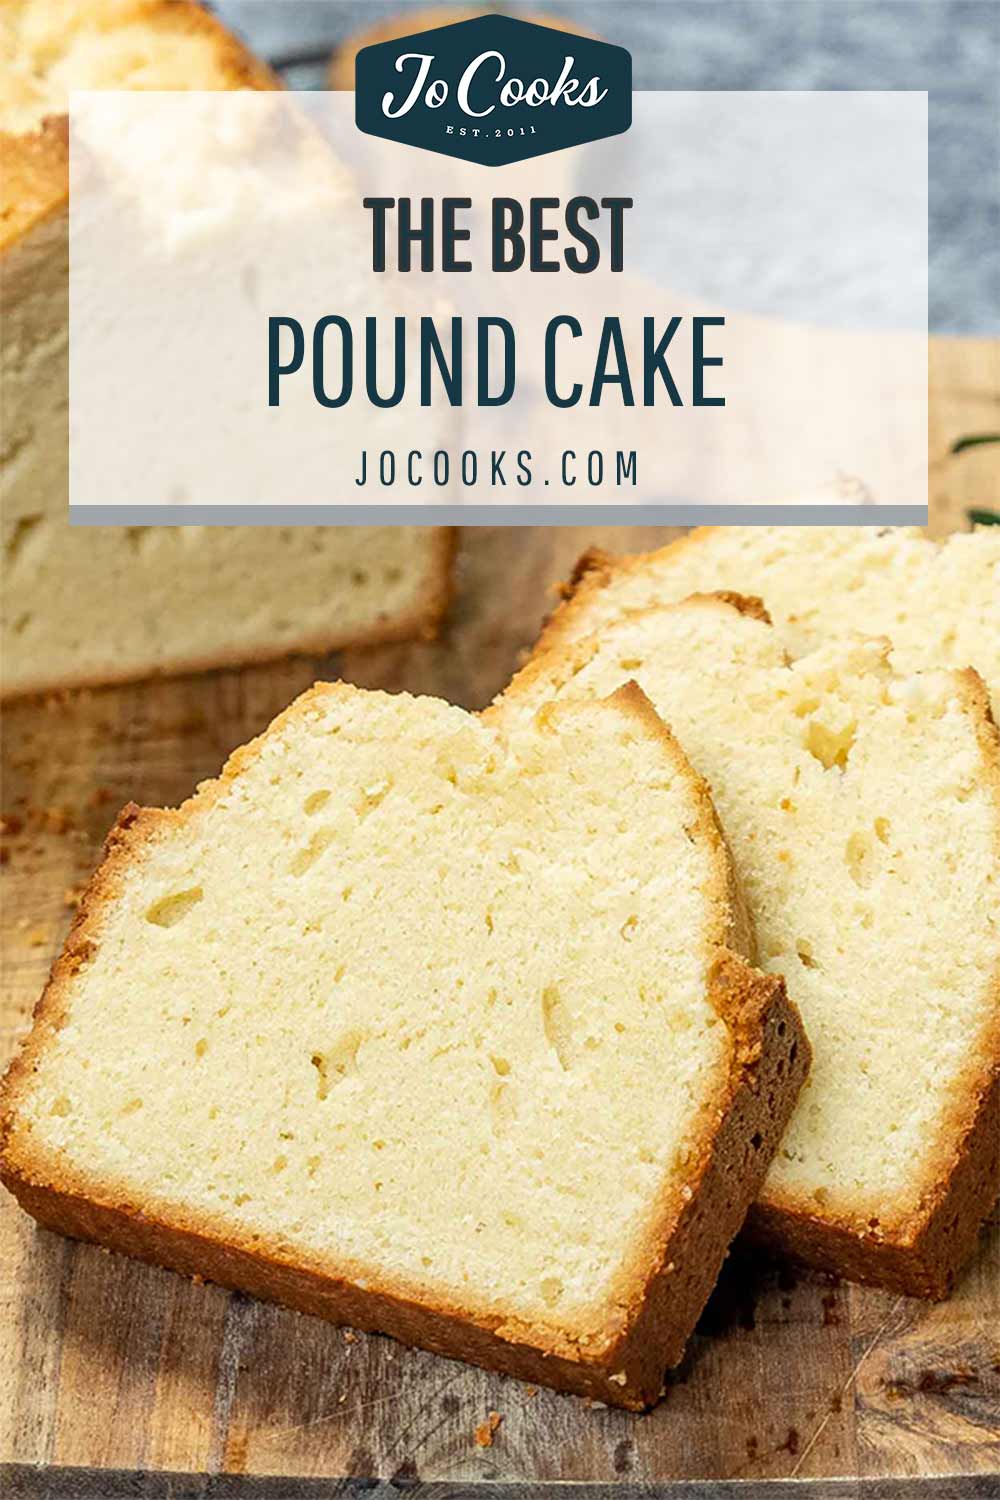
Sink your teeth into the divine simplicity of a classic Pound Cake, as it lures you in with its golden exterior and tender, buttery crumb. This timeless dessert offers the perfect balance of delicate sweetness and rich flavor, enticing bakers of all skill levels to create their own mouthwatering masterpiece.
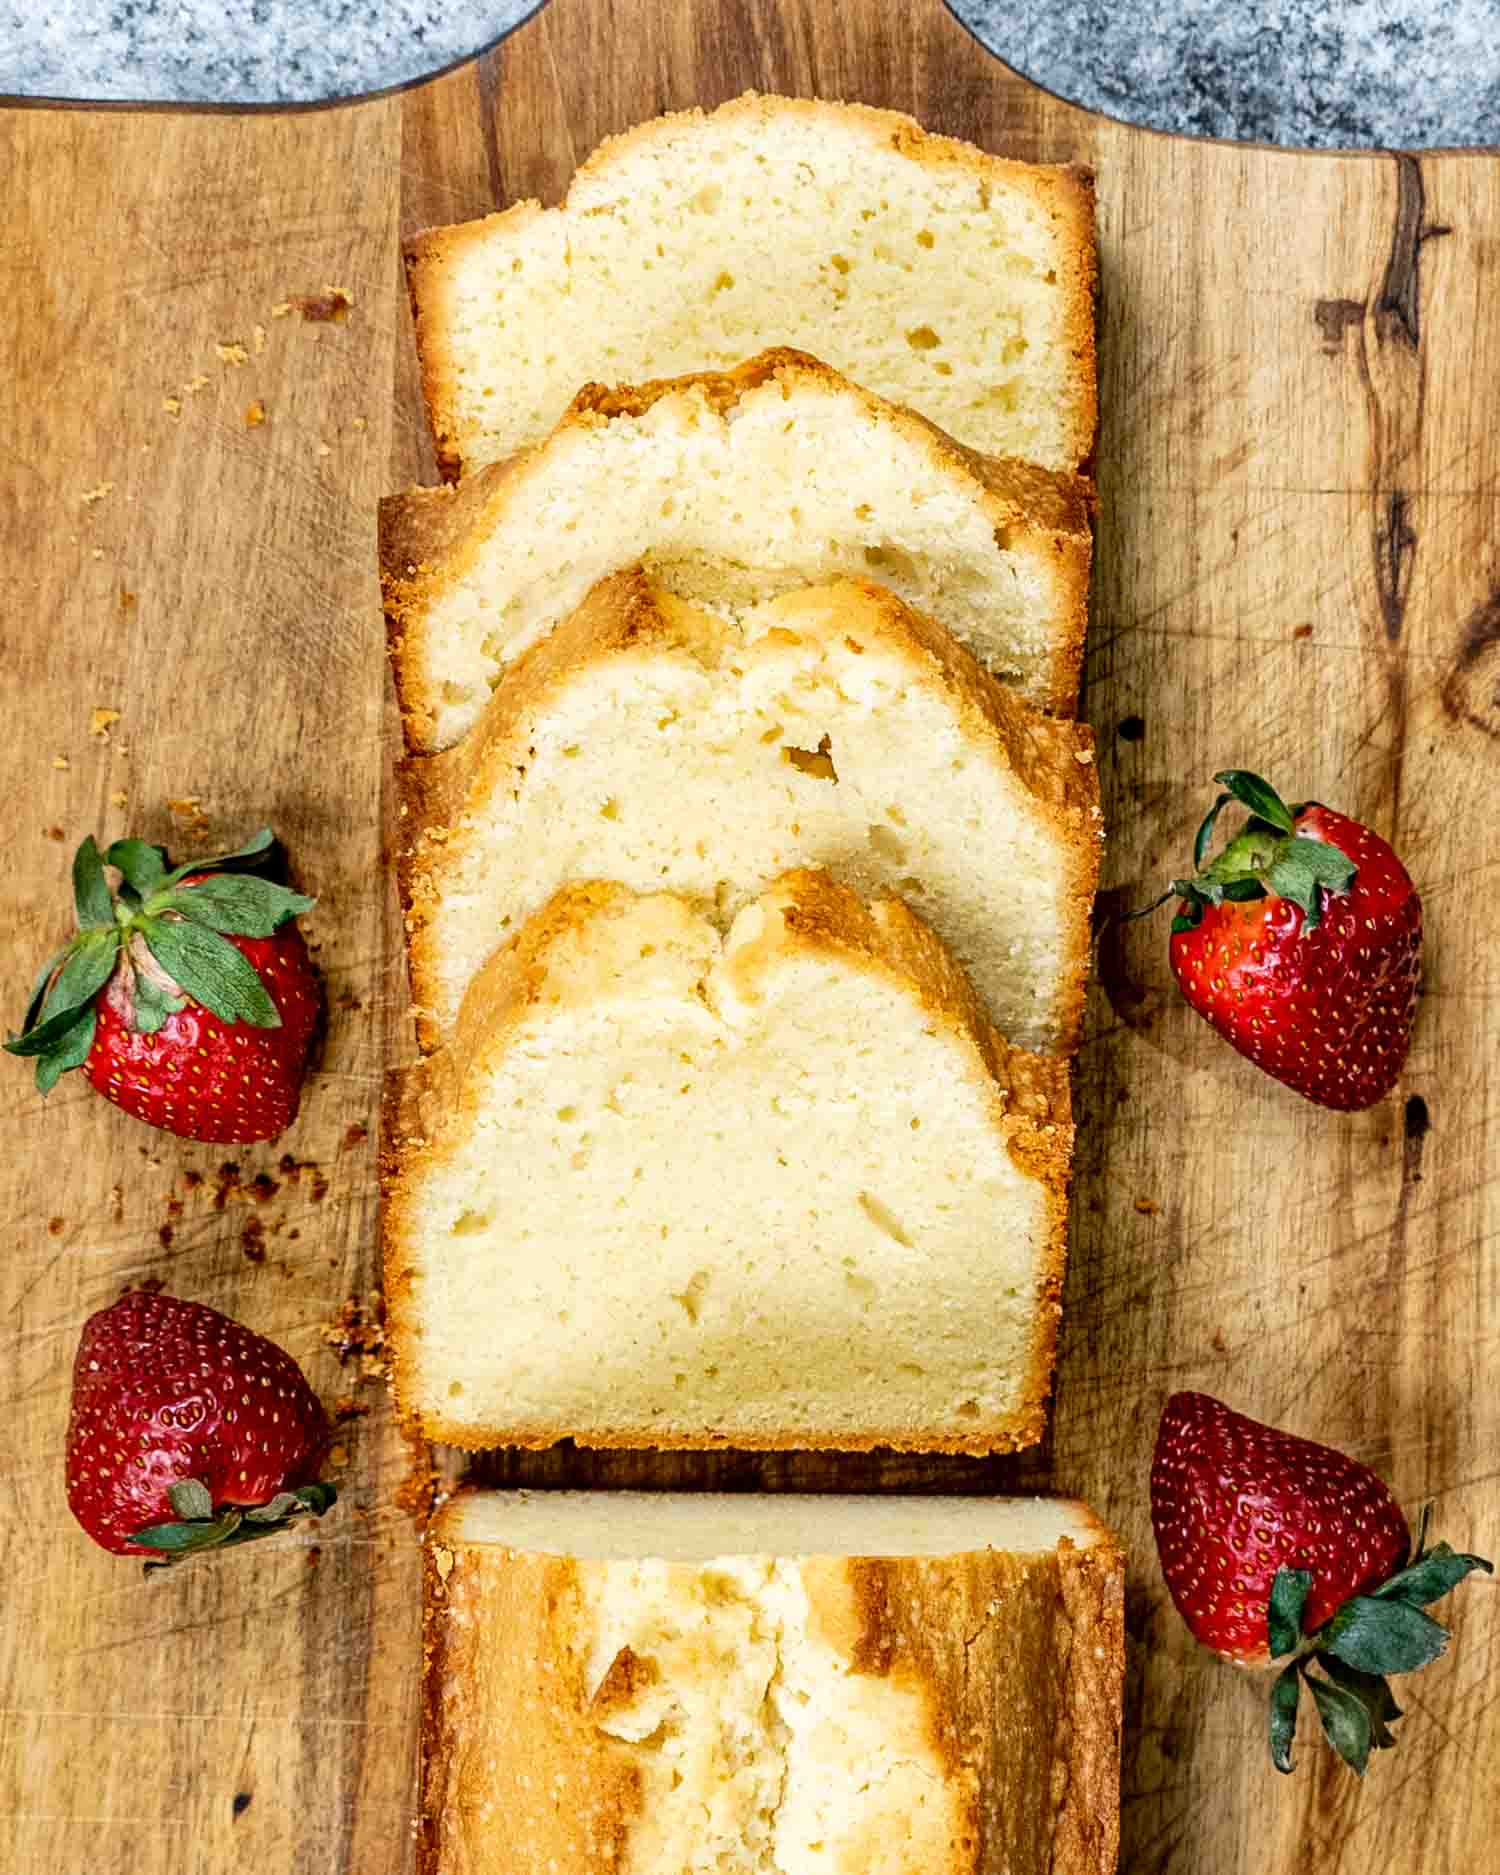
A Classic Pound Cake Recipe
Picture this: a cake so exquisite, so simple, it almost feels like a culinary hug in dessert form. That’s right, my dear friends, I’m talking about none other than the humble pound cake. A cake that reminds you of your grandmother’s kitchen, warm and cozy, filled with laughter and love. You might say it’s the ultimate comfort food, like a fluffy, buttery cloud that somehow got sliced up and served on a plate. Who wouldn’t want a bite of that?
Now, I must confess, this cake doesn’t come with bells and whistles or fancy decorations, but don’t be fooled, it’s the strong and silent type. You know, the one that whispers sweet nothings in your ear as you take your first bite. The true beauty of the pound cake lies in its simplicity, like a gorgeous, buttery ode to baking in its purest form.
And the best part? It’s nearly impossible to mess up. Just imagine, you, in your kitchen, whipping up a cake so perfect it makes even the most skilled pastry chefs nod in approval. So, go ahead, channel your inner Julia Child and embrace the wonderful world of pound cake. Trust me, your taste buds will thank you.
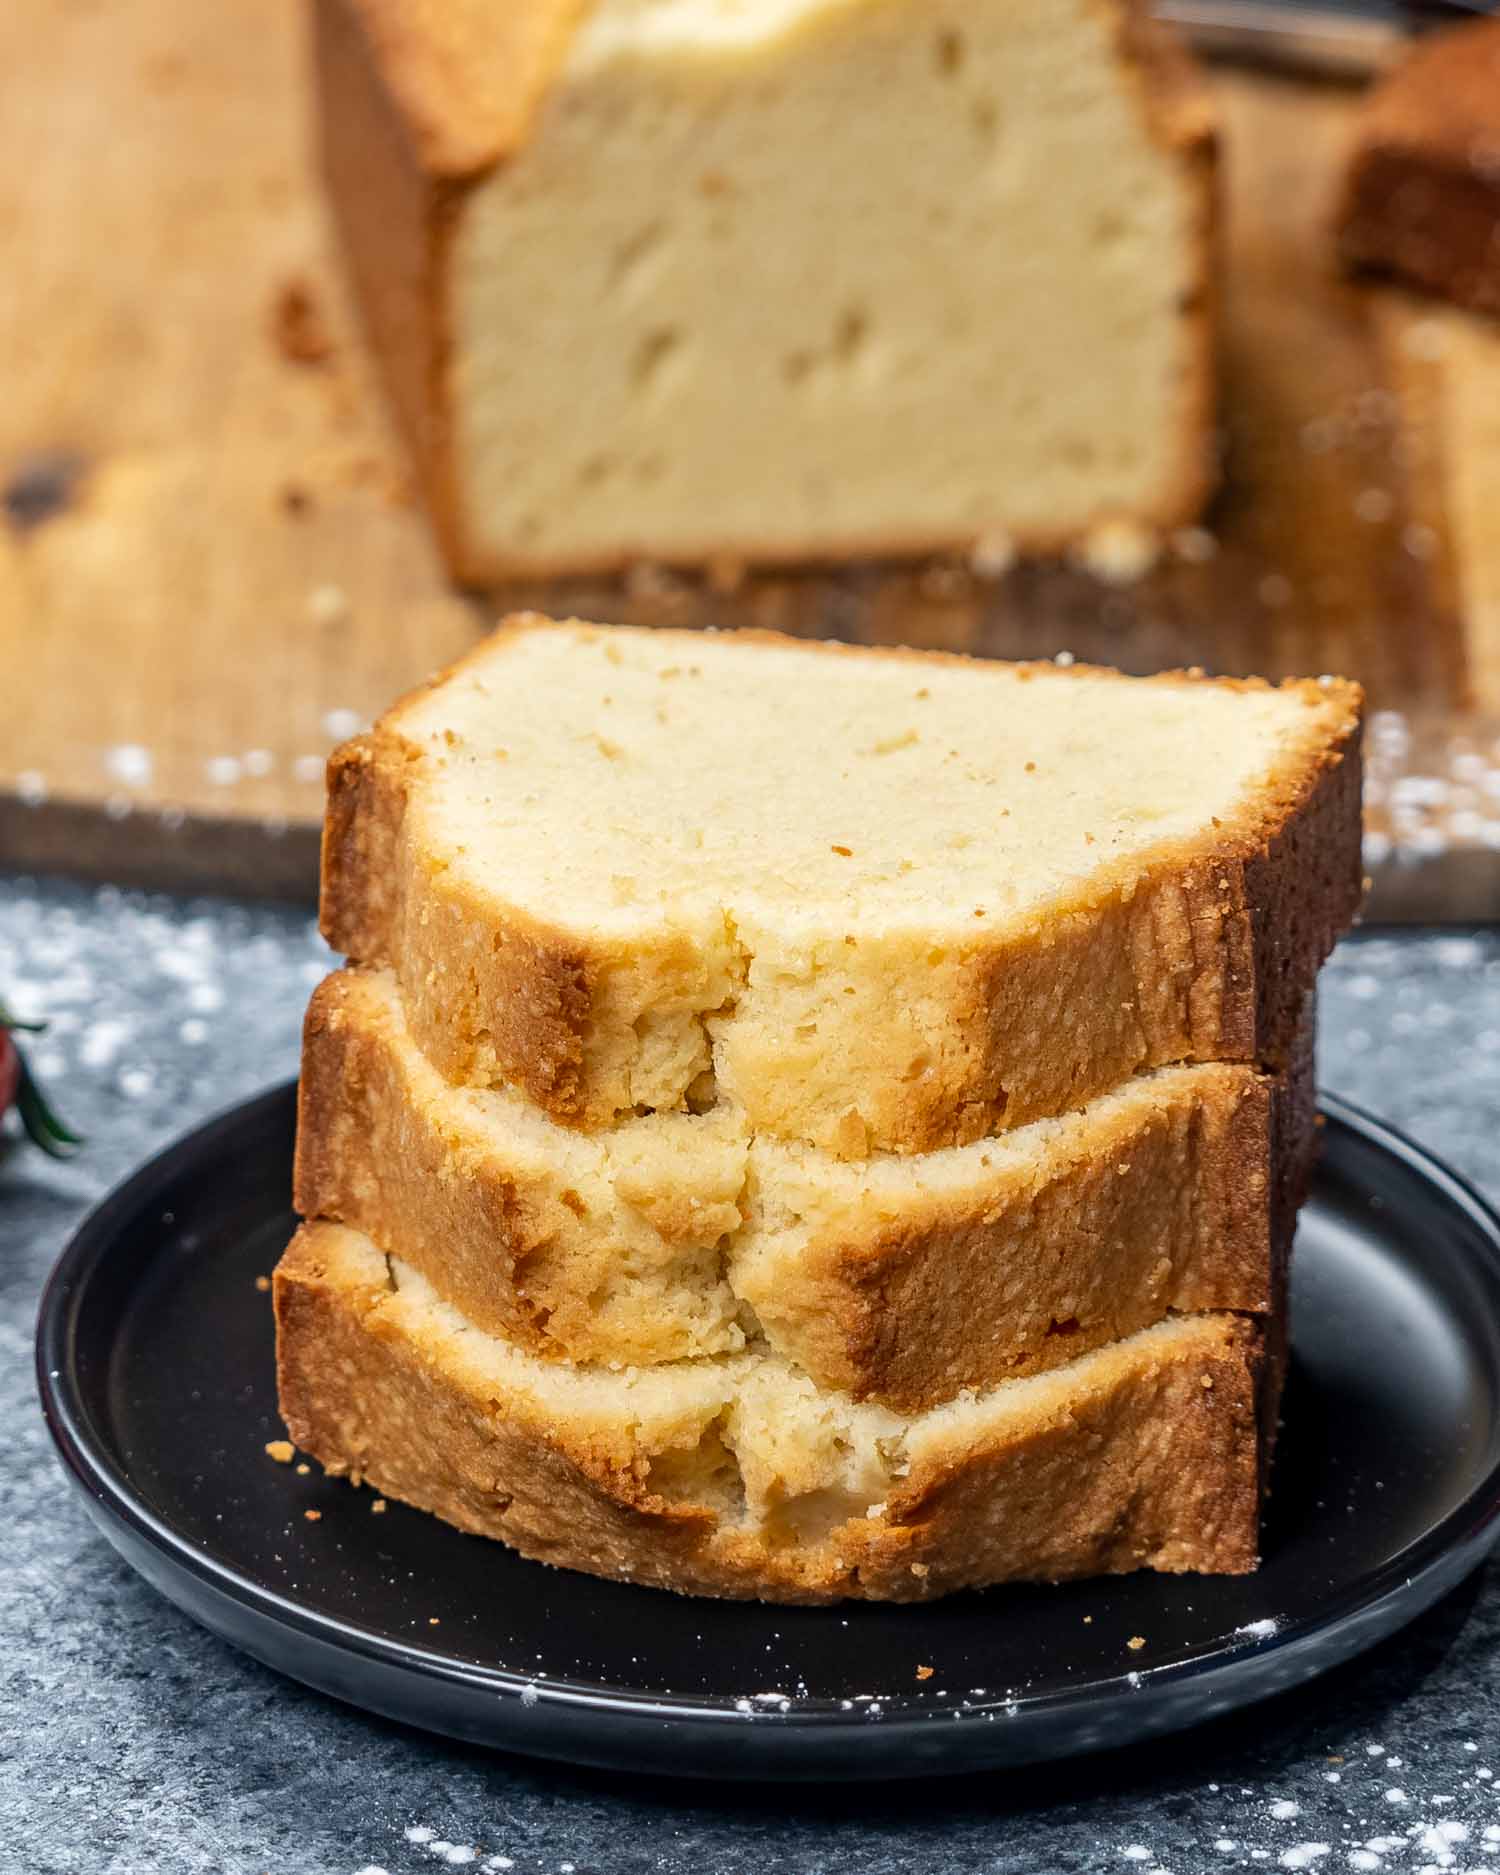
Why You’ll Love This Pound Cake
- Easy Recipe! Perfect for novice bakers, you can whip this simple 6-ingredient recipe together in minutes and then just pop it in the oven. No fancy baking skills needed.
- Classic Cake Recipe! This simple cake is moist with layers of buttery sweet deliciousness and a lovely tight tender crumb texture that melts in your mouth.
- Versatile Cake! You can easily customize and add flavors to this cake recipe by mixing in things like lemon zest, chocolate chips, nuts, sour cream, or different extracts.
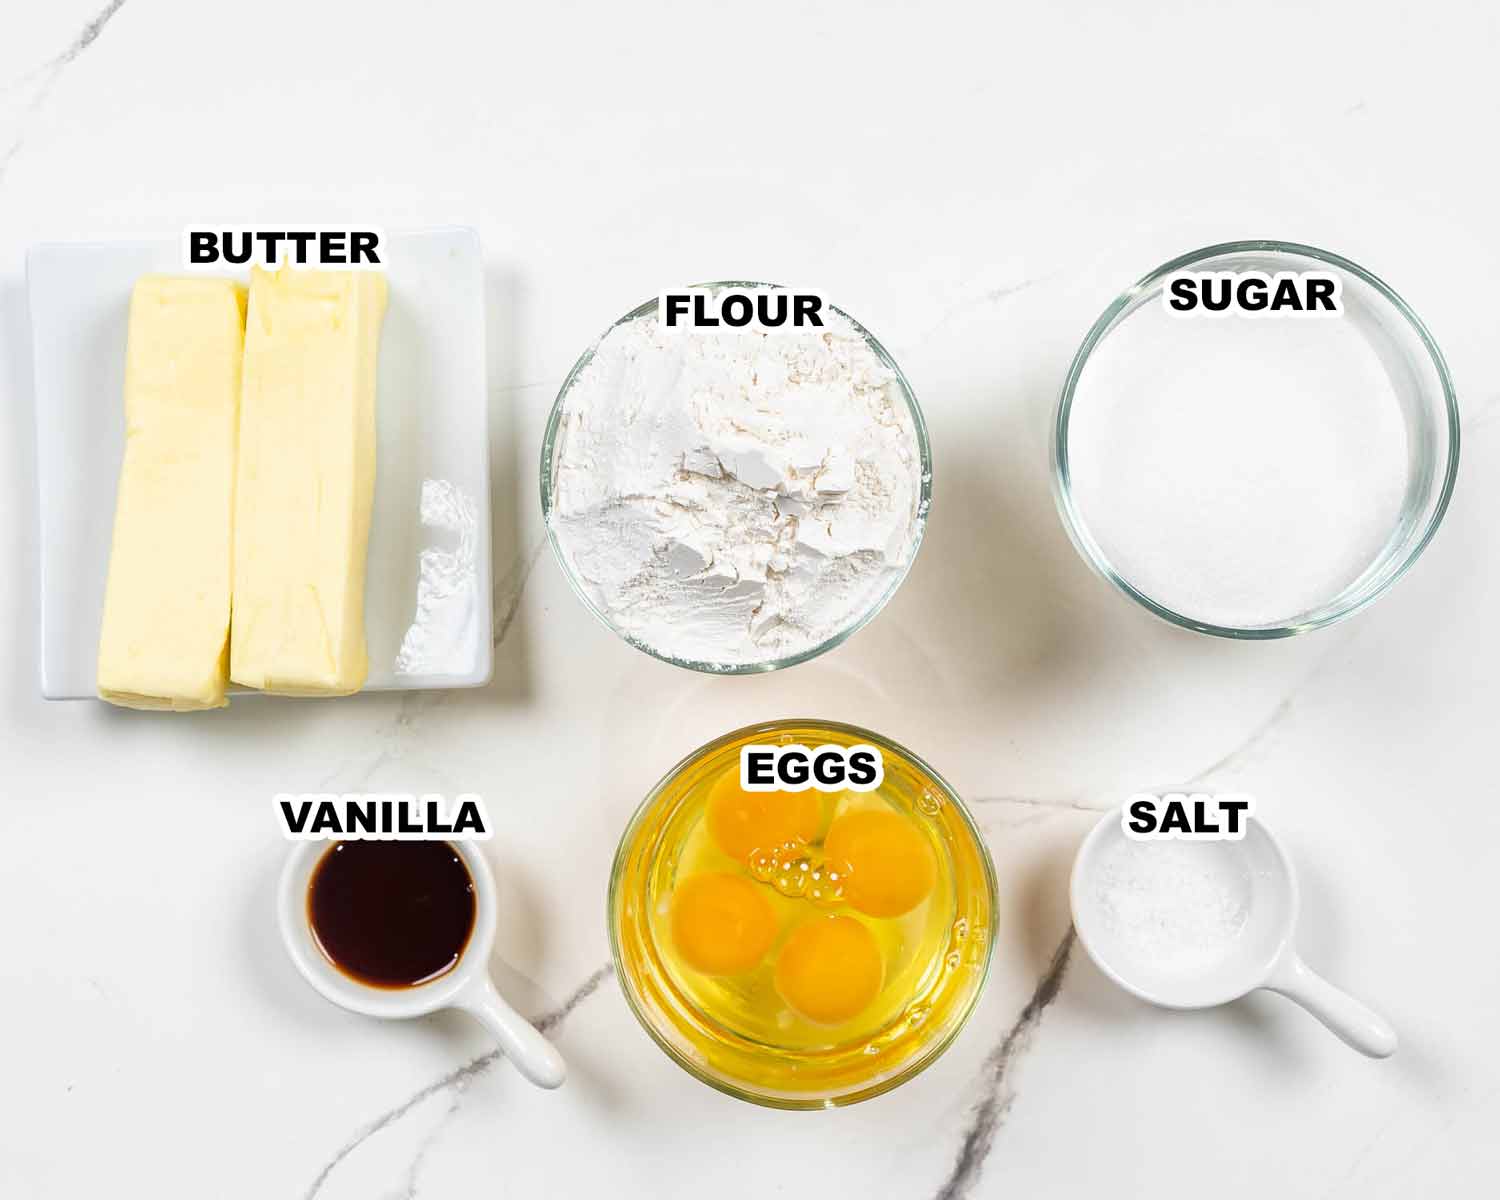
- Butter – Always use unsalted butter in baking unless a recipe states otherwise. Your butter must be at room temperature to make this cake batter.
- Sugar – I used white granulated sugar, which I find works best. You can also use cane sugar if you prefer.
- Flour – Basic all-purpose flour is all you need.
- Eggs – You will need some eggs that are at room temperature. So take them out of the fridge about an hour before starting the recipe.
- Salt – Used to balance the sweetness. Don’t omit this ingredient!
- Vanilla – For the best-tasting cake use pure vanilla extract. Vanilla bean paste is another option.
This is a simple cake recipe that doesn’t take much effort! In fact, the batter comes together with just 10 minutes of prep time and once the cake cools it’s ready to serve.
To begin, preheat your oven temperature to 350°F (177°C). The oven needs to be fully preheated before the cake goes in to bake. Then spray an 8.5 x 4.5 x 2.75 inch loaf pan with cooking spray. You can also grease it with oil if you prefer.
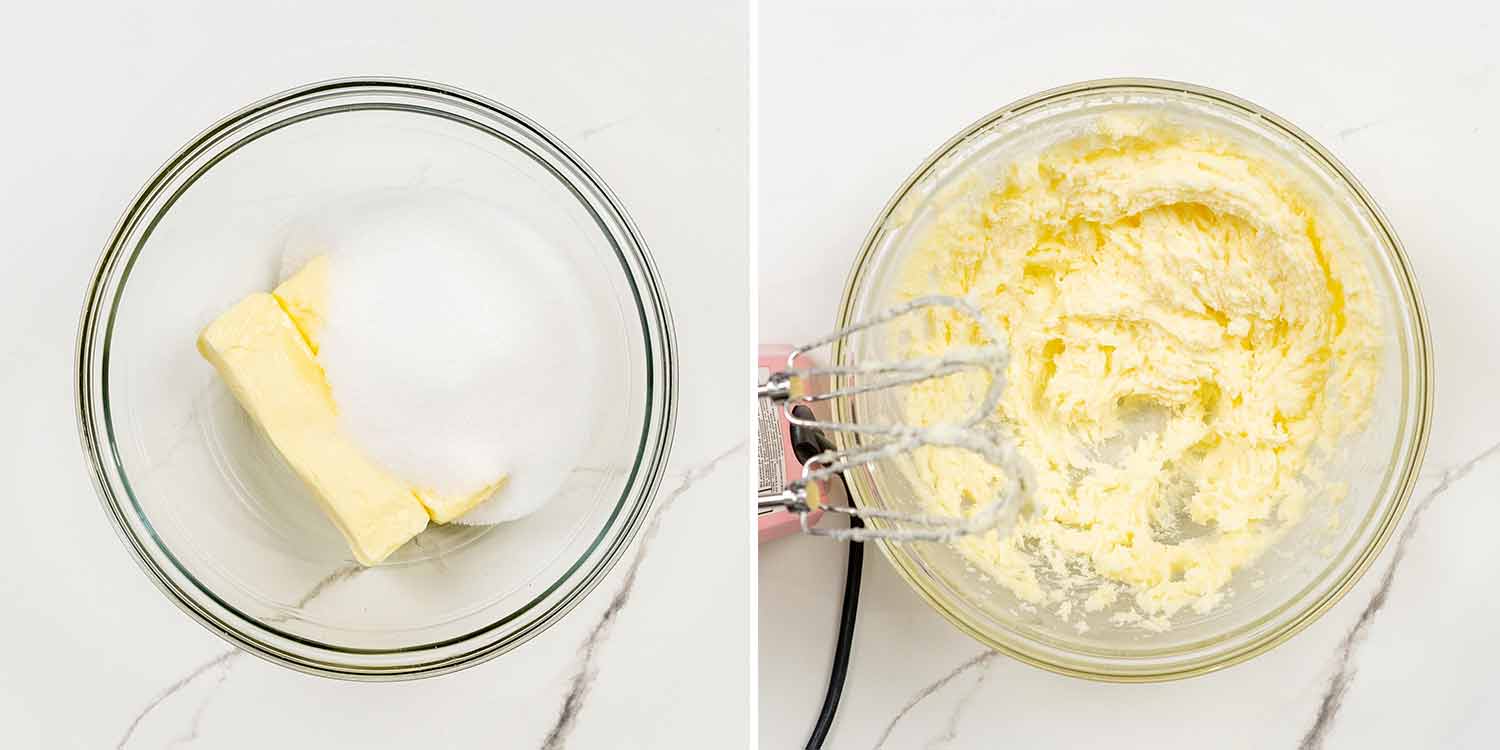
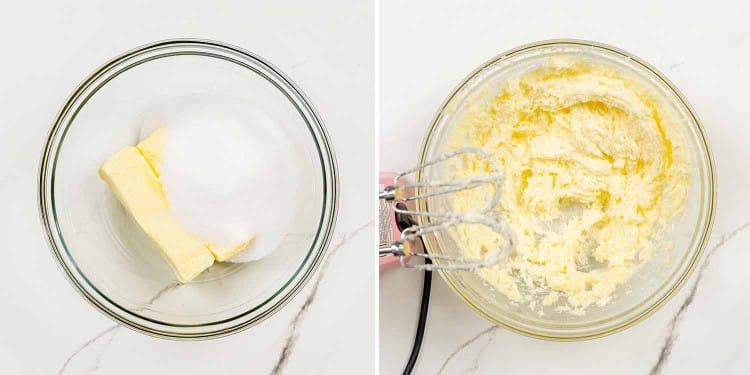
Next, put the room-temperature butter and sugar into the bowl of a stand mixer. Then cream them together at medium speed using the paddle attachment until the mixture is light and fluffy. This typically takes about 4 to 5 minutes. You can also use a hand mixer to make the batter.

After the butter and sugar have been creamed, add the eggs one at a time until they are fully incorporated into the butter mixture. If needed, use a rubber spatula to scrape down the sides of the bowl after each addition.
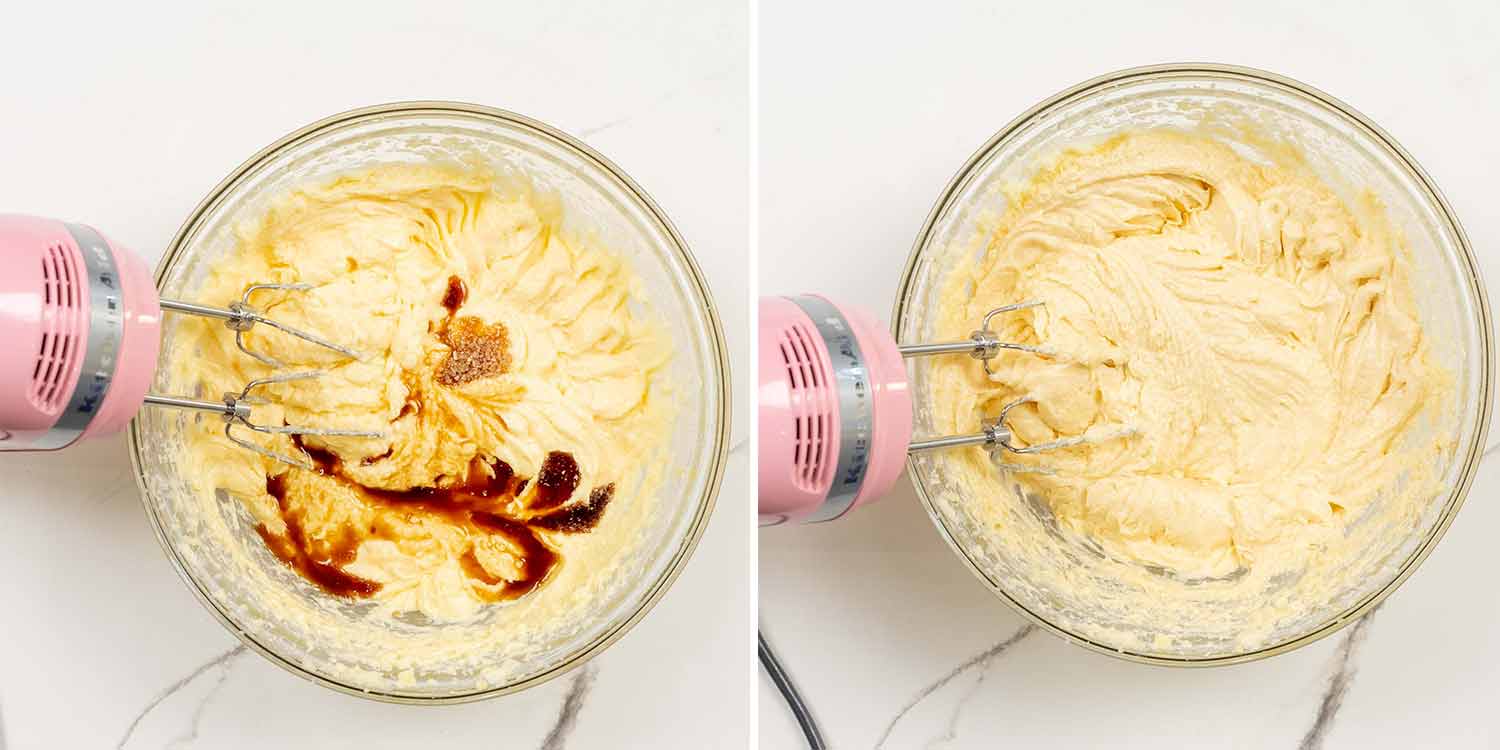
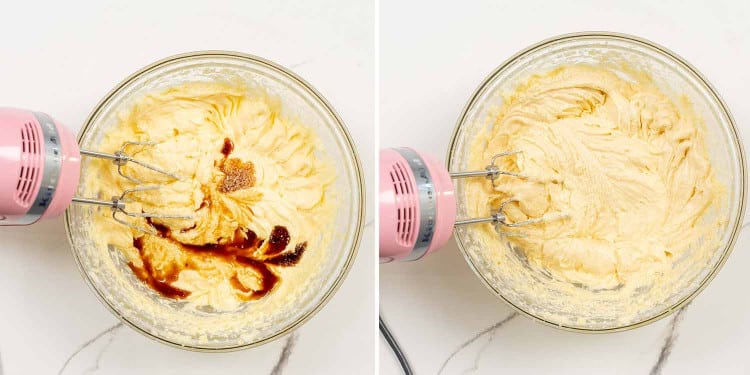
Then mix the vanilla and salt into the mixture.

Now, with the mixer still running on low speed, slowly add half of the flour and mix just until it’s incorporated into the batter. Then slowly add the other half of the flour and mix again just until combined. Be very careful not to over-mix.
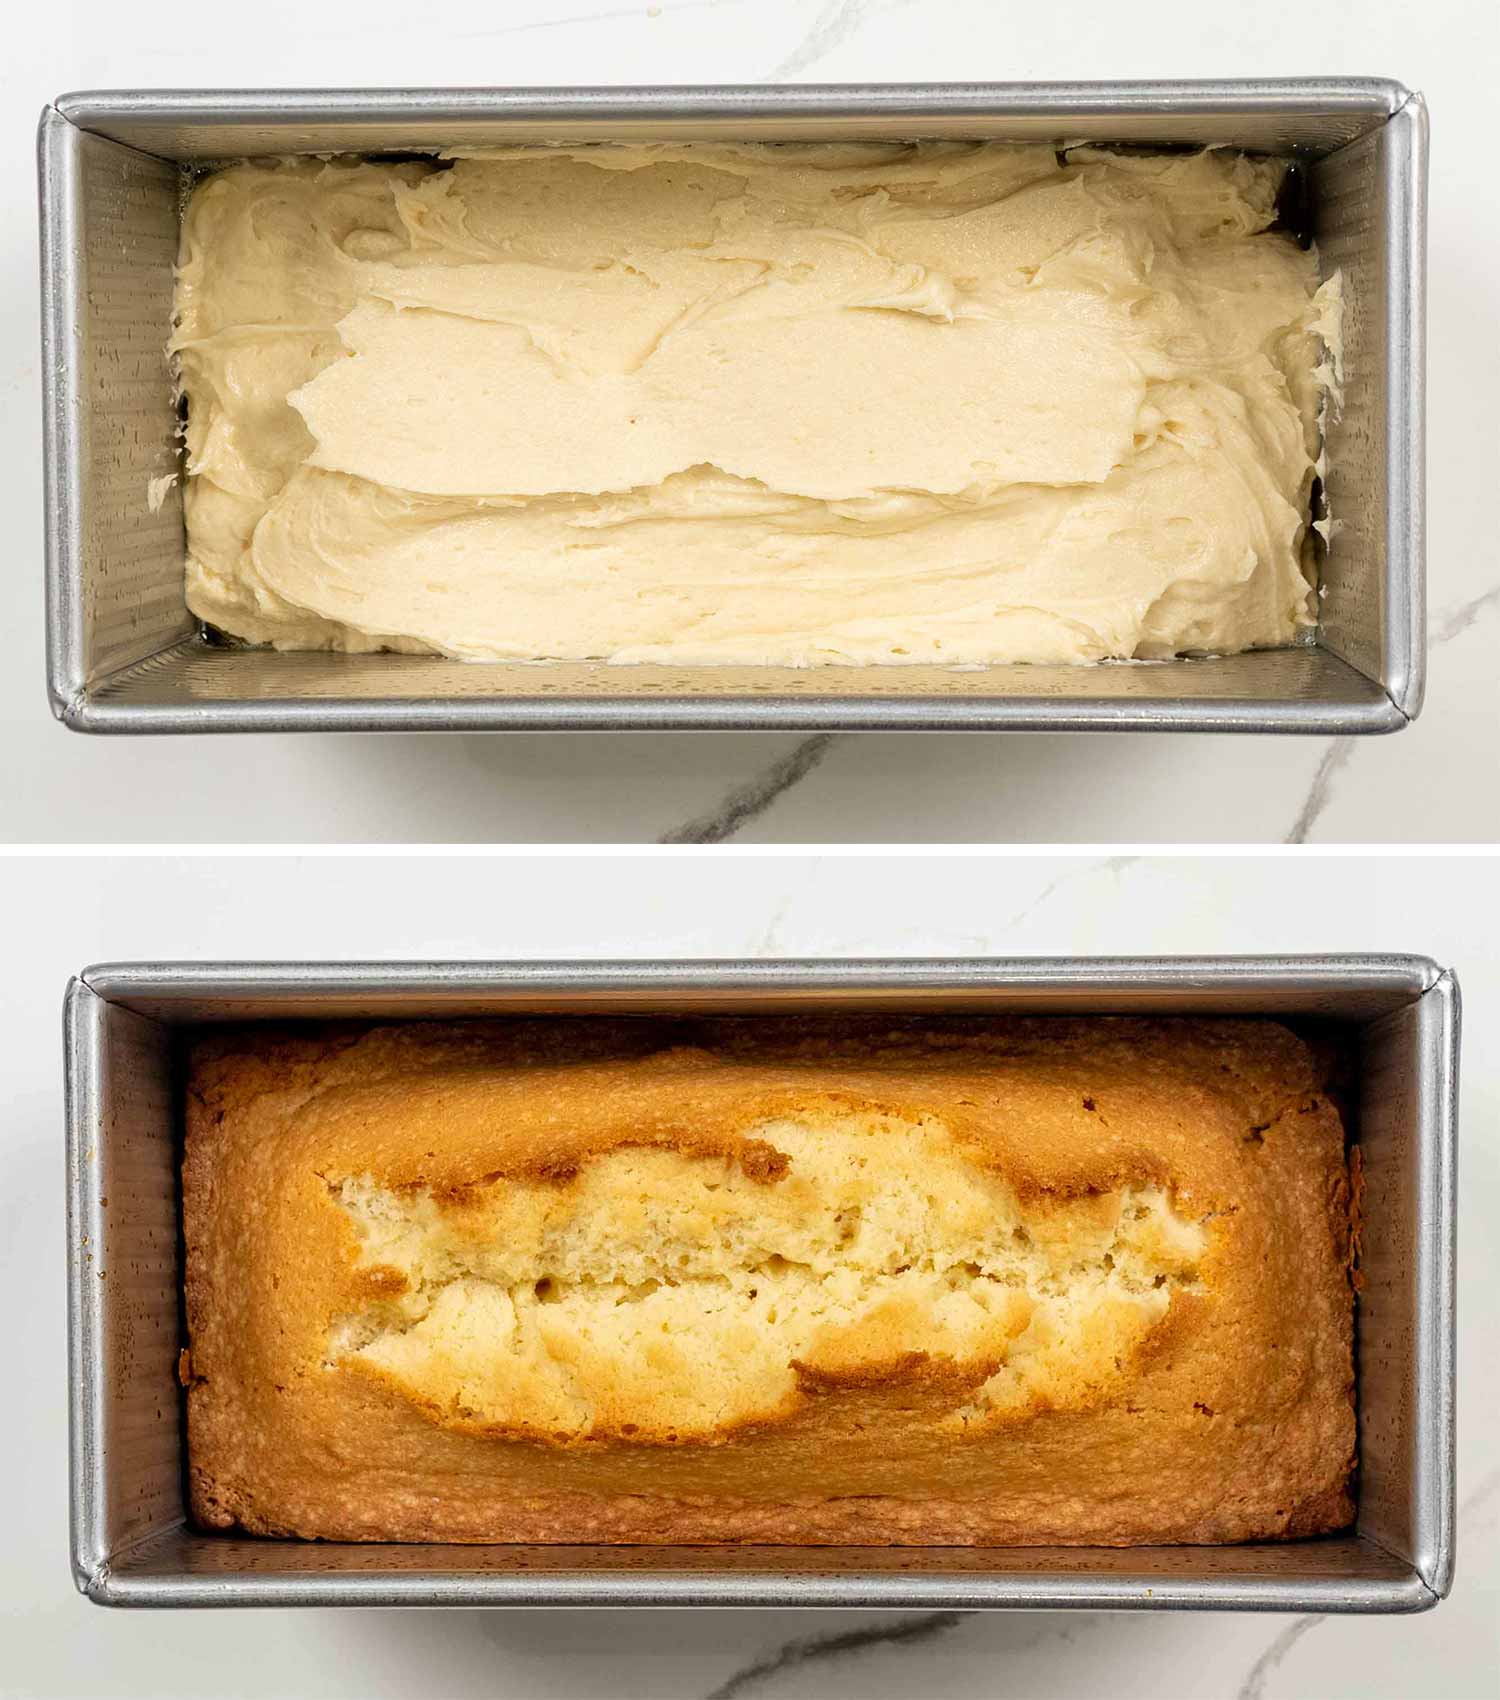
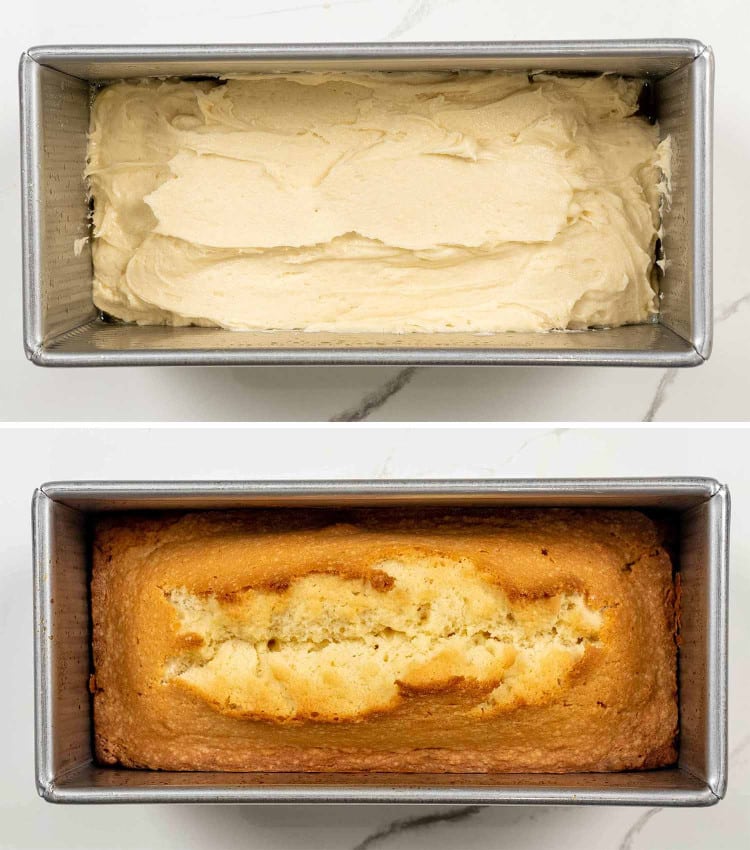
Once the batter is ready, pour it into the prepared pan. Next, put the cake into the preheated oven and bake it for about 1 hour or until a toothpick inserted into the center comes out clean. Then let the cake cool in the pan for 15 minutes before running a knife around the edges of the pan and turning it out onto a wire rack to finish cooling. You should let the cake completely cool before slicing into it to serve.
Frequently Asked Questions
Why is it called pound cake?
The name “pound cake” has a delightfully simple origin. It’s called pound cake because the original recipe called for a pound each of four main ingredients: flour, butter, sugar, and eggs. This made for an easy-to-remember recipe that yielded a large, dense cake with a rich, buttery flavor.
Can I use salted butter instead of unsalted butter in my pound cake?
You betcha! If you only have salted butter on hand, feel free to use it. Just keep in mind that it may slightly alter the taste of your cake, making it a tad saltier. To balance things out, you can reduce the added salt in the recipe by about half. Your cake will still be scrumptious and delightful, I promise!
Can I make this pound cake gluten-free?
Absolutely, my gluten-free friends! You can simply swap out the all-purpose flour with a gluten-free flour blend in a 1:1 ratio. Make sure to choose a blend that contains xanthan gum, or add a teaspoon of it separately, to ensure your cake has the right texture. Voila, you now have a delicious gluten-free pound cake to enjoy!
Can I add some extra flavor to my pound cake?
Oh, the possibilities are endless! You can experiment by adding different extracts like almond, lemon, or orange to change up the flavor. If you’re feeling a bit more adventurous, try folding in some chocolate chips, nuts, or even dried fruit. The pound cake is your canvas, so go ahead and unleash your inner artist!
Why did my pound cake crack on top?
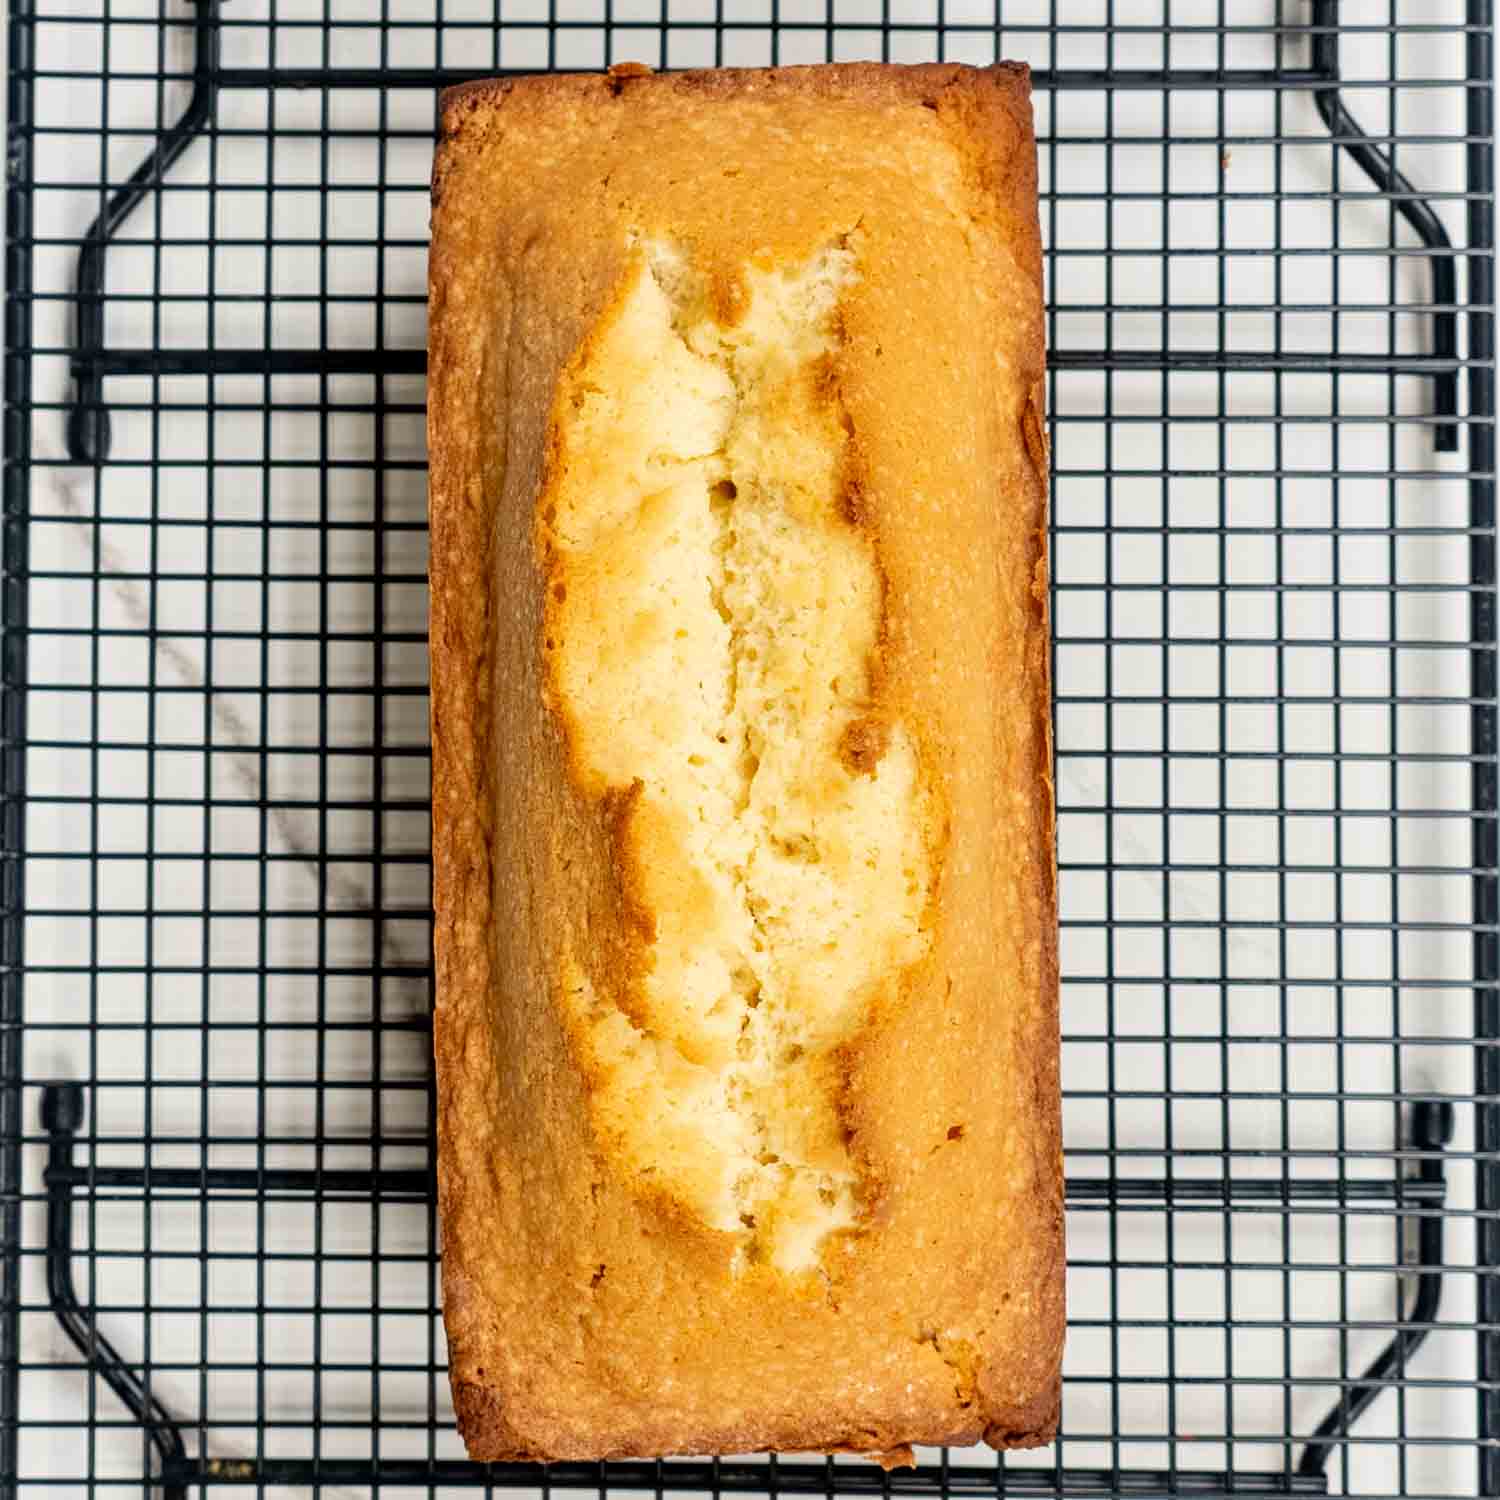
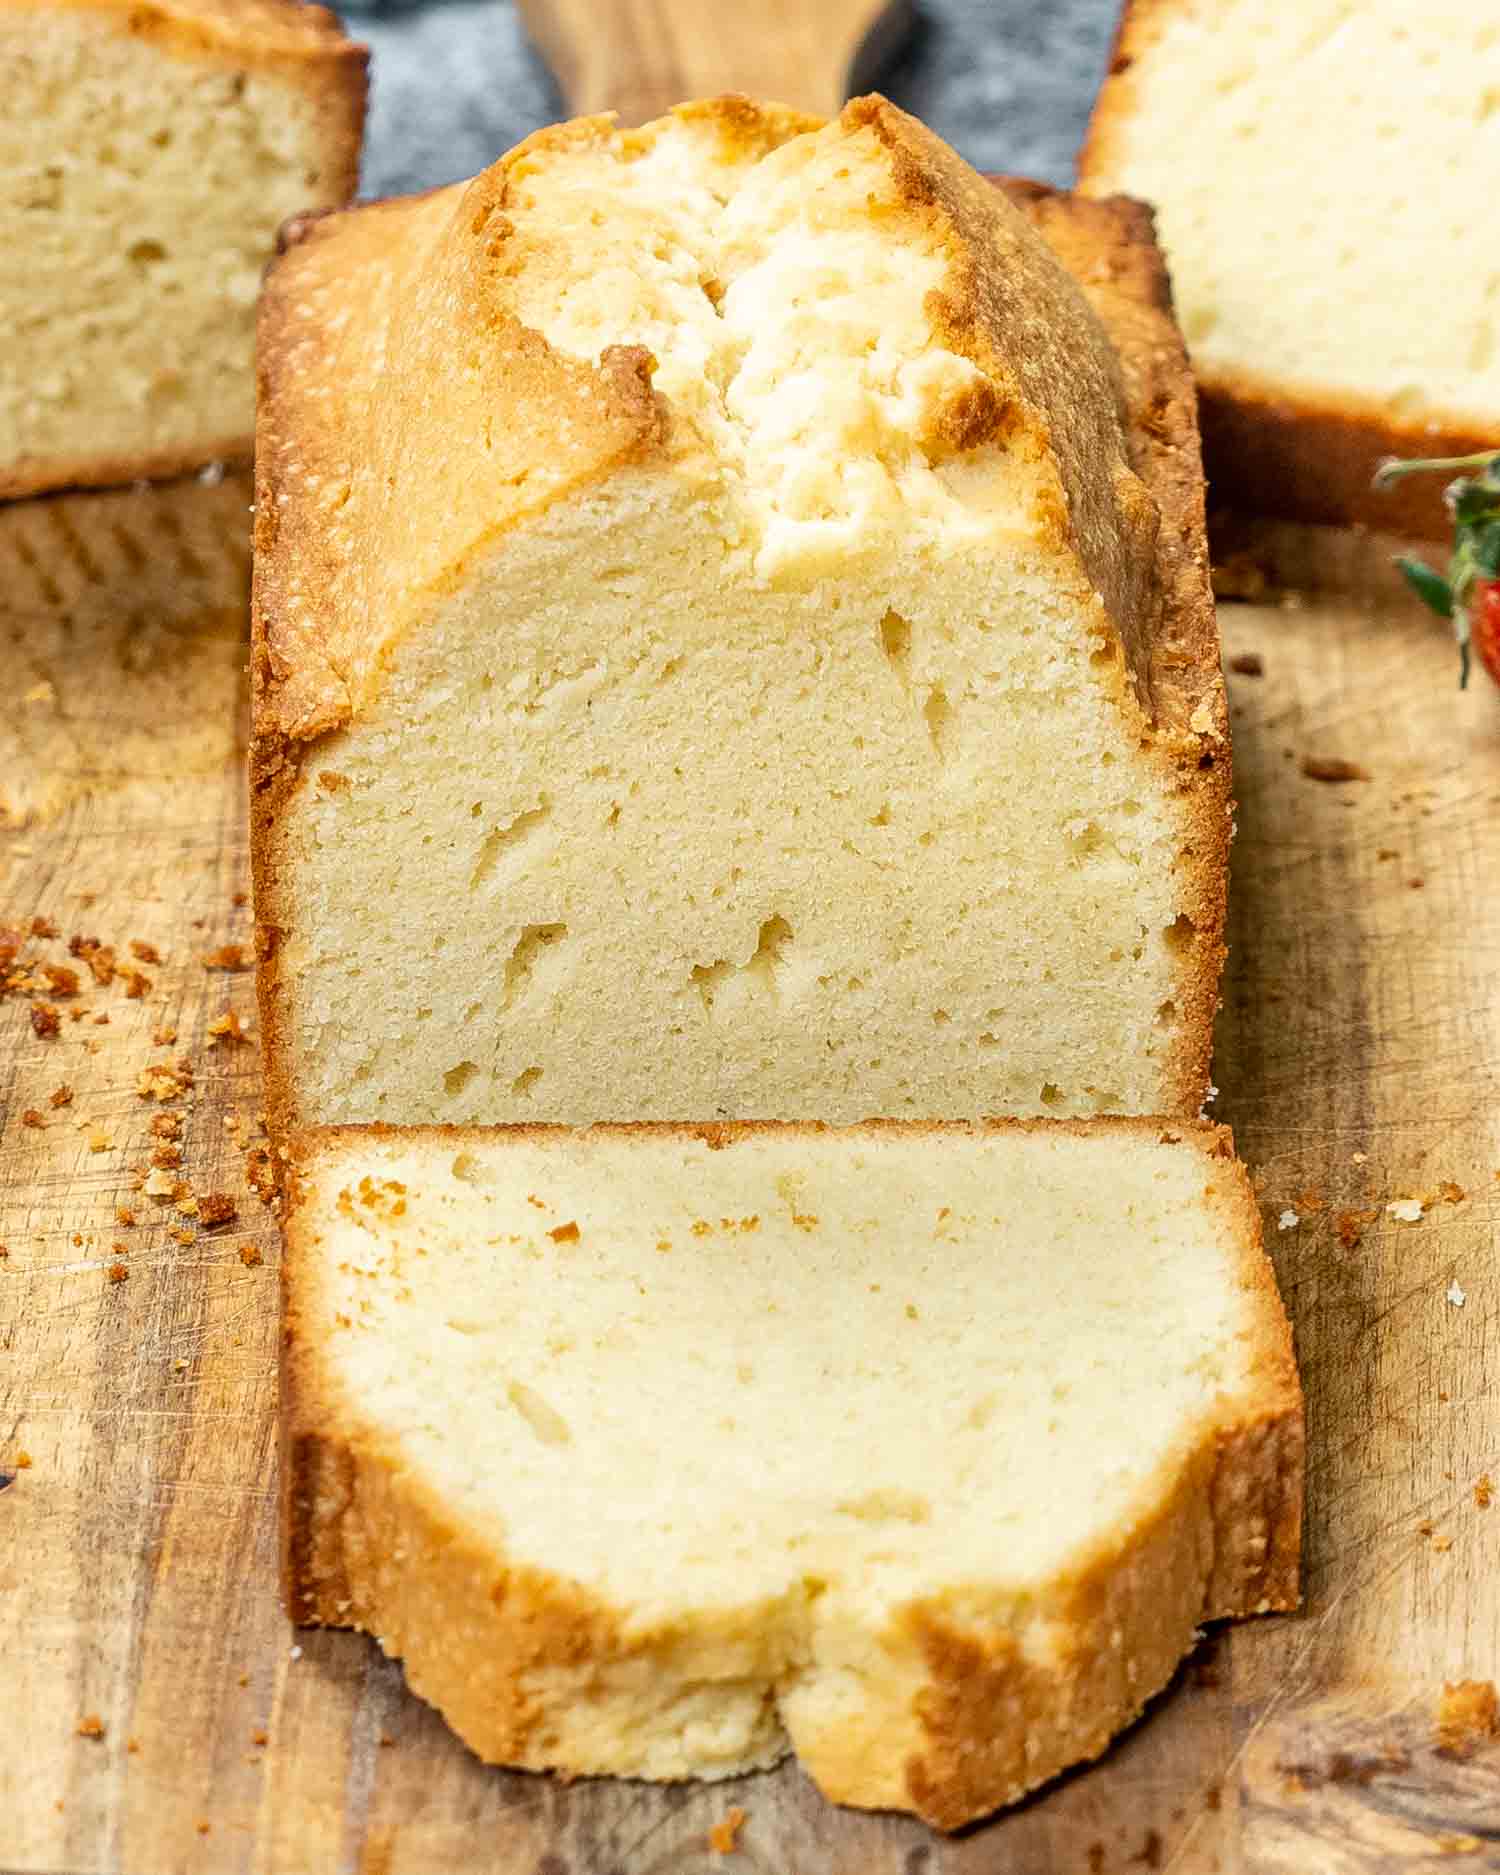
A cracked top on a pound cake is a common occurrence and usually not a cause for concern. Pound cakes will often have cracked tops and this is because the batter is so dense. Don’t worry about it! The cake is still delicious. What happens is that the exterior of the cake cooks first, which can cause the batter to rise up and crack in the center. As you can see, mine cracked. Am I worried? Nope. Because it still was yummy, crack or not. If you really can’t stand cracks, bake the cake in a tube pan, instead of a loaf pan.
My pound cake turned out dry. What did I do wrong?
Don’t fret, my dear! Dry pound cake can happen to the best of us. It’s likely that it was overbaked or the oven temperature was too high. Next time, make sure to check the cake for doneness a little earlier and use an oven thermometer to ensure the temperature is just right. Remember, practice makes perfect.
How do I know when my pound cake is done?
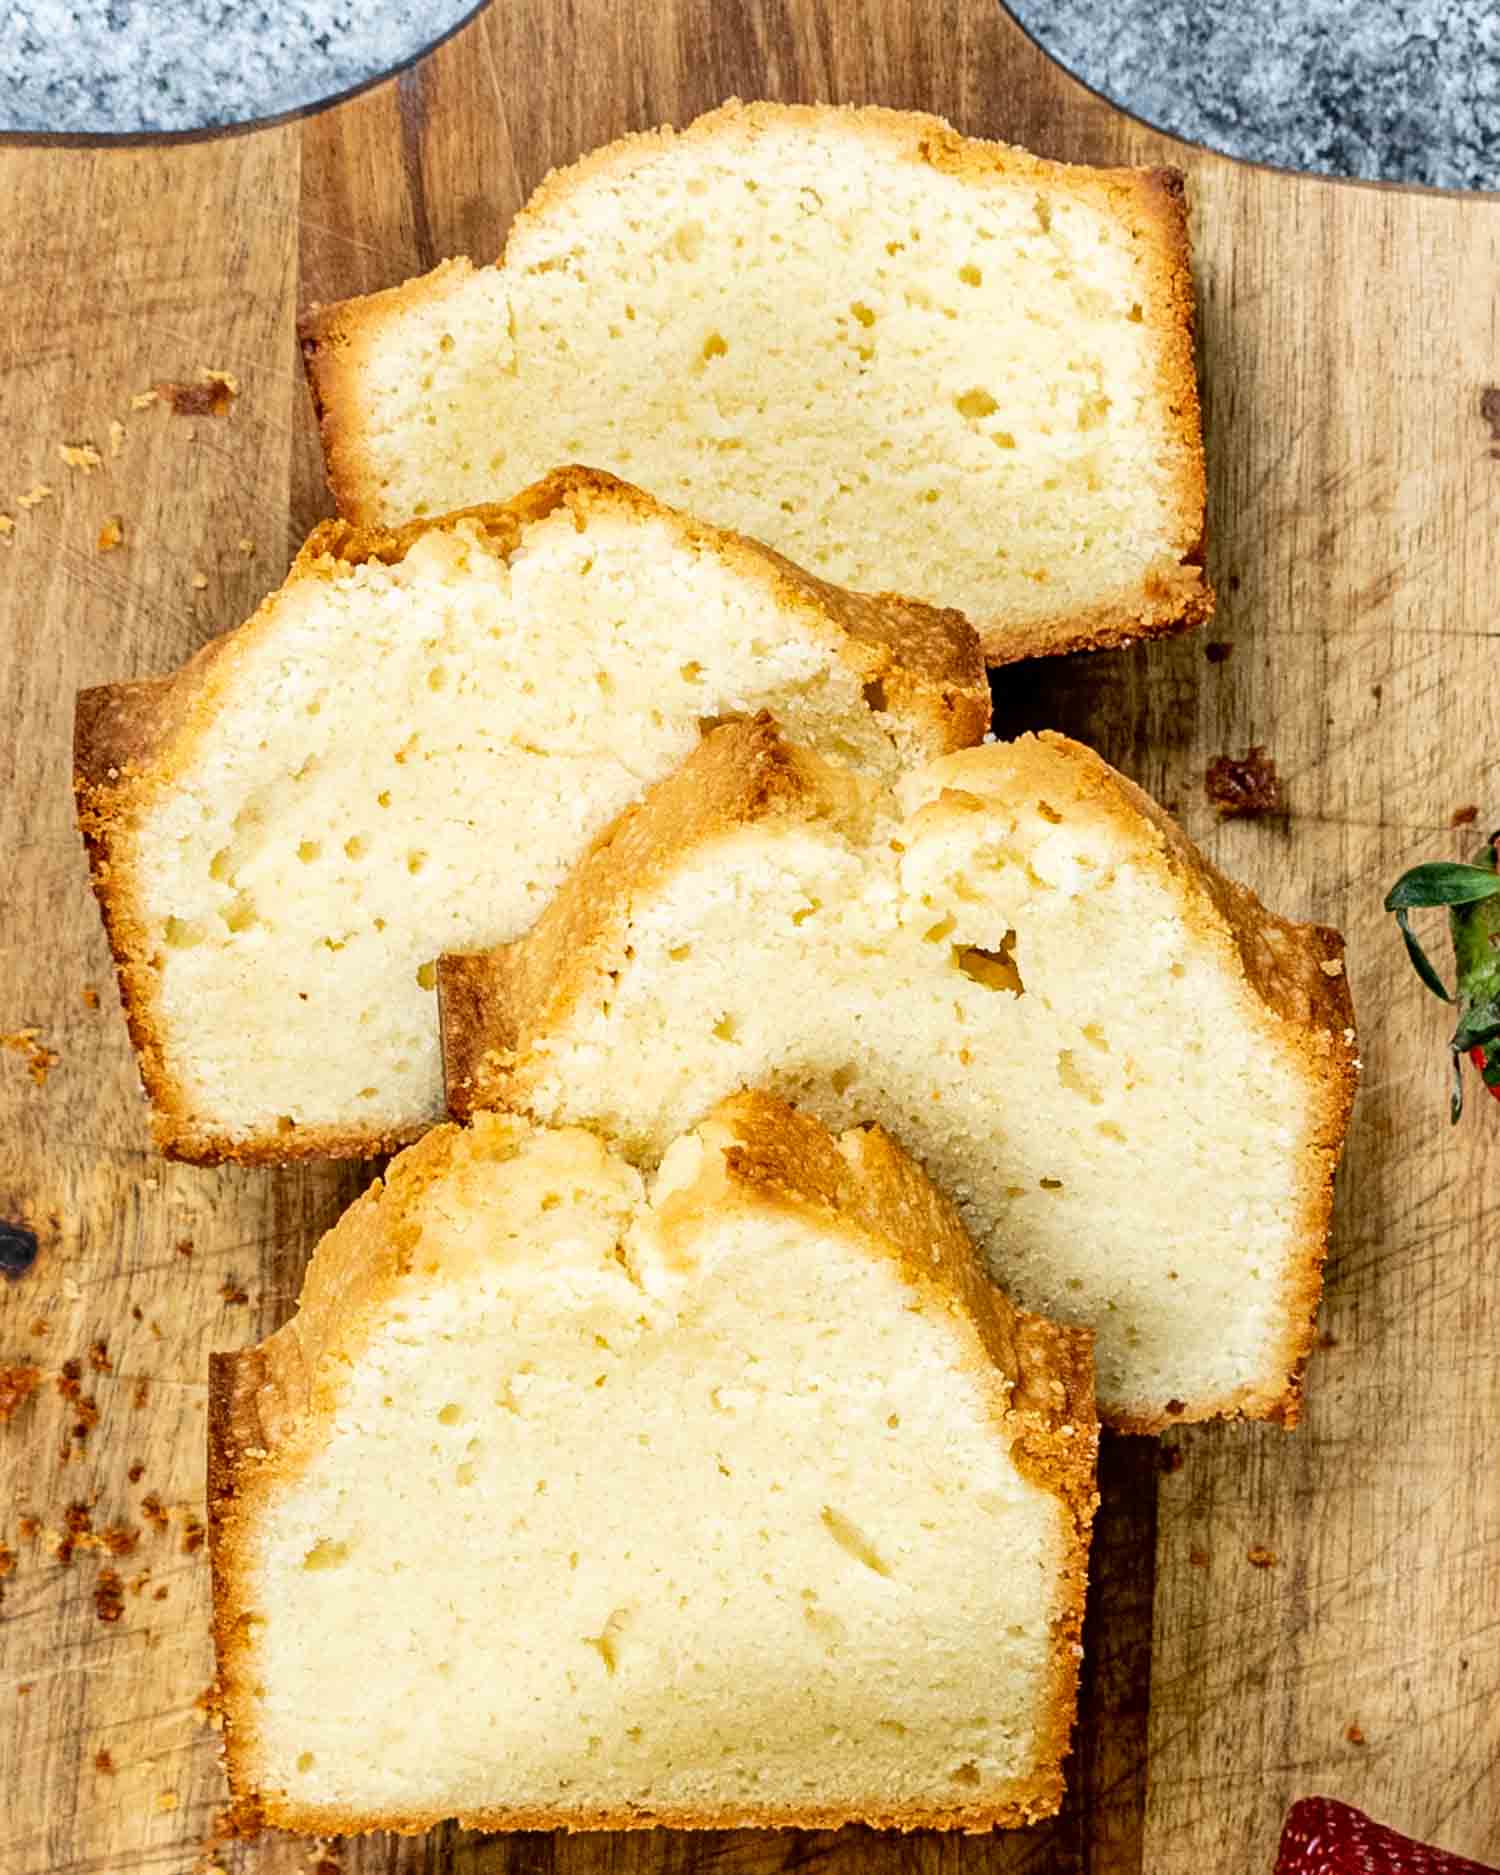
I always go for the toothpick test when making cakes, muffins, quick breads, etc. Insert a toothpick into the thickest part of the cake, and if it pulls out clean, your cake is all done. Since this cake doesn’t have any melty fillings such as chocolate chips it’s really easy to tell when the cake is done. Take a close look at that toothpick. Do you still see any batter on it? Leave it for another 5-10 minutes at a time until no batter sticks to the toothpick.
Expert Tips
- Room temperature ingredients: To create the most heavenly pound cake, be sure to bring your butter, eggs, and any dairy ingredients like milk or sour cream to room temperature before mixing. This will help everything blend together seamlessly and result in a smooth, velvety batter that bakes into a perfectly tender crumb.
- Creaming butter and sugar: One secret to a fabulous pound cake is taking the time to properly cream your butter and sugar together. This process helps incorporate air into the batter, which contributes to a lighter texture. So, put on your favorite tunes and get your electric mixer ready – give it a good 5 minutes or so of creaming on medium speed until the mixture becomes pale and fluffy.
- Don’t overmix: When adding the flour to your butter mixture, remember that a gentle touch is key. Overmixing at this stage can lead to a tough, dense cake, and nobody wants that! So, either fold in the flour by hand using a spatula or mix it in at the lowest speed of your electric mixer, just until combined. Your cake will thank you for the tender loving care.
- Do not remove the cake from the pan too early. Let the cake cool in the pan for at least 10 to 15 minutes before removing it from the pan. This will allow the cake to become firm enough to remove from the pan. Do not wait too long to remove it from the pan either. If you wait too long, the cake will become damp and stick to the pan.
How To Serve Pound Cake
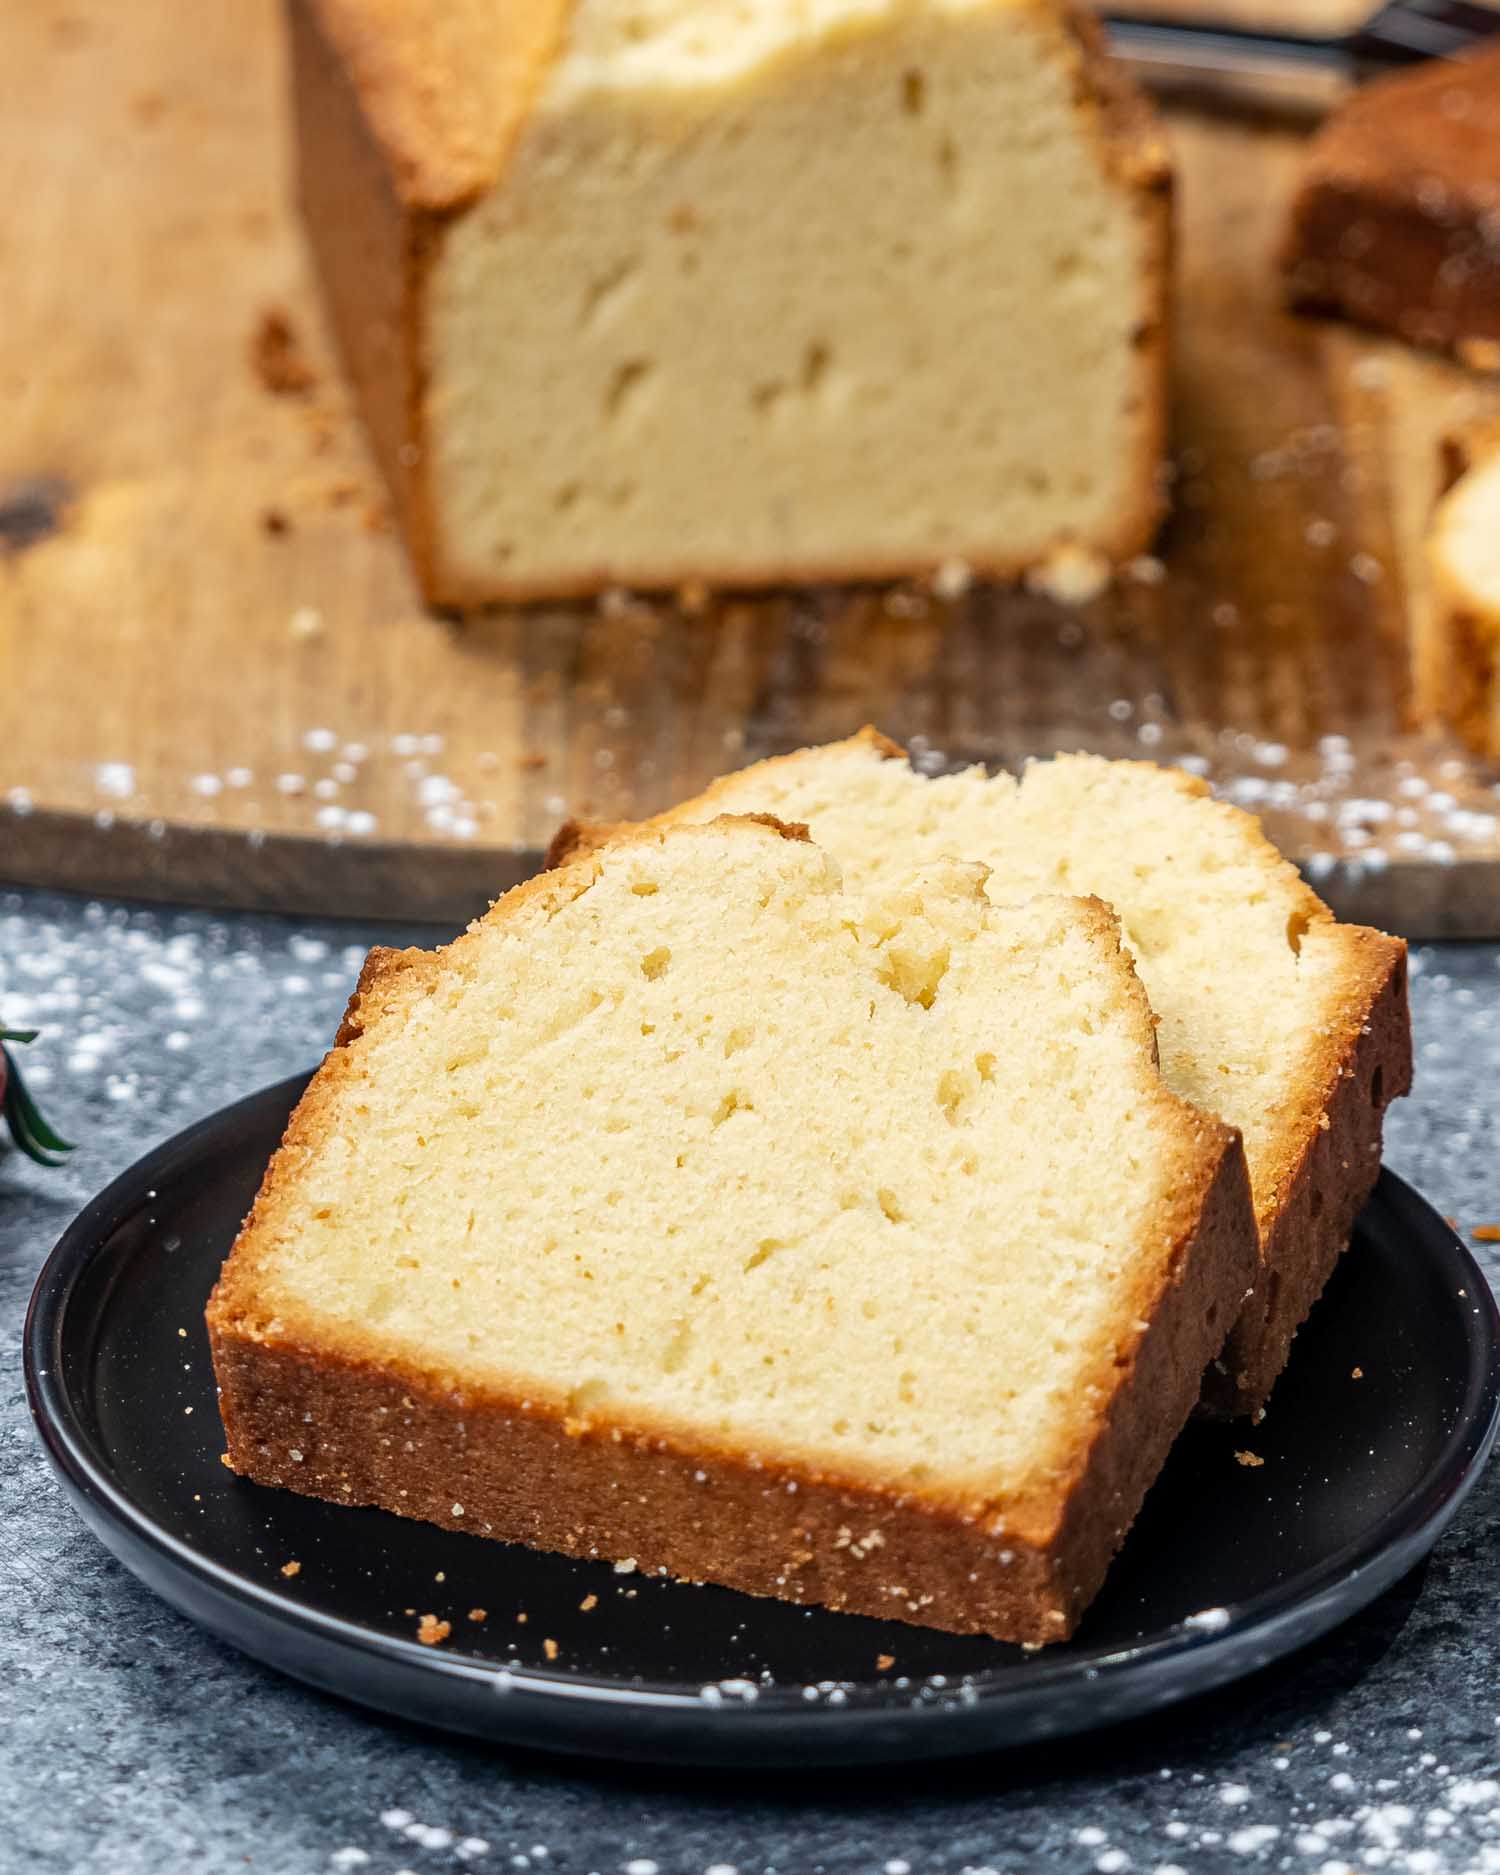
- Best way to serve it is with whipped cream and fresh fruit such as fresh berries, peaches, apricots, some mint leaves and dust it with powdered sugar! Delicious!
- How about with some sweet syrup and nuts. Try some honey or maple syrup then sprinkle it with some almonds, walnuts or pistachios.
- How about with pudding and bananas. Cut slices of pound cake into squares then layer them in a glass just like you’re making a trifle. Cake, pudding, banana, repeat.
- Serve pound cake slices with ice cream and chocolate syrup.
- Ricotta and figs!
Storage
Storing your leftover pound cake is a piece of cake (pun intended)! Just wrap it tightly in plastic wrap or aluminum foil, or keep it in an airtight container. You can store it at room temperature for up to 3 days or in the fridge for up to a week. If you’d like to save it for even longer, you can freeze it for up to 3 months – just make sure it’s wrapped well to prevent freezer burn.
And there you have it, folks – the beautiful, uncomplicated world of pound cake, where simple ingredients come together in perfect harmony to create a dessert that never fails to impress. It’s the unassuming hero of the cake universe, always ready to save the day when you need a last-minute dessert or a comforting treat. So, whether you’re a baking novice or a seasoned pro, remember that the trusty pound cake is like an old friend, waiting to wrap you in a warm, buttery embrace. Happy baking, my dear cake enthusiasts, and may the pound cake force be with you!
Other Delicious Cake Recipes To Try
- Chocolate Pound Cake
- Hummingbird Cake
- Lemon Poppy Seed Bundt Cake
- Banana Chocolate Chip Cake
- Lemon Yogurt Cake
- Cream Cheese Filled Banana Cake
- Lemon Orange Cake with Lemon Honey Glaze
- Butter Cake
- Vanilla Cupcakes
Before You Begin! If you make this, please leave a review and rating letting us know how you liked this recipe! This helps our business thrive & continue providing free recipes.
Pound Cake Recipe
Video
Ingredients
- 1 cup butter (unsalted, at room temperature)
- 1 cup sugar (granulated)
- 2 cups all-purpose flour
- 4 large eggs
- ½ teaspoon salt
- 2 teaspoon vanilla extract
Before You Begin! If you make this, please leave a review and rating letting us know how you liked this recipe! This helps our business thrive & continue providing free recipes.
Instructions
- Preheat your oven to 350 F degrees. Spray a 8.5 x 4.5 x 2.75 inch loaf pan generously with cooking spray.
- Using a stand or hand mixer, beat the butter and sugar in a bowl until light and fluffy.
- Add the eggs one at a time, mixing well after each egg.
- Mix in the vanilla extract and salt.
- With the mixer on low, gradually add half the flour and mix just until combined. Add remaining flour and mix it again until combined. Do not over mix!
- Transfer the batter to the prepared loaf pan and bake for about 1 hour. The cake is done baking, when a toothpick inserted in the center of the cake comes out clean.
- Let the cake cool in the loaf pan for about 15 minutes. Run a knife around the sides of the loaf pan to loosen the cake in case it's stuck and turn it over onto a cooling rack. Turn it upright and allow it to cool completely before slicing.
Equipment
Notes
- Storage: I recommend storing leftover pound cake on the counter at room temperature tightly sealed. I usually wrap it in plastic wrap or cut it in slices and keep it in a covered cake plate. It will last anywhere from 3 to 4 days at room temperature.
- Freezing: Pound cake is great for freezing. Wrap it up tightly with aluminum foil or plastic freezer wrap and store it in the freezer for 4 to 6 months.
Nutrition Information
Notice: Nutrition is auto-calculated for your convenience. Where relevant, we recommend using your own nutrition calculations.
