Canadian Butter Tarts
This post may contain affiliate links. Please read my disclosure policy.
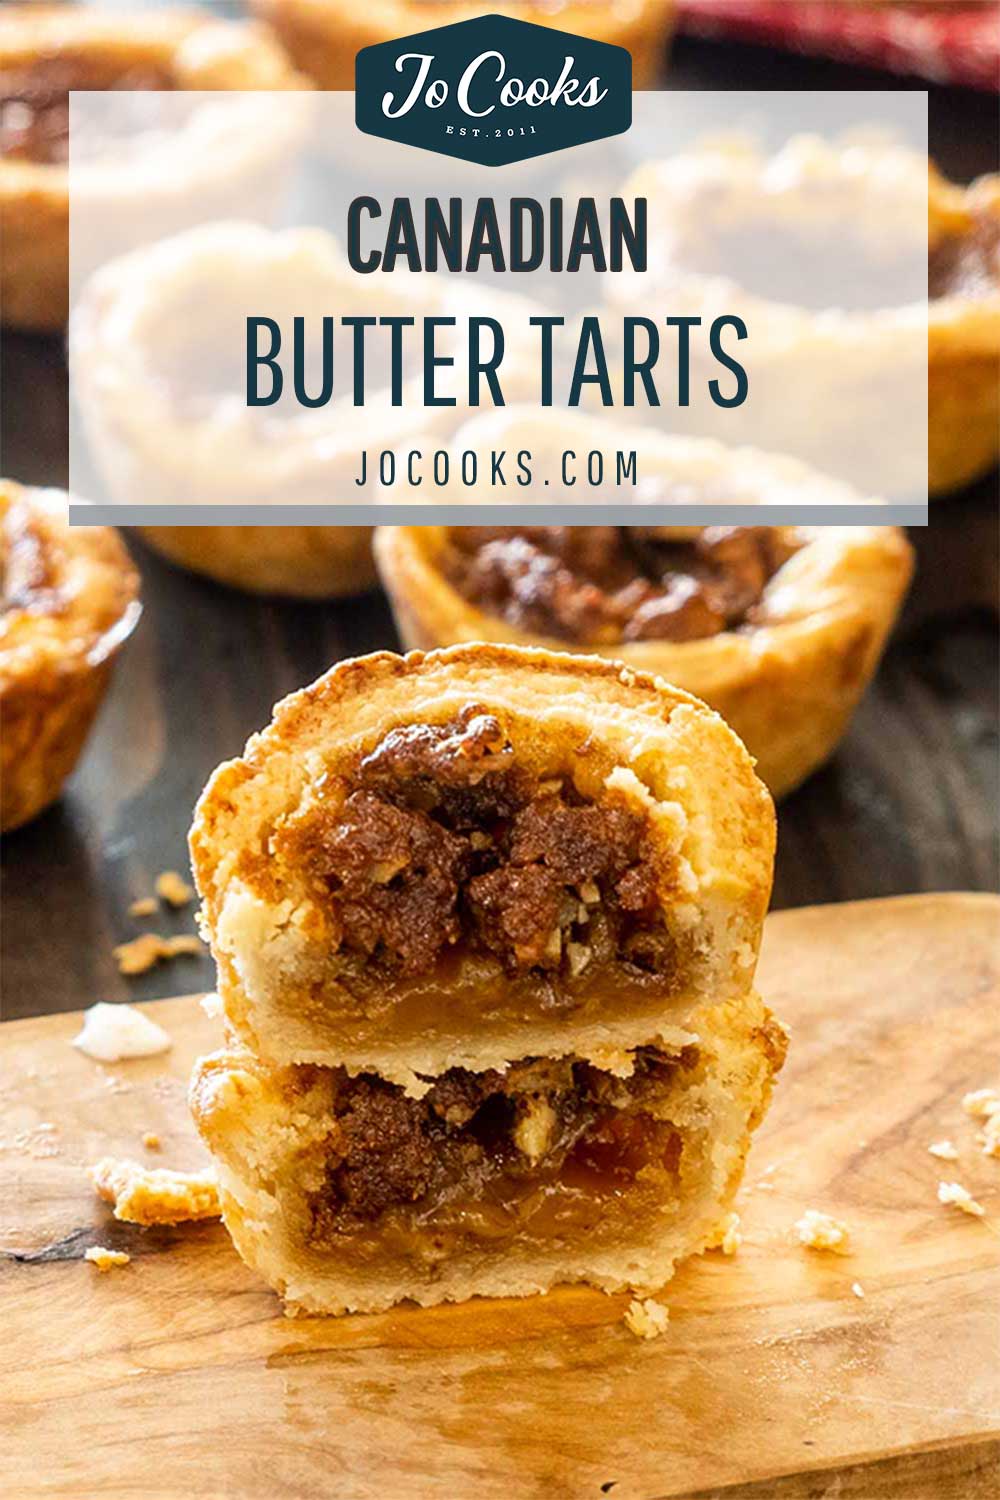
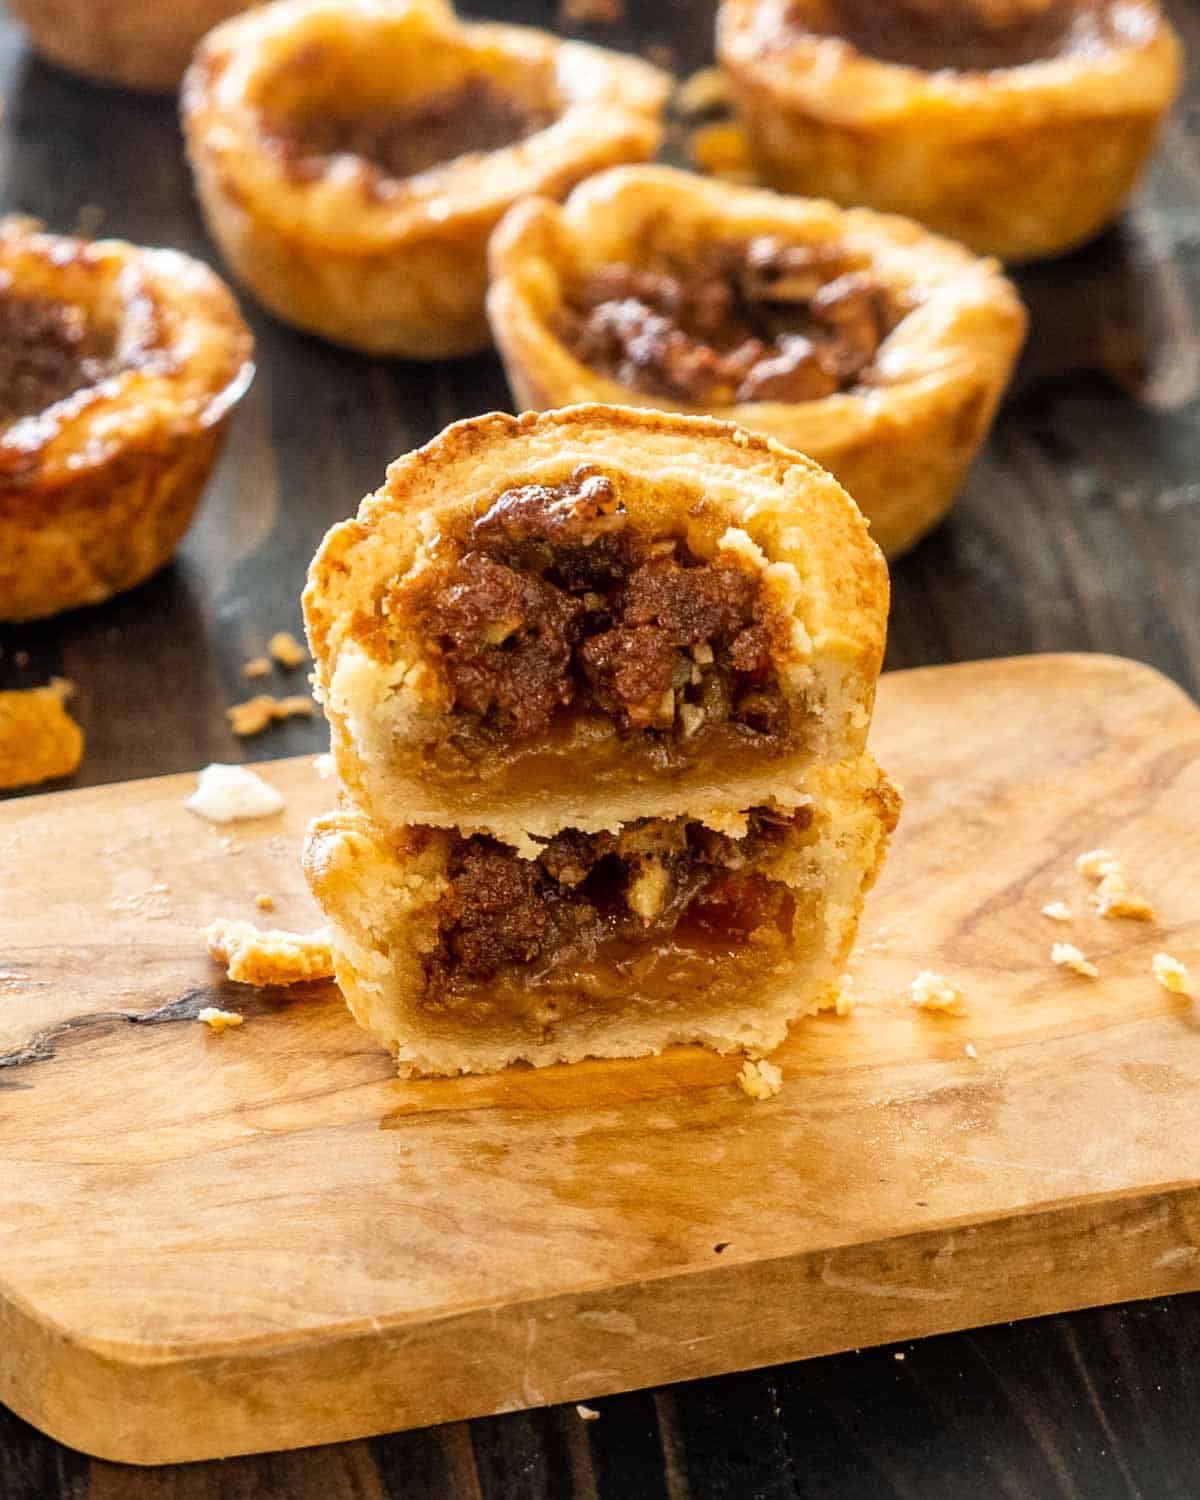
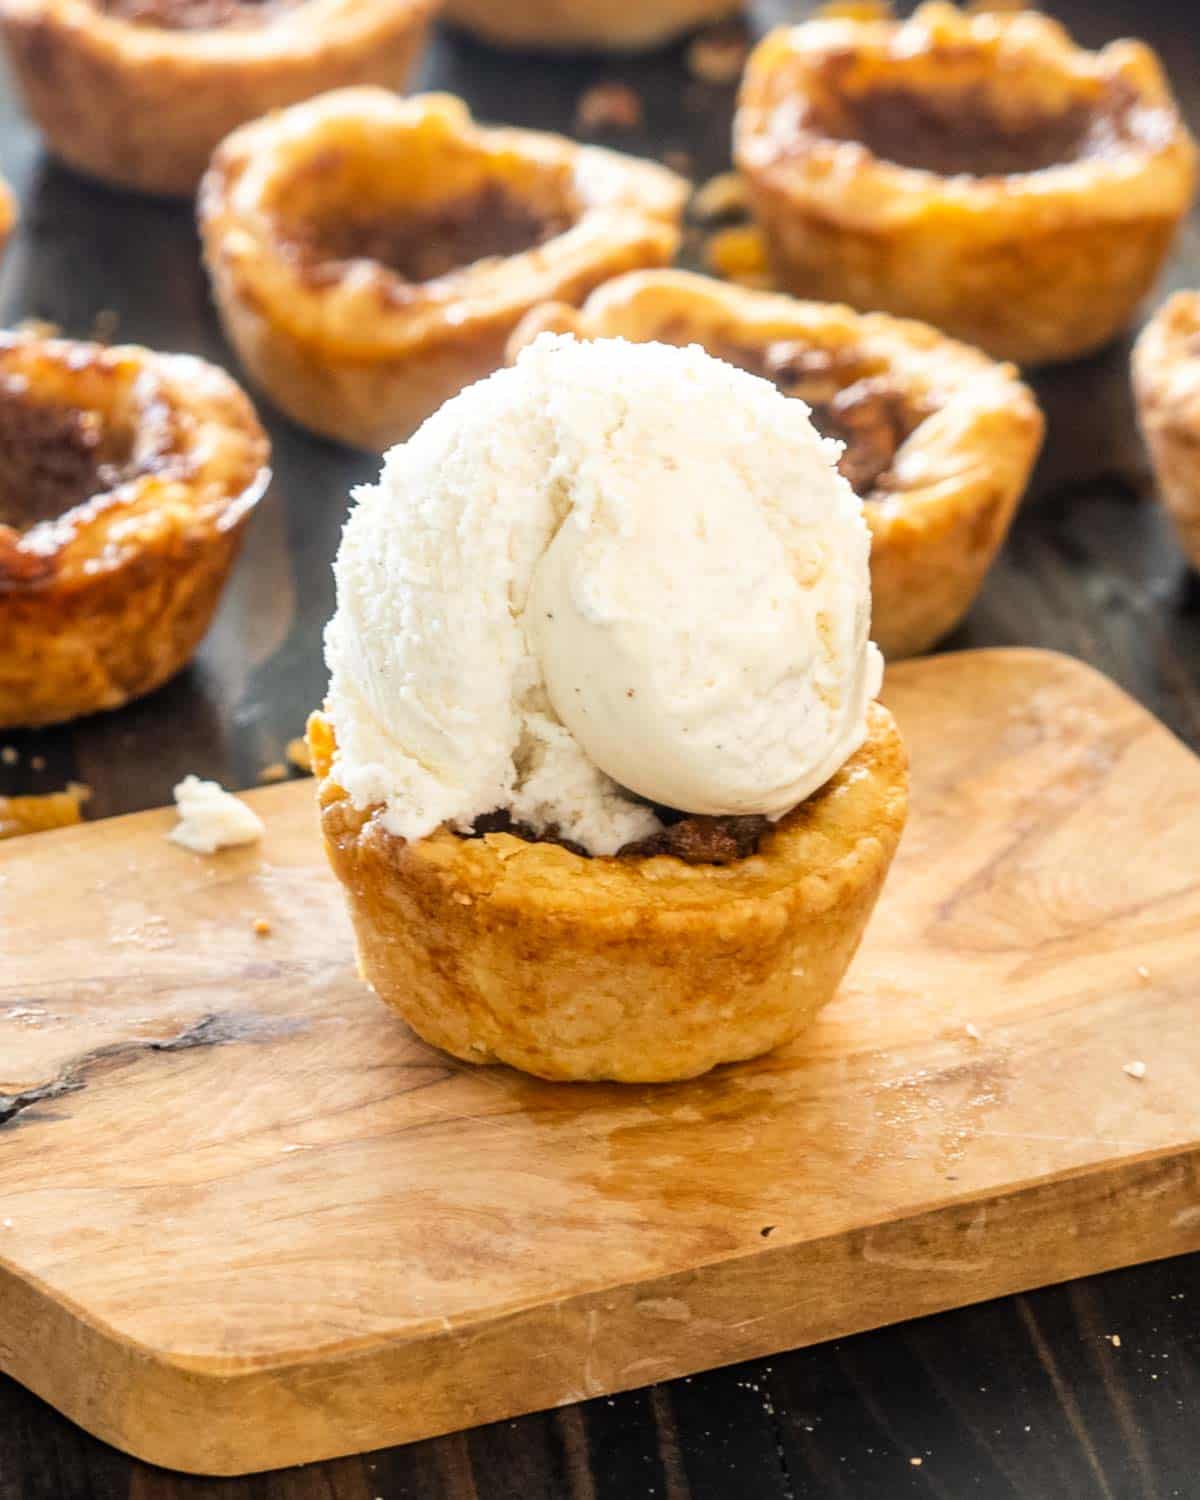
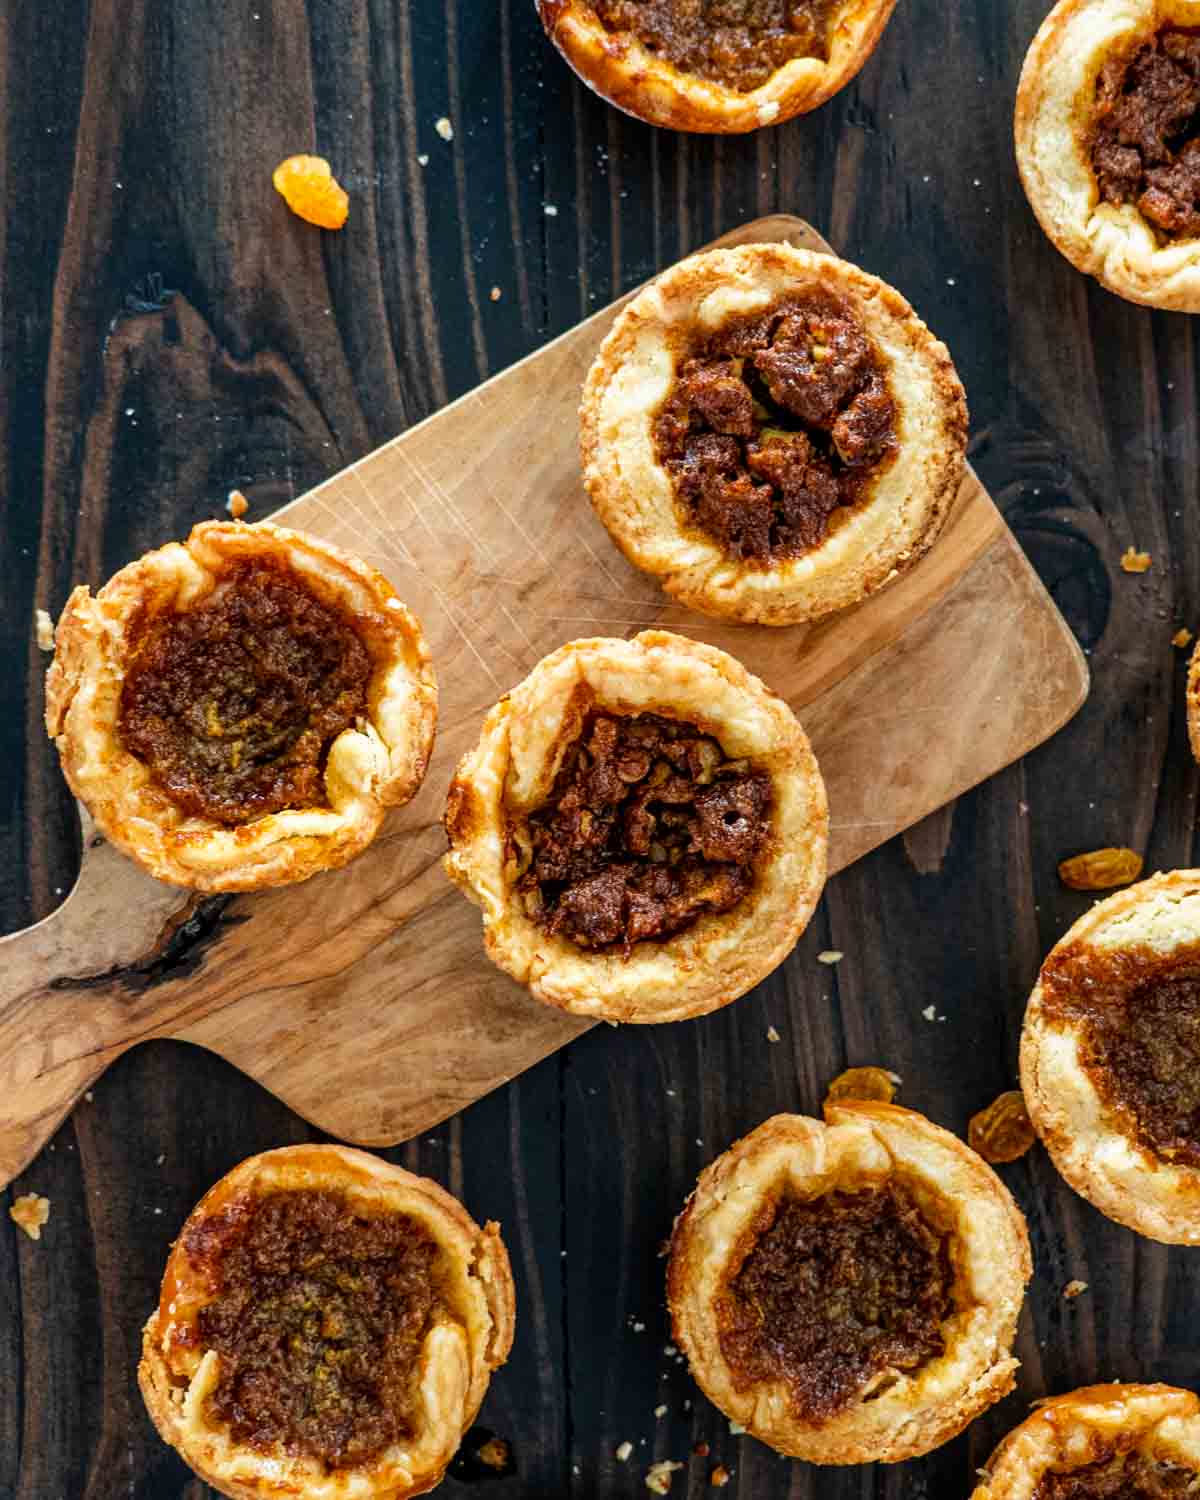
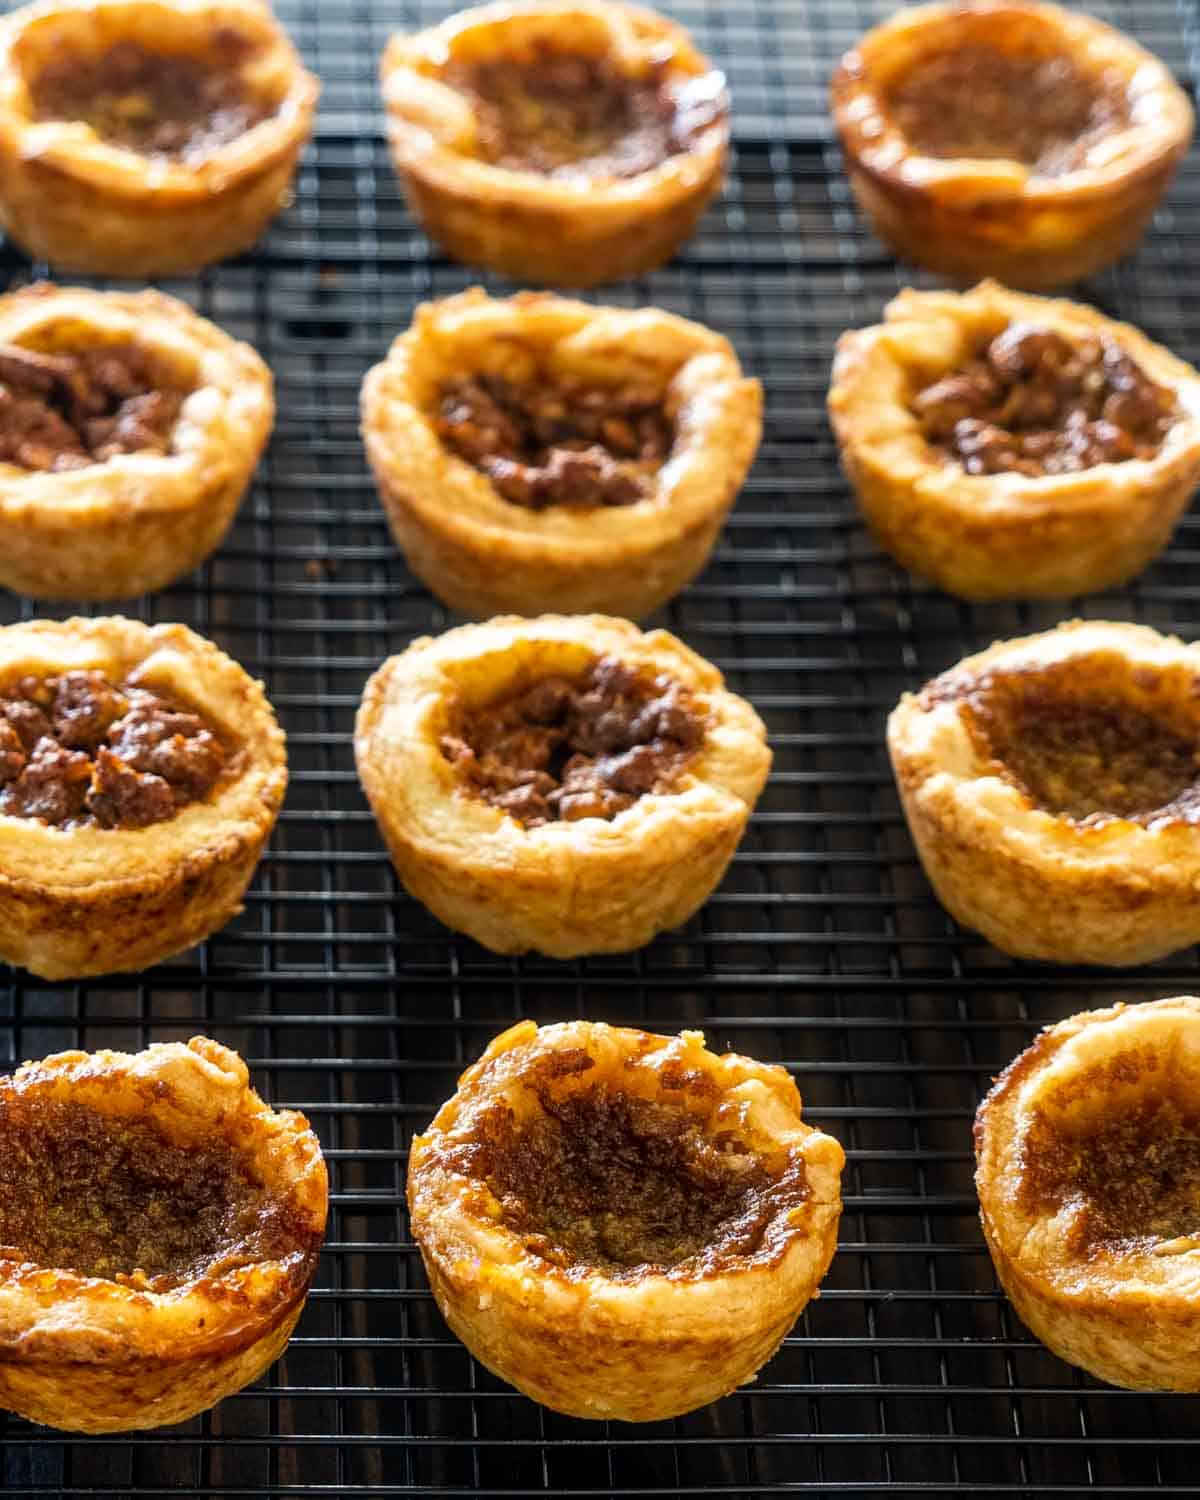
Canadian Butter Tarts with a completely homemade pastry and filled with a mouthwatering brown sugar and corn syrup filling. They’re sweet and buttery, the pastry is incredibly flaky and every bite is pure, gooey perfection. Make them plain or add some pecans or raisins for a little extra indulgence. You’re going to love these whether you’re Canadian or not!
The Best Canadian Butter Tarts Recipe
With Canada Day upon us, it wouldn’t be very Canadian of me not to share a Canadian recipe. While we may not have too many recipes that scream Canada, butter tarts always come to mind when I think of a great Canadian classic recipe.
Different provinces probably have their own variations of this butter tart. Some like the filling runny, some like it firm, some like them plain, some with raisins or pecans. So this is just my version of the great Canadian butter tart, with my homemade crust that’s so buttery and flaky, it simply melts in your mouth.
If you’ve never had a butter tart, you’ll love these. Each bite is pure indulgence, they’re gooey and sweet and utterly delicious. Hope you give them a try!
Why We Love These Butter Tarts
- The Perfect Crust! I’ll just have to toot my own horn here because this crust is the best ever. Super flaky and buttery, it just melts in your mouth.
- Sweet, Yummy, Gooey Filling! You’ll love this filling made with brown sugar and corn syrup together, and a splash of cream and vanilla to enhance all the great flavors.
- Great For Sharing! If you want that is, but it’s one way to make some friends, everyone will love these.
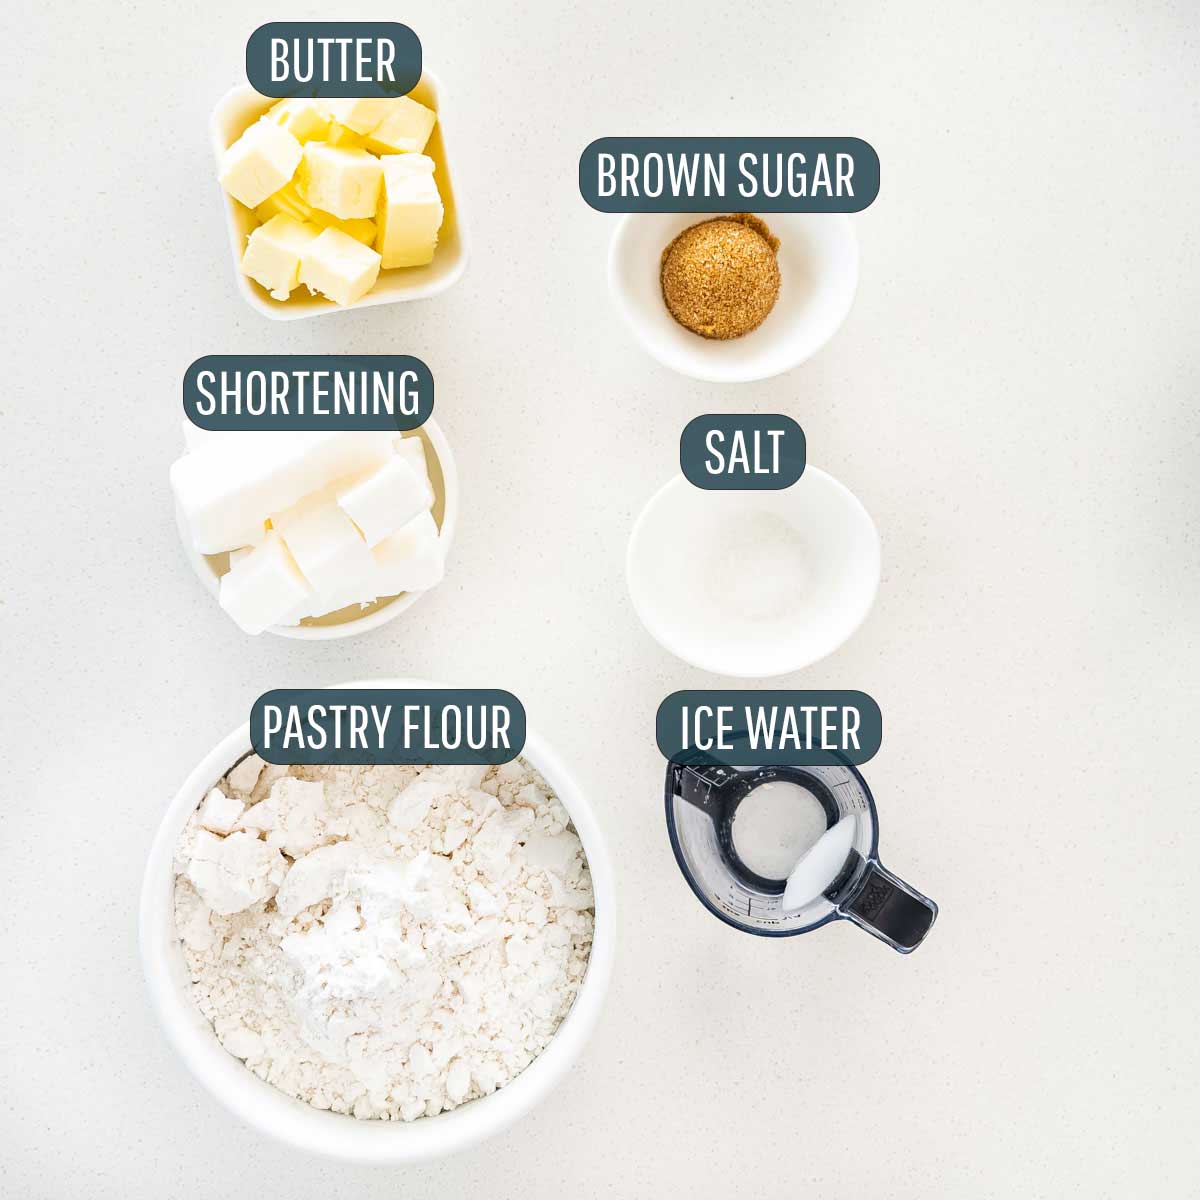
For Pastry
- Pastry Flour – I used a cake and pastry flour which is low protein flour, but regular all-purpose flour works as well.
- Shortening – You’ll want to use shortening here to make the pastry super crisp and crumbly.
- Butter – I used unsalted butter, just make sure it’s nice and cold. You might even want to stick it in the freezer for a bit before using.
- Brown Sugar – You need a little bit of brown sugar in the crust but regular granulated sugar will work as well.
- Salt – You need salt to enhance the flavors of the other ingredients.
- Ice Water – Start with a tablespoon at a time when making the crust, and add just until the dough starts coming together.

For Filling
- Brown Sugar – I used dark brown sugar to give us that caramel-like flavor in the filling.
- Corn Syrup – I used light corn syrup but either light or dark will work. If you don’t have corn syrup, simply replace it with more brown sugar.
- Vanilla Extract – To enhance the flavors of all the other ingredients in our filling.
- Egg – You’ll need one egg to firm up our filling a bit so it’s not too runny. If you like a firmer filling you can add another egg.
- Butter – Melted butter to mix in with the sugar. You can use salted or unsalted butter.
- Heavy Cream – Just a splash for a little creaminess.
Optional
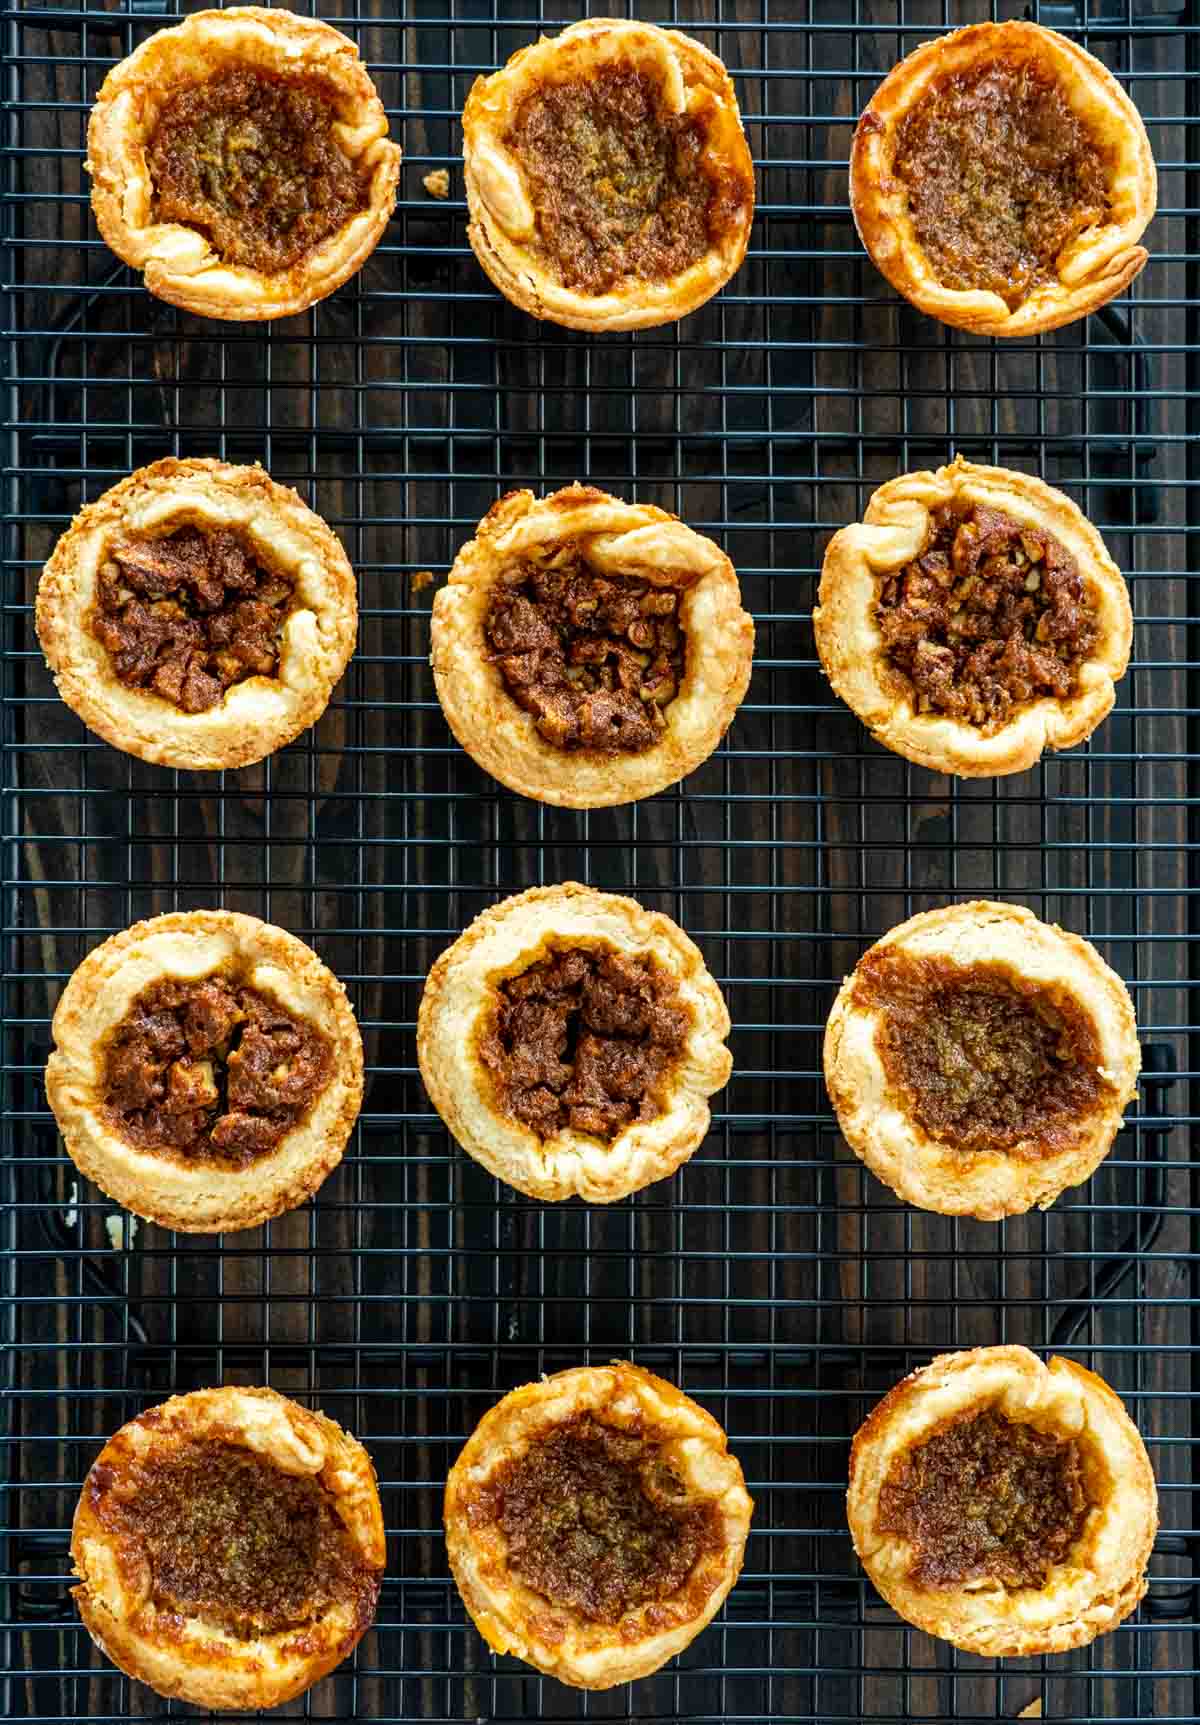
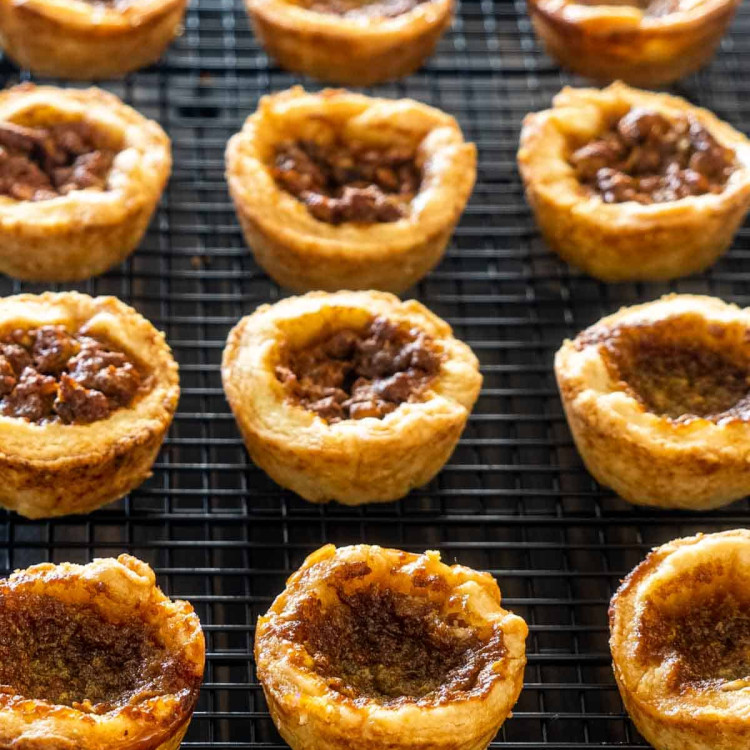
If you want you can add some chopped pecans, walnuts or other nuts you like, raisins or even chocolate chips to your tarts. Usually they’re made with raisins, but it really is up to how you like them. Here, I’ve left some plain, some with raisins and some with pecans. Just don’t overfill them with pecans or raisins, you only want about a teaspoon of them in each tart shell.
Pastry
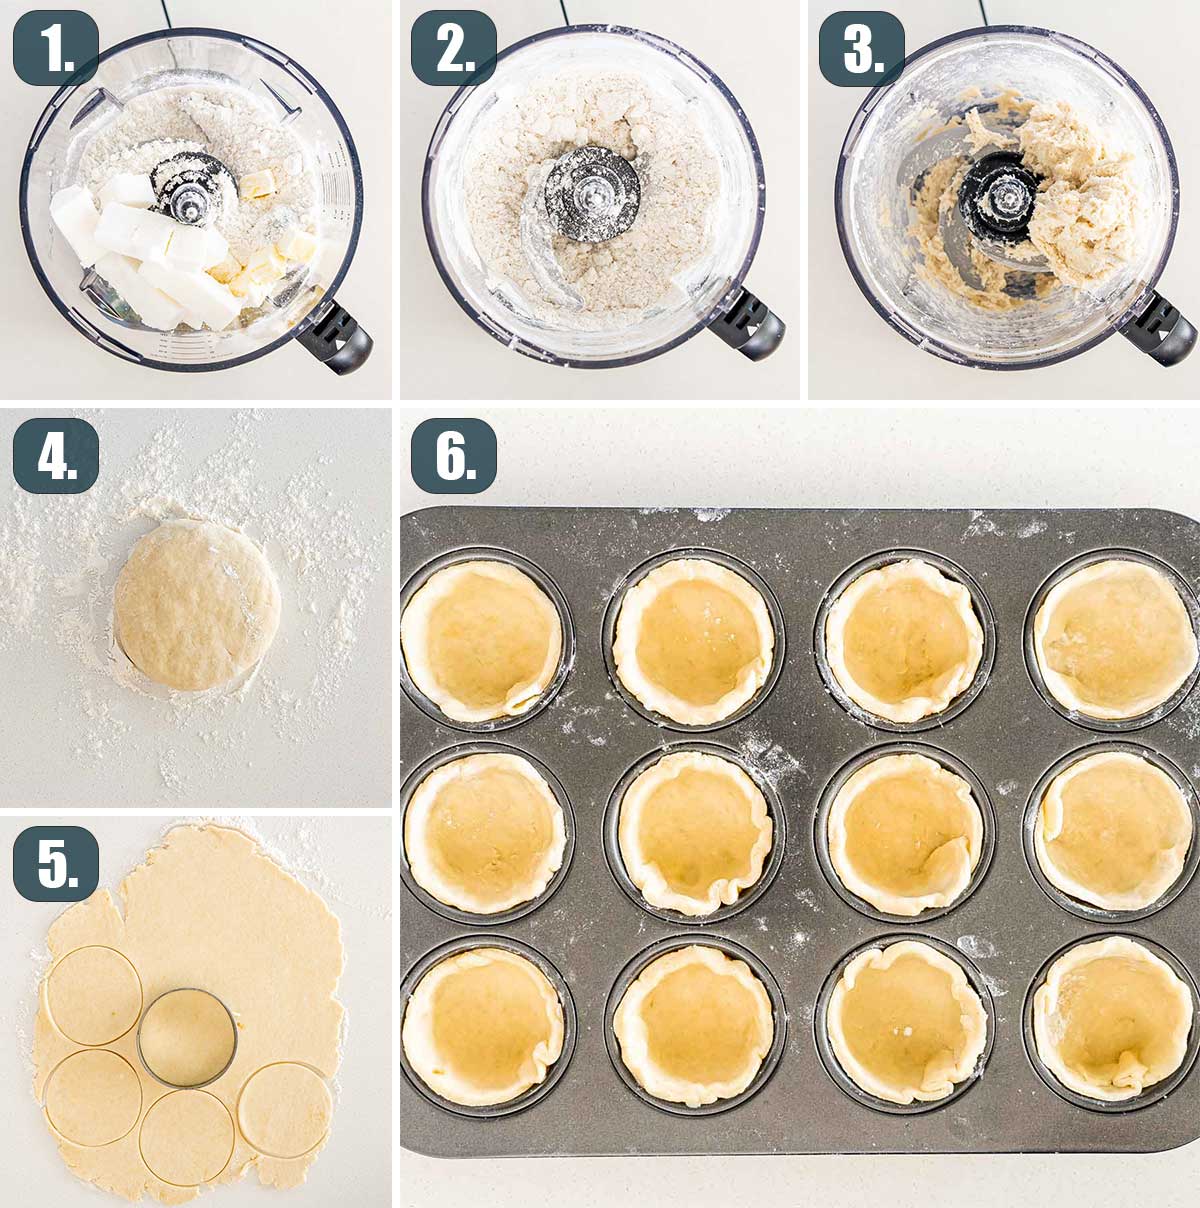
- Combine ingredients in a food processor. To a food processor add the flour, brown sugar, salt, shortening and butter. Pulse until the pieces of butter are pea size.
- Finish the pastry with ice water. Adding 1 tablespoon of ice water at a time continue pulsing until the dough stays together. I usually use about 4 tablespoons of ice water.
- Form the dough into a disc and chill. Turn the dough onto a lightly floured surface and gently bring it together until you can form it into a ball. Wrap the ball into plastic wrap and refrigerate for about an hour.
- Roll the dough and cut into circles. Roll out the dough on a floured surface so that it’s about ⅛-inch in thickness. Using a 4-inch cutter cut into circles. Re-roll leftover dough and cut into 4-inch circles. You should end up with 12 circles.
- Fit circles into muffins cups. Fit the pastry circles into muffin cups. Place the muffin pan in the refrigerator while making the filling.
Filling And Assembly
- Prep the oven. Preheat the oven to 450°F.
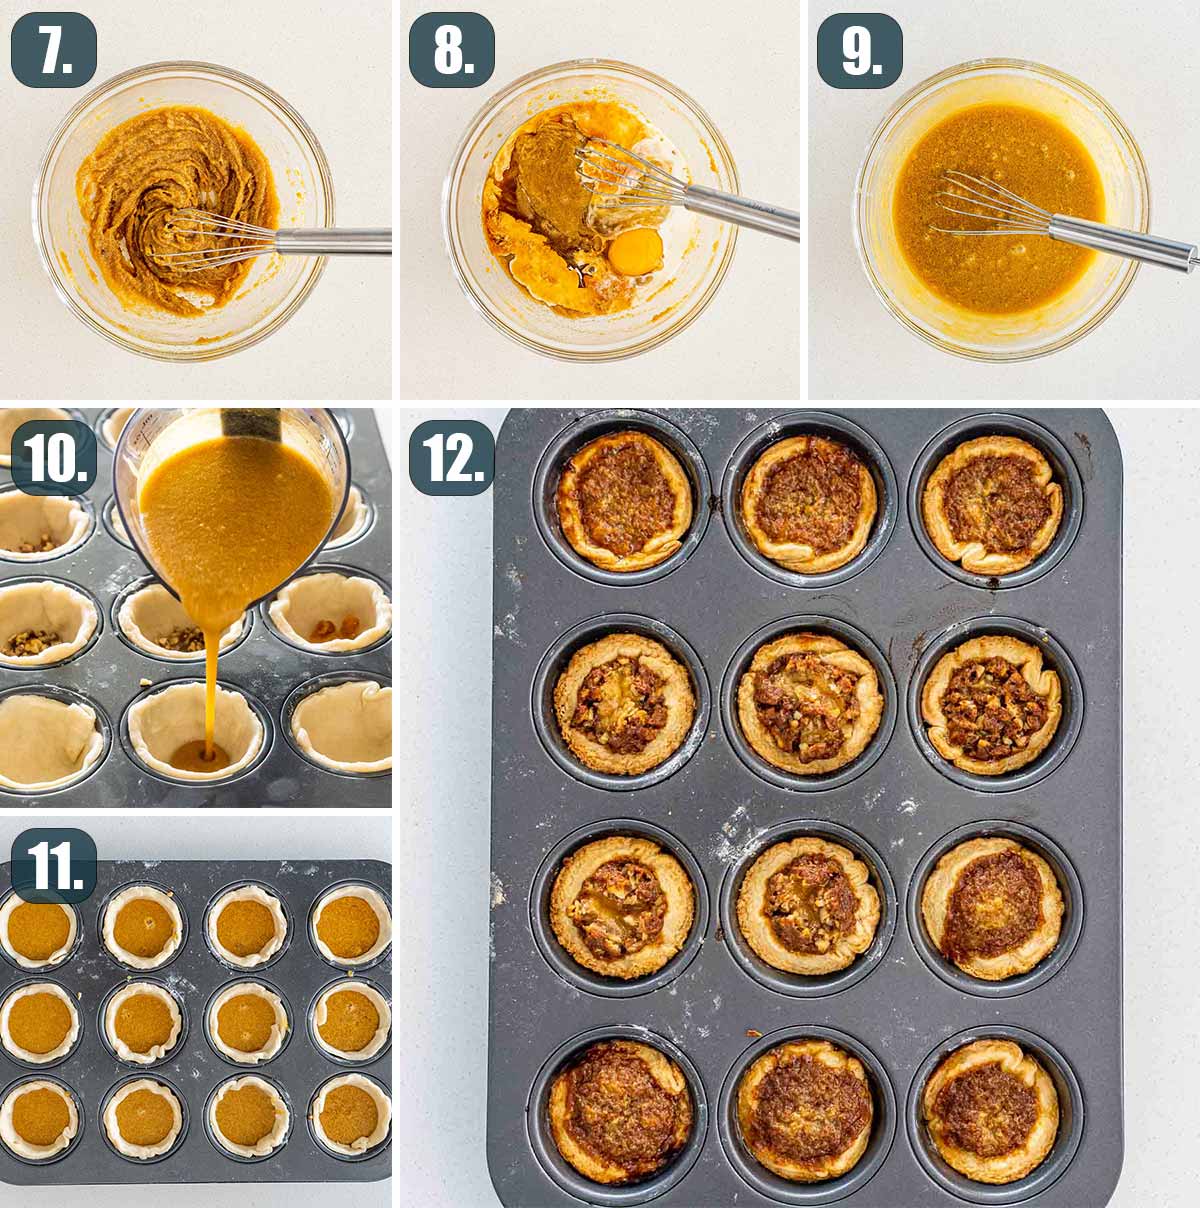
- Make the filling. In a medium size bowl whisk together the butter and sugar until well combined. Whisk in the corn syrup, egg, cream and vanilla extract.
- Fill tarts. If adding raisins or pecans, place some at the bottom of each pastry shell, about a teaspoon. Pour in the filling about halfway to ⅔ of the way through each cup. You should have just enough filling to fill all 12 cups.
- Bake the tarts. Transfer the muffin pan to the oven and bake for 8 minutes. Reduce the heat to 350°F and continue to bake for another 15 to 20 minutes or until the pastry turns golden brown. Remove from the oven and let the tarts cool for a few minutes in the pan before transferring them to a cooling rack to finish cooling.
What Are Butter Tarts?
Butter tarts truly are a popular Canadian classic. They’re little buttery, flaky pastry shells filled with a syrupy brown sugar filling and sometimes with raisins or pecans. Butter tarts are kind of like a pecan pie but in a little tart form. They’re the perfect little treat.
Should The Filling Be Runny?
There’s a great debate about this. Personally, I love them either way. In this recipe, the filling is not too runny but not too firm either. If you like it a bit firmer, simply add another egg to the filling.
Can I Freeze My Butter Tarts?
Yes, absolutely. Cool them completely, then place them in an airtight container and store in the freezer. They will last about 3 months. Thaw overnight in the refrigerator. If you prefer them warmed up, place them in the oven for about 10 minutes at 350°F.
What If I Don’t Have A Food Processor?
No problem, you can still make these tarts. Just place the pastry ingredients in a bowl and use a pastry cutter or 2 forks to cut into the butter and shortening. Once the flour mixture resembles pea size crumbs, add cold water one tablespoon at a time and continue mixing in with the pastry cutter.
Can I Use Store Bought Pie Crust?
Sure! Pie crust will work just fine here, if you’re looking to save some time!
Expert Tips
- Don’t overwork the dough. Pulse it in the food processor just until the dough comes together. Once on the counter don’t knead it with your hands for too long, just a couple times until you bring it all together and form a ball or a disk.
- Don’t skip the chilling part. This is what hardens the butter and shortening in the dough, so when the tarts bake, it will help maintain their structure.
- I find that the best way to remove the tarts from the pan is to use a knife or a fork to loosen the tarts from the pan. Sometimes if there’s too much filling they could stick a bit at the top, but easy to fix with a sharp knife.
Storage
These butter tarts will last up to 2 days at room temperature stored in an airtight container, or up to 5 days in the refrigerator.
Other Great Canadian Recipes To Try
- Classic Canadian Caesar Recipe
- How To Make Poutine
- Nanaimo Bars
- Halifax Donair
- Ginger Beef
- Homemade Breakfast Sausage (with maple syrup)
Before You Begin! If you make this, please leave a review and rating letting us know how you liked this recipe! This helps our business thrive & continue providing free recipes.
Canadian Butter Tarts
Video
Ingredients
Crust
- 1½ cups pastry flour (or all purpose flour)
- 1 tbsp brown sugar (packed)
- ½ teaspoon salt
- ½ cup shortening (cold and cut in cubes)
- ¼ cup butter (unsalted, cold and cut in cubes)
- 4-6 tablespoons ice water
Filling
- ⅓ cup butter (melted)
- 1 large egg (beaten)
- ½ cup brown sugar (packed (light or dark))
- ½ cup corn syrup (light or dark)
- 2 tablespoons heavy cream
- 1 teaspoon vanilla
Optional
- ½ cup raisins
- ½ cup pecans (chopped)
Before You Begin! If you make this, please leave a review and rating letting us know how you liked this recipe! This helps our business thrive & continue providing free recipes.
Instructions
- Combine ingredients in a food processor. To a food processor add the flour, brown sugar, salt, shortening and butter. Pulse until the pieces of butter are pea size.
- Finish the pastry with ice water. Adding 1 tablespoon of ice water at a time continue pulsing until the dough stays together. I usually use about 4 tablespoons of ice water.
- Form the dough into a disc and chill. Turn the dough onto a lightly floured surface and gently bring it together until you can form it into a ball. Wrap the ball into plastic wrap and refrigerate for about an hour.
- Roll the dough and cut into circles. Roll out the dough on a floured surface so that it's about ⅛-inch in thickness. Using a 4-inch cutter cut into circles. Re-roll leftover dough and cut into 4-inch circles. You should end up with 12 circles.
- Fit circles into muffins cups. Fit the pastry circles into muffin cups. Place the muffin pan in the refrigerator while making the filling.
- Prep the oven. Preheat the oven to 450°F.
- Make the filling. In a medium size bowl whisk together the butter and sugar until well combined. Whisk in the corn syrup, egg, cream and vanilla extract.
- Fill tarts. If adding raisins or pecans, place some at the bottom of each pastry shell, about a teaspoon. Pour in the filling about halfway to ⅔ of the way through each cup. You should have just enough filling to fill all 12 cups.
- Bake the tarts. Transfer the muffin pan to the oven and bake for 8 minutes. Reduce the heat to 350°F and continue to bake for another 15 to 20 minutes or until the pastry turns golden brown. Remove from the oven and let the tarts cool for a few minutes in the pan before transferring them to a cooling rack to finish cooling.
Notes
- Don’t overwork the dough. Pulse it in the food processor just until the dough comes together. Once on the counter don’t knead it with your hands for too long, just a couple times until you bring it all together and form a ball or a disk.
- Don’t skip the chilling part. This is what hardens the butter and shortening in the dough, so when the tarts bake, it will help maintain their structure.
- I find that the best way to remove the tarts from the pan is to use a knife or a fork to loosen the tarts from the pan. Sometimes if there’s too much filling they could stick a bit at the top, but easy to fix with a sharp knife.
- These butter tarts will last up to 2 days at room temperature stored in an airtight container, or up to 5 days in the refrigerator.
Nutrition Information
Notice: Nutrition is auto-calculated for your convenience. Where relevant, we recommend using your own nutrition calculations.
