• Skip to primary navigation
  • Skip to main content
  • Skip to primary sidebar
Facebook
Instagram
Pinterest
YouTube
TikTok

Jo Cooks

Simple - Easy - Comfort

  • All Recipes
    • Course
      • Breakfast
      • Appetizers
      • Lunch
      • Dinner
      • Desserts
      • Side Dishes
      • Soups
      • Salads
      • Sandwiches
      • Drinks/Cocktails
      • Sauces & Dressings
    • Method
      • Crockpot
      • Instant Pot
      • One Pot
      • Air Fryer
      • Casseroles
    • Season
      • Spring
      • Summer
      • Fall
      • Winter
    • Cuisine
      • Asian
      • Italian
      • Mexican
      • European
      • Indian
      • Romanian
      • Mediterranean
      • Middle Eastern
      • American
    • Ingredient
      • Chicken
      • Pork
      • Beef
      • Seafood
      • Lamb
      • Vegetarian
      • Pasta
      • Spices
    • Holiday
      • Christmas
      • Easter
      • Thanksgiving
      • Game Day
      • Valentine's Day
      • St. Patrick's Day
      • Cinco de Mayo
      • Mother's Day
      • Memorial Day
      • Father's Day
      • 4th Of July
      • Labor Day
      • Halloween
    • Recipe Index
  • Cookbooks
    • The Big Book of Jo’s Quick and Easy Meals
    • 30-Minute One-Pot Meals
  • Shop
  • About Jo
FREE recipe eBook!
Display Search Bar Search...
All Recipes
Instant Pot
30 Minute
One Pot Meals
Soups
Dips & Dressings
Baking
Pasta
Sandwiches
Sides
Chocolate Desserts Squares/Bars
4.6 from 13 votes

Nanaimo Bars

Jump to RecipeVideoPrintRate
By: Joanna Cismaru •12/12/22 11 Comments

This post may contain affiliate links. Please read my disclosure policy.

These Nanaimo Bars are a classic Canadian no bake dessert. They are incredibly decadent, sweet, and rich, bursting with chocolate and custard. So give these bars a try and prepare to feel just a little patriotic – no matter where you’re from!
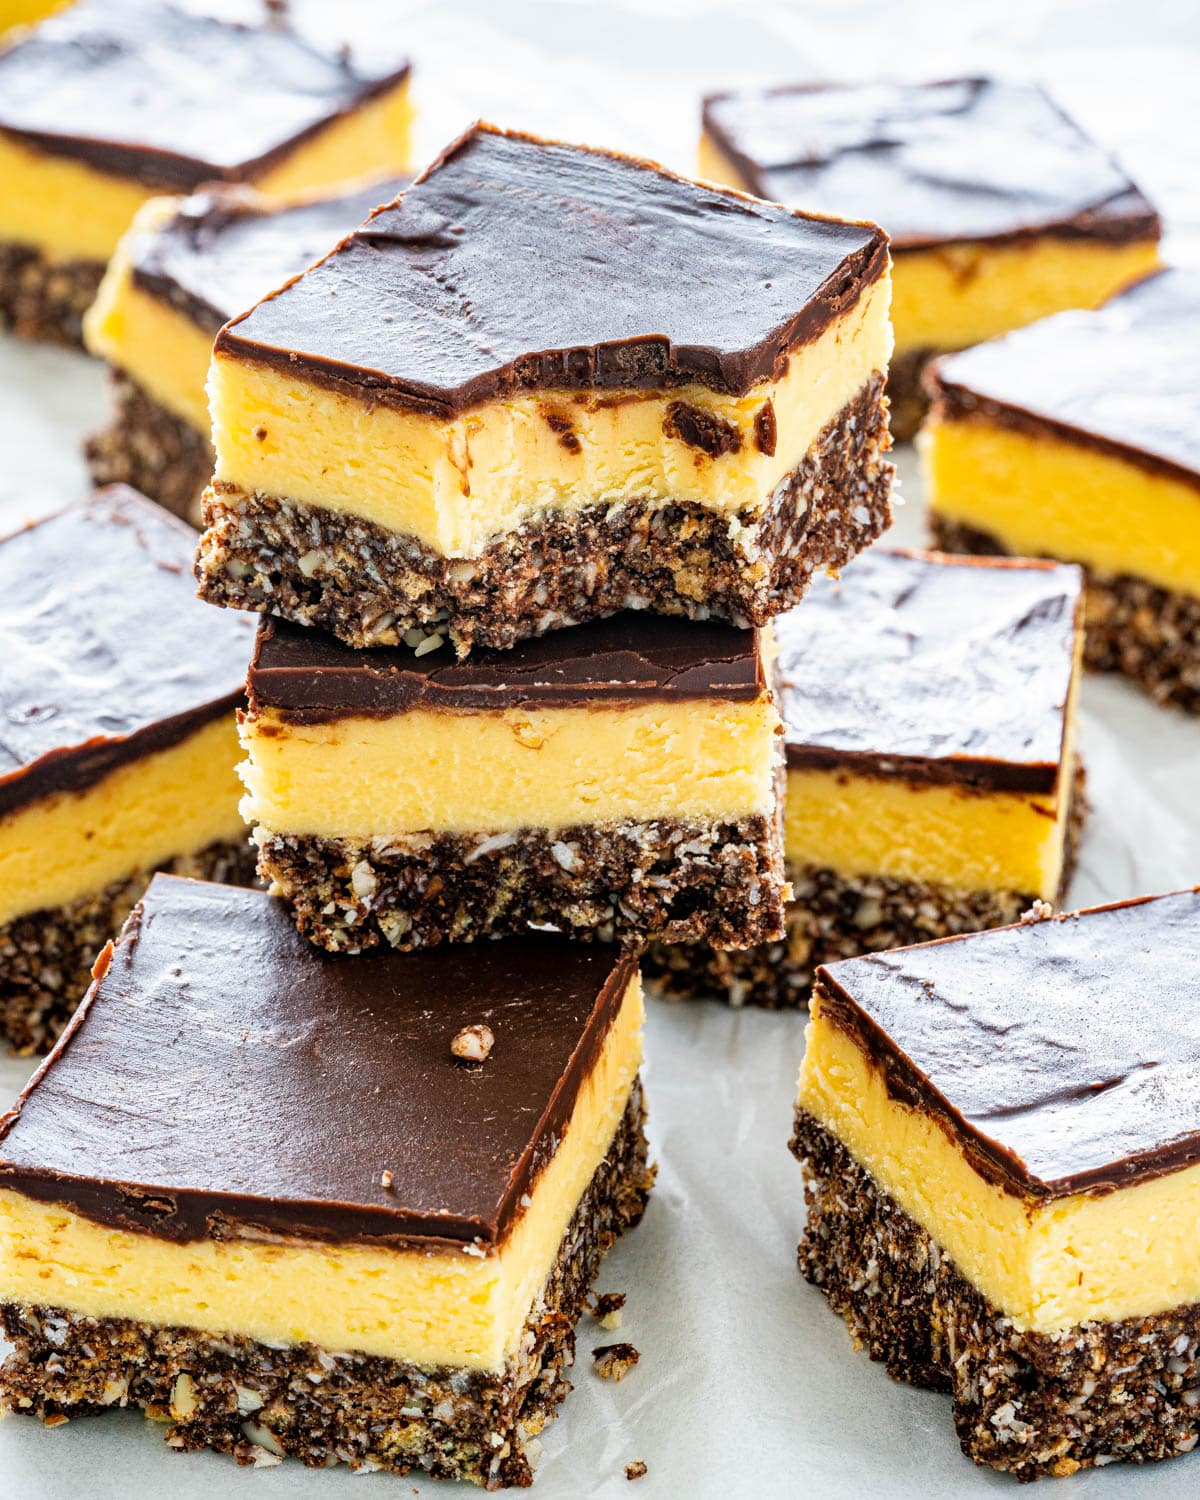
a stack of nanaimo bars on parchment paper
Table of Contents Open
  • What Are Nanaimo Bars?
  • Ingredients In Nanaimo Bars
    • Bottom layer
    • Second layer
    • Third layer
  • How To Make Nanaimo Bars
    • Bottom layer
    • Second layer
    • Third layer
  • What Do I Need To Make Nanaimo Bars?
    • Mixer
    • Double boiler
  • Tips For Making The Best Nanaimo Bars
  • What Else Can I Use In My Nanaimo Bars?
  • Can I Make Nanaimo Bars Ahead?
    • Fridge
    • Freezer
  • Other Great Canadian Recipes To Try
  • Craving More Squares? Try These Delicious Recipes:
  • Nanaimo Bars
    • Ingredients
    • Instructions
    • Equipment
    • Video
    • Notes
    • Nutrition Information
  • Did You Make This?

Some of you may be unfamiliar with the culinary contributions Canada has given to the world, whether it be the Caesar or Poutine. But our best kept secret of all is the Nanaimo Bar, a decadent dessert that combines the richness of vanilla custard with the chew of a nutty coconut crust all topped off with a delightfully thin chocolate top layer. So let’s get down to business because I can promise that after one bite you’ll wish every day was July 1st!

What Are Nanaimo Bars?

These no bake bars originated in Nanaimo, British Columbia – shocker right? They’re a layered dessert that starts with a chocolatey base packed full of chewy coconut and graham crackers. Next we pour on a rich vanilla custard and top it all off with some sinfully melted semi sweet chocolate, delicious!

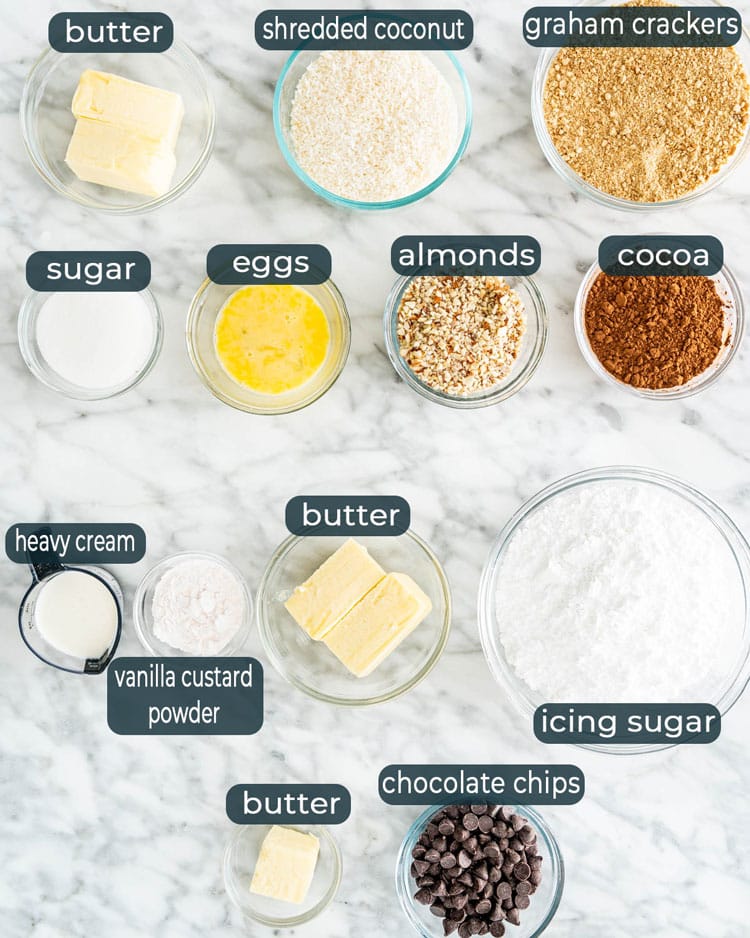
overhead shot of ingredients needed to make Nanaimo Bars

Ingredients In Nanaimo Bars

Detailed measurements and instructions can be found on the printable recipe card at the bottom of the page.

Bottom layer

  • Butter – Unsalted or salted, if using unsalted add a pinch of salt.
  • Sugar – We’re just using plain white sugar for our base.
  • Cocoa powder – The key to the rich chocolate base of our dessert.
  • Egg – 1 large egg.
  • Graham wafer – We’re just using graham cracker crumbs today to form a little quasi crust. Crush them in a food processor or place them in a ziploc bag and use a rolling pin to crush them.
  • Almonds – Finely chop up your almonds before incorporating.
  • Coconut – Shredded coconut either sweetened or unsweetened. Unsweetened would be great because the bars are plenty sweet.

Second layer

  • Butter – You can use either salted or unsalted. If using unsalted add a pinch of salt to the custard to bring out all the flavors.
  • Heavy cream – We want a cream with a high fat content to create a nice firm custard that is fantastically rich.
  • Vanilla Custard powder – This is a powdered mix used to make custard and it’s similar to the type of mix used to make instant pudding.
  • Powdered sugar – We want this layer to be super smooth so powdered sugar is a must, granulated may produce a grainy texture.

Third layer

  • Chocolate chips – I used semi sweet today, if you’d like a less sweet dessert feel free to use dark or no sugar added.
  • Butter – You can use either salted or unsalted.
process shots showing how to make bottom layer of nanaimo bars

How To Make Nanaimo Bars

This dessert is incredibly easy and requires absolutely no baking, yeah you heard that right – Canada keeps it simple for you.

Bottom layer

  • Prepare the base: Spray a 8×8-inch baking pan with cooking spray then line it with parchment paper, but with the parchment paper hanging off the sides to make it easy to lift out the bars. Melt the first 3 ingredients in the top of a double boiler, a heavy bottom saucepan or Dutch Oven over low heat. Add the egg and stir to cook and thicken before removing from the heat. Stir in the graham cracker crumbs, coconut, and almonds. Press firmly into the prepared pan and place in the fridge.

Second layer

  • Prepare the custard layer: Cream the butter, cream, custard powder, and icing sugar together well. Beat until light and airy. Spread this over the bottom layer in the pan. Refrigerate again.

Third layer

  • Finish the Nanaimo Bars: Melt chocolate chips and butter over low heat and then allow to cool. Once cooled but still liquid, pour the mixture over the second and third layer in your pan and spread evenly with a spatula. Place in the fridge and allow to cool for at least 3 hours. Cut into squares and serve!
process shots showing how to make top 2 layers of Nanaimo Bars

What Do I Need To Make Nanaimo Bars?

Mixer

I used a hand mixer today to cream the second layer of this dessert but a standing mixture will work just fine as well! Just be sure to use th whisk attachment.

Double boiler

A double boiler is used when you are trying to melt down ingredients that are too delicate to be put on direct heat. You fill the bottom pot with water and allow it to boil before placing the second pot over top, this creates consistent but gentle heat to prevent burning.

You can also stack 2 pots that fit atop each other if you have some handy that work! However, if you don’t have a double boiler you can use a heavy bottom saucepan or a Dutch oven, just make sure the heat is on low.

nanaimo bars cut into pieces

Tips For Making The Best Nanaimo Bars

  1. Let your Nanaimo bars set in the fridge for as long as possible! It will prevent the layers from melting and bleeding together once you slice them up.
  2. To ensure you get nice separate layers place the dessert in the fridge after you’ve poured over the custard layer while the top layer melts.
  3. Tap the pan on your counter gently a few times after you’ve poured on the final chocolate layer, this will ensure the chocolate is level and even.
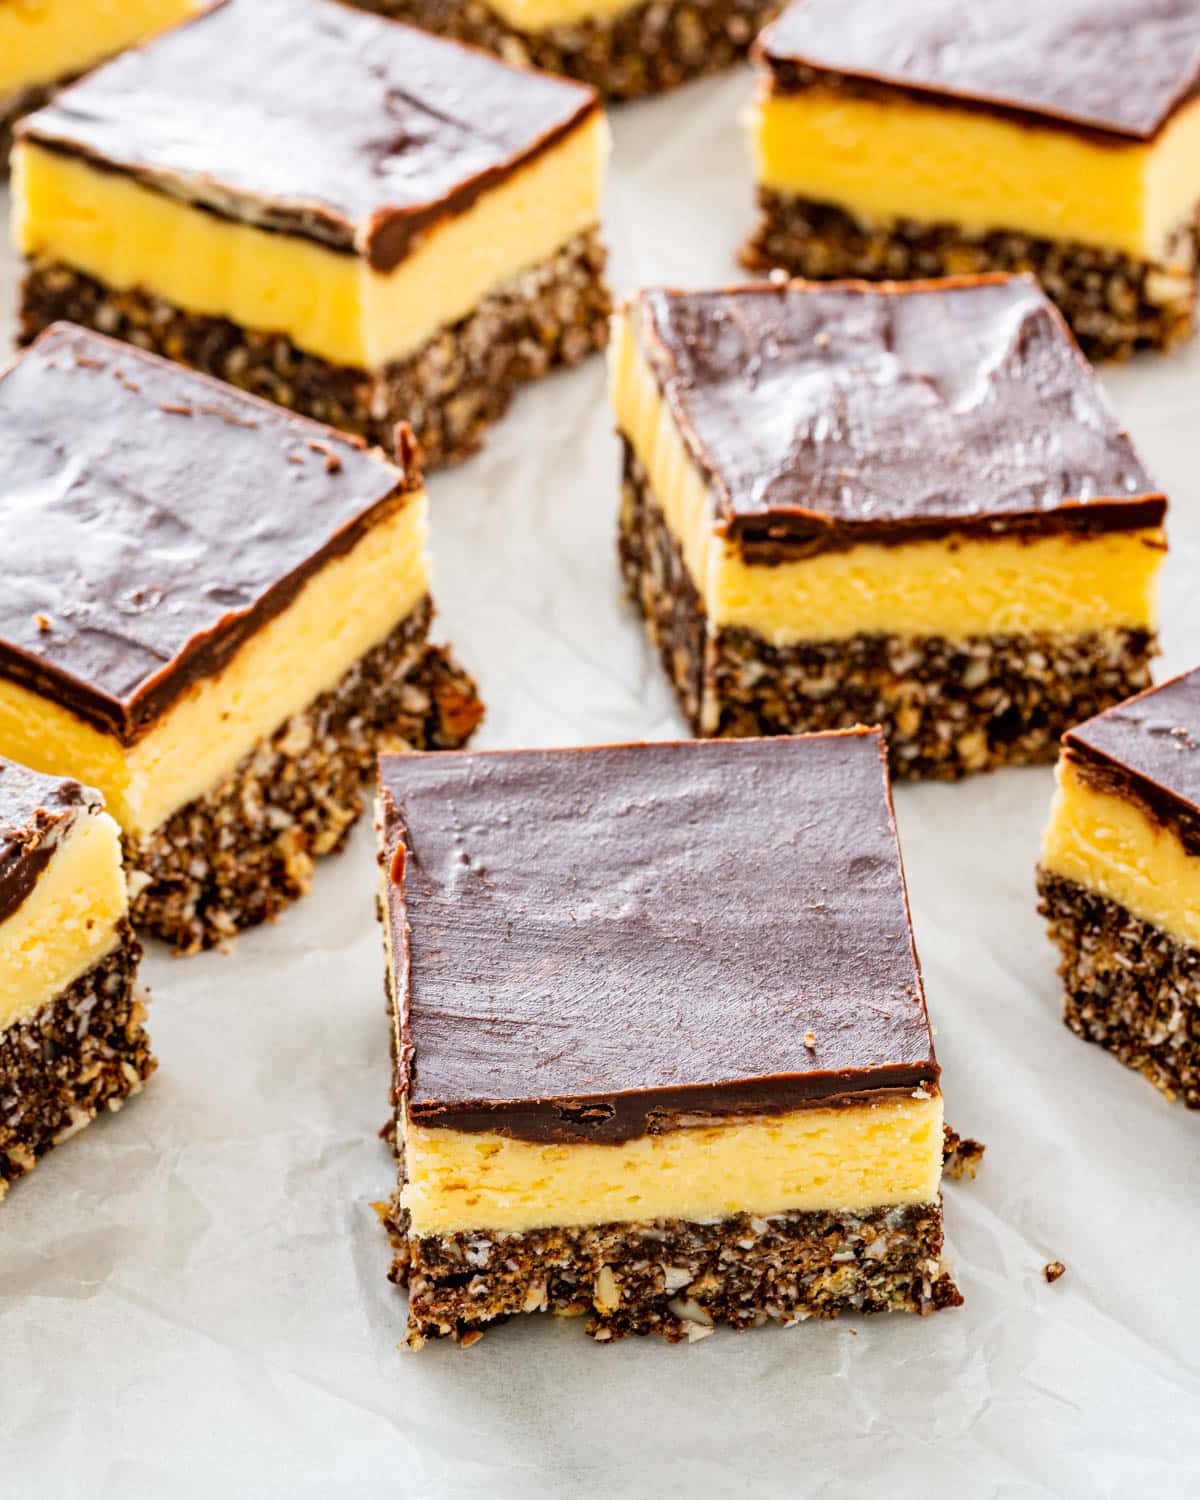
a bunch of nanaimo bars on parchment paper

What Else Can I Use In My Nanaimo Bars?

Feel free to tweak this recipe as you see fit, I’ve included some common substitutes below.

  • Don’t have almonds? Feel free to use walnuts or pecans instead in your crust.
  • Can’t find custard powder? You can substitute it with cornstarch, a pinch of salt, and some vanilla.
  • Is the dessert too sweet? Feel free to use bakers bittersweet chocolate or squares of dark chocolate in place of the chocolate chips in the final layer.

Can I Make Nanaimo Bars Ahead?

Fridge

You can store these delicious little bars in the fridge for 3 – 4 days and they’ll keep just fine. I even find that as those layers get to know each other better they get even better!

Freezer

These bars freeze quite well! You can store these in an airtight container and they’ll keep in the freezer for up to 3 months! Just take out the freezer and allow to thaw in the fridge when you’re ready to eat.
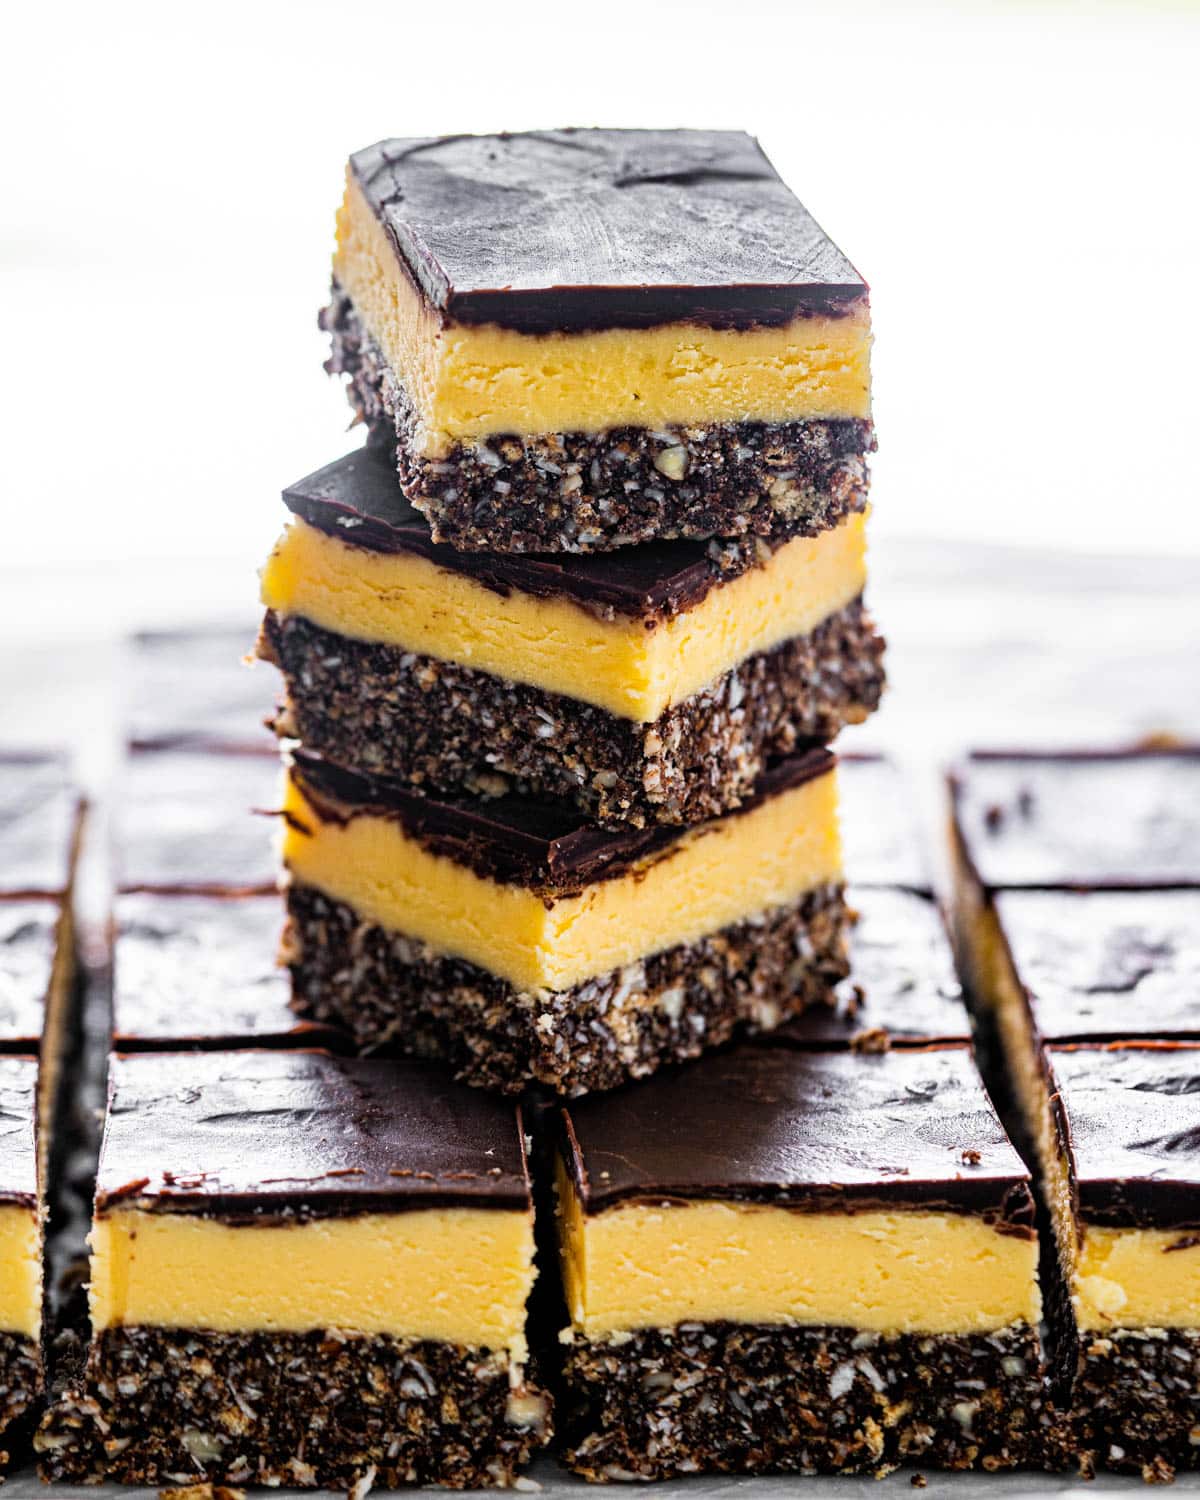
a stack of nanaimo bars

Other Great Canadian Recipes To Try

  • Classic Canadian Caesar Recipe
  • How To Make Poutine
  • Canadian Butter Tarts
  • Halifax Donair
  • Ginger Beef

Craving More Squares? Try These Delicious Recipes:

  • Date Squares
  • Apple And Almond Squares
  • Berry Cheese Cake Squares
  • Lemon Bars
  • Pecan Pie Bars
  • No Bake Peanut Butter Chocolate Bars
  • Creme Brûlée Cheesecake Bars
  • 3 Ingredient Healthy Energy Bars
  • Salted Caramel Apple Pie Cheesecake Bars

Before You Begin! If you make this, please leave a review and rating letting us know how you liked this recipe! This helps our business thrive & continue providing free recipes.
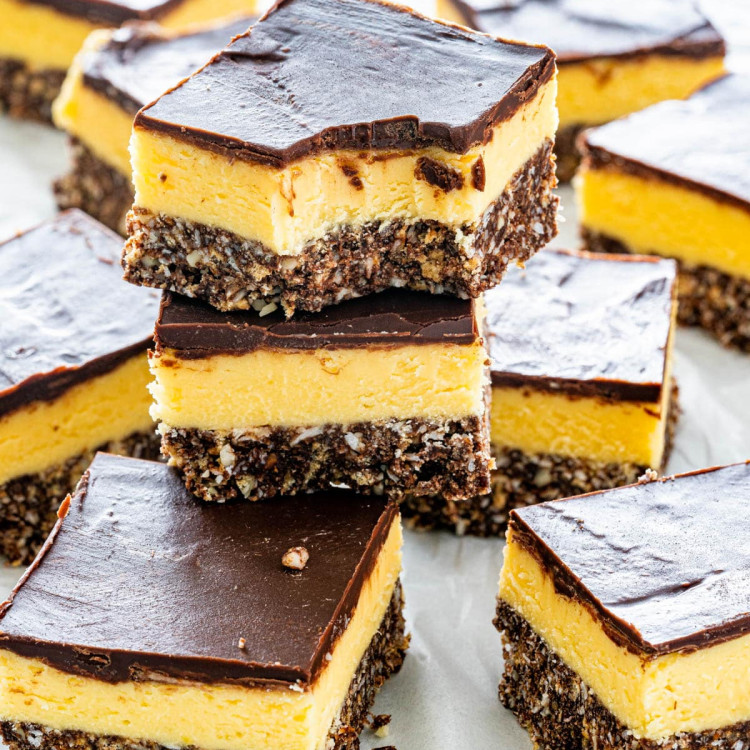
nanaimo bars with a bite taken out of one
Print
4.62 from 13 votes

Nanaimo Bars

Prep 25 minutes
Chilling time 3 hours
Cook 5 minutes
Total 3 hours 30 minutes
Rate Recipe
These Nanaimo Bars are a classic Canadian no bake dessert. They are incredibly decadent, sweet, and rich, bursting with chocolate and custard. So give these bars a try and prepare to feel just a little patriotic – no matter where you’re from!
16

Ingredients

Bottom Layer

  • ½ cup butter (salted, if using unsalted add a pinch of salt)
  • ¼ cup sugar (granulated)
  • 5 tablespoon cocoa powder
  • 1 large egg (beaten)
  • 1 ¾ cups graham wafer crumbs
  • ½ cup almonds (finely chopped)
  • 1 cup coconut (shredded, sweetened or unsweetened)

Second Layer

  • ¾ cup butter (salted, if using unsalted add a pinch of salt)
  • ¼ cup heavy cream
  • 3 tablespoon vanilla custard powder
  • 3 cups powdered sugar (same as icing sugar or confectioners sugar)

Third Layer

  • 4 ounce semisweet chocolate chips
  • 2 tablespoon butter (salted, if using unsalted add a pinch of salt)

Before You Begin! If you make this, please leave a review and rating letting us know how you liked this recipe! This helps our business thrive & continue providing free recipes.

Instructions 

Bottom Layer

  • Spray a 8×8-inch baking pan with cooking spray then line it with parchment paper, but with the parchment paper hanging off the sides to make it easy to lift out the bars.
  • Melt the first 3 ingredients in the top of a double boiler, a heavy bottom saucepan or Dutch Oven over low heat. Add the egg and stir to cook and thicken before removing from the heat. Stir in the graham cracker crumbs, coconut, and almonds. Press firmly into the prepared pan and place in the fridge.

Second Layer

  • Cream the butter, cream, custard powder, and icing sugar together well. Beat until light and airy. Spread this over the bottom layer in the pan. Refrigerate again.

Third Layer

  • Melt chocolate chips and butter over low heat and then allow to cool. Once cooled but still liquid, pour the mixture over the second and third layer in your pan and spread evenly with a spatula. Place in the fridge and allow to cool for at least 3 hours.
  • Cut into squares and serve.

Equipment

  • KitchenAid Hand Mixer
  • 2.5 Quart Double Boiler

Video

Notes

You can store these delicious little bars in the fridge for 3 – 4 days and they’ll keep just fine. I even find that as those layers get to know each other better they get even better!
These bars freeze quite well! You can store these in an airtight container and they’ll keep in the freezer for up to 3 months! Just take out the freezer and allow to thaw in the fridge when you’re ready to eat.
Please keep in mind that nutritional information is a rough estimate and can vary greatly based on products used.

Nutrition Information

Calories: 399kcal (20%)Carbohydrates: 42g (14%)Protein: 3g (6%)Fat: 26g (40%)Saturated Fat: 15g (94%)Cholesterol: 68mg (23%)Sodium: 84mg (4%)Potassium: 158mg (5%)Fiber: 2g (8%)Sugar: 31g (34%)Vitamin A: 570IU (11%)Vitamin C: 0.2mgCalcium: 42mg (4%)Iron: 1.5mg (8%)

Notice: Nutrition is auto-calculated for your convenience. Where relevant, we recommend using your own nutrition calculations.

nanaimo bars with a bite taken out of one

Did You Make This?

We love seeing what you made! Tag us on Instagram at @jocooks or hashtag #jocooks so we can see your creations!

Rate Recipe
Add Your Photo!
  • 432
Home Recipes
Joanna Cismaru

Joanna Cismaru

I’m Joanna (Jo for short) and this is my blog where I share with you my culinary adventures. Here you will find a variety of recipes using simple everyday ingredients and creating wonderful, delicious and comforting meals, including some decadent desserts.

Read More
iPad showing title of ebook 30 recipes from around the world
Subscribe

Get our FREE recipe eBook + weekly newsletter!

Loading

guest
Did you make this recipe? Rate it:


The comment form collects your name, email and content to allow us keep track of the comments placed on the website. Please read and accept our website Terms and Privacy Policy to post a comment.

guest
Did you make this recipe? Rate it:


The comment form collects your name, email and content to allow us keep track of the comments placed on the website. Please read and accept our website Terms and Privacy Policy to post a comment.

This site uses Akismet to reduce spam. Learn how your comment data is processed.

11 Comments
Newest
Oldest Most Voted
Inline Feedbacks
View all comments
sarah
sarah
Posted: 1 month ago

5 stars
This is a good recipe. I’ve made it twice so wanted to say thanks. I cut them up and freeze them to eat as needed.

0
Reply
Tanja
Tanja
Posted: 1 year ago

Can I use a package of instant vanilla pudding powder? Because where I live you can’t find a custard powder mix.

0
Reply
Joanna Cismaru
Joanna Cismaru
Author
Reply to  Tanja
Posted: 1 year ago

I’ve never tried it myself, but I looked it up and apparently you can. Let me know how it turns out. 🙂

0
Reply
Carly Blankfein
Carly Blankfein
Posted: 2 years ago

I’m guessing the answer will be yes but do these HAVE to be refrigerated or will they be ok at room temperature?

0
Reply
Jo Cooks Team
Jo Cooks Team
Reply to  Carly Blankfein
Posted: 2 years ago

They need to be refrigerated! You can’t leave them out at room temp for very long or the chocolate on the top layer gets soft.

0
Reply
Kelsey
Kelsey
Posted: 2 years ago

Will the bottom layer turn out still if I skip the nuts?

0
Reply
Jo Cooks Team
Jo Cooks Team
Reply to  Kelsey
Posted: 2 years ago

I’ll probably be a bit soft but you can give it a try!

0
Reply
Jennifer
Jennifer
Posted: 3 years ago

5 stars
Oh boy… I really liked these guys! I only made 1/2 a recipe, but still put it in an 8×8 pan, so they weren’t as tall and beautiful as yours, and I did keep the chocolate top the original amount of 4 oz, and boy, they are delicious! I was dubious on the custard layer just from reading the recipe, but it is creamy and yummy! I am so glad I made these – TY again Jo! 🙂 <3

0
Reply
Joanna Cismaru
Joanna Cismaru
Author
Reply to  Jennifer
Posted: 3 years ago

They are sinful, aren’t they. 🙂

0
Reply
Earline White
Earline White
Posted: 3 years ago

I have been making these bars for 40 years but my recipe is a little different. Everyone love them and always want more. My recipe makes a 9X13 pan. after they are done I cut them in small pieces and place in freezer containers with wax paper between layers. We just eat them out of the freezer. It only takes a couple of minutes for them to thaw. I got the recipe from a woman who lived in the Bush (or forest) in a log cabin same as I did.

0
Reply
Joanna Cismaru
Joanna Cismaru
Author
Reply to  Earline White
Posted: 3 years ago

I’m sure everyone has their version, but aren’t they just great!

0
Reply

sidebar

Headshot of Joanna Cismaru

Hey there!

I’m Joanna (Jo for short) and this is my blog where I share with you my culinary adventures. Here you will find a variety of recipes using simple everyday ingredients and creating wonderful, delicious and comforting meals, including some decadent desserts.

Read More
Collage of recipe ebooks
Subscribe

Get our FREE recipe eBook + weekly newsletter!

Loading

Pasta Favorites

baked mac and cheese in a black cast iron skillet.
45 mins

Baked Mac And Cheese

freshly made crack chicken penne with a wooden spoon in a skillet.
40 mins

Crack Chicken Penne

chicken pot pie pasta in a white serving bowl with a wooden serving spoon.
50 mins

Chicken Pot Pie Pasta

freshly made one pot pasta in a dutch oven.
20 mins

One Pot Pasta

tomato spinach chicken pasta in a white bowl.
30 mins

Tomato Spinach Chicken Pasta

homemade hamburger helper lasagna from scratch in a skillet.
30 mins

One Pot Hamburger Helper Lasagna

baked feta pasta in a white bowl garnished with fresh basil.
50 mins

Baked Feta Pasta (Tik Tok Pasta)

sideview shot of chicken fajita pasta in a white bowl with a fork inside
45 mins

Chicken Fajita Pasta

side close up shot of swedish meatball pasta in a beige braised garnished with parsley
30 mins

Swedish Meatball Pasta

overhead shot of a bowl of haluski
40 mins

Haluski (Cabbage and Noodles)

A stack of cookbooks
Grab a copy!

My Cookbooks

Order Now: Amazon | Indigo | Barnes & Noble | Indie Bound | Books-A-Million

Dinner Favorites

smothered pork chops in a skillet garnished with parsley.
1 hr 15 mins

Smothered Pork Chops

a wooden spoon lifting a salisbury steak out of the skillet
30 mins

Salisbury Steak

beef lo mein in a black wok.
30 mins

Beef Lo Mein

side shot of beef and broccoli in a skillet
15 mins

Easy Beef and Broccoli Stir Fry

shepherd's pie in a skillet with a serving taken out of it.
1 hr 25 mins

Skillet Shepherd’s Pie

a serving spoon inside a skillet with chicken broccoli rice casserole.
30 mins

One Pot Cheesy Chicken Broccoli Rice Casserole

side view shot of two italian stuffed peppers in a bowl
2 hrs 30 mins

Italian Stuffed Peppers

side view shot of a bowl with a scoop of spaghetti bolognese in it
40 mins

Spaghetti Bolognese

Facebook
Instagram
Pinterest
YouTube
TikTok
Visit our Other Site: Craving Home Cooked

Explore

Recipes
Cookbooks
About Jo
Contact

Legal

Privacy Policy
Accessibility
Disclaimers
© 2023 Jo Cooks
Site Credits
Designed by Melissa Rose Design Developed by Once Coupled
Back to Top
wpDiscuz