Hawaiian Rolls
This post may contain affiliate links. Please read my disclosure policy.

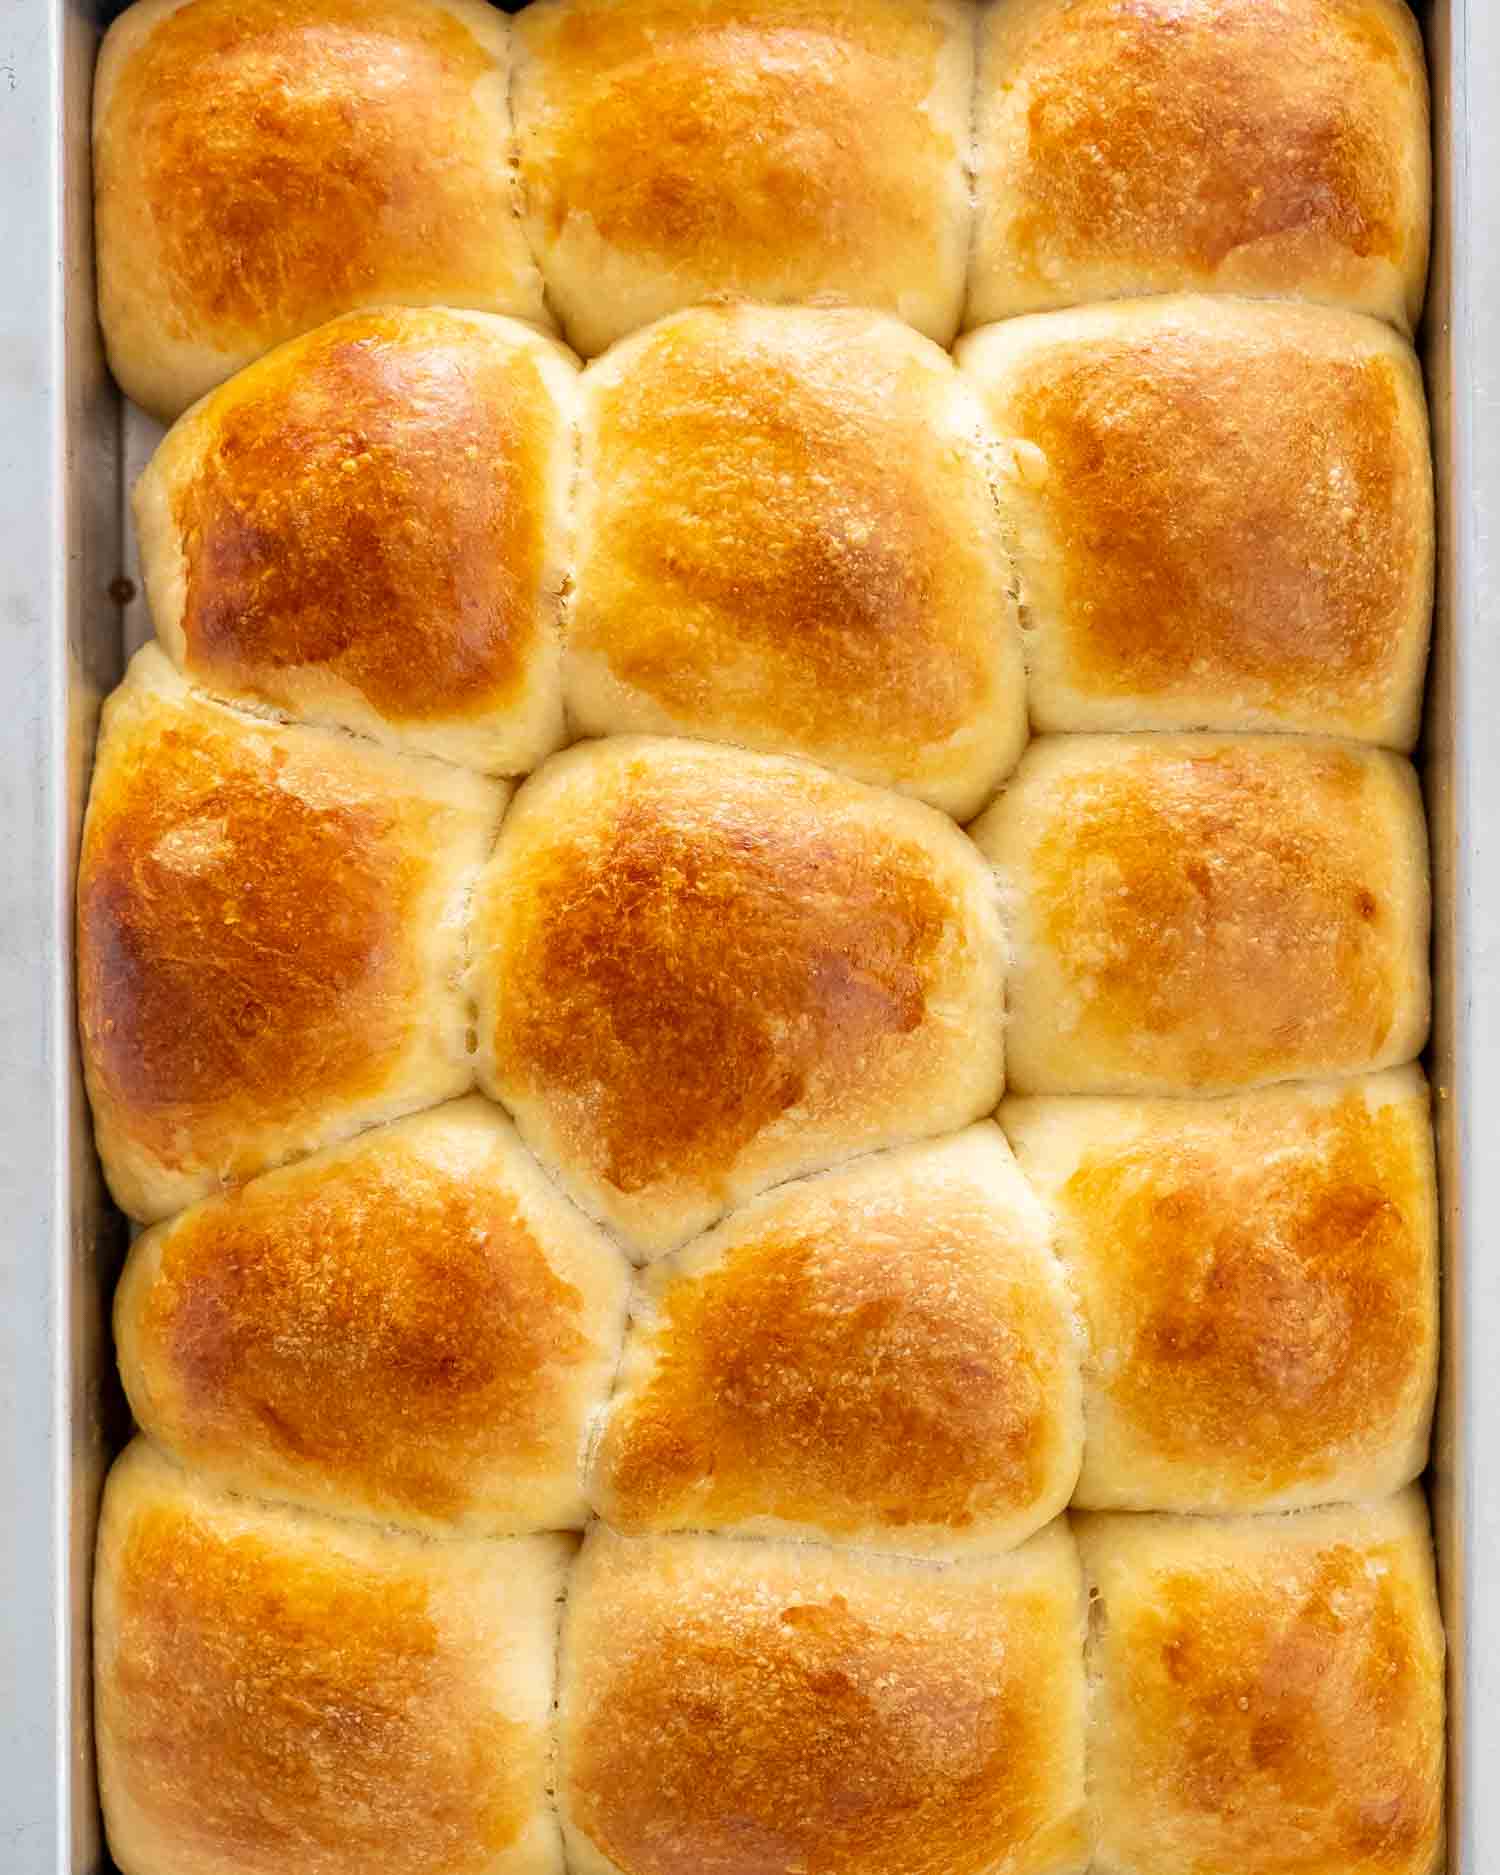
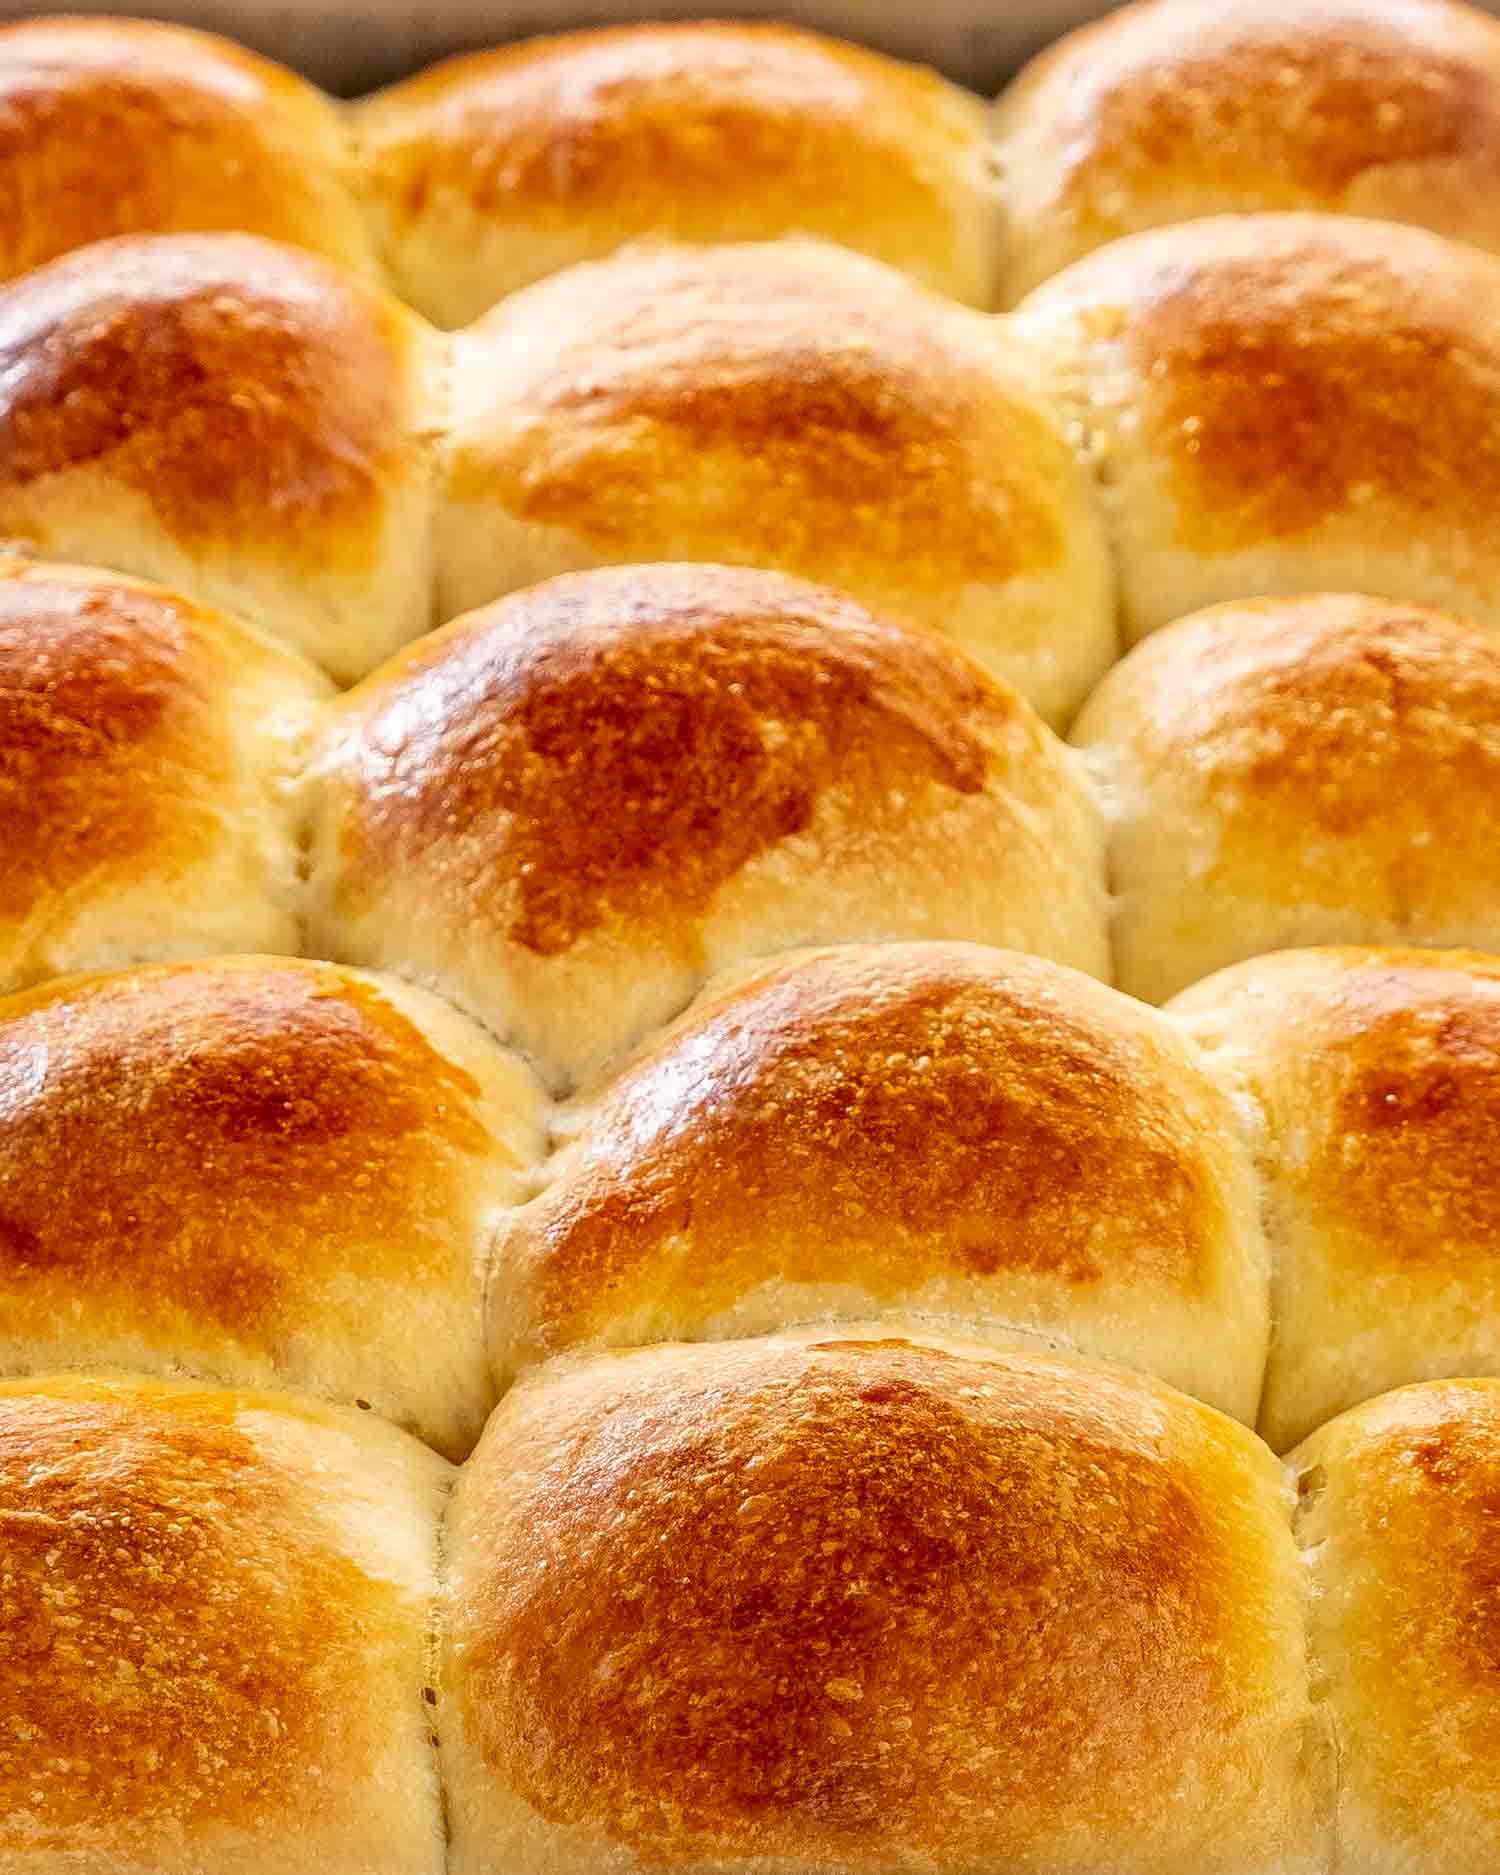
Delicious homemade Hawaiian Rolls. They’re soft, fluffy and fresh from the oven! These Hawaiian Rolls have a tropical flavor perfect for breakfast, lunch or dinner.
The Best Hawaiian Rolls Recipe
These Hawaiian rolls are one of my favorite rolls. It’s an old recipe I’ve shared with you back in 2014 and wanted to share it with you again with some new pictures, a video and a bit more explanation regarding the dough. You’ll find that this recipe has some unusual ingredients for dinner rolls, namely ginger, pineapple, and coconut, but that’s what makes them so special!
Why You’ll Love These Hawaiian Rolls
- Easy Recipe! With the help of a stand mixer and oven, this recipe is beyond easy. You don’t need any expert knowledge, which makes this perfect for novice bakers.
- Tropical Buttery Bread! With the right touch of sweetness and the addition of just a dash of pineapple juice, ginger, and coconut extract these super soft bread rolls are a buttery tropical delight.
- Versatile Option! Hawaiian sweet breads are crowd-pleasing dinner rolls that go with everything from tasty BBQ to scrambled eggs in the morning. And are also the perfect size for mini sandwiches and great-tasting sliders.
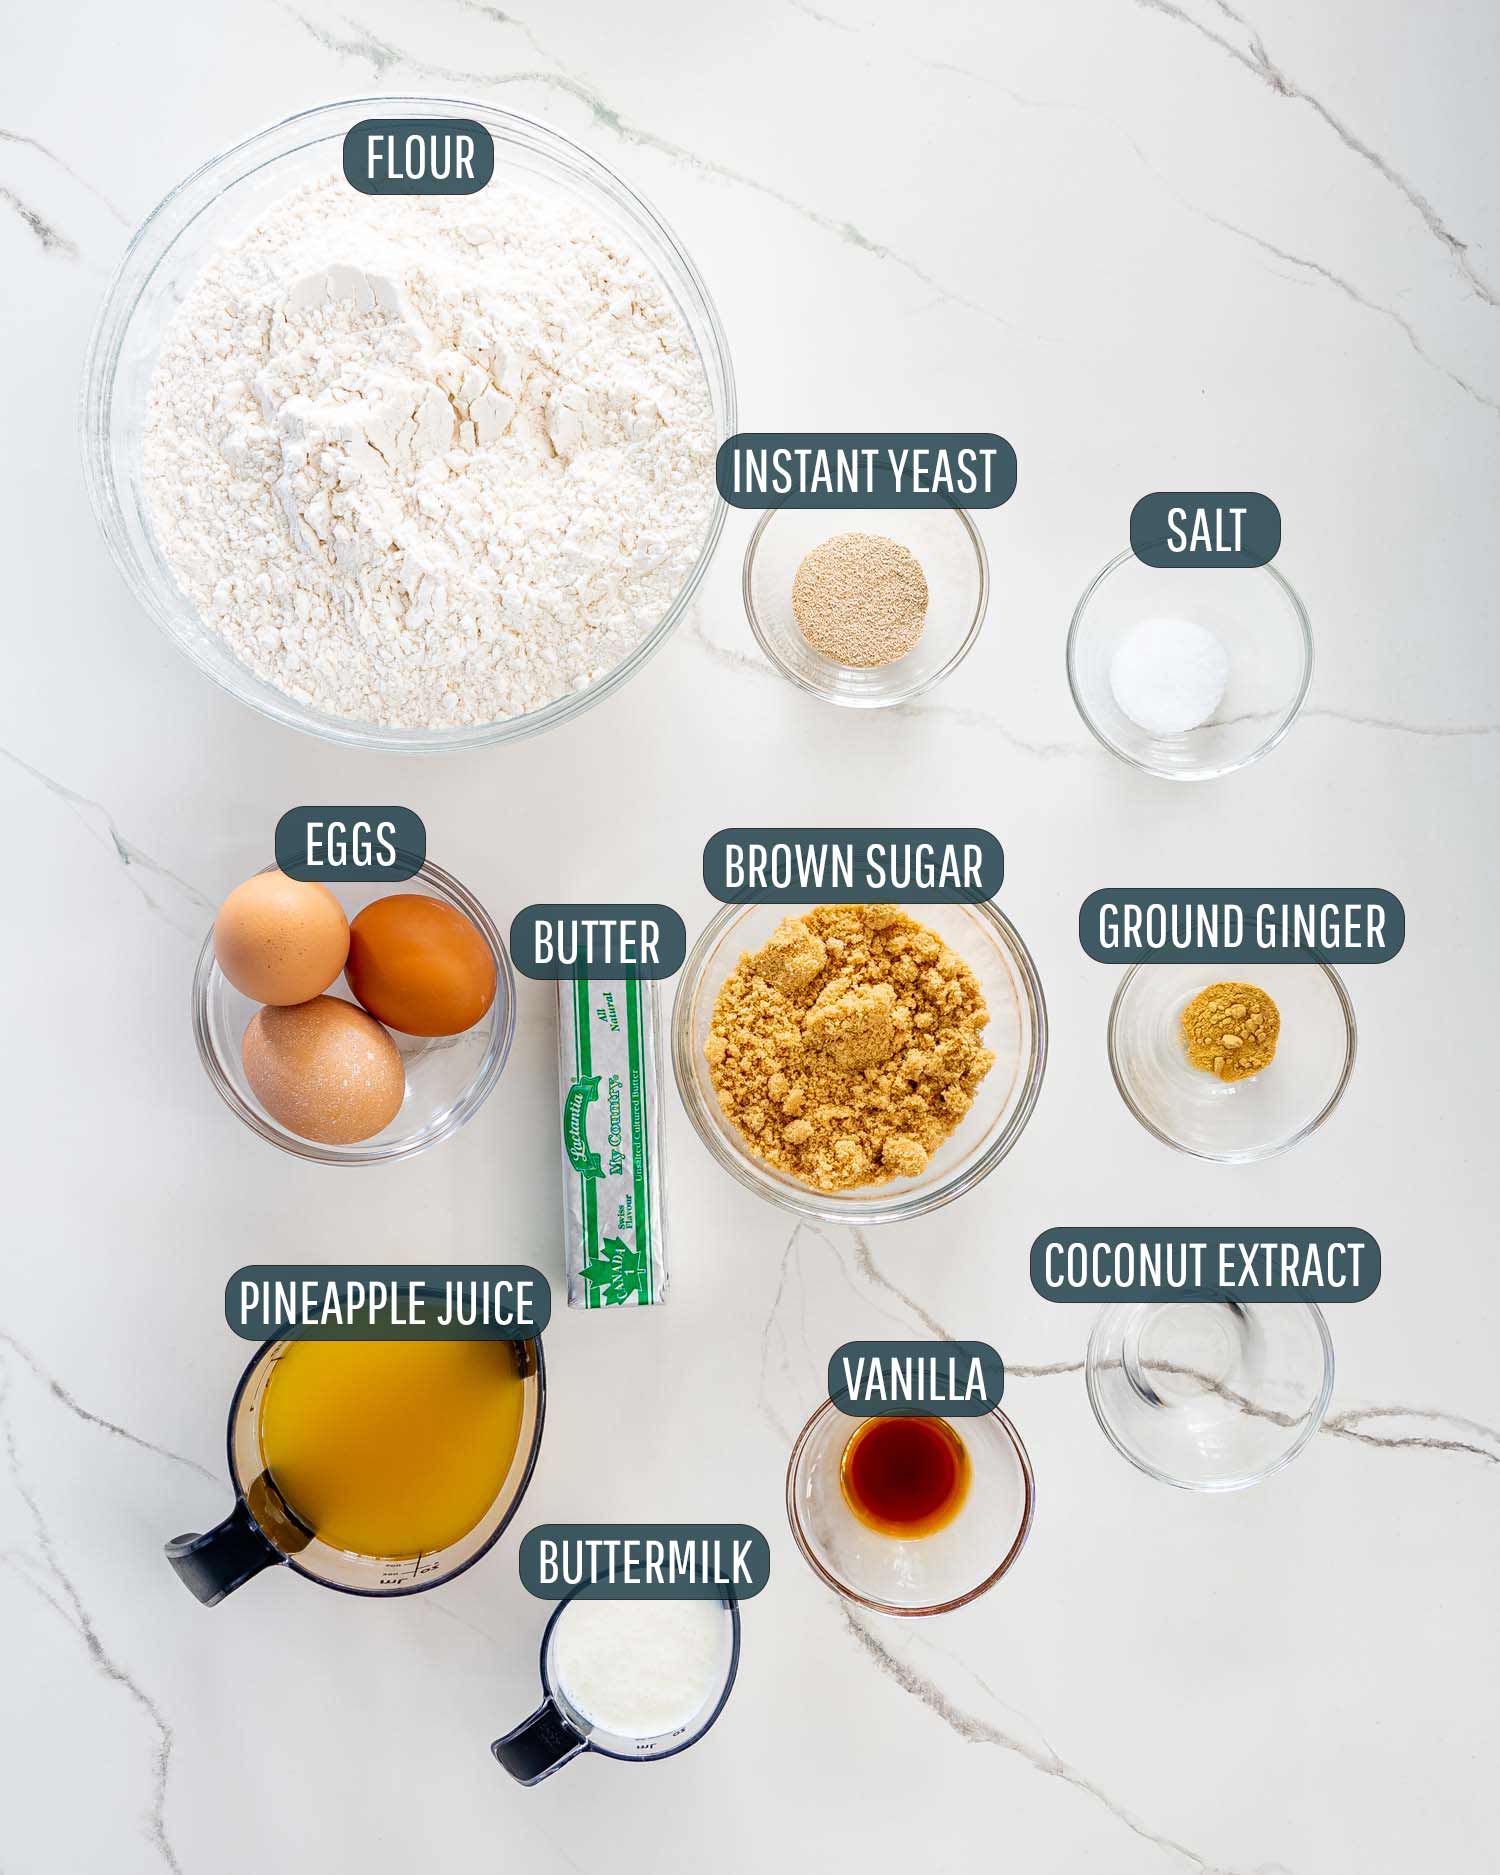
- Butter – I always use unsalted butter in baked goods, so I can control the sodium in our rolls.
- Pineapple juice – This sweet tangy addition is a key flavor profile to our Hawaiian Rolls so don’t skip it!
- Buttermilk – Buttermilk is really key for achieving fluffy, tender rolls. Check out my Buttermilk Dinner Rolls recipe for more info.
- Sugar – We want to use packed brown sugar as it’ll create a great depth of flavor as our rolls bake.
- Coconut – We’re using coconut extract today for that concentrated coconut flavor, you can find it at your grocery store in the baking aisle.
- Vanilla – Vanilla extract is like a flavor secret weapon for baked goods.
- Flour – I just used all purpose flour in this recipe.
- Yeast – I’m using instant yeast so that we can incorporate it right in the dough without activating it in water first. However, active dry yeast works as well, you’ll just have to activate first in lukewarm water with a touch of sugar.
- Ginger – Just a bit of ground ginger to add complexity and depth to our rolls.
- Eggs – 2 large eggs kept at room temperature.
- Salt – Salt is important in any baked good, it ensures that all those flavors we’ve incorporated above really shine.
You are not going to believe how simple it is to make Hawaiian-style sweet bread rolls with the help of a stand mixer for kneading and an oven for proofing. It’s quick, easy, and the outcome is amazing!
Preheat The Oven To Proof
Before you begin the dough, preheat your oven to 200°F (93°C) or the lowest temperature your oven will go. In this case, oven preheating is done to create an environment for your dough to rise. This is an important step so don’t skip it. If your oven has a proof function, use that instead.
Combine The Wet Ingredients
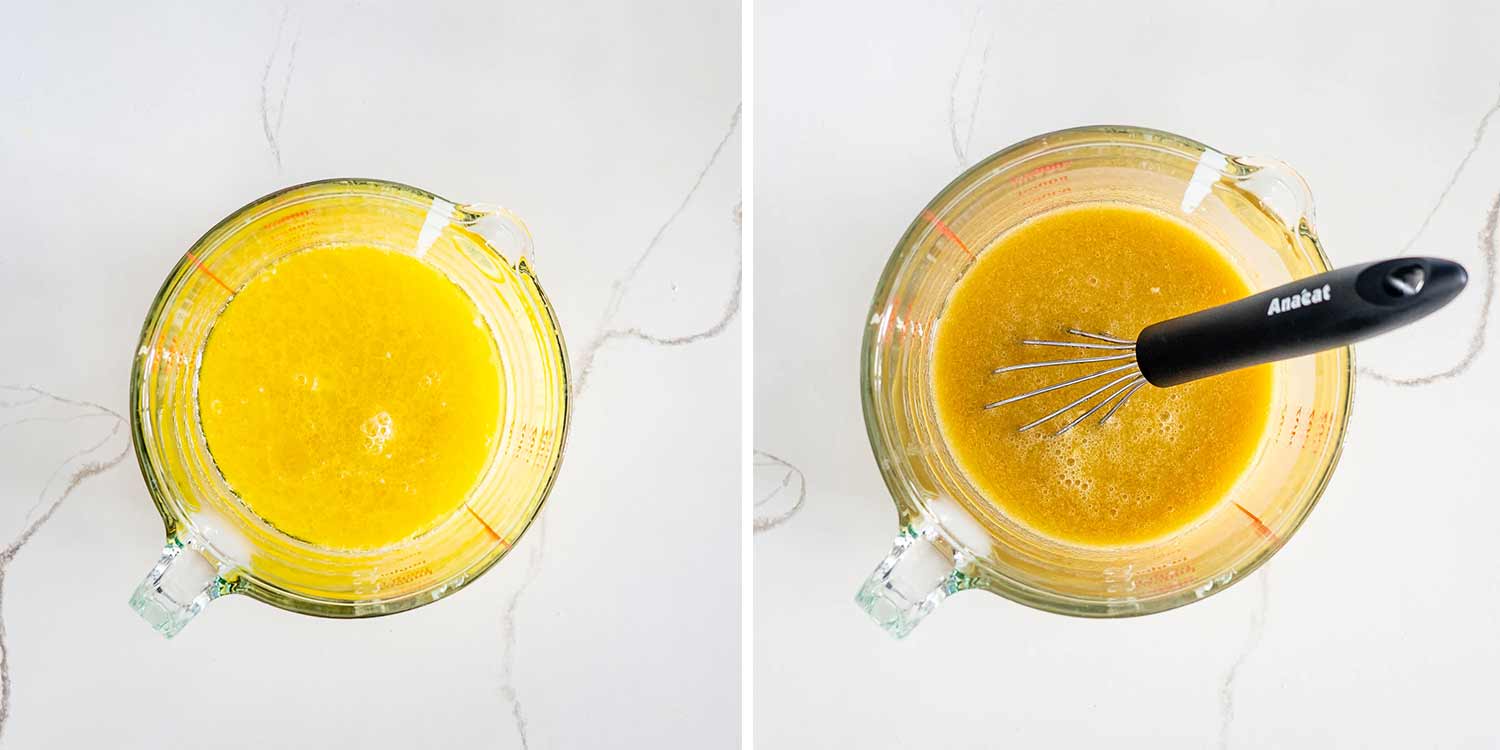
It’s important to mix the wet and dry ingredients separately when you make this recipe. Add the melted butter, buttermilk, pineapple juice, and brown sugar to a medium bowl. Then whisk everything together until it’s well combined. Now, wait until the mixture cools just a bit and then add the extracts. The melted butter sometimes makes it a little too warm.
Combine The Wet And Dry Ingredients
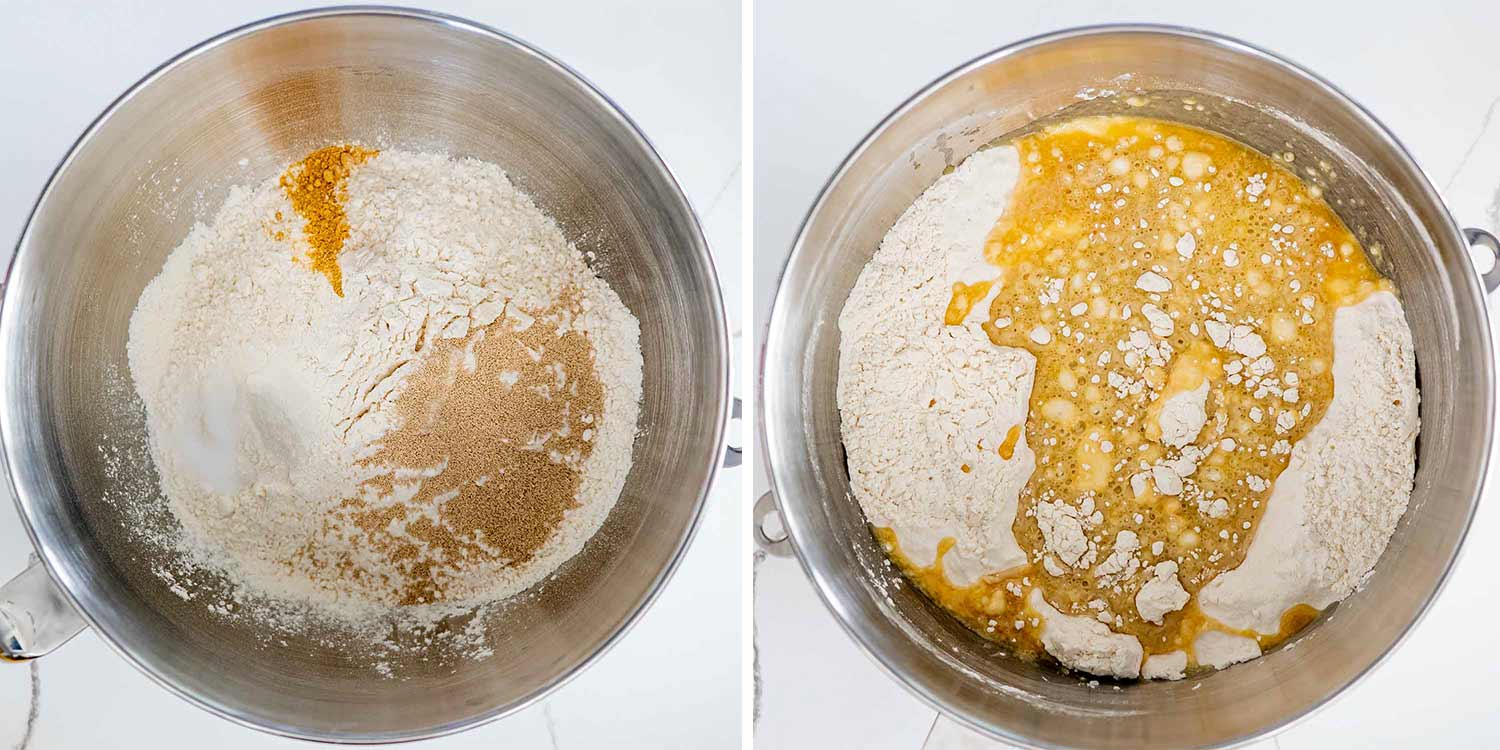
First, combine the dry ingredients together by adding 3¾ cups of flour, the yeast, salt and ground ginger to the bowl of your stand mixer and mix them together. Then using the paddle attachment, turn the mixer on to low speed and slowly pour in the wet ingredients. Now, with the mixer still running, add 2 of the eggs and the egg yolk.
Knead The Dough

After the wet and dry ingredients have been combined, a sticky dough will begin to form. At this point, remove the paddle attachment and replace it with the dough hook attachment. Now, knead the dough for 7 to 8 minutes adding up to ¼ cup more flour if needed. However, this is a very sticky dough, so it’s very important that you do not use more than 4 cups of flour in total to make the dough!
Let The Dough Rise
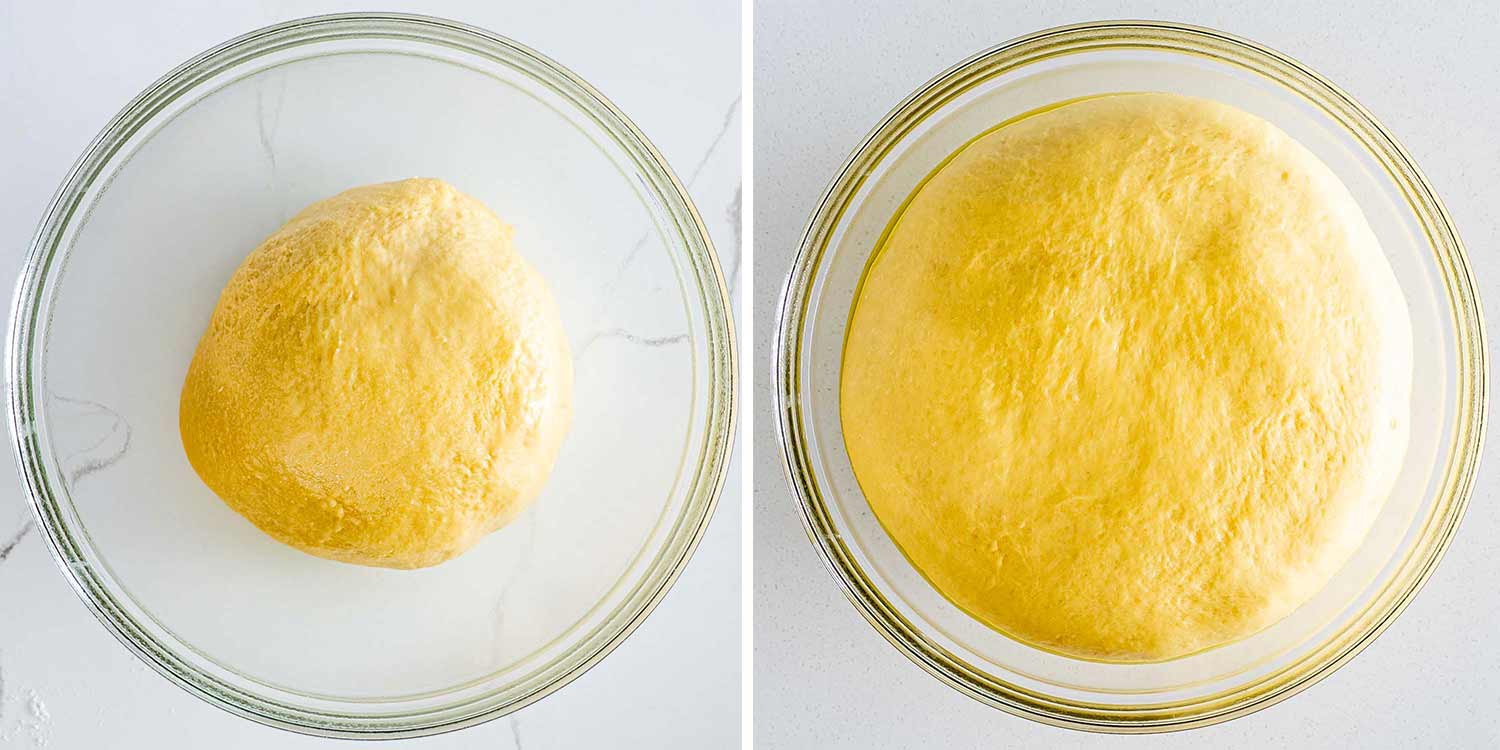
Once the dough has been kneaded it will need to rise! So form the dough into a ball and then place it in a large glass or metal bowl that has been lightly greased. Then cover the bowl with a clean kitchen towel or plastic wrap. Now, turn your oven OFF and place the dough inside so that it can rise for about 1 to 1½ hours or until it has doubled in size. This is a trick I use all the time to speed up the rising time. Sometimes the dough is even ready after 30 minutes!
Preheat The Oven To Proof Again
Remove the dough from the oven once it has doubled in size. Now, once again, preheat your oven to 200°F (93°C) to create an environment for the dough to rise or use the proof oven setting. After the rolls are formed they need to rise a second time. Then line a 9×13-inch baking pan with parchment paper.
Form The Rolls
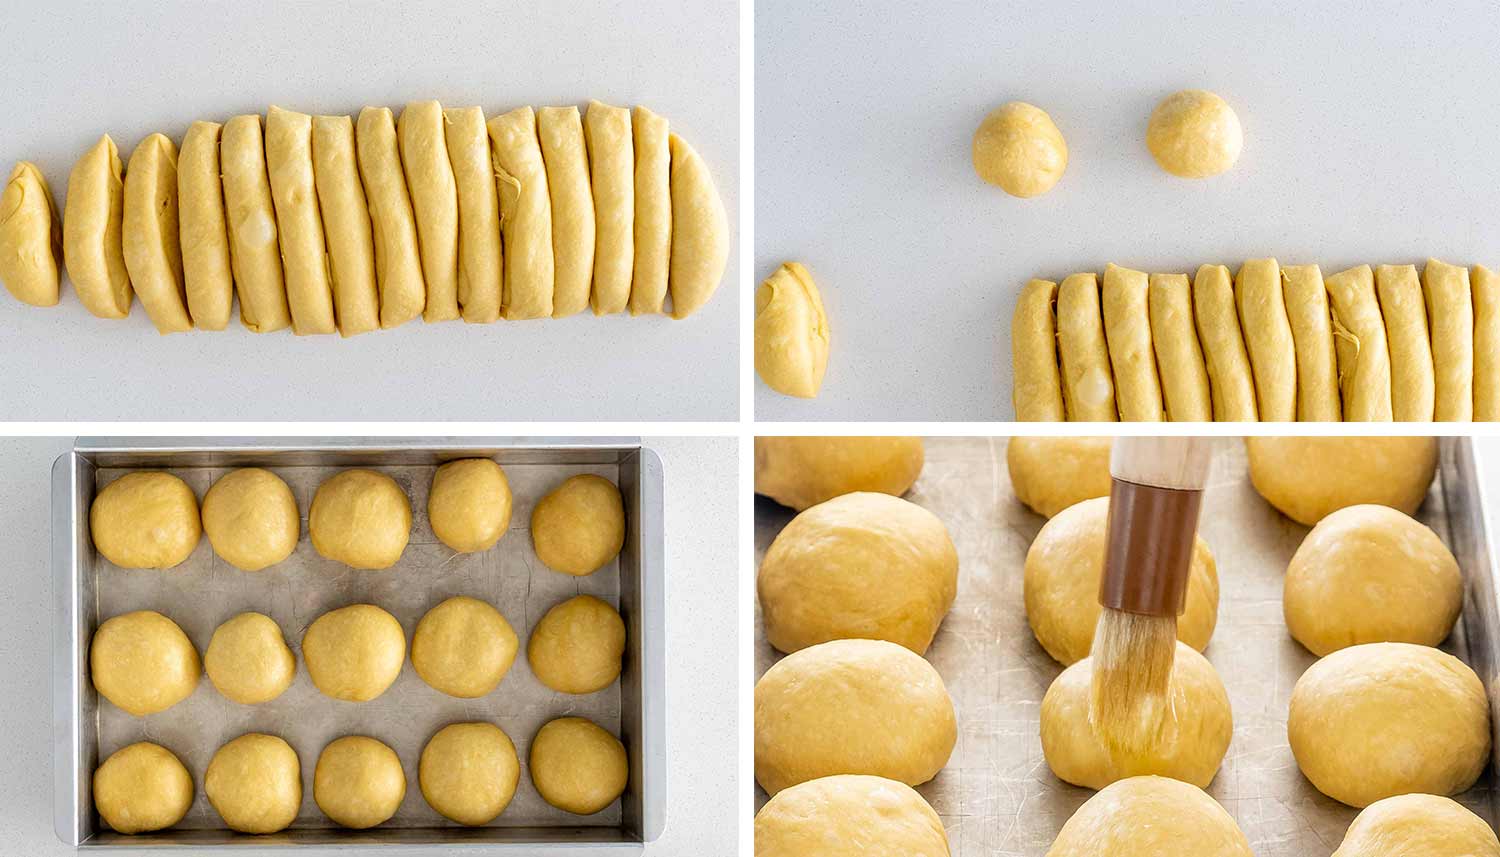
Forming the rolls is really easy. To begin, punch down the dough to let some of the air out and then divide it into 15 equal pieces. Next, roll each piece into a circle and place it in the prepared baking pan equally spaced apart. Then generously butter the tops and sides of all the rolls.
Let The Rolls Rise
Now that the rolls have been formed they will need to rise to make them super soft! So cover the rolls in the baking pan with a clean kitchen towel or plastic wrap. Then turn the oven OFF again and place the rolls inside to rise. This is done because yeast thrives in a warm draft-free environment and using the oven to proof provides the best results. Then after the rolls have doubled in size, remove them from the oven.
Prepare To Bake
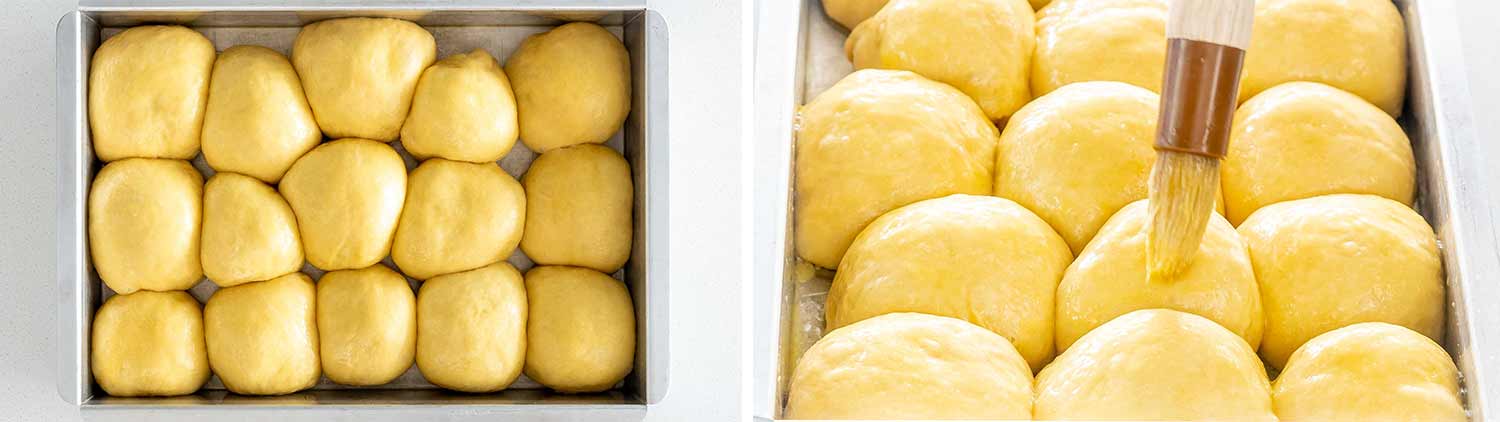
To get ready to bake, preheat your oven to 350°F (177°C). Now, lightly brush the rolls with egg wash. You can also skip the egg wash and apply more melted butter after they have been baked.
Bake And Serve
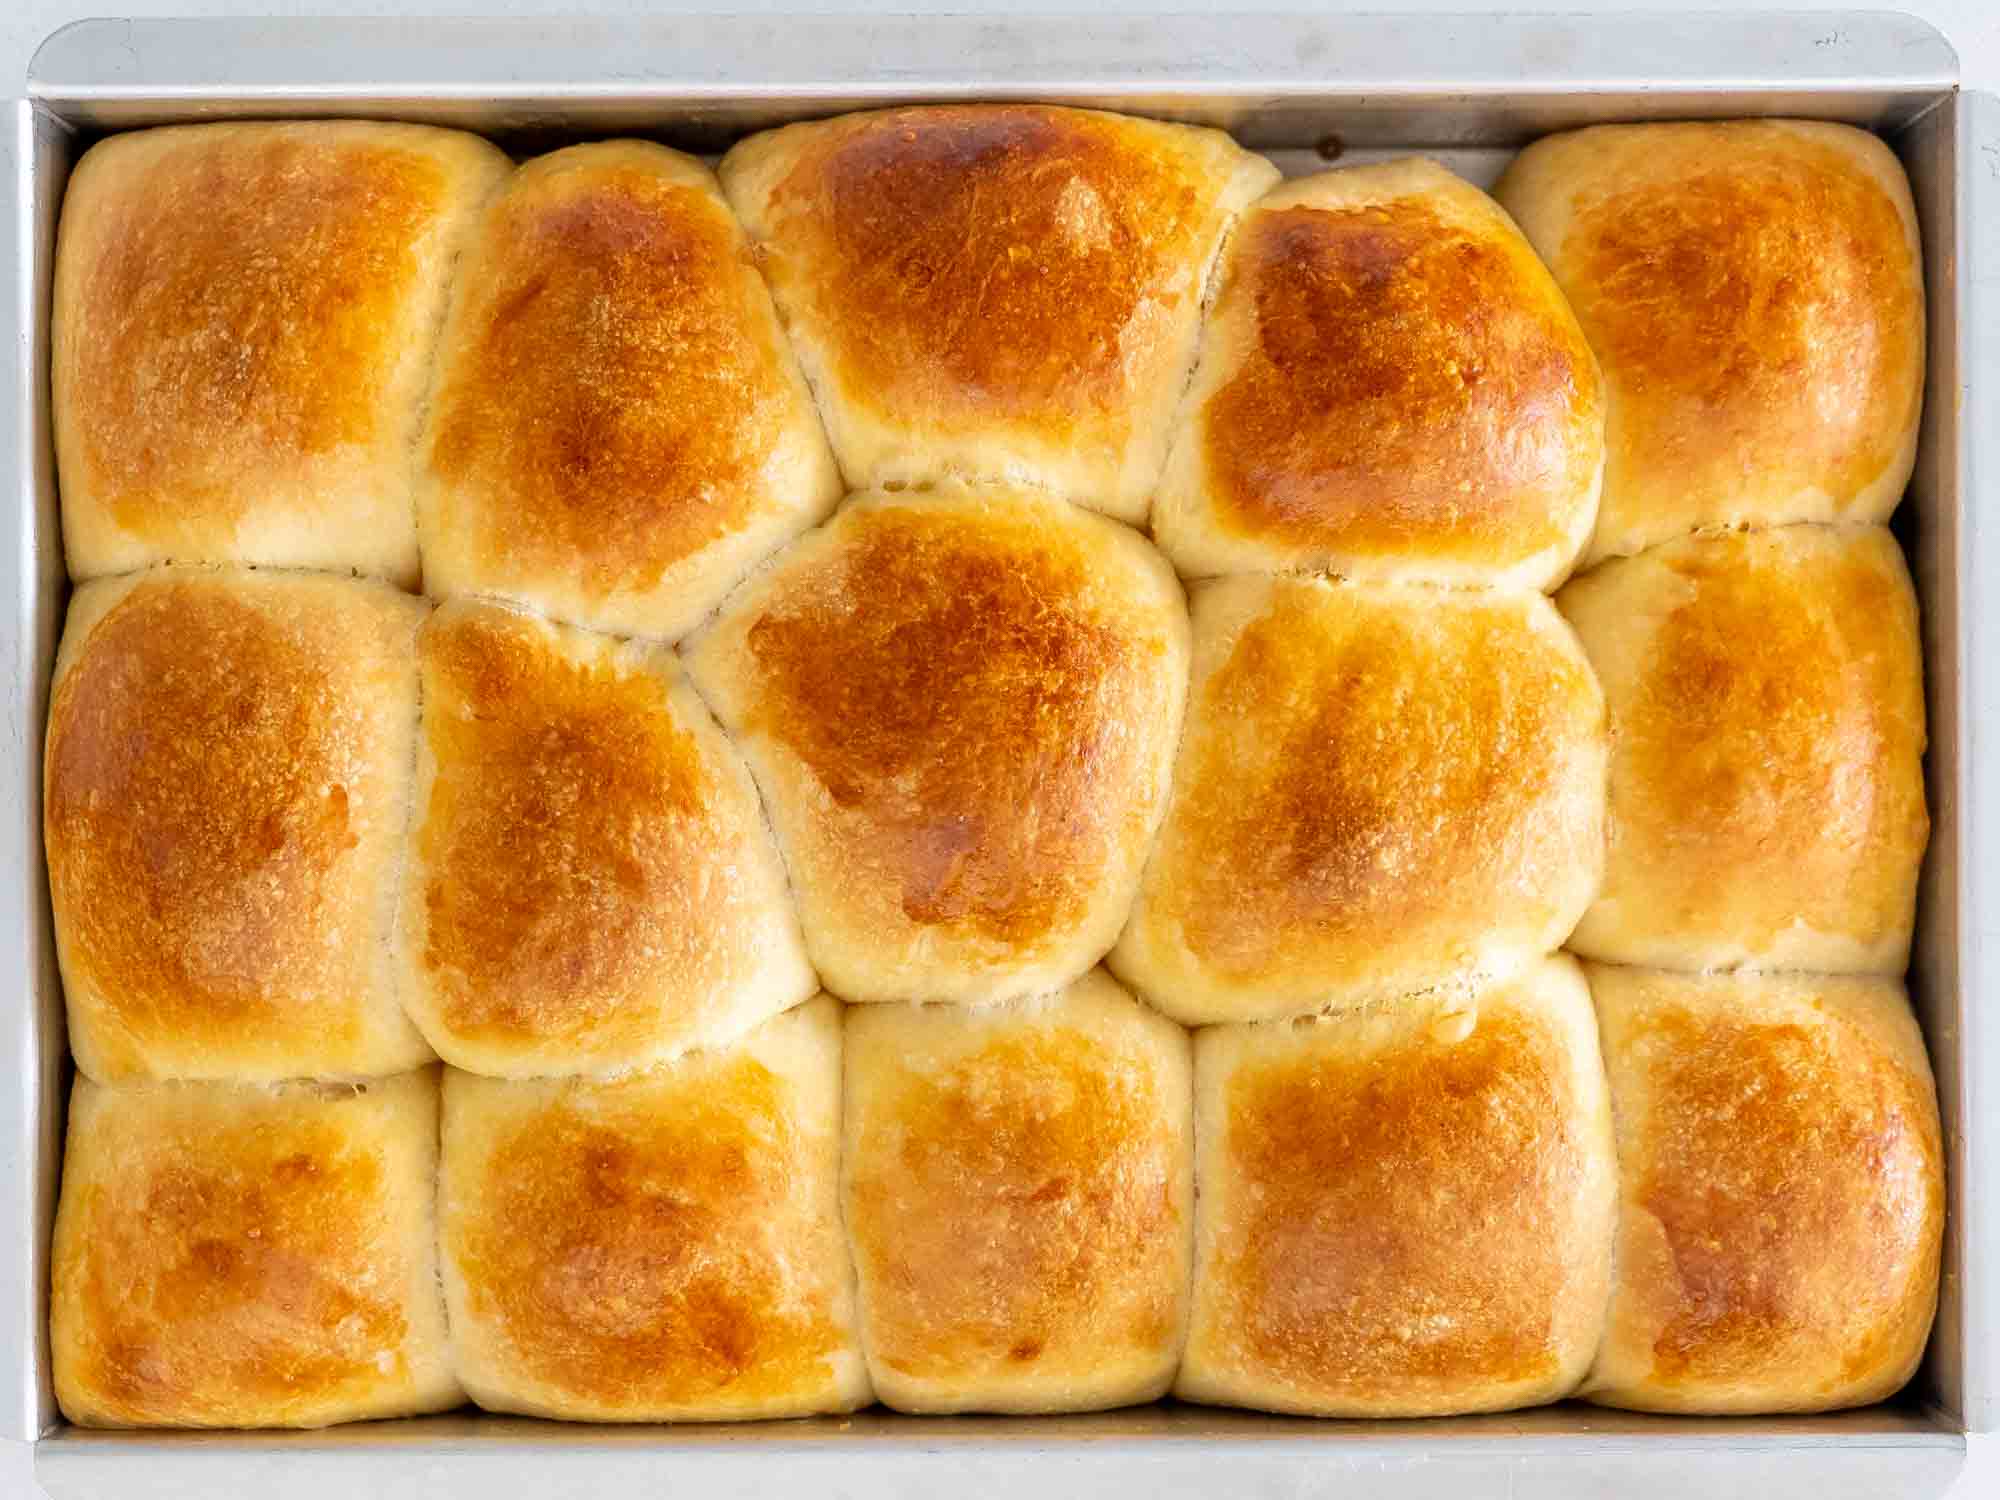
It’s finally time to bake! Once the oven is fully preheated and not a minute sooner, put your Hawaiian rolls in and bake them for about 22 to 25 minutes. When they are done they will be fully baked inside and the top of the rolls will be golden brown in color. Then to serve, enjoy the aloha spirit as you devour these yummy rolls topped with a bit of honey if you like!
What Are Hawaiian Rolls?
These delicious dinner rolls originated on the Big Island, originally sold in supermarkets. They’ve got a sweet tropical kick thanks to some pineapple juice, a little bit of ginger, and a concentrated dose of coconut extract. These sweet rolls are far from typical but give them a shot, I promise they’ll be your new favorite accompaniment.
What To Pair Hawaiian Sweet Rolls With
These tropical rolls go so well with many different dishes, be it meats or salads, slow cooker creations or even just slathered with butter all on their own.
- Instant Pot BBQ Ribs
- Beef Brisket Gyros
- Roast Chicken
- Perfect Pulled Pork
- Porcupine Meatballs
- Easy Meatloaf
- Crockpot Honey Mustard Glazed Ham
You can put nearly anything into these rolls and it will taste simply magical. Feel free to experiment with what tastes best for you and your family. I like to pair them with some ham and Swiss cheese and place in the oven to allow the cheese to melt a bit, so delicious!
Issues With Your Dough?
If you have any issues with your rolls not rising this almost always has to do with your yeast. In this recipe I’m using instant yeast and not active dry yeast though you could use either. The difference is that instant yeast does not have to be activated, just add it to your dry ingredients, where as with active dry yeast you have to dissolve it in a bit of warm water and sugar first.

Expert Tips
- This is a very soft and somewhat sticky dough. Keep mixing/kneading the dough until it comes clean from the sides of the bowl, but you should not have to add more flour than the 4 cups.
- If you want a less sweet dough feel free to reduce the sugar.
- Be sure your pineapple juice is at room temperature.
- Check the expiry date on your yeast! If it’s no longer good to use your rolls will not turn out.
- Once your yeast package or jar has been opened, you must refrigerate the yeast or freeze it in an airtight container.
Storing Leftovers
These rolls can be stored right on the counter covered in either tin foil or plastic wrap for 3 – 4 days.
Freezing
Yes you can! You can freeze these rolls in an airtight container for up to 3 months, just thaw at room temperature overnight before warming back up in the oven at 300°F for 10 minutes.
Craving More Rolls? Try These Delicious Recipes
- Classic Dinner Rolls
- Parker House Rolls
- Soft Buttermilk Dinner Rolls
- Texas Roadhouse Rolls
- Finnish Cardamom Rolls
- Honey Rolls
- Crescent Rolls
Before You Begin! If you make this, please leave a review and rating letting us know how you liked this recipe! This helps our business thrive & continue providing free recipes.

Hawaiian Rolls
Video
Ingredients
- 8 tablespoon butter (unsalted and melted (1 stick))
- ¾ cup pineapple juice
- ¼ cup buttermilk
- ½ cup brown sugar (packed)
- 1 teaspoon coconut extract
- 1 teaspoon vanilla extract
- 4 cups all-purpose flour
- 2¼ teaspoon instant yeast
- 1 teaspoon salt
- ¼ teaspoon ground ginger
- 2 eggs (room temperature)
- 1 egg yolk
- 1 egg (for egg wash)
Before You Begin! If you make this, please leave a review and rating letting us know how you liked this recipe! This helps our business thrive & continue providing free recipes.
Instructions
- Heat the oven to 200°F or if your oven has a proof setting, turn it on.
- In a medium size bowl, combine the melted butter, buttermilk, pineapple juice and brown sugar. Slightly whisk so that it’s all combined. Wait a bit until mixture cools a bit (if it’s too warm from the melted butter) then add the extracts.
- Meanwhile, in the bowl of your mixer, combine 3¾ cups of flour, yeast, salt and ground ginger. Using the paddle attachment, turn the mixing speed on low and slowly pour in the wet ingredients. Continue mixing while adding the 2 eggs and egg yolk. A sticky dough will begin to form. Switch to the hook attachment and knead the dough for 7-8 minutes, adding ¼ cup more of flour if necessary. Do note that this is a very sticky dough, so don't add any more than 4 cups of flour total!
- Once the dough has been kneaded, form into a ball and place in a large metal or glass bowl that has been lightly greased. Cover with a clean towel or plastic wrap, turn OFF your oven, place inside and allow to rise for about 1 to 1½ hours or until doubled in size. I use this trick all the time to speed up the rising time.
- Once the dough has doubled, remove and gently deflate. Divide into 15 equal pieces. Roll into circles and place in a parchment lined 9×13 pan. Heat oven to 200°F. Generously butter the tops and sides of each roll. Place a clean kitchen towel over top. Turn OFF your oven and place the covered rolls inside to rise until doubled in size.
- Remove the rolls from the oven and turn on your oven to 350°F.
- Brush the rolls with egg. Once heated, bake the rolls for 22-25 minutes or until the tops are golden brown in color.
- Remove the rolls from the oven. Another option is to skip brushing them with the egg wash and bake them, then brush them with melted butter once out of the oven.
Notes
- This is a very soft and somewhat sticky dough. Keep mixing/kneading the dough until it comes clean from the sides of the bowl, but you should not have to add more flour than the 4 cups.
- If using active dry yeast, please make sure you activate it first by dissolving it in a bit of warm water. If it does not begin to froth up, do not continue with the recipe.
- Always check the expiration date on your yeast and make sure it hasn’t expired. All your yeast products whether it’s in a jar or a package should be stamped with a “Best if Used by” date. Always make sure you check this date, even when you purchase the yeast, who knows it could have been on the shelf past its expiry date.
- To keep your yeast fresh and longer lasting, unopened yeast packages or jars should be stored in a cool or dry place such as your cupboard. However, you can also store your yeast in the fridge or freezer. If you do store it in the freezer and need to use yeast for your baking, make sure you take out the amount you need and let it sit at room temperature for at least half hour before using.
- Once your yeast package or jar has been opened, you must refrigerate the yeast or freeze it in an airtight container.
- One thing to remember about your yeast, is that it is a living organism and over time it will lose activity, even if you’ve never opened the jar or package. So if you don’t bake often, buy the smaller yeast packages rather than a big jar of yeast.
- These rolls can be stored right on the counter covered in either tin foil or plastic wrap for 3 – 4 days.
- You can freeze these rolls in an airtight container for up to 3 months, just thaw at room temperature overnight before warming back up in the oven at °F for 10 minutes.
Nutrition Information
Notice: Nutrition is auto-calculated for your convenience. Where relevant, we recommend using your own nutrition calculations.
