Homemade Vanilla Pudding
This post may contain affiliate links. Please read my disclosure policy.
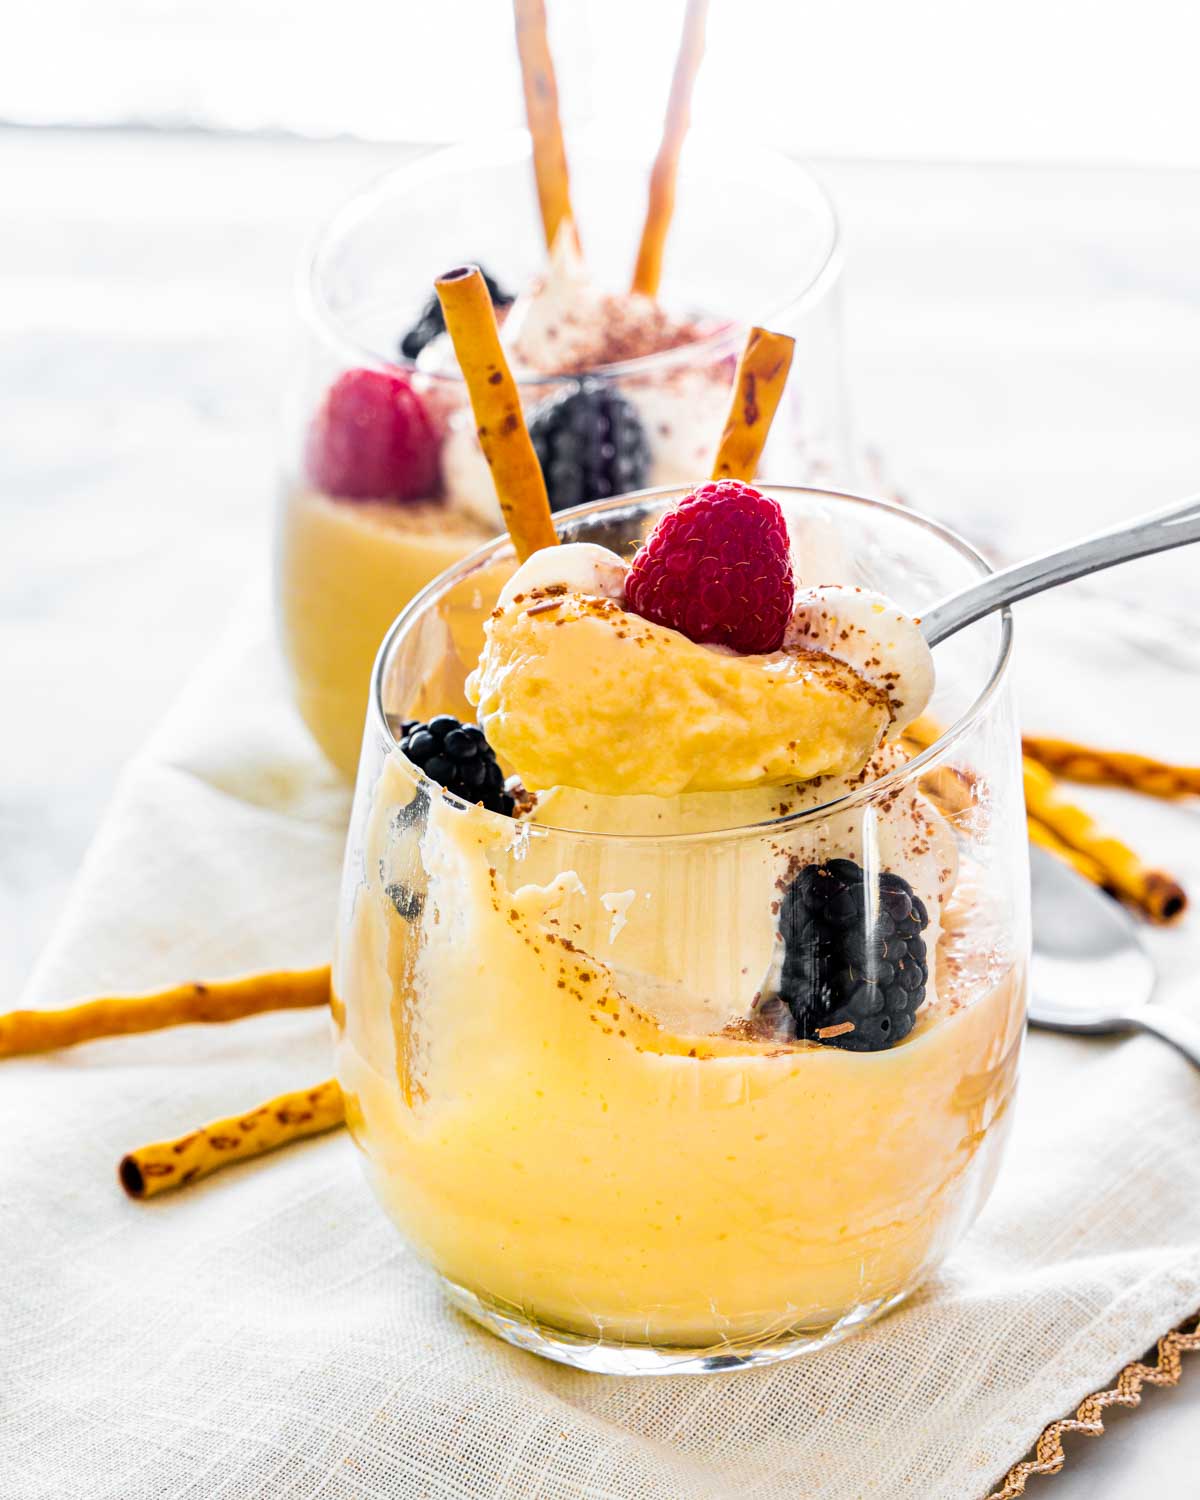
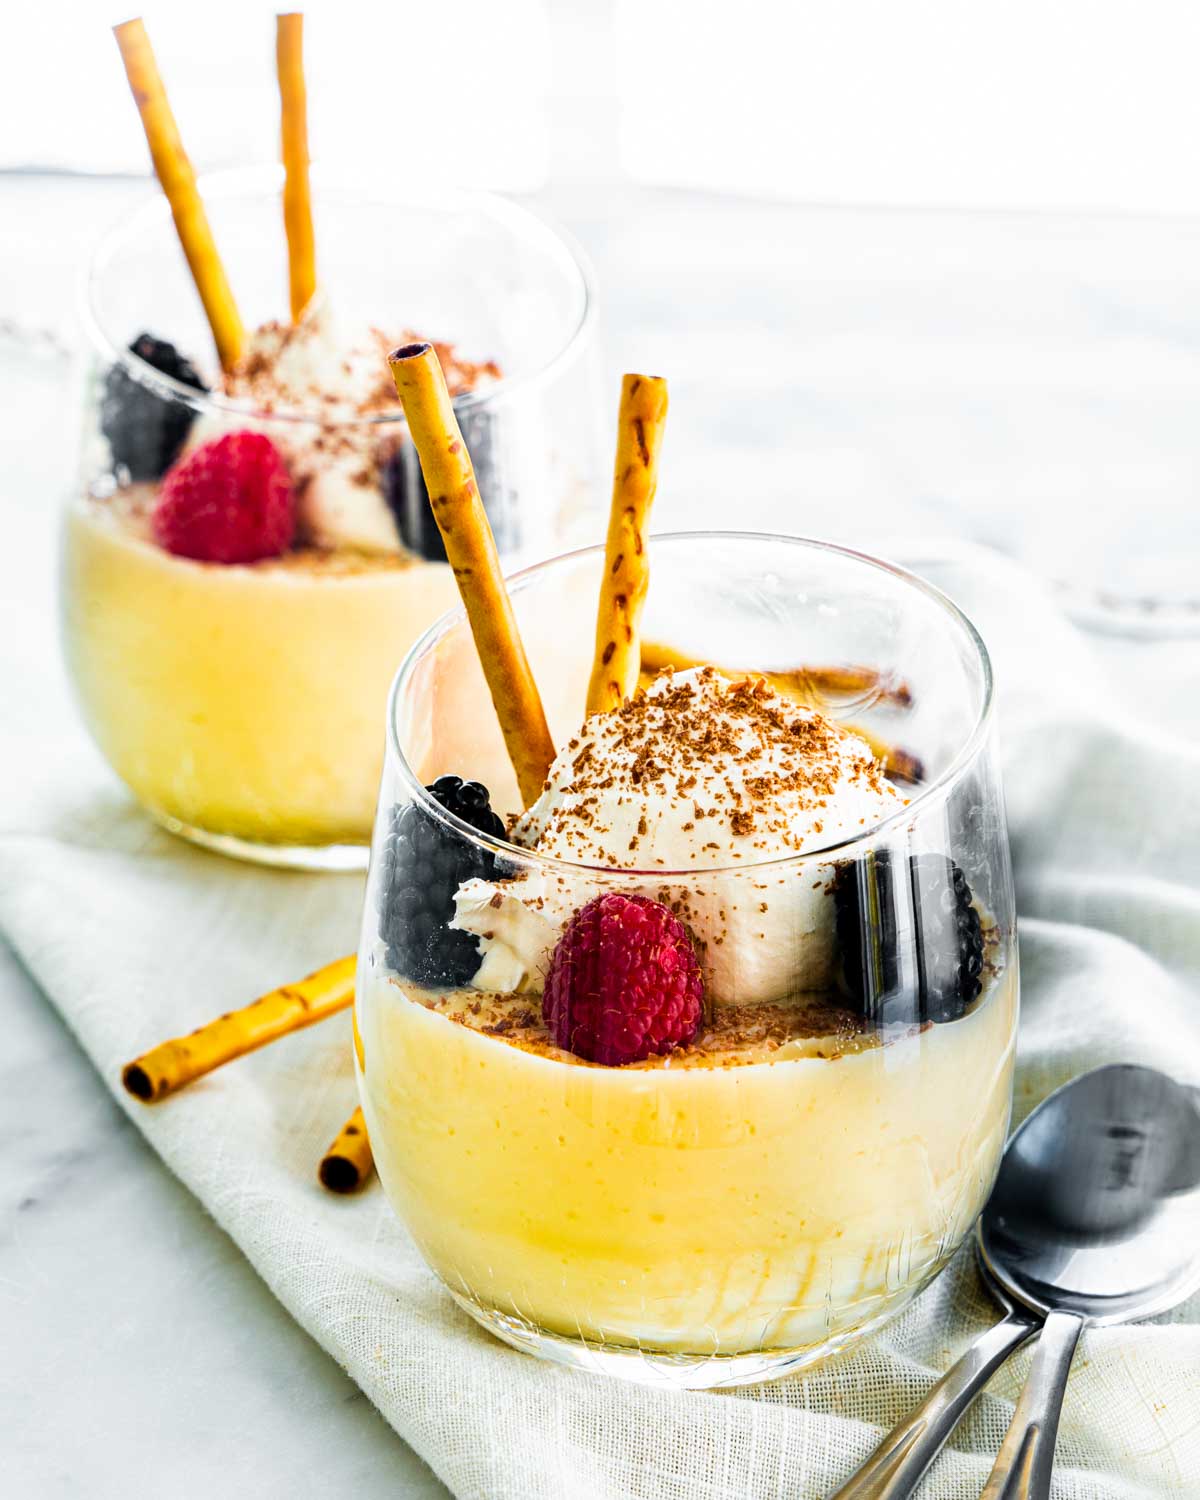
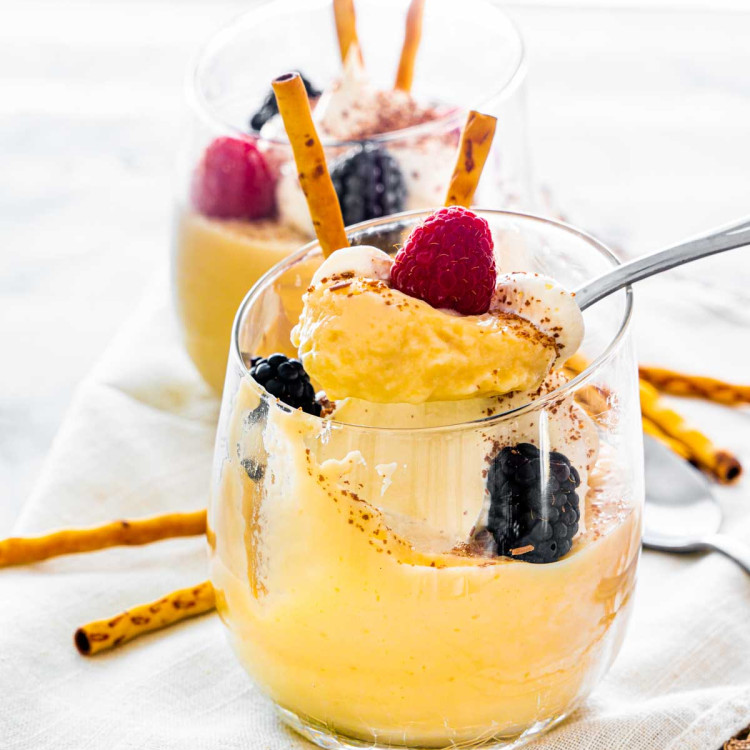
Rich and creamy Homemade Vanilla Pudding made with only a handful of ingredients and 20 minutes of your time. Skip the boxed pudding, nothing beats homemade!
The Best Vanilla Pudding
Have you ever made vanilla pudding at home? And I don’t mean the stuff that comes out of the box, I mean completely from scratch! You will love this recipe – in no time at all you can have your very own homemade pudding and it will be the best you’ve ever had, trust me.
Pudding is one of those things that I grew up with. I’ve always loved it, there are so many varieties! Vanilla pudding, chocolate pudding, rice pudding, you name it, I’ll eat it. Quick to put together, even quicker to disappear. It might sound plain, but when you serve it with some berries like I did, you’ve just made an exquisite dessert in only 20 minutes.

- Milk – You can use any milk of your preference, but I wouldn’t recommend skim milk or low fat milk, 2% or 3% would work best.
- Cornstarch – You can substitute with flour for a thickening agent – just make sure you are doubling the amount of flour in place of cornstarch.
- Sugar – Feel free to reduce the amount of sugar a bit if you choose, I’ve made it with half the sugar and it’s still sweet enough and delicious.
- Salt – To taste.
- Egg – Large egg.
- Butter – I used unsalted, you can use salted butter, but then don’t add anymore salt to the pudding.
- Vanilla – I used vanilla extract, you can also use vanilla paste if you wish.
How to Make Vanilla Pudding
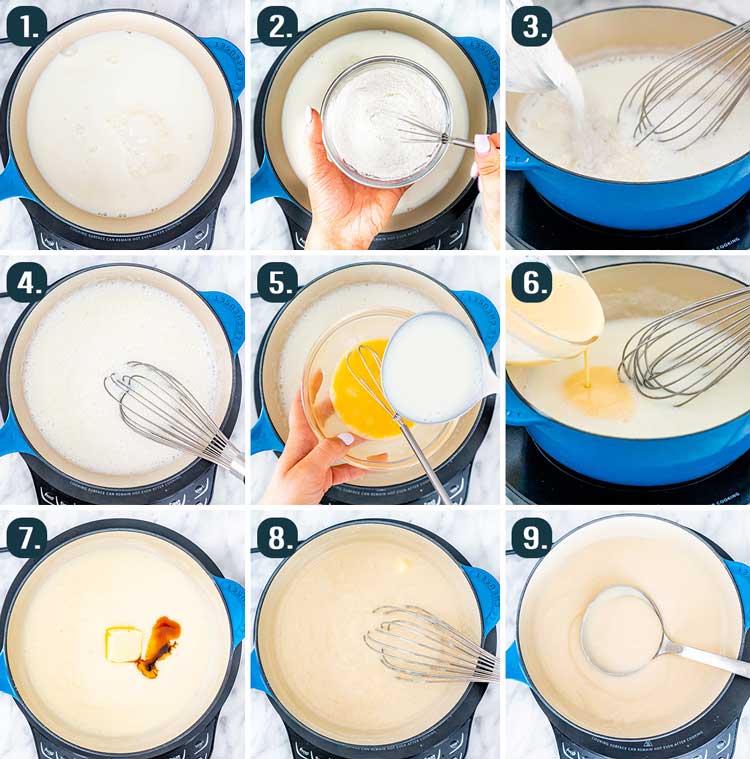
- Heat Milk – In a medium saucepan heat the milk until it starts to bubble, over medium heat. Make sure to stir occasionally so that it doesn’t burn on the bottom, and watch it so that it doesn’t boil over.
- Combine Dry Ingredients – In a bowl, combine the cornstarch, sugar and salt. Add to the hot milk, a little at a time, stirring continuously to dissolve.
- Add Wet Ingredients – In another bowl beat the egg and gradually stir a couple ladles of the hot milk mixture into the egg (this is called tempering), then pour this mixture back into the saucepan. Continue to boil and stir for another minute, then remove from heat. Stir in the butter and vanilla extract until the butter has melted and the pudding is smooth.
- Chill and Serve – Pour the pudding into dessert dishes, cover with plastic wrap and refrigerate until chilled before serving.
How to serve
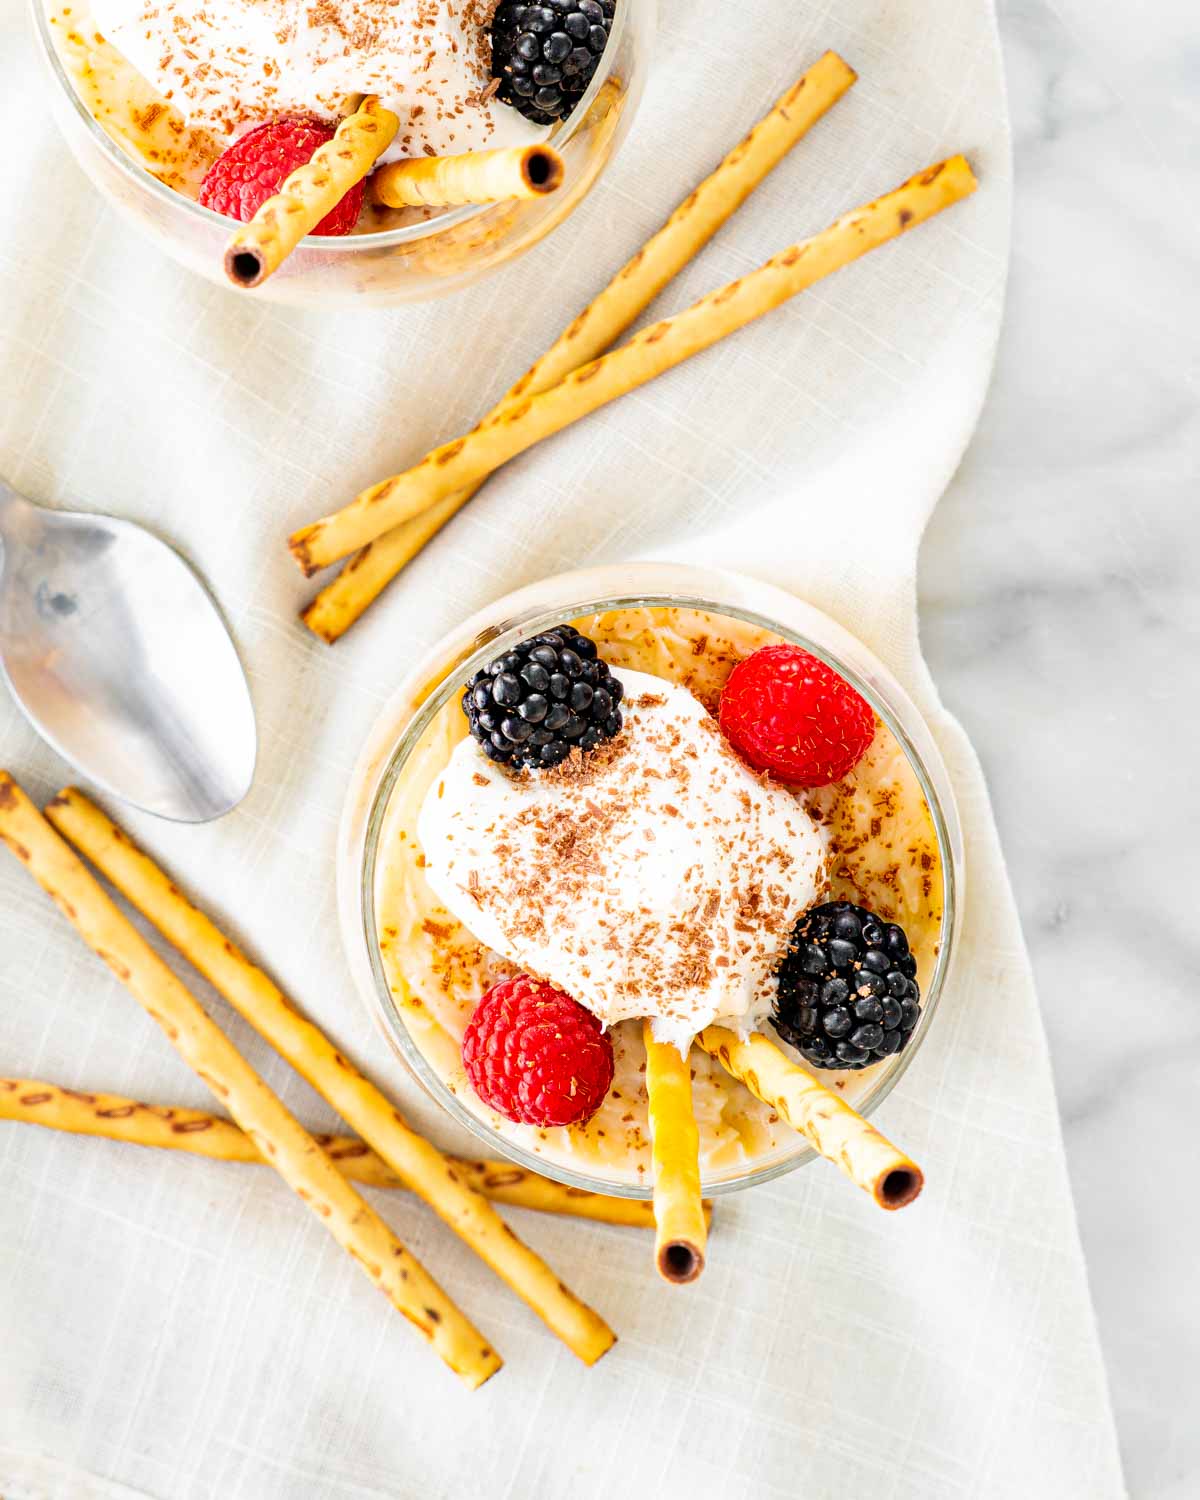
You can really add whatever you’d like to your pudding! Just make sure to let it cool completely before serving. I love mine with fresh berries – strawberries and blueberries are my go to.
You can even add your pudding to other desserts – layer or mix it into a cake, add it to a trifle like my angel berry trifle, or make a parfait – the choice is yours! However you choose to serve your pudding, guaranteed it’s going to be delicious.
Leftovers
Store leftover vanilla pudding covered in the refrigerator, it will last for up to 7 days! Perfect to reuse for parfaits or snacks during the week.
More great recipes to try
- Berry Brioche Bread Pudding
- Chia Pudding
- Coconut Rice Pudding
- Luscious Lemon Pudding
- No Bake Banana Pudding Dessert
- Sex in a Pan
- Sticky Toffee Pudding
- Instant Pot Rice Pudding
- Vanilla Custard (Pastry Cream)
- Vanilla Frosting
Before You Begin! If you make this, please leave a review and rating letting us know how you liked this recipe! This helps our business thrive & continue providing free recipes.
Homemade Vanilla Pudding
Ingredients
- 2 cups milk
- 2 tablespoon cornstarch
- ⅓ cup sugar
- ⅛ teaspoon salt
- 1 large egg
- 2 tablespoon butter
- 1 tablespoon vanilla extract
Before You Begin! If you make this, please leave a review and rating letting us know how you liked this recipe! This helps our business thrive & continue providing free recipes.
Instructions
- Heat Milk – In a medium saucepan heat the milk until it starts to bubble, over medium heat. Make sure to stir occasionally so that it doesn't burn on the bottom, and watch it so that it doesn't boil over.
- Combine Dry Ingredients – In a bowl, combine the cornstarch, sugar and salt. Add to the hot milk, a little at a time, stirring continuously to dissolve.
- Add Wet Ingredients – In another bowl beat the egg and gradually stir a couple ladles of the hot milk mixture into the egg (this is called tempering), then pour this mixture back into the saucepan. Continue to boil and stir for another minute, then remove from heat. Stir in the butter and vanilla extract until the butter has melted and the pudding is smooth.
- Chill and Serve – Pour the pudding into dessert dishes, cover with plastic wrap and refrigerate until chilled before serving.
Equipment
Notes
- Store leftover vanilla pudding covered in the refrigerator, it will last for up to 7 days! Perfect to reuse for parfaits or snacks during the week.
- Serve with fresh berries or whipped cream.
Nutrition Information
Notice: Nutrition is auto-calculated for your convenience. Where relevant, we recommend using your own nutrition calculations.
