Quick Yeast Dinner Rolls
This post may contain affiliate links. Please read my disclosure policy.
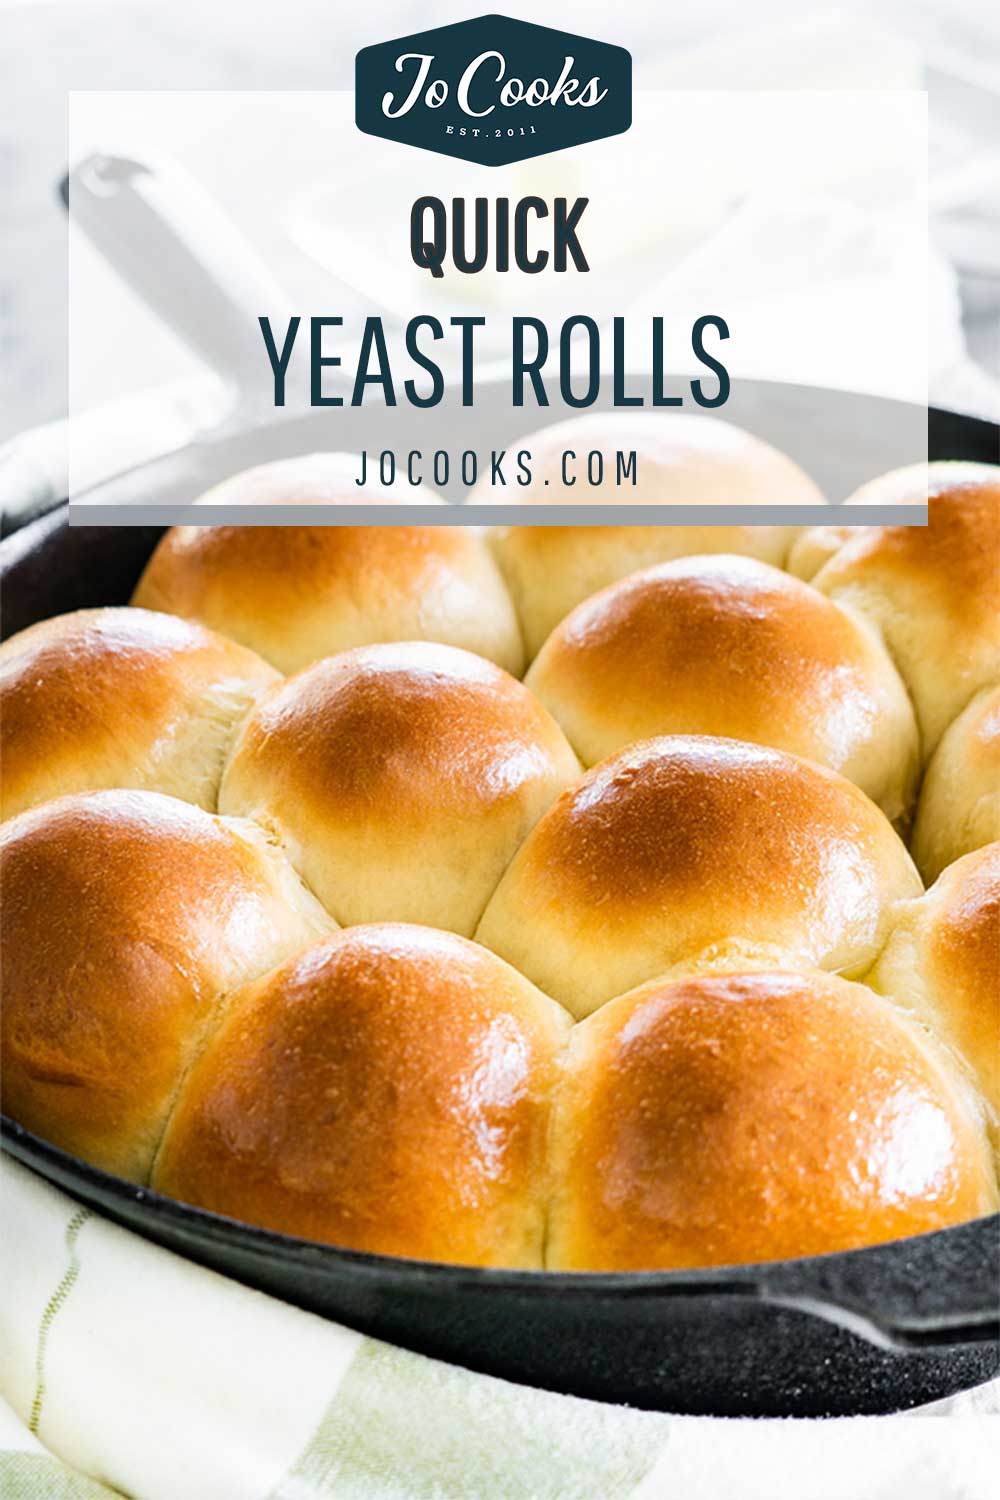
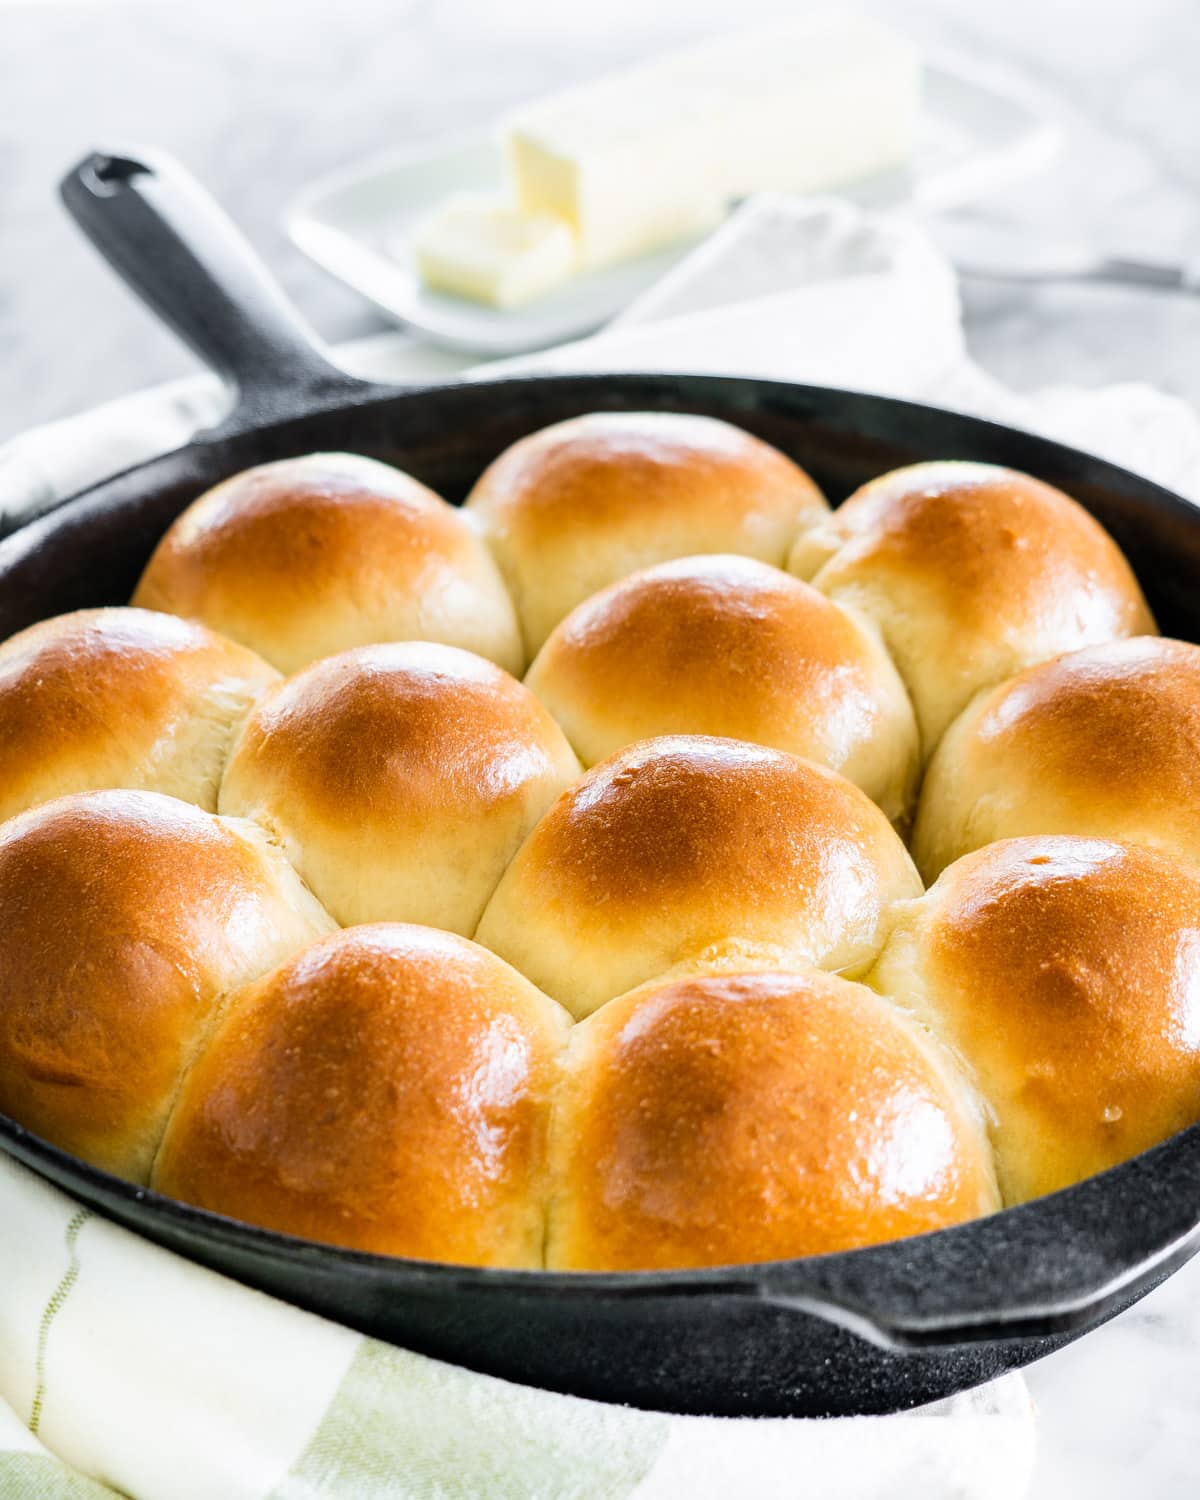
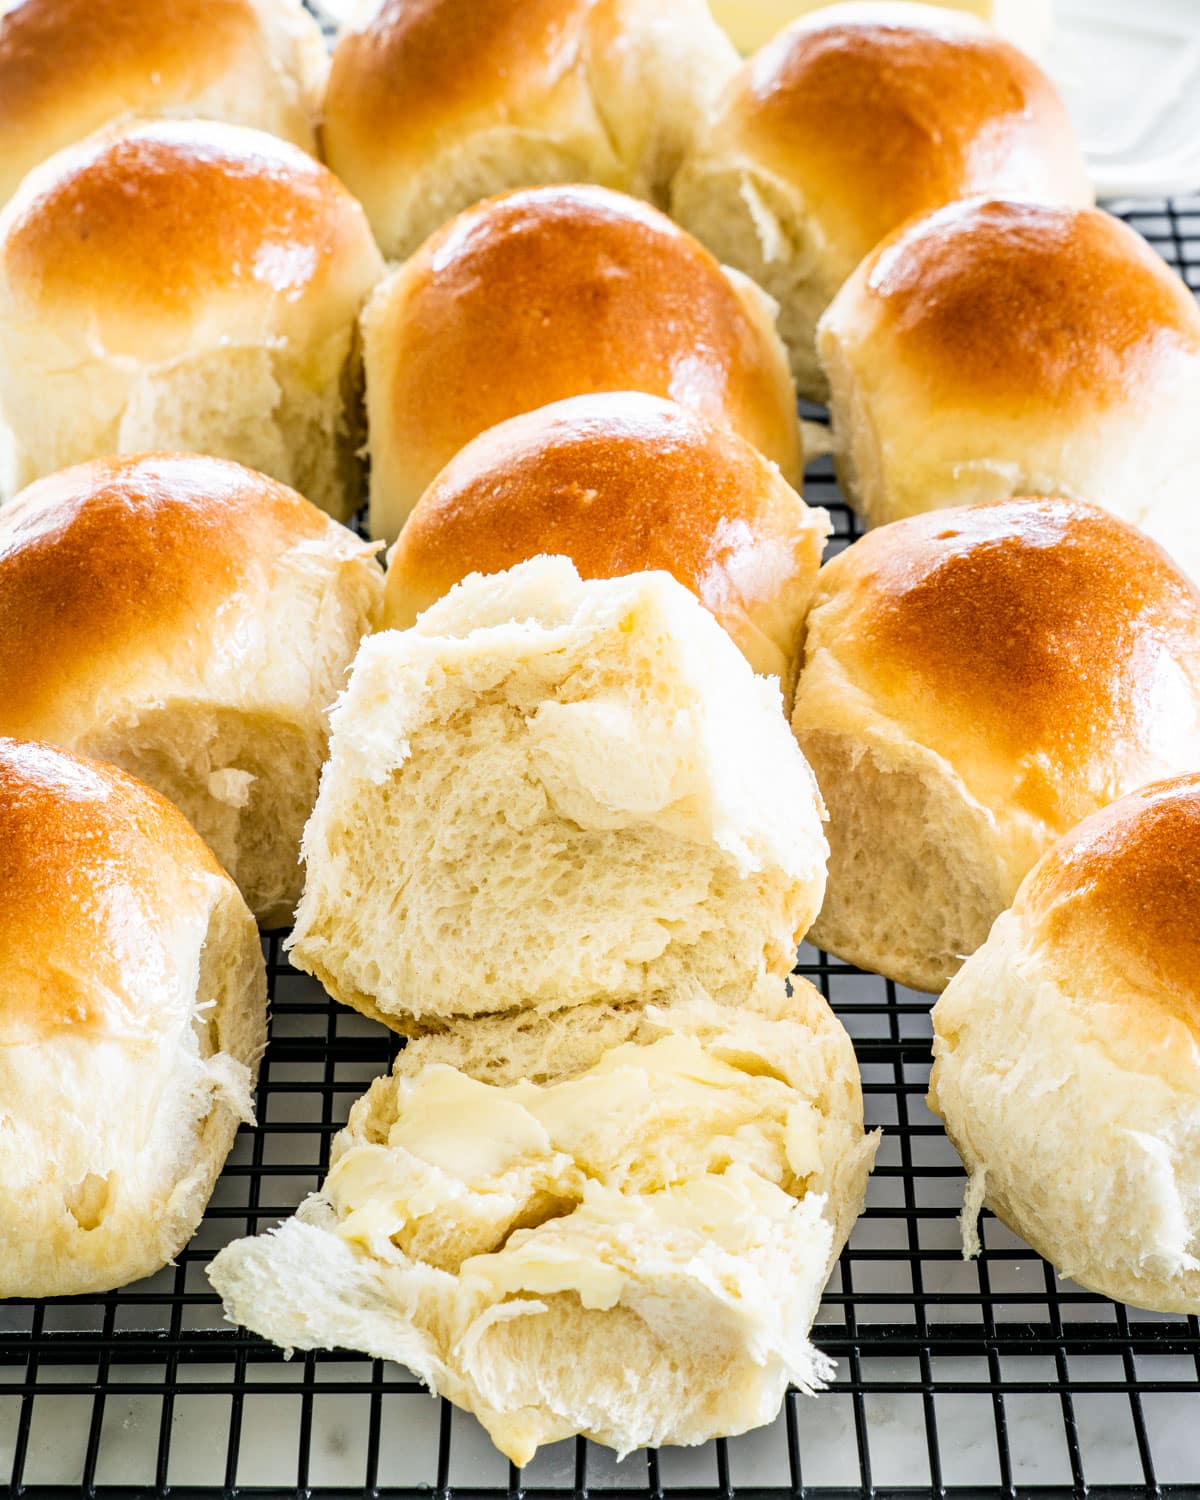
These Quick Yeast Dinner Rolls make baking from scratch a breeze! Homemade rolls will be ready to accompany your dinner in less than an hour. They’re soft, pillowy, and perfect still warm with a pat of butter. Your home will smell like a bakery and your tummies will be thanking you.
Best Quick Dinner Rolls Recipe
I’m always looking for ways to make your bread baking experience as easy as possible! I realized I had yet to offer up a fast recipe for making dinner rolls. Any dinner, casual or gourmet, will be so much better with this easy recipe.
Usually I use regular active dry yeast in my dinner rolls, but this time, I used instant yeast, which means you don’t have to activate the yeast in warm water, you just add it together with the other ingredients. The other change I made is I drastically reduced the rising time. Usually when making bread or rolls, there are two rises required. This time, I only have one short 10 minute rise. With this method your rising time is cut down substantially while still resulting in gorgeous, fluffy rolls.
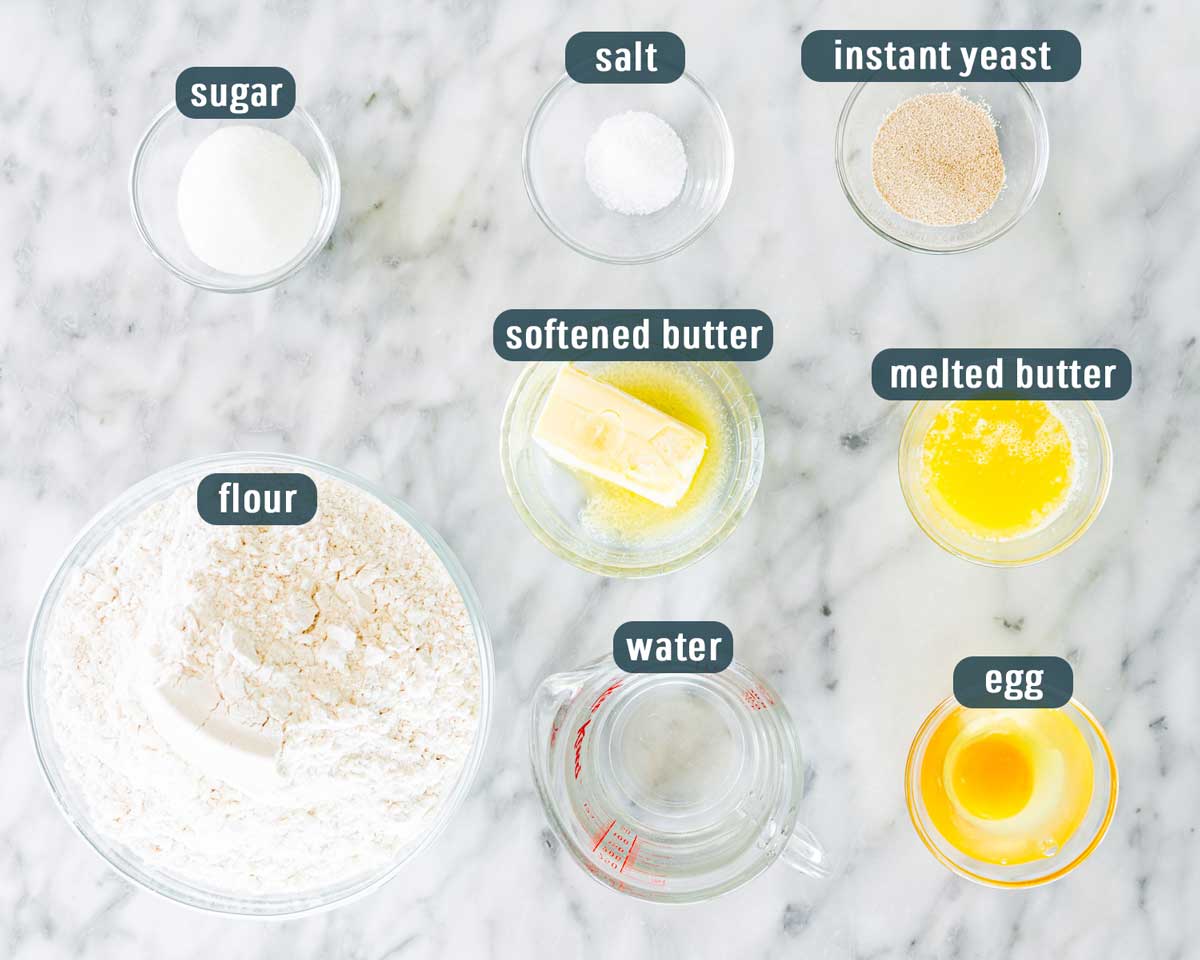
- Water – It’s super important to make sure your water is lukewarm. The best temperature of the water should be anywhere from 95 degrees to 105 degrees for this. You don’t really want anything warmer, as it will kill the yeast.
- Sugar – Sugar is important when making bread or rolls, it’s what makes it soft and tender by absorbing some of the water and slowing down the formation of gluten strands. Sugar is what feeds the yeast.
- Yeast – I used instant yeast today to speed up the process. You can use active dry yeast as well, the difference really is that active dry yeast needs to be activated first, whereas with instant yeast it’s not necessary.
- Flour – All-purpose or bread flour.
- Salt – Use more or less if you prefer.
- Butter – Unsalted. You’ll need butter both for the dough and to brush on the buns after they come out of the oven.
- Egg – Use a large egg.
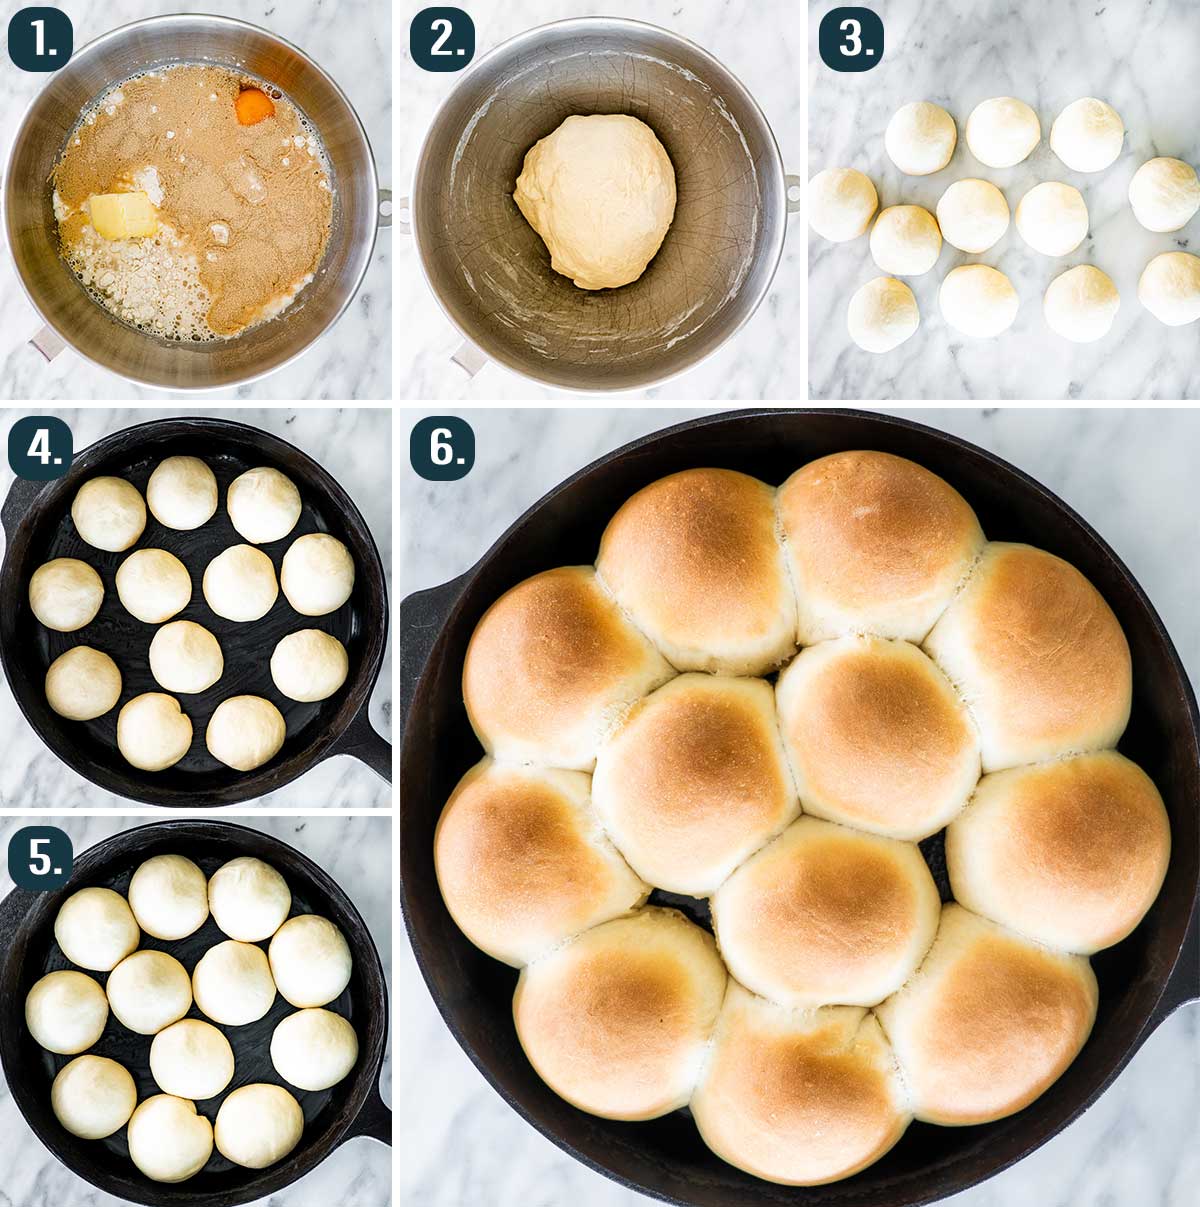
- Make the dough: To the bowl of your mixer add the flour, start with 3 cups of flour, sugar, salt, egg, water, butter and sprinkle the yeast over. Use the dough hook to mix on low speed, until the dough basically comes clean from the side of the bowl. Add the remaining flour if needed. The dough is soft, but not sticky and it’s ready when it comes clean from the side of the bowl. Should take about 4 to 5 minutes.
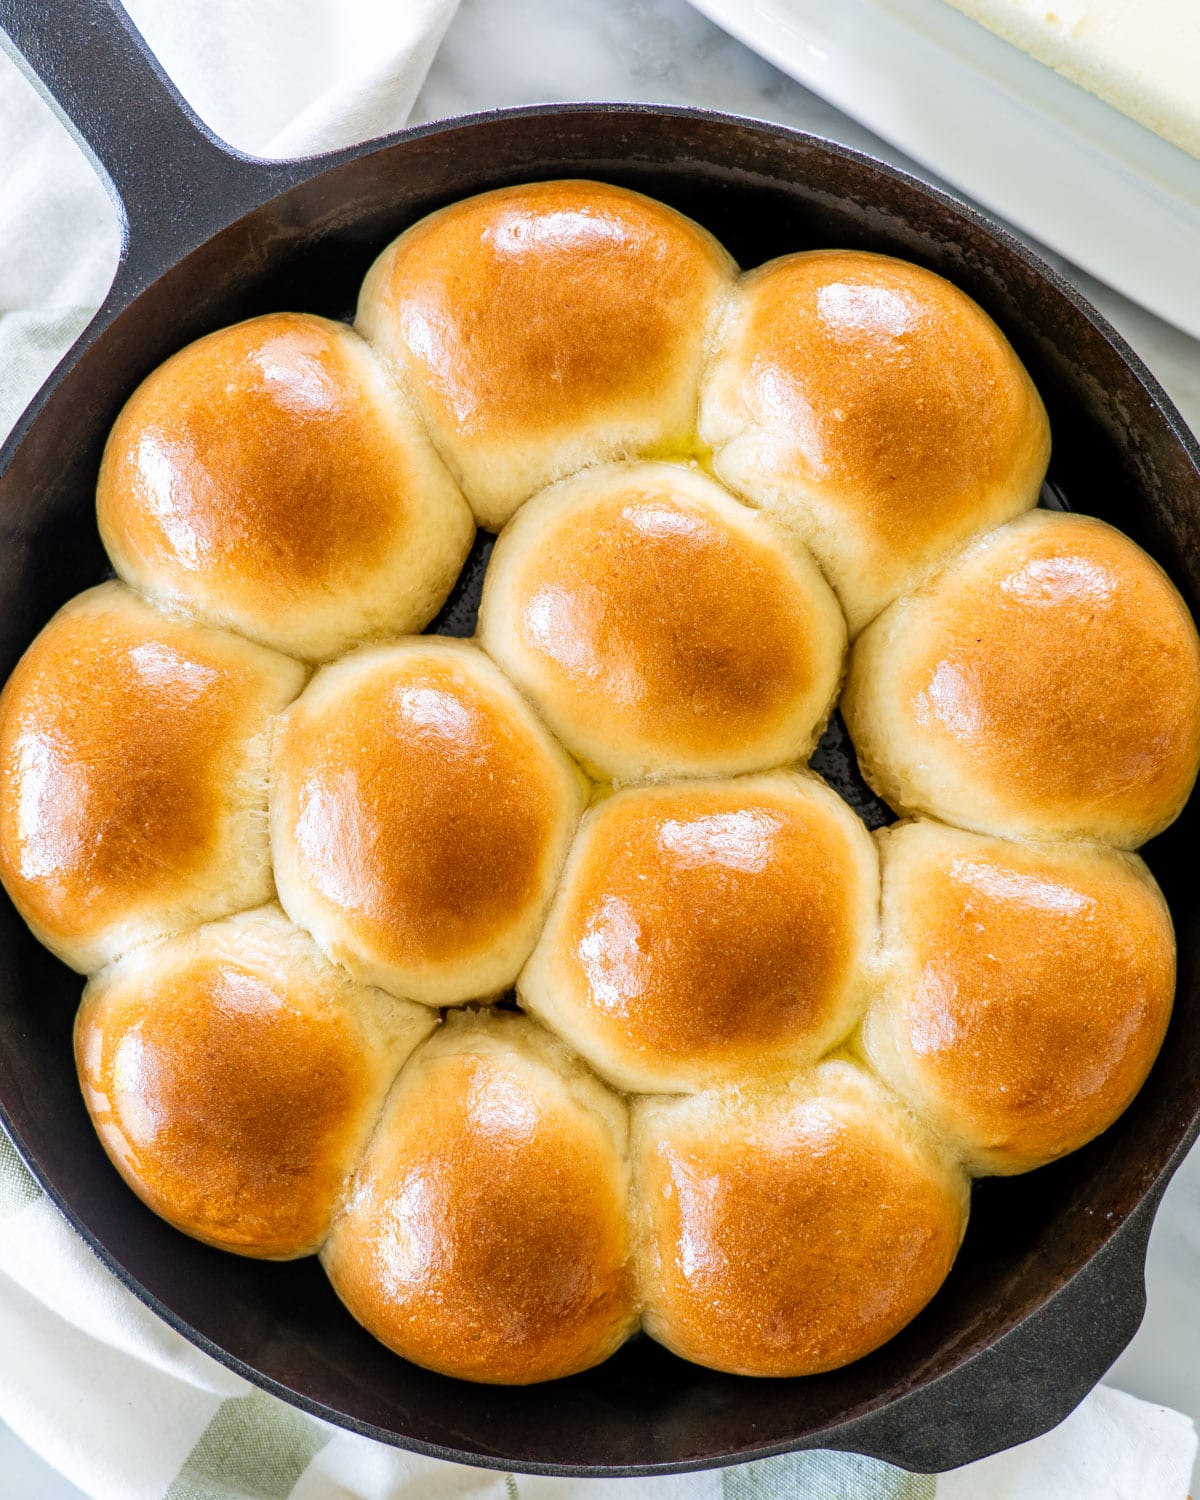
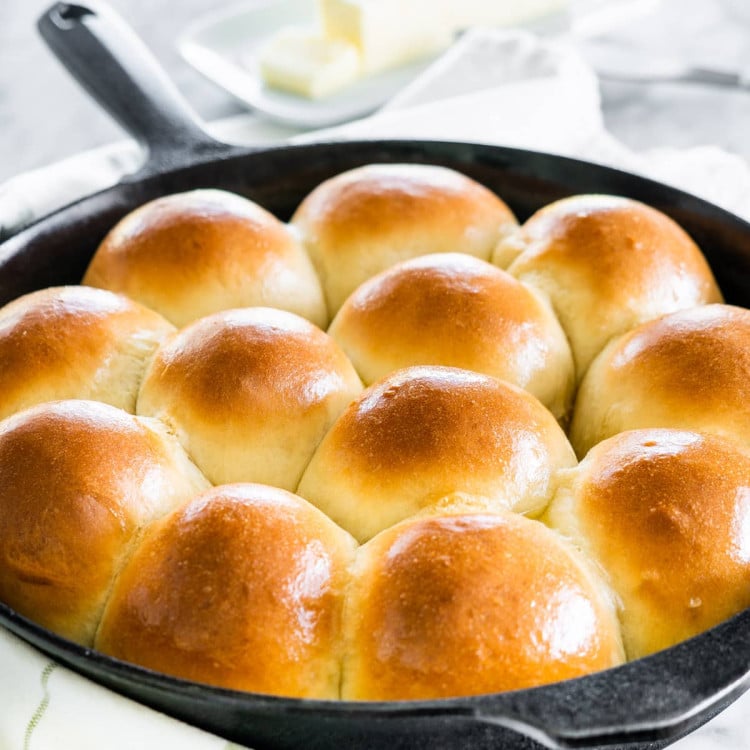
- Prep the skillet or pan: Brush a 12 inch skillet or 9×13-inch pan with butter.
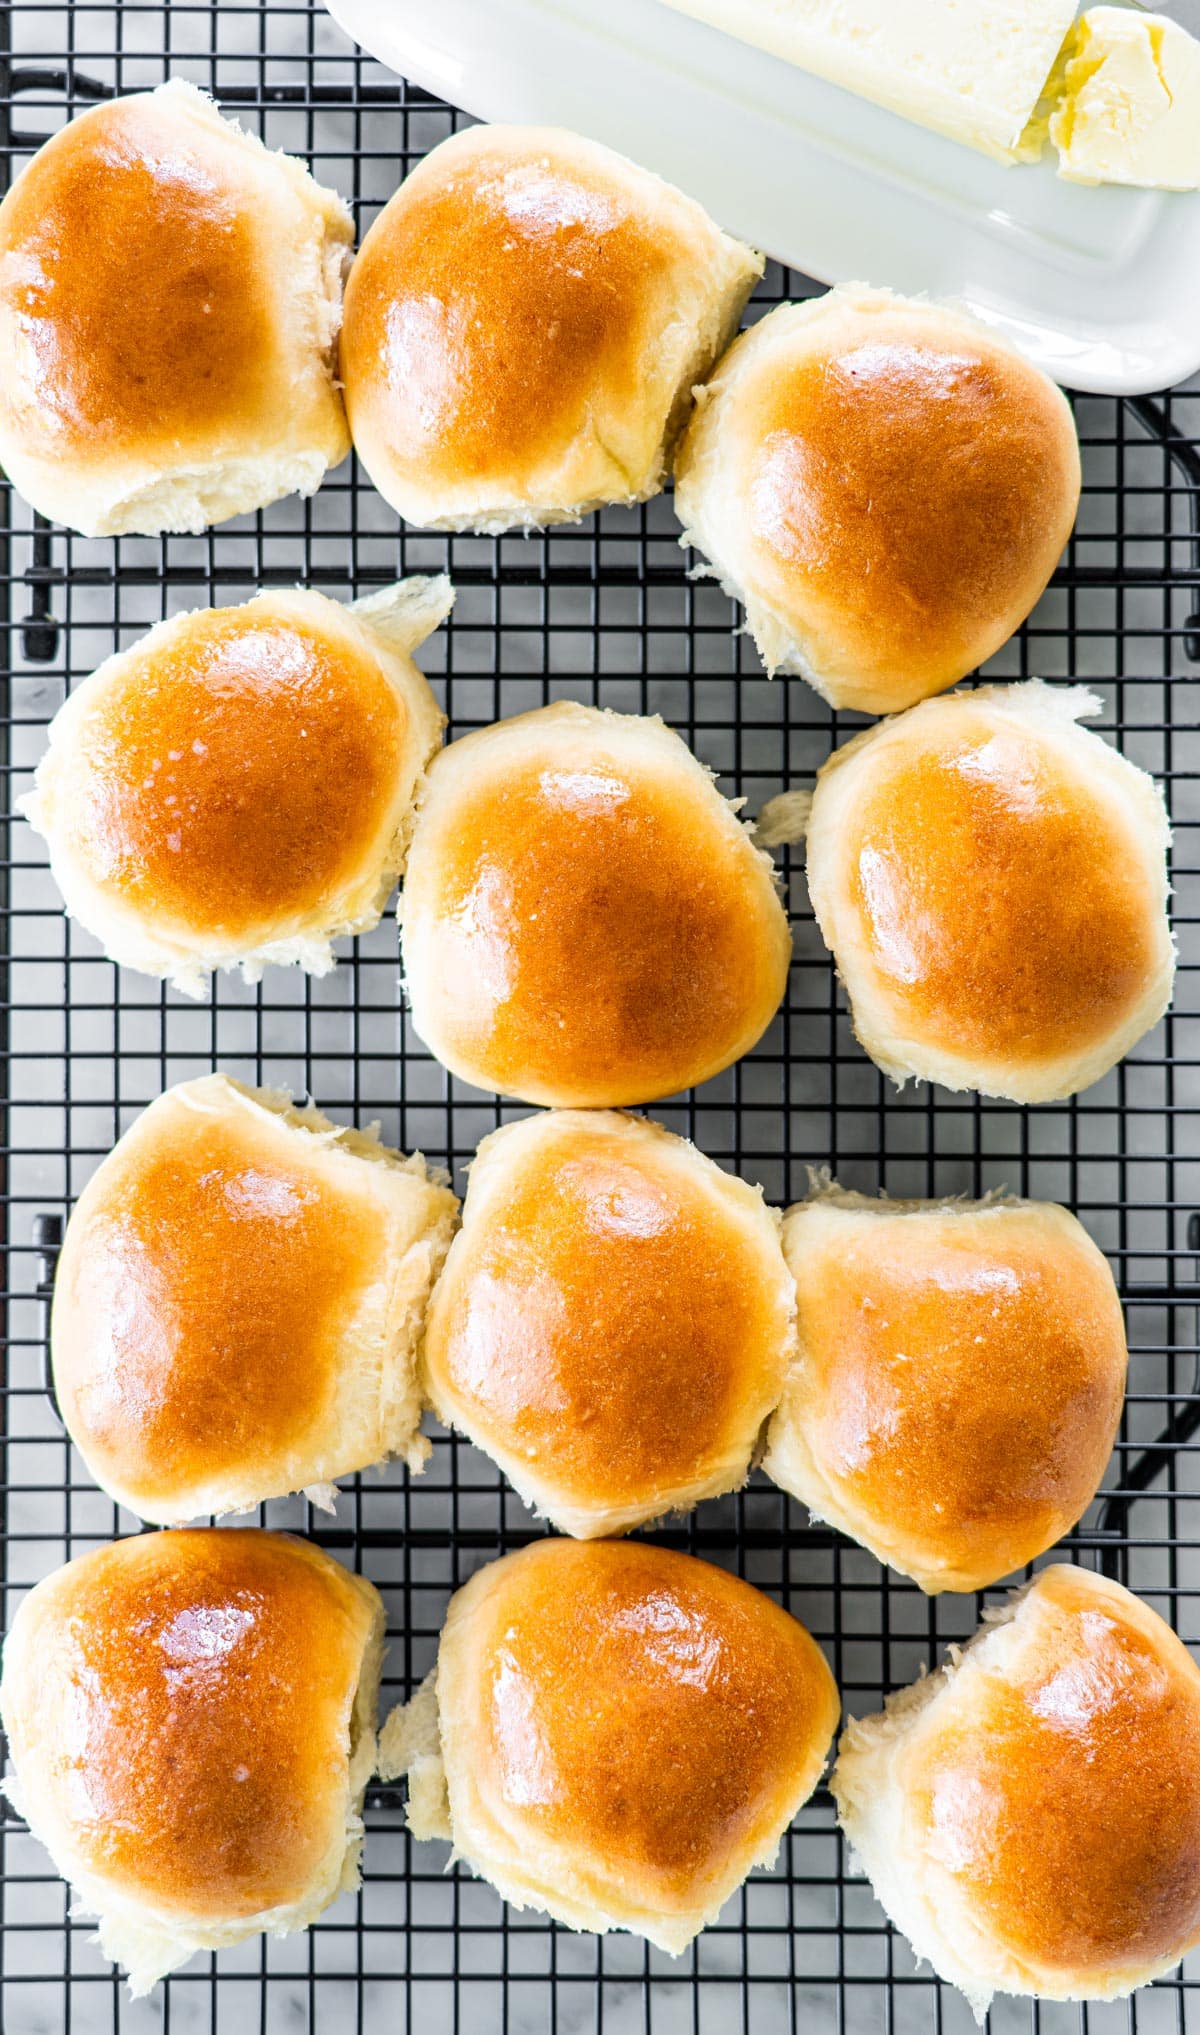
- Shape rolls: Cut the dough into 12 equal-sized pieces. To shape each piece into a roll, take a piece and flatten it with your palm or fingers. Fold it up into a ball by pinching the sides together, turn it over and roll it briefly. Place them in the prepared skillet or pan.
- Preheat the oven: Preheat the oven to 400 F degrees. In the meantime place the rolls in a warm environment, covered with a clean damp towel and let rise while the oven preheats, 8 to 10 minutes.
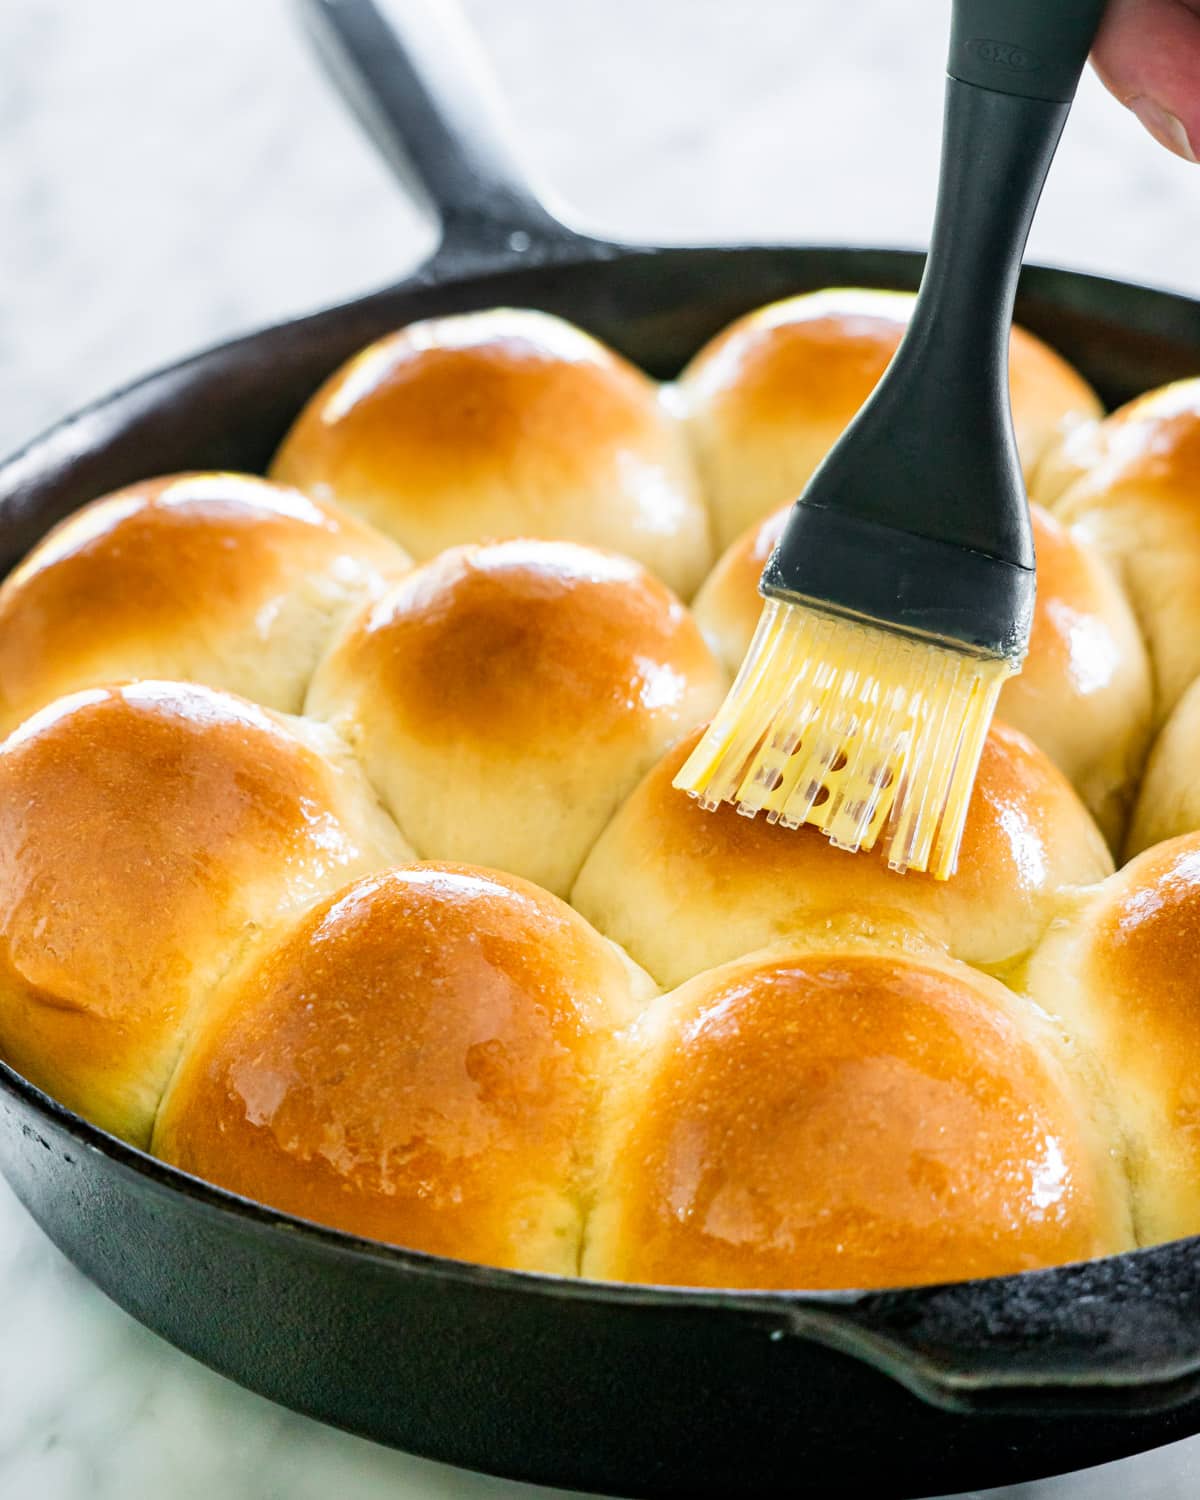
- Bake: Remove the damp towel and transfer the skillet to the oven. Bake for 15-20 minutes, or until golden brown on the top. Remove the baking dish or skillet from the oven and immediately brush the buns with melted butter.
Troubleshooting Your Dough
My dough didn’t rise
Your dough’s ability to rise comes completely from the yeast. There are a few factors that could cause your yeast to not proof properly:
- The yeast is old and you need a new jar. Even if the yeast is within the expiry date, remember it’s a living organism and once it dies it will not work.
- The water temperature wasn’t lukewarm. If it’s too cold the yeast won’t have an environment to thrive, and if the water is too hot it will kill the yeast. Make sure it’s warm to the touch, like baby formula.
My dough is sticky
This is another time your environment comes into play! If you live somewhere humid, you may need a bit more flour to get the same result than someone who lives in a dry climate. If you need to add a bit more flour than I used to get your dough just right, that is completely fine. Add a little bit more at a time until your dough is soft and elastic.
My rolls are tough and/or crumbly
If your dough rose but the dinner rolls taste tough or they just aren’t as soft as you were anticipating, this will be caused by too much flour. It’s best to start with 3 cups of flour and add a tablespoon or two a time just until the dough pulls from the side of the bowl.
If your dinner rolls turned out tough and you noticed the dough didn’t rise much, this is a yeast issue. Check out the “My dough didn’t rise” section for more detailed information.
How To Store Dinner Rolls
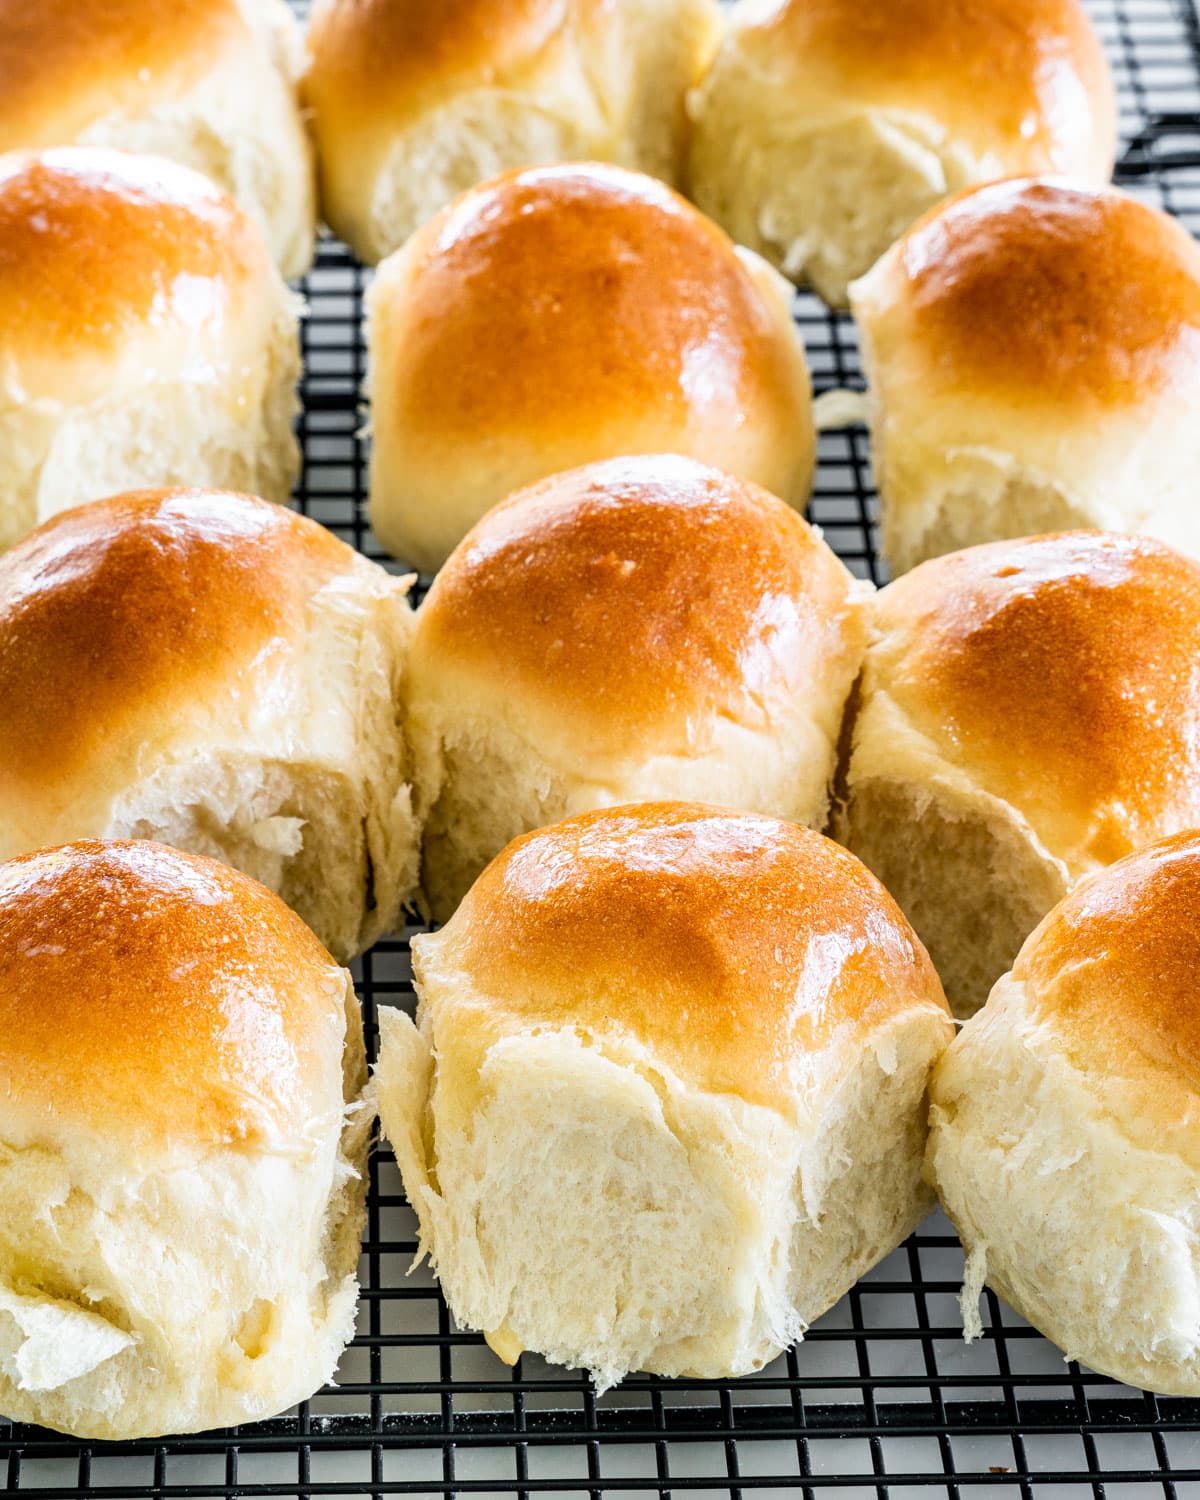
Let your dinner rolls cool down full to room temperature before storing them to avoid having them become soggy. Transfer the rolls to a large freezer bag, bread box, airtight container, or even a cake plate with a dome to keep them fresh.
These quick dinner rolls will last up to 5 days at room temperature or 9 days in the fridge. You can warm them up for a few seconds in the microwave before serving if you’d like.
How To Freeze
Unbaked
Once you’ve shaped the rolls and placed them in the baking dish, cover it well with both plastic wrap and foil. Transfer the dish to the freezer and bake within 1 month.
To bake, let the rolls thaw for 1-2 hours at room temperature covered loosely with a clean kitchen towel. Once they’re thawed and puffed up, bake as per the recipe instructions.
Baked
Make sure these quick dinner rolls have fully cooled down to room temperature before storing them in the freezer. Line the rolls on a baking sheet and cover with plastic wrap. Freeze them for 1-2 hours, then transfer the rolls to a large freezer bag or airtight container. This process will allow you to grab a few rolls as you need them without worrying about having them freeze together.
You can let the rolls thaw fully at room temperature. For a faster method, zap them in the microwave for 5-10 seconds at a time until warmed to your preference.
More Homemade Breads/Rolls To Try
- Classic Dinner Rolls
- Soft Buttermilk Dinner Rolls
- Parker House Rolls
- Garlic Knots
- Soft Buttermilk Rolls
- Honey Rolls
- No Knead Bread
- No Knead Skillet Bread
- Artisan Bread
- White Bread Recipe
Before You Begin! If you make this, please leave a review and rating letting us know how you liked this recipe! This helps our business thrive & continue providing free recipes.
Quick Yeast Dinner Rolls
Video
Ingredients
- 1 cup water (lukewarm (~110F))
- 2 tablespoon sugar (granulated)
- 1 tablespoon instant yeast
- 3-4 cups all-purpose flour (all-purpose)
- 1 teaspoon salt (or to taste)
- ¼ cup butter (unsalted, softened)
- 1 egg
- 2 tablespoon butter (unsalted, melted)
Before You Begin! If you make this, please leave a review and rating letting us know how you liked this recipe! This helps our business thrive & continue providing free recipes.
Instructions
- Make the dough: To the bowl of your mixer add the flour, start with 3 cups of flour, sugar, salt, egg, water, butter and sprinkle the yeast over. Use the dough hook to mix on low speed, until the dough basically comes clean from the side of the bowl. Add the remaining flour if needed. The dough is soft, but not sticky and it’s ready when it comes clean from the side of the bowl. Should take about 4 to 5 minutes.
- Prep the skillet or pan: Brush a 12 inch skillet or 9×13-inch pan with butter.
- Shape rolls: Cut the dough into 12 equal-sized pieces. To shape each piece into a roll, take a piece and flatten it with your palm or fingers. Fold it up into a ball by pinching the sides together, turn it over and roll it briefly. Place them in the prepared skillet or pan.
- Preheat the oven: Preheat the oven to 400 F degrees. In the meantime place the rolls in a warm environment, covered with a clean damp towel and let rise while the oven preheats, 8 to 10 minutes.
- Bake: Remove the damp towel and transfer the skillet to the oven. Bake for 15-20 minutes, or until golden brown on the top. Remove the baking dish or skillet from the oven and immediately brush the buns with melted butter.
Notes
- I only used about 3 1/4 cups of flour because I live in a very dry climate, so usually when I make dough it requires more moisture. Start with 3 cups of flour and as necessary.
- If you want 12 perfectly equal in size rolls, I sometimes weigh them. I weigh the whole dough then divide it by 12, then weigh each roll to make sure they’re equal in size. This way you end up with 12 perfect beautiful rolls.
- These dinner will last up to 5 days at room temperature or 9 days in the fridge. You can warm them up for a few seconds in the microwave before serving if you’d like.
Nutrition Information
Notice: Nutrition is auto-calculated for your convenience. Where relevant, we recommend using your own nutrition calculations.
