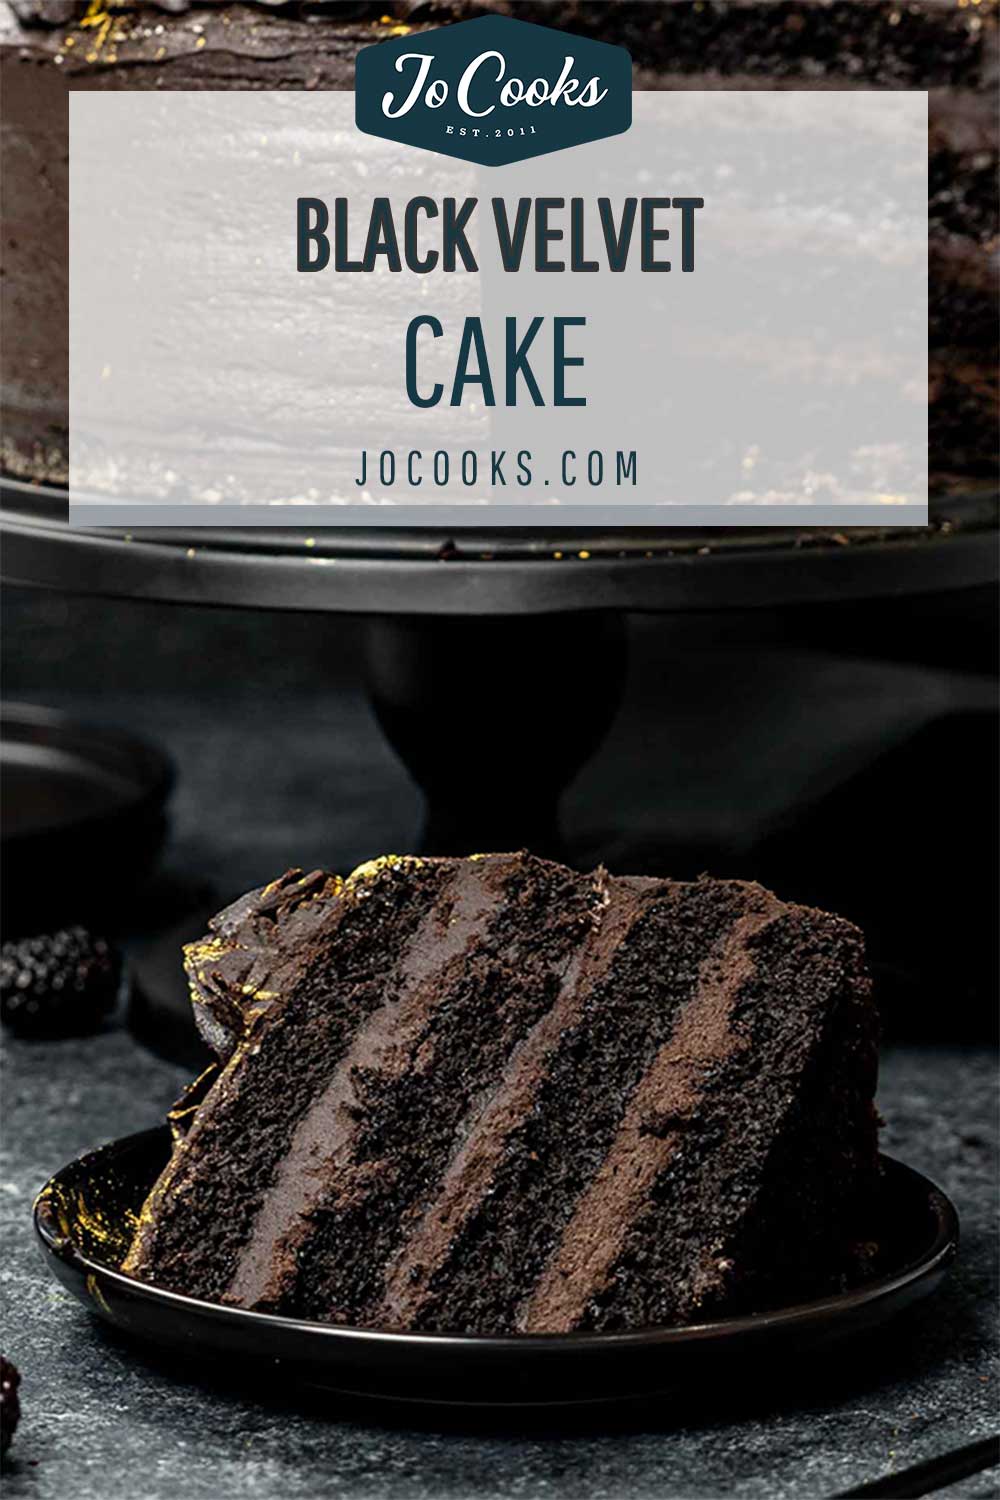
Black Velvet Cake
This post may contain affiliate links. Please read my disclosure policy.
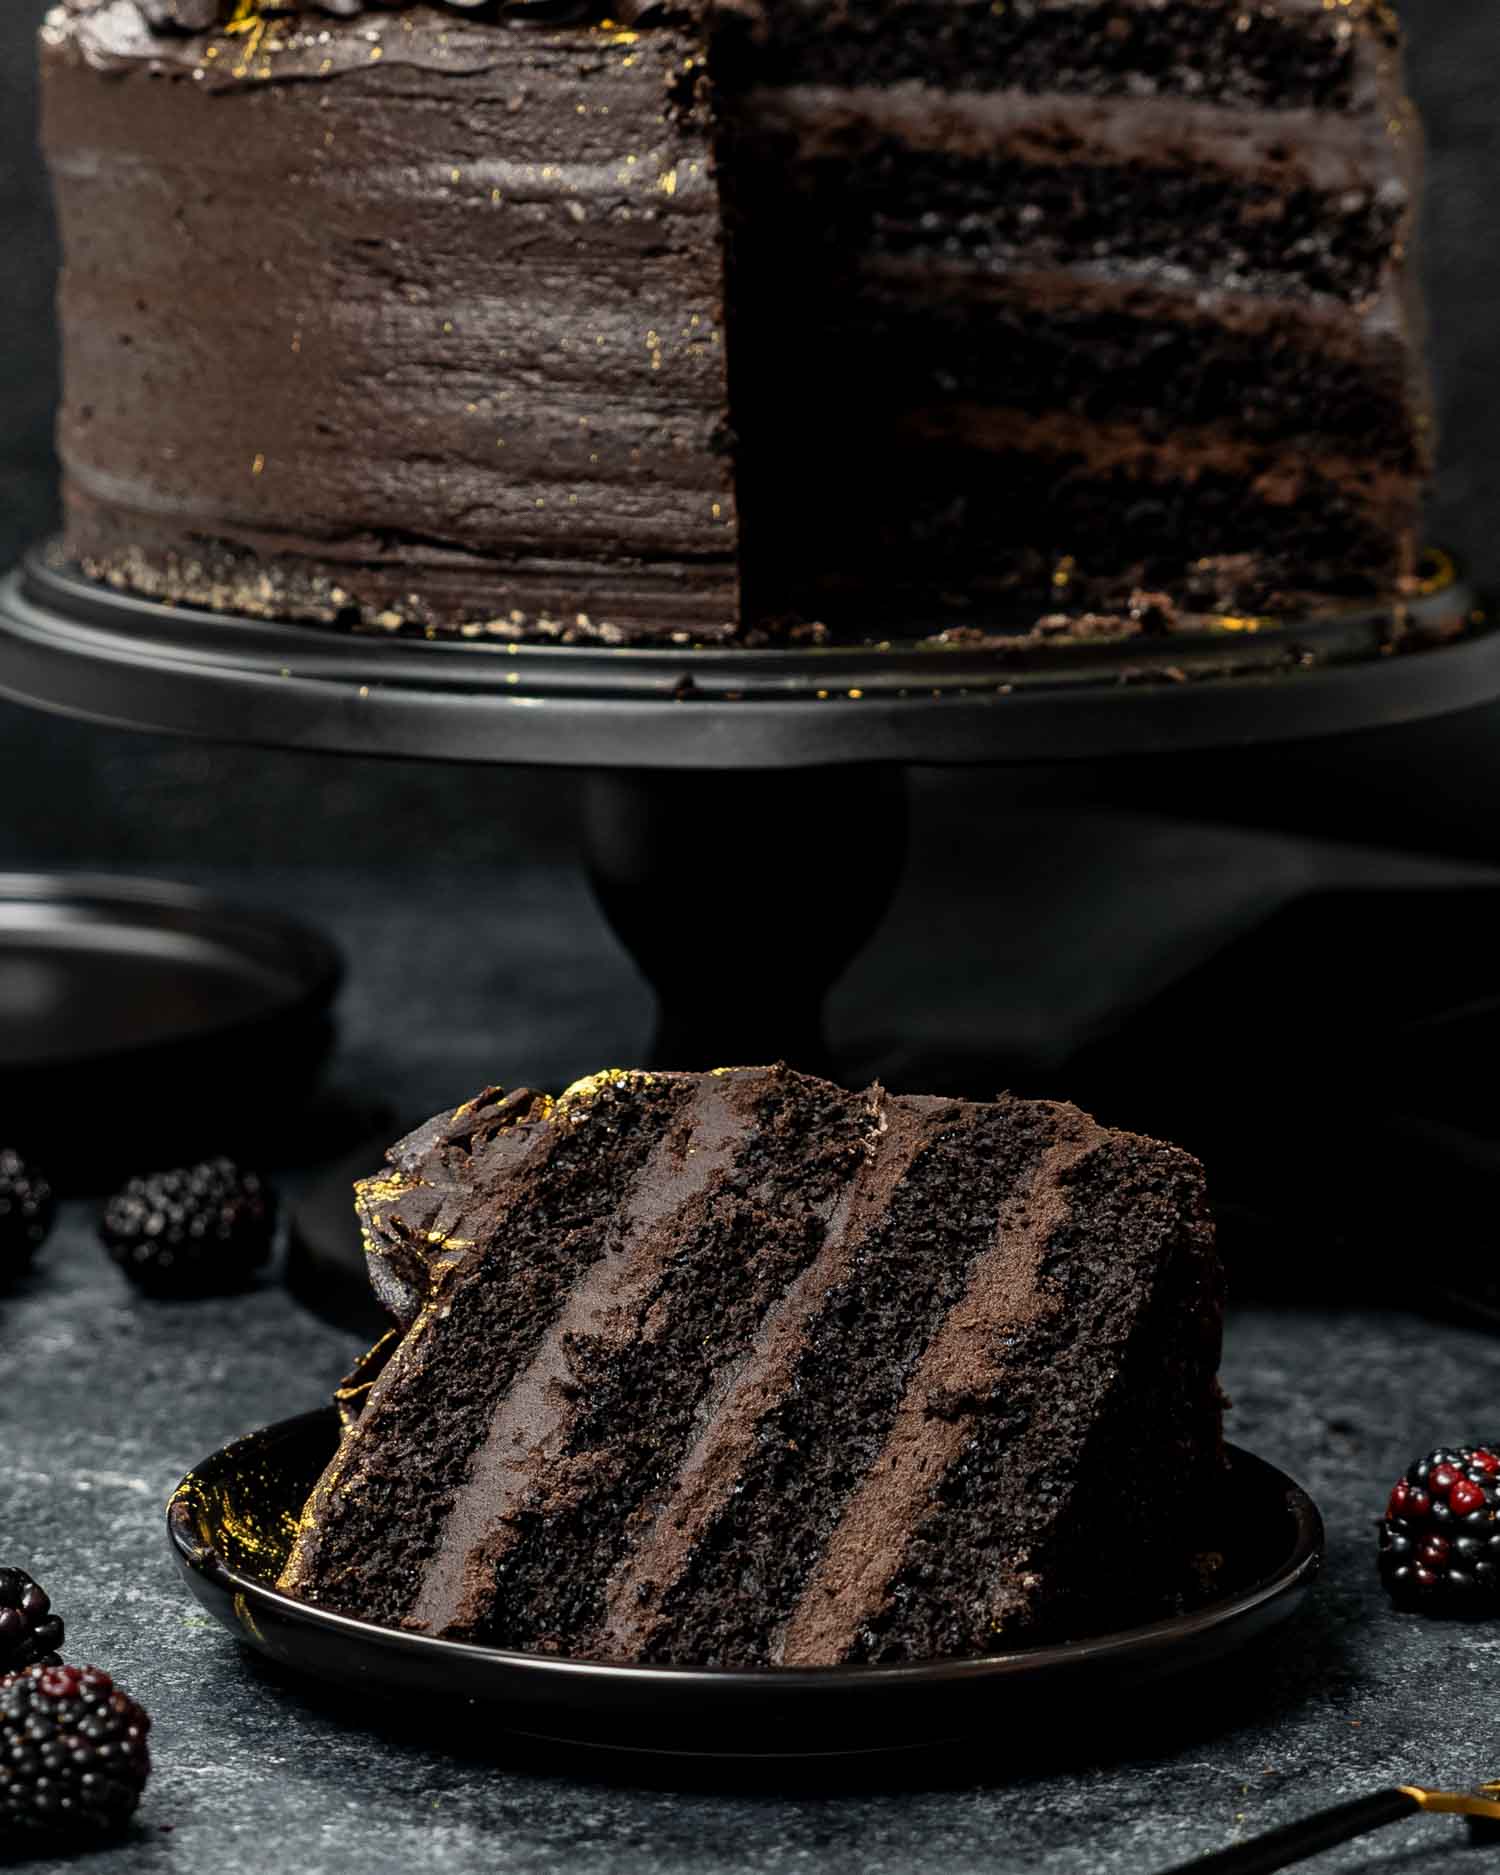
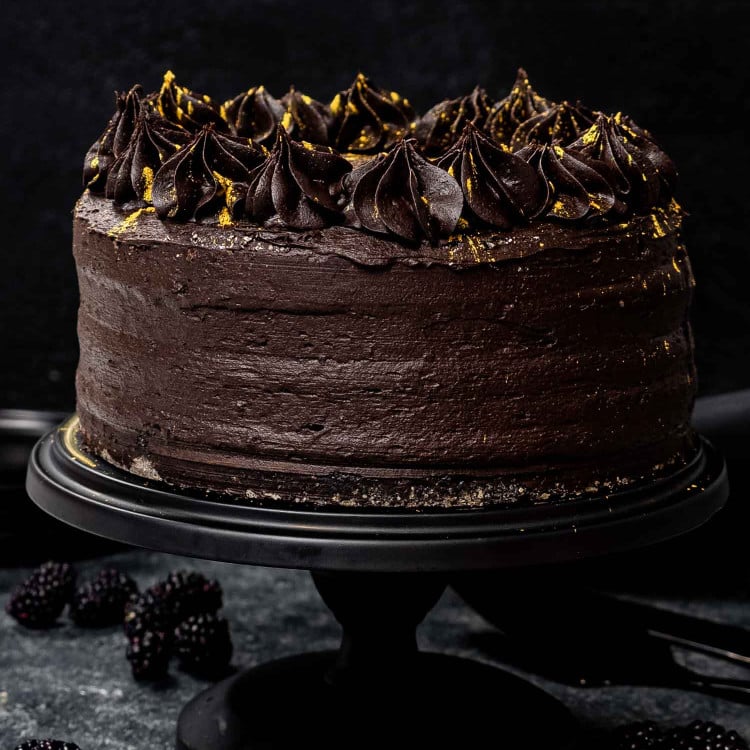
Treat your family to an ultra-chocolaty indulgent experience with this Black Velvet Cake! It’s a dark, decadent masterpiece created with layers of moist cake infused with coffee and rich black cocoa powder, finished with a heavenly chocolate cream cheese frosting that is to die for!
What Is Black Velvet Cake
Classic chocolate cake is undeniably scrumptious, but today, we’re diving into the depths of dark decadence with this coffee-infused dark chocolate black velvet cake recipe. This beauty features black cocoa powder, an ultra-dark Dutch-processed cocoa powder that infuses the moist layers of the cake with a rich, bittersweet flavor. And if that weren’t enough, it’s got a velvety dark chocolate cream cheese frosting that is nothing short of divine.
But rest assured, while this delicious black velvet cake may look and taste impressive, it’s a cake that anyone can make! Whether you’re a seasoned baker or a first-time cake maker, this recipe breaks down the process into simple, step-by-step instructions, making you feel like a pastry pro in no time. So, pull out your cake pans and get ready to surprise your friends and family with this elegant dark chocolate delight!
Why You’ll Love This Black Velvet Cake
- Foolproof Recipe! With simple clear instructions, my recipe makes this tasty dark chocolate cake easy to make. And you don’t need any expensive ingredients, special baking skills, or fancy equipment.
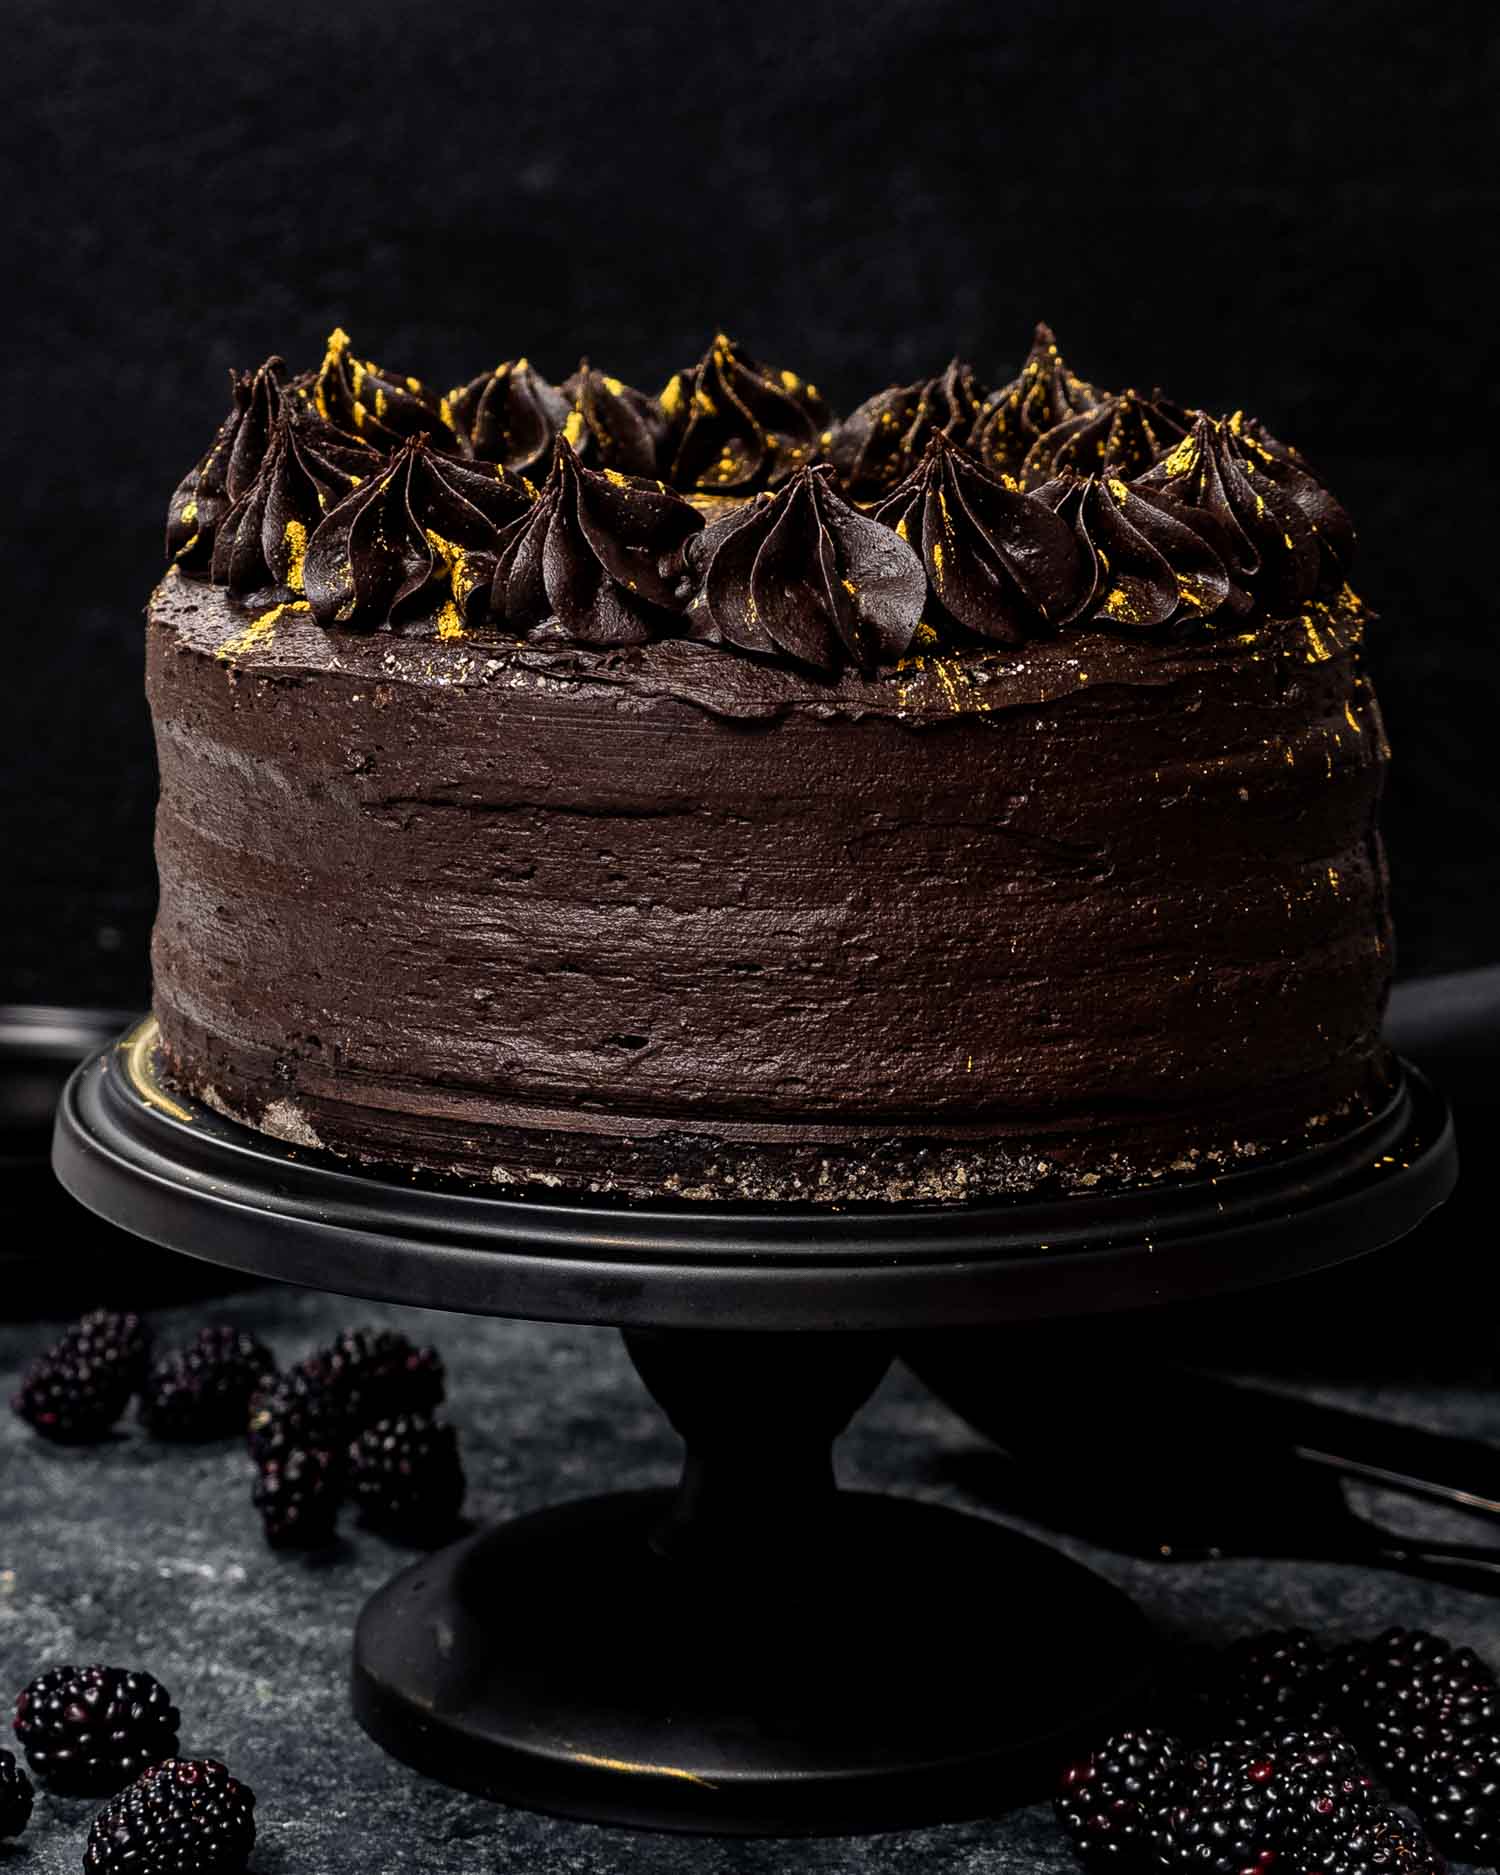
- Decadent Dark Chocolate! This cake has layers of delicious rich, dark chocolate flavors. With the infusion of coffee and black cocoa powder, every bite is a chocolate lover’s dream.
- Crowd-Pleaser! Whether you’re serving it at a family gathering or an upscale special occasion, this indulgent dessert is a showstopper that never fails to impress, leaving everyone craving for more.
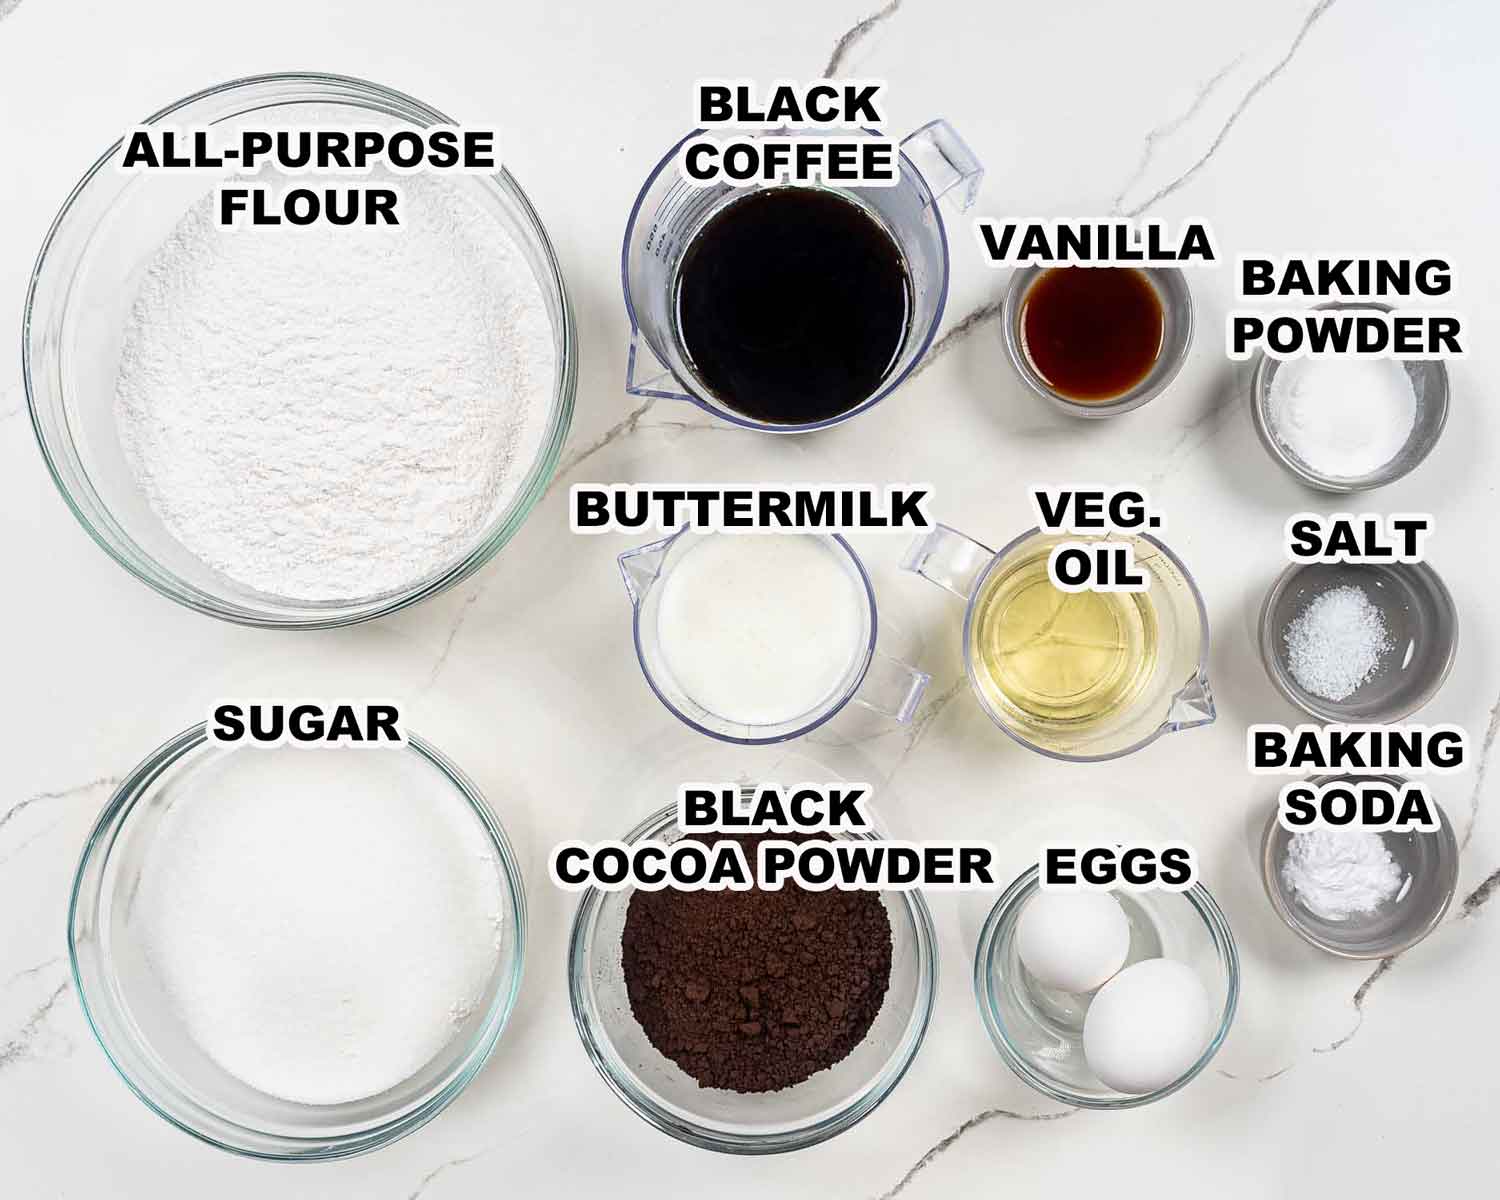
- All-Purpose Flour: Forms the foundation of the cake batter. You can also use cake flour if you prefer.
- Granulated Sugar: Adds sweetness and helps to create the tender crumb.
- Black Unsweetened Cocoa Powder: A type of dark Dutch-processed cocoa powder with an intense chocolate flavor. It’s what gives Oreos their color and flavor. You can use regular cocoa powder as a substitute.
- Leavening Agents: Baking powder and baking soda are responsible for the cake’s rise, creating a light and airy crumb.
- Salt: Heightens the taste of the cake by accentuating the chocolate’s depth and balancing the sweetness.
- Buttermilk: Gives the cake moisture and a subtle tanginess that enhances the overall flavor profile.
- Vegetable Oil: Adds the needed fat and moisture that keeps the cake tender and moist.
- Eggs: Binds the batter together and provides structure.
- Vanilla Extract: A dash of vanilla adds a touch of aromatic flavor to highlight the chocolate even more.
- Hot Black Coffee: A secret ingredient that amplifies the chocolate flavor and creates a hint of mocha taste.
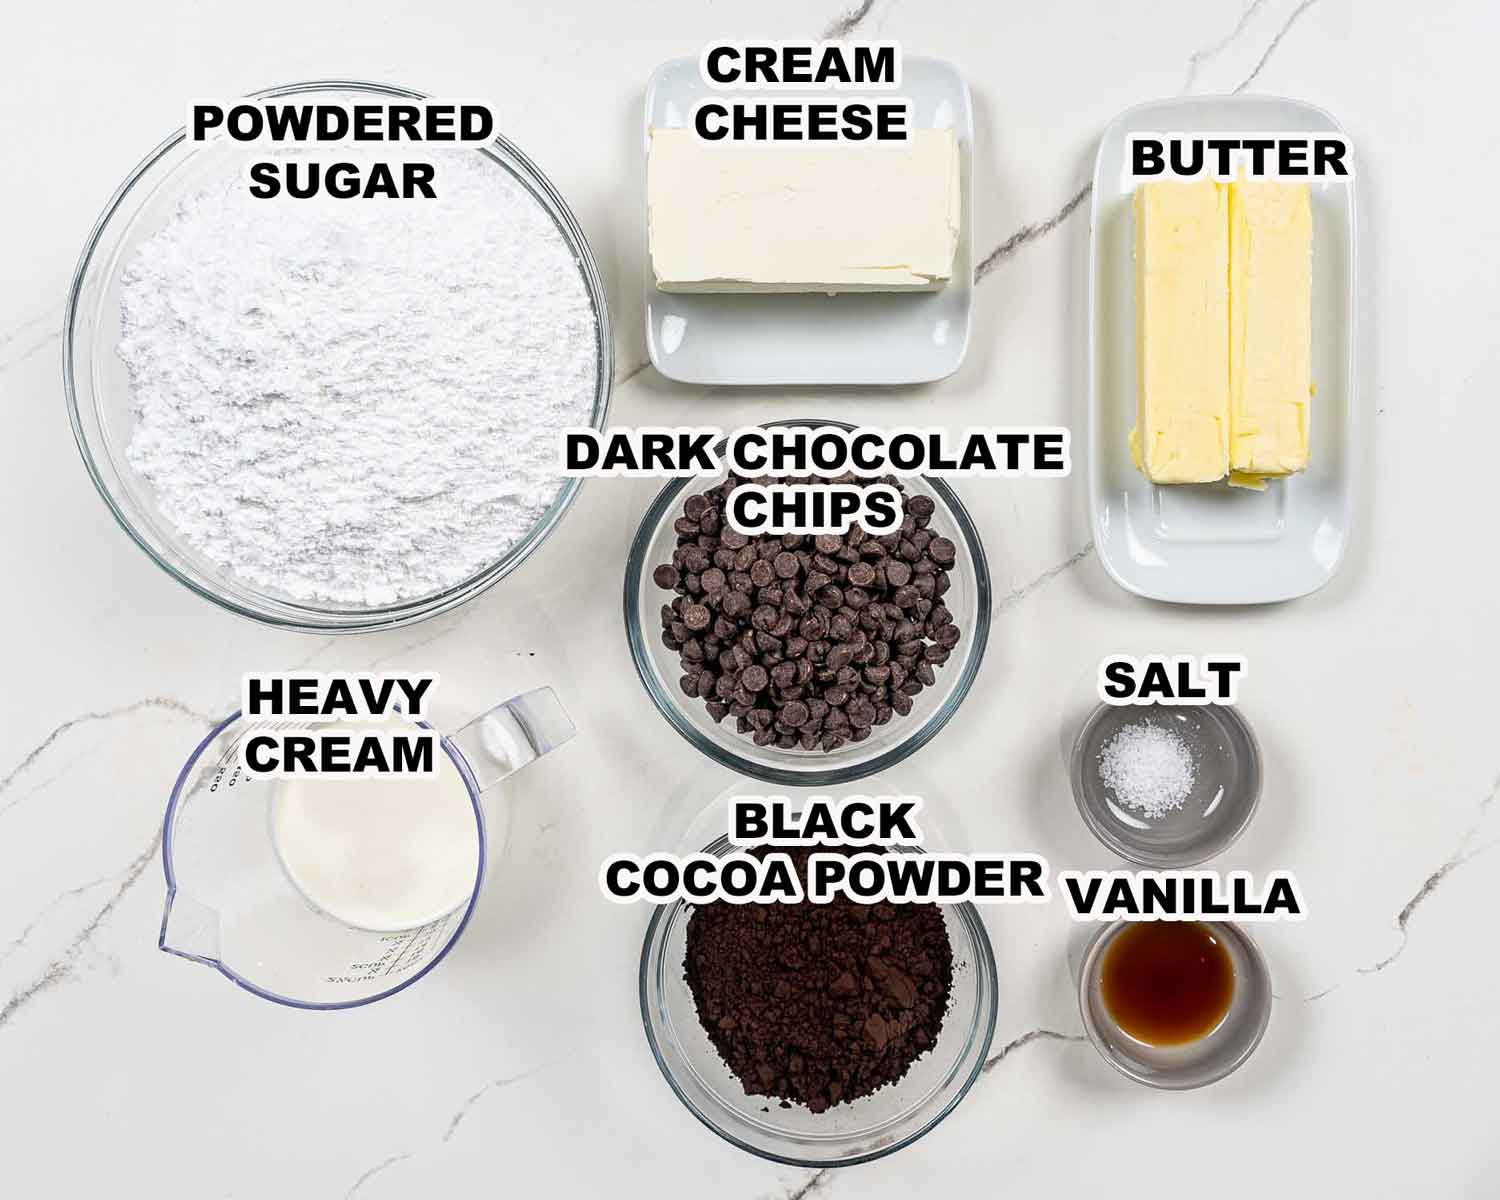
- Unsalted Butter: Serves as part of the rich and creamy base of the frosting. It’s important to use unsalted butter to control the saltiness.
- Cream Cheese: Partnering with the butter, the cream cheese forms the base and contributes a velvety texture with a hint of tang.
- Black Unsweetened Cocoa Powder: Similar to its role in the cake, black cocoa powder adds depth and color to the cream cheese buttercream.
- Powdered Sugar: Also called icing sugar or confectioners sugar, it sweetens and thickens the frosting.
- Heavy Cream: Provides rich creaminess and ensures a smooth texture.
- Dark Chocolate Chips: Incorporated into the frosting to intensify the deep chocolate flavor.
You don’t have to complicate the art of cake baking. This cake recipe aims to make the process of creating a decadent dessert as effortless and enjoyable as possible.
Before you begin making the batter, start by preheating your oven to 350°F (175°C) so that it’s ready to go! Then generously grease and flour two 9-inch round cake pans. This ensures that your cake won’t stick and will release easily after baking.
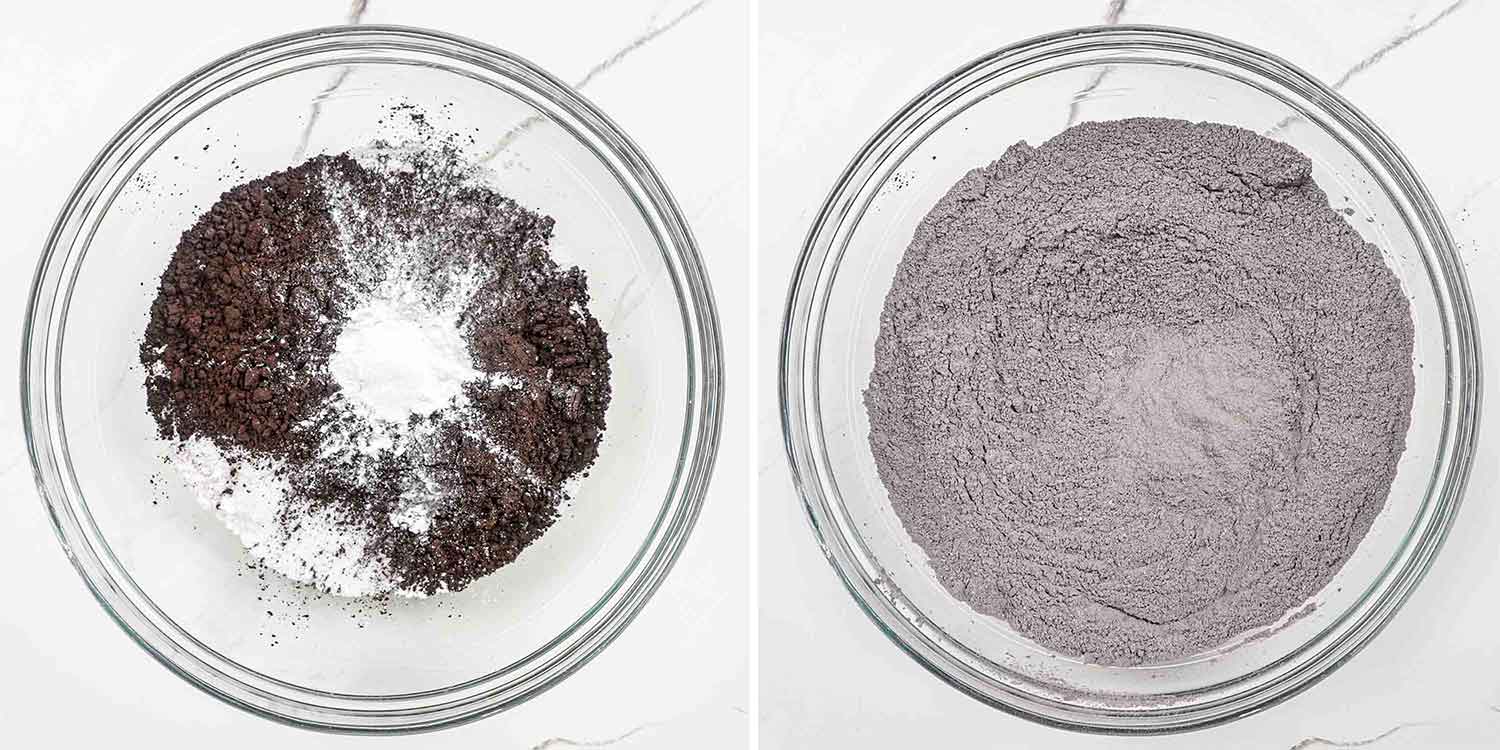
Next, combine the flour, granulated sugar, cocoa powder, baking powder, baking soda, and salt in a large bowl. Then whisk the mixture together well. This step ensures even distribution of the dry ingredients in the batter.
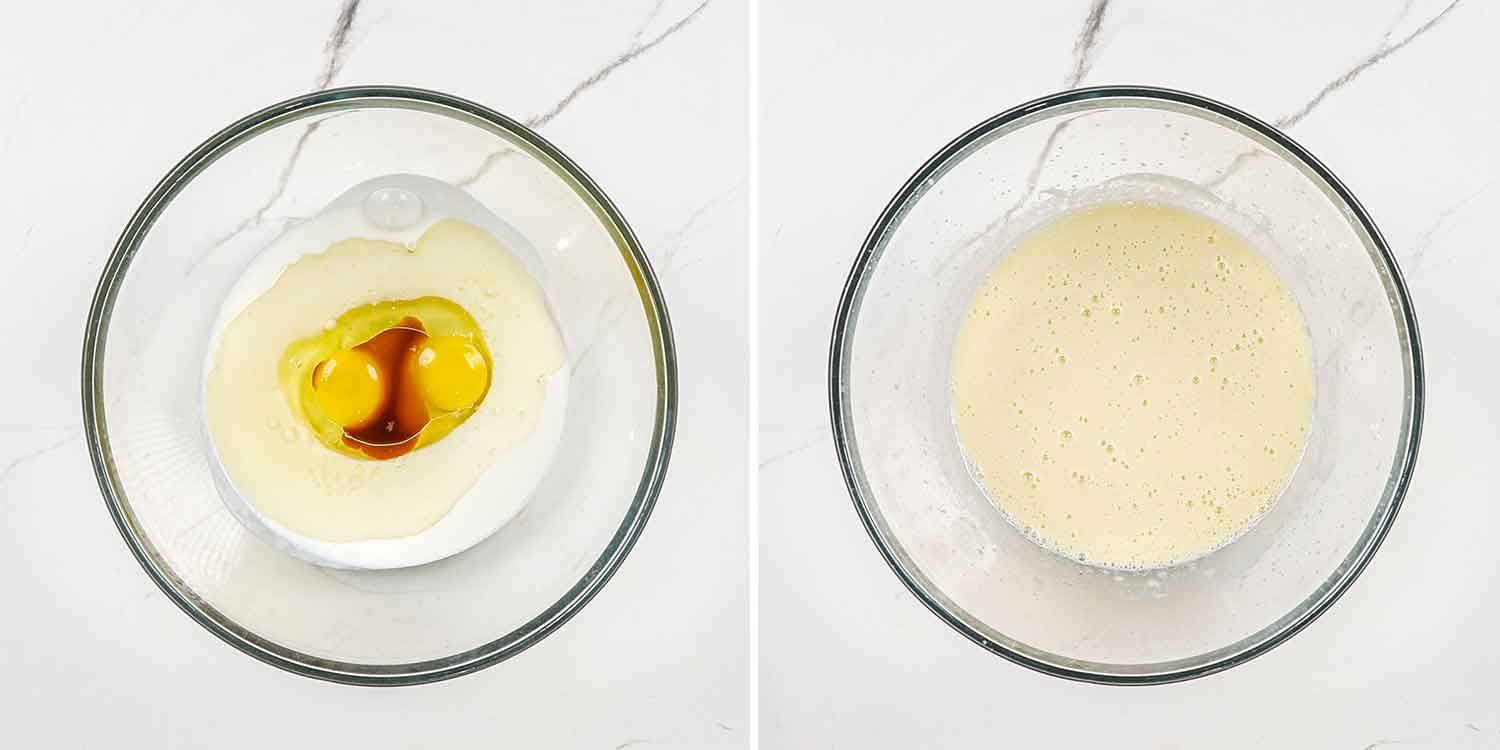
After you’ve prepped the dry ingredients, whisk together the buttermilk, vegetable oil, large eggs, and vanilla extract in a separate bowl. For the best results, make sure all your wet ingredients are at room temperature before mixing them together.

Now, gradually add your wet ingredients to your dry ingredients and whisk them together until smooth. Next, add the hot black coffee and stir until fully combined. Then pour the batter evenly into the prepared cake pans. Finally, tap the filled pans gently on the kitchen counter to remove any air bubbles and you’re ready for baking!
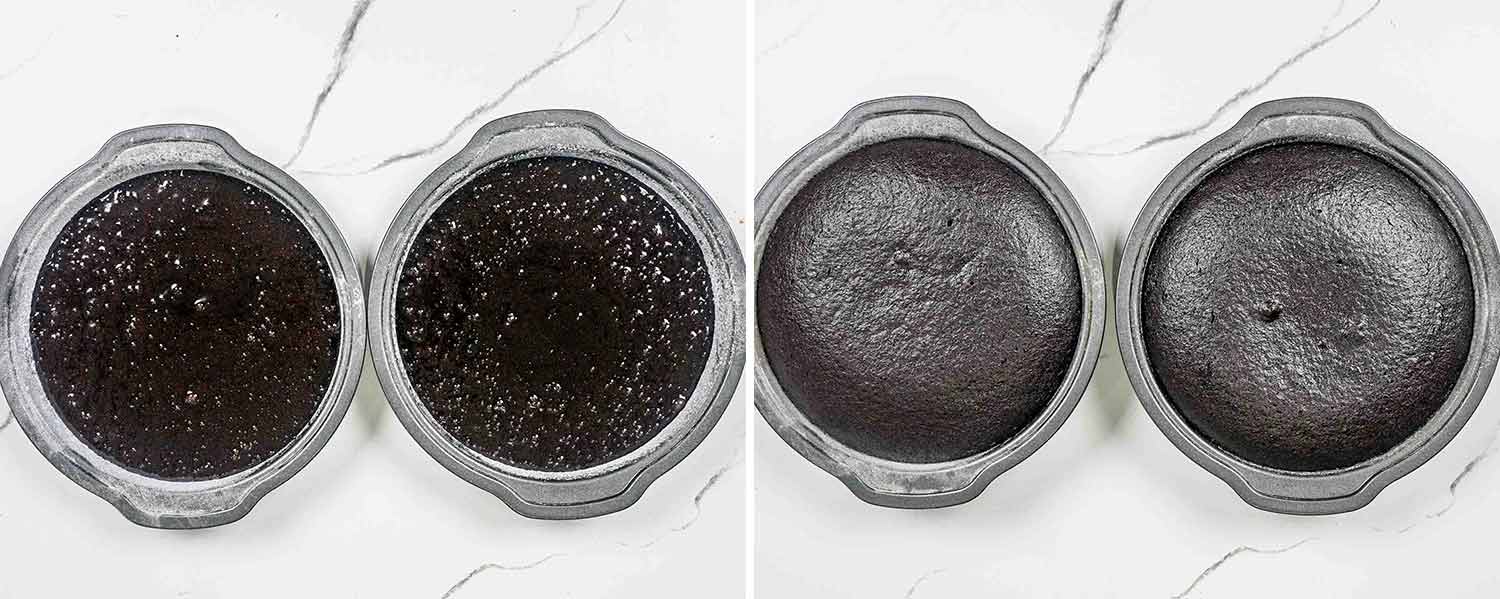
Time for baking! Slide the cakes into the preheated oven and let them bake for 25 to 30 minutes or until a tooth inserted in the middle comes out clean. Then remove them from the oven and let them cool completely on a cooking rack.

While the cakes cool, prepare the divine frosting. First, use an electric hand mixer or stand mixer with the whisk attachment to beat the unsalted butter and cream cheese together in a large mixing bowl until smooth and creamy. Next, add the black cocoa, vanilla extract, and salt. Then mix on low until combined.
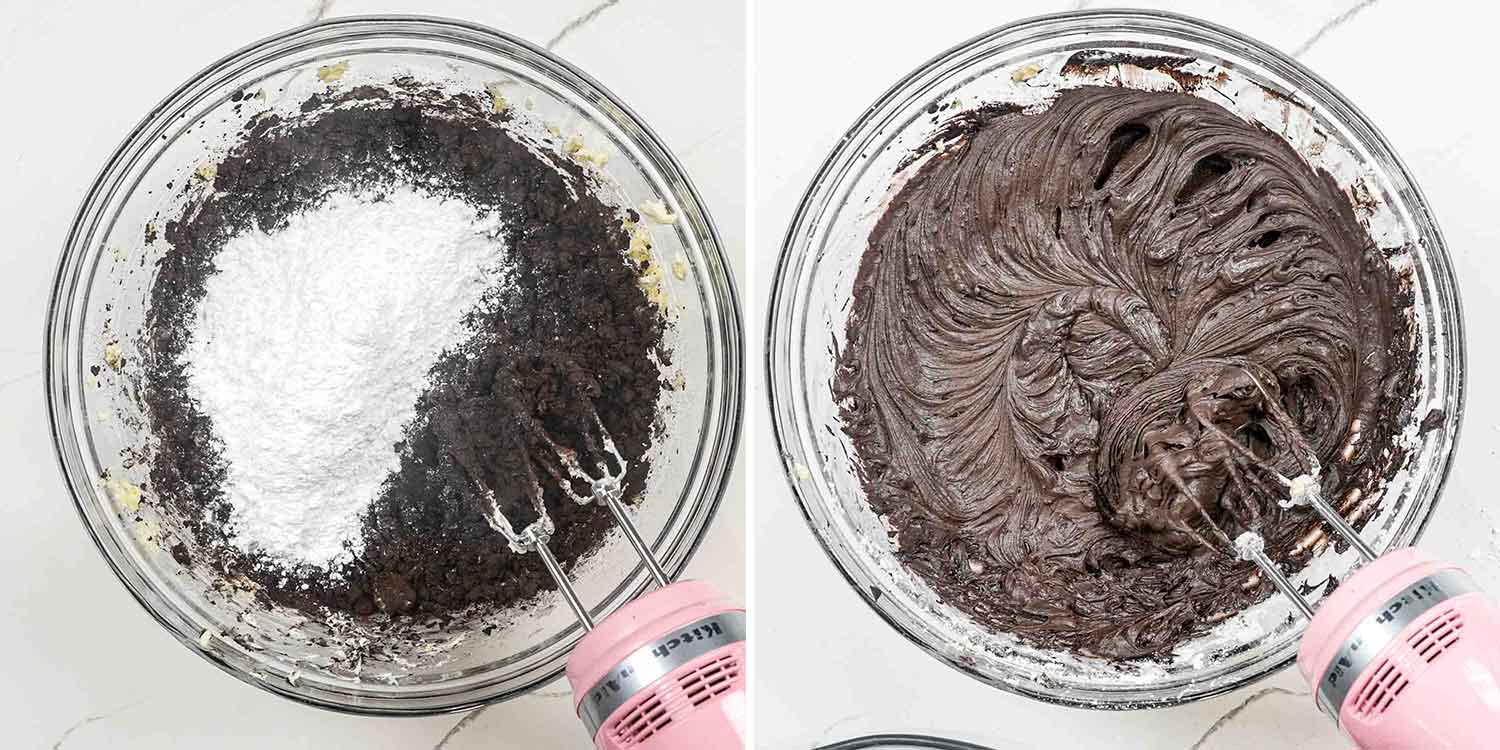
Now, gradually add the powdered sugar to the frosting and beat until well combined. While doing this step you need to pour in the heavy cream after you’ve added half of the sugar. This will make the frosting easier to beat. Then add the melted chocolate and continue mixing at low speed until fully incorporated.

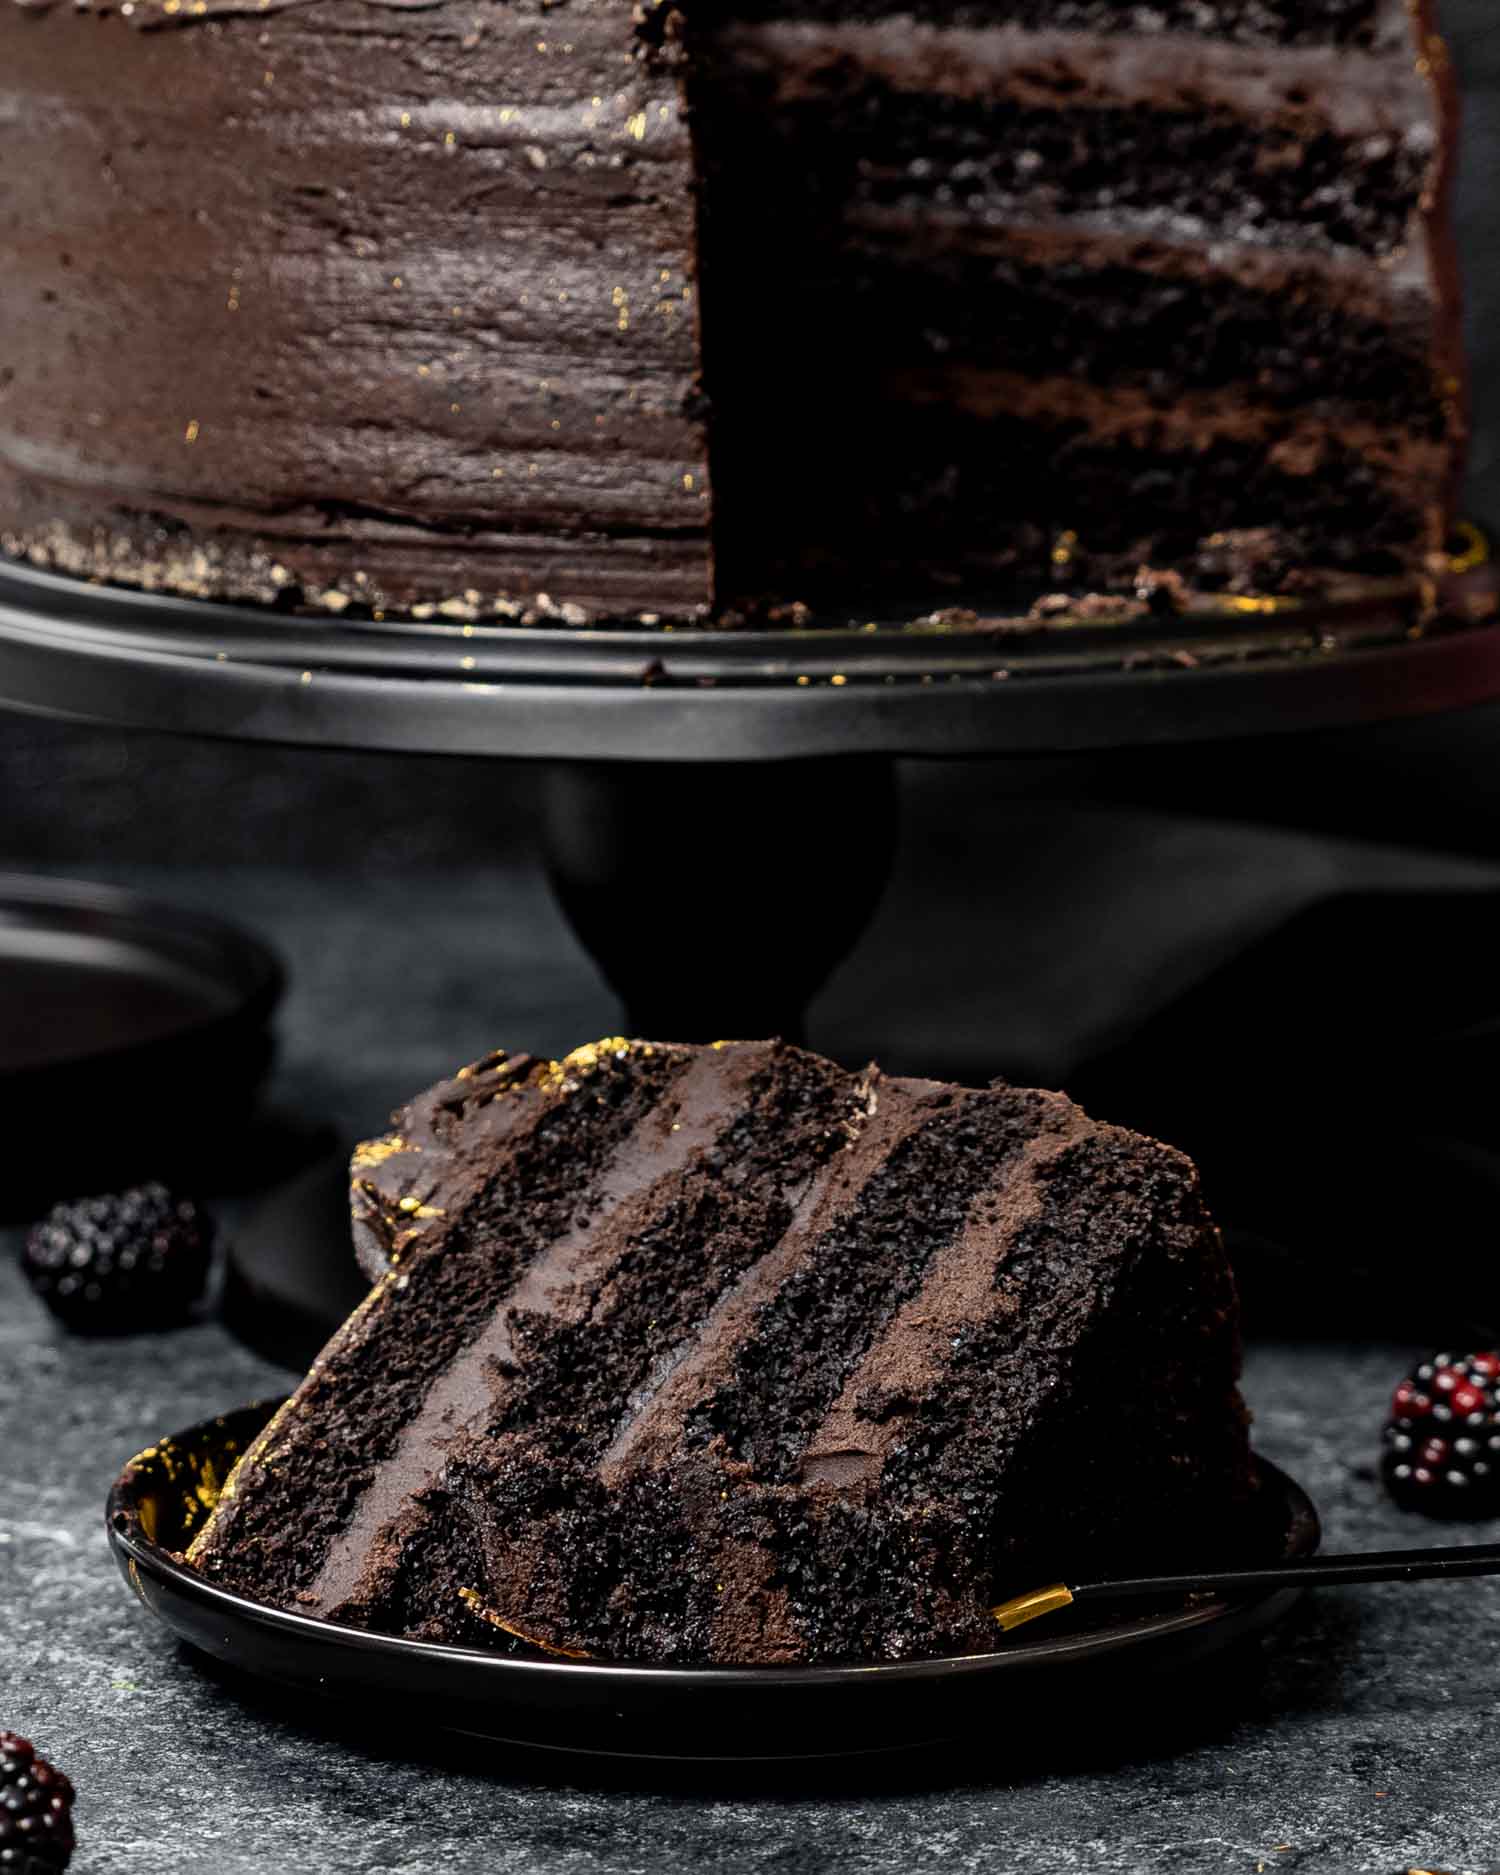
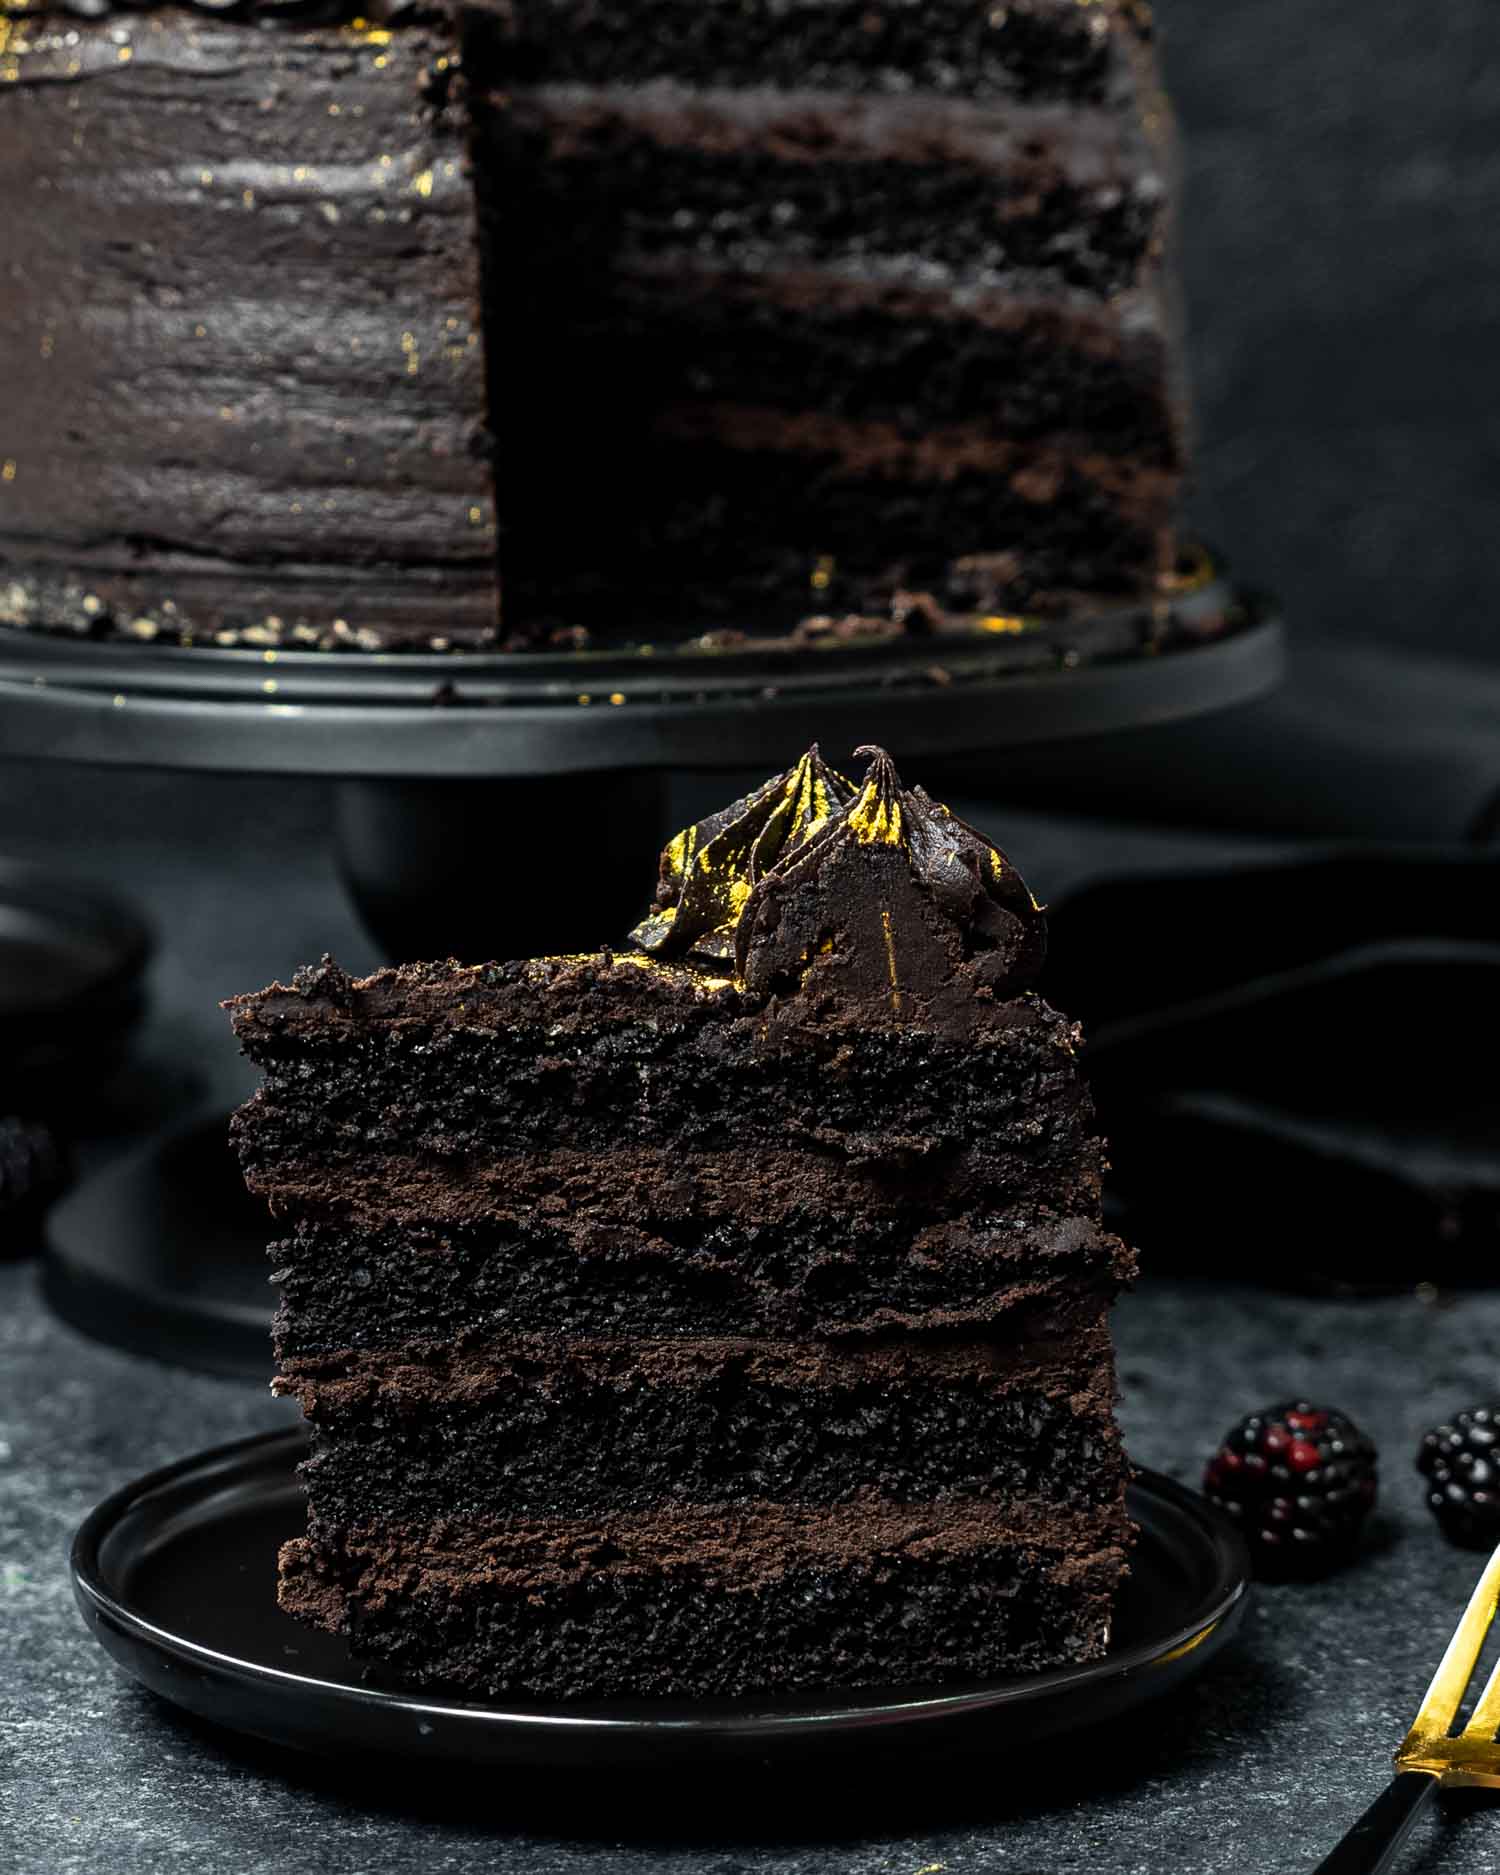
The cakes must be completely cool before you begin this step or the frosting will melt! First, if you wish to make a 4 layer cake, you can cut each cake in half using a sharp knife. Then, place one layer of the cake on a serving platter and spread the top with a layer of frosting. Next, place the next layer of cake on top and finish frosting the entire cake.

Then decorate it with more frosting or any additional toppings you like. Finally, transfer your black velvet cake to the fridge and let it chill for at least 30 minutes before serving.

Frequently Asked Questions
What’s the difference between red and black velvet?
The primary difference lies in their cocoa content and flavor. Red velvet cake typically contains a small amount of cocoa powder, resulting in a mild chocolate flavor with a hint of tanginess from the buttermilk and white vinegar. In contrast, black velvet cake is known for its intense chocolate flavor, achieved by using a significant amount of black cocoa powder. This dark cocoa powder provides a rich, bittersweet chocolate taste and gives it a striking black color with no added food coloring.
Why is my cake dry?
The most common reason is overbaking. Another factor can be using too much flour, which is why it’s important to be precise when measuring your ingredients. Lastly, overmixing the batter can develop excess gluten, resulting in a dry cake.
What can I add to the cake?
You can fold chocolate chips, nuts, or dried fruit into the batter for added taste and texture. Alternatively, consider adding a pinch of cinnamon, cardamom, or cayenne for a unique twist. Additionally, you can add decorative touches such as sprinkles, crushed Oreo cookies, or a drizzle of caramel sauce. And if you add some orange frosting it instantly becomes the perfect Halloween cake! Just remember not to change the foundation of the batter to maintain the cake’s desired consistency.
Expert Tips
- Choose quality chocolate. For the most intense rich chocolate flavor, use high-quality black cocoa powder and dark chocolate chips.
- Use room temperature ingredients. Ensure that all the ingredients including the eggs, buttermilk, unsalted butter, cream cheese, and heavy cream are at room temperature. This allows for smoother mixing and better incorporation.
- Sift dry ingredients. Always sift dry ingredients such as flour, cocoa powder, and powdered sugar to eliminate lumps and ensure even distribution.
- Frost lightly first. Begin with a thin layer of frosting to create a “crumb coat” before applying a second final layer. This produces a cleaner finish.
- Chill before serving. Refrigerate the black velvet cake for at least 30 minutes after frosting. This helps the layers to set and makes it easier to slice.
Storage
You can store leftover black velvet cake in the fridge for up to 5 days on a covered cake plate or in an airtight container. It’s also possible to store it in the fridge for up to 3 months. However, keep in mind that freezing can sometimes alter the texture.
Discover More Halloween Recipes
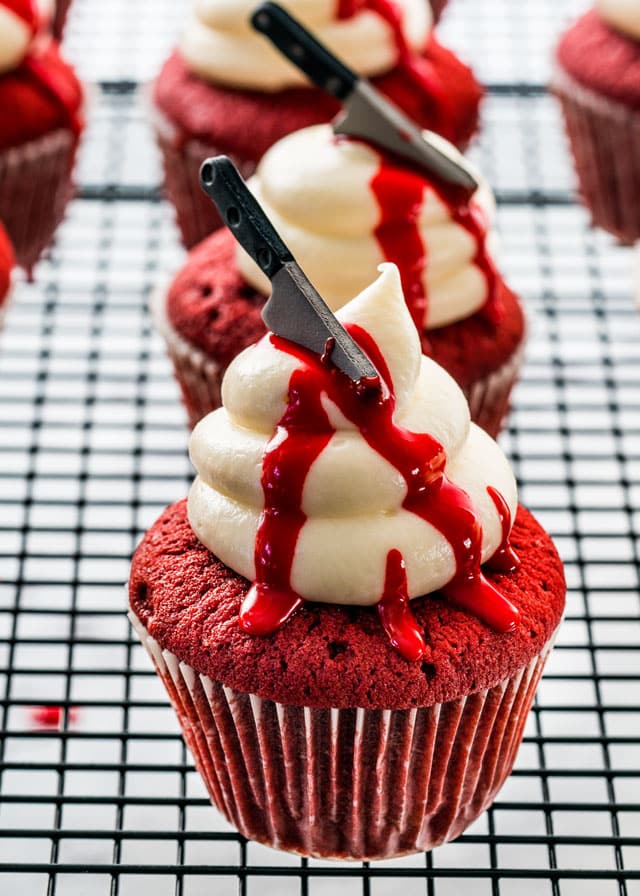
Halloween Red Velvet Cupcakes

Halloween Candy Brownies

Witches’ Brew
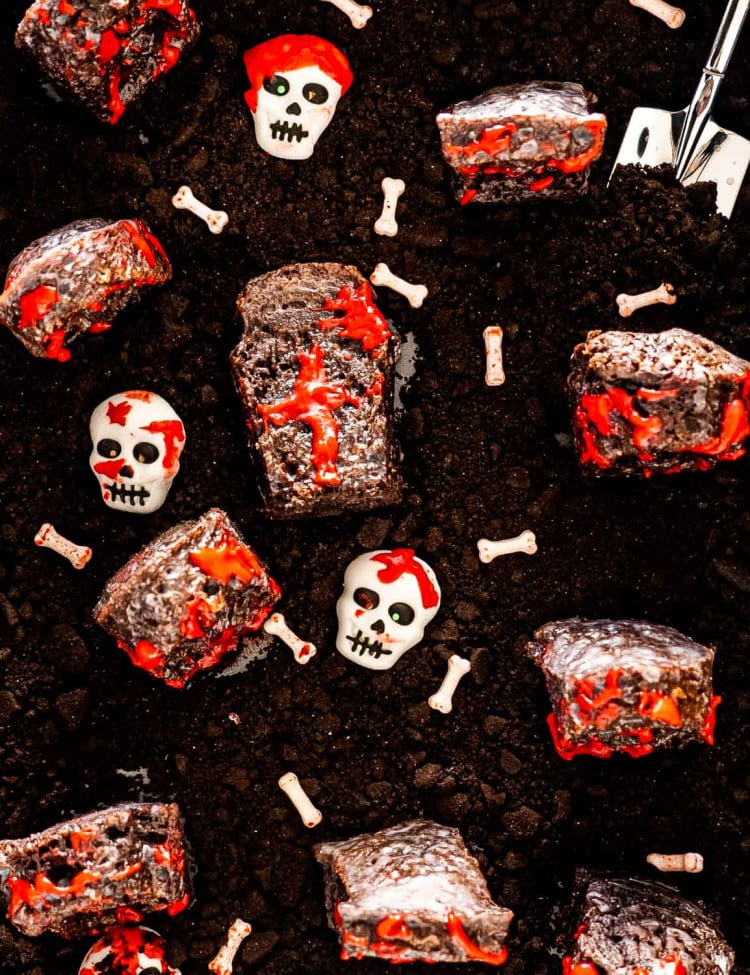
Tombstone Cakes
Before You Begin! If you make this, please leave a review and rating letting us know how you liked this recipe! This helps our business thrive & continue providing free recipes.
Black Velvet Cake
Video
Ingredients
Cake
- 2 cups all-purpose flour
- 2 cups granulated sugar
- ¾ cup black unsweetened cocoa powder
- 2 teaspoons baking powder
- 1 teaspoon baking soda
- ½ teaspoon salt
- 1 cup buttermilk (room temperature)
- ½ cup vegetable oil
- 2 large eggs (room temperature)
- 2 teaspoons vanilla extract
- 1 cup black coffee (hot)
Frosting
- 1 cup butter (unsalted, at room temperature)
- 1 cup cream cheese (at room temperature)
- 1 cup black unsweetened cocoa powder
- 1 teaspoon vanilla extract
- ½ teaspoon salt
- 5 cups powdered sugar
- ⅔ cup heavy cream (room temperature)
- 1⅓ cups dark chocolate chips (melted and cooled)
Before You Begin! If you make this, please leave a review and rating letting us know how you liked this recipe! This helps our business thrive & continue providing free recipes.
Instructions
Cake
- Preheat your oven to 350°F. Grease and flour two 9-inch round cake pans and set aside.
- In a large mixing bowl, whisk together the flour, sugar, cocoa powder, baking powder, baking soda, and salt.
- In a separate bowl, whisk together the buttermilk, vegetable oil, eggs, and vanilla extract.
- Gradually pour the wet ingredients into the dry ingredients and whisk until smooth.
- Add the hot black coffee to the batter and stir until well combined.
- Pour the batter evenly into the prepared cake pans and tap the pans gently on the counter to remove any air bubbles.
- Bake the cakes for 25-30 minutes or until a toothpick inserted into the center comes out clean.
- Remove the cakes from the oven and let them cool completely on a wire rack.
Frosting
- Beat the cream cheese and butter in a large mixing bowl until smooth and creamy.
- Add in the black cocoa, vanilla extract, salt, and mix on low until fully incorporated.
- Gradually add the confectioner's sugar and beat until well combined. Halfway through, add in the heavy cream to make the frosting easier to mix.
- Mix in the melted chocolate on low speed, until well incorporated.
Assemble
- Place one cake layer on a serving plate and spread a layer of frosting on top.
- Place the second cake layer on top and spread frosting all over the cake.
- Decorate the cake with additional frosting or any desired toppings.
- Chill the cake in the refrigerator for at least 30 minutes before serving.
Equipment
Notes
- Cocoa Selection: The deep color and flavor of this cake come from black unsweetened cocoa powder. Regular cocoa powder can be used, but it won’t yield the same rich black hue.
- Coffee Alternative: If you prefer not to use coffee, you can substitute it with boiling water. The coffee simply enhances the chocolate flavor without a prominent coffee taste.
- Frosting Texture: If your frosting feels too thick, add a little more heavy cream, a tablespoon at a time, until the desired consistency is reached. Conversely, if it’s too thin, add more powdered sugar.
- Storage: This cake is rich and moist, so it’s best stored in the refrigerator.
- Decorating Tips: Consider using silver or gold edible glitter, crushed dark chocolate shavings, or blackberries for added elegance when decorating the top of the cake.
Nutrition Information
Notice: Nutrition is auto-calculated for your convenience. Where relevant, we recommend using your own nutrition calculations.
