Cherry Rolls
This post may contain affiliate links. Please read my disclosure policy.
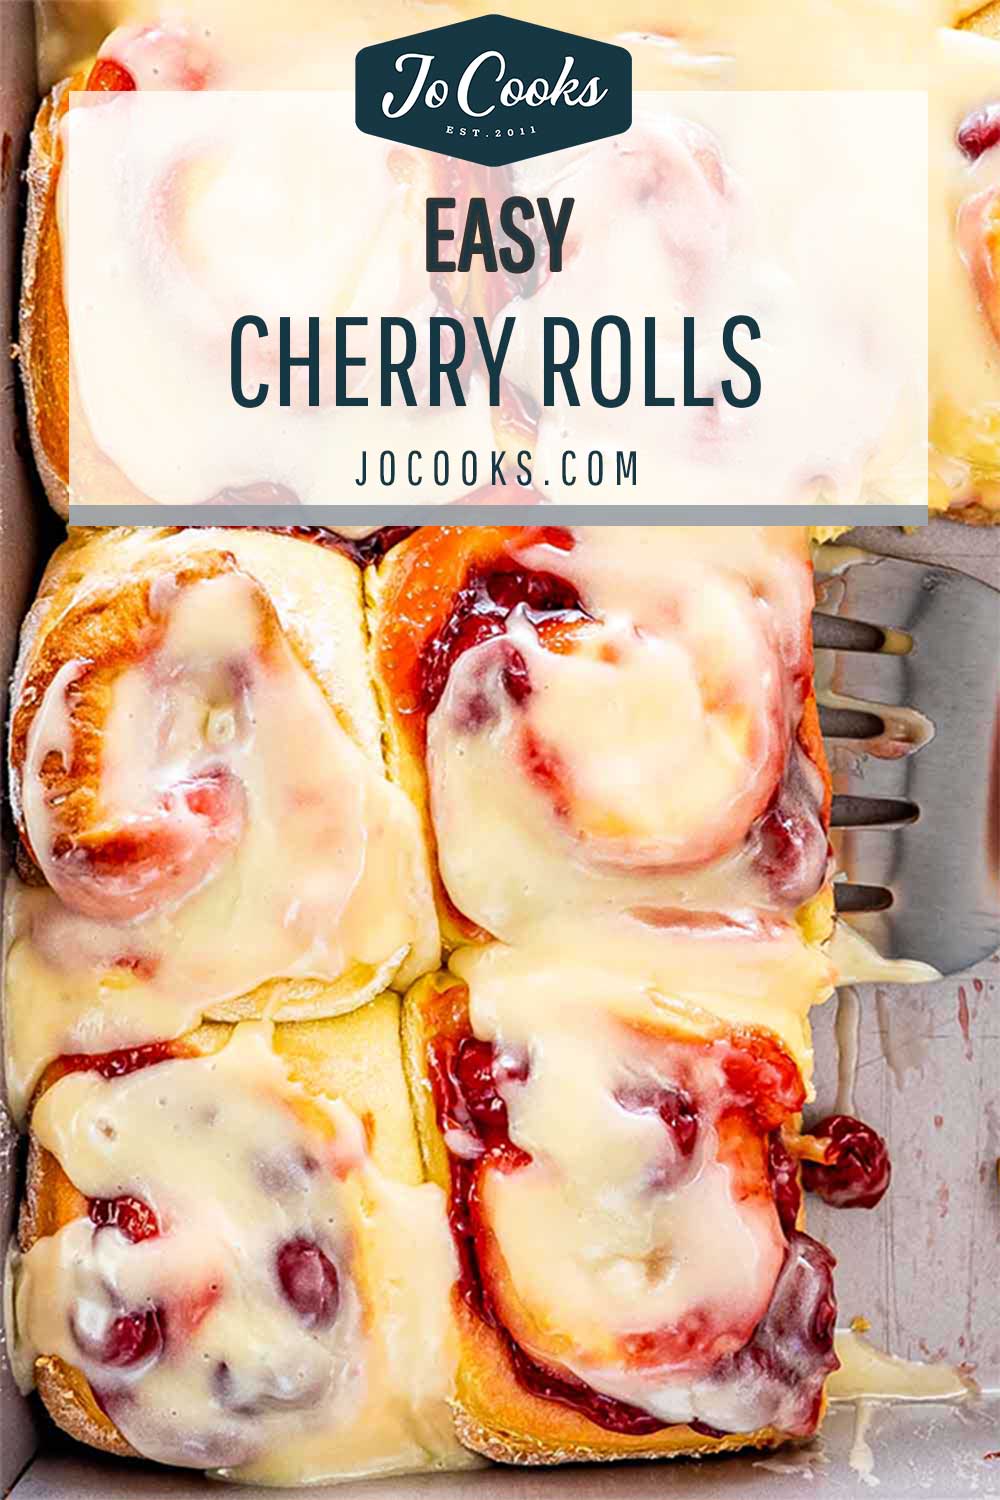
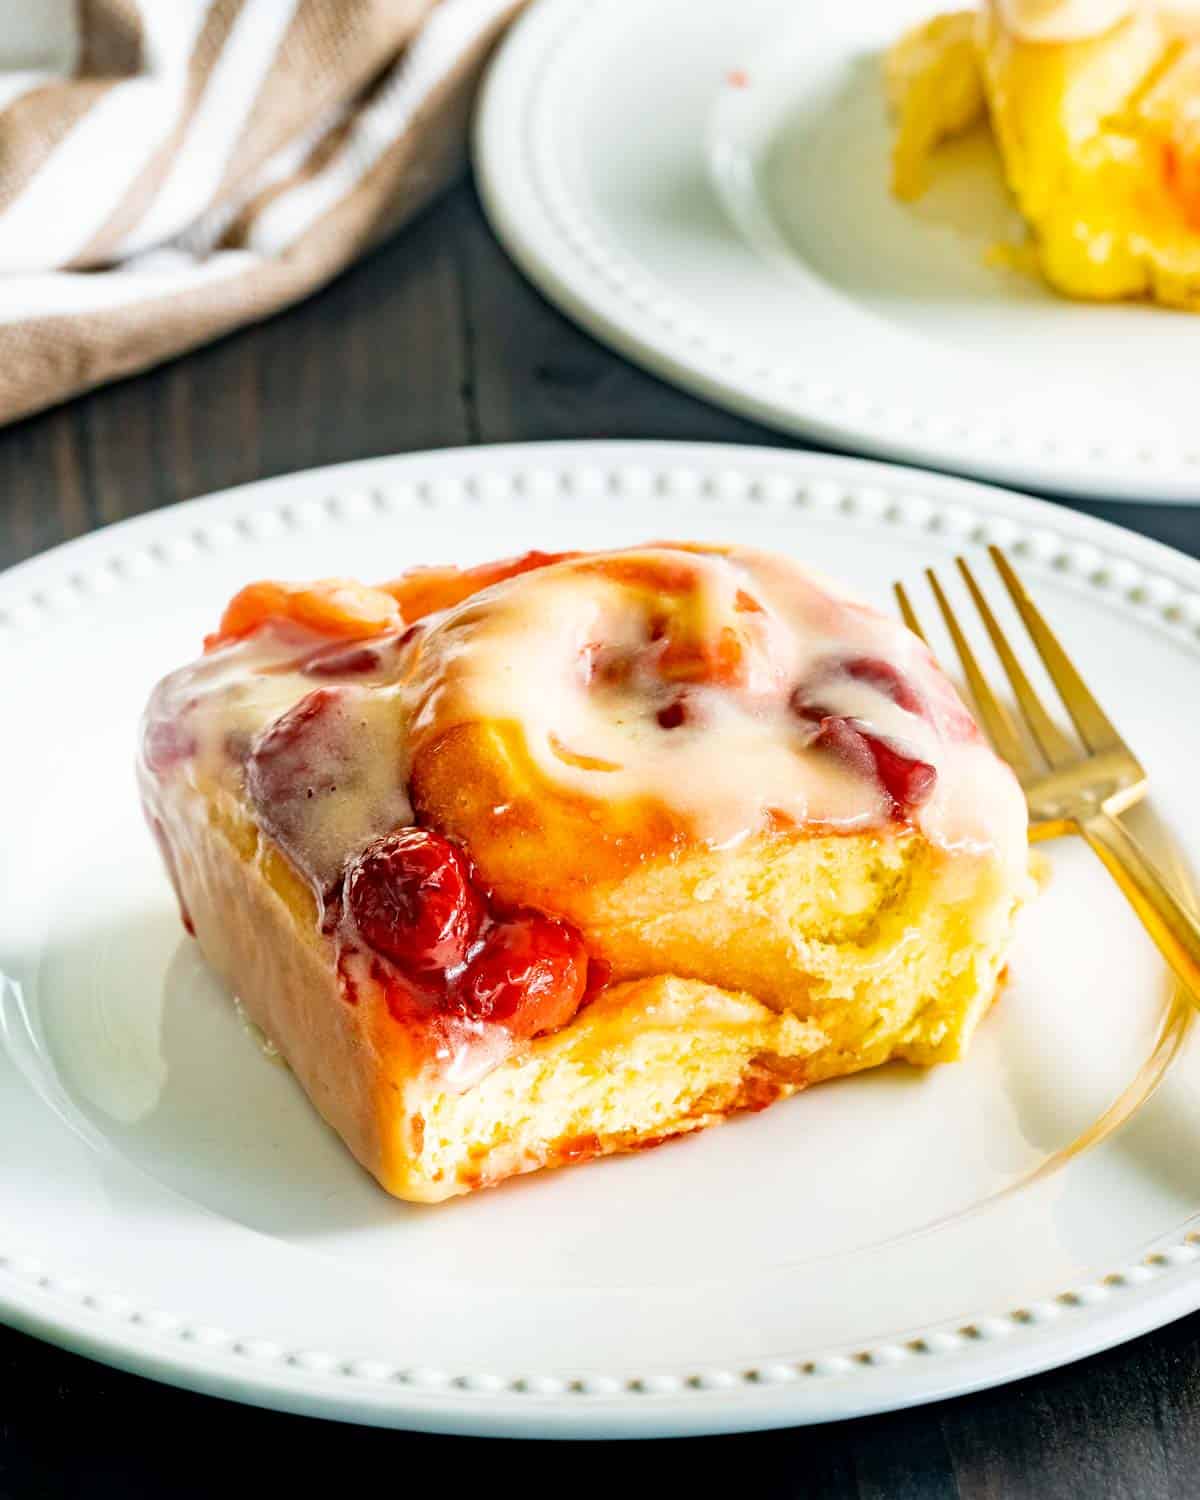
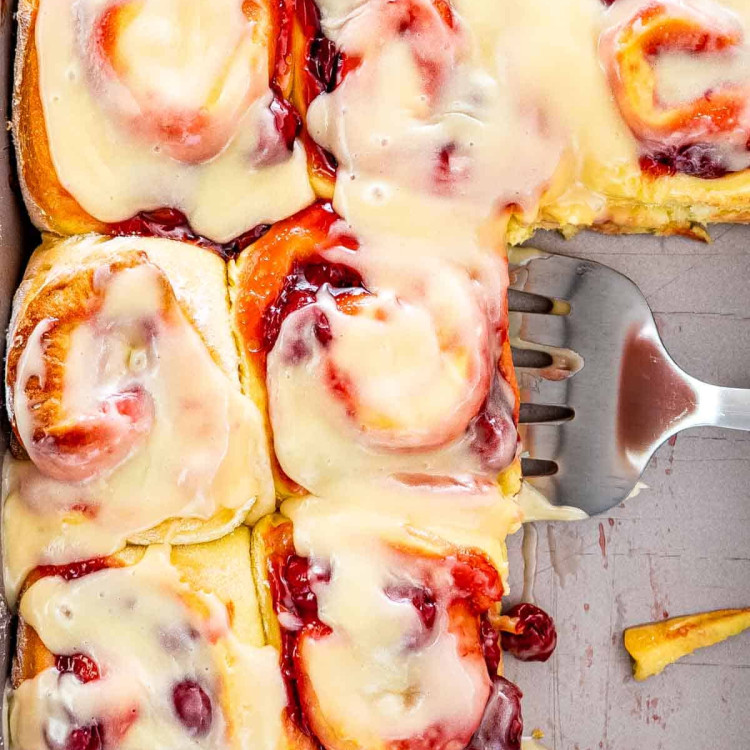
These easy homemade Cherry Rolls are OMG delicious! Just imagine sweet, light, airy buns filled with a tart cherry pie filling and topped with a yummy cream cheese icing! The rolls are perfect for breakfast, brunch, or an after-dinner treat!

The Best Cherry Roll Recipe
A couple of my favorite treats are cinnamon rolls and cherry pies, so I had this brilliant idea of combining the two together to create the perfect sweet bun! I took my all-time favorite recipe for dough for the rolls and simply filled it with cherry pie filling. Then I decided it would be even better topped with my one-step cream cheese icing! And that was it! The amazing cherry roll was born!
So if you like my Apple Pecan Cinnamon Rolls or my Red Velvet Cinnamon Rolls you are going to LOVE this cherry roll recipe!
Why We Love These Sweet Cherry Rolls
- Easy To Follow Recipe! It’s a super simple 2 part recipe with 3 delicious layers. But lucky for you, I’ve used cherry pie filling, so all you have to do is make a very easy dough and a one-step cream cheese icing.
- The Perfect Bun! My amazing dough recipe bakes up so soft and airy with the perfect touch of sweetness.
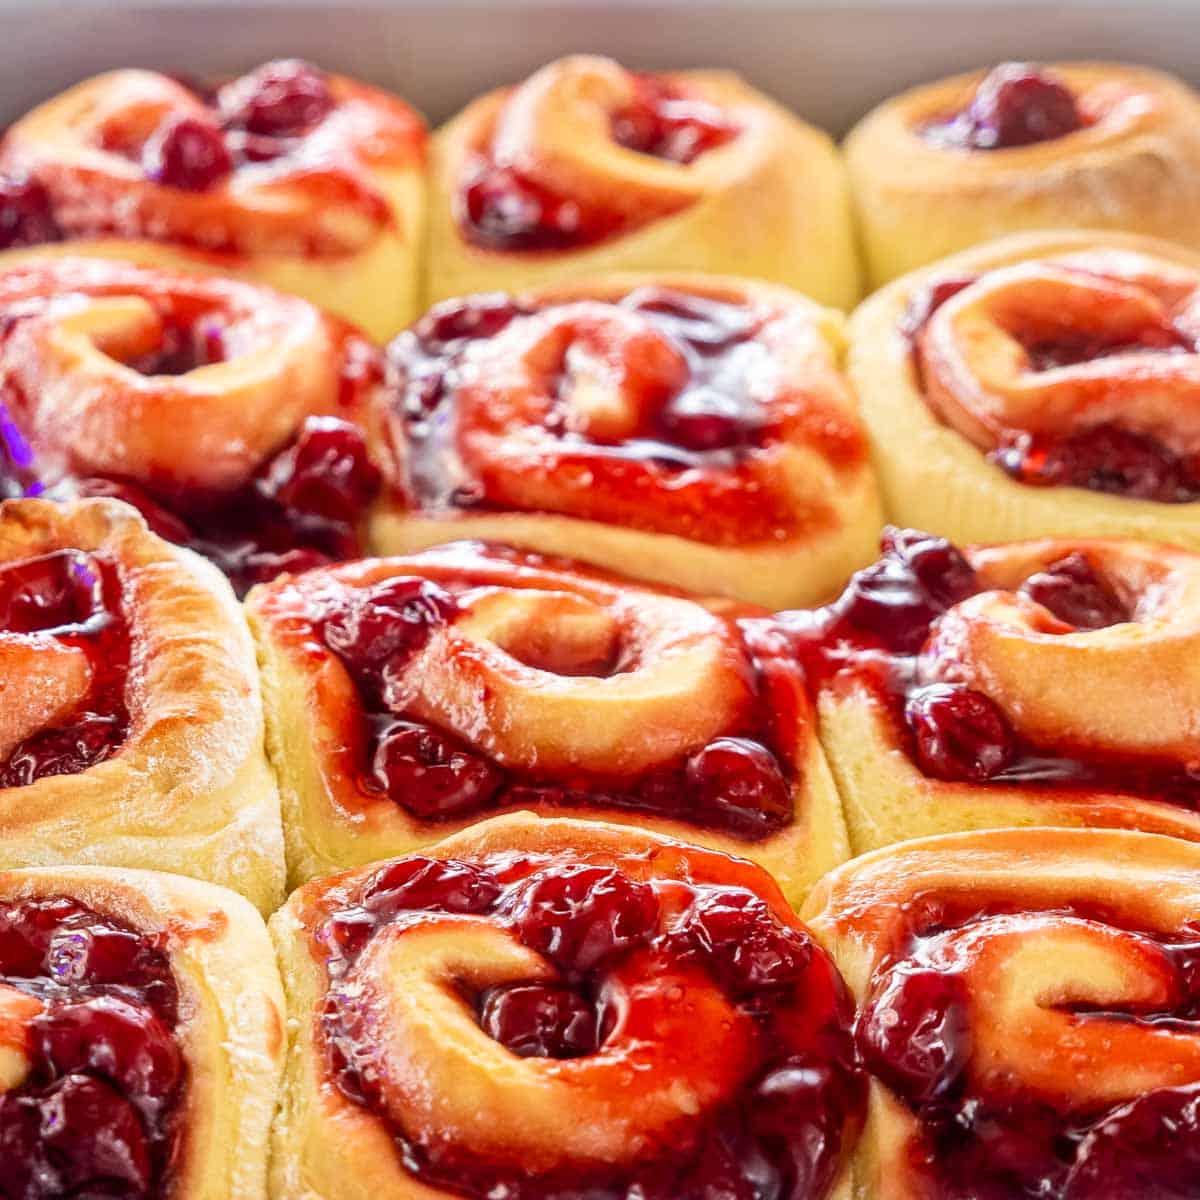
- Tart Cherry Surprise! The rolls are oozing with yummy cherry pie filling in each bite that blends perfectly with the sinfully good cream cheese icing.
- Perfect for Potlucks! Got a morning meeting or an afternoon potluck-style party!?! Cherry rolls are the perfect crowd pleaser. Your family, friends, and coworkers will love them!
There are 3 components to this tasty cherry bun recipe. The dough, the cherry filling, and the yummy cream cheese icing. That may sound complicated, but you’ll be happy to know that it’s actually quite easy! And if you scroll down you’ll find the complete printable recipe. Here’s what you’ll need:
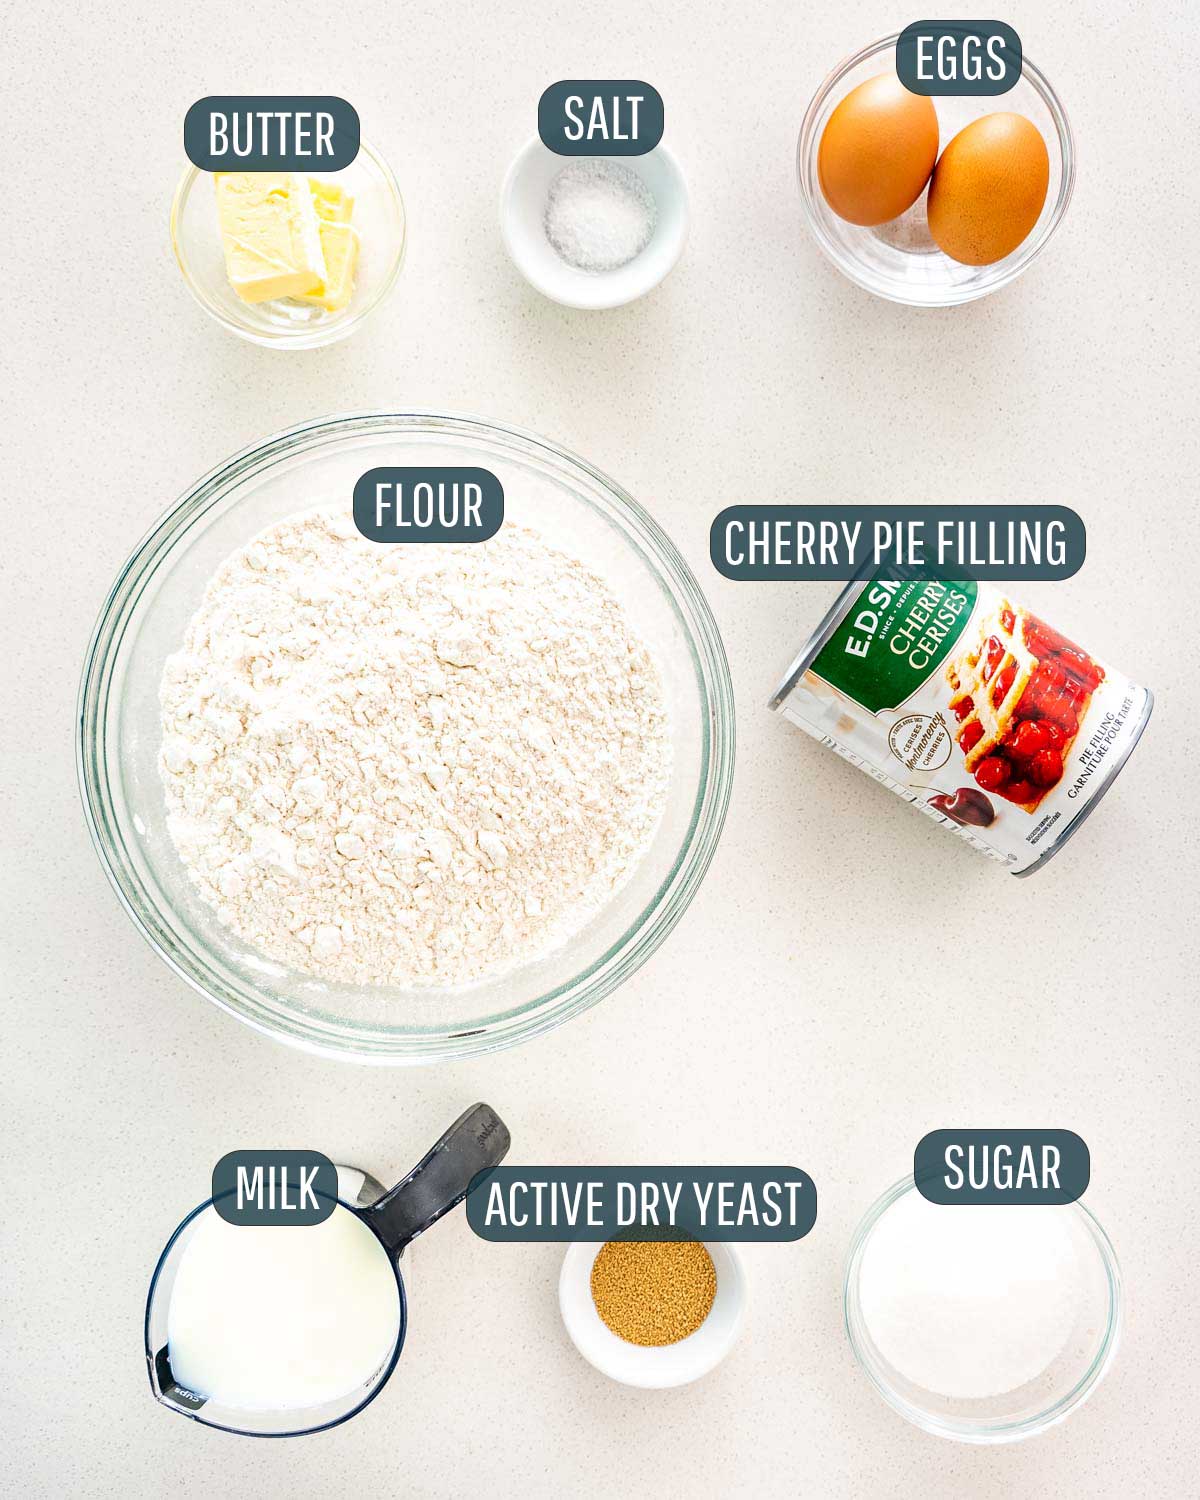
Dough And Filling
- Active dry yeast – Make sure to check the expiration date on your yeast before using. If your yeast doesn’t foam up, that means it’s dead and will not work. You can also use instant yeast if that’s what you have on hand, but you won’t need to bloom it first.
- Milk – You must use lukewarm milk that is between 98℉ and 105℉ (36.5°C to 40.5°C). I like to use whole milk, but whatever is in your fridge will work.
- Sugar – To sweeten the dough, I used granulated white sugar. Cane sugar will also work in this recipe.
- Butter – Always use unsalted butter to control saltiness. It’s a golden rule of thumb in both baking and cooking.
- Salt – A touch of salt is important to help develop the delicious flavor of the dough.
- Eggs – Use large eggs that are at room temperature for this recipe.
- Flour – I used all-purpose flour for my cherry roll dough.
- Cherry Pie Filling – You just need one can of your favorite brand of cherry pie filling.
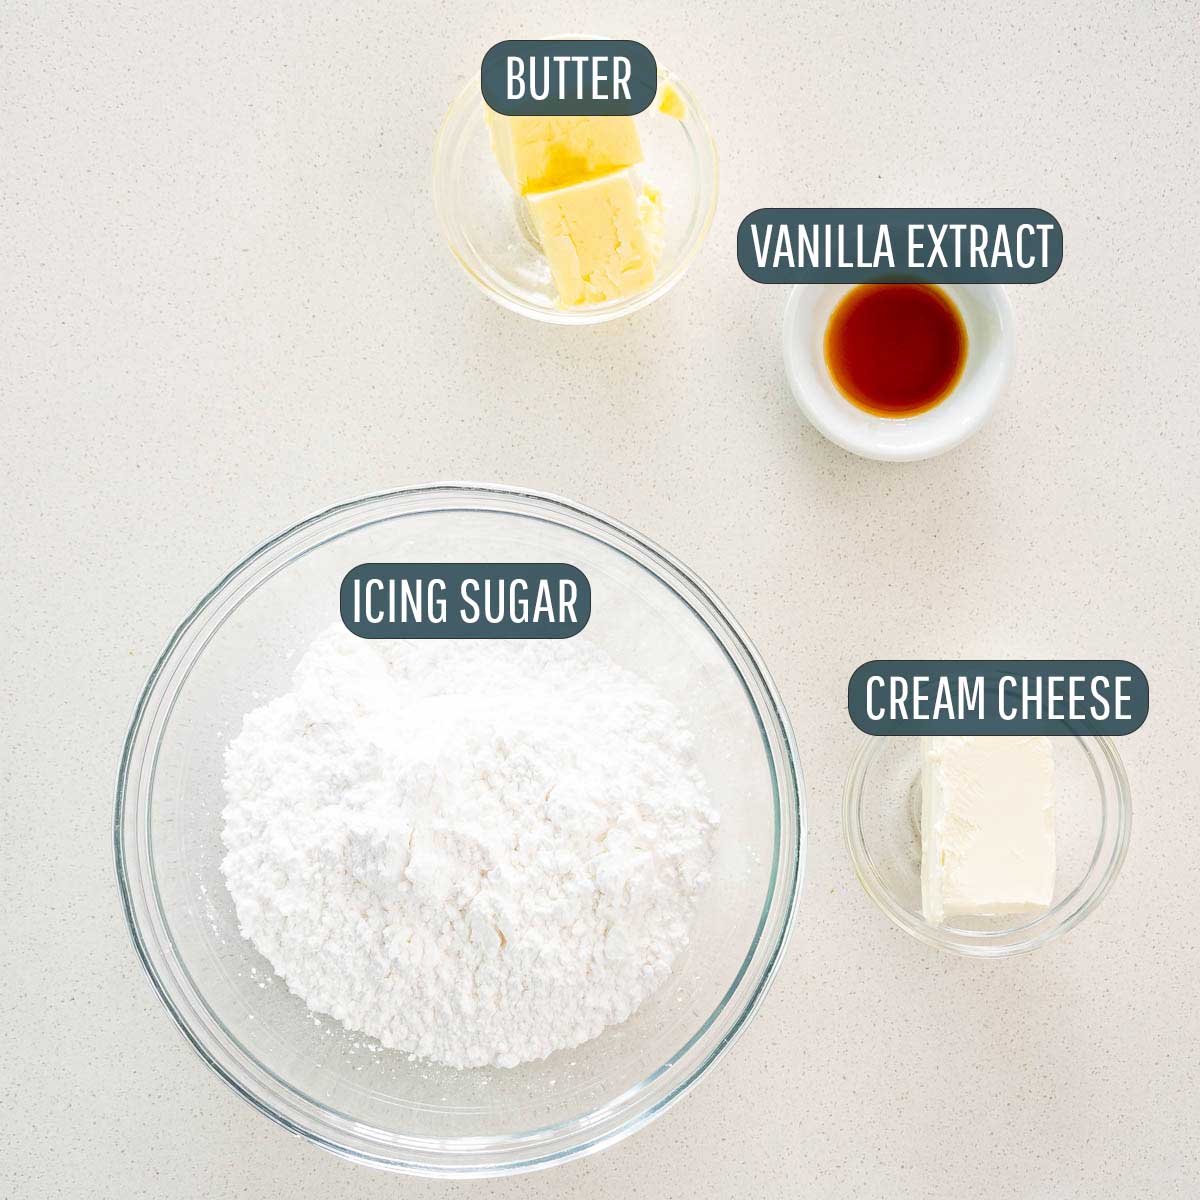
Cream Cheese Icing
- Butter – Always use room temperature unsalted butter when making frosting.
- Powdered sugar – Also known as confectioner’s sugar or icing sugar.
- Cream cheese – The cream cheese needs to be at room temperature. I’m a huge fan of Philadelphia cream cheese and always use it in my cream cheese icing.
- Vanilla extract – Just half a teaspoon adds a lovely touch of vanilla to the icing.
- Salt – A dash of salt enhances all the flavors of the icing, especially the cream cheese. So it’s important not to leave it out.
Make The Dough
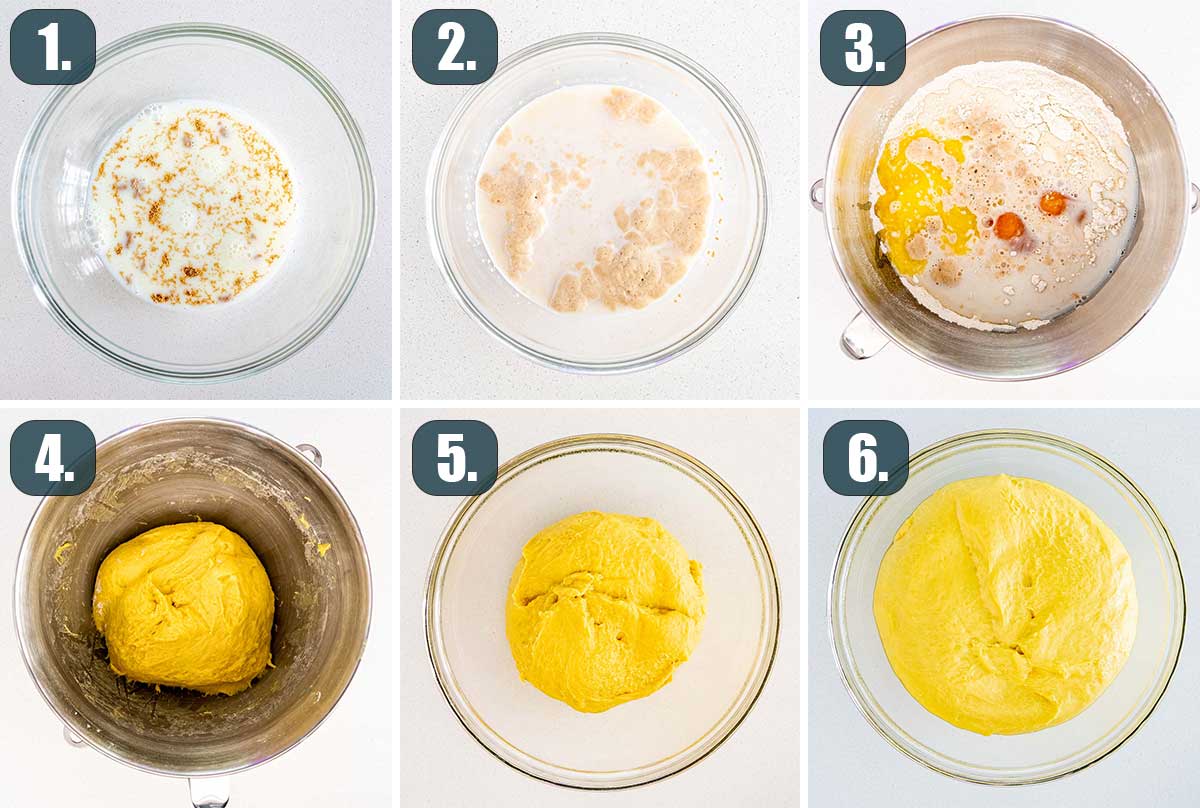
- Bloom the yeast. Pour the lukewarm milk into a small bowl and mix in a teaspoon of the sugar from the dough. Then sprinkle the yeast over the milk and let it set for about 20 seconds before gently stirring it once or twice to fully dissolve. Now, leave it alone to sit for about 5 to 10 minutes until it gets foamy and begins to smell yeasty. If your yeast doesn’t foam up, don’t move forward with the recipe. This means that your yeast is dead and you need to buy new yeast.
- Make the dough. Add the remaining sugar, unsalted butter, salt, eggs, and all-purpose flour to the bowl of your stand mixer and then mix until well combined. Now, pour the bloomed yeast milk mixture over the flour mixture and fully incorporate all the ingredients together using the dough hook.
- Let the dough rise. Transfer the dough to an oiled bowl and cover it with plastic wrap or a clean kitchen towel. Then put it in a warm place to let it rise for about 1 hour or until the dough has doubled in size.
Assemble The Rolls
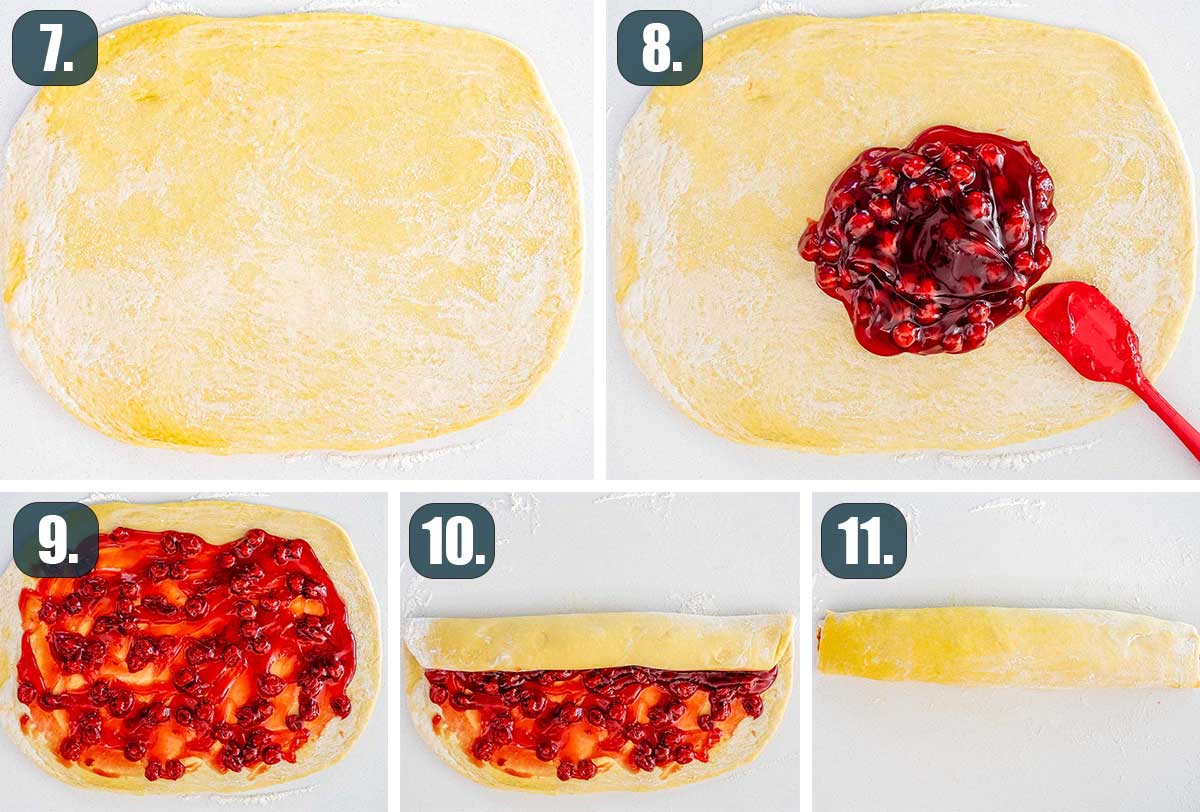
- Assemble the rolls. Once the dough has doubled in size, place it on a lightly floured surface and roll it out until it is about 16 inches long by 12 inches wide.
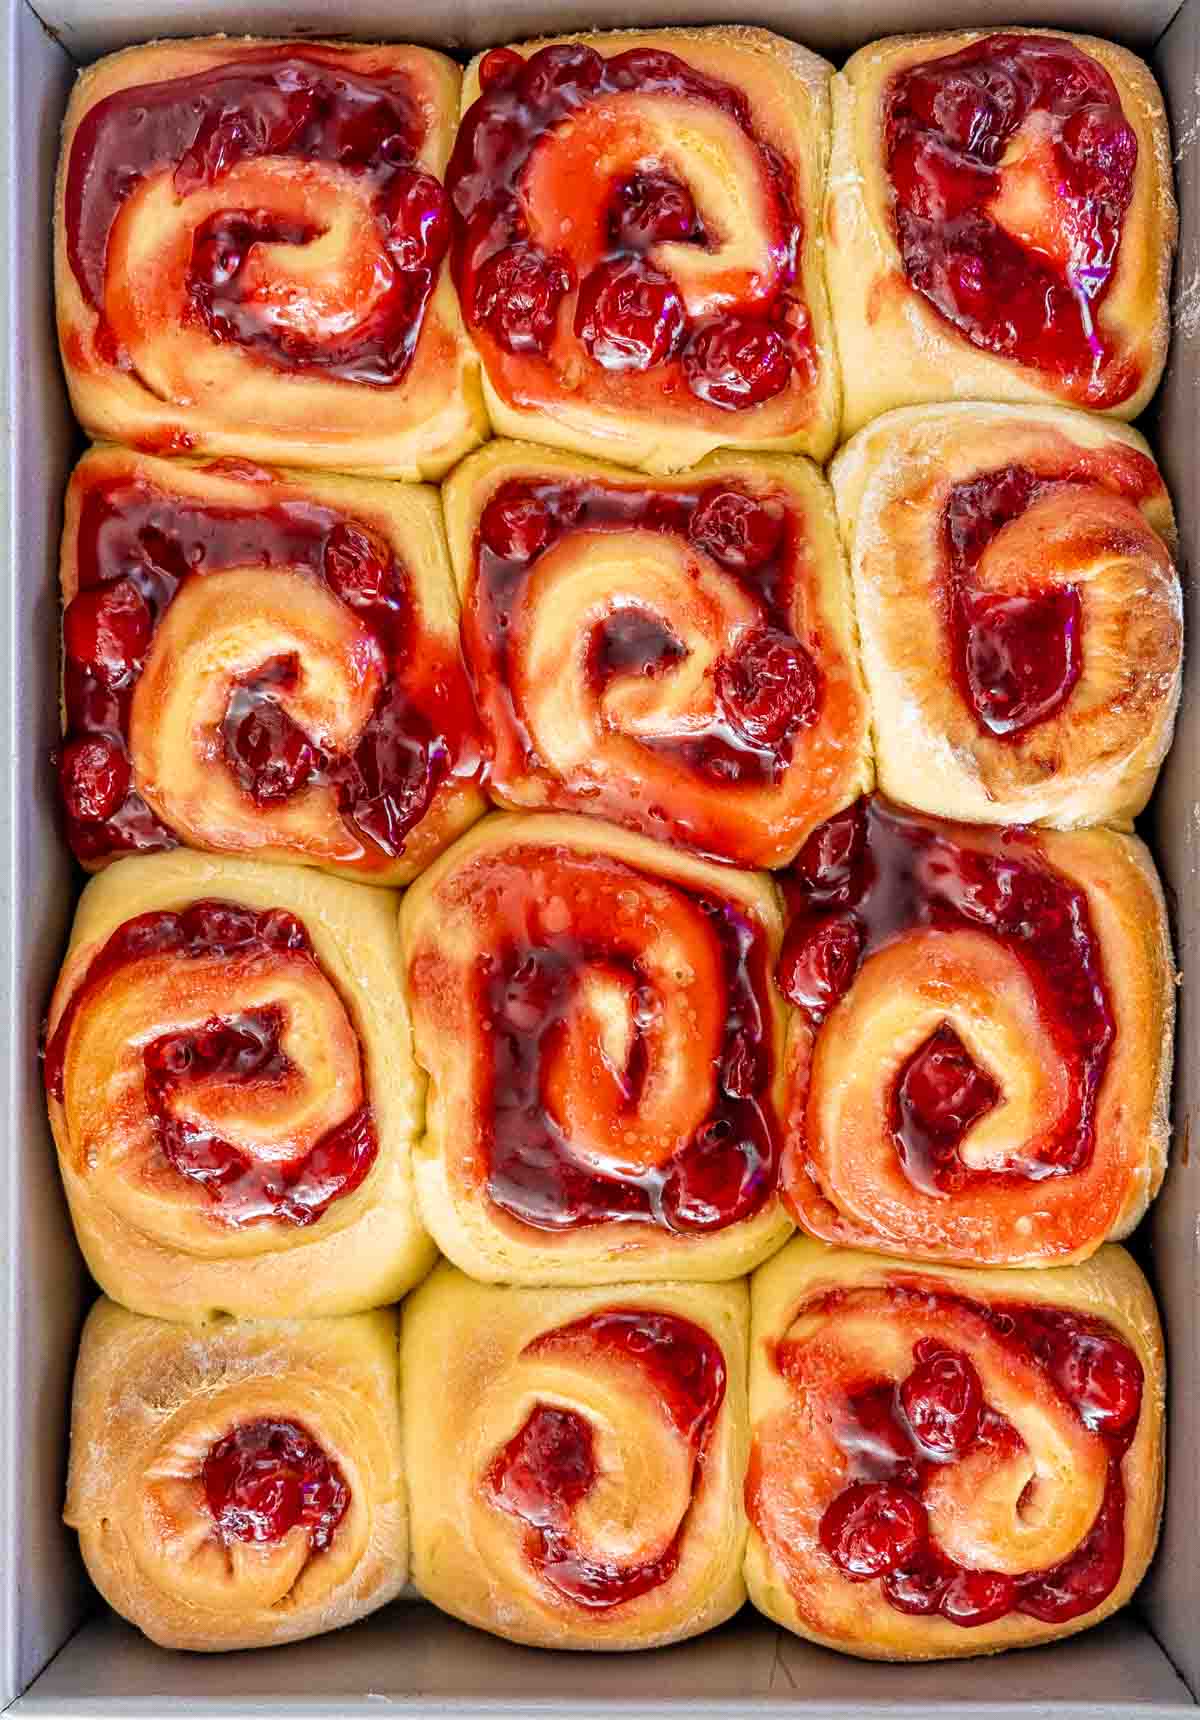
- Spread with pie filling. Then spread your favorite cherry pie filling evenly over the dough making sure to cover the entire surface. Now, working carefully, from the long edge, roll the dough down to the bottom of the other edge. It should look like a long swirled log when you are done rolling. Then cut the rolled dough into 1¾-inch slices and place them on a lightly greased baking pan.
Rise And Bake
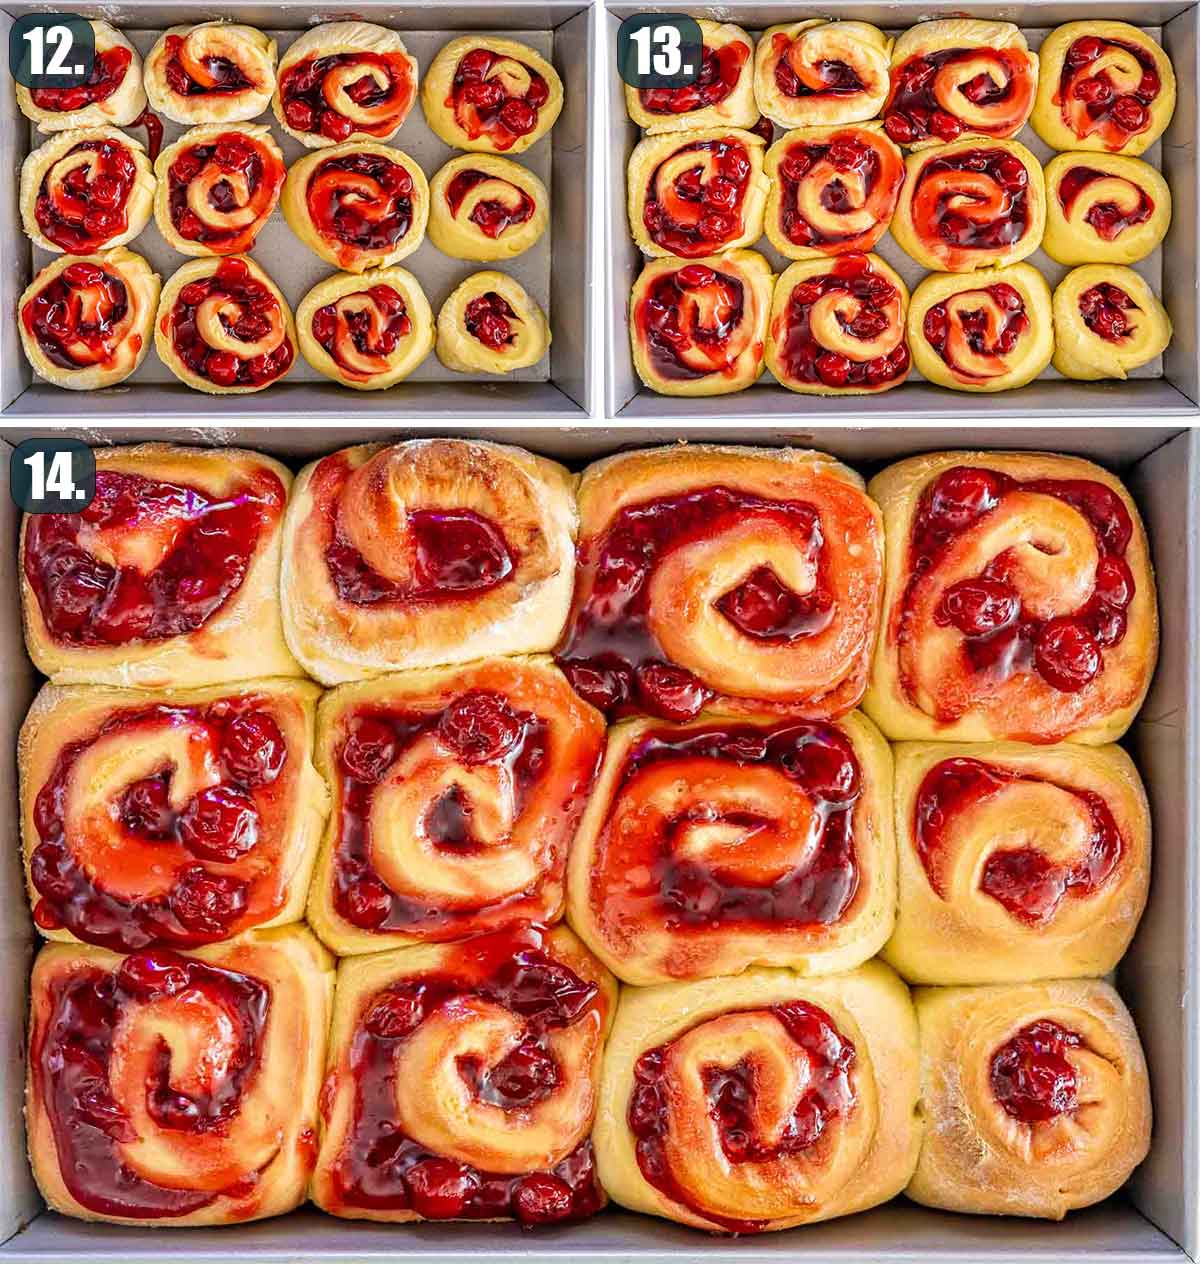
- Let the rolls rise. Cover the rolls on the baking pan with a clean kitchen towel or plastic wrap and leave them to rise for about 30 minutes or until doubled in size.
- Bake the cherry rolls. Bake the rolls in a preheated 350℉ (180°C) oven for 20 minutes or until light golden brown. Baking time can vary, so be sure to check them at 15 minutes and it could take up to 25 minutes. Every oven is different.
Make The Cream Cheese Icing
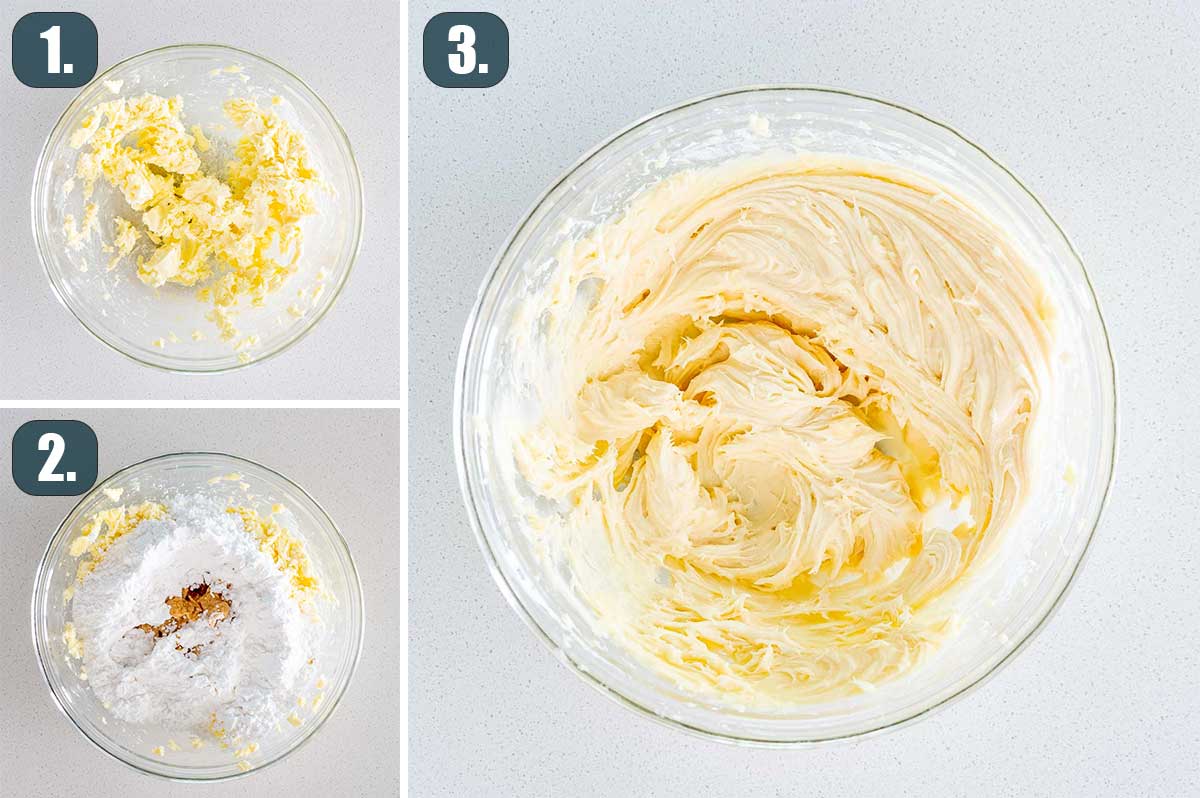
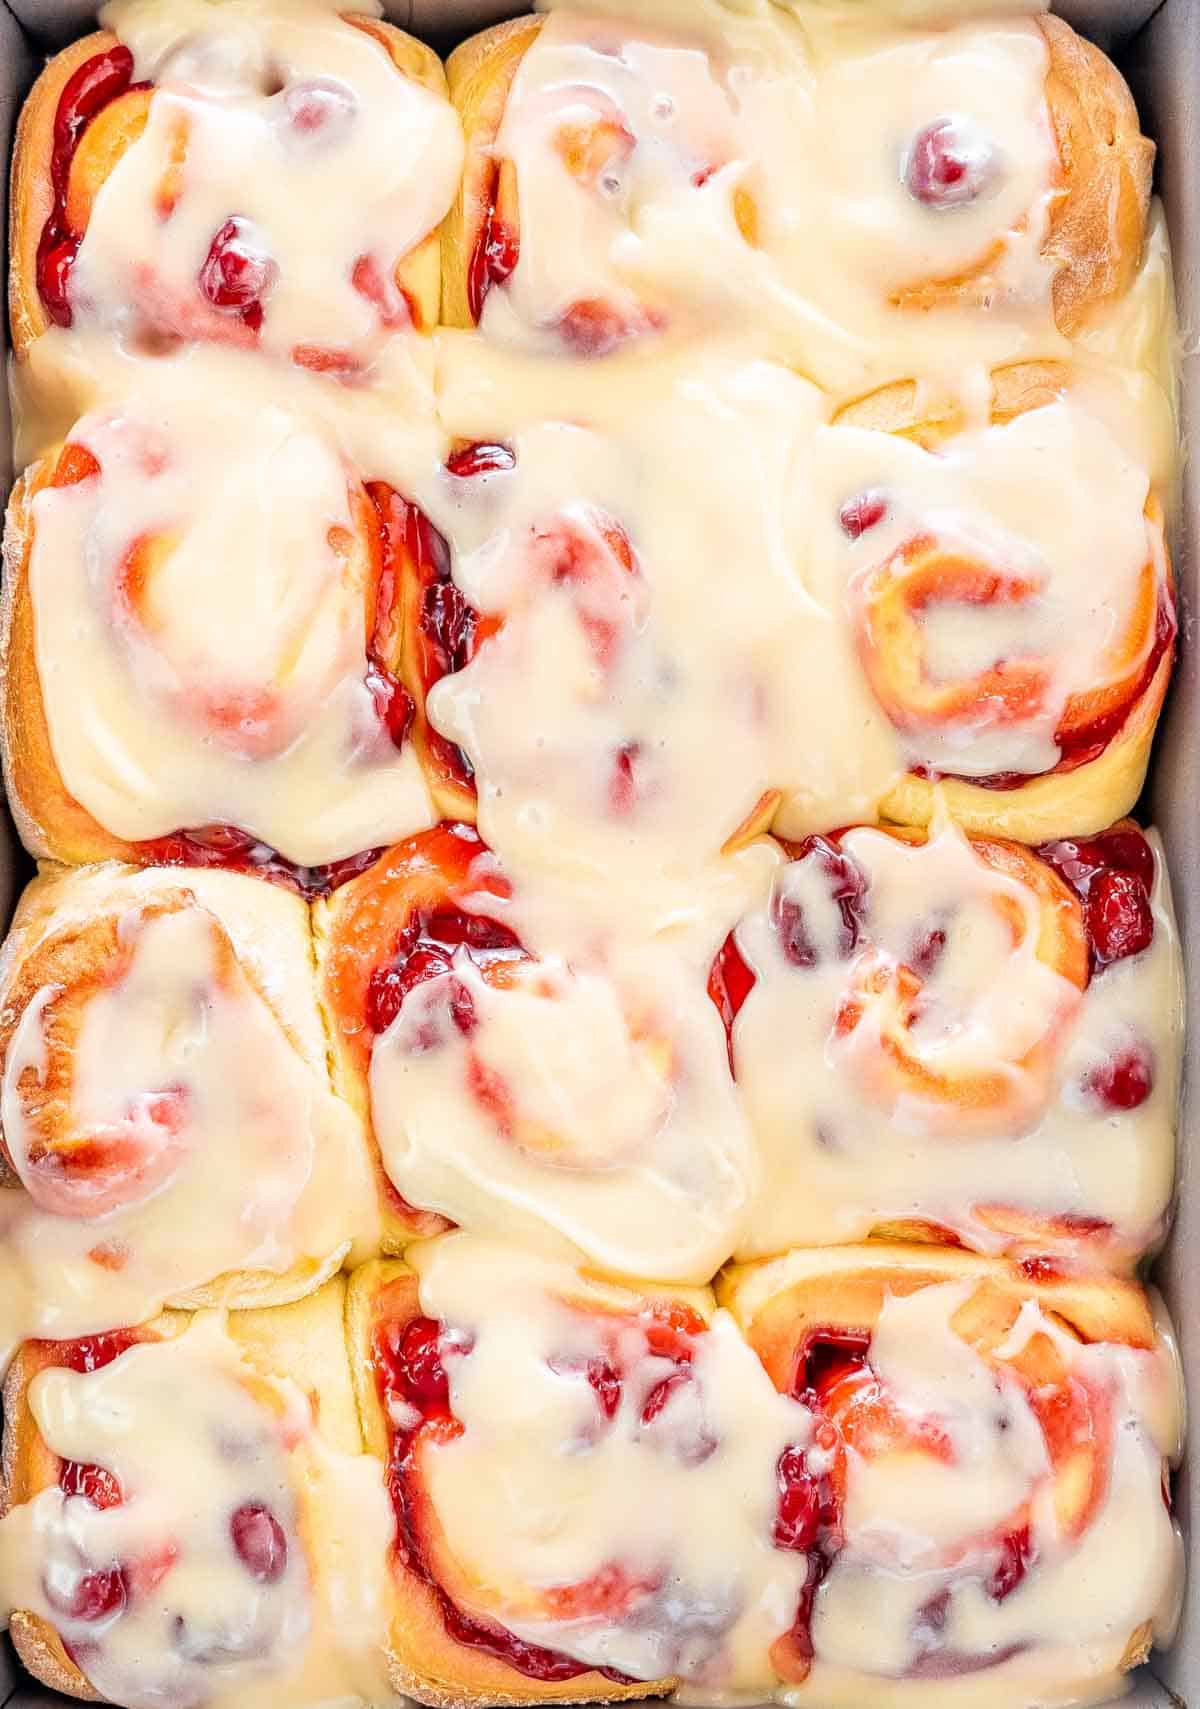
- Make the icing. While the cherry rolls are baking in the oven make the cream cheese frosting by adding all the icing ingredients to a large bowl and beating them together with an electric mixer until smooth and fluffy.
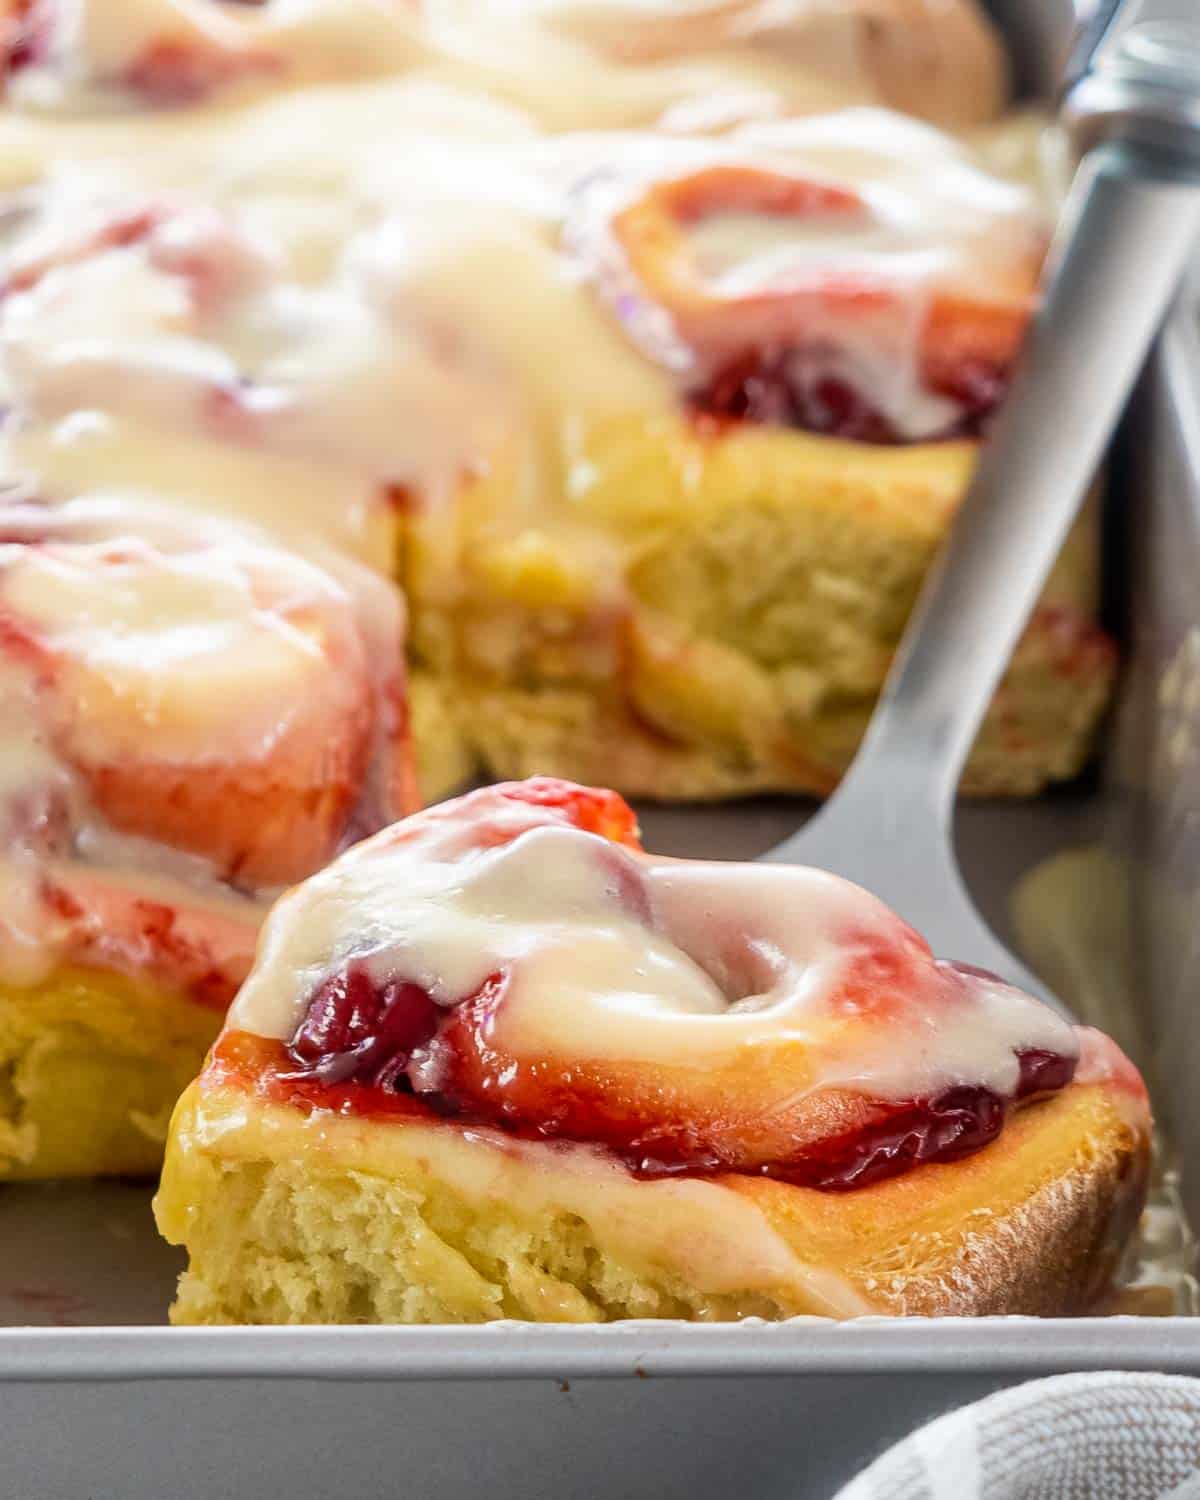
- Top the cherry rolls with icing. When the cherry buns are done baking, generously spread them with the prepared icing and enjoy.
Can You Use Cherry Preserves Or Jam?
Yes, you can easily substitute the cherry pie filling for preserves or jam with no problem. Just use a liberal amount when covering the dough before you roll it. Also note, using preserves or jam will work perfectly, but will result in a less gooey center and more like a thicker fruit spread.
Can You Use Any Canned Fruit Pie Filling?
Yes! If you’re feeling creative or don’t have any cherry pie filling on hand, feel free to use any canned fruit pie filling you like.
Is There A Way To Speed Up The Dough Rise Time?
Yes, it is possible to speed up the dough’s rising time. To do this, heat your oven to 200℉ (95°C) and then turn it off. Now, place the dough in the oven with the door closed. The warm environment will encourage the dough to rise fairly quickly. Your oven may already have a PROOF function, if it does, use that.
Expert Tips
- Check the date on your yeast. The number 1 reason that dough doesn’t rise is due to using old or expired yeast. If your yeast does not bloom and foam up, it will not work and your rolls will be a sad disaster.
- Lukewarm milk is a must! If your milk is too cold the yeast won’t bloom, but if it’s too hot it won’t work either. In fact, hot milk will kill your yeast and prevent your dough from rising. So it’s really important that your milk is between 98℉ and 105℉ (36.5°C to 40.5°C). I always use a digital thermometer to ensure my milk is perfectly lukewarm.
- Use room temperature butter and eggs. This helps to make the dough properly come together. I suggest taking the butter and eggs out of the fridge a couple of hours before you make the dough. Using room temperature ingredients also helps to emulsify the dough creating a more airy fluffy texture.
- Don’t overwork your dough. When rolling out the dough, try to do it just once. Rolling and re-rolling it will push the air out of the risen dough resulting in rolls that bake up tough. So the less you roll the dough the softer your cherry rolls will be!
Make Ahead Cherry Rolls
It’s possible to make cherry rolls ahead of time, which makes them perfect for prepping the night before and baking the next morning! All you do is follow the recipe instructions up until you place the filled and cut rolls on the baking pan. Then instead of doing the second rise and baking them, you just cover the rolls with plastic wrap and put them in the fridge overnight.
The rolls should continue to rise in the fridge. However, if for some reason by morning they have not doubled in size, turn your oven on to 200℉ (95°C) until it warms up, and then turn it off. Now, place the rolls on the sheet pan in the oven for about 30 to 45 minutes or until the rolls double in size. Then bake them as instructed and continue on with the recipe.
Can You Freeze Cherry Rolls?
Absolutely! Prepare the recipe up until you place the filled and cut rolls on the baking pan. Then tightly wrap the pan with 2 layers of plastic wrap and put in the freezer for 8 hours or up to 6 weeks. Then the night before you want to bake the rolls, place them in the fridge still wrapped in plastic to thaw out overnight. Now, just bake them the next morning and make the icing to complete!
Other Delicious Cherry Recipes To Try
Before You Begin! If you make this, please leave a review and rating letting us know how you liked this recipe! This helps our business thrive & continue providing free recipes.
Cherry Rolls
Ingredients
- ¼ ounce active dry yeast ((1 package))
- 1 cup milk (warm)
- ½ cup sugar (granulated)
- ⅓ cup butter (unsalted)
- 1 teaspoon salt
- 2 large eggs
- 4 cups all-purpose flour
- 21 ounce cherry pie filling ((1 can))
Cream Cheese Icing
- 6 tablespoons butter (unsalted, softened, or margarine)
- 1½ cups powdered sugar (also known as icing sugar, or confectioners sugar)
- ¼ cup cream cheese (at room temperature)
- ½ teaspoon vanilla extract
- ⅛ teaspoon salt
Before You Begin! If you make this, please leave a review and rating letting us know how you liked this recipe! This helps our business thrive & continue providing free recipes.
Instructions
- Bloom the yeast. Pour the lukewarm milk into a small bowl and mix in a teaspoon of the sugar from the dough. Then sprinkle the yeast over the milk and let it set for about 20 seconds before gently stirring it once or twice to fully dissolve. Now, leave it alone to sit for about 5 to 10 minutes until it gets foamy and begins to smell yeasty. If your yeast doesn’t foam up, don’t move forward with the recipe. This means that your yeast is dead and you need to buy new yeast.
- Make the dough. Add the remaining sugar, unsalted butter, salt, eggs, and all-purpose flour to the bowl of your stand mixer and then mix until well combined. Now, pour the bloomed yeast milk mixture over the flour mixture and fully incorporate all the ingredients together using the dough hook.
- Let the dough rise. Transfer the dough to an oiled bowl and cover it with plastic wrap or a clean kitchen towel. Then put it in a warm place to let it rise for about 1 hour or until the dough has doubled in size.
- Assemble the rolls. Once the dough has doubled in size, place it on a lightly floured surface and roll it out until it is about 16 inches long by 12 inches wide.
- Spread with pie filling. Then spread your favorite cherry pie filling evenly over the dough making sure to cover the entire surface. Now, working carefully, from the long edge, roll the dough down to the bottom of the other edge. It should look like a long swirled log when you are done rolling. Then cut the rolled dough into 1¾-inch slices and place them on a lightly greased baking pan.
- Let the rolls rise. Cover the rolls on the baking pan with a clean kitchen towel or plastic wrap and leave them to rise for about 30 minutes or until doubled in size.
- Bake the cherry rolls. Bake the rolls in a preheated 350℉ (180°C) oven for 20 minutes or until light golden brown. Baking time can vary, so be sure to check them at 15 minutes and it could take up to 25 minutes. Every oven is different.
- Make the icing. While the cherry rolls are baking in the oven make the cream cheese frosting by adding all the icing ingredients to a large bowl and beating them together with an electric mixer until smooth and fluffy.
- Top the cherry rolls with icing. When the cherry buns are done baking, generously spread them with the prepared icing and enjoy.
Equipment
- 9×13-inch Baking Pan Only 1 needed
Notes
- Check the date on your yeast. The number 1 reason that dough doesn’t rise is due to using old or expired yeast. If your yeast does not bloom and foam up, it will not work and your rolls will be a sad disaster.
- Lukewarm milk is a must! If your milk is too cold the yeast won’t bloom, but if it’s too hot it won’t work either. In fact, hot milk will kill your yeast and prevent your dough from rising. So it’s really important that your milk is between 98℉ and 105℉ (36.5°C to 40.5°C). I always use a digital thermometer to ensure my milk is perfectly lukewarm.
- Use room temperature butter and eggs. This helps to make the dough properly come together. I suggest taking the butter and eggs out of the fridge a couple of hours before you make the dough. Using room temperature ingredients also helps to emulsify the dough creating a more airy fluffy texture.
- Don’t overwork your dough. When rolling out the dough, try to do it just once. Rolling and re-rolling it will push the air out of the risen dough resulting in rolls that bake up tough. So the less you roll the dough the softer your cherry rolls will be!
Nutrition Information
Notice: Nutrition is auto-calculated for your convenience. Where relevant, we recommend using your own nutrition calculations.
Recipe Originally Shared April 7, 2013.
