Homemade Cherry Pie
This post may contain affiliate links. Please read my disclosure policy.

This Homemade Cherry Pie will have you coming back for seconds. Sweet Cherry Pie filled with the most delicious, mouth-watering, sweet fresh cherries in a rich, flaky pie crust. Perfect to make when fresh sweet cherries are in season, and really easy to make too!

My husband and I recently went camping to Osoyoos, BC and while our trip was cut short because of the wildfires, I did get a chance to buy lots of fresh cherries. I’ve never seen so many cherry orchards in my life, as I have in Osoyoos, it was simply beautiful.
Homemade Cherry Pie
Obviously the first thing that comes to mind when thinking of what to make with all the cherries I bought, is a fresh homemade cherry pie, completely from scratch. There’s nothing better than baking with beautiful fresh fruit, and this pie certainly fits that category. Once you use fresh cherries, you may never want to use canned ones again. Making my foolproof homemade pie crust is a must for me, and of course you always have the option of buying a ready made crust if you want to save time.
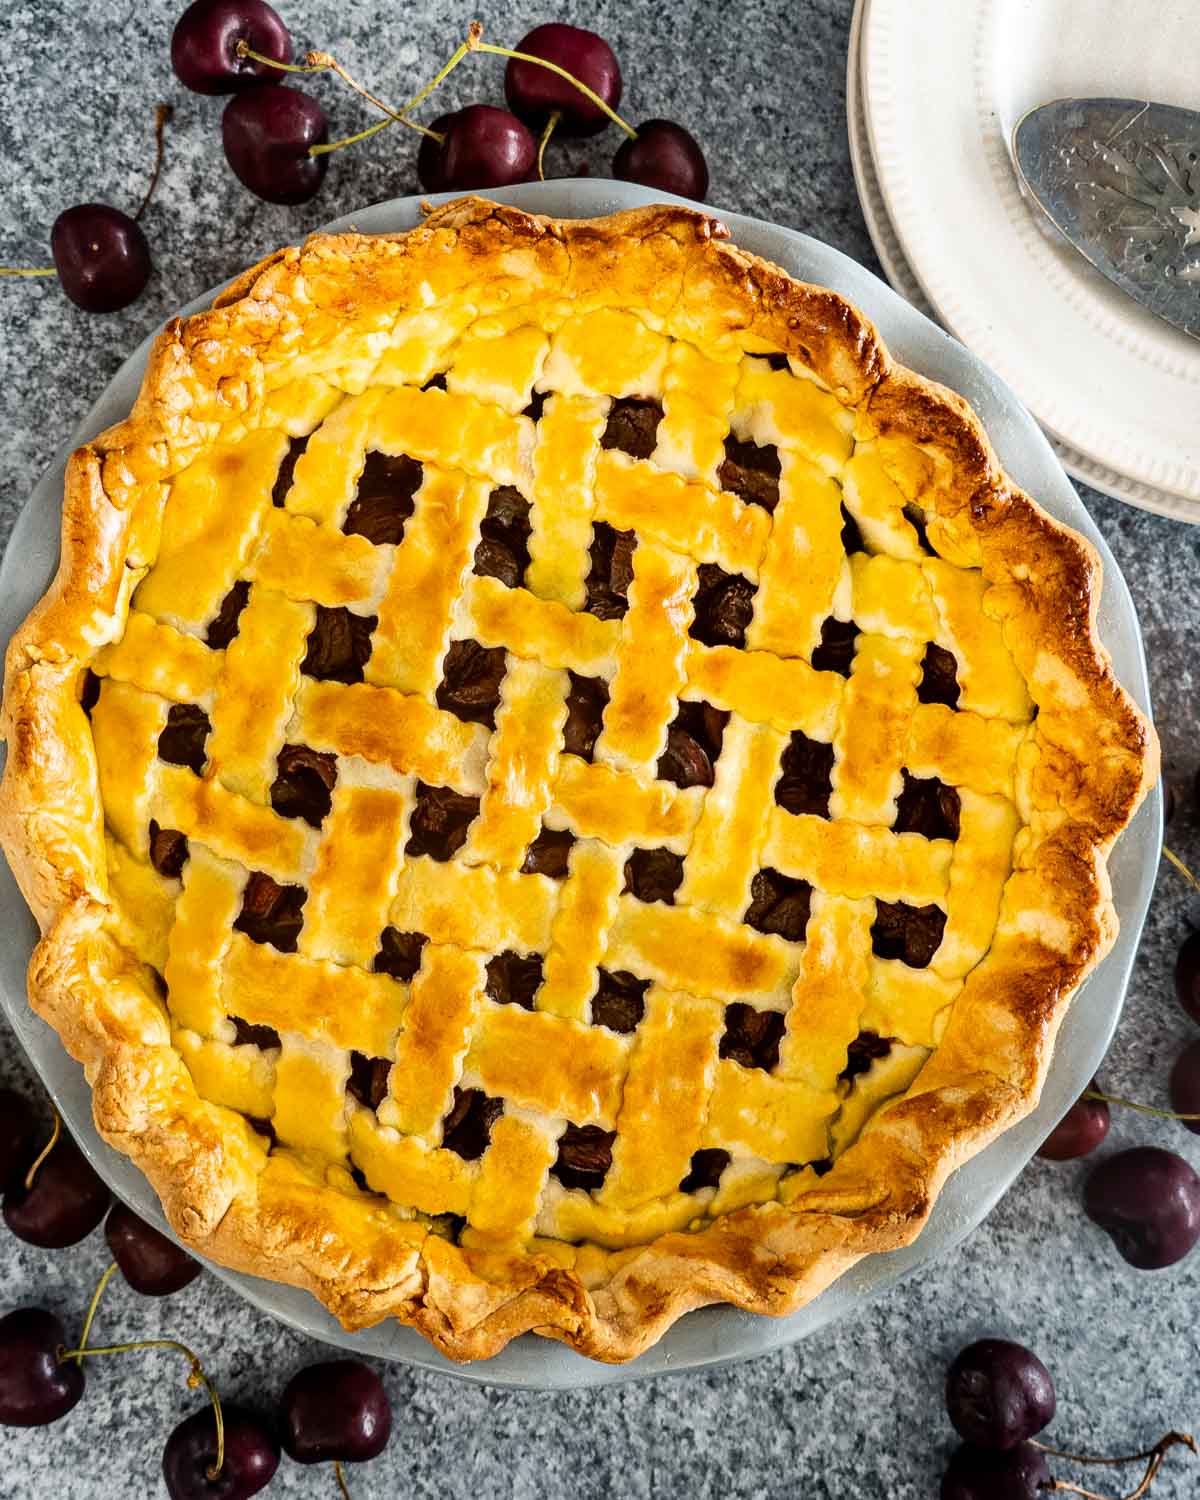
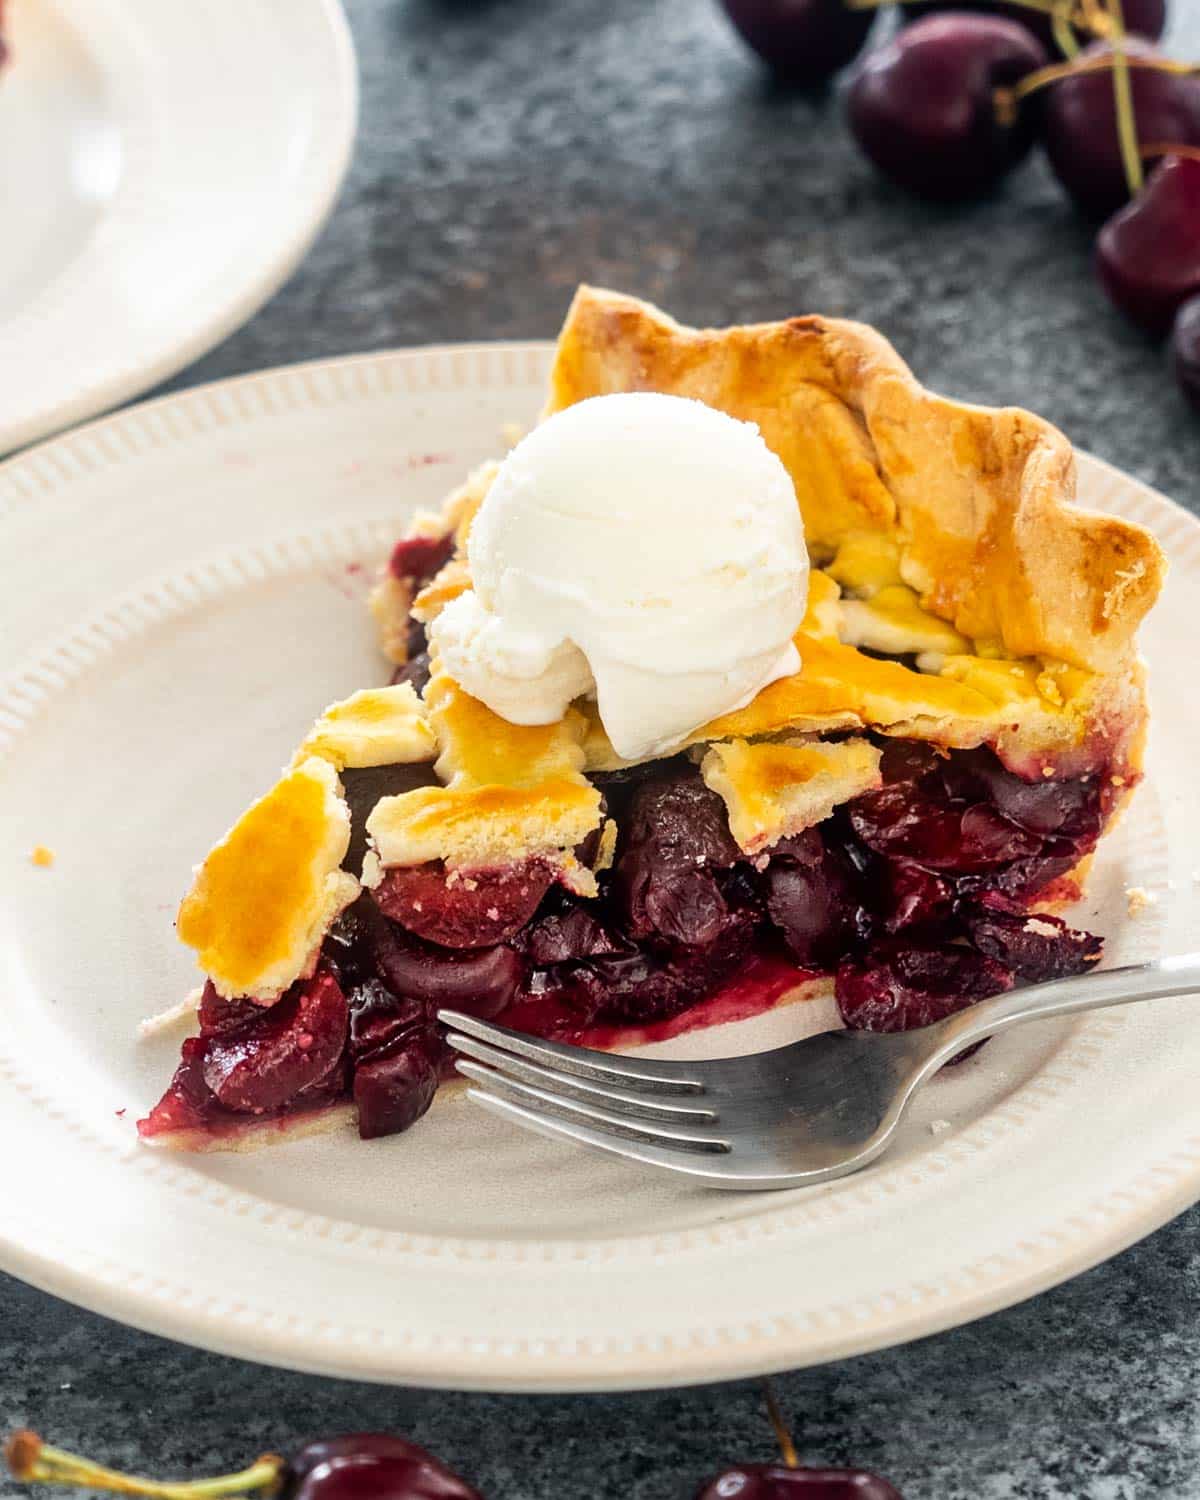
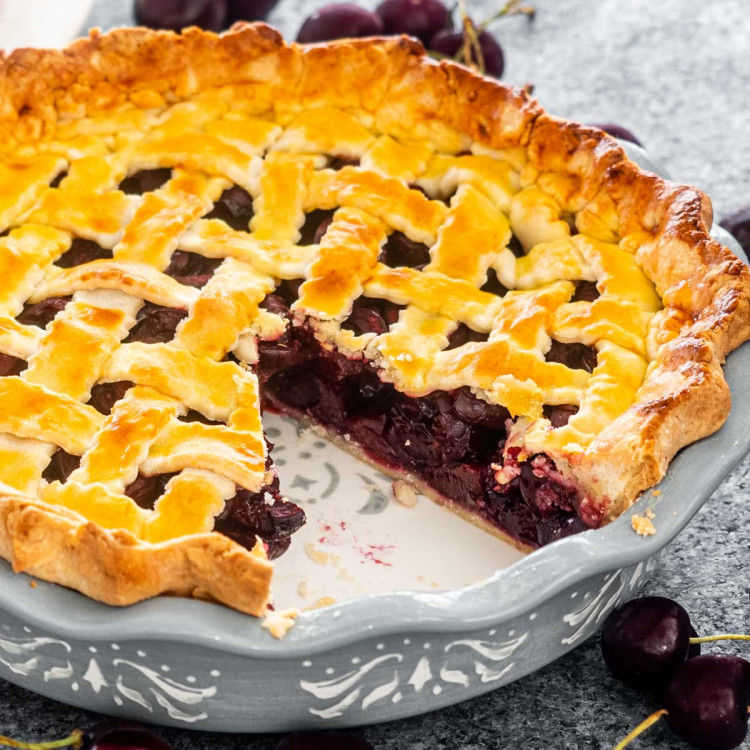
This is the desert to make if you want to wow someone with this unbelievably beautiful looking pie. The top is perfectly golden baked with hints of all those cherries, and best of all, the lattice top looks like it was purchased at a gourmet bakery. My favorite way to serve this is, of course, with a big scoop of vanilla ice cream.
Ingredient Notes
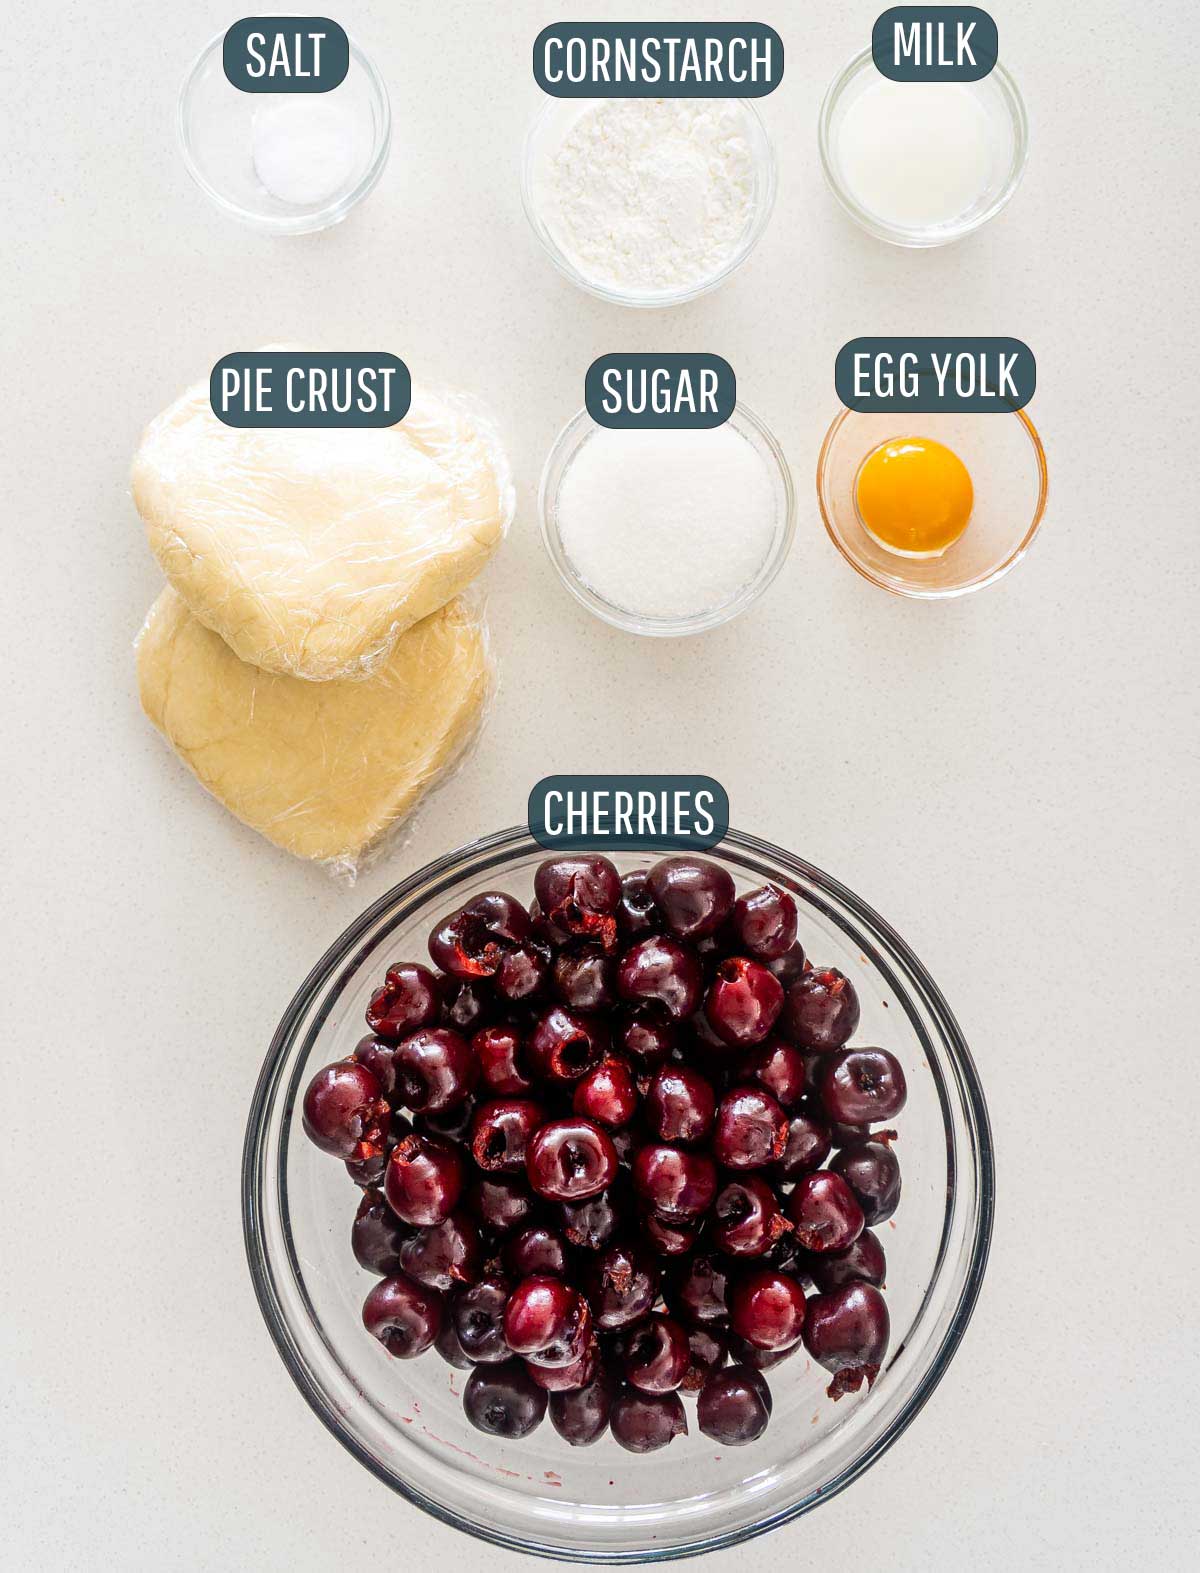
- Pie Crust – I always make my homemade pie crust. If you’re short on time, you can buy a store bought one.
- Cherries – Fresh sweet cherries are best! The only downside is that you have to pit them yourselves, but you can also use frozen cherries which come pitted already.
- Cornstarch – This helps to thicken the cherry pie filling. A great substitute is instant Clear Jel powder.
- Sugar – Sugar is usually a must for most fresh fruit pies and will help to sweeten it. Add more or use less sugar based on your preference.
- Yolk – We only need the egg yolk mixed in with milk for egg wash. This helps the crust turn that wonderful golden brown color.
- Milk – Use any %MF you want.
How To Make Cherry Pie
- Make the crust: Make the pie crust according to this pie crust recipe. You can also use store bought pie crust.
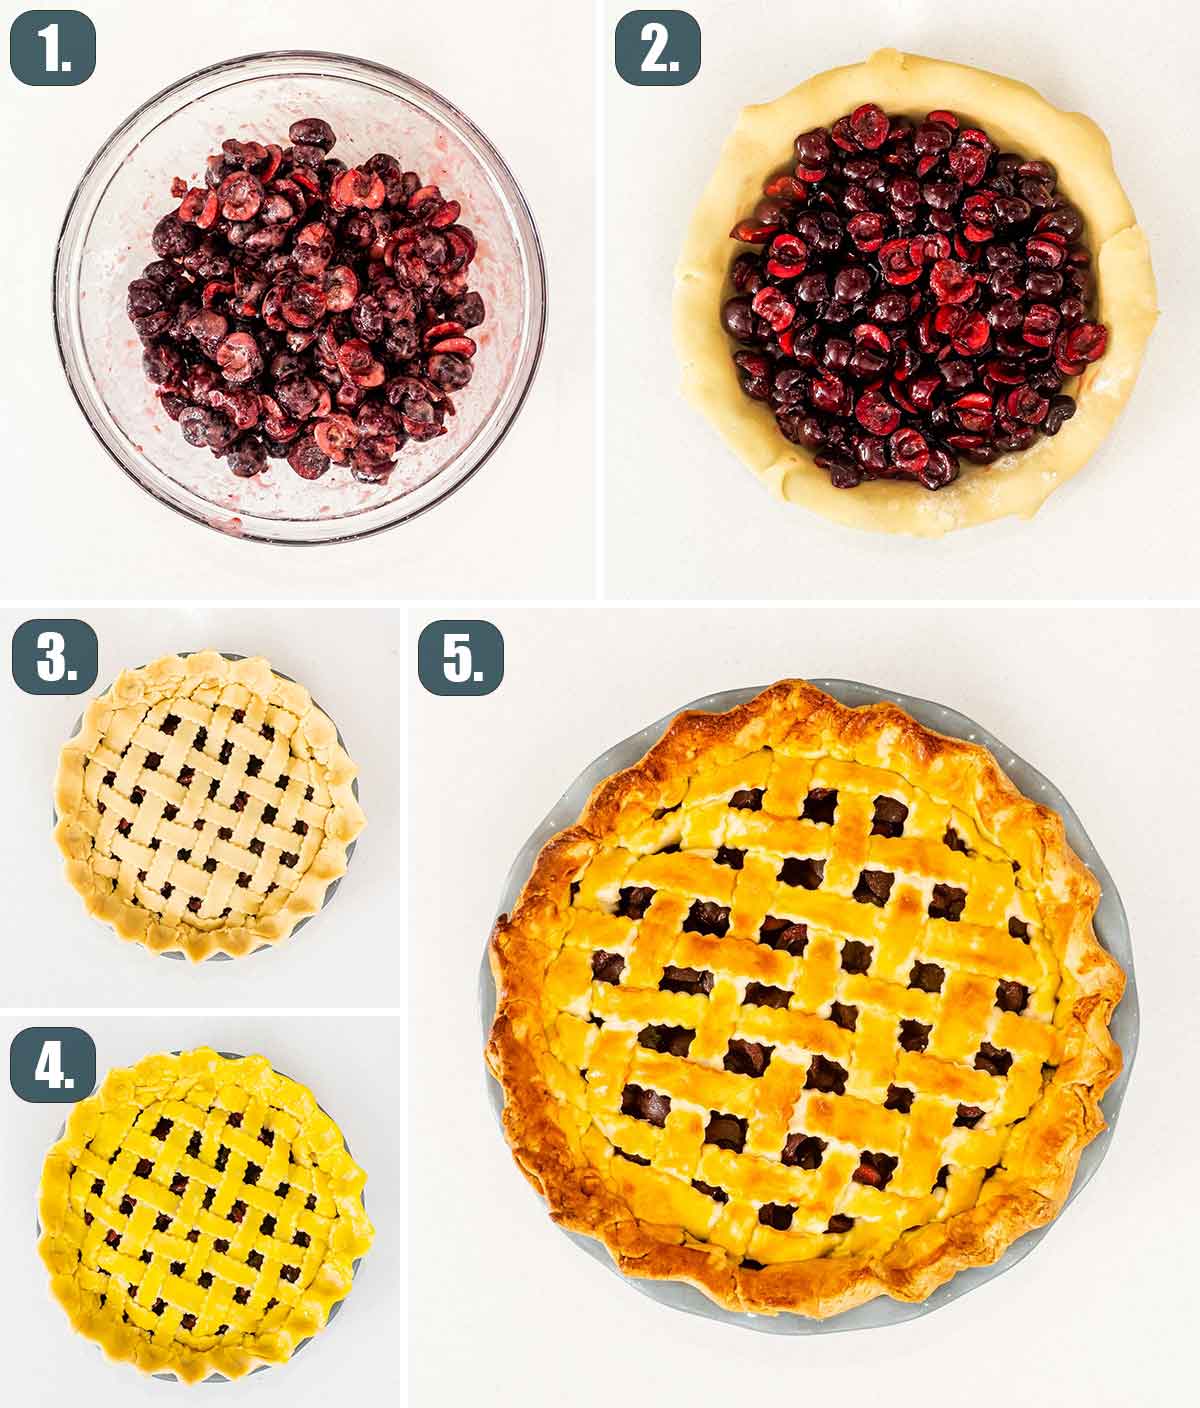
- Prep the cherries: While pie crust is resting in the fridge, toss the cherries with the rest of the pie filling ingredients. Let them sit for about 10 minutes to allow the cherries to emit more liquid which we will dispose of.
- Soften the dough: Remove the dough from the refrigerator, and let it sit at room temperature for up to 10 minutes. This is required to soften the dough a bit, so that you can roll it out.
- Preheat the oven: Preheat the oven to 425°F.
- Roll and place the bottom shell: Roll out each disc using a rolling pin. If your dough is sticking to the surface or to the rolling pin add a bit more flour as necessary. Roll it until it’s about 1/8 of an inch in thickness. Place the pie dough lightly into a pie plate. I usually roll it on the rolling pin and unroll it over the pie plate. Crimp the edge and cut off excess dough leaving 1 to 2 inches overhang.
- Fill the pie shell: Spoon the cherry pie filling into the crust, leaving any excess liquid in the bowl, do not add this to the pie, as it will make your pie soggy.
- Roll and place the top shell: Roll out the second disc. Gently place on top of the filling and make vents using a sharp knife, or cut into long strips to make a lattice. Trim the excess dough, if needed.
- Brush the top shell: Refrigerate the pie for 10 minutes to harden the dough. In a small bowl whisk the egg yolk with the milk and brush over the crust generously.
- Bake the pie: Transfer the pie plate to the oven and bake for 15 minutes at 425°F to set the pie crust, then reduce the heat to 350°F and bake for an additional 45 minutes.
- Cool and serve: Allow the pie to cool completely for a few hours, then serve with a scoop of vanilla ice cream.
Frequently Asked Questions
Should you heat up cherry pie?
The best way to enjoy leftover fruit pie is to warm it in the oven. This simple step makes the pie crust even more flaky and brings out all the flavors of any fruit fillings. However, cherry pie is still good when cold!
Why is my cherry pie runny?
Pay attention to bake times: one reason you’ll often end up with a runny fruit pie is simply that it hasn’t been baked long enough. Any thickener you use needs a little time to set up, and people often see their crust turning light brown and think the pie is done when it’s really not.
Will pie filling thicken as it cools?
The filling will naturally thicken as it cools, especially if you’ve used any thickening agents.
Some Tips For Making Cherry Pie
- The crust is the most important thing, so make sure you have a great pie crust that is flaky, buttery, and utterly delicious.
- Don’t skimp out on the cornstarch in the pie filling recipe. This will help to thicken the liquid in the filling so it doesn’t seep into the pie crust and make it soggy.
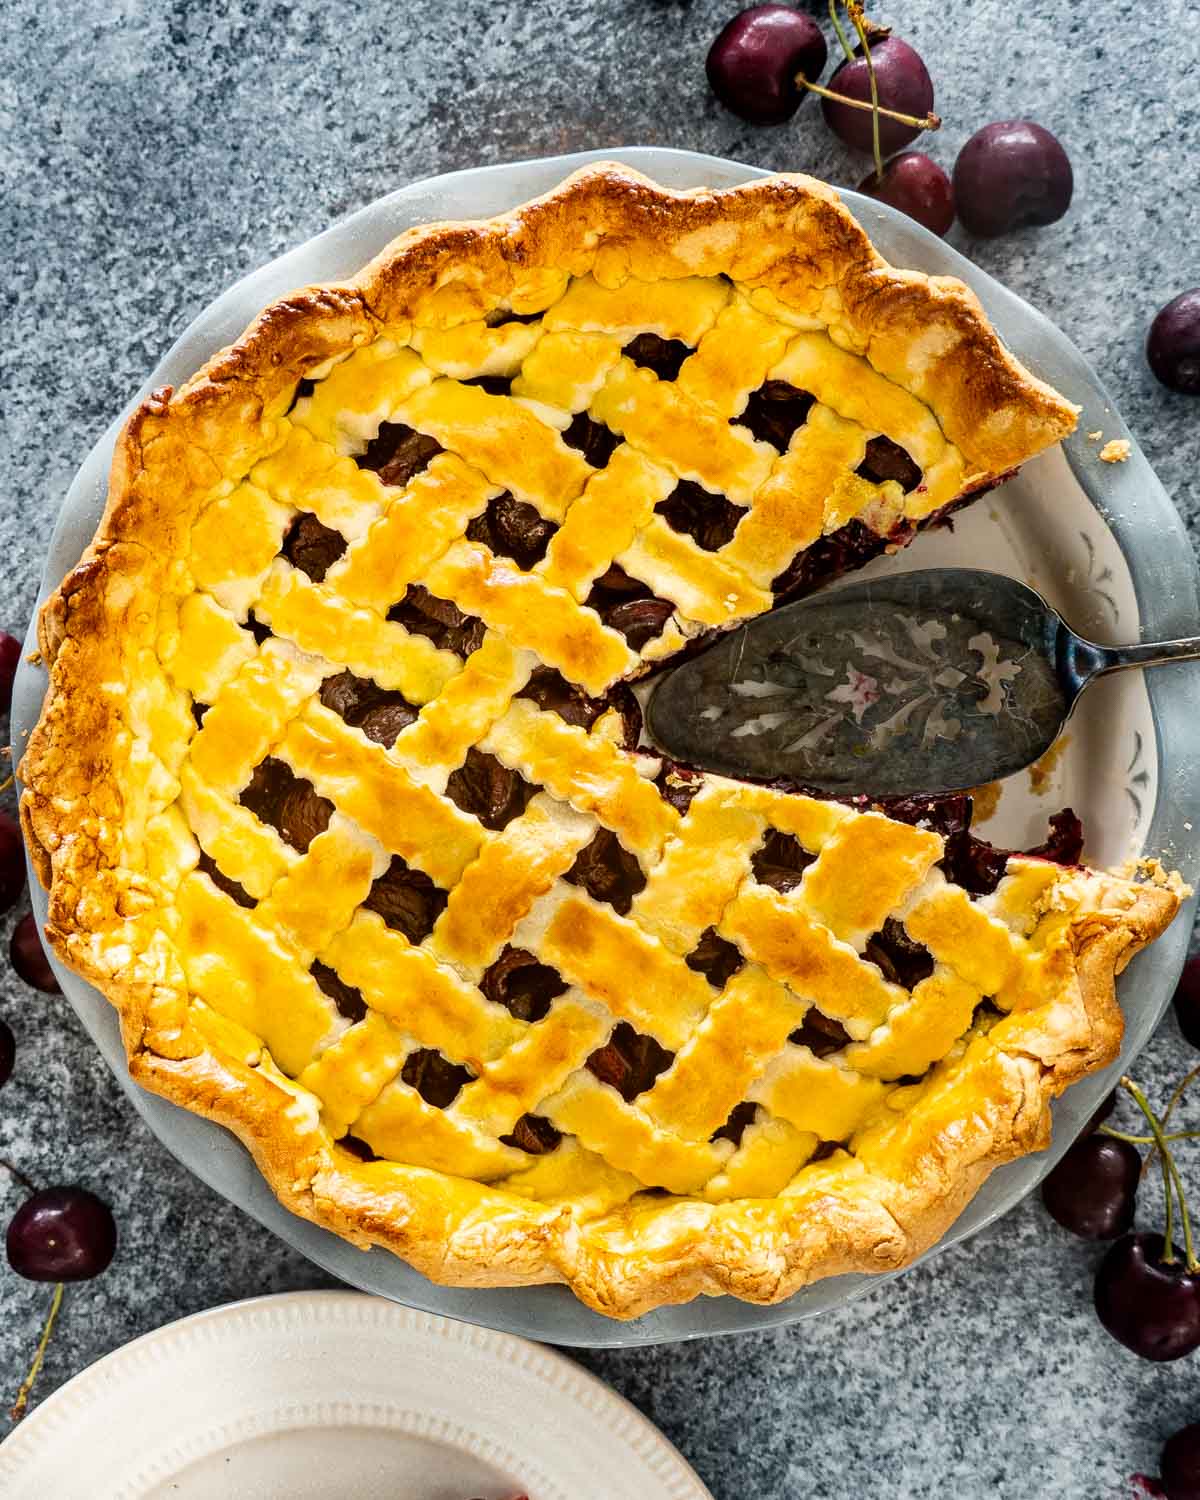
- If you want the pie to slice cleanly, without oozing filling, allow it to cool completely before serving; this will take at least a couple of hours.
Leftovers
Fridge
After baking, the cherry pie should be left at room temperature as the cooling process normally takes 2-4 hours. Within 4 hours, the pie should then be placed in the refrigerator. Cover loosely with plastic wrap until serving. Cherry pie may be refrigerated for 2-3 days.
Freezing
Wrap the cherry pie tightly with plastic freezer wrap, or place in heavy-duty freezer bag. Properly stored, it will maintain best quality for about 6 to 8 months. Thaw out the cherry pie in the fridge and then reheat it in a 350°F oven for 30 minutes or until warm.
More great recipes to try
Before You Begin! If you make this, please leave a review and rating letting us know how you liked this recipe! This helps our business thrive & continue providing free recipes.
Homemade Cherry Pie
Video
Ingredients
- 1 pie crust (whole recipe for top and bottom)
Cherry Pie Filling
- 2½ pounds cherries (pitted)
- ⅓ cup cornstarch
- ⅓ cup sugar (granulated)
- ½ teaspoon salt
Egg wash
- 1 egg yolk
- 1 tablespoon milk
Before You Begin! If you make this, please leave a review and rating letting us know how you liked this recipe! This helps our business thrive & continue providing free recipes.
Instructions
- Make the crust: Make the pie crust according to this pie crust recipe. You can also use store bought pie crust.
- Prep the cherries: While pie crust is resting in the fridge, toss the cherries with the rest of the pie filling ingredients. Let them sit for about 10 minutes to allow the cherries to emit more liquid which we will dispose of.
- Soften the dough: Remove the dough from the refrigerator, and let it sit at room temperature for up to 10 minutes. This is required to soften the dough a bit, so that you can roll it out.
- Preheat the oven: Preheat the oven to 425°F.
- Roll and place the bottom shell: Roll out each disc using a rolling pin. If your dough is sticking to the surface or to the rolling pin add a bit more flour as necessary. Roll it until it’s about 1/8 of an inch in thickness. Place the pie dough lightly into a pie plate. I usually roll it on the rolling pin and unroll it over the pie plate. Crimp the edge and cut off excess dough leaving 1 to 2 inches overhang.
- Fill the pie shell: Spoon the cherry pie filling into the crust, leaving any excess liquid in the bowl, do not add this to the pie, as it will make your pie soggy.
- Roll and place the top shell: Roll out the second disc. Gently place on top of the filling and make vents using a sharp knife, or cut into long strips to make a lattice. Trim the excess dough, if needed.
- Brush the top shell: Refrigerate the pie for 10 minutes to harden the dough. In a small bowl whisk the egg yolk with the milk and brush over the crust generously.
- Bake the pie: Transfer the pie plate to the oven and bake for 15 minutes at 425°F to set the pie crust, then reduce the heat to 350°F and bake for an additional 45 minutes.
- Cool and serve: Allow the pie to cool completely for a few hours, then serve with a scoop of vanilla ice cream.
Notes
- The crust is the most important thing, so make sure you have a great pie crust that is flaky, buttery, and utterly delicious.
- Don’t skimp out on the cornstarch in the pie filling recipe. This will help to thicken the liquid in the filling so it doesn’t seep into the pie crust and make it soggy.
- If you want the pie to slice cleanly, without oozing filling, allow it to cool completely before serving; this will take at least a couple of hours.
- After baking, the cherry pie should be left at room temperature as the cooling process normally takes 2-4 hours. Within 4 hours, the pie should then be placed in the refrigerator. Cover loosely with plastic wrap until serving. Cherry pie may be refrigerated for 2-3 days.
- To freeze, wrap the cherry pie tightly with plastic freezer wrap, or place in heavy-duty freezer bag. Properly stored, it will maintain best quality for about 6 to 8 months. Thaw out the cherry pie in the fridge and then reheat it in a 350°F oven for 30 minutes or until warm.
Nutrition Information
Notice: Nutrition is auto-calculated for your convenience. Where relevant, we recommend using your own nutrition calculations.
