Pie Crust Recipe
This post may contain affiliate links. Please read my disclosure policy.
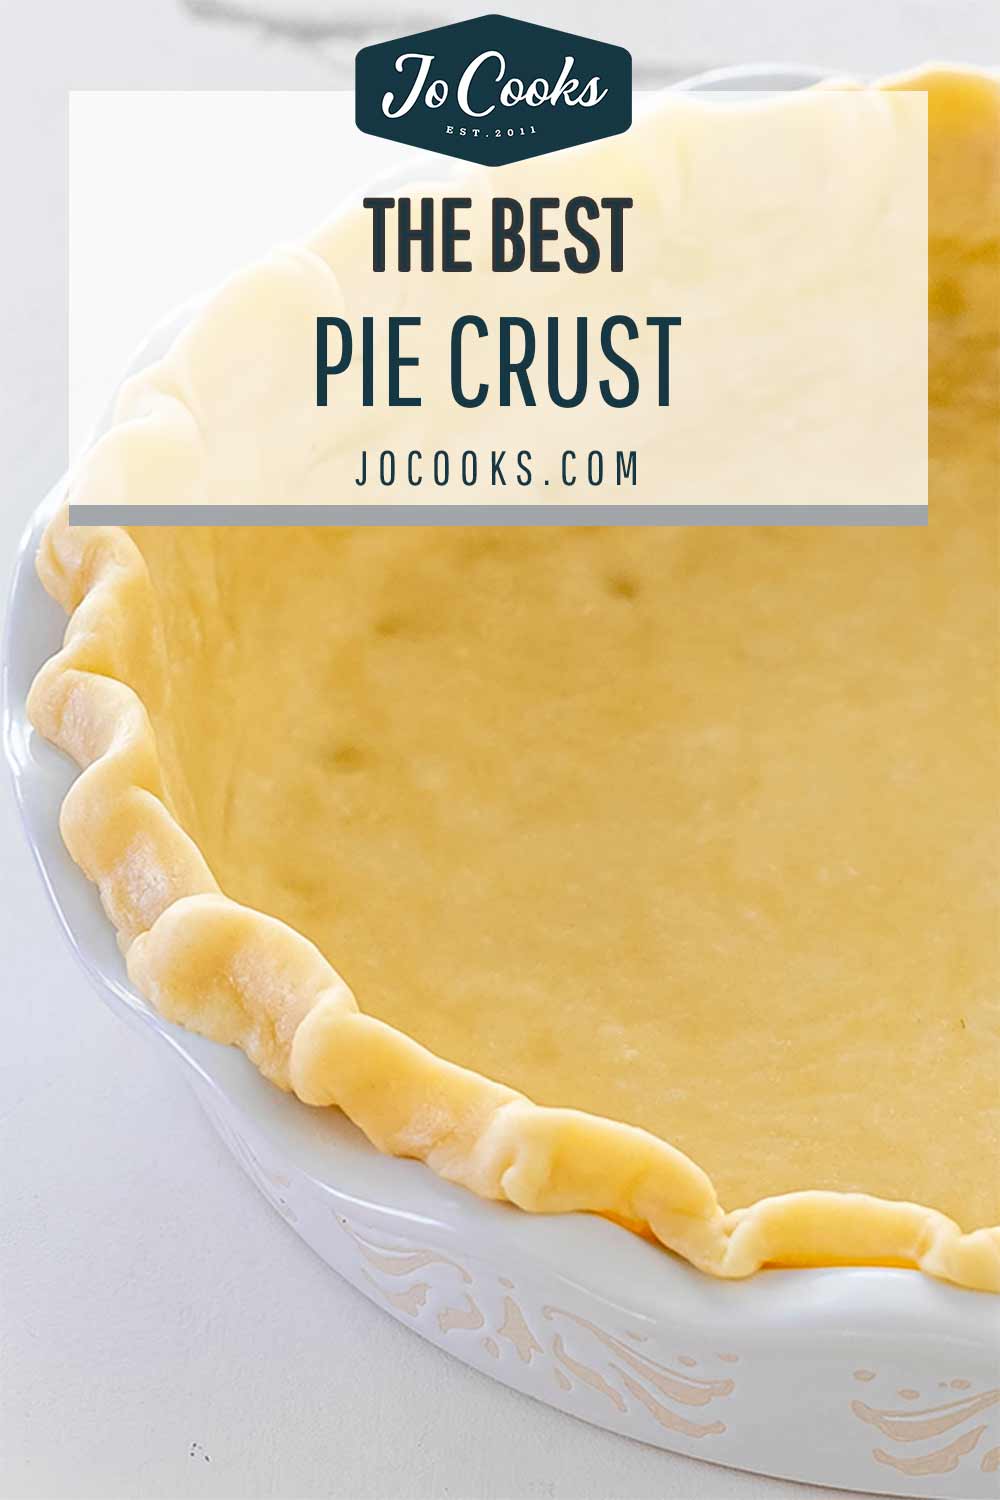
The Perfect Pie Crust Recipe requires only 5 ingredients and yields enough for both bottom and top crust. This Pie Crust is buttery, flaky and is perfect for sweet or savory pies.
Easy Pie Crust Recipe
I’ve been baking my own pies for a long time now, but I still remember a time when I used to shy away from making my own crust and used to buy the store bought ones. While there’s nothing wrong with store bought pie crust, I enjoy making my own because it’s so easy and quick and using this basic recipe, it always turns out perfect.
The great thing about this
The great thing about this crust is that is so versatile, it’s perfect for both savory or sweet pies. You can use it to make custard pies, cherry pies, and apple pies, pumpkin pies or even quiches.
Why You’ll Love This Pie Crust
- Quick and Easy! This is a very easy pie dough that requires just 5 ingredients and takes just 15 minutes to whip together with the help of a food processor!
- Delicious Pastry! My pie crust is so good! Unlike store-bought pie crust, it comes out super flaky because it’s an all-butter recipe with no shortening, fillers, or added preservatives.
- Versatile Crust! You can use this pie crust recipe for both sweet and savory pies. I’ve used it to make everything from apple pies to quiches. And you can too!

- Flour – I use all-purpose flour for this. You want to use a low protein flour, so pastry flour would be great too. Avoid cake flour as it might lack enough protein to form an elastic dough.
- Sugar – I add just a bit of sugar to my pie crust, however this is an ingredient you can omit, especially if you’re making a savory pie.
- Salt – You’ll need a bit of salt to bring all the flavors together.
- Butter – since we’re adding salt you will want to use unsalted butter, this way you can control the sodium content in your crust. Don’t skimp on the butter, this is what makes your crust flaky. If you choose you can use half shortening and half butter.
- Ice water – Make sure it’s ice water. Usually I pour a glass of water loaded with ice in it and use that. The ice water is what keeps the fat cold so it does not melt. This helps keep the crust flaky.
Making pie crust from scratch is not hard at all! In this recipe, I use the help of a food processor, but you can also do it by hand if you prefer. The most important thing is that your butter and water are very cold and that you have all your ingredients measured out before you begin.
Make The Dough
There are 2 ways to make this pie dough. You can use a food processor like I do or you can do it by hand. The most important thing is that the chunks of butter are cold for the pastry to come together properly. So just follow the simple steps that I’ve outlined here and it will come out perfect!
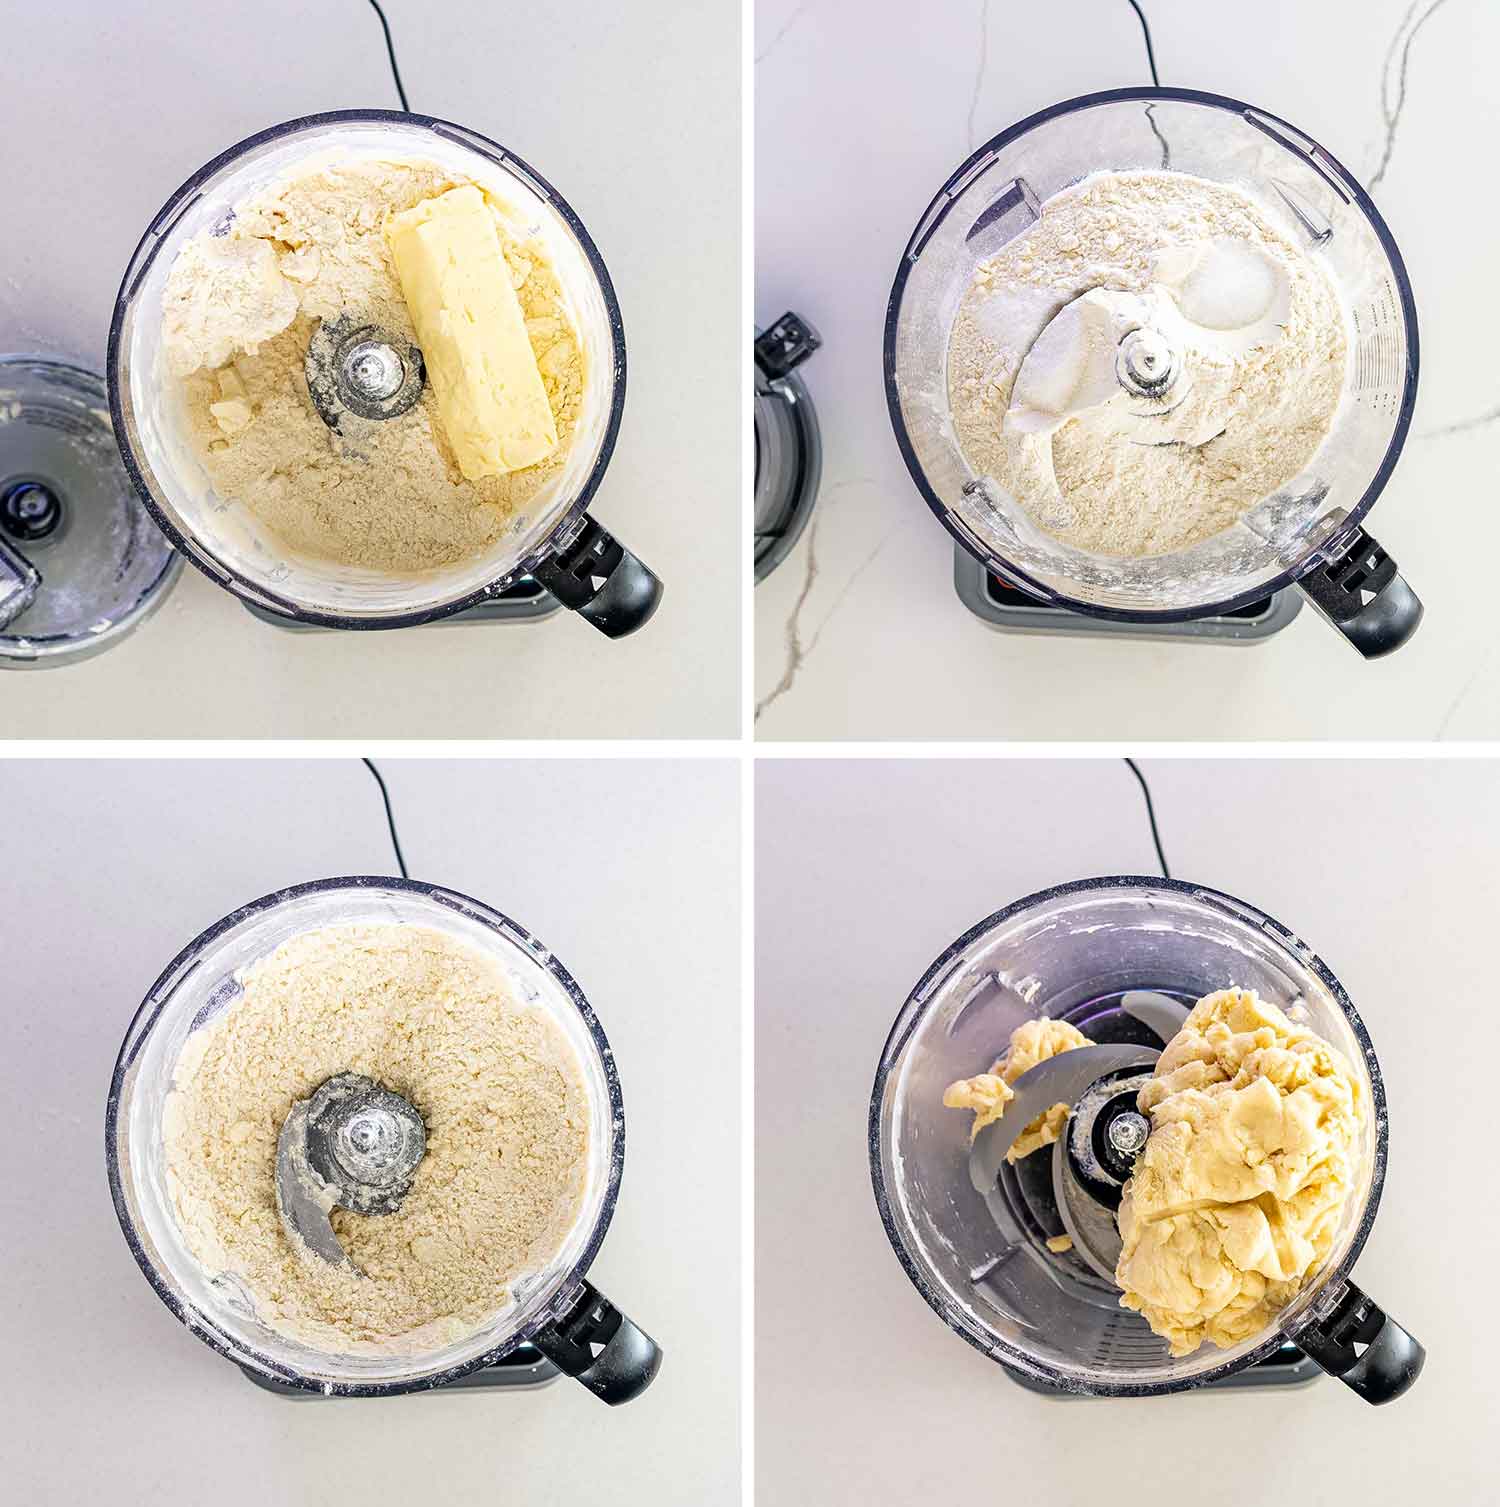
- Food Processor: Add the flour, sugar, and salt to a food processor and pulse a few times to combine. Then add the butter and pulse several times more until the butter looks like peas. Now, add just 6 tablespoons of ice water (no ice cubes) and pulse again just until the dough begins to stick together. If it isn’t sticking together you will need to add more ice water one tablespoon at a time.
- By hand: Put the flour, sugar, and salt into a large mixing bowl. Then whisk it together. Next, add the chunks of cold butter and then use a pastry cutter or two knives to cut in the butter until it looks like coarse sand. Now, add the ice-cold water a little bit at a time and mix just until the dough comes together. But do not overwork the dough.
Either way, you choose to make the dough, when it’s ready the dough should look like coarse sand and stick together when pinched with your fingers.
Knead The Dough
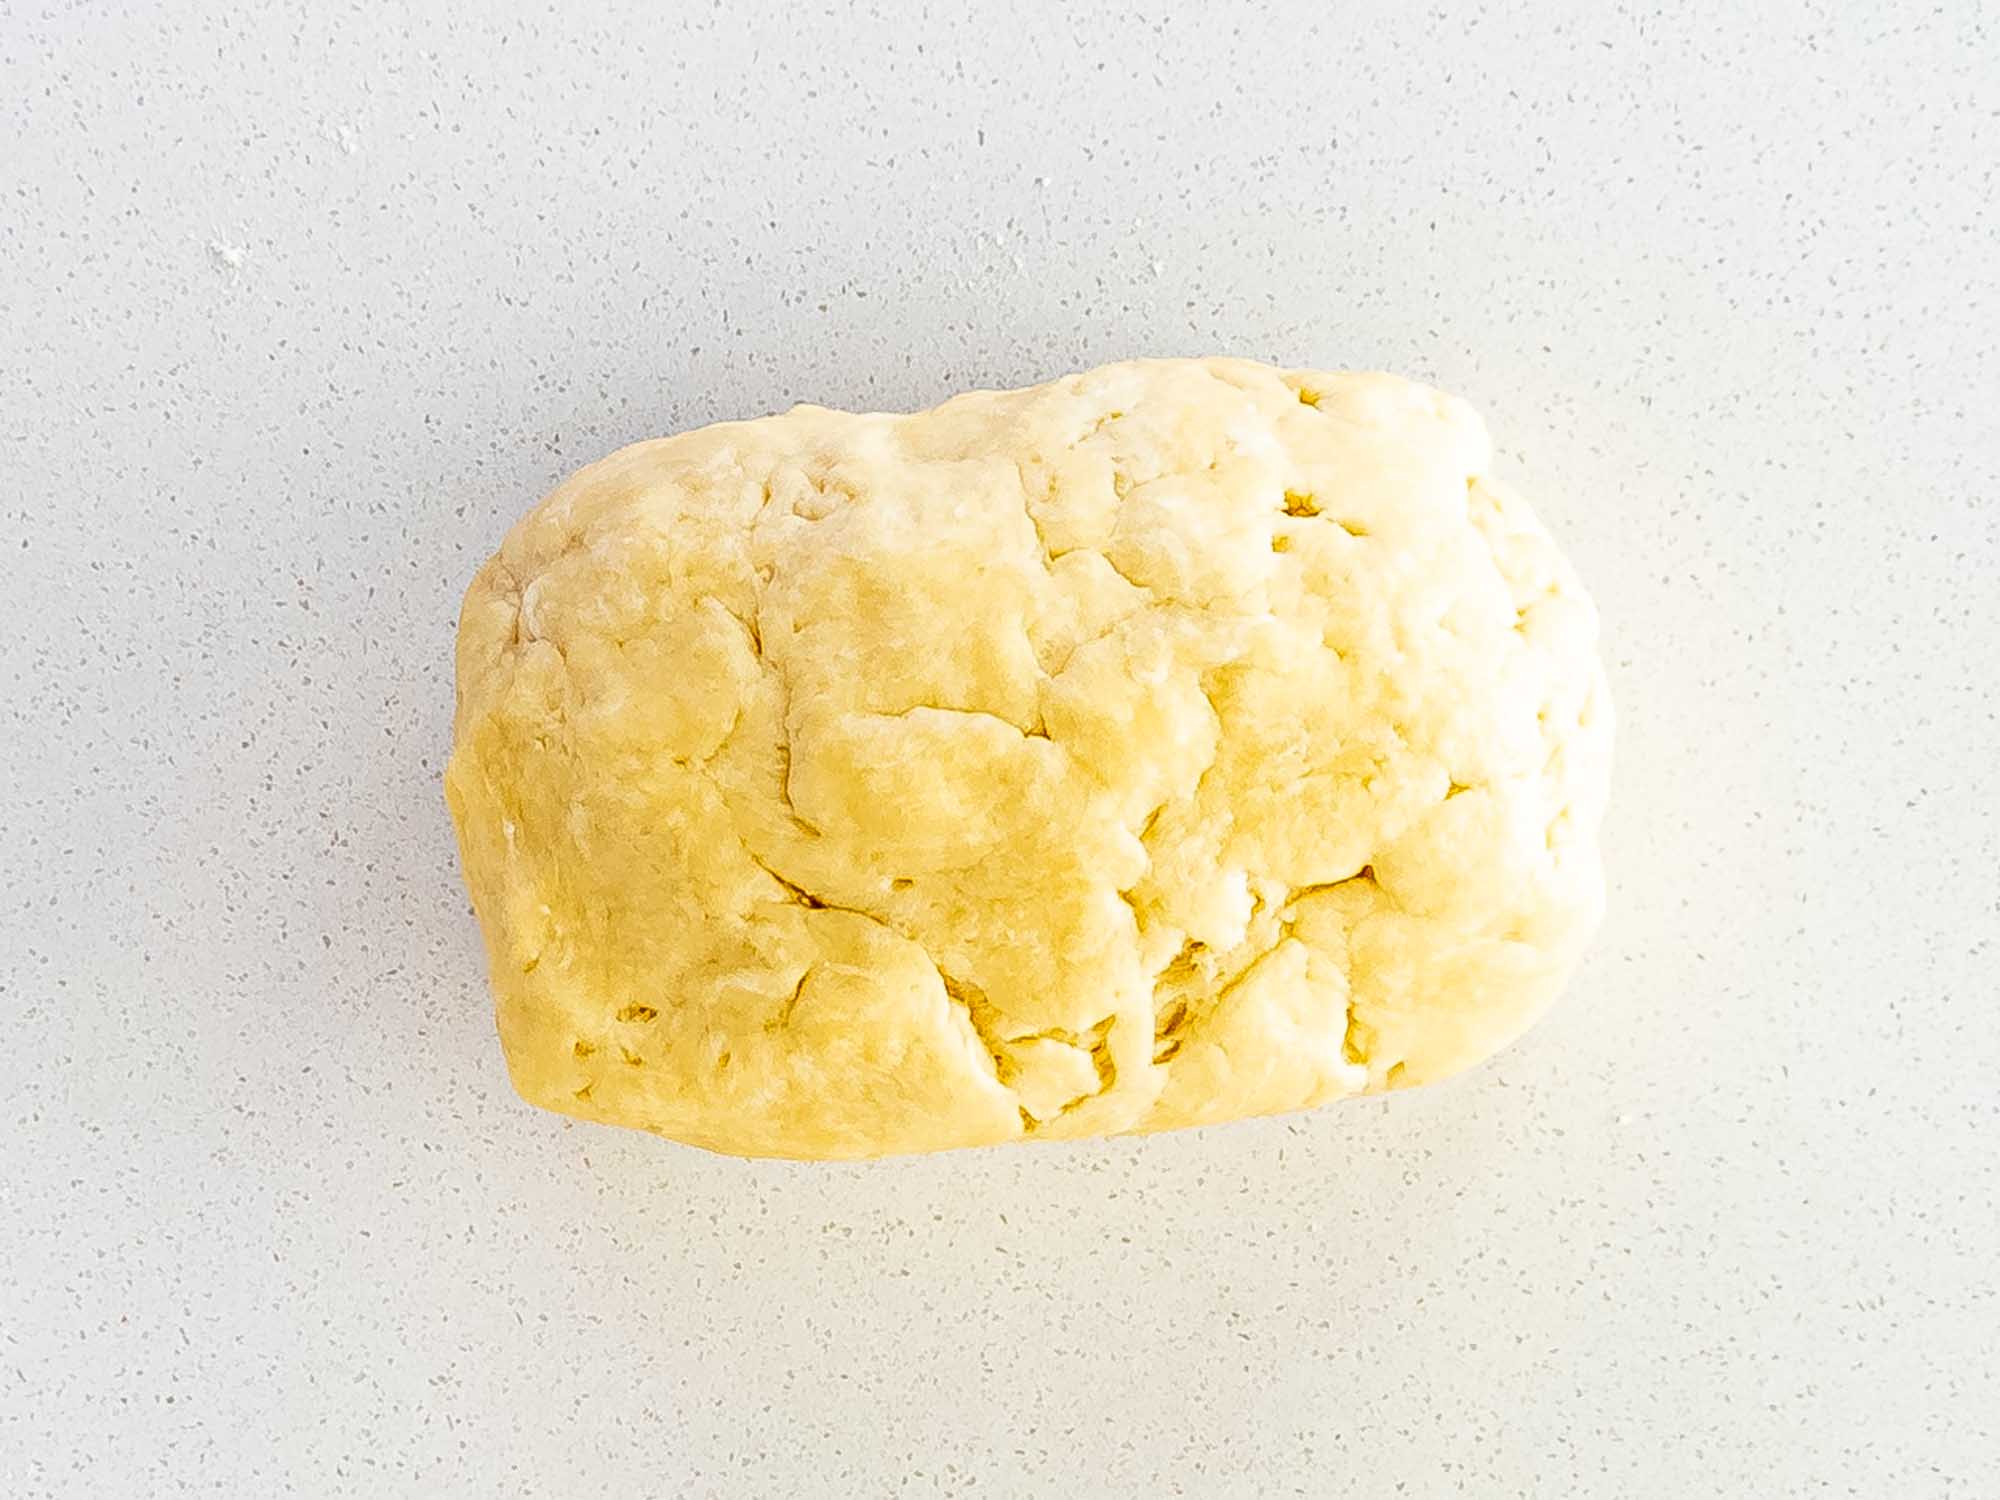
Once your dough is made, it’s time to knead, but just a tad! So transfer the dough to a clean work surface and form it into a ball with your hands. Be very careful when doing this step not to over-knead the dough. If you do so the butter will start to melt, which will cause the dough to start developing gluten and become tough.
Shape The Dough
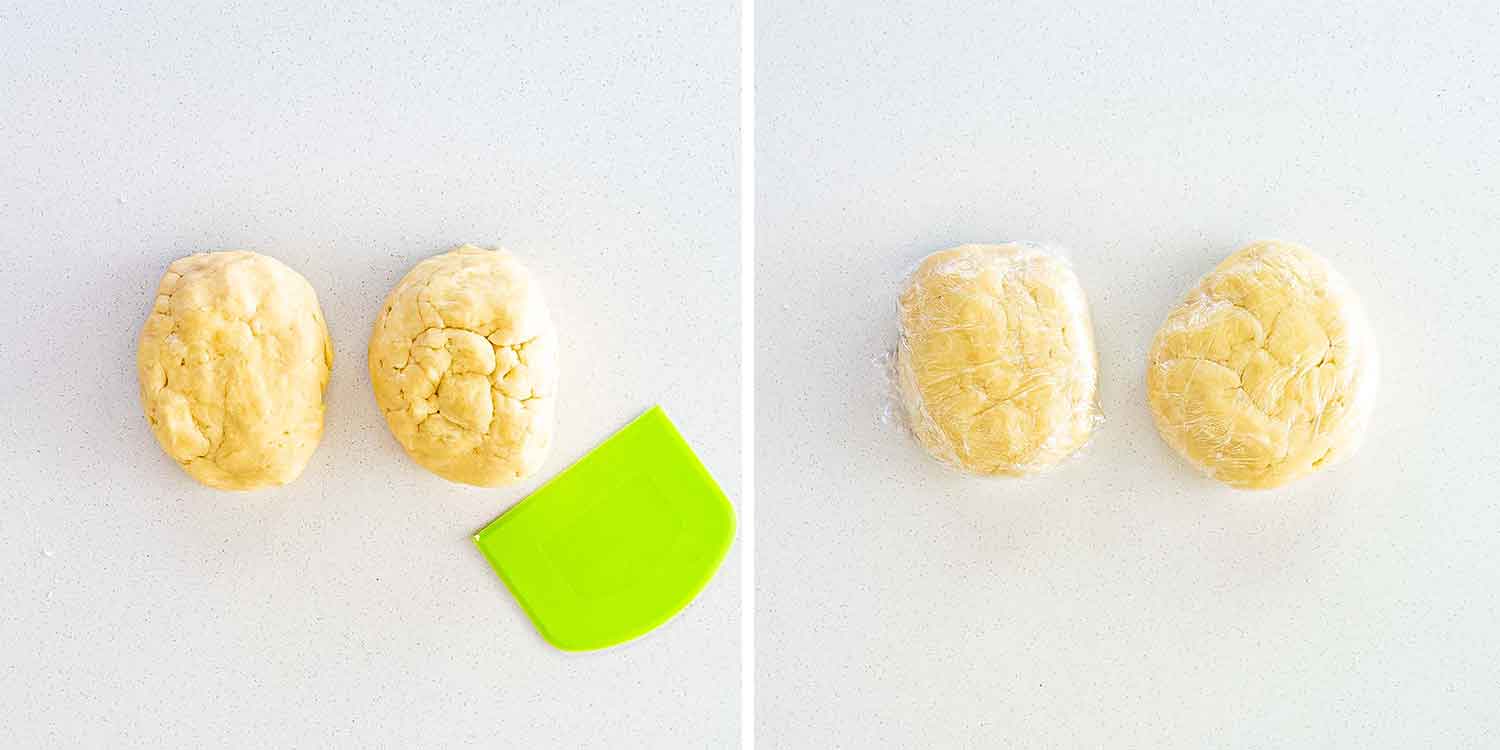
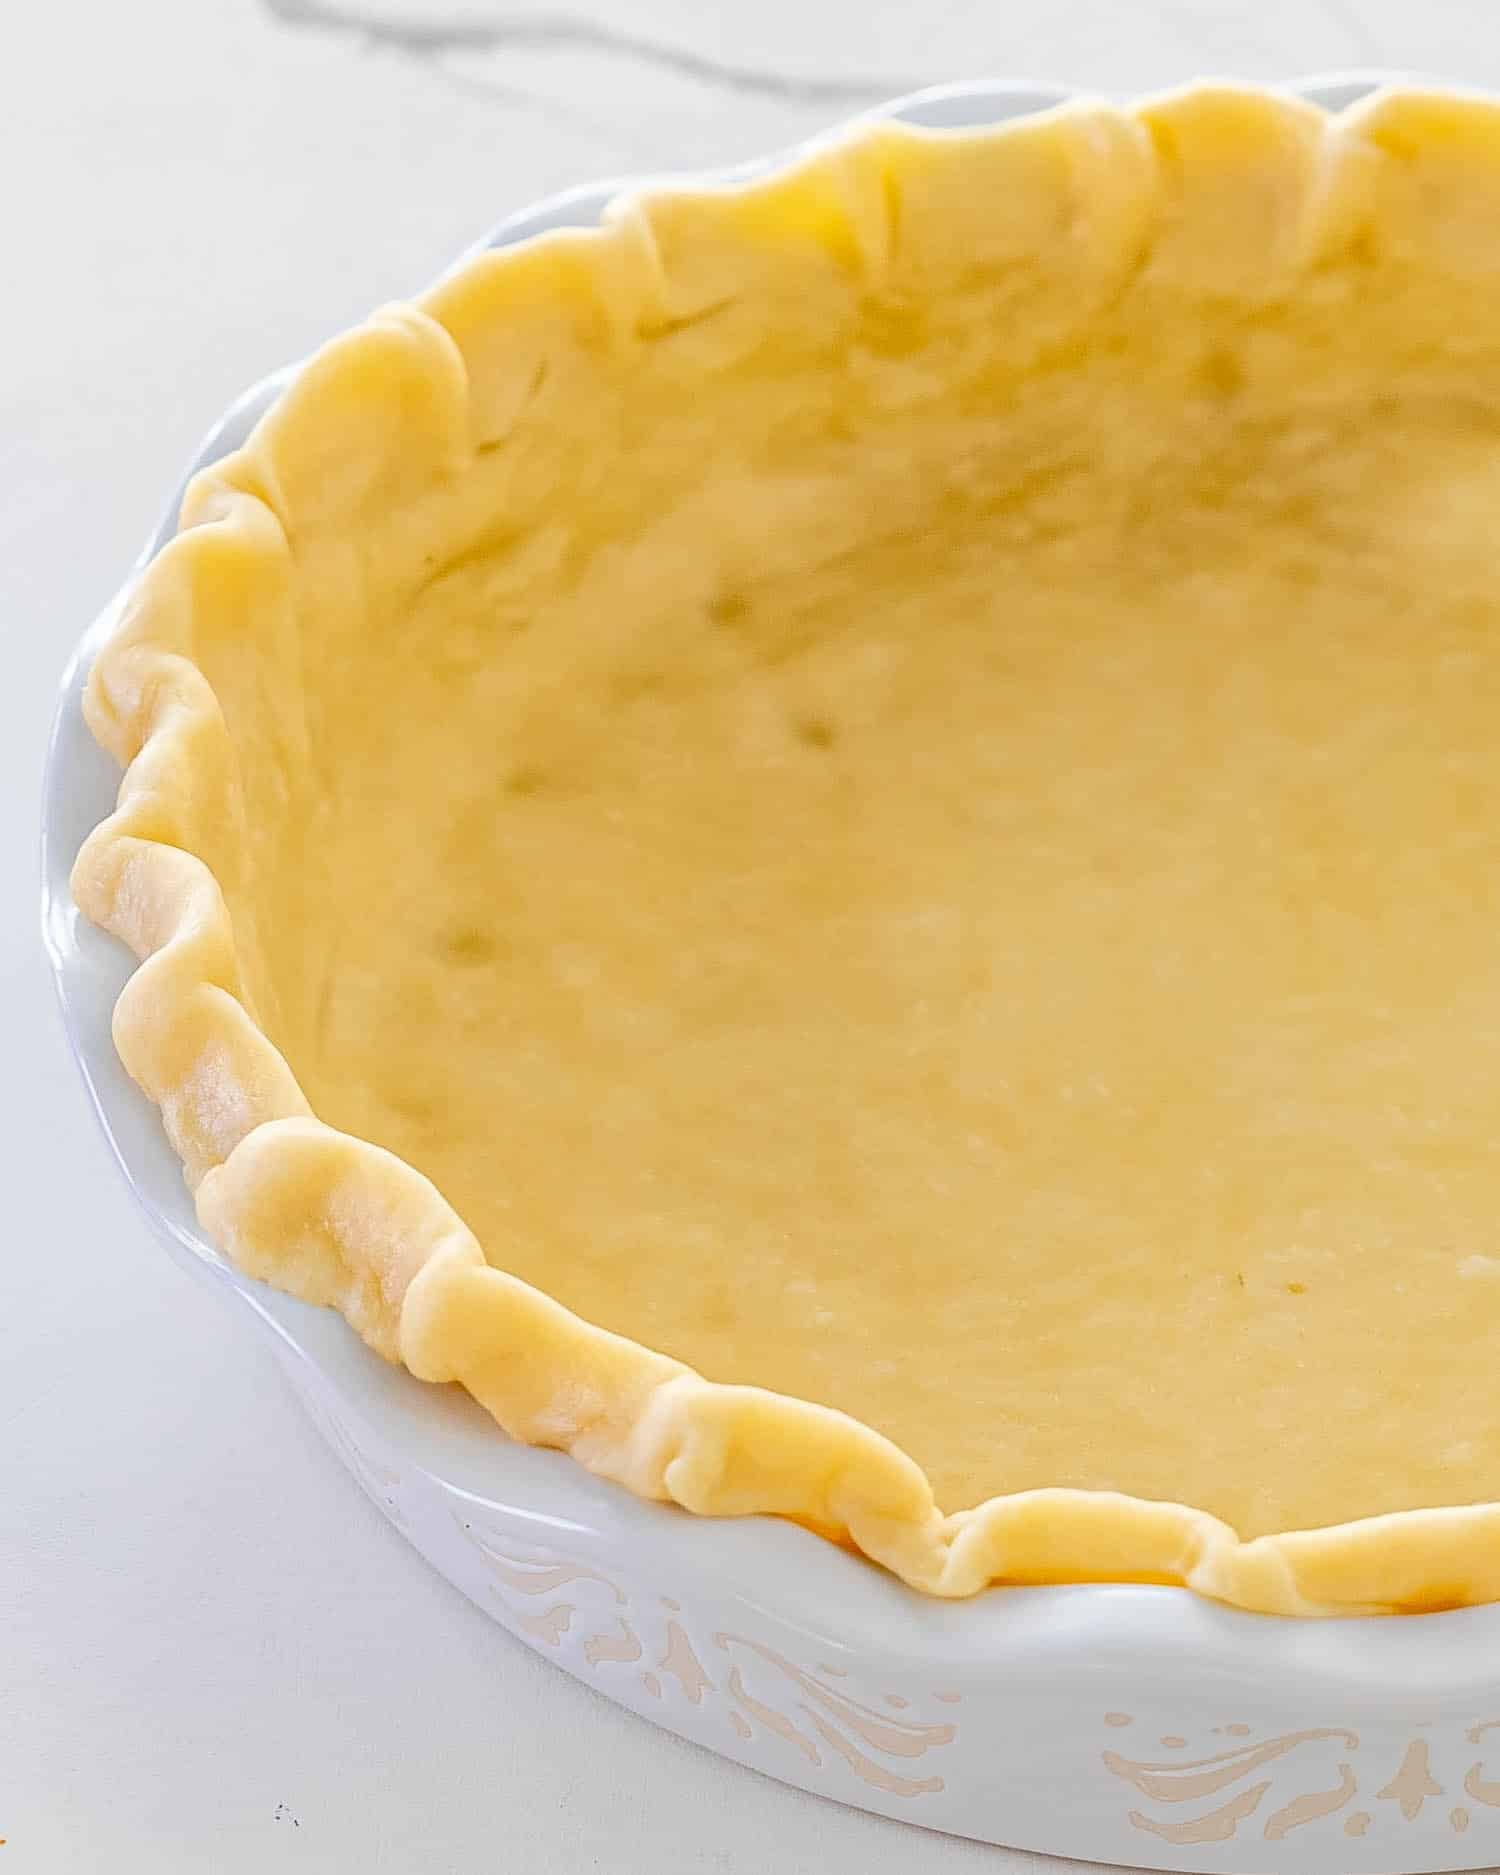
First, cut the dough ball you just formed into 2 pieces and then shape them into discs. You should still see chunks of butter in the dough, which is what makes it nice and flaky. Now, wrap each disc in plastic wrap and place them in the fridge for at least 30 minutes to chill and up to 2 days.
Blind Baking
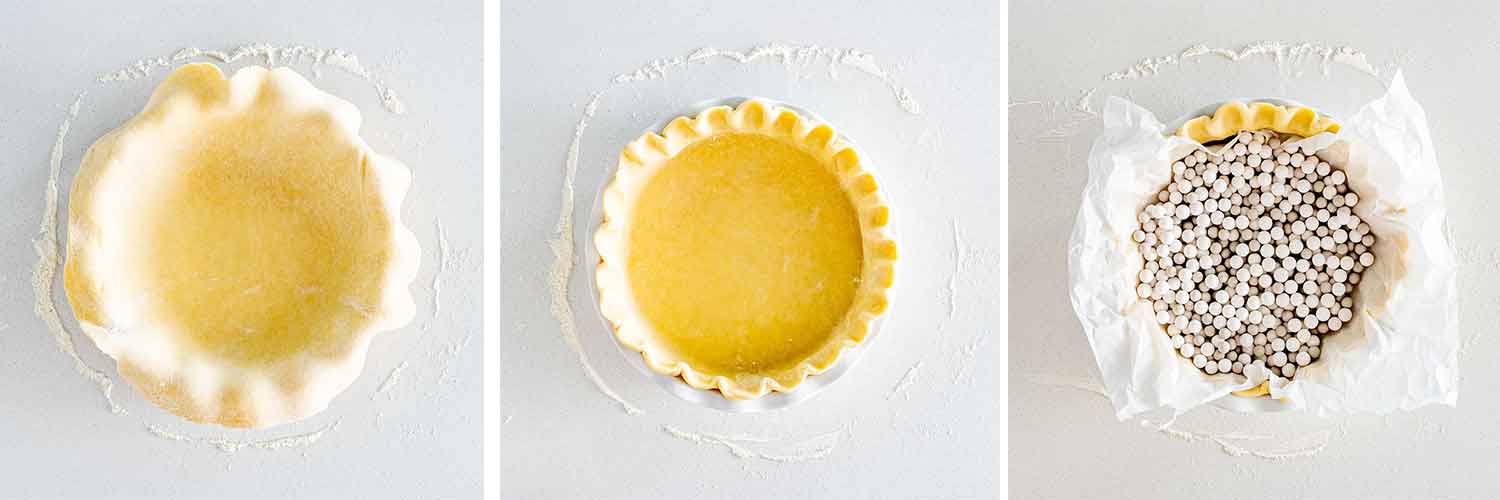
This pie crust is perfect for blind baking for when you’re making coconut cream pies or pumpkin pies. Blind baking basically means baking your pie crust before filling it and baking the entire pie. This is necessary for when you’re making a custard pie or the pie filling is unbaked. If you’re making this pie crust for blind baking, this recipe will yield 2 pie shells.
- Heat the oven to 425°F (218°C) and make sure the oven rack is in the lower-middle position.
- Follow the steps as outlined in the recipe below for making the pie crust and transfer it to your pie plate as normal, then trim the edges and crimp.
- Line the pie with parchment paper and fill the pie with weights. You can purchase pie weights or you can use beans or rice. However, make sure the weights cover the entire bottom of the pie. The weights will keep the pie from puffing up and the sides from sagging as the crust bakes.
- Bake for 12 to 15 minutes or until the edges are golden.
- Remove the pie weights by grabbing the corners of the parchment paper and lifting the weights out of the pie. Since the bottom of the crust will still be uncooked, you need to return the pie crust to the oven and bake for an additional 5 minutes.
- Fill with your favorite custard or filling and you’re done.
Expert Tips
- Always use very cold butter or any other fat such as shortening or lard. This is the secret to a flaky crust. I always cut my butter into small pieces and chill it in the freezer for about 15 minutes prior to adding it to the recipe.
- Don’t over knead the pie dough, especially once your transfer it to your work surface and work the dough with your hands, as your hands could melt the butter.
- Start off using the minimum amount of water (6 tbsp). You basically want to add enough water just until the dough starts holding together when pinched between your fingers.
- Always chill the dough for at least 30 minutes and up to 2 days, which makes this crust perfect for make ahead.
- While working with the second piece of pie crust, chill the lined pie pan, this will help it keep its shape when baked.
Can I Make Homemade Gluten Free Pie Crust?
Probably yes, but I’ve not tried. Just make sure to use a 1-to-1 gluten-free flour that has xanthan gum in it, which acts as a replacement for the gluten that is naturally in all-purpose flour.
Can I Use Shortening Instead Of Butter?
Yes! This recipe will work with vegetable shortening and be flaky. However, it will change the taste. Another option is to use a mixture of butter and shortening.
Freezing
Place the pie dough in a freezer bag and freeze up to 3 months. When ready to use it, thaw the pastry overnight in the refrigerator. You can also freeze a baked pastry shell. (see the blind baking notes) Cool the pie shell completely before transferring it to a freezer container or bag and freeze up to a month. Thaw overnight before using.
Need Pie Ideas? Consider These:
- Classic Apple Pie
- Perfect Peach Pie
- Quiche Florentine
- Scrumptious Caramel Pear Pie
- Tomato Pie
- Chicken Pot Pie
- Quiche Lorraine
- Pecan Pie
- Bourbon Pecan Pie
Before You Begin! If you make this, please leave a review and rating letting us know how you liked this recipe! This helps our business thrive & continue providing free recipes.
Pie Crust Recipe
Video
Ingredients
- 2½ cups all-purpose flour
- 1 tablespoon sugar
- 1 teaspoon salt
- 1 cup butter (unsalted and cold, (2 sticks))
- 6-8 tablespoon ice water
Before You Begin! If you make this, please leave a review and rating letting us know how you liked this recipe! This helps our business thrive & continue providing free recipes.
Instructions
- Add the flour, sugar and salt to a food processor and pulse a couple times to mix.
- Add the butter to the food processor and pulse several times until the pieces of butter are pea size.
- Add the ice water. Start with 6 tbsp of water (no ice cubes) and pulse again. Pinch the dough and if it doesn’t stick together between your fingers add the rest of the water, a tablespoon at a time, until the dough just begins to hold together.
- Transfer the dough from the food processor to a clean work surface and use your hands to form into a ball. Do not over-knead. If you over knead you start melting the butter with your hands and the dough starts developing gluten which means tough dough.
- Cut the ball into 2 pieces and shape each piece into a disc. You should still see pieces of butter in the dough. This is what will make your dough flaky. Wrap each disc in plastic wrap and refrigerate for at least 30 minutes or up to 2 days.
- Remove the dough from the refrigerator, and let it sit at room temperature for up to 10 minutes. This is required to soften the dough a bit, so that you can roll it out.
- Roll out each disc using a rolling pin. If your dough is sticking to the surface or to the rolling pin add a bit more flour as necessary. Roll it until it's about ⅛ of an inch in thickness.
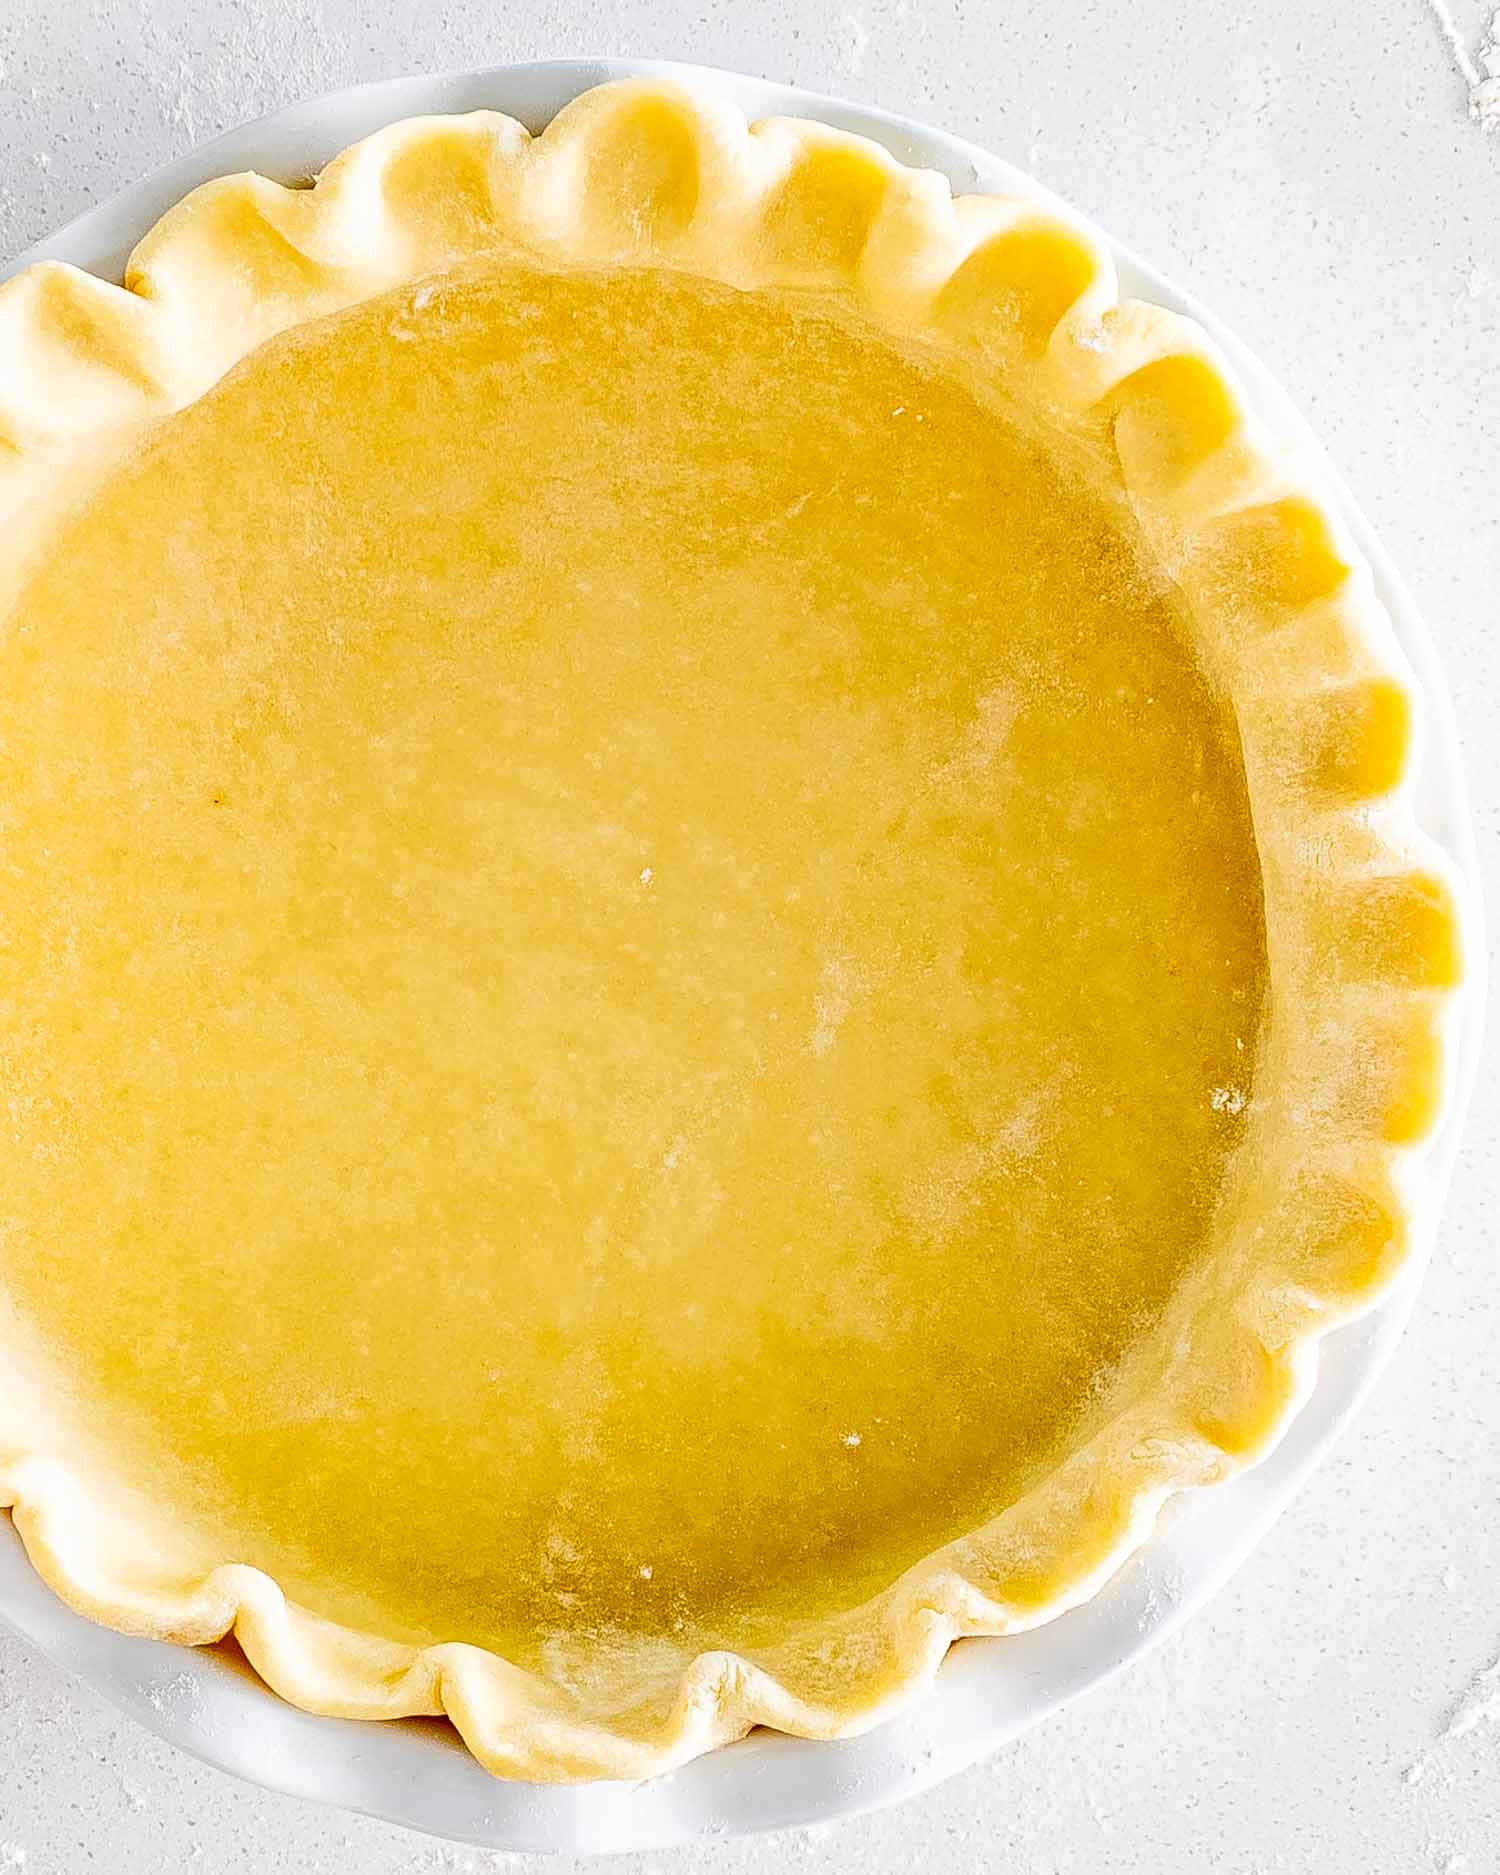
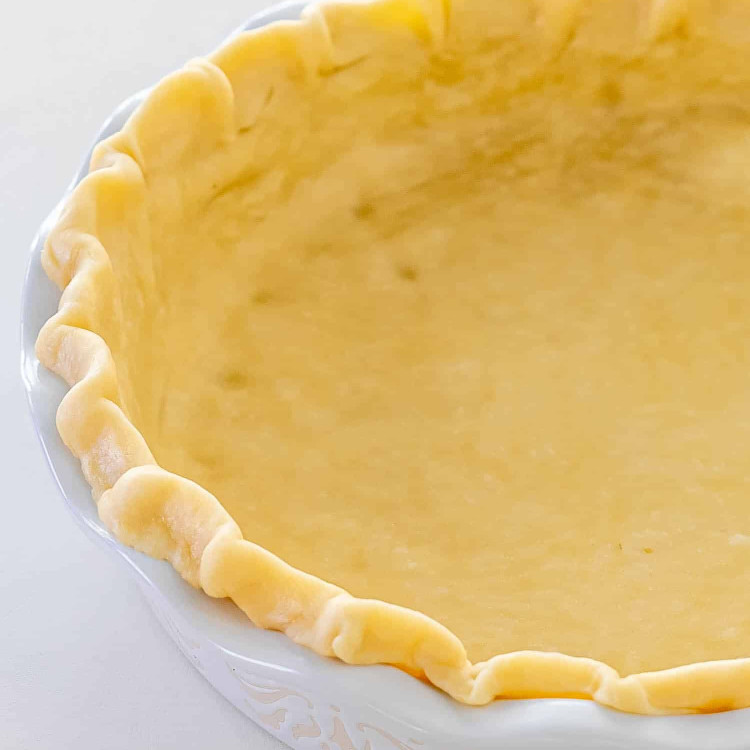
- Place the pie dough lightly into a pie plate. I usually roll it on the rolling pin and unroll it over the pie plate. (see video) Crimp the edge and cut off excess dough.
- Add your favorite filling to the pie.
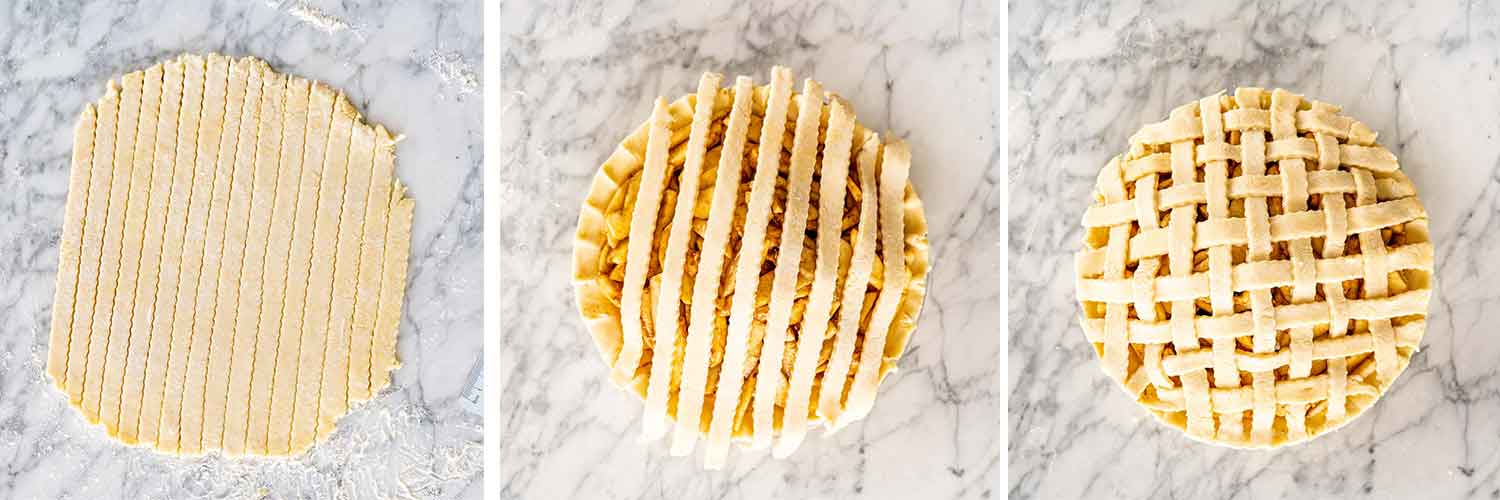
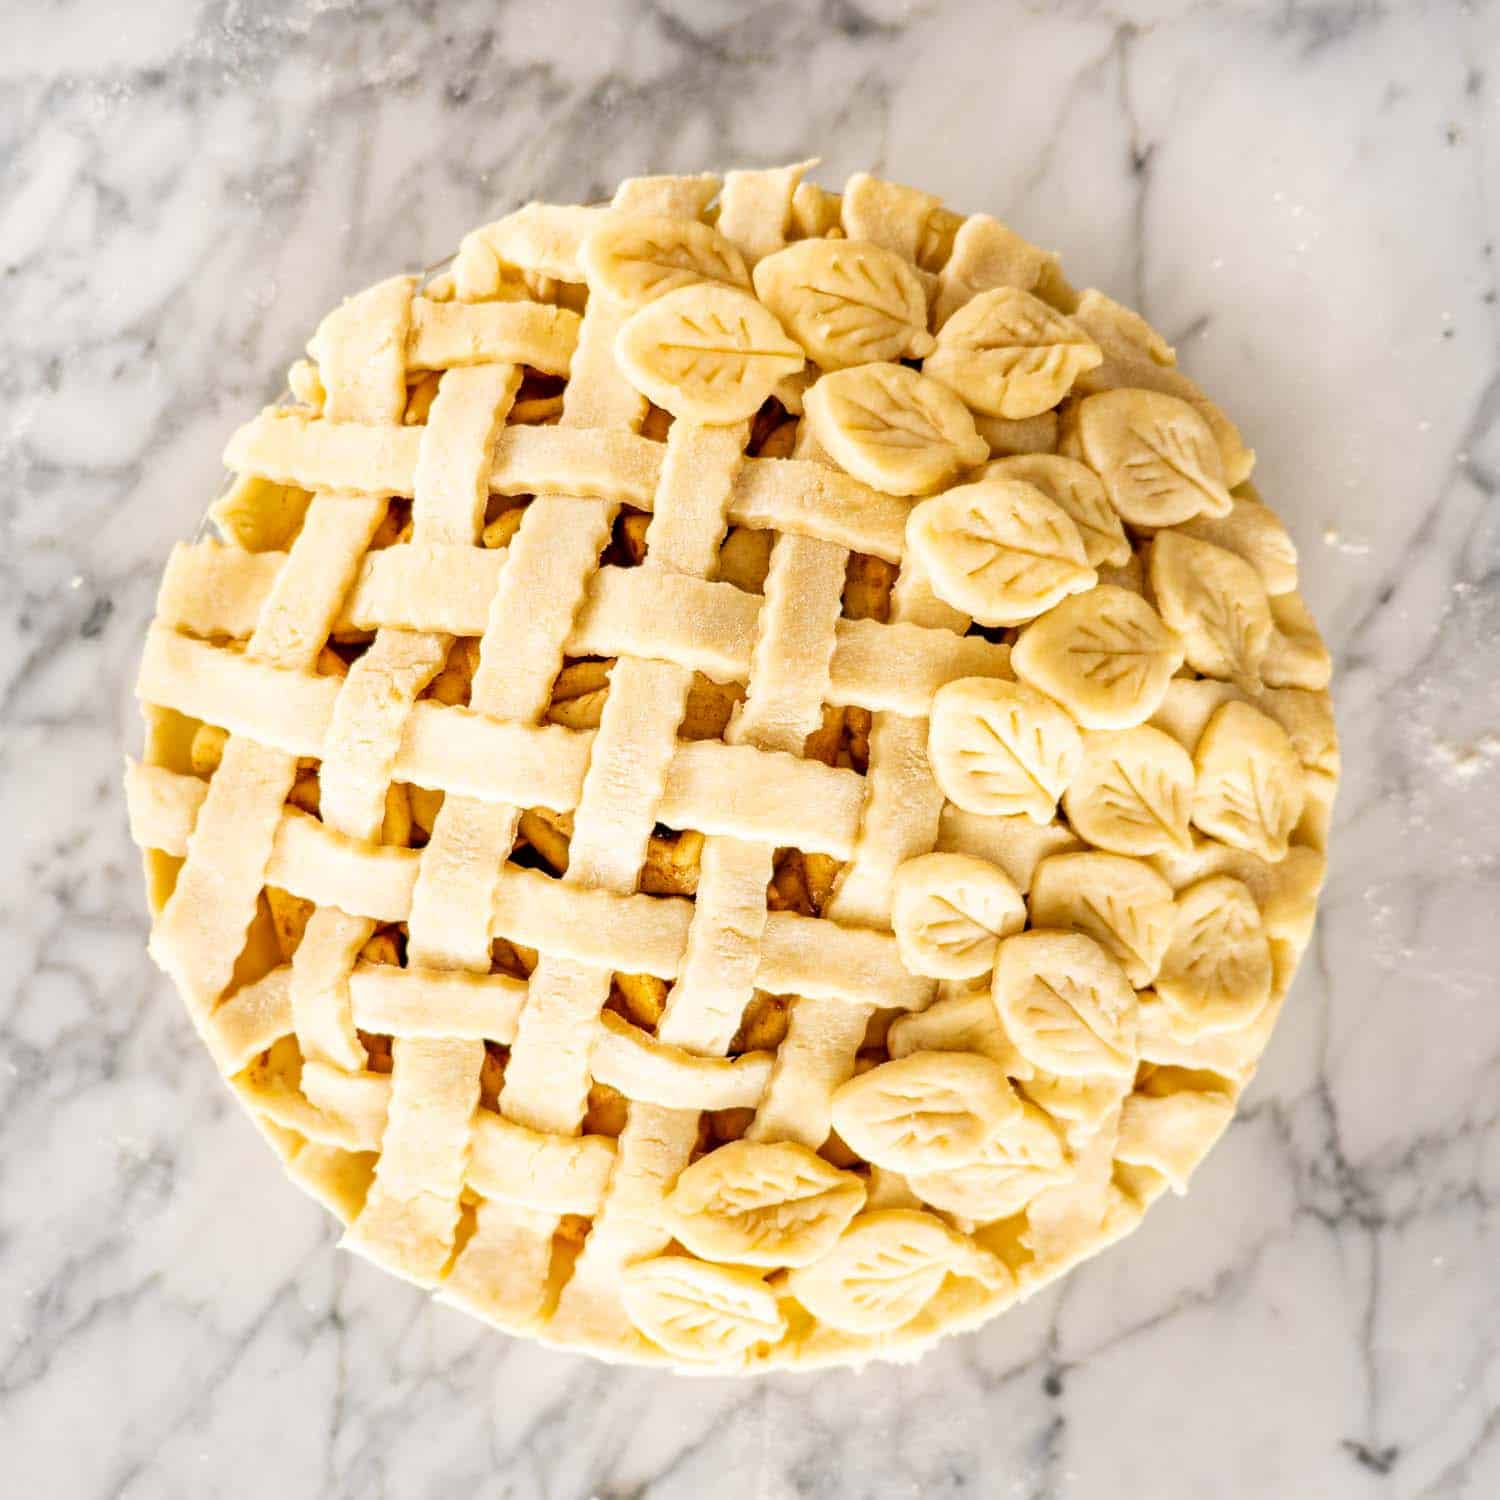
- Roll out the second disc. Gently place on top of the filling or cut into long strips to make a lattice. Trim the excess dough, if needed.
- If making a double crust pie, make vents in the top pie crust if necessary using a sharp knife and brush it with egg wash, if preferred.
- Bake the pie for 1 hour at 375°F or until the crust is golden and starts to brown.
Notes
- You can also combine some vegetable shortening into the crust, for example ½ cup butter and ½ cup shortening.
- No food processor? No problem: If you don’t have a food processor, you can use a pastry cutter to cut the butter into the flour.
- Freezing the pie crust: Place the pie dough in a freezer bag and freeze up to 3 months. When ready to use it, thaw the pastry overnight in the refrigerator. You can also freeze a baked pastry shell. (see the blind baking notes in the post) Cool the pie shell completely before transferring it to a freezer container or bag and freeze up to a month. Thaw overnight before using.
Nutrition Information
Notice: Nutrition is auto-calculated for your convenience. Where relevant, we recommend using your own nutrition calculations.
