Chicken Chimichangas
This post may contain affiliate links. Please read my disclosure policy.

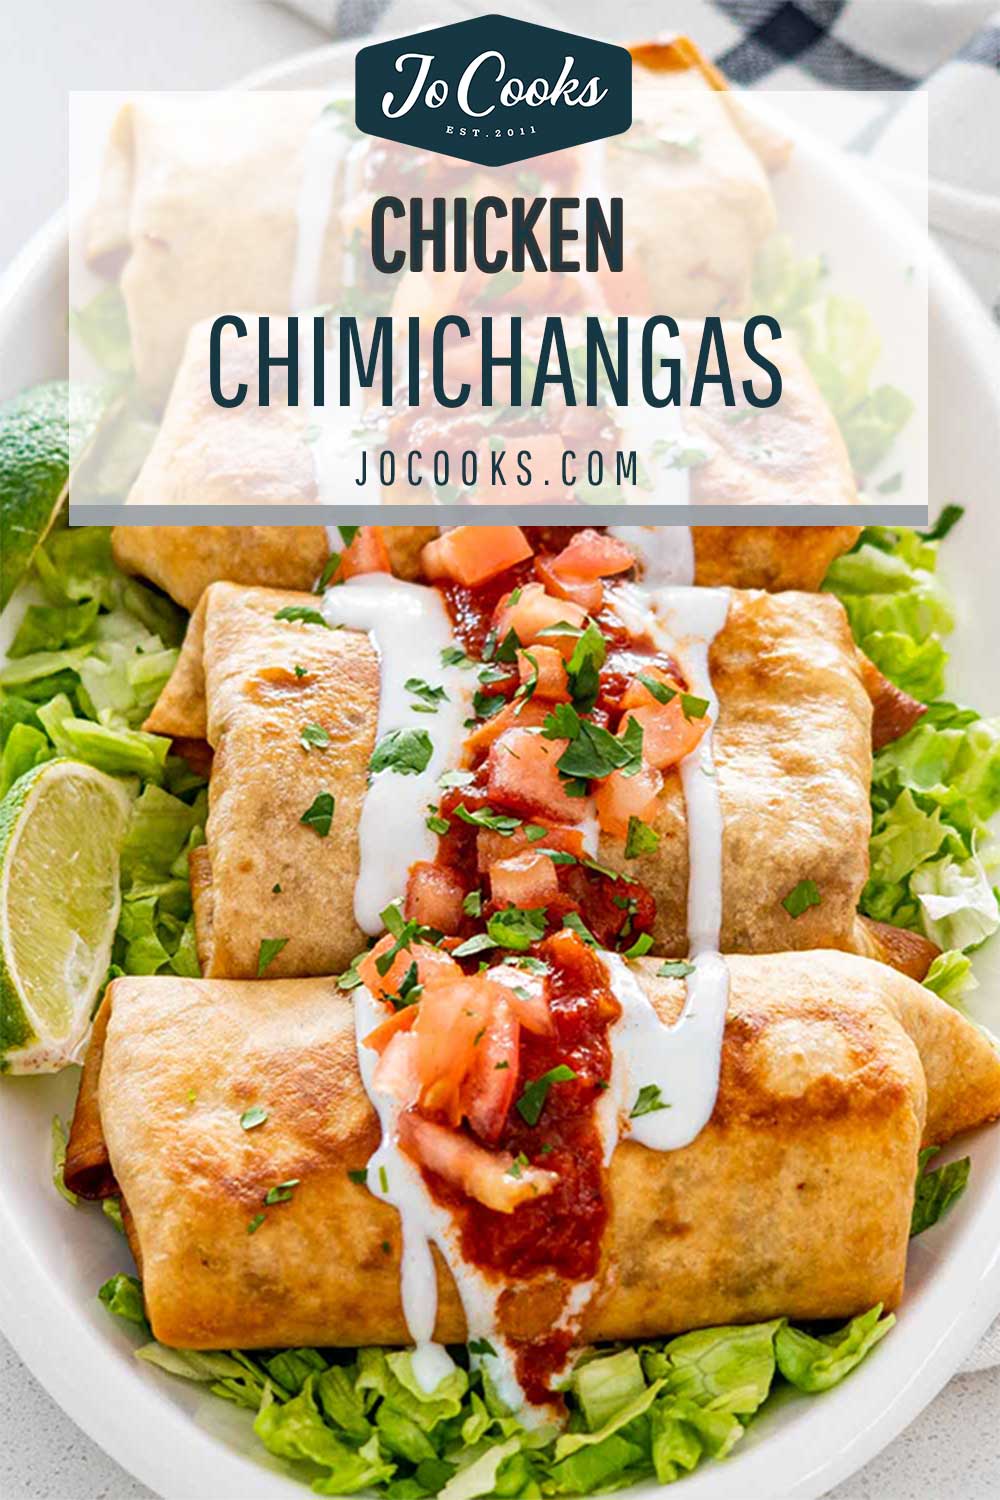
Chicken Chimichangas – crispy, golden, deep-fried burrito bliss. Stuffed with spicy chicken, beans, and cheese… and absolutely not sorry about it.


Mexican Town, Margaritas, and Chimichangas
The word chimichangas takes me straight back to Mexican Town in Detroit. Giant platters, loud music, and margaritas the size of my head. Honestly, I don’t remember much about the chimichangas themselves (thanks tequila), but I do remember leaving happy and slightly overstuffed. So naturally, I had to recreate them at home, with better chicken, way less oil splatter, and no overpriced cocktails in sight.
Now don’t let the ingredient list scare you. It looks like a lot, but the process? Easy. Cook the filling, wrap it up, fry it, eat it. That’s the whole game plan. Bonus: they freeze like a dream, so future-you will thank present-you when dinner’s already made and crispy.

Why You’ll Love This Chicken Chimichangas Recipe
- Crispy, golden, deep-fried deliciousness, and you don’t even need to leave the house.
- Loaded with seasoned chicken, beans, cheese, and big Tex-Mex flavor.
- Freezer-friendly, which means you can stash some for future hangry emergencies.
- Way easier than it looks. Fill, roll, fry, devour.
- Totally customizable, swap the protein, crank up the spice, skip the beans (but why would you?).
Before You Start: Tips & Ingredient Notes
- Use boneless, skinless chicken breast or thighs. Cut into cubes for faster cooking. If you’ve got leftover rotisserie chicken, even better, cheat your way to greatness.
- Spice level is adjustable. The cayenne and jalapeño bring the heat, but you can tone it down or crank it up depending on how brave you’re feeling (or who you’re feeding).
- Don’t skip the beans. Pinto beans help bulk up the filling and bring that creamy texture. Black beans work too, if that’s what you’ve got on hand.
- Flour thickens the filling. It keeps things from being soupy. No flour? A bit of cornstarch will do the trick.
- Use flour tortillas, the big ones. You want burrito sized so they wrap up tight without falling apart mid-fry. Warm them up first (microwave for 20–30 seconds wrapped in a damp paper towel) so they’re pliable and easier to roll without cracking.
- Oil matters. Use a neutral oil like vegetable or canola, and make sure it’s hot enough before frying or you’ll end up with greasy chimis.
- Drain well after frying. A wire rack over a baking sheet is your best bet to keep them crispy all around. Paper towels work too, just don’t let them sit too long or you’ll end up with soggy bottoms.
Ok seriously now! This is my second recipe I’ve tried of yours and WOW! These came out perfect!!!! The kids usually question dinner… Not tonight! The smells alone brought them out their rooms peeking and waiting to sneak a taste lol. Great job chef! ~Dominique

Brown the chicken, add aromatics and spices, simmer with broth and vinegar, then stir in beans, lime juice, and cilantro. Boom, flavor bomb.
Cold tortillas crack. Warm ‘em up so they’re soft and roll like a dream.

Add filling and cheese to the center, then fold like a burrito, tuck the sides in and roll it tight. Too much filling = sad, split chimichangas.

Use hot oil (about 325°F) and fry 2–3 minutes per side. Don’t crowd the pan. Drain on a wire rack so they stay crispy.
Pile on shredded lettuce, salsa, sour cream, diced tomatoes, or whatever toppings make your heart sing.

How to Serve Chicken Chimichangas
I like to serve these up on a bed of shredded iceberg lettuce for that crunchy, cooling contrast, because let’s be real, you’re going to need something to balance out all that crispy, cheesy goodness. Want to go all out? Add a side of:
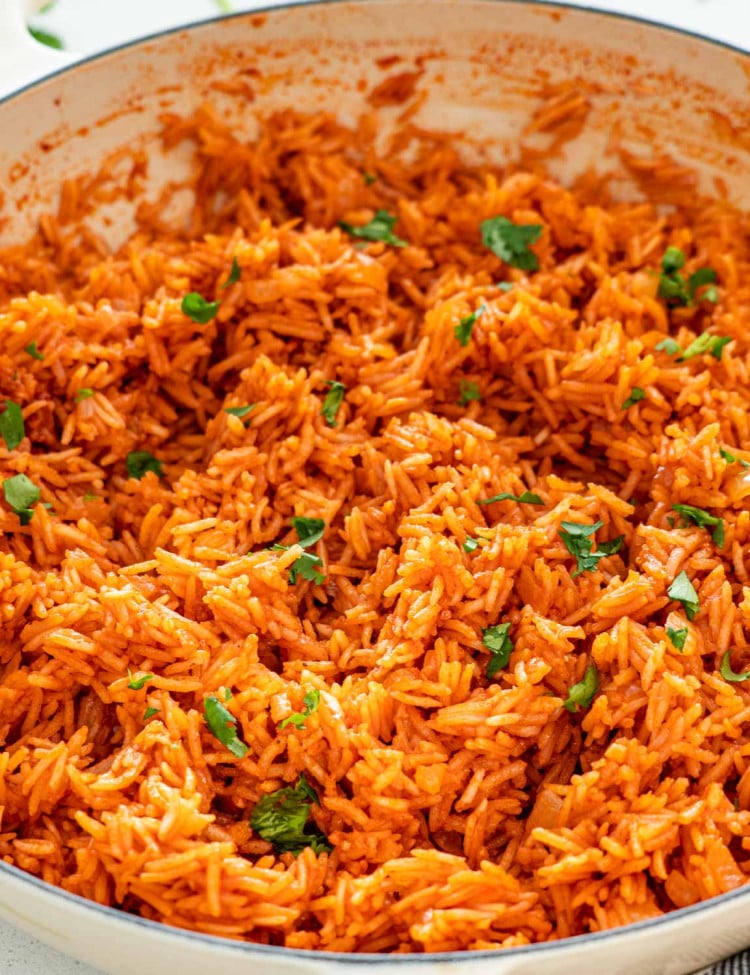
3 Ingredient Mexican Rice
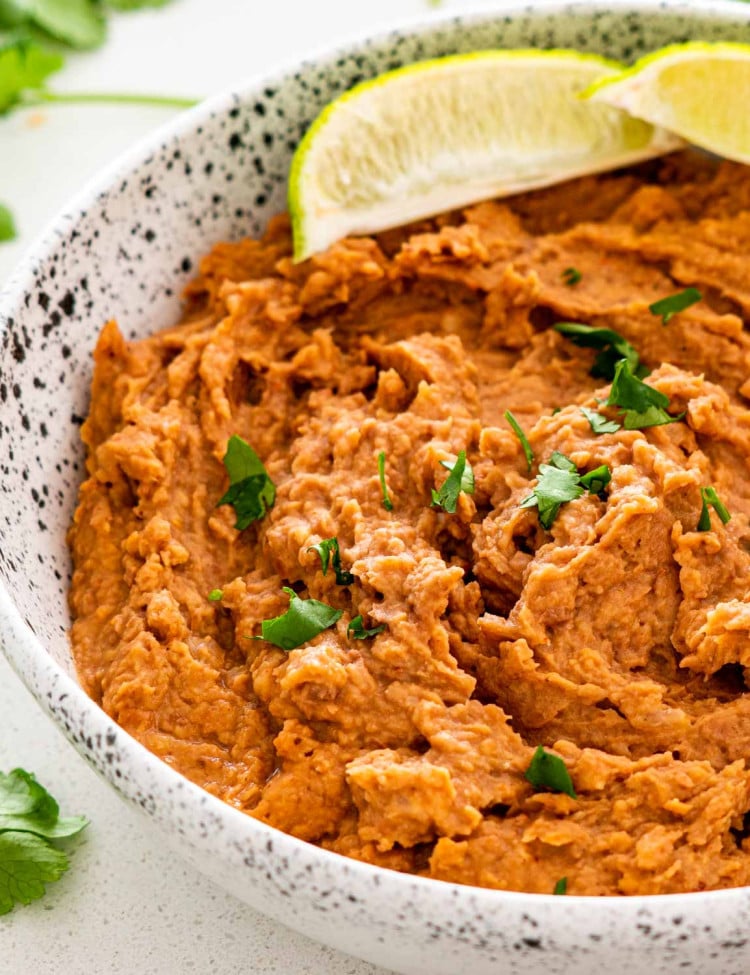
Refried Beans
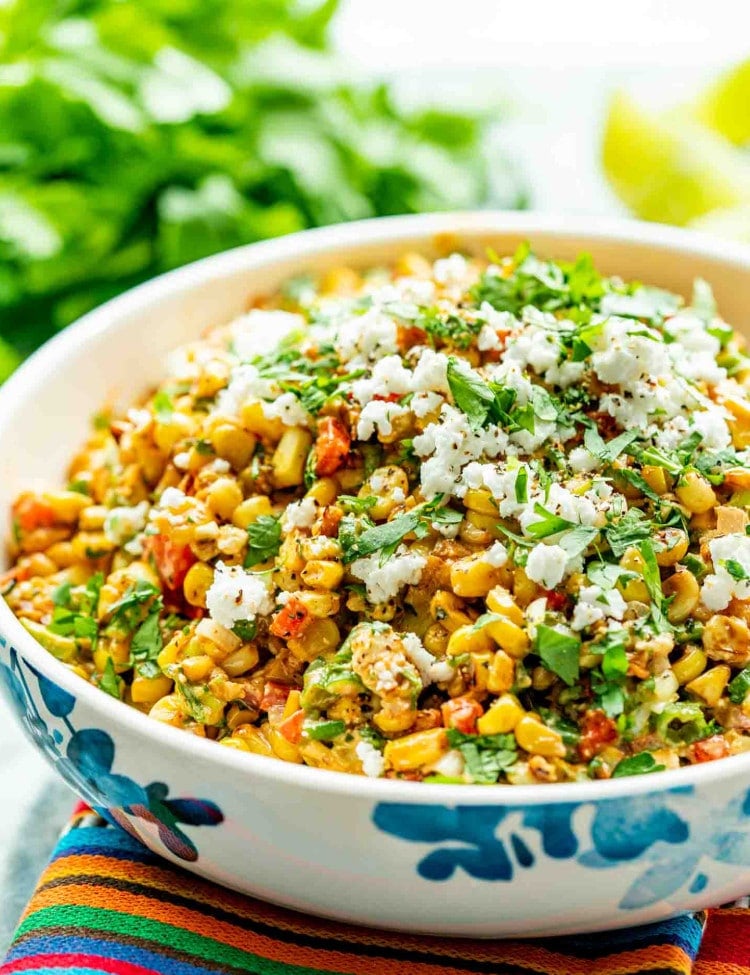
Mexican Street Corn Salad
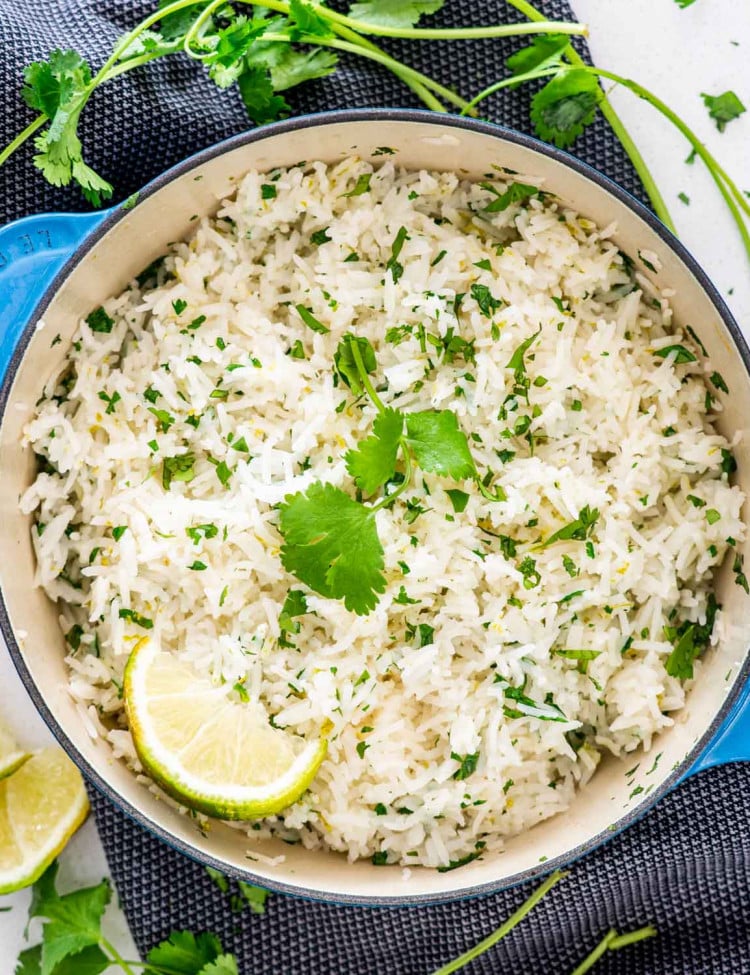
Cilantro Lime Rice
Frequently Asked Questions
Can I bake these instead of frying?
Yep! Brush them with melted butter or oil, place on a parchment-lined sheet, and bake at 425°F (220°C) for 15–20 minutes until golden and crisp.
Can I air fry them?
Totally. Spray both sides with a bit of oil and air fry at 380°F (193°C) for 8–10 minutes, flipping halfway through.
Can I use different meat?
Absolutely. Shredded beef, pork, rotisserie chicken, ground turkey, go wild. Just make sure your filling isn’t too wet or your chimis will fall apart when you fry.
Do I really need to warm the tortillas first?
Yes. Cold tortillas crack, rip, and make a mess. Warm them up for 20–30 seconds in the microwave wrapped in a damp paper towel or briefly on a skillet, they’ll roll better and won’t betray you mid-wrap.
Can I freeze these?
Yep, and they make a fantastic freezer meal. Just wrap each one tightly in plastic wrap and foil, then freeze for up to 4 months. Thaw overnight in the fridge, then fry or bake as usual. Bonus points if you remembered to label them and didn’t have to guess if it’s a burrito or a sad wrap.
How do I keep them crispy after frying?
Drain on a wire rack, not paper towels. You want air circulation underneath so they don’t steam and go soggy. You can keep them warm in a 200°F (95°C) oven while you finish frying the rest.
Can I skip the beans?
You can, but they help bulk up the filling and add that creamy texture that plays so well with the crispy shell. If you’re not a fan, try rice, corn, or even some sautéed peppers instead.

Try These Mexican Recipes Next
- Pollo Asado (Chicken Asado)
- Birria Tacos
- Instant Pot Chicken Tinga
- Carne Asada
- Easy Chicken Fajitas
- Magic Flan Cake (Chocoflan)
- Barbacoa
- Pork Carnitas
- Tex Mex Chilaquiles
- Mexican Fried Rice
- Beef Empanadas
Originally shared December 2014. Updated with new photos, video and clearer instructions.
Before You Begin! If you make this, please leave a review and rating letting us know how you liked this recipe! This helps our business thrive & continue providing free recipes.

Chimichangas
Video
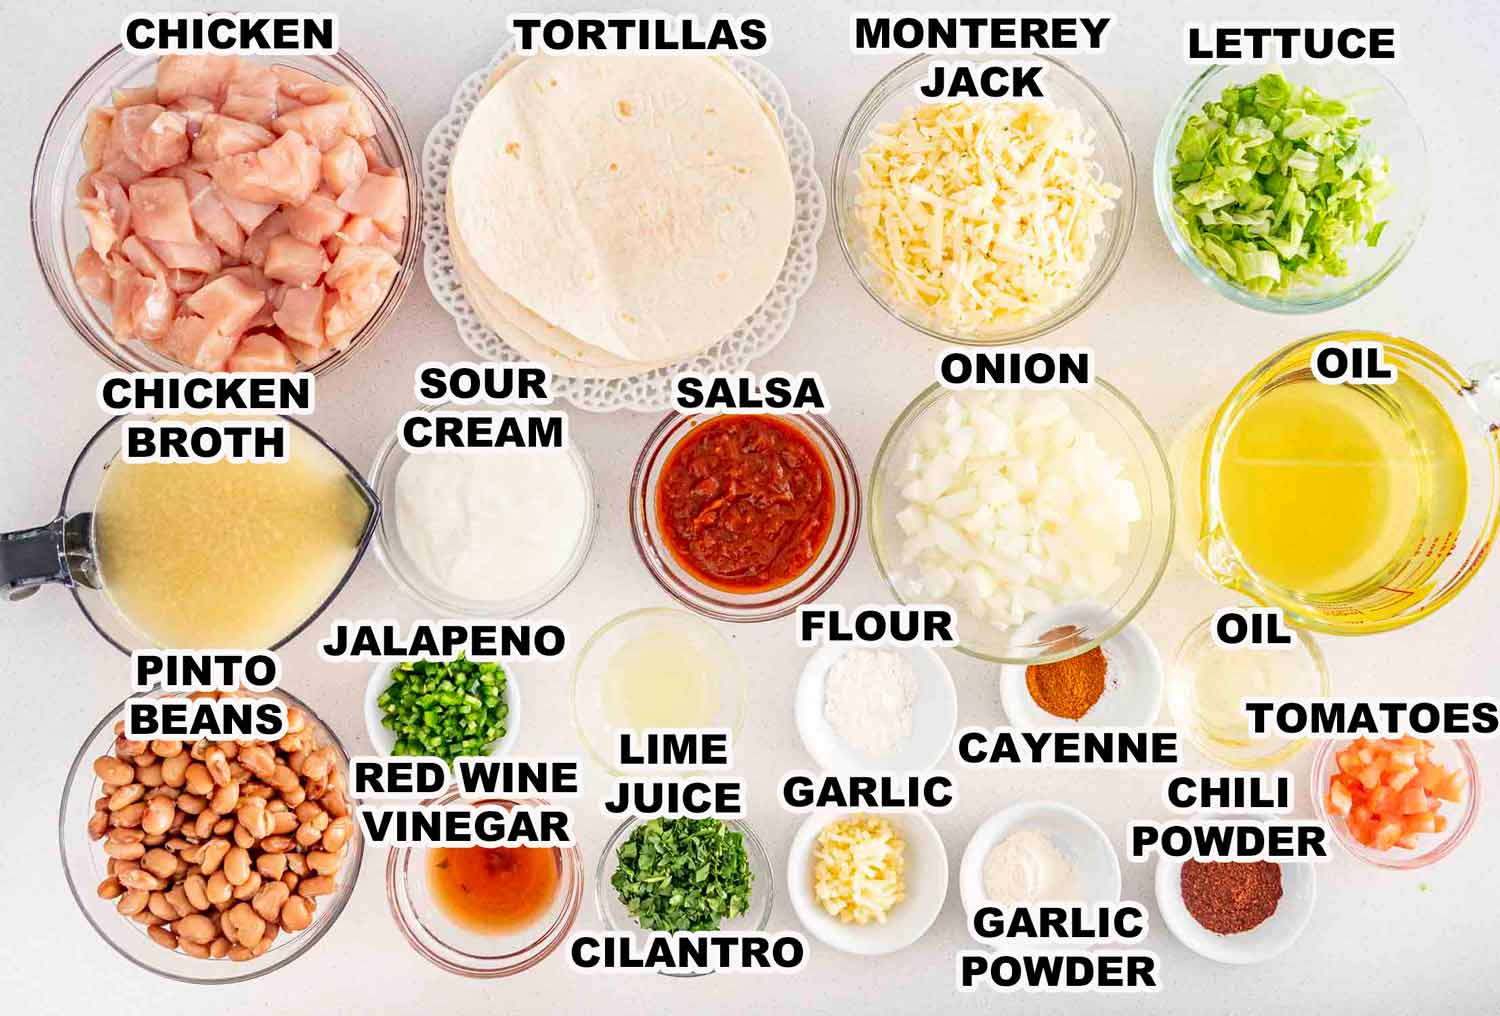
Ingredients
Chicken Filling
- 1 tablespoon vegetable oil
- 1 pound chicken breast (boneless, skinless, cut in cubes)
- 1 medium onion (chopped)
- 2 cloves garlic (minced)
- 1 medium jalapeno (seeded and chopped)
- ½ tablespoon chili powder
- ½ teaspoon cayenne pepper
- ½ tablespoon garlic powder
- ½ tablespoon all-purpose flour
- 1 ½ cups chicken broth (plus extra if necessary)
- 2 tablespoon red wine vinegar
- 15 ounce pinto beans (drained and rinsed (1 can))
- 2 tablespoon lime juice (freshly squeezed)
- ¼ cup fresh cilantro (chopped)
Chimichangas and toppings
- ½ cups vegetable oil (or more if needed)
- 12 large flour tortillas (warmed)
- 1½ cups Monterey Jack cheese (shredded)
- 1 cup iceberg lettuce (chopped)
- ½ cup salsa
- ½ cup sour cream
- ½ cup tomatoes (diced)
Before You Begin! If you make this, please leave a review and rating letting us know how you liked this recipe! This helps our business thrive & continue providing free recipes.
Instructions
- Heat the 1 tablespoon of oil in a large skillet over medium-high heat. Add the chicken and cook until no longer pink and starts to brown, about 5 to 7 minutes. Add the onions, garlic, jalapeños and cook for another 3 to 4 minutes or until the onion softens.
- Add the chili powder, cayenne, garlic powder, flour and toss everything together, so the chicken is fully coated in the spices.Cook for another 2 to 3 minutes, stirring frequently. Deglaze the bottom of the skillet with chicken broth and red wine vinegar. Stir well to combine, lower the heat to medium-low and simmer for 10 minutes, or until most of the liquid evaporates.
- Stir in the pinto beans, lime juice and half the cilantro. Cook for another 3 minutes until beans are heated through.
- In a large, deep skillet, heat about ½ inch of vegetable oil to 325°F. While oil is heating, prepare chimichangas. Warm up the tortillas in the microwave for a few seconds so they're easy to fold, otherwise they might crack.
- Fill the center of a tortilla with ¾ cup of the chicken/bean mixture and 2 tablespoons of cheese. Lift the edge of the tortilla and roll it over the filling to secure it. Fold in both sides and continue rolling until you reach the opposite end. Repeat with remaining tortillas.
- Slowly lower chimichangas into the hot oil and cook 2 minutes on each side or until golden brown. You can cook 4 chimichangas per batch. Remove from oil, drain on a wire rack so they stay crispy.
- To serve, place a bed of shredded lettuce on each plate, then a spoonful of salsa. Place chimichangas on top and add a dollop of sour cream, salsa. Sprinkle with diced tomatoes, and remaining cilantro to garnish. Serve immediately.
Equipment
Notes
- Tortillas: Use large, burrito sized flour tortillas. Warm them up before filling so they roll easily without tearing.
- Filling Tips: If the chicken mixture looks too wet, scoop it out with a slotted spoon, soggy chimis are the enemy.
- Customizations: Swap in shredded beef, pork, or even rotisserie chicken. Just don’t overstuff, or you’ll end up with a deep-fried disaster.
- Make-Ahead: Assemble chimichangas and freeze before frying. Thaw in the fridge, then cook as usual.
- Frying Tip: Oil should be around 325°F (160°C). Too cool = greasy. Too hot = burned.
- Baking Option: Brush with melted butter, bake at 425°F (220°C) for 15–20 minutes until golden and crispy.
Nutrition Information
Notice: Nutrition is auto-calculated for your convenience. Where relevant, we recommend using your own nutrition calculations.
