Mozzarella Biscuits
This post may contain affiliate links. Please read my disclosure policy.

Get ready to indulge in these heavenly Mozzarella Biscuits – the perfect combination of fluffy, buttery goodness and gooey, melted mozzarella cheese! Your taste buds will dance with delight as you enjoy these scrumptious, cheesy treats.

The Best Mozzarella Biscuit Recipe
These irresistibly cheesy, fluffy mozzarella biscuits are so easy to make and are perfect for any occasion, whether you’re hosting a brunch, serving them as a side dish for dinner, or simply enjoying a comforting snack. The marriage of savory mozzarella cheese with the tender, buttery biscuit dough creates an unforgettable taste sensation that will leave you craving more.
There’s something so satisfying about biting into one of these warm, fresh-from-the-oven biscuits and experiencing that delightful, melty cheese. You’ll find these Mozzarella Biscuits to be a versatile recipe that pairs well with a variety of dishes, like a warm bowl of soup, a hearty salad, or your favorite pasta. Don’t be surprised if your friends and family ask for the recipe – these scrumptious biscuits are sure to be a hit with everyone who tries them!

Why You’ll Love These Mozzarella Biscuits
- Incredibly tasty: These Mozzarella Biscuits boast a delightful combination of buttery, tender biscuit dough and gooey, melted mozzarella cheese that creates a scrumptious and satisfying taste experience.
- Versatile: These cheesy biscuits are perfect for various occasions and meal pairings. They work as a delicious appetizer, a tasty side dish for soups or salads, and a delightful snack to enjoy throughout the day.
- Easy to make: The recipe is simple and straightforward, requiring just a handful of common ingredients and minimal preparation time. Even novice bakers can whip up a batch of these mouthwatering biscuits without any hassle.
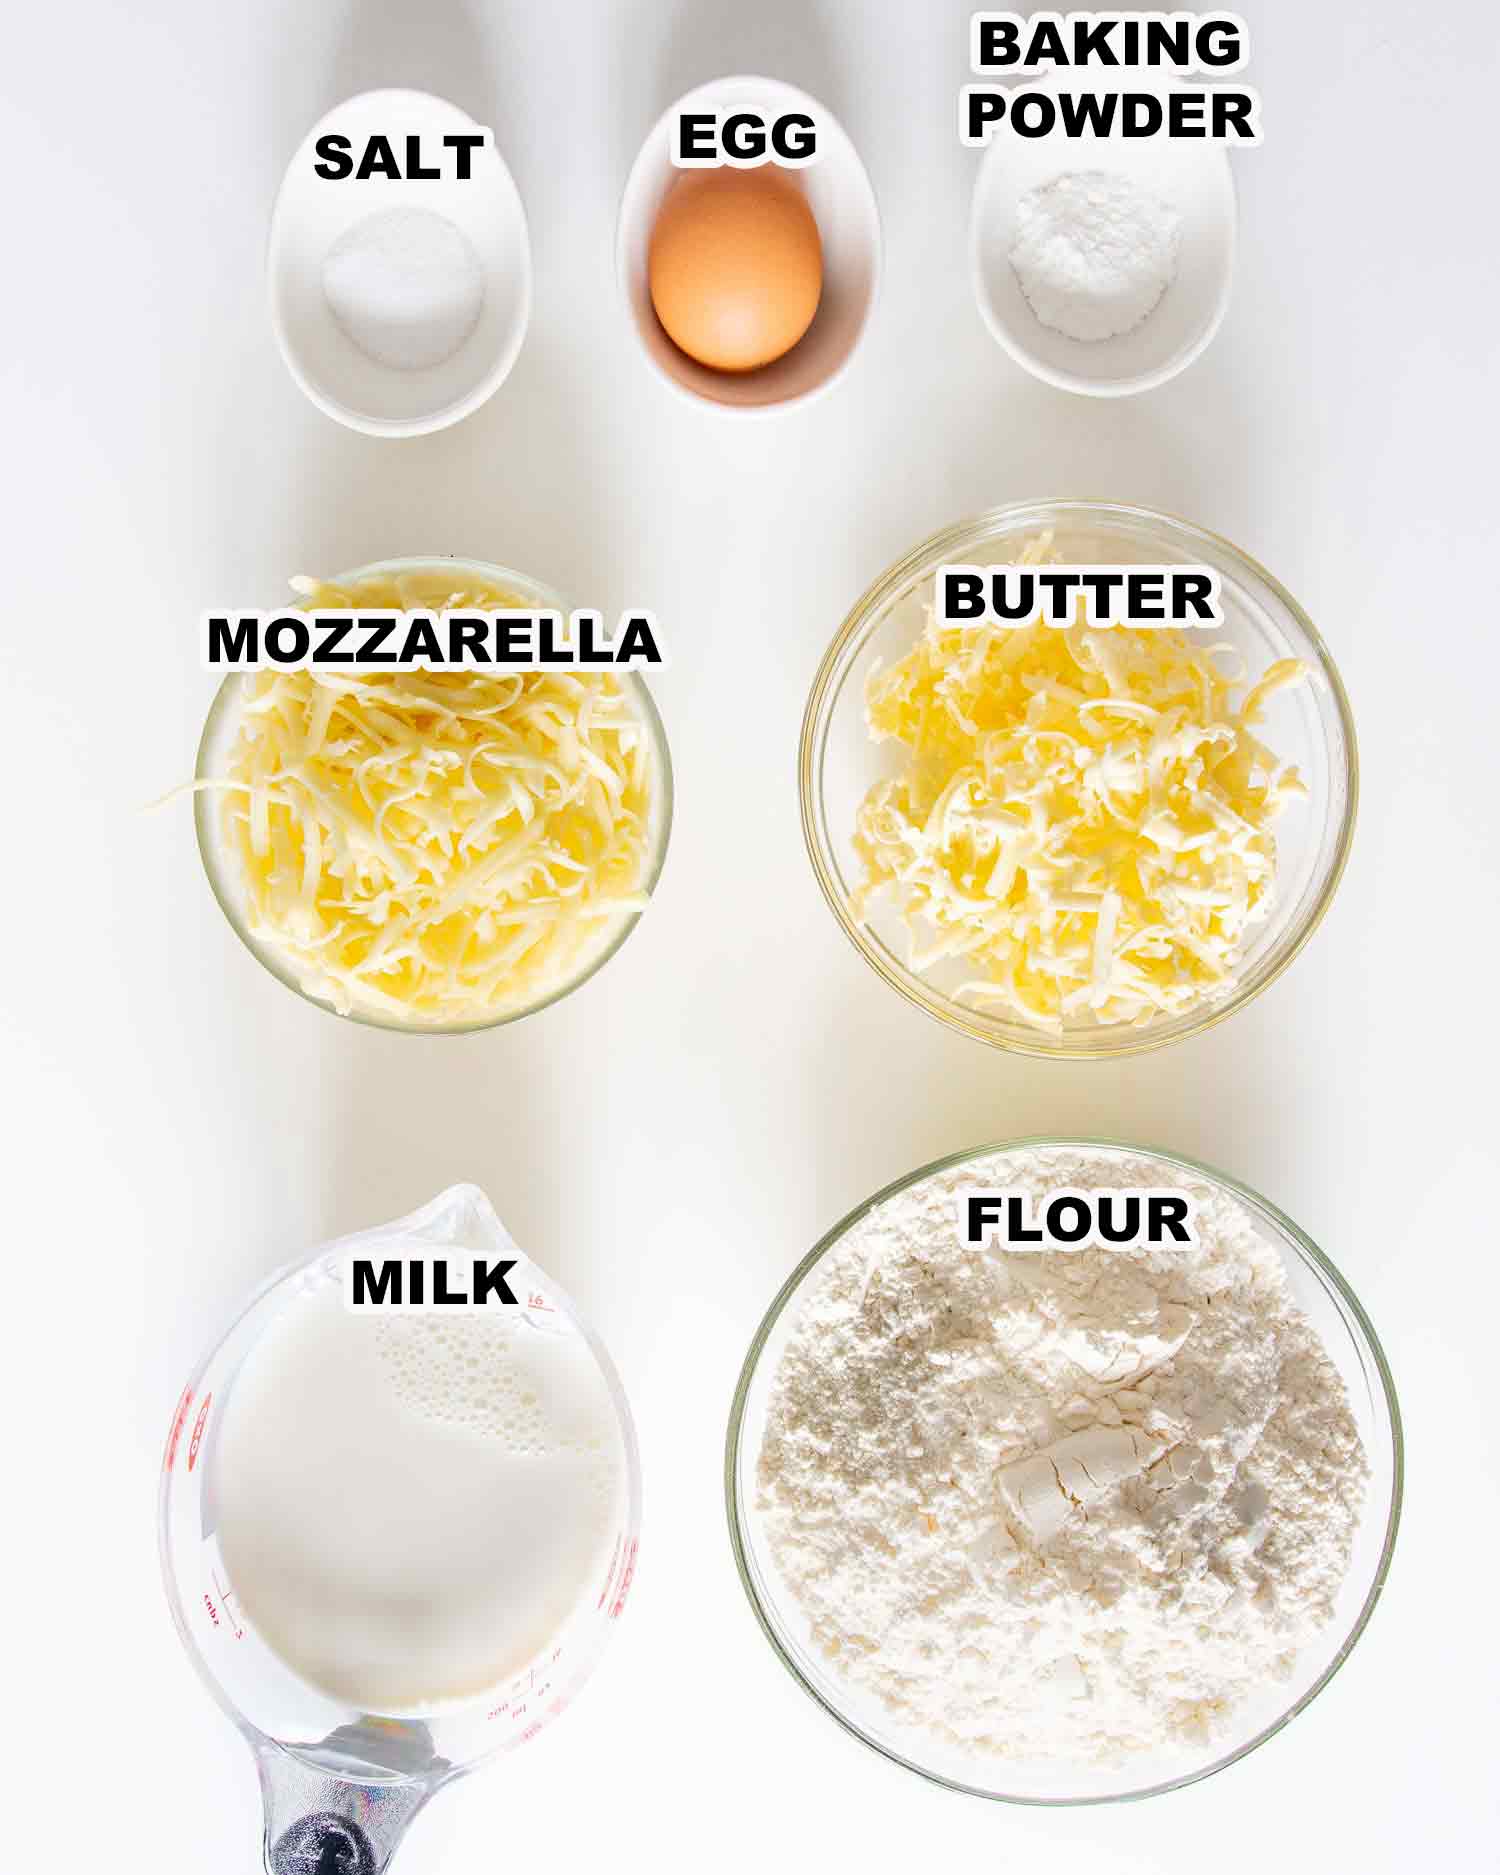
- All-purpose flour: The foundation of the biscuit dough, all-purpose flour provides structure and texture. For a gluten-free alternative, you can use a gluten-free flour blend that includes xanthan gum.
- Baking powder: Essential for the biscuits’ rise and fluffiness, baking powder acts as the leavening agent. Make sure it’s fresh for the best results.
- Salt: Enhances the overall flavor of the biscuits and balances the sweetness of the dough.
- Cold butter: The key to tender, flaky biscuits is using cold butter, which creates pockets of steam during baking. You can substitute cold coconut oil or chilled vegan butter for a dairy-free option.
- Shredded mozzarella cheese: Adds a delightful, gooey, cheesy goodness to the biscuits. Feel free to experiment with other types of cheese like cheddar, pepper jack, or Gouda for a different flavor profile.
- Milk: Cold milk helps keep the butter cold, contributing to the biscuits’ flaky texture. For a dairy-free alternative, use cold almond milk, soy milk, or any other non-dairy milk of your choice.
- Egg (for egg wash): Brushing the biscuits with an egg wash gives them a beautiful golden-brown color and a slightly crispy crust. If you’re looking for an egg-free option, you can use milk or a plant-based milk alternative mixed with a bit of melted butter or oil.
Incredibly easy to make, only a few ingredients required, you’re going to love these. Let’s get baking!
Start by preheating your oven to 400°F. This way, it’ll be nice and hot when you’re ready to bake the biscuits.
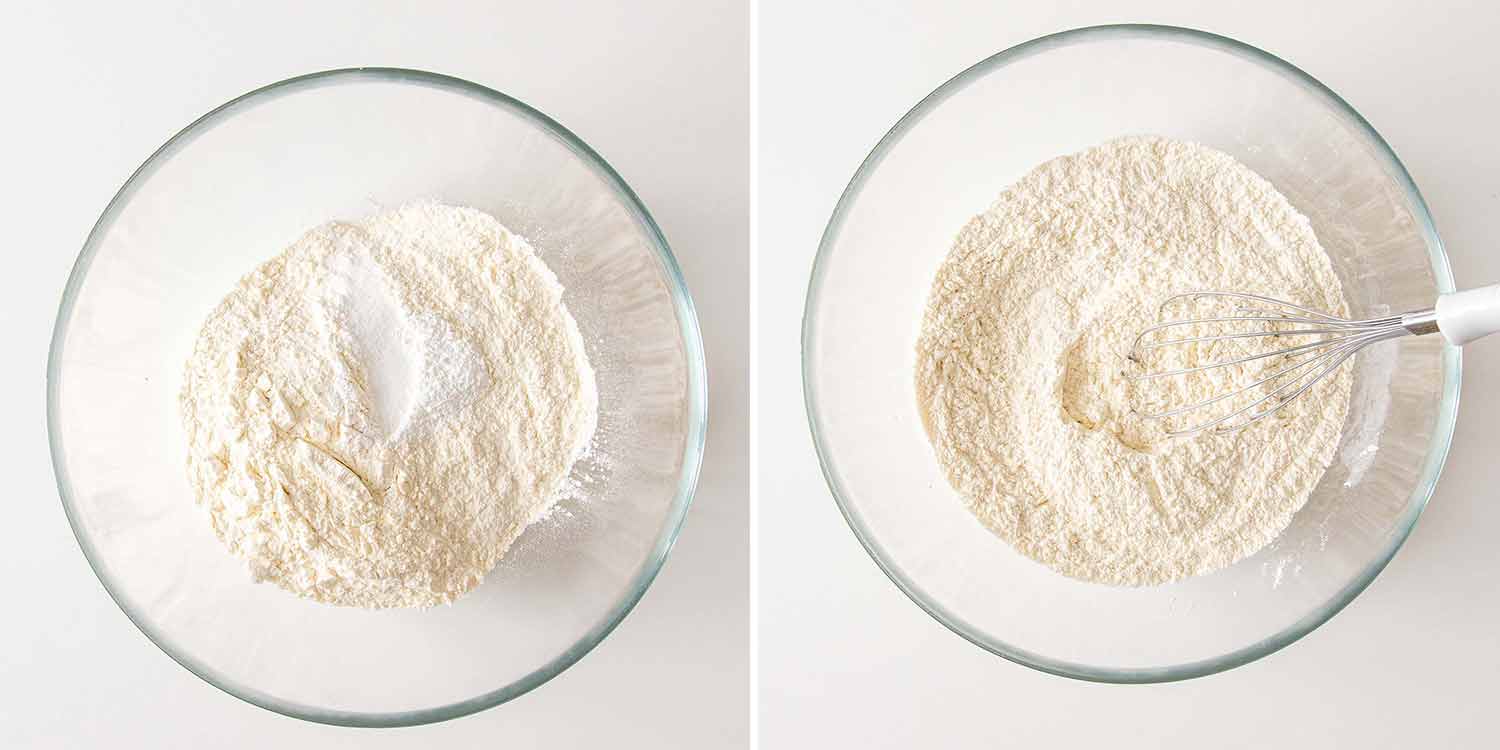
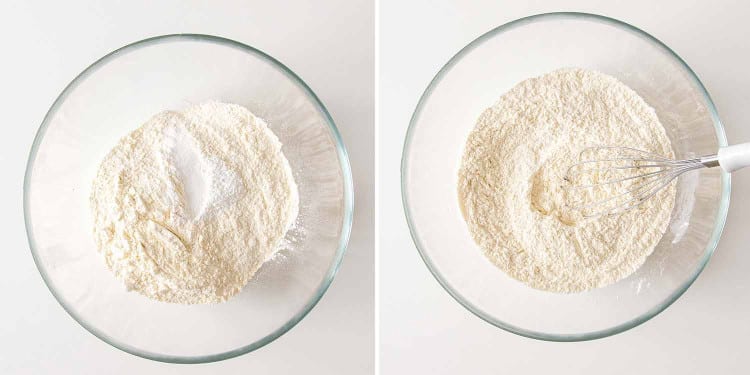
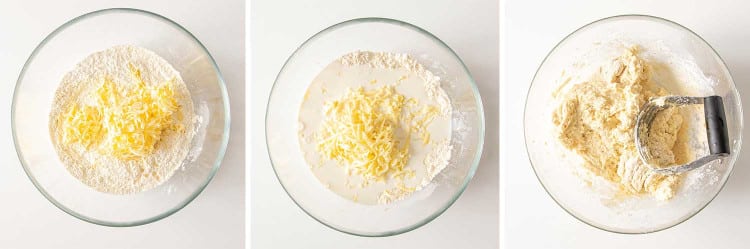
In a large bowl, combine the flour, baking powder, and salt. Give it a good mix to distribute everything evenly.

Now, add the cold, cubed butter to the flour mixture. Use a pastry cutter or two knives to cut the butter into the flour until the butter is pea-sized. Throw in the shredded mozzarella cheese and pour in the cold milk. Mix everything until the dough comes together. If needed, use your hands to help it along.
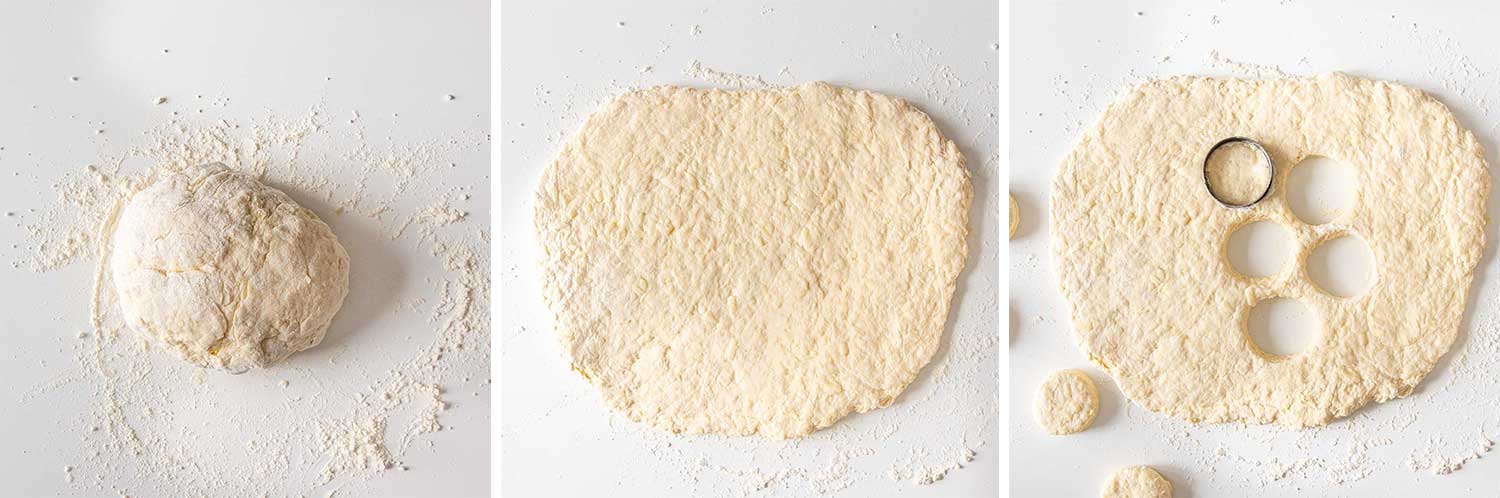
Lightly flour your countertop and turn the dough onto it. Knead the dough a few times (not too much) and then roll it out to about half an inch thick. Grab a round cookie cutter or a glass with a 3-inch diameter and start cutting out the biscuits. If you don’t have a cookie cutter, a glass will work just fine.

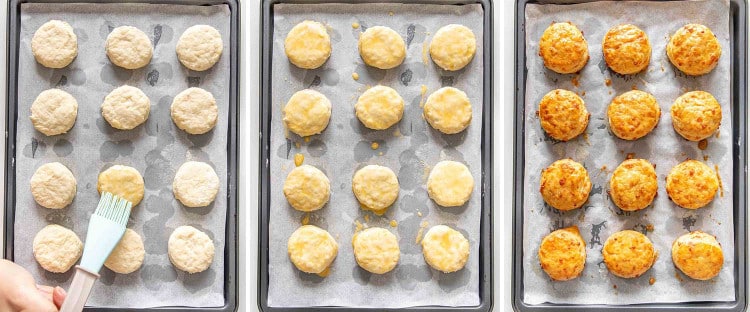
Place the biscuits on a baking sheet, brush them with egg wash, and pop them into the preheated oven. Bake for about 20-25 minutes until they’re golden brown, and then let them cool on a wire rack.

Frequently Asked Questions
Can I use a different type of cheese in these biscuits?
Absolutely! While I love the gooey goodness of mozzarella in these biscuits, feel free to experiment with other cheeses like cheddar, pepper jack, or Gouda. Just make sure to use a good melting cheese for that irresistible cheesy effect.
Can I freeze the unbaked biscuit dough for later use?
You sure can! After cutting out the biscuits, place them on a parchment-lined baking sheet and freeze until solid. Once they’re frozen, transfer them to an airtight container or a freezer bag. When you’re ready to bake, just pop them in the oven without thawing, and add a few extra minutes to the baking time.
Can I make these biscuits gluten-free?
Yes, you can! To make them gluten-free, simply swap the all-purpose flour with a gluten-free flour blend that includes xanthan gum. This way, you’ll still get a similar texture while keeping the biscuits gluten-free.
Can I add any herbs or spices to these biscuits for extra flavor?
Of course! Feel free to customize these biscuits to your taste by adding your favorite herbs or spices. Some great options include garlic powder, onion powder, or even a pinch of cayenne pepper for a bit of heat. You can also mix in some chopped fresh herbs like parsley, chives, or rosemary for a burst of flavor.

Expert Tips
- Cold ingredients: Make sure to use cold butter and cold milk in this recipe, as it helps create those flaky layers we all love in biscuits. Cold butter creates pockets of steam during baking, resulting in a tender and flaky texture.
- Don’t overwork the dough: When kneading and rolling out the dough, be gentle and avoid overworking it. Over-kneading can develop too much gluten, which will lead to tougher biscuits. A light touch ensures that your biscuits will be tender and flaky.
- Use a sharp cookie cutter or glass: When cutting out the biscuits, make sure to use a sharp-edged cookie cutter or glass to ensure clean cuts. This will help the biscuits rise evenly and maintain their shape during baking.
- Brush the tops with egg wash: Don’t skip the egg wash step! Brushing the tops of the biscuits with egg wash before baking gives them a beautiful golden-brown color and a slightly crispy crust.
- Baking time: Keep an eye on the biscuits as they bake. Oven temperatures can vary, so start checking for doneness around the 20-minute mark. The biscuits should be golden brown on top and fully cooked through. If they’re browning too quickly, you can tent them with aluminum foil to prevent over-browning.
Storage
To store any leftover biscuits, let them cool completely and then place them in an airtight container or a resealable plastic bag. You can keep them at room temperature for up to 2 days or in the refrigerator for up to a week. For the best taste and texture, reheat them in the oven before serving.

Other Delicious Biscuits To Try
Before You Begin! If you make this, please leave a review and rating letting us know how you liked this recipe! This helps our business thrive & continue providing free recipes.

Fluffy Mozzarella Biscuits
Ingredients
- 3½ cups all purpose flour
- 2 tablespoon baking powder
- 2 teaspoon salt
- 9 tablespoon butter (cold, shredded for best results)
- 2 cups mozzarella cheese (shredded )
- 1¾ cups milk (cold)
- 1 egg (for egg wash)
Before You Begin! If you make this, please leave a review and rating letting us know how you liked this recipe! This helps our business thrive & continue providing free recipes.
Instructions
- Preheat oven to 400°F.
- In a large bowl add the flour, baking powder and salt and mix well.
- Cut the cold butter into pieces, and add it to the bowl with flour. Using a pastry cutter, or two knives cut into the butter until the butter forms into small peas. Add the cheese and milk to the bowl and continue mixing until the dough comes together. Use your hands if necessary.
- Turn the dough onto a floured surface and continue kneading a few times, do not over knead. Roll out the dough so that it's about half an inch thick. Using a round cookie cutter, you can also use a glass if you don't have a round cookie cutter, start cutting the biscuits. My cookie cutter was about 3 inches in diameter, so the biscuits are a pretty big size.

- Brush the biscuits with the egg wash and bake in the oven for about 20-25 minutes then let cool on a wire rack.
Equipment
Notes
- Recipe will yield 12-15 biscuits, depending on size of them.
- Cold ingredients: Make sure to use cold butter and cold milk in this recipe, as it helps create those flaky layers we all love in biscuits. Cold butter creates pockets of steam during baking, resulting in a tender and flaky texture.
- Don’t overwork the dough: When kneading and rolling out the dough, be gentle and avoid overworking it. Over-kneading can develop too much gluten, which will lead to tougher biscuits. A light touch ensures that your biscuits will be tender and flaky.
- Use a sharp cookie cutter or glass: When cutting out the biscuits, make sure to use a sharp-edged cookie cutter or glass to ensure clean cuts. This will help the biscuits rise evenly and maintain their shape during baking.
- Brush the tops with egg wash: Don’t skip the egg wash step! Brushing the tops of the biscuits with egg wash before baking gives them a beautiful golden-brown color and a slightly crispy crust.
- Baking time: Keep an eye on the biscuits as they bake. Oven temperatures can vary, so start checking for doneness around the 20-minute mark. The biscuits should be golden brown on top and fully cooked through. If they’re browning too quickly, you can tent them with aluminum foil to prevent over-browning.
Nutrition Information
Notice: Nutrition is auto-calculated for your convenience. Where relevant, we recommend using your own nutrition calculations.
