Grilled Cheese Sandwich
This post may contain affiliate links. Please read my disclosure policy.
Made with my special ingredient, this will be the best Grilled Cheese Sandwich you’ve ever tried! With my simple technique and helpful tips, you’ll serve up restaurant quality grilled cheese whenever the craving hits you.

The Best Grilled Cheese Sandwich
I know, I know. Who needs a recipe for grilled cheese? It’s not necessarily about a long list of fancy ingredients and over-the-top fillings. Today, I have a really easy technique that I’ve been using since I can remember to make the BEST grilled cheese sandwiches.
Whenever I make one of these sandwiches for someone, they always want seconds. These little changes in the way you cook up this iconic recipe will make a huge difference in the end result. So, stay with me here! Give my method a try and let me know what you think.
Ingredients
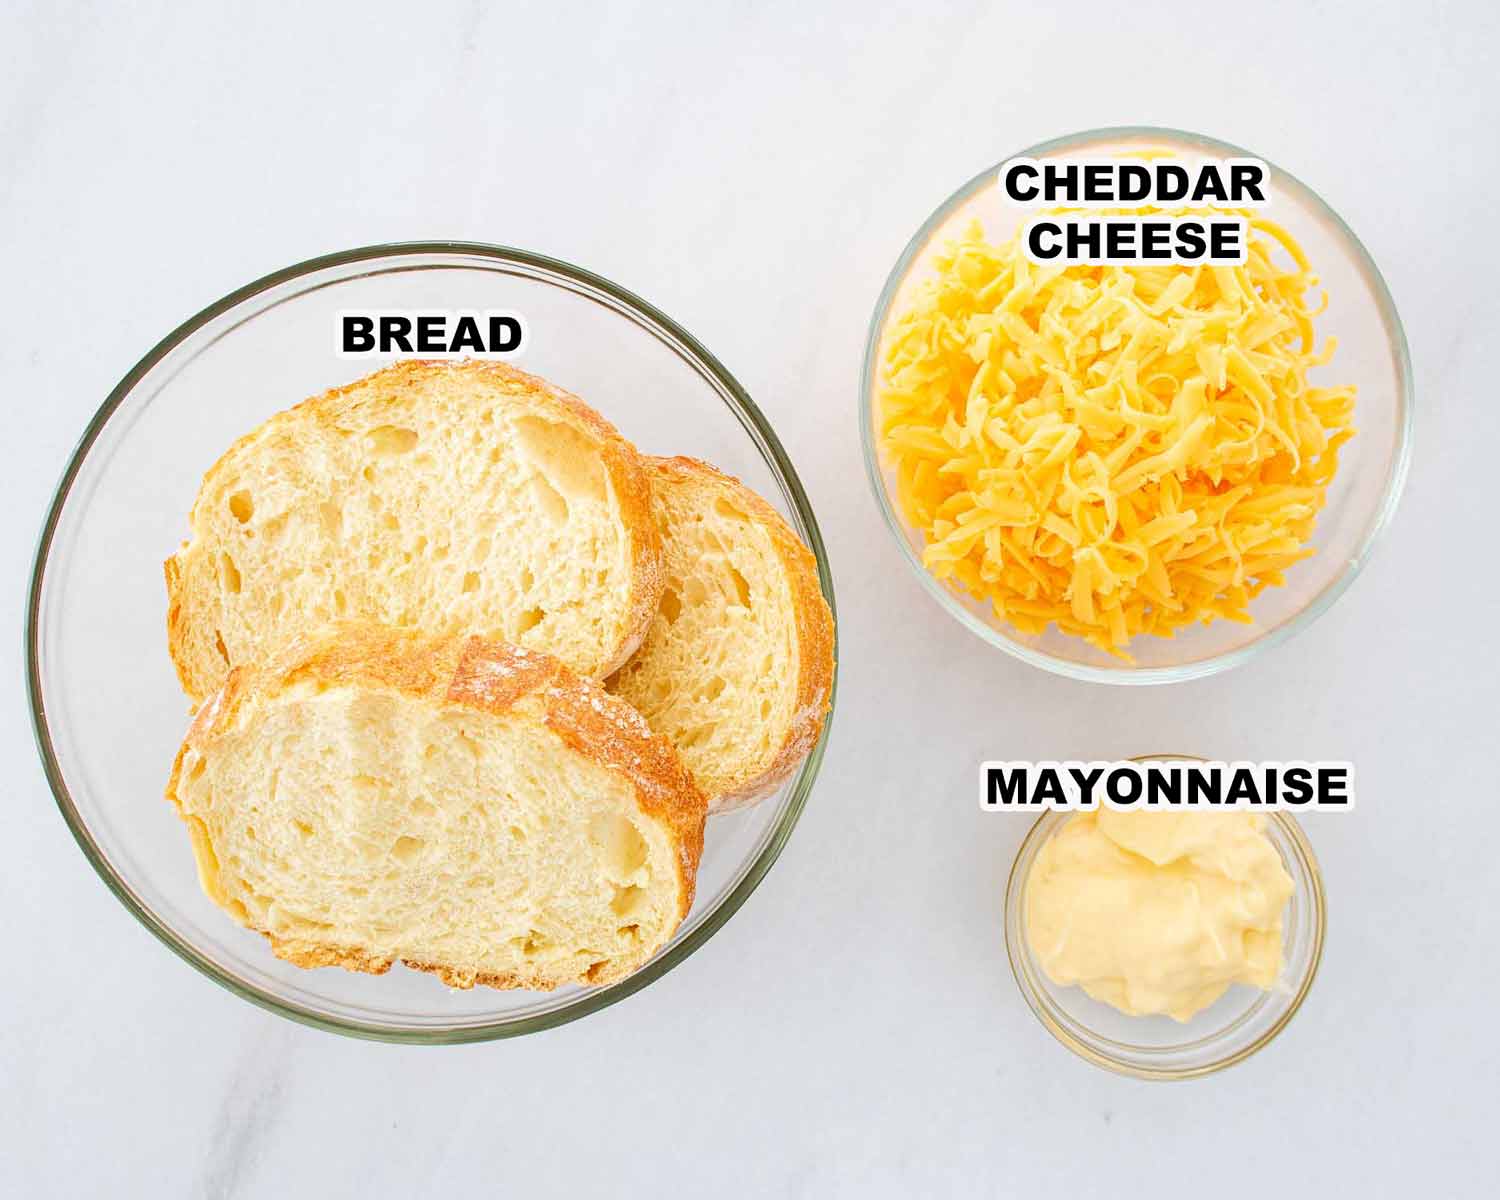
- Bread – You can use any type you like – white, whole wheat, sourdough, or even a gluten-free variety for those with dietary restrictions.
- Mayonnaise – Any type you like best. You can even try out this homemade version!
- Cheese – It brings the gooey, melty goodness that’s essential in a grilled cheese. Feel free to experiment with other cheeses like mozzarella for stretchiness, Swiss for a nutty flavor, or a dairy-free cheese if you’re vegan.
Making a grilled cheese sandwich is as easy as it gets. Let’s dive in!
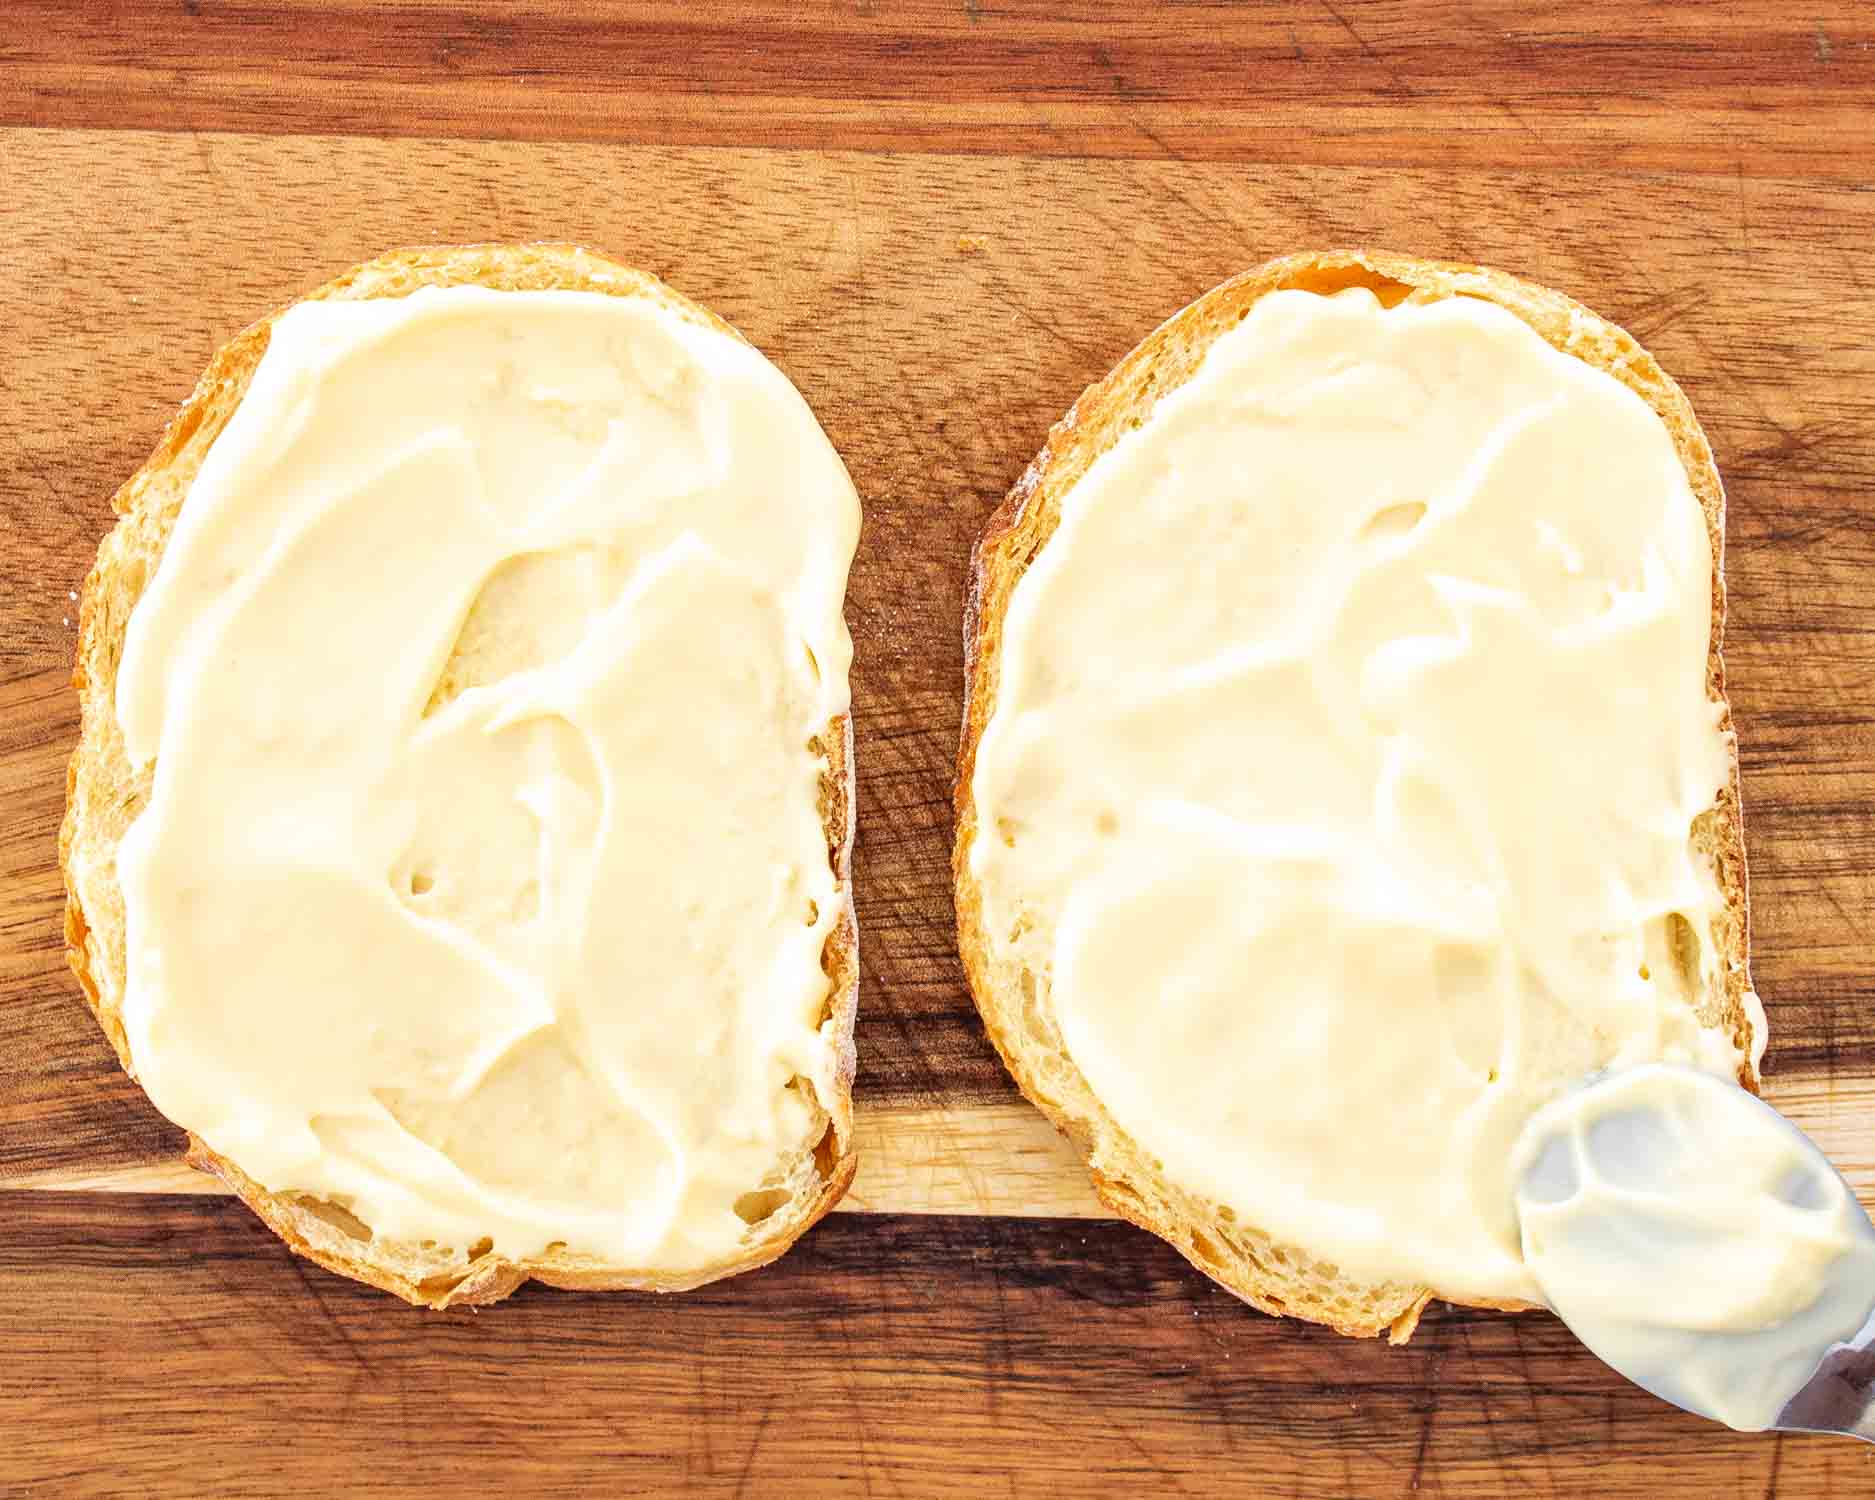
First things first, grab your bread slices and slather them with mayonnaise. Go generous with it, but no need to overdo it.
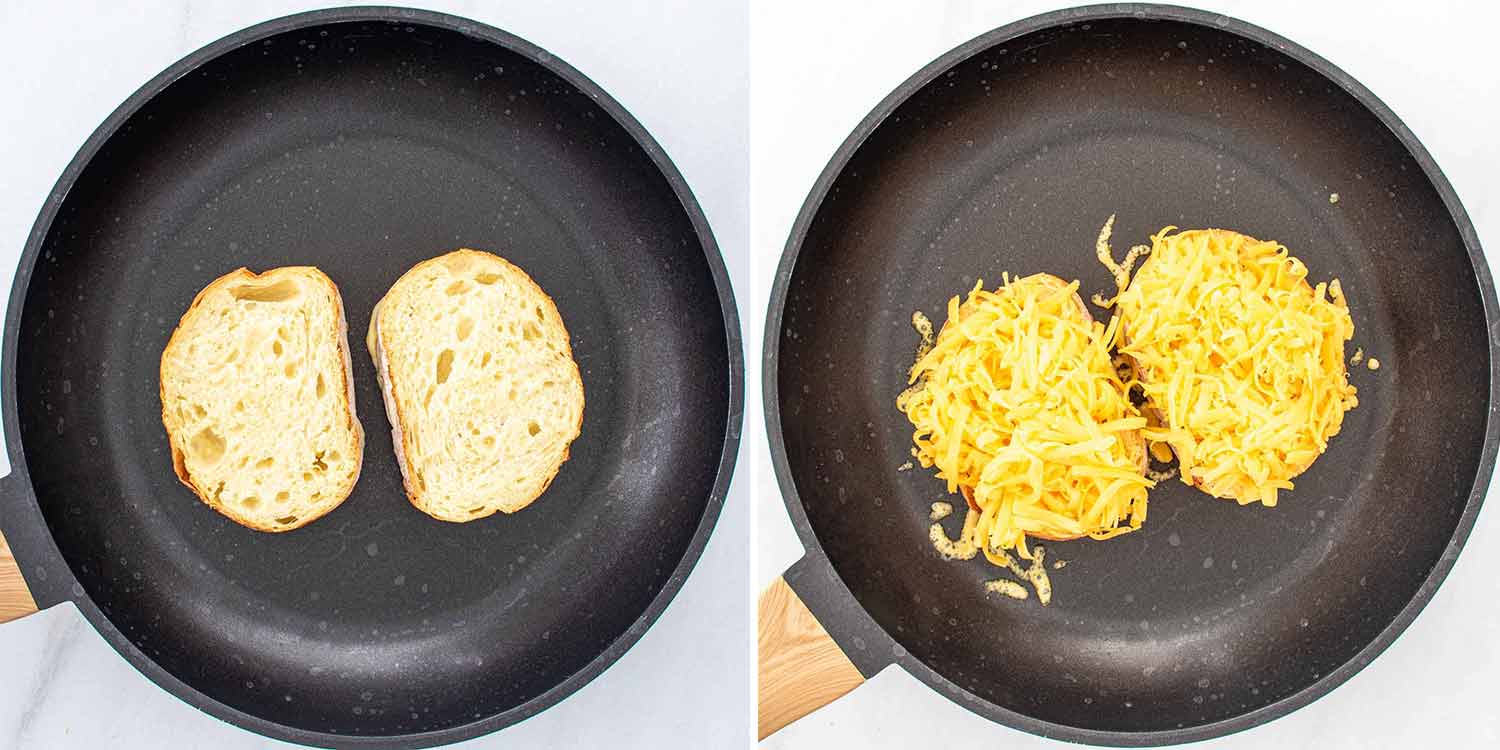
Now, heat up your skillet over medium heat. Take one of those mayo-coated slices and place it mayo side down in the skillet. Then comes the fun part – sprinkle on that cheese. Half a cup should do the trick. And hey, it’s okay if some cheese strays onto the pan.
Grab your second slice of bread, mayo side up this time, and gently lay it on top of the cheese. Let your sandwich cook for about 4-5 minutes. Keep an eye on it – we’re aiming for golden brown, not charred black. If your skillet is too hot, don’t hesitate to dial it back a bit.
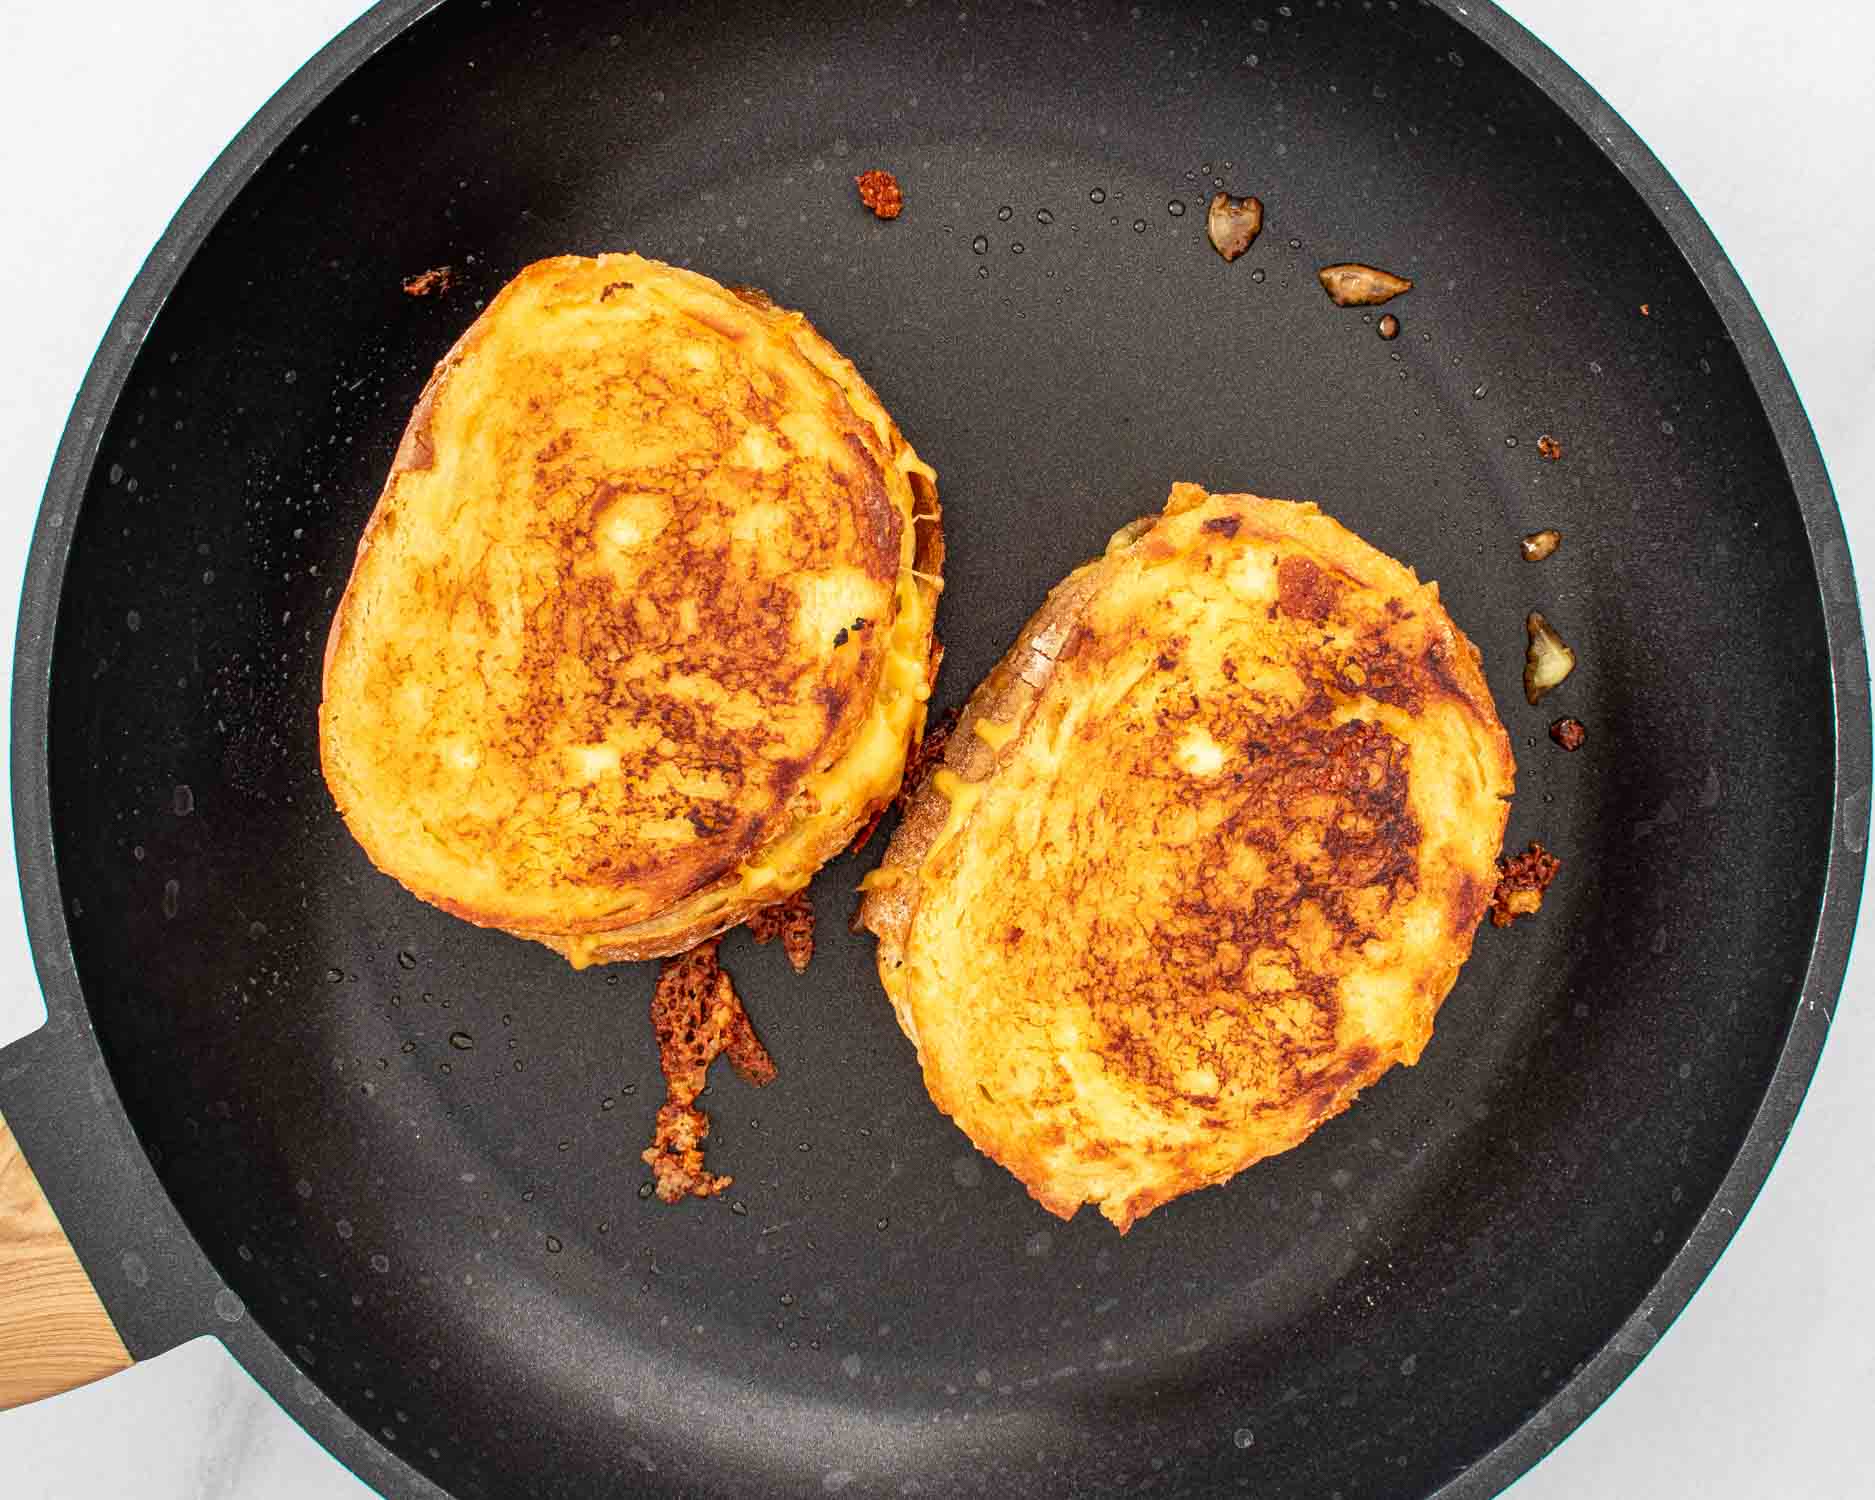
Once the bottom is perfectly golden, it’s time to turn it over. Give the other side about 3-4 minutes to get that same delicious, golden color. This is where the cheese gets all melty and irresistible. Your grilled cheese is ready!
Serve with
Serving a grilled cheese sandwich with the right accompaniments can turn it into a full, satisfying meal. Here are some delightful options:

Roasted Tomato Soup

Easy Tossed Salad

Summer Fruit Salad with Lemon Dressing

Homemade Chicken Noodle Soup

Frequently Asked Questions
What type of bread should I use?
While any type of bread, really, will work, I suggest finding a loaf with some nice and big slices to give you optimal surface area for the cheese. You can use gluten-free, plain white, multigrain, whole wheat, sourdough, homemade; you name it. Try some of these great homemade bread recipes:
Amish White Bread
White Bread Recipe
No Knead Bread
Rye Bread
Slow Cooker Bread
What is the best type of cheese for a grilled cheese sandwich?
When it comes to the best cheese for a grilled cheese sandwich, it really depends on what you’re looking for in terms of flavor and meltiness. Cheddar is a fantastic choice for its perfect balance of meltability and taste, with sharp cheddar adding a delightful tang. American cheese is another top pick, especially for its creamy, gooey melt that’s a staple in many classic recipes. For something a bit different, you could go for Gouda, which, whether smoked or regular, offers a rich, buttery flavor. Then there’s Fontina, known for its exceptionally creamy and smooth melt, adding a hint of luxury to your sandwich.
Why mayonnaise?
Mayonnaise is used instead of butter for a few reasons. It spreads more evenly than butter, ensuring a consistent, golden crust. Mayo also has a higher smoke point than butter, which means it’s less likely to burn while cooking. Plus, it adds a subtle tanginess that enhances the overall flavor of the sandwich.
How do I know when to flip the sandwich in the pan?
You’ll know it’s time to flip the sandwich when the bottom slice of bread is golden brown and crispy. This usually takes about 4-5 minutes over medium heat. If you’re unsure, it’s okay to lift a corner of the sandwich with a spatula to check the color.

Expert Tips
- Use Low Heat: To avoid burning the bread while still ensuring the cheese melts beautifully, cook your sandwich over low to medium heat. This allows the heat to slowly permeate through the sandwich, melting the cheese without over-toasting the bread.
- Cover the Pan: If you’re having trouble getting the cheese to melt before the bread gets too brown, try covering the pan with a lid for a minute or two. This traps the heat and creates a mini-oven environment, helping the cheese melt more efficiently.
- Choose the Right Cheese Texture: While flavor is important, the texture of the cheese is crucial for that perfect melt. Look for cheeses that are known for their meltability, such as medium cheddar, Gouda, or Fontina.
- Experiment with Bread Thickness: The thickness of your bread can make a big difference. Thicker slices provide a heartier sandwich and more room for cheese, but they require more time to cook thoroughly. Thinner slices toast faster and are easier to crunch through.
- Add a Flavorful Spread Inside: To add an extra layer of flavor, consider spreading a thin layer of condiments like Dijon mustard, pesto, or a chutney on the inside of your sandwich.
Storage
This grilled cheese really is best enjoyed fresh. I suggest making your grilled cheese sandwiches as you need them. If you end up with extras, you can store them for 1-2 days in the fridge. When it’s time to reheat, a skillet or oven works best to bring back that delightful crispness. Just warm it over medium heat in a skillet, flipping once to ensure both sides get crispy again, or bake it in a preheated oven at 350°F (175°C) until it’s heated through and the cheese gets gooey once more.

Discover More Delicious Sandwiches
- The Reuben
- Hawaiian Ham and Cheese Stromboli
- Croque Monsieur
- Roast Beef Sandwich
- Italian Sub Sandwich
- Patty Melt
- Muffuletta
- Monte Cristo Sandwich
Before You Begin! If you make this, please leave a review and rating letting us know how you liked this recipe! This helps our business thrive & continue providing free recipes.

Grilled Cheese Sandwich
Ingredients
- 4 slices bread (Any type you like.)
- 2-3 tablespoon mayonnaise
- 1 cup cheddar cheese (shredded)
Before You Begin! If you make this, please leave a review and rating letting us know how you liked this recipe! This helps our business thrive & continue providing free recipes.
Instructions
- Spread the mayonnaise generously over one side of each slice of bread.
- Heat a skillet over medium heat. Place a slice of bread, mayo side down, onto the skillet. Sprinkle ½ a cup of the cheese onto the slice. Don't worry of some of it hits the pan. Spread the cheese evenly over the slice.
- Place a second slice of bread, mayo side up, on top of the cheese. Let the sandwich cook for 4-5 minutes, keeping an eye on it so it doesn't burn, and adjusting the heat if needed.
- Once golden brown, flip the sandwich over and cook the other side for another 3-4 minutes, or until golden. Transfer the grilled cheese to a plate and serve warm.
Notes
- Bread Choice: Opt for a bread that’s sturdy enough to hold up the cheese and get crisp, but not so thick that the cheese won’t melt. A medium-sliced white, whole wheat, or sourdough works great.
- Cheese Options: While cheddar is a classic, feel free to mix and match cheeses. Combining different types, like mozzarella for stretch and Gouda for flavor, can elevate your sandwich.
- Spread Evenly: Ensure the mayonnaise is spread evenly across the entire surface of the bread. This helps achieve an even golden color and crispness all over.
- Watch the Heat: Cook the sandwich on low to medium heat to avoid burning the bread before the cheese has a chance to melt. Patience is key for that perfect golden crust and gooey center.
Nutrition Information
Notice: Nutrition is auto-calculated for your convenience. Where relevant, we recommend using your own nutrition calculations.
