Homemade Slider Buns
This post may contain affiliate links. Please read my disclosure policy.
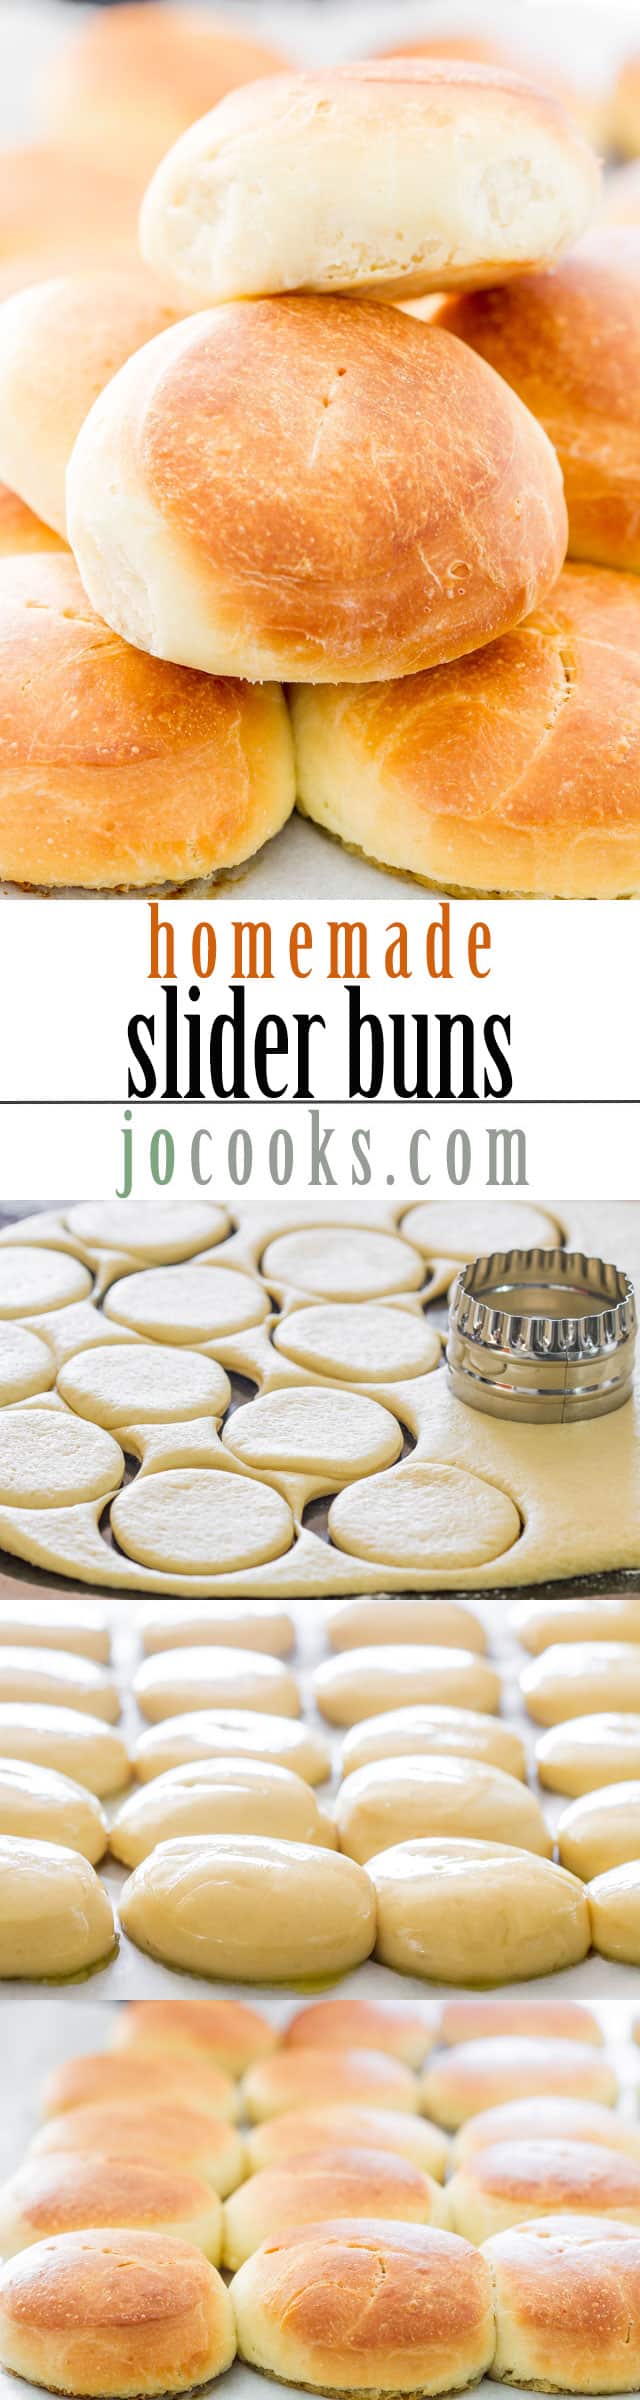
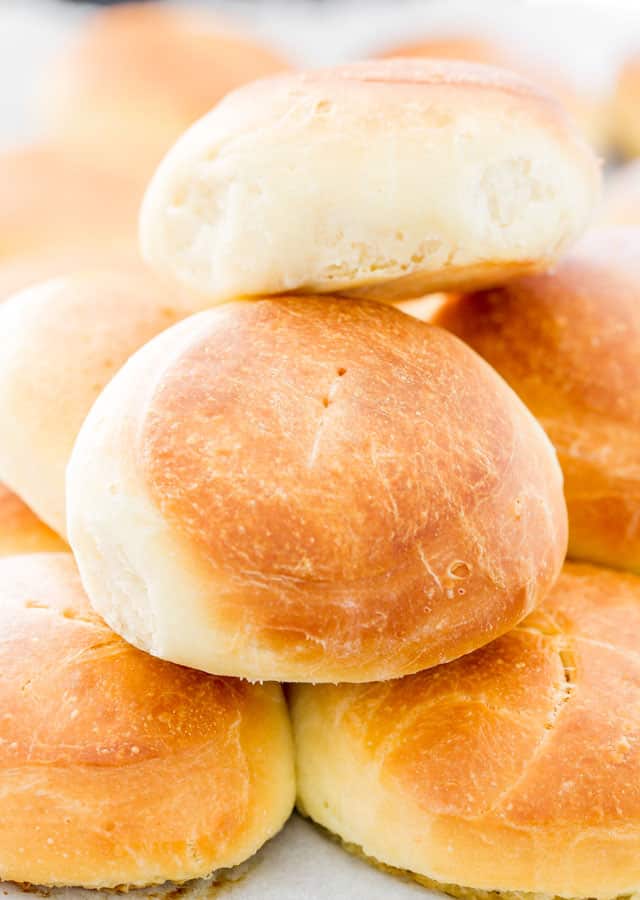
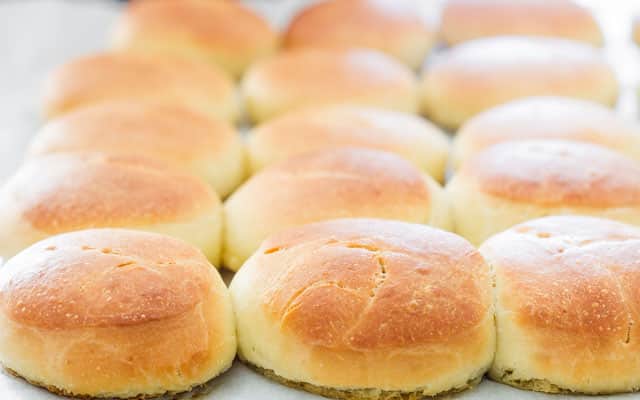
These Slider Buns are perfect little mini buns perfect for burgers and small enough that you can eat three of these without feeling guilty. Nothing beats a homemade bun, the aroma of bread baking in the oven, the warm buns, there’s nothing better.
Ah, these slider buns, love me some slider buns. So here’s the thing. I’ve been wanting to make some sliders forever now, but I just can’t seem to find the right buns for them. Eventually I got tired of looking and waiting so I decided to make my own slider buns. Bread is bread, so it’s not that difficult.
I’m so glad I did, these little slider buns turned out amazing, cute little buns, buttery, delicious and best of all only 91 calories a slider bun. Can you believe that? I just love that! I guess that means we can have a few, not just one. Who can eat just one?
Ingredients
- Flour – all you need is all purpose flour.
- Salt – Salt is important in any baked good, it ensures that all those flavors we’ve incorporated above really shine.
- Water – At room temperature, this is the liquid we use today in our buns.
- Yeast – I’m using instant yeast today so that we can incorporate it right in the dough without priming it in water first.
- Sugar – To add a little bit of sweetness to our rolls. You could also use honey.
- Egg – 1 large egg at room temperature.
- Margarine – you can use margarine or butter. You’ll also need some melted butter to brush over the rolls.
How To Make Slider Buns
- Make the dough: Add all ingredients to the bowl of your mixer (excluding the 2 tbsp of butter for brushing). Using the hook attachment, mix everything together on medium low for about 3 to 5 minutes or until the dough is smooth and elastic and the side of the bowl is clean. The dough should be a bit sticky but manageable. If the dough is too hard or dry add a bit more water, or if it’s too sticky add more flour.
- Let the dough rise: Cover the bowl with a clean damp kitchen towel and let the dough rise until doubled in size.
- Preheat oven to 375 F degrees. Line a baking sheet with parchment paper.
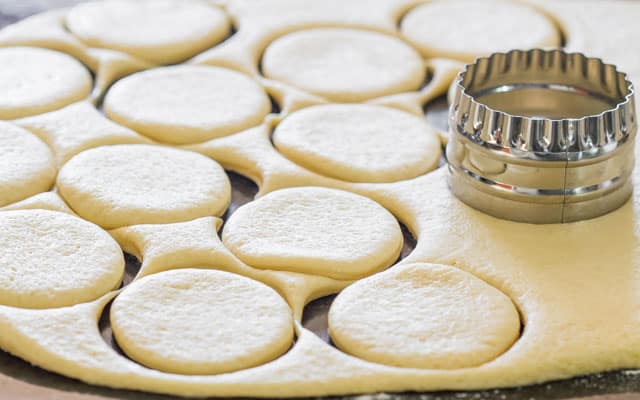
- Shape the buns: Drop the dough onto a lightly floured surface and roll it out so that it’s about 1/3 inch in thickness. Using a 2 inch cookie cutter, cut the sliders. You should get about 25 sliders from all this dough. Use the leftover dough by kneading it a couple times and re-rolling it to a 1/3 inch in thickness. Place the cutout sliders onto the prepared baking sheet leaving a little space in between them, as they will continue to rise.
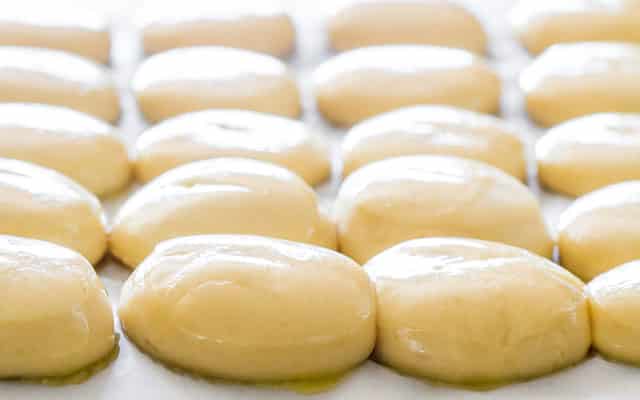
- Second rise: Cover the buns with a damp kitchen towel and let them rest for another 30 minutes or until doubled in size.
- Bake: Brush the slider buns with melted butter and bake for 10 to 12 minutes or until golden brown.
Can I Use Active Dry Yeast
You absolutely can. The difference is you need to active the dry yeast first. To do this add a bit of room-temperature or slightly warm water to a bowl and the yeast, let it sit for a minute or two and then stir it with a spoon or fork until the yeast dissolves.
You’ll notice the yeast will start to form bubbles, this means the yeast is good, if you see no reaction at all, chances are your yeast is old and need new fresh yeast.
The Best Place For Dough To Rise
If you are having trouble getting that dough to rise and double in size, I’ve got a perfect little trick for you to ensure your dough fluffs up properly. Heat your oven to 200 F degrees then turn off the oven and place your dough when needing to rise in the oven with the door closed. This will ensure a warm environment for your dough and the dough will rise fairly quickly, assuming the yeast was good.
Tips
- Be sure to check the expiry date of your yeast as it’ll affect the effectiveness of these buns.
- If using active dry yeast, please make sure you activate it first by dissolving it in a bit of warm water. If it does not begin to froth up, do not continue with the recipe.
- To keep your yeast fresh and longer lasting, unopened yeast packages or jars should be stored in a cool or dry place such as your cupboard.
- It is so important to let your rolls double in size! This will ensure that your rolls are light, tender, and fluffy.
Storing Leftover Buns
You can store these rolls right on the counter wrapped in foil or plastic wrap for up to 5 days. You can freeze these rolls easily, just place them separately on a baking sheet and freeze before transferring to a freezer bag or airtight container. They will last for up to 6 months and can be thawed right on the counter when ready to eat.
More Recipes You’ll Enjoy:
- Texas Roadhouse Rolls
- Parker House Rolls
- Dinner Crescents
- Hawaiian Sweet Rolls
- Soft Buttermilk Dinner Rolls
- No Knead Hot Cross Buns
- Honey Rolls
- Classic Dinner Rolls
Before You Begin! If you make this, please leave a review and rating letting us know how you liked this recipe! This helps our business thrive & continue providing free recipes.
Homemade Slider Buns
Ingredients
- 3½ cups all-purpose flour
- ¼ teaspoon salt
- ¾ cup water
- 1 tablespoon instant yeast
- ¼ cup sugar
- 1 egg
- 2 tablespoons margarine (or melted butter)
- 2 tablespoons butter (for brushing)
Before You Begin! If you make this, please leave a review and rating letting us know how you liked this recipe! This helps our business thrive & continue providing free recipes.
Instructions
- Add all ingredients to the bowl of your mixer (excluding the 2 tbsp of butter for brushing). Using the hook attachment, mix everything together on medium low for about 3 to 5 minutes or until the dough is smooth and elastic and the side of the bowl is clean. The dough should be a bit sticky but manageable. If the dough is too hard or dry add a bit more water, or if it’s too sticky add more flour.
- Cover the bowl with a clean damp kitchen towel and let the dough rise until doubled in size.
- Preheat oven to 375℉. Line a baking sheet with parchment paper.
- Drop the dough onto a lightly floured surface and roll it out so that it's about 1/3 inch in thickness. Using a 2 inch cookie cutter, cut the sliders. You should get about 25 sliders from all this dough. Use the leftover dough by kneading it a couple times and rerolling it to a ⅓ inch in thickness. Place the cutout sliders onto the prepared baking sheet leaving a little space in between them, as they will continue to rise.
- Cover the buns with a damp kitchen towel and let them rest for another 30 minutes or until doubled in size.
- Brush the slider buns with melted butter and bake for 10 to 12 minutes or until golden brown.
Equipment
Notes
- To speed up the time required for the dough to rise, preheat your oven to 200 for a couple minutes, just until it’s warm in the oven. Turn oven off and place your bowl with the dough, covered with the towel. Close the oven door and let it rest until the dough has doubled in size. If the yeast is fresh it should be ready in half hour to an hour.
Nutrition Information
Notice: Nutrition is auto-calculated for your convenience. Where relevant, we recommend using your own nutrition calculations.
