Mini Pavlovas
This post may contain affiliate links. Please read my disclosure policy.
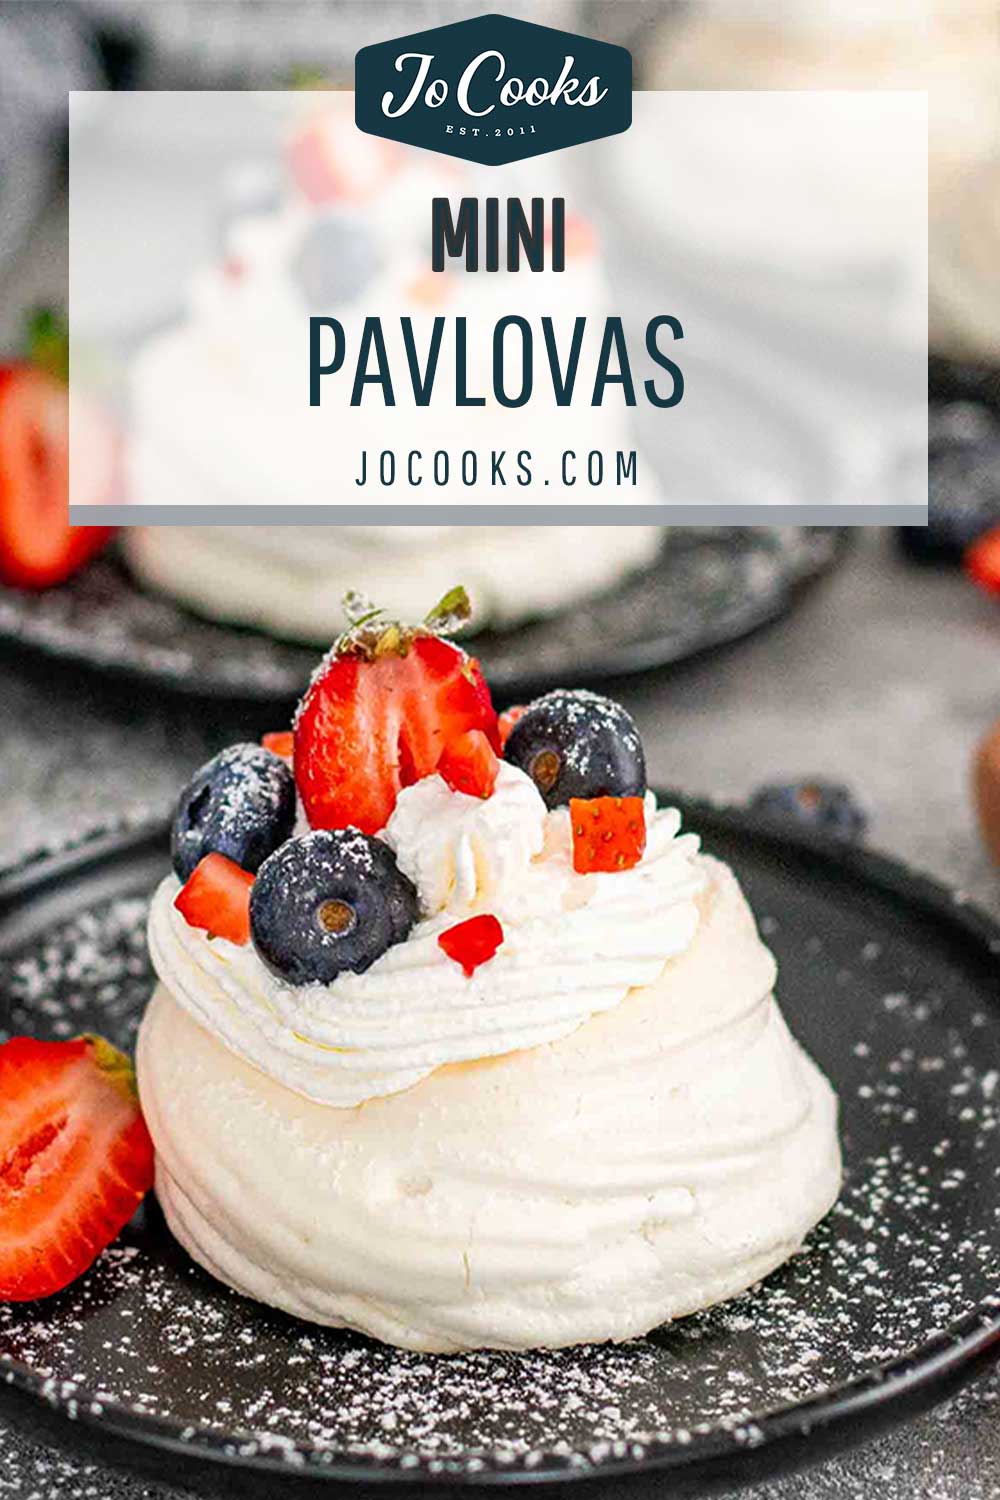
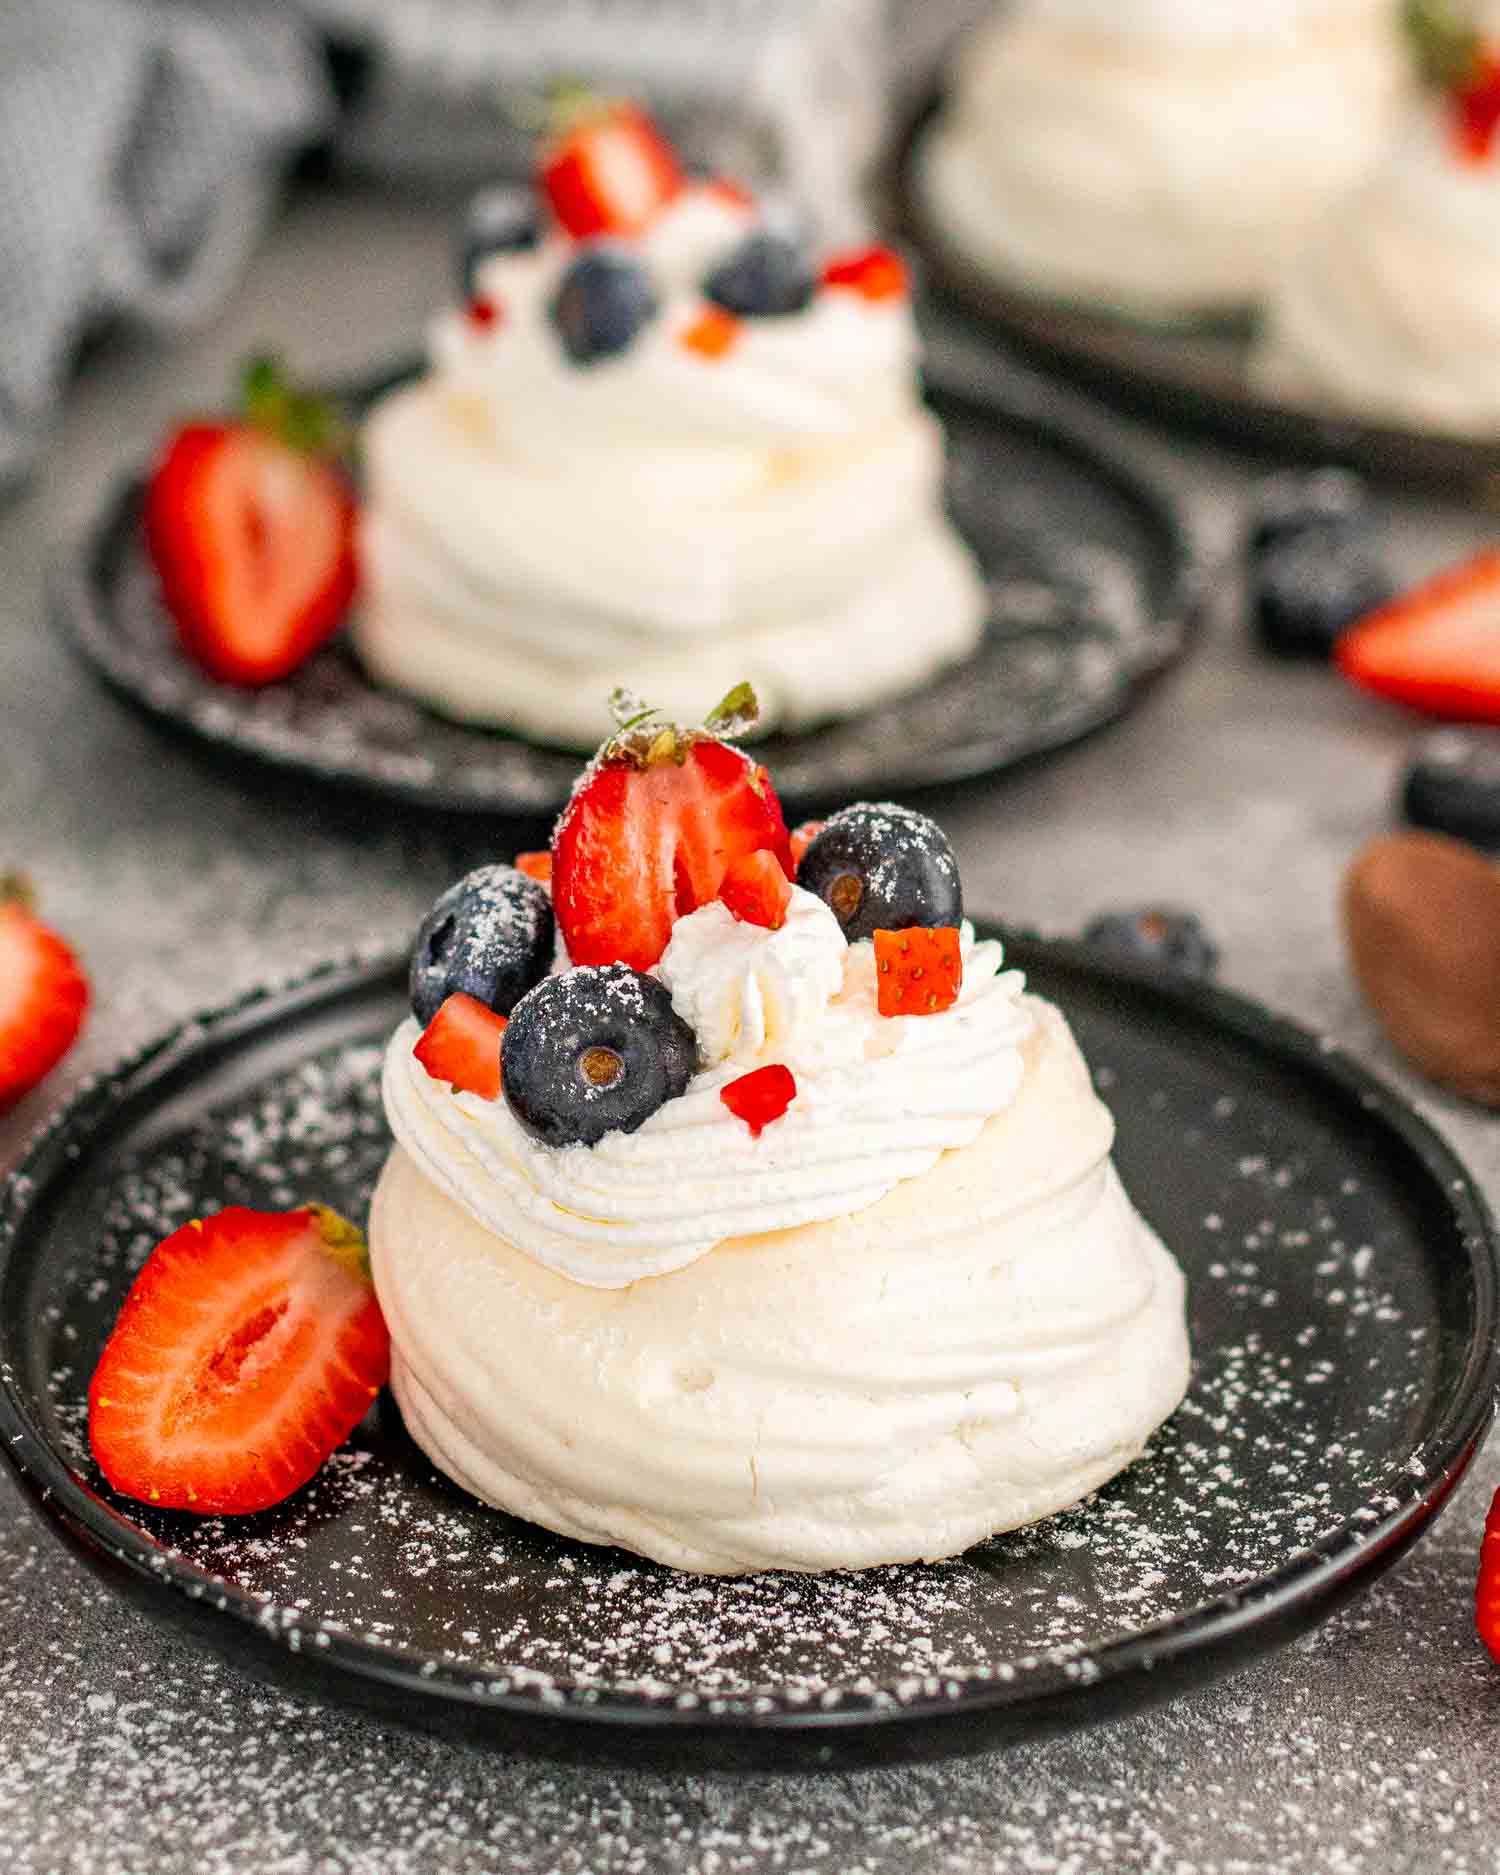
These Mini Pavlovas are the epitome of simplicity, pairing airy meringue bases with creamy, fruity toppings. They’re your go-to for a no-fuss, delightful dessert.
What Is A Pavlova?
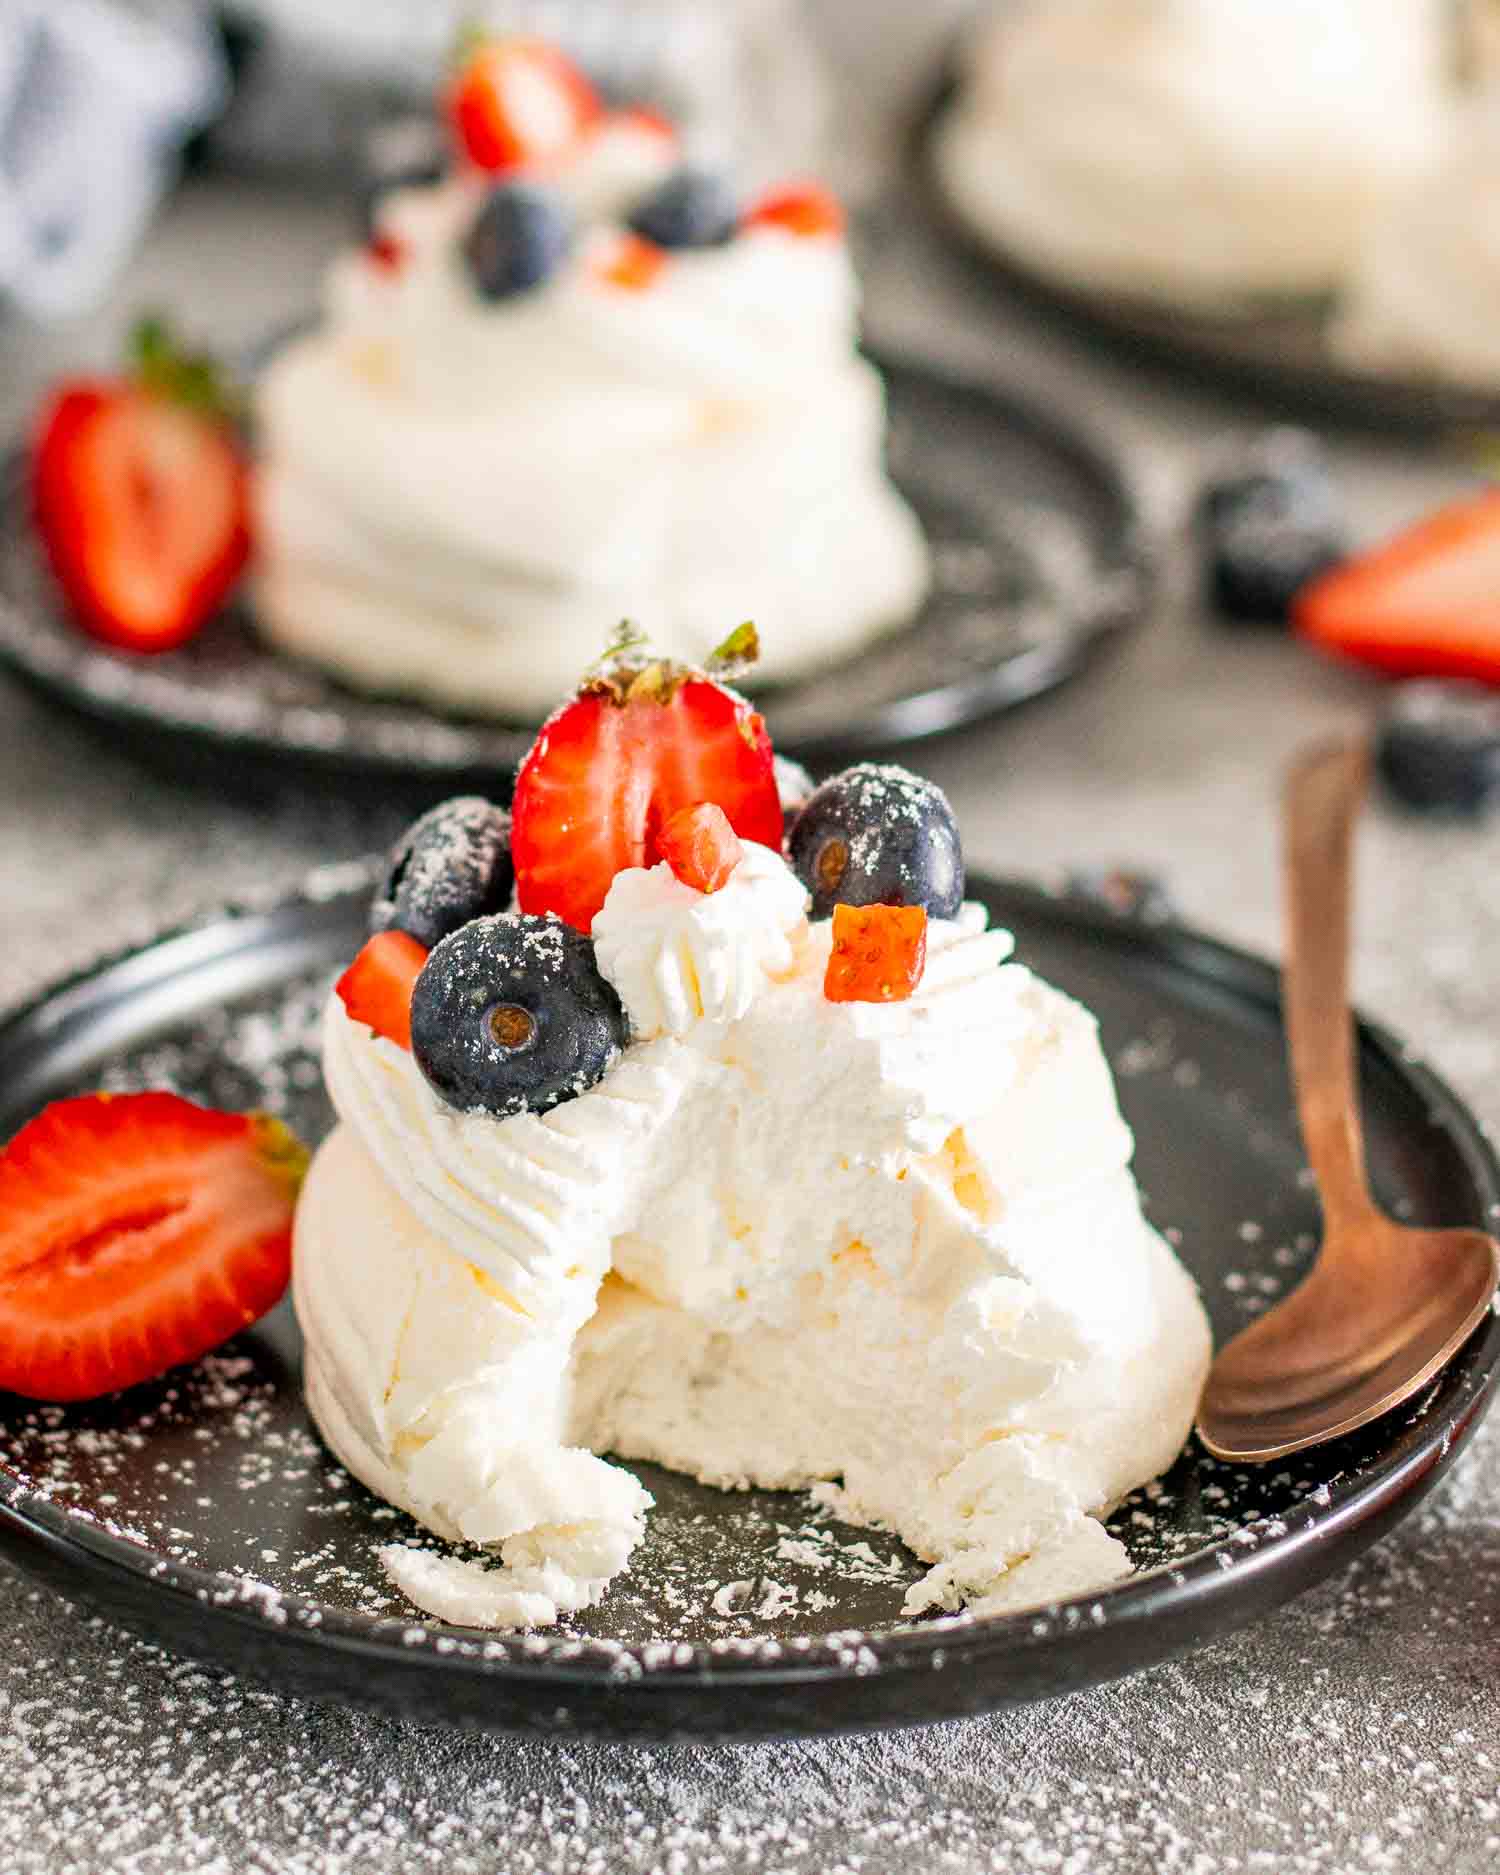
Pavlova, named after the famous ballerina Anna Pavlova, is this fabulously light and airy dessert that’s been a bit of a sweet dispute between Australia and New Zealand – both claim to have whipped it up first. It’s all about that crispy-on-the-outside, soft-and-marshmallowy-on-the-inside meringue, usually dolloped with whipped cream and fresh fruit.
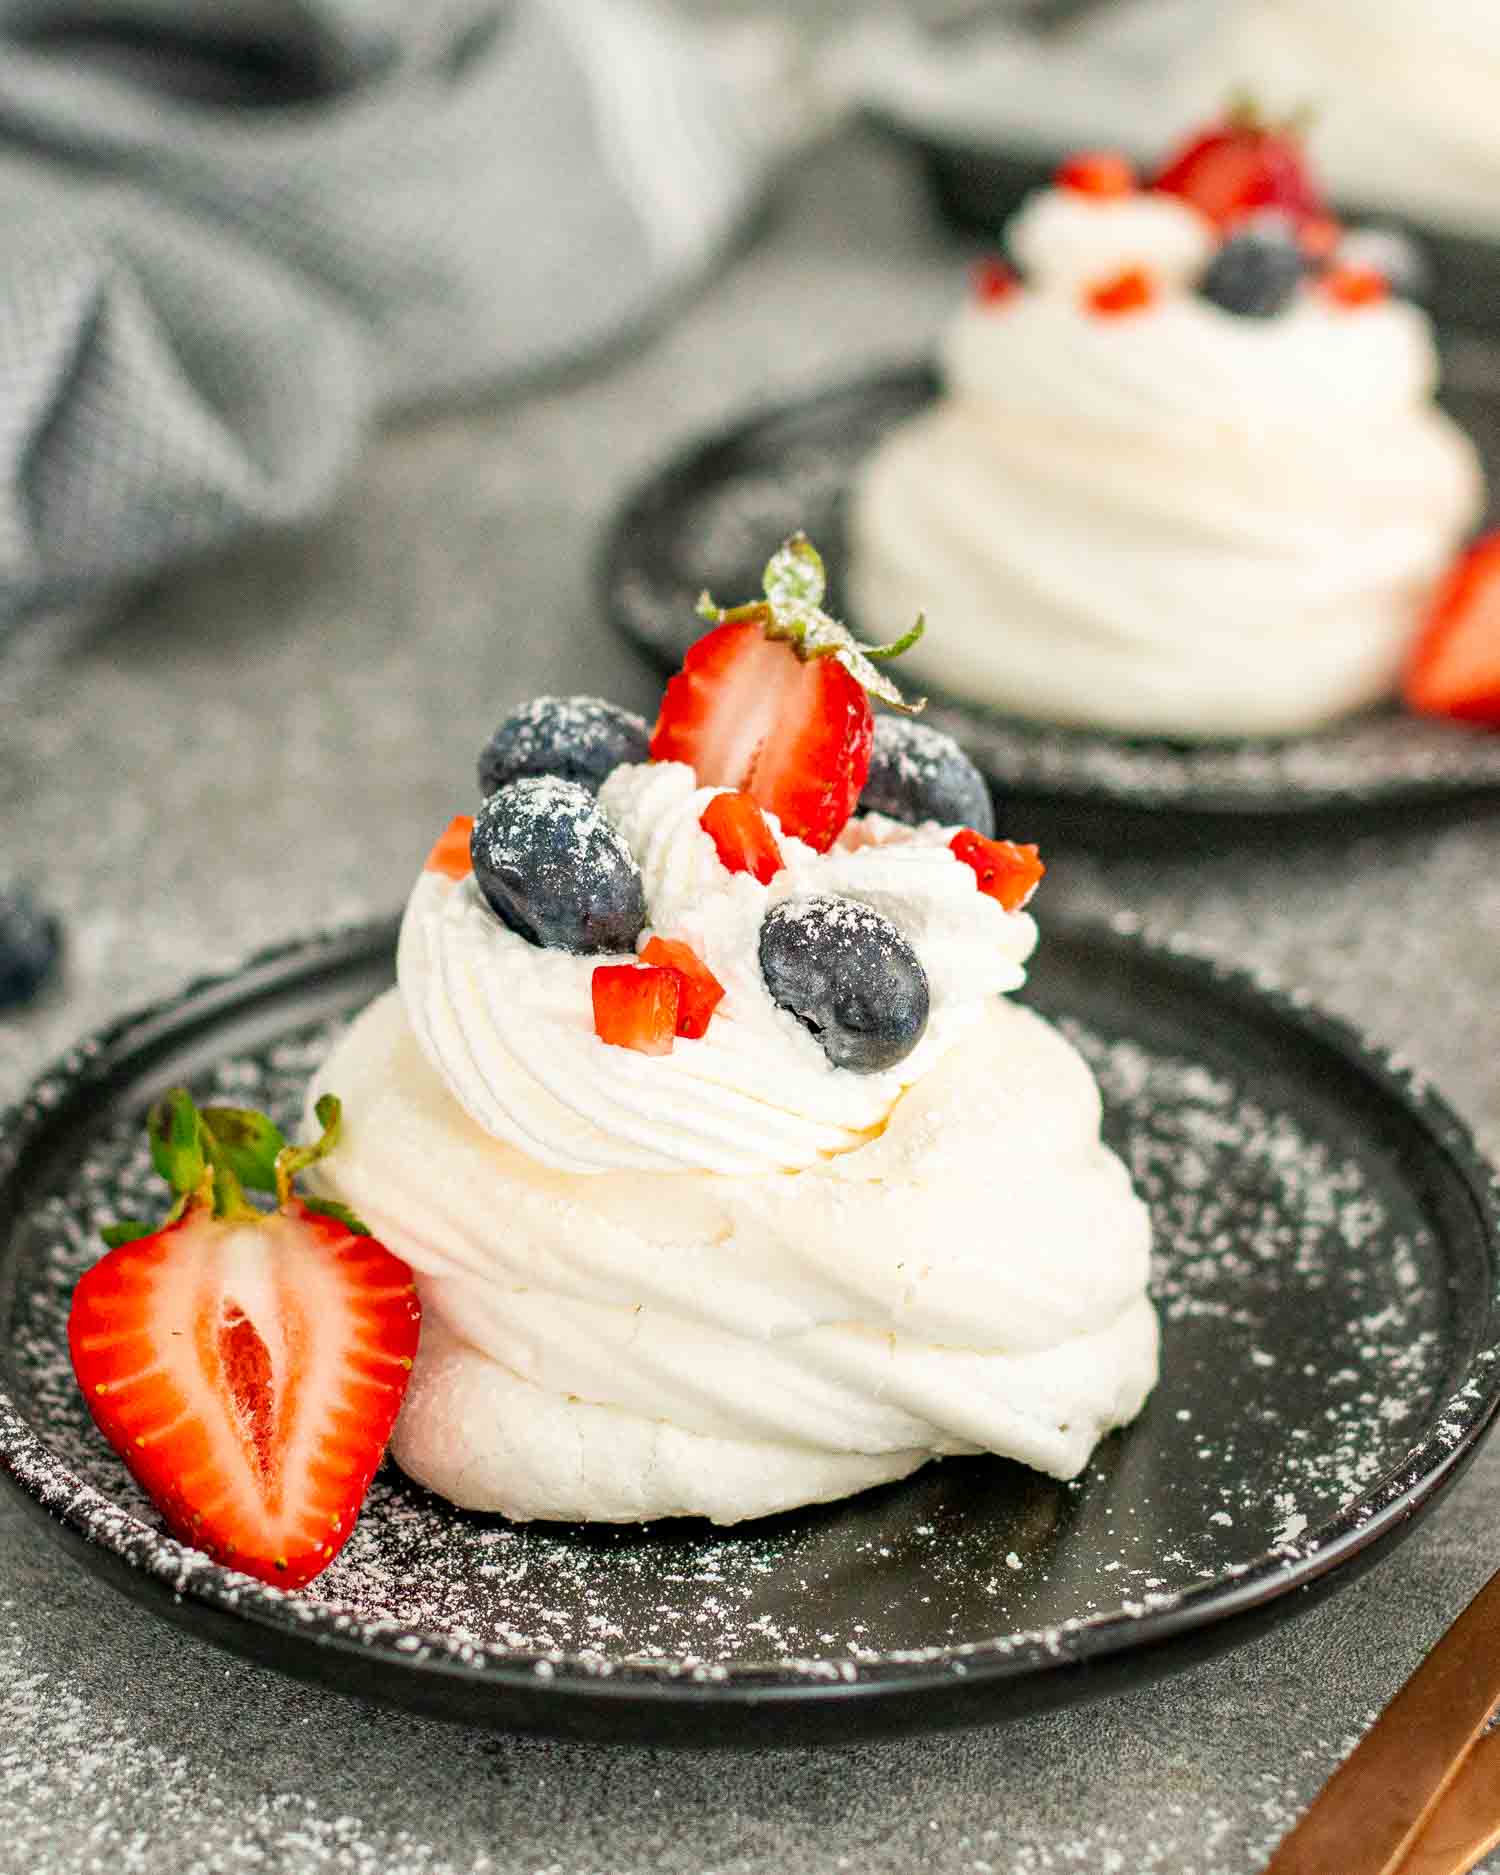
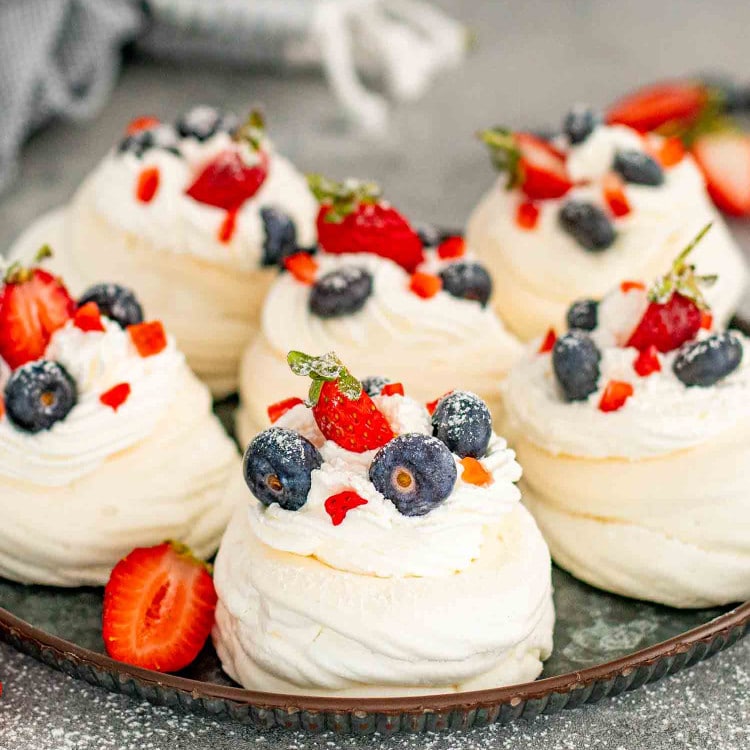
Now, these Mini Pavlovas? They’re my cute, personal-sized spin on the classic! Each one is a perfect little meringue nest, just waiting to be filled with creamy goodness and vibrant fruits. It’s like getting your own little piece of dessert heaven, no sharing required!
Pro Tip
Master the egg whites: make sure your bowl and beaters are completely grease-free and that not a speck of yolk sneaks into your whites. Any fat or yolk can prevent them from reaching their full, fluffy potential. So, crack those eggs carefully, and maybe give that bowl an extra wipe before starting – it makes all the difference for getting that dreamy, cloud-like meringue!
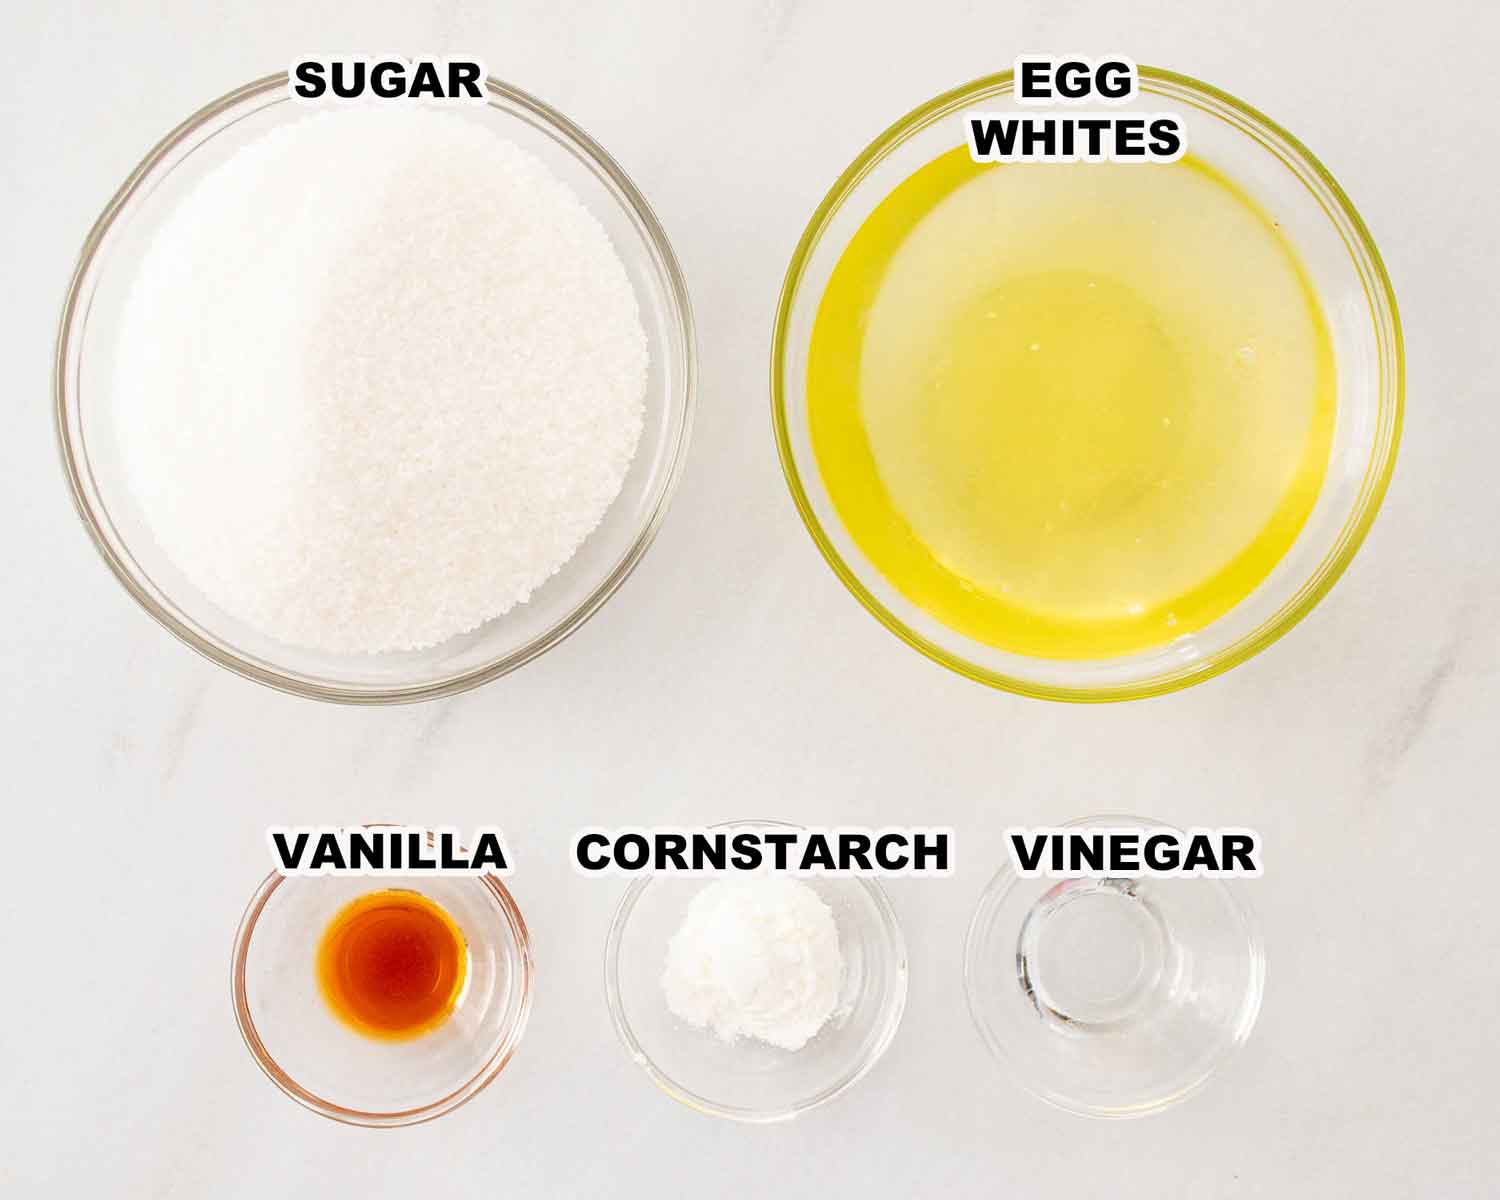
- Egg Whites: These are the stars of the show, giving our pavlovas their signature airy lift. If you’re vegan, aquafaba (the liquid from canned chickpeas) can work as a nifty substitute.
- Granulated Sugar: This sweetens the pavlovas and helps form that lovely, glossy peak. For a healthier twist, try coconut sugar.
- White Vinegar: A little bit of this stabilizes the egg whites, giving them structure. You can swap it with lemon juice or cream of tartar.
- Vanilla Extract: Adds a lovely, rich aroma. Feel free to experiment with other extracts like almond or lemon for a different flavor.
- Cornstarch: This helps thicken our pavlovas, ensuring they hold their shape. Arrowroot powder can be used as an alternative.
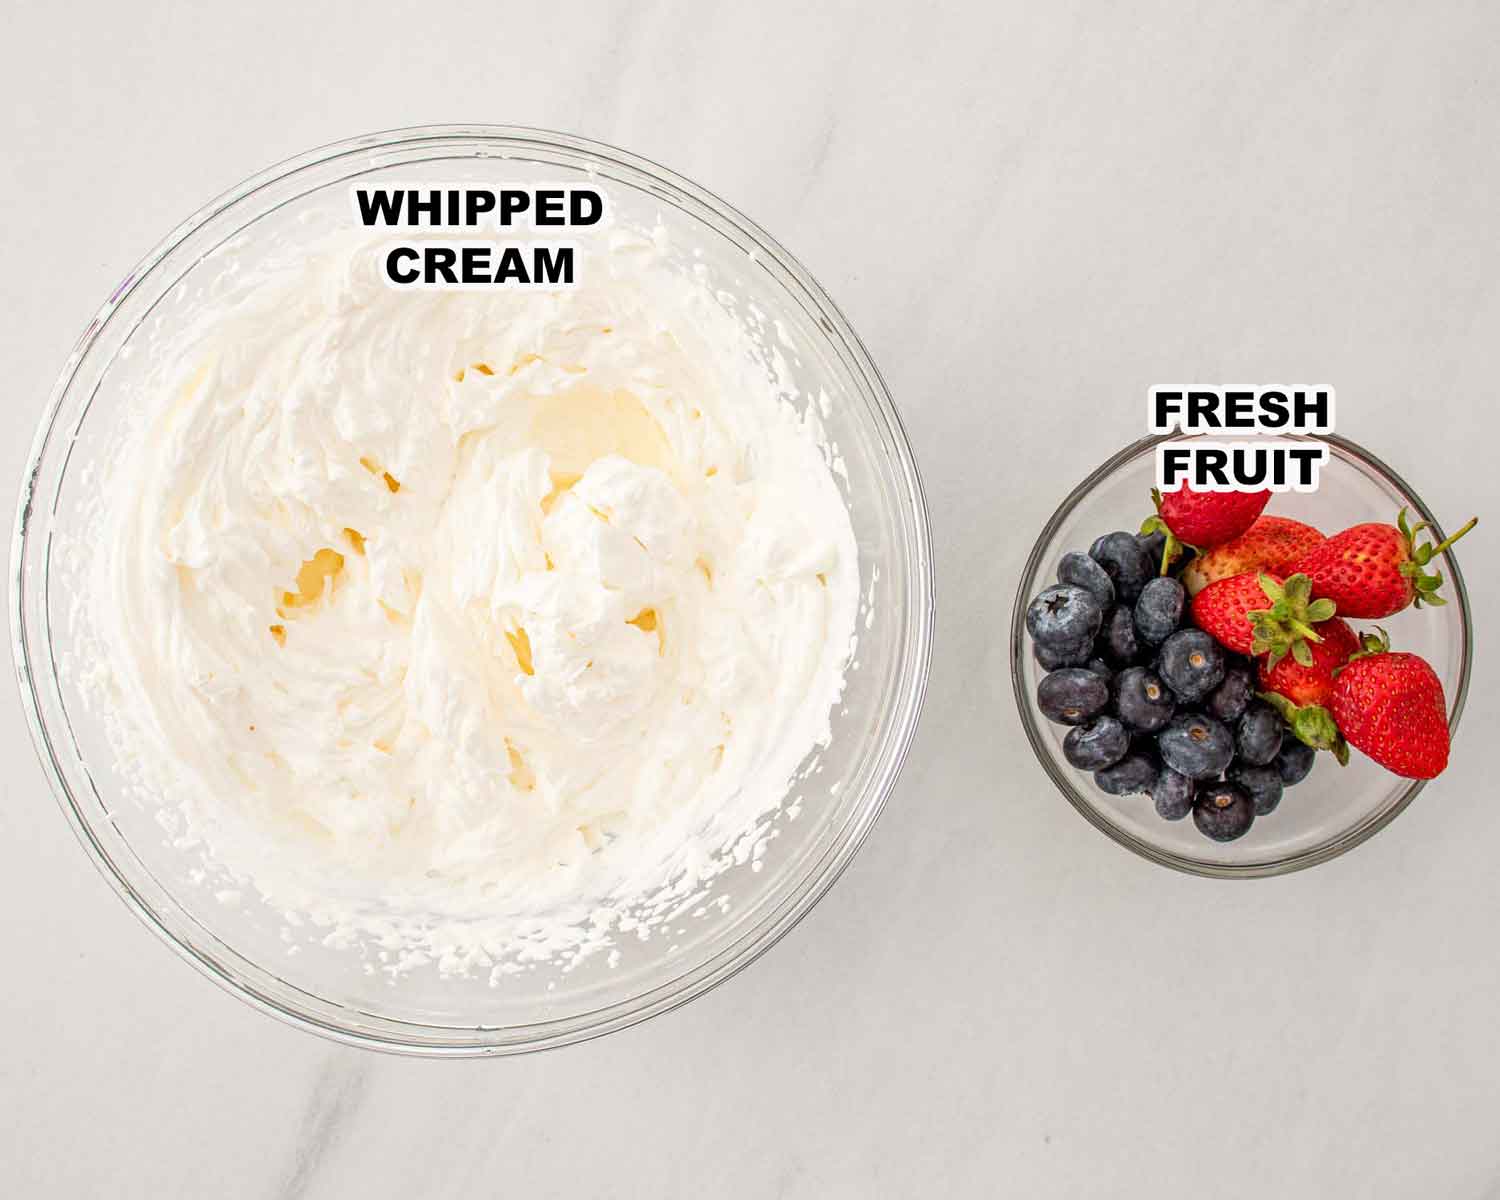
- Fresh Fruit: Strawberries, kiwis, passionfruit, blueberries – you name it! The fruits add a fresh, juicy burst of flavor. Mix and match based on seasonality or your personal preference.
- Whipped Cream: Brings a creamy, soft contrast to the crunchy meringue. Dairy-free options like coconut whipped cream work great for a vegan version.
Honestly, they might look all fancy and complicated, but you’ll be surprised how easy they are to whip up. It’s like having a little chit-chat while making magic in the kitchen. Here we go!
First things first, let’s get that oven heating up to 300°F (150°C). Then, line your baking sheet with some parchment paper. It’s like setting the stage for our pavlova stars!
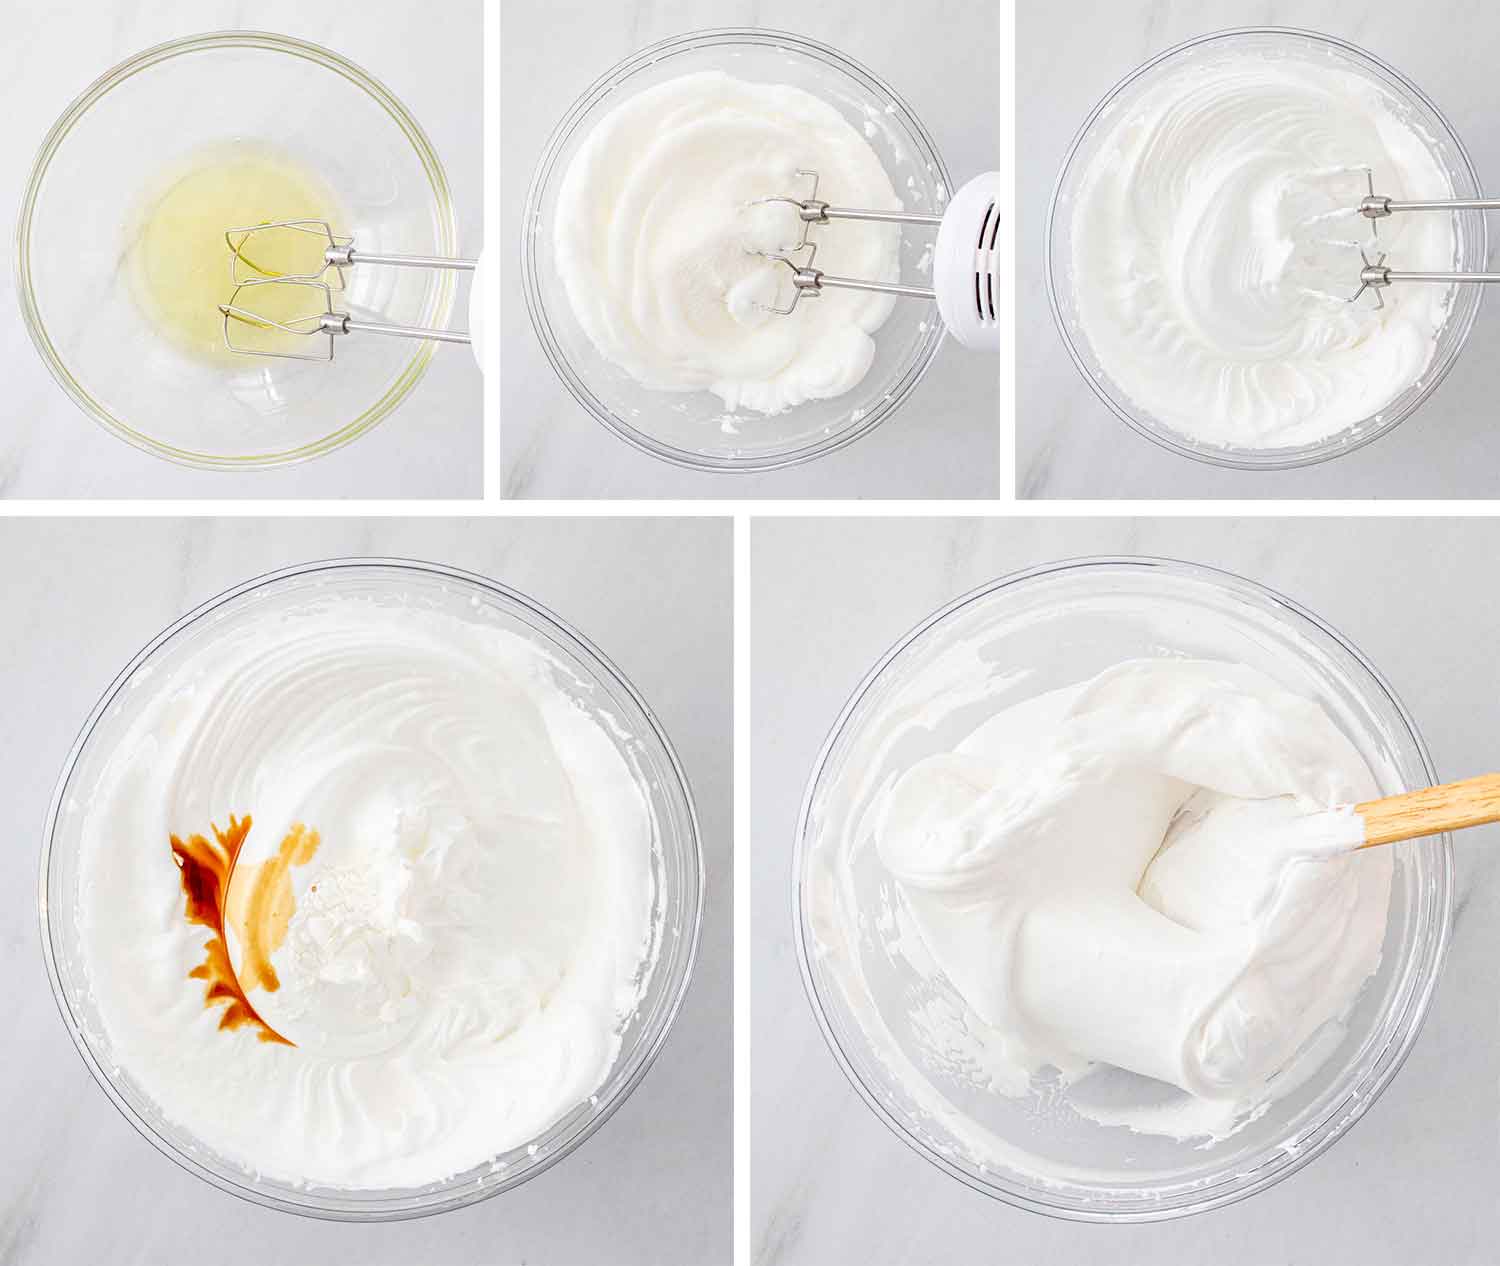
Now, grab those egg whites and beat them until they form soft peaks. Imagine you’re coaxing the air into the whites, making them light and fluffy. Once you’ve got those peaks, start adding the sugar gradually. It’s like a sweet, slow dance – you want to keep everything smooth and glossy. This step is key to getting that signature pavlova texture.
Now, let’s gently fold in the vanilla, vinegar, and cornstarch. Think of it as tucking in all the flavors and stability into our meringue. Be gentle; we don’t want to lose all that air we just worked in!
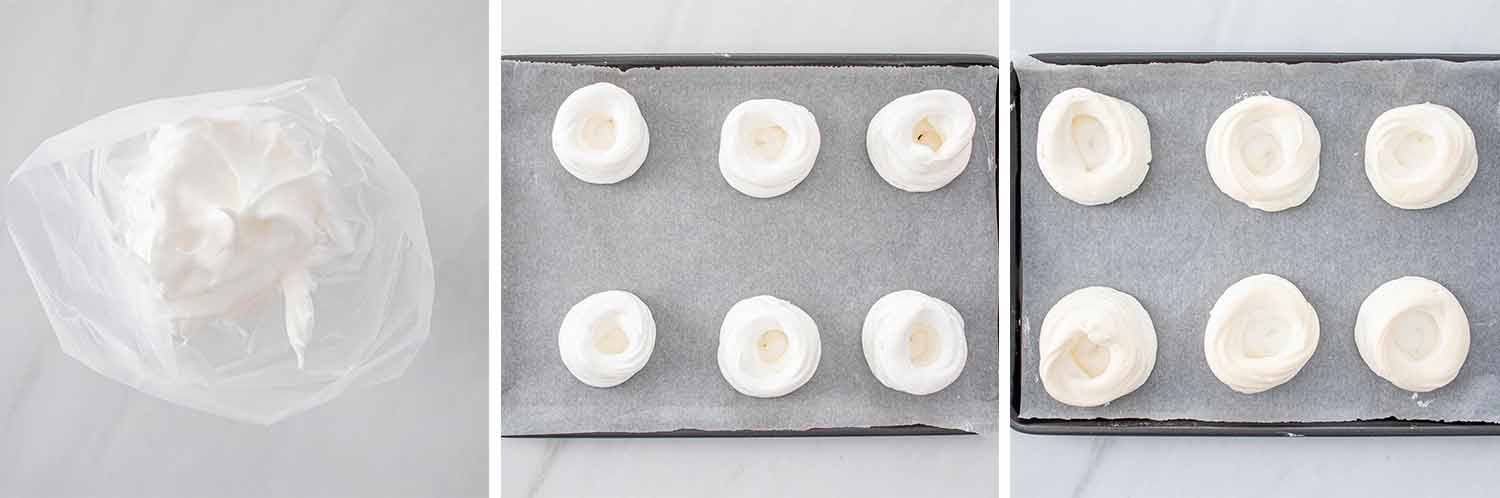
Alright, now it’s time to bring out the piping bag. Fit it with a medium-sized tip – something around a ½ inch works great. Pipe the meringue onto your parchment-lined baking sheet, making sure each one has a neat, round shape. As you pipe, create a little well in the center of each meringue. Now, gently slide the baking sheet into the oven, but remember, once they’re in, turn down the heat to 250°F (120°C). We want these beauties to bake slowly and evenly, for about 50-60 minutes, until they’re crisp and can be lifted off the paper without a fuss.
Patience, my friend! Turn off the oven but leave the pavlovas inside with the door slightly ajar. This slow cooling is the secret to preventing cracks. Think of it as letting them rest after their big show.
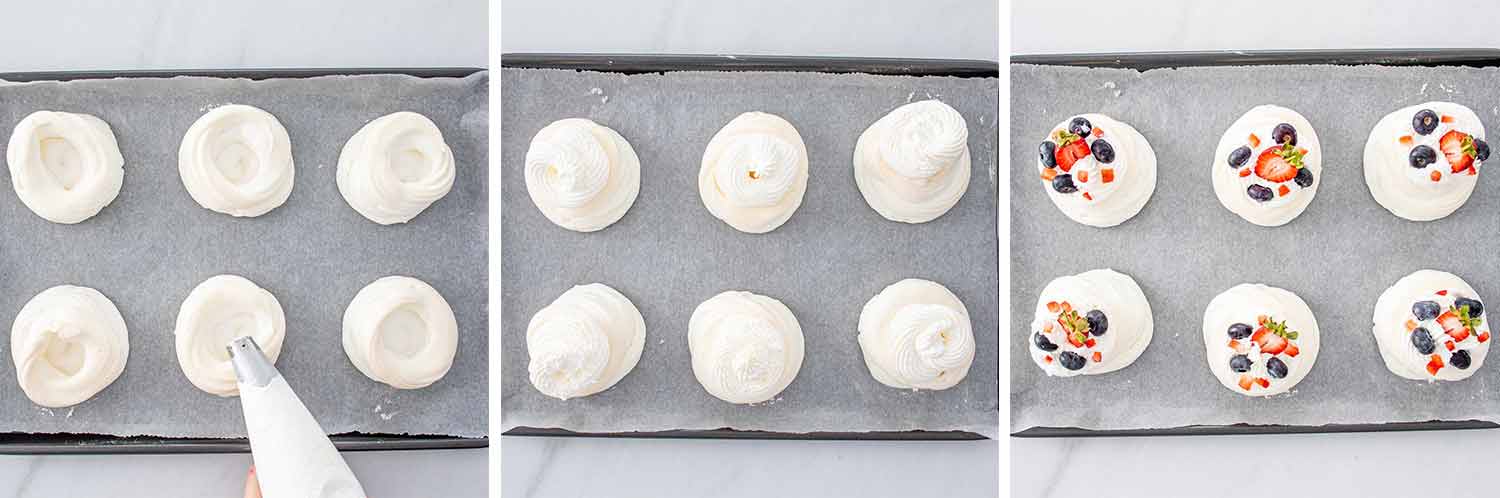
Just before serving, it’s time to get creative. Fill each pavlova with a dollop of whipped cream and top with your favorite fruits. This is your moment to shine – go as colorful and creative as you like!

Frequently Asked Questions
Can I make Mini Pavlovas ahead of time?
Absolutely! You can prepare the meringue bases a day or two in advance. Just keep them in an airtight container at room temperature. However, I recommend adding the whipped cream and fruit toppings just before serving to keep everything fresh and crisp.
My meringues are chewy inside, what did I do wrong?
Chewy meringues usually mean there was some humidity involved. Make sure you’re baking on a dry day and storing them in an airtight container. Also, ensure they’re fully cooled in the oven after baking, as this helps to dry them out properly.
Can I use frozen fruit for the topping?
You sure can, but there’s a little trick to it. Thaw the fruit first and drain any excess liquid. This way, you won’t end up with a soggy pavlova. Fresh fruit is always best for the crispest contrast, but in a pinch, well-drained frozen fruit works too.
Expert Tips
- Room Temperature Egg Whites: Always start with egg whites at room temperature. They whip up much better than cold ones, giving you that perfect, airy meringue.
- Gradual Sugar Addition: Add the sugar gradually to the egg whites. This ensures it dissolves properly, leading to a glossy and stable meringue.
- Avoid Humidity: Meringue and humidity don’t mix well. Try to bake on a dry day, and store your pavlovas in an airtight container to keep them crisp.
- Slow Bake and Cool: Bake your pavlovas slowly and allow them to cool in the oven with the door slightly ajar. This helps prevent cracks and keeps the inside marshmallowy.
- Stiff Peaks are Key: When whipping your egg whites, make sure they reach stiff peaks. This means when you lift the beaters out of the mixture, the peaks should stand up straight without collapsing.
Storage
If you have any leftovers, it’s best to store the meringue bases and toppings separately. The meringue bases can be kept in an airtight container at room temperature for a couple of days. They don’t really like moisture, so keeping them dry is key.
Now, when it comes to freezing, you can freeze the meringue bases. Just wrap them individually in cling film and place them in airtight containers or freezer bags. They can last up to a month in the freezer. However, I wouldn’t recommend freezing the assembled pavlovas with cream and fruit, as they might become soggy when thawed.
Discover More Delicious Mini Treats
- Strawberry Shortcake
- Chocolate Peanut Butter Cheesecake Pops
- Mini Tiramisu Cheesecakes
- Matcha Mini Cheesecakes
- Hawaiian Cheesecake Bites
- Mini Blueberry Galettes
- Cinnamon Sugar Donut Holes
- Panna Cotta
- Zabaglione (Zabaione)
Before You Begin! If you make this, please leave a review and rating letting us know how you liked this recipe! This helps our business thrive & continue providing free recipes.
Mini Pavlovas
Ingredients
- 4 large egg whites (room temperature)
- 1 cup granulated sugar
- 1 teaspoon white vinegar
- ½ teaspoon vanilla extract
- 1 teaspoon cornstarch
Topping
- fresh fruit (eg. strawberries, kiwi, passionfruit, blueberries)
- whipped cream
Before You Begin! If you make this, please leave a review and rating letting us know how you liked this recipe! This helps our business thrive & continue providing free recipes.
Instructions
- Set your oven to 300°F (150°C). Line a baking sheet with parchment paper.
- In a clean, dry bowl, beat the egg whites on medium speed until soft peaks form.
- While continuously whisking, gradually add the sugar, a tablespoon at a time. Continue whisking until the mixture is glossy and has stiff peaks.
- Gently fold in the vanilla extract, white vinegar, and cornstarch, ensuring you don't deflate the egg whites.
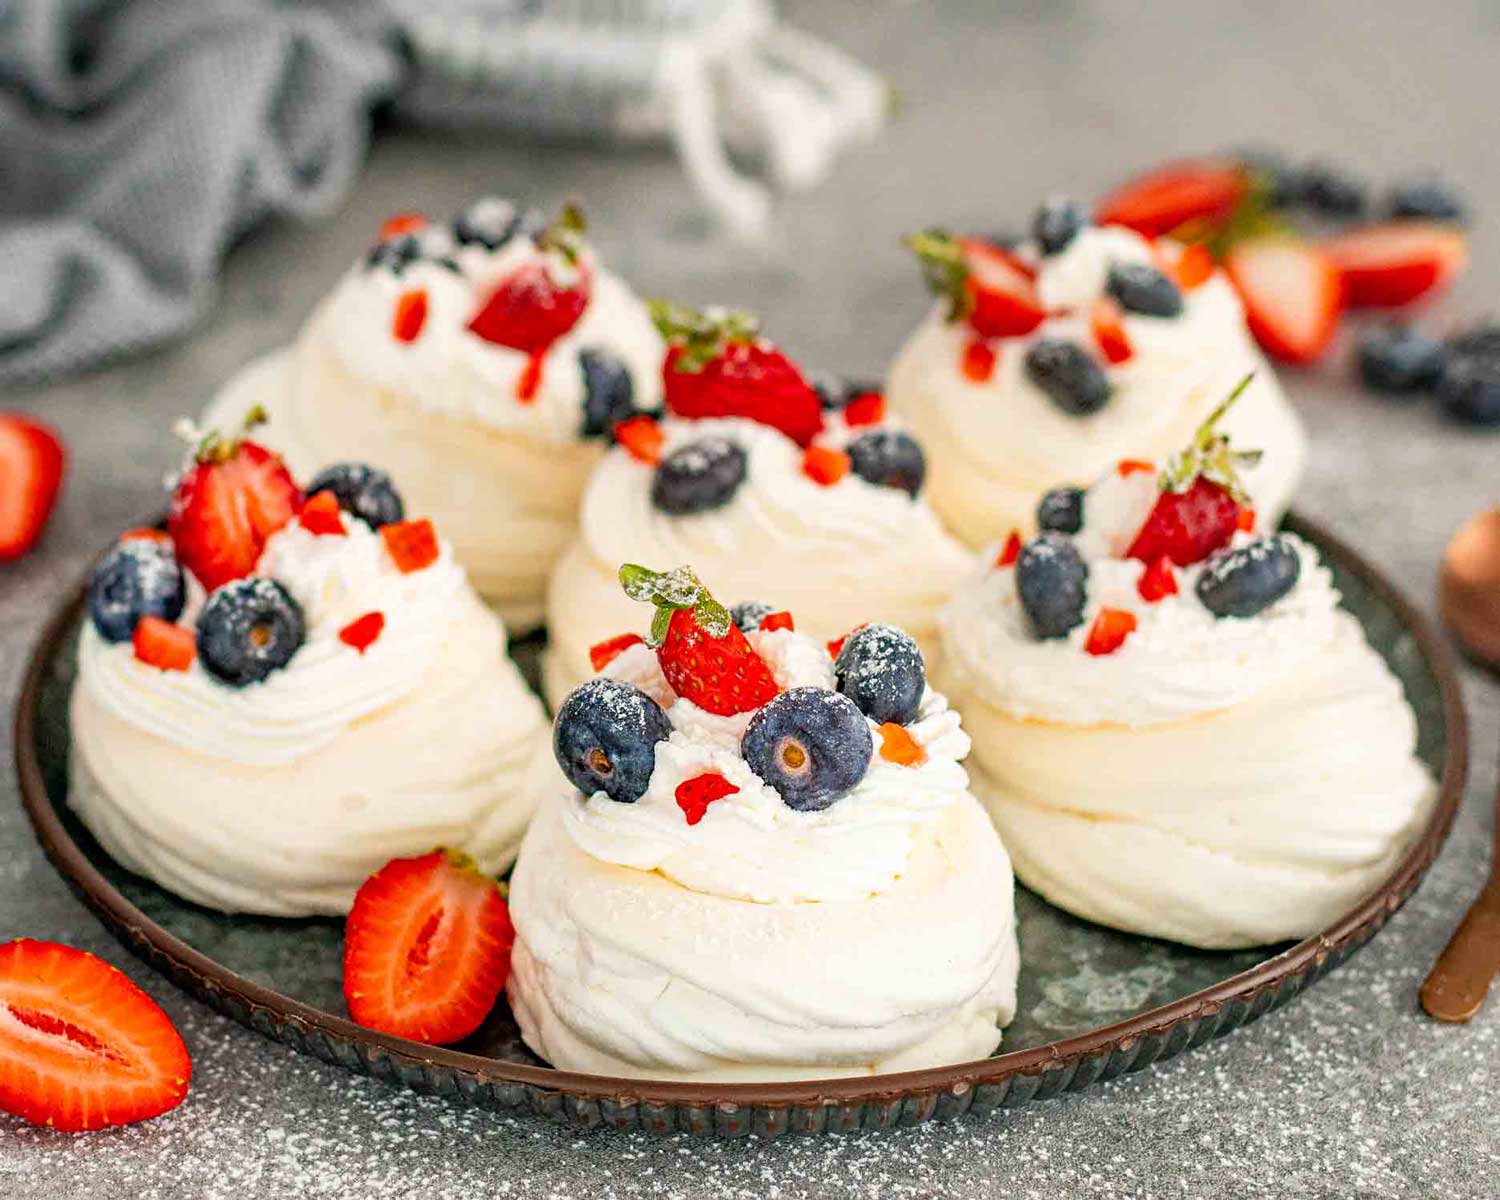
- Using a spoon or piping bag, place mounds of the mixture onto the prepared baking sheet. You should aim for around 6-8 mounds, depending on your desired size. Create a well in the center of each mound using the back of a spoon. This will hold the cream and fruit later on.
- Place the baking sheet in the oven and immediately reduce the temperature to 250°F (120°C). Bake for about 50-60 minutes, or until the pavlovas are dry to the touch and can be easily lifted off the parchment paper.
- Once done, turn off the oven and leave the pavlovas inside with the door slightly ajar to cool slowly. This prevents cracking.
- Just before serving, fill the center of each pavlova with whipped cream and top with your choice of fresh fruit.
Equipment
Notes
- Egg Whites Tip: Ensure the egg whites are at room temperature for best results. Cold egg whites don’t whip as well.
- Sugar Incorporation: Add the sugar gradually to the egg whites to ensure it dissolves properly, avoiding a gritty texture.
- Oven Watch: Keep an eye on the pavlovas while they bake. They should be crisp and dry to the touch, but not browned.
- Cooling Process: Let the pavlovas cool down slowly in the oven (turned off) with the door slightly ajar to prevent cracking.
- Assemble Just Before Serving: Assemble the pavlovas with whipped cream and fruit just before serving to maintain the meringue’s crispness.
- Storage: Store any leftover meringue bases at room temperature in an airtight container. The cream and fruit should be refrigerated separately.
- Freezing: You can freeze the meringue bases, but it’s best to add fresh cream and fruit after thawing when you’re ready to serve.
Nutrition Information
Notice: Nutrition is auto-calculated for your convenience. Where relevant, we recommend using your own nutrition calculations.
