Roast Beef
This post may contain affiliate links. Please read my disclosure policy.
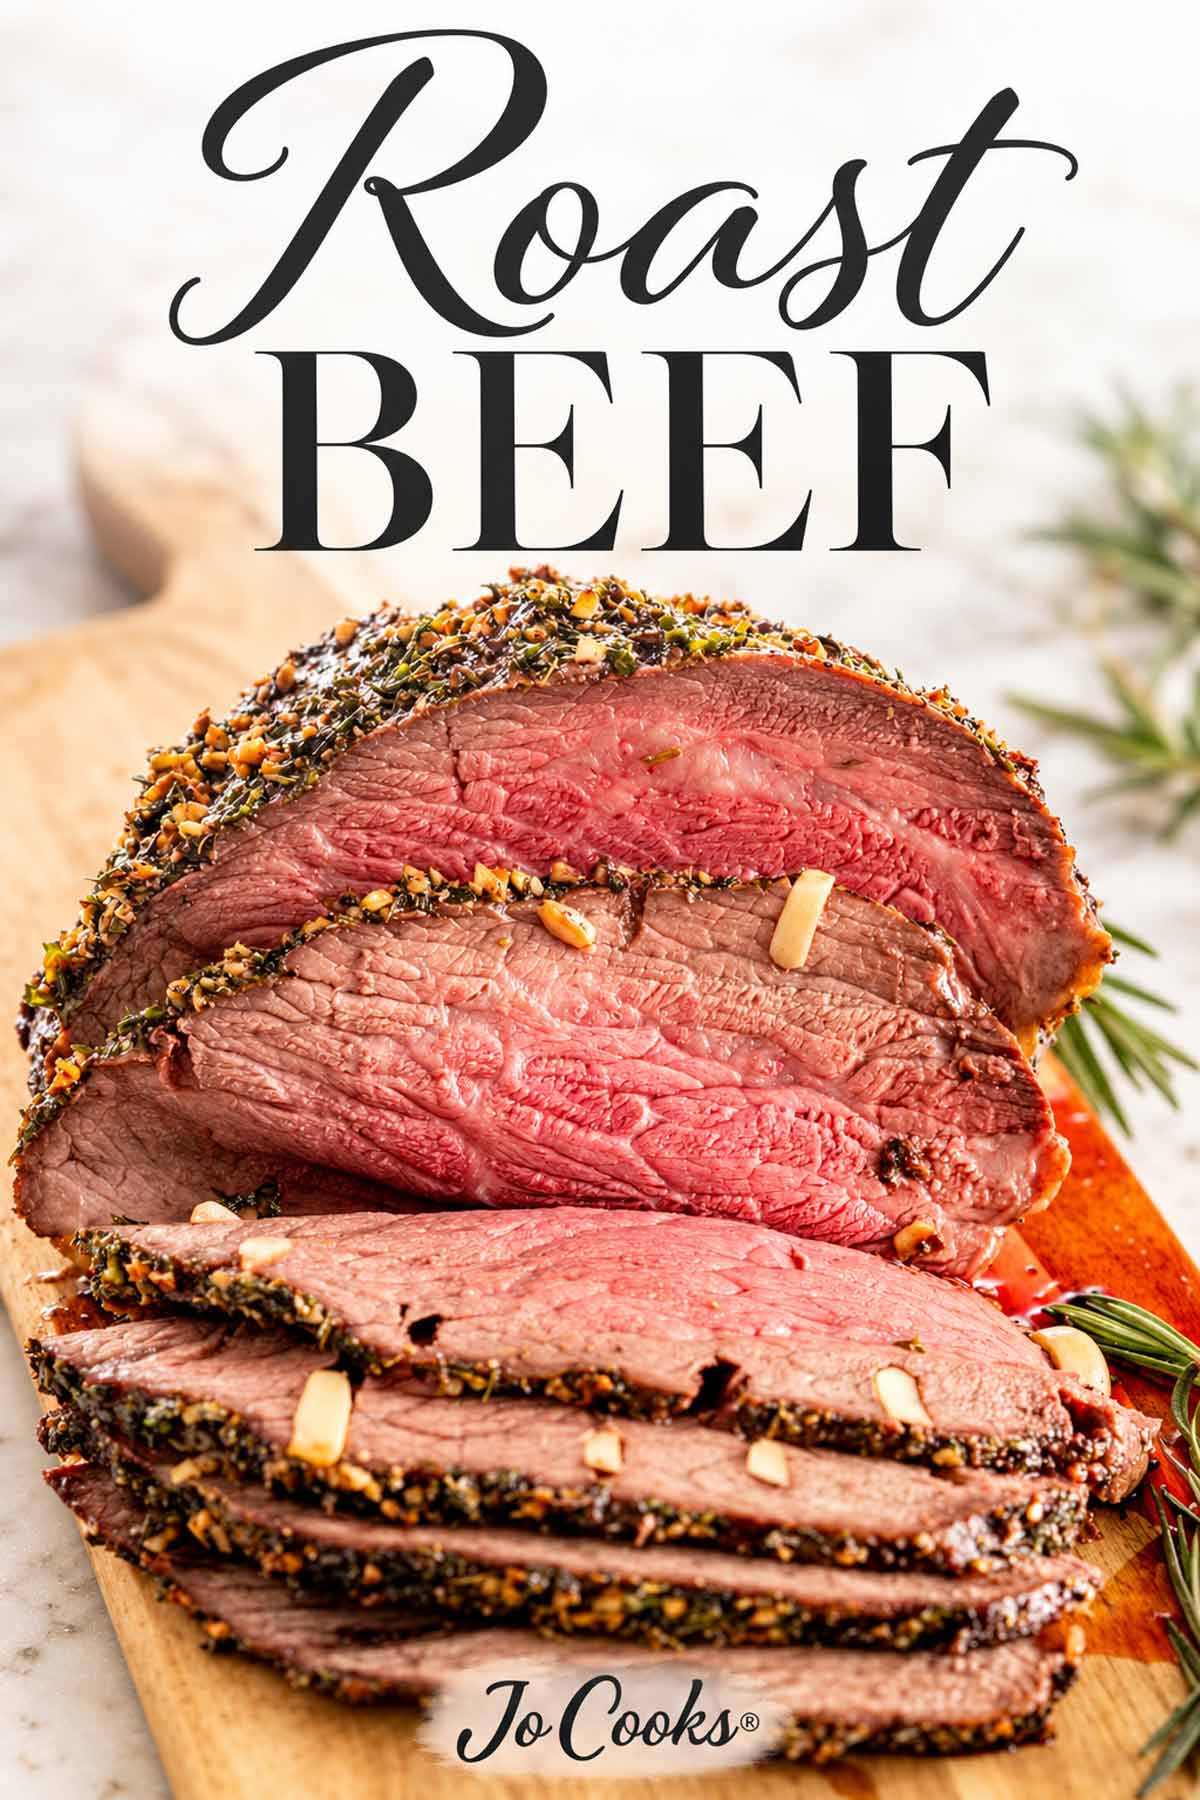
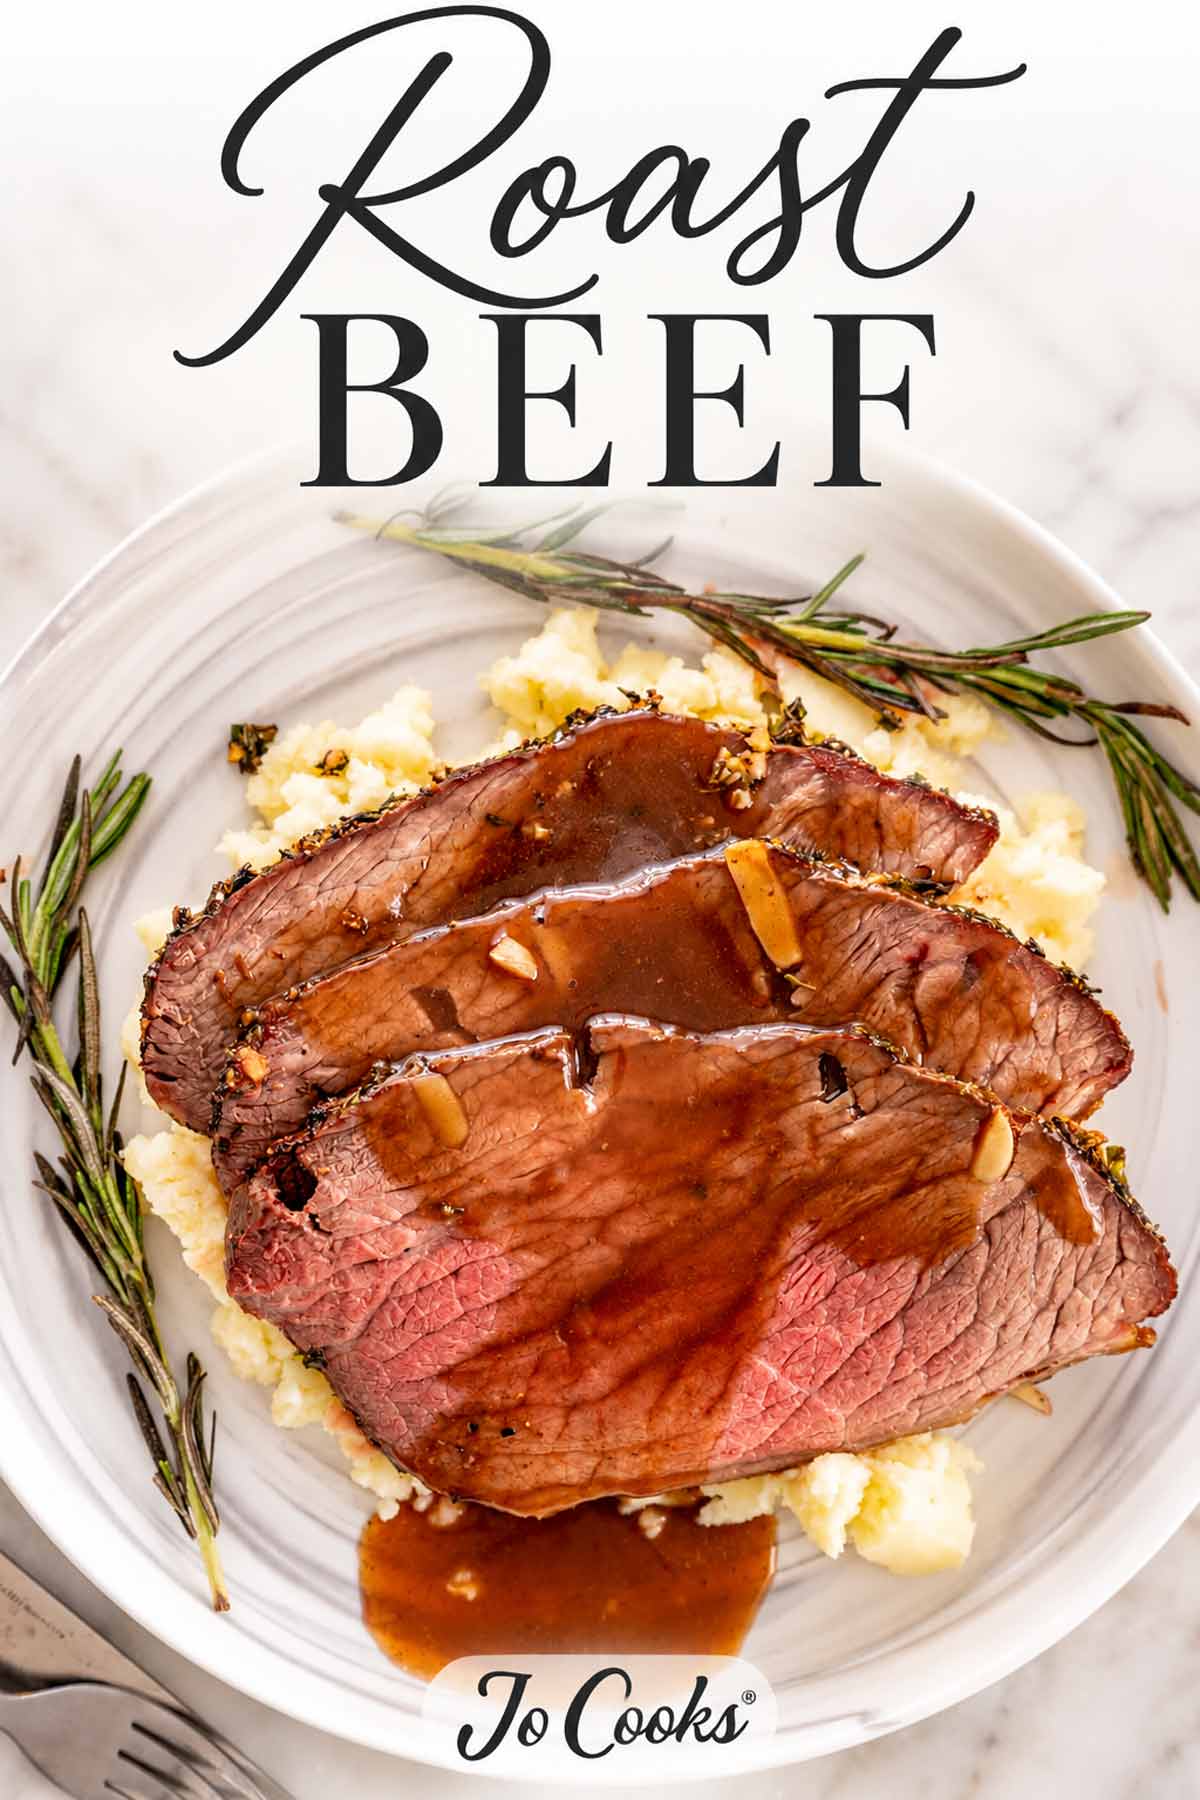
Roast Beef has a reputation for coming out dry and gray, and it’s earned that fair and square. Not this one. Think garlic slivered right down into the meat, a basil and rosemary crust, and a center that stays blushing pink. Hot oven first, low oven after, and you’ve got Roast Beef worth standing around the kitchen for. Tender, garlicky, and there’s gravy.
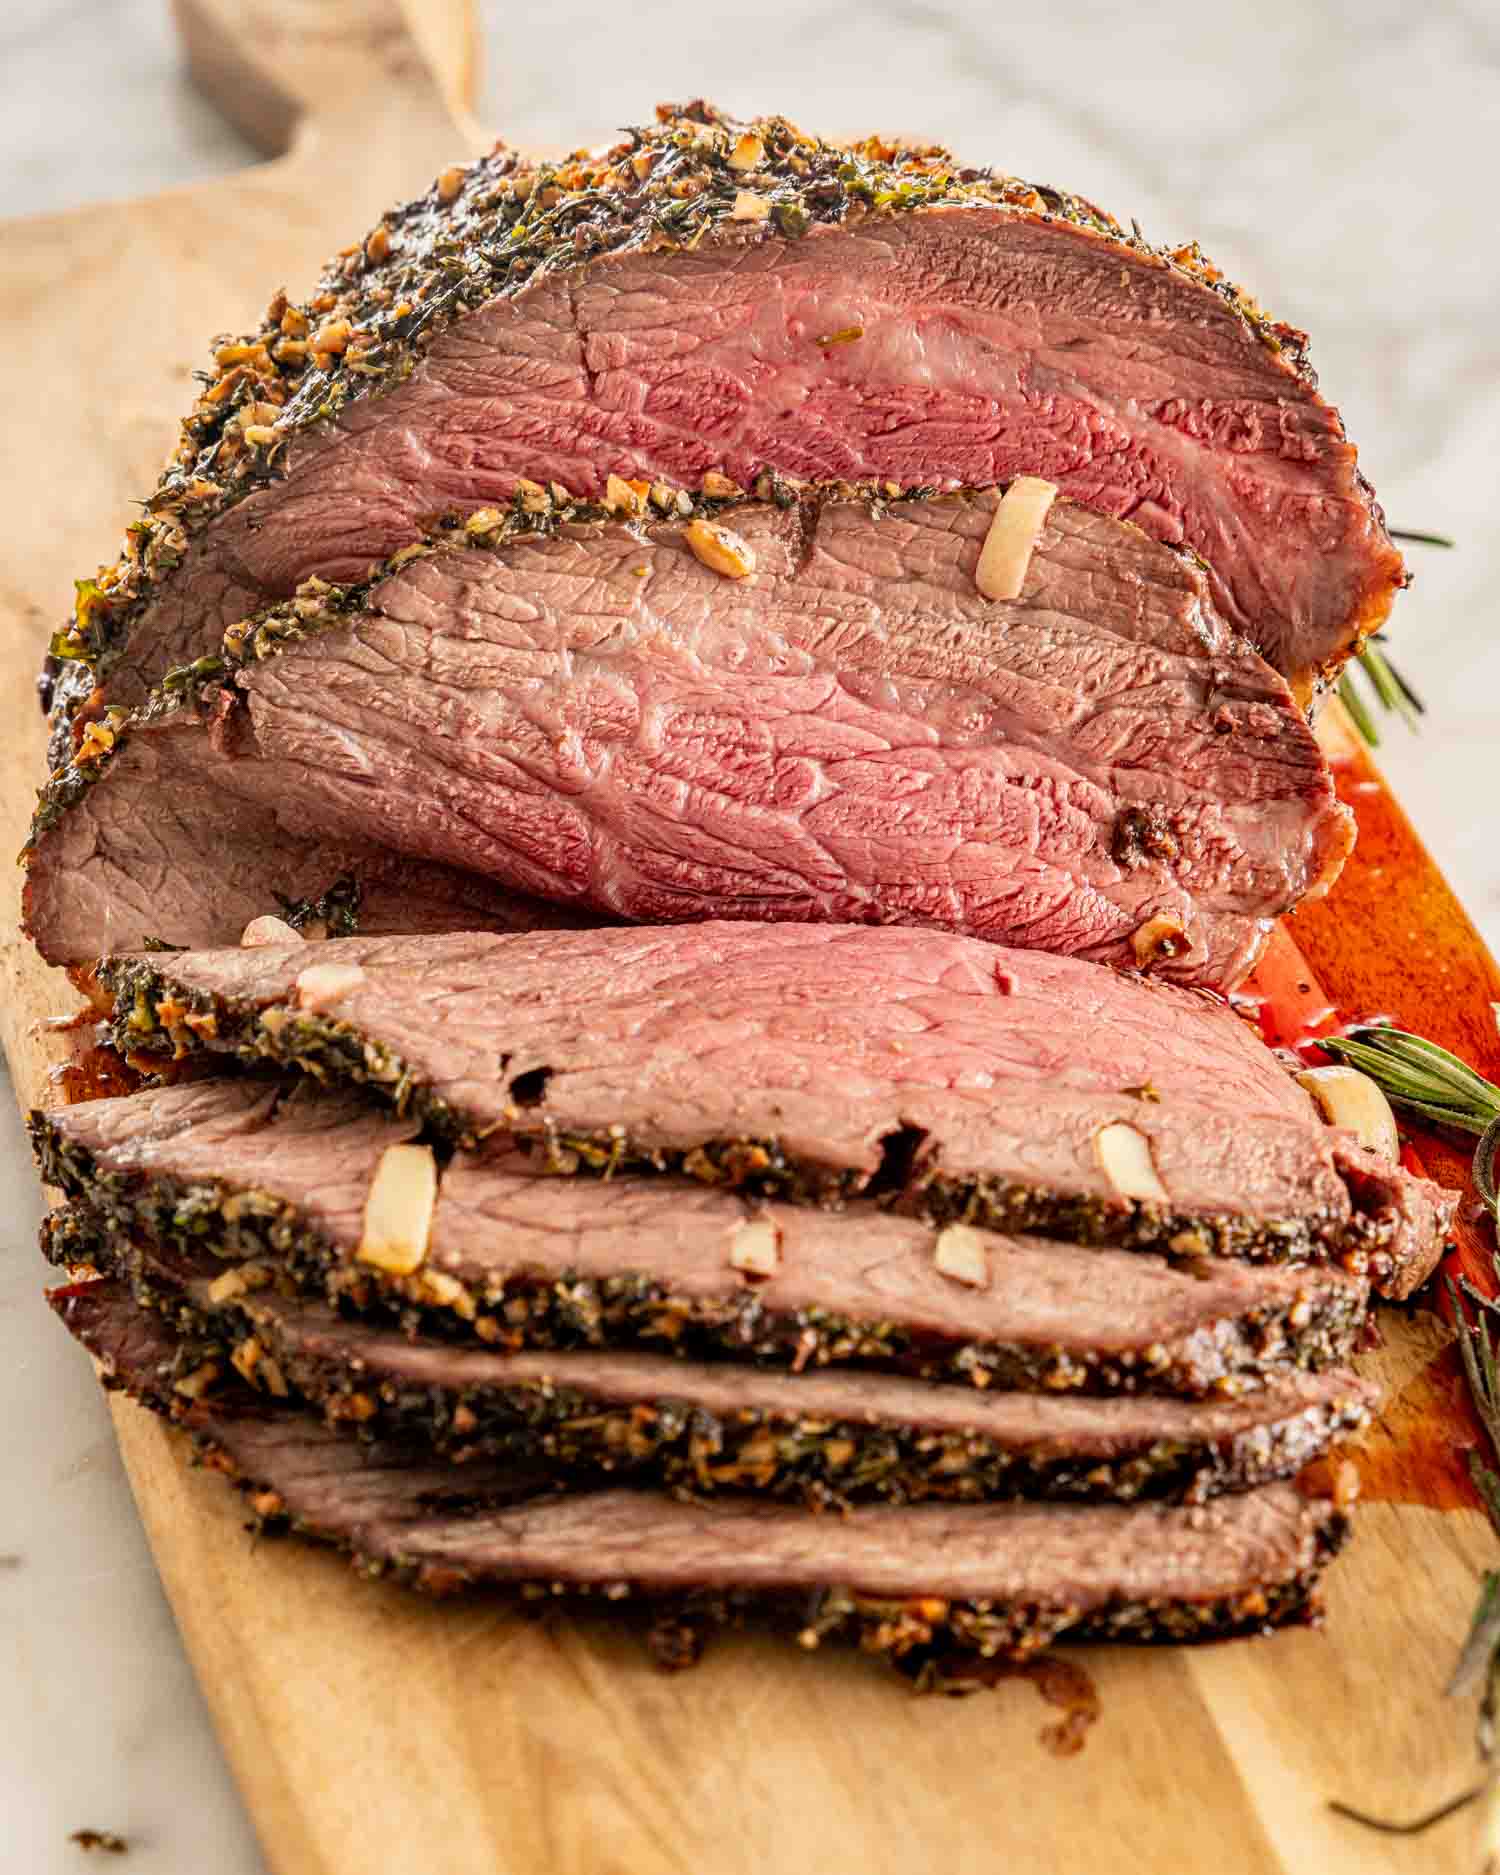
How To Cook Roast Beef So It Stays Pink
Okay, I’m about to be insufferable about meat thermometers and I want you to know that I know.
Here’s my defense. Nobody on earth can tell what’s going on in the middle of a 4 pound roast by looking at the outside of it. Not me, not your mother, not the very confident man at the butcher counter. The inside is a mystery and a thermometer is the only thing that’s ever solved it.
That’s my whole sermon. I’ll put it down now. The rest of this is genuinely lovely to make. You cut little slits all over the roast and push slivers of garlic down into them, so every slice ends up with garlic in it instead of just the end pieces. Then a rub of olive oil, basil, rosemary and thyme goes over the top. This is something I learned from my mother many many years ago. She’ll cut slits into any roast, pork, turkey, you name it, and she’ll stuff it with garlic.
The oven does 2 things. 15 minutes at 450°F to build a browned crust, then down to 325°F for the slow part. Hot first, low after. That order is the whole method.
And then you rest it, which is the bit where I ask you to be patient and you quietly resent me for it. I’ll explain myself further down, once you’ve forgiven me.
Ingredients In Roast Beef
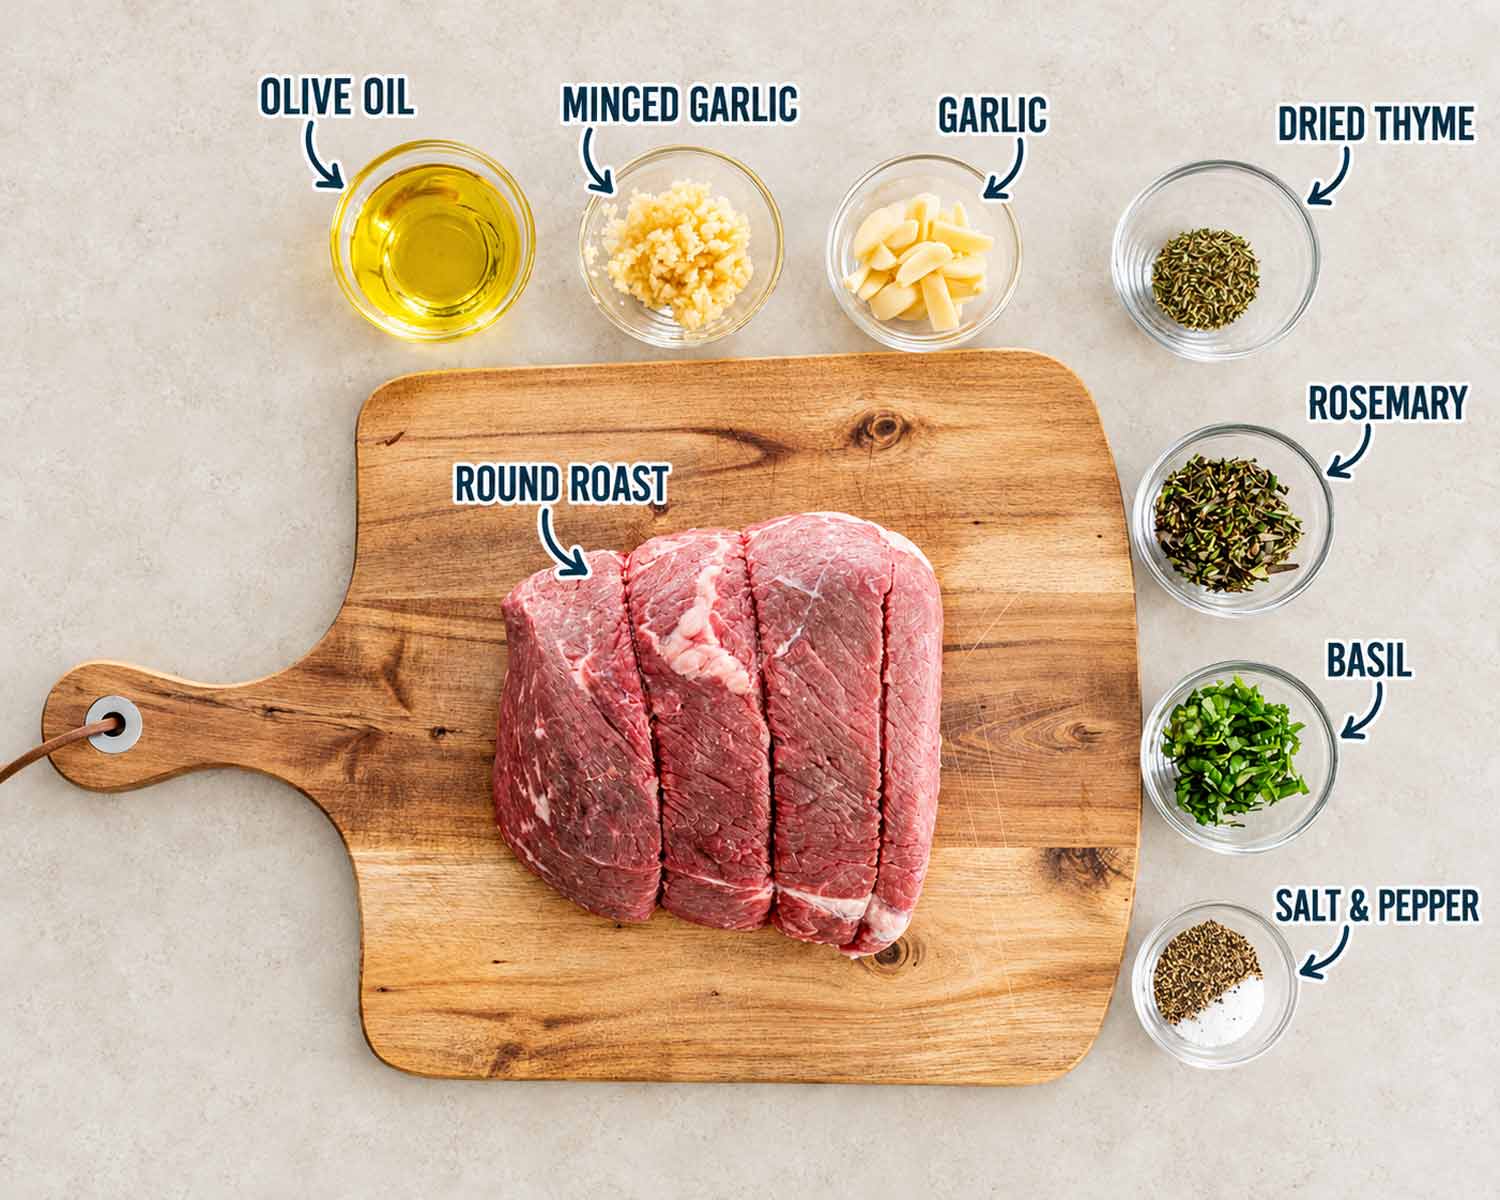
- Round roast (4 pounds, fat trimmed): Round is what I use. There’s a whole section below on which round, and on what to do when your store calls it something entirely different, which it almost certainly does.
- Olive oil (¼ cup): The base of the rub. It’s what makes the herbs stay put and helps the outside brown.
- Garlic, chopped (6 cloves): For the rub.
- Garlic, cut into slivers (4 cloves): For the inside. That’s 10 cloves between them and I stand by it completely.
- Fresh basil (1 tablespoon, chopped): Nobody expects basil on a roast, which is exactly why I love it here. It goes soft and a little sweet against the beef.
- Fresh rosemary (1 tablespoon, chopped): The one everyone expects. It earns its place.
- Dried thyme (1 teaspoon): Dried is perfect here. It’s going into a rub and then into a hot oven for 2 hours, so fresh would just be an expensive gesture.
- Salt (1 teaspoon) and black pepper (1 teaspoon): Equal parts, which is more pepper than most rubs call for. On a lean cut like round, that’s a happy thing.
How To Make Roast Beef
Take The Roast Out Early: An hour before it goes in the oven, and no more than 2. Straight from the fridge it cooks unevenly, because the outside races ahead while the middle is still thawing out its feelings. An hour on the counter sorts it out.
Preheat To 450°F: Give it the full preheat. That first 15 minutes is doing all the crust work and a half heated oven won’t get there.
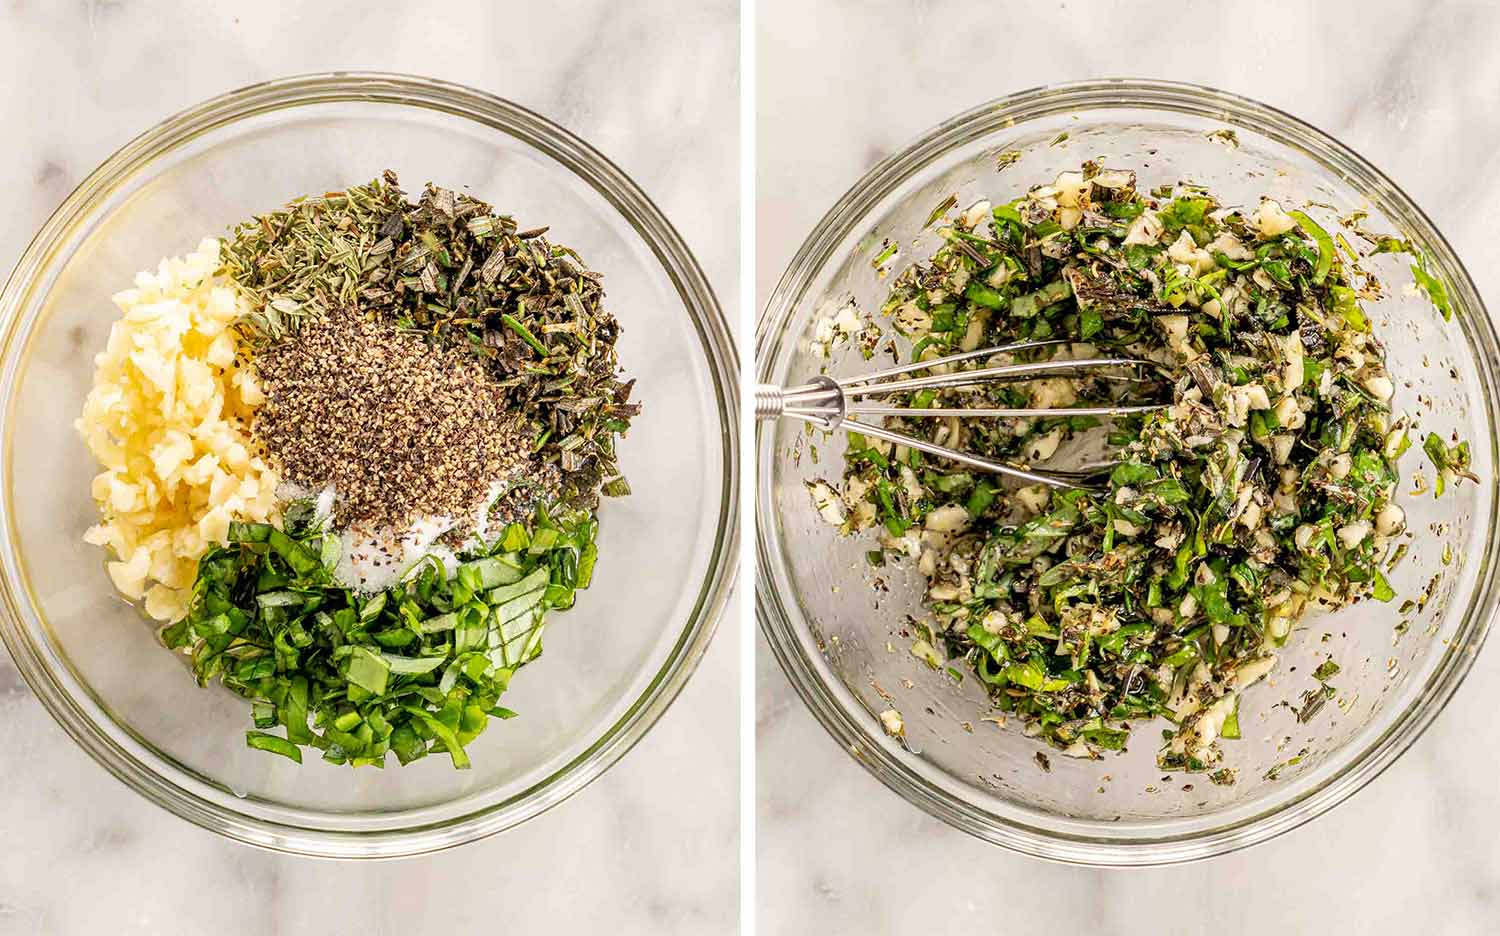
Make The Rub: Olive oil, chopped garlic, basil, rosemary, thyme, salt and pepper, stirred together in a small bowl into a loose paste. It smells incredible at this stage and that’s a good sign.
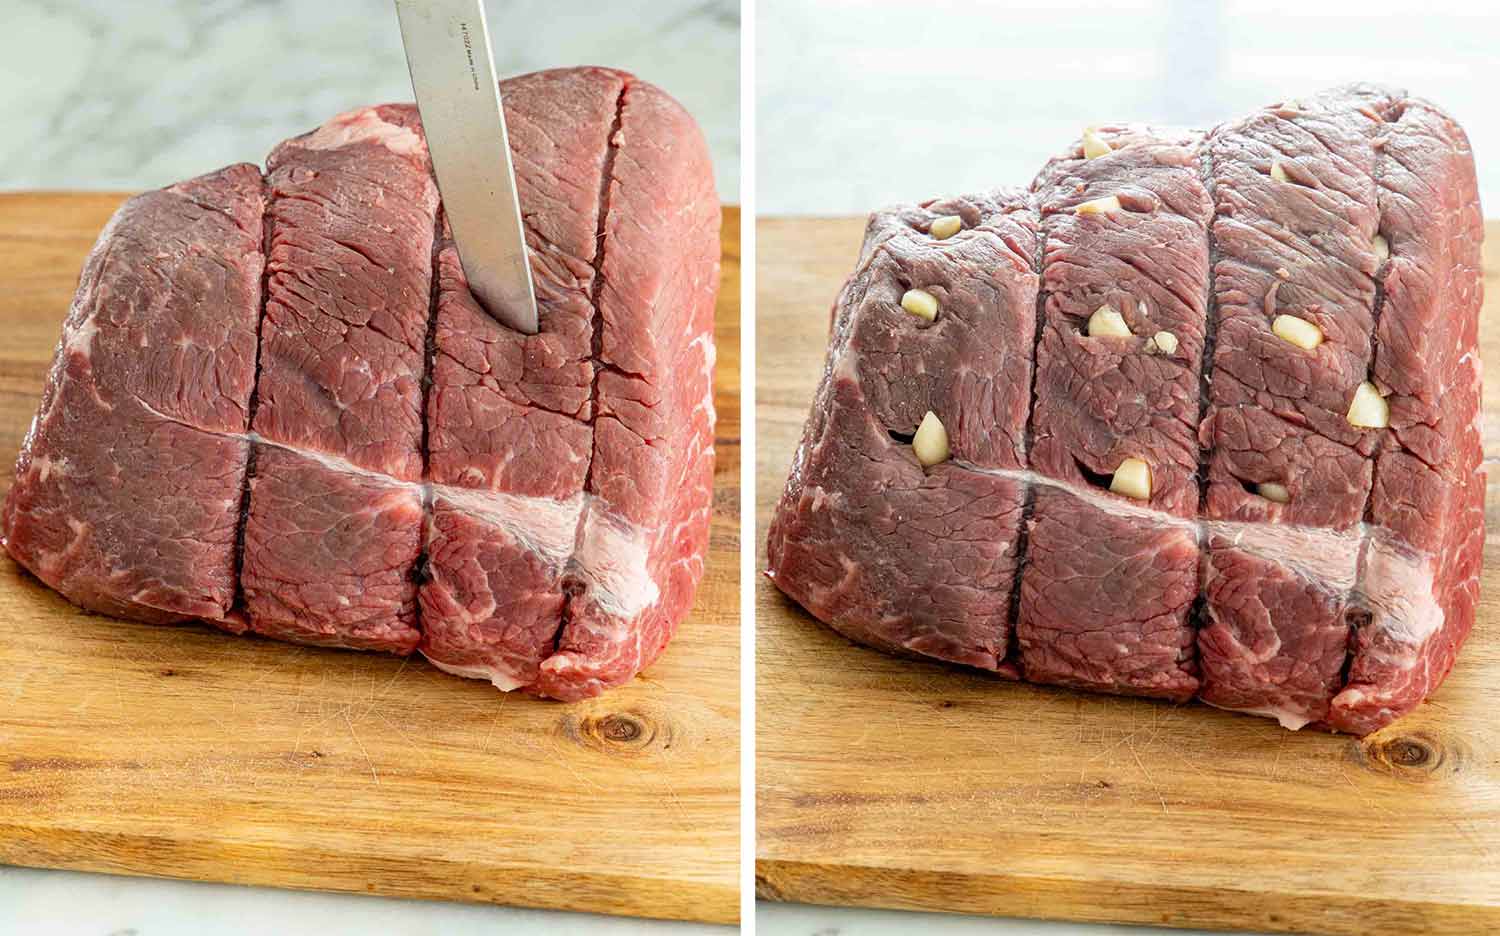
Stud The Roast With Garlic: Cut evenly spaced slits into the roast with a sharp knife, about an inch deep, and push a sliver of garlic into each one.
This is the step that’s tempting to skip and it’s the one I’d keep. A rub can only season the surface. The slivers get garlic right through the middle, so the slices from the center are just as good as the ones from the edge.
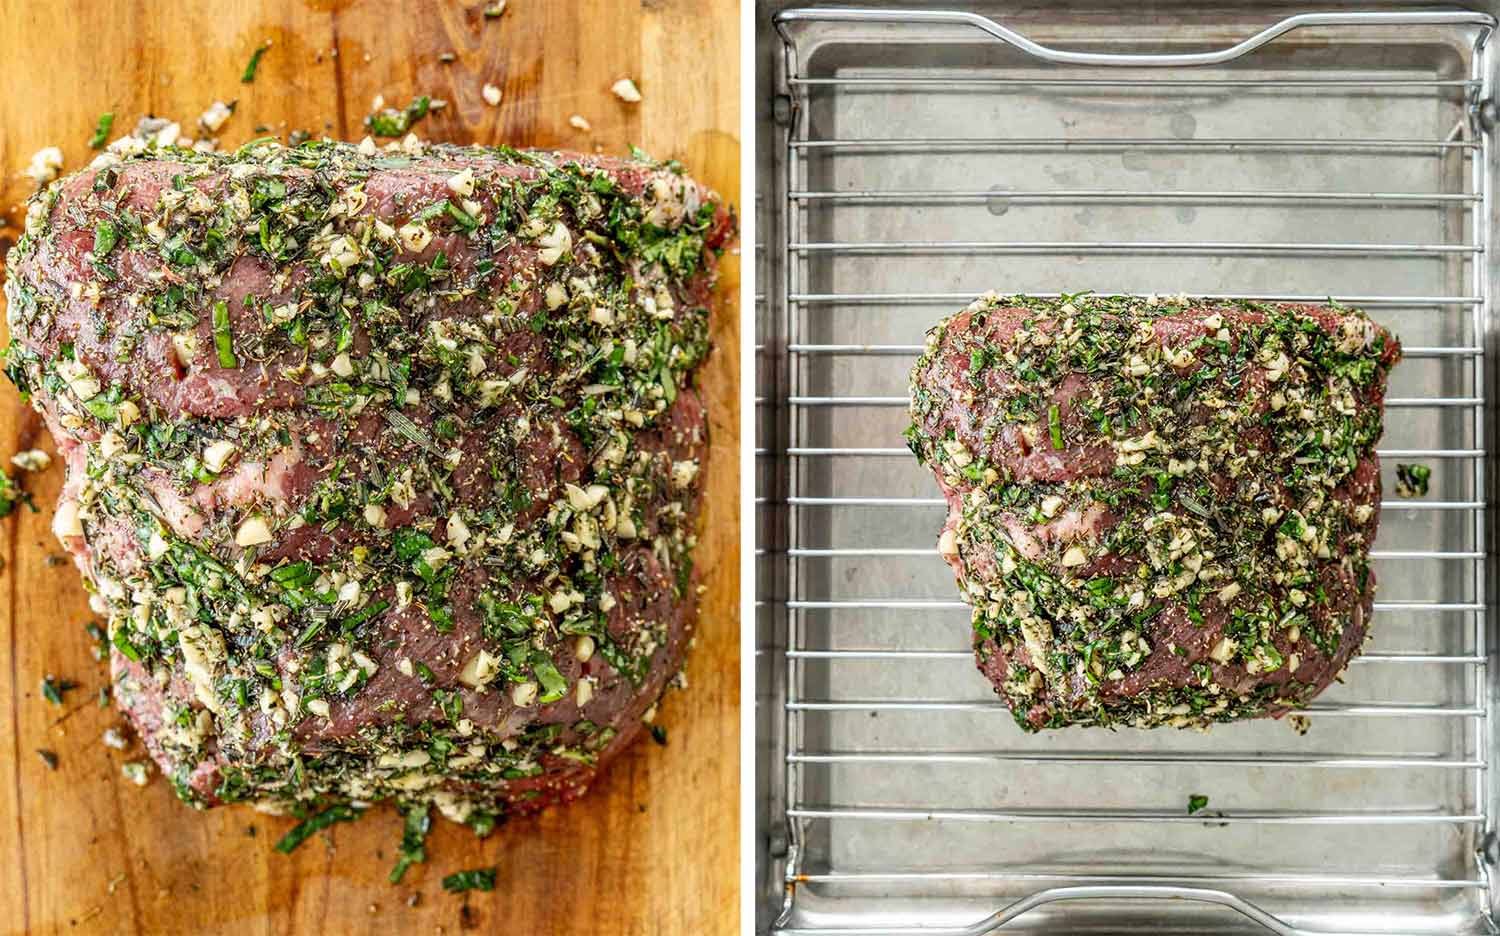
Rub And Rack It: Herb paste all over the outside, then the roast onto a rack in your roasting pan. The rack is doing real work here, letting air underneath so the bottom roasts along with everything else instead of sitting in the drippings.
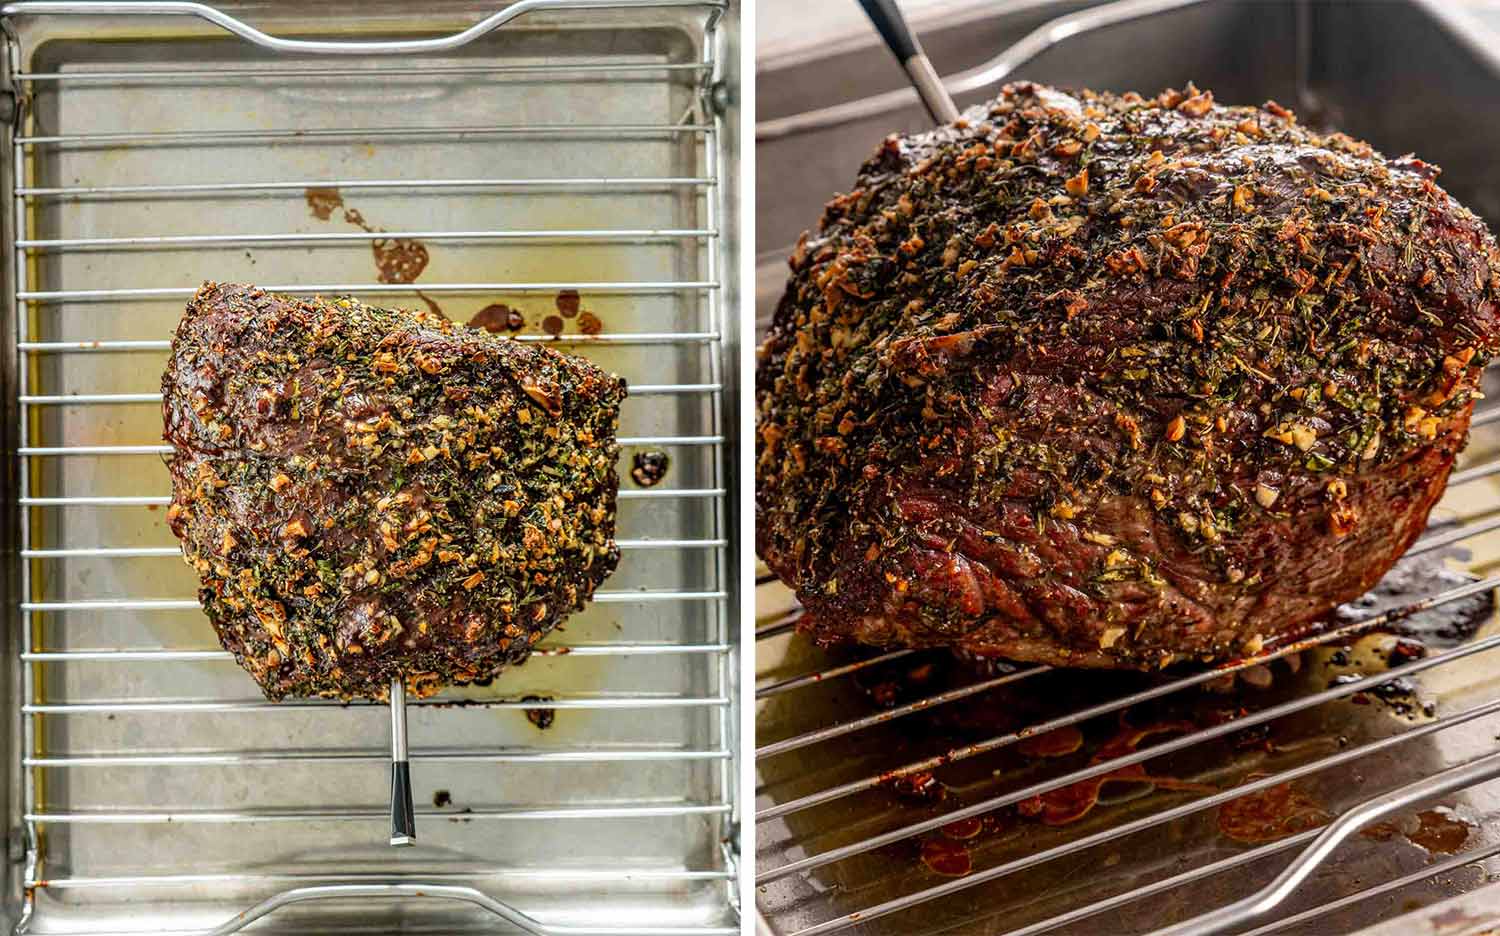
Roast Hot, Then Low: 15 minutes at 450°F, then drop it to 325°F and try not to open the door more than you have to. From there it’s about 1 hour 45 minutes for medium, or 2 hours for well done.
Those are my times in my oven, though. The chart below is the thing to actually follow, and your roast will tell you more than my clock can.
Rest It: Onto a cutting board or a platter, and then leave it alone for 15 to 30 minutes.
I know it’s right there and it smells like that. Here’s what’s happening: after 2 hours in the heat the juices are under pressure and pushed out toward the edges, and resting lets them settle back through the meat. Carve it right away and a lot of that ends up on your board instead of in the beef.
It also keeps cooking while it rests, climbing about 5°F, which is why the chart has you pull it before it hits your number.
Which Cut Of Beef Is Best For Roast Beef?
This is where everybody gets confused, and honestly the beef industry has not helped, because the same muscle gets about 4 different names depending which country you’re standing in.
The round is the back end of the cow, and it gives you 3 roasts you’ll actually see at the counter:
- Top round, which Canadian stores label inside round. The most tender of the three and the one I reach for first.
- Bottom round, called outside round up here. A little tougher, a little cheaper, still really good cooked this way.
- Eye of round, the small neat cylinder. Leanest of the bunch and it cooks beautifully evenly because of that shape.
Rump roast is usually cut from the bottom round, so if that’s what’s in front of you, you’re in the right place. Same method, same times.
Sirloin tip roast is a different muscle but it behaves much the same. Slightly more tender, usually slightly more expensive.
The one I’d steer you away from is chuck. Chuck is wonderful and I use it all the time, but it wants to be braised in liquid for hours. Roasted to medium rare it comes out like something you could resole a boot with.
What all of these share is that they’re lean. Barely any marbling, very little fat running through them. That’s why they’re affordable, and it’s also the reason I’m so tedious about the thermometer. A ribeye has enough fat in it to forgive you. Round is less generous, and past medium it does get dry.
So the real answer to which cut is best is: any of them. The cut matters much less than when you take it out.
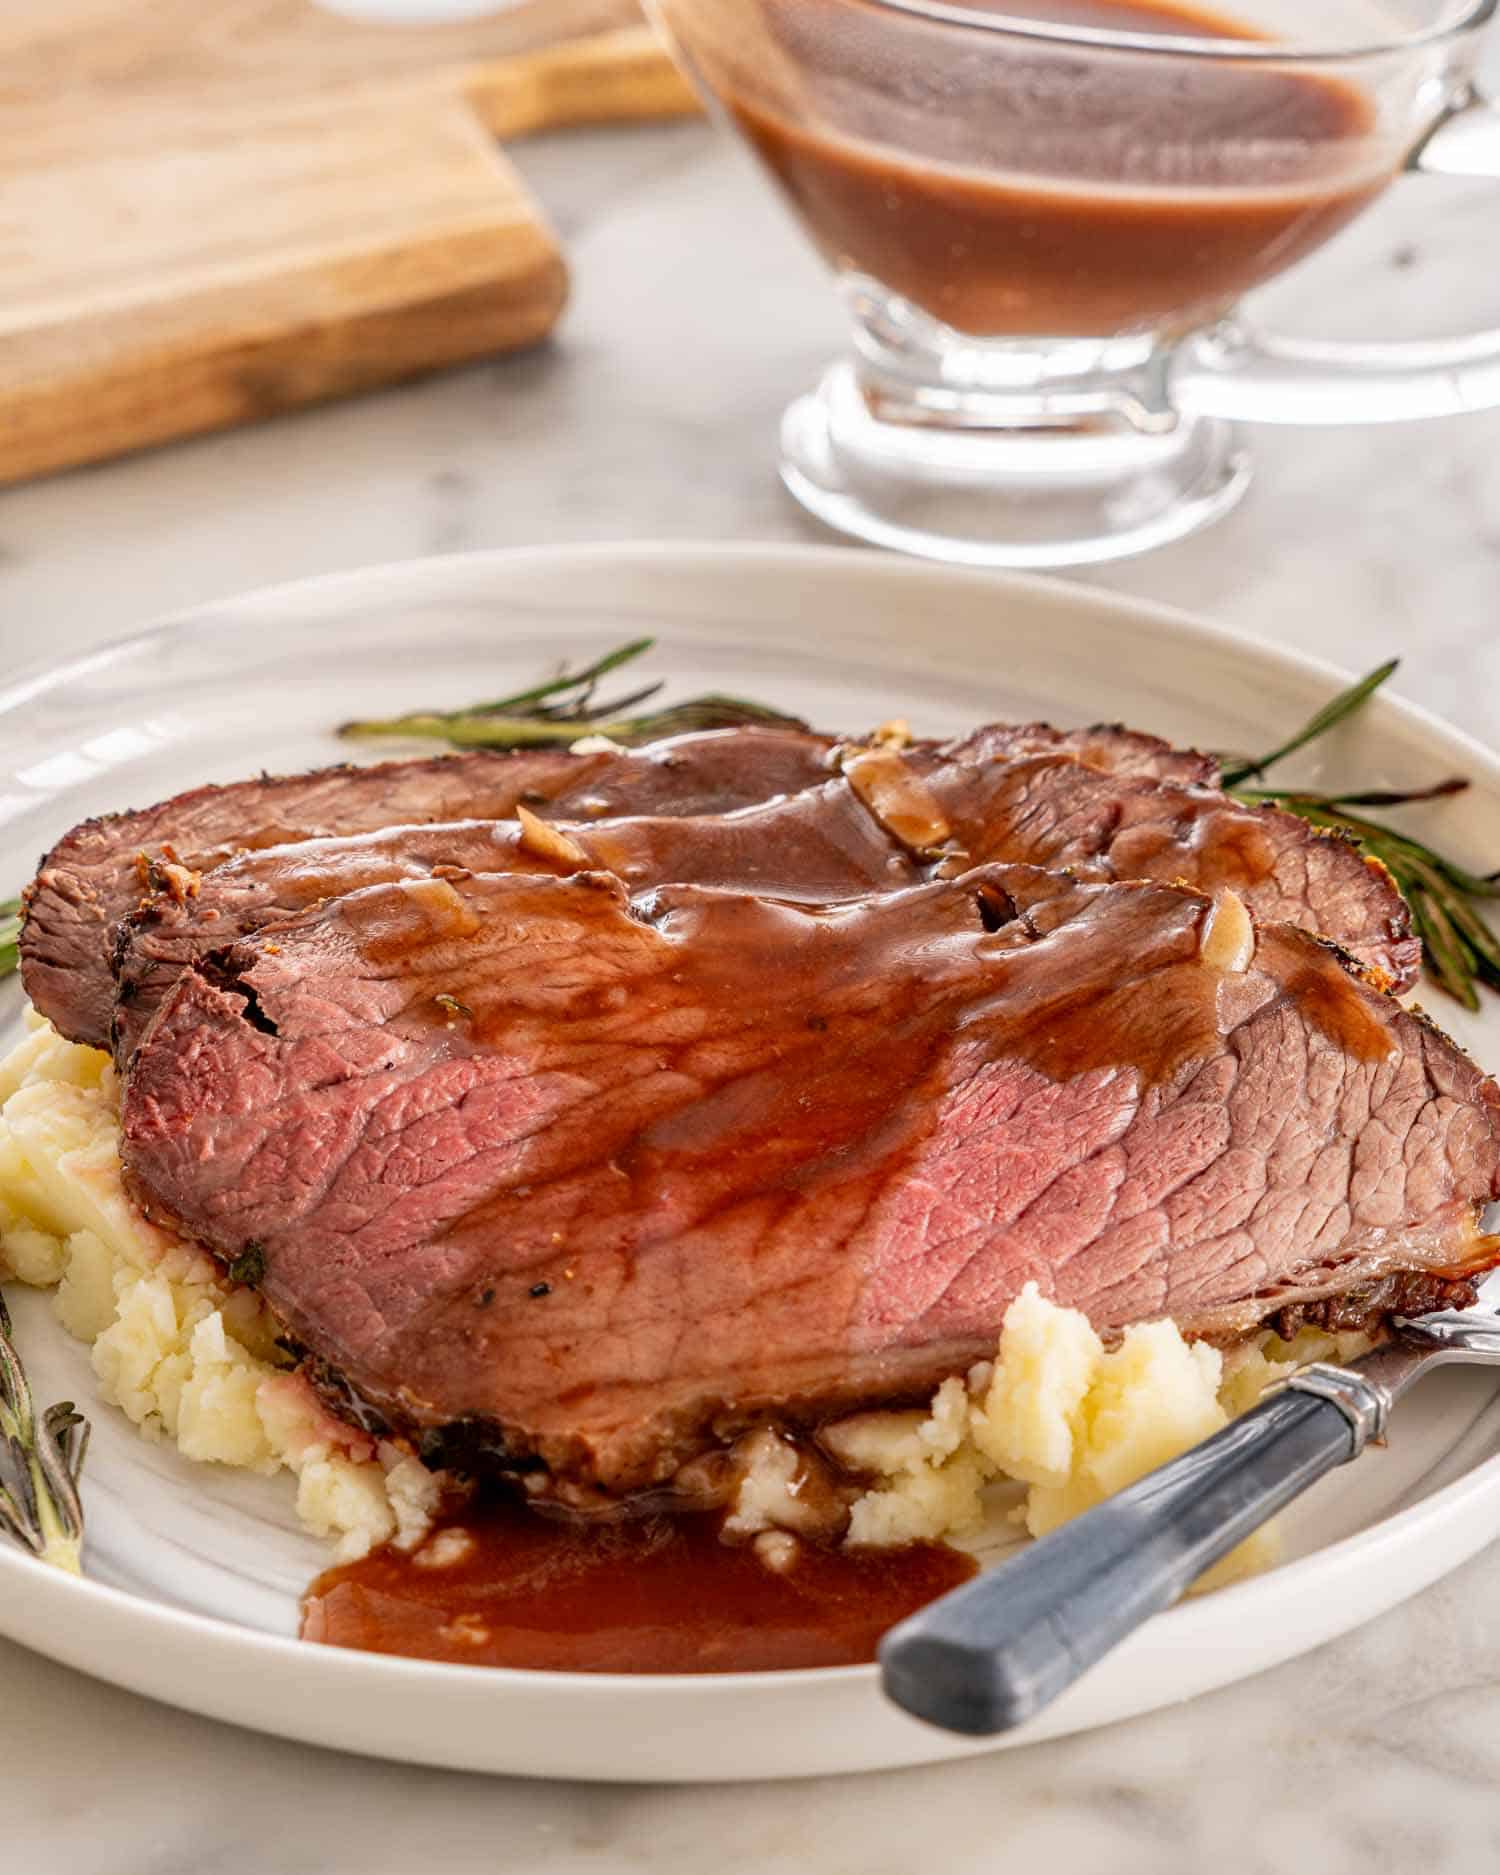
Roast Beef Temperature And Doneness
Here’s the chart. All of it assumes a 4 pound roast, 15 minutes at 450°F first, then the time below at 325°F.
| Doneness | Pull from oven at | After resting | Time at 325°F |
|---|---|---|---|
| Rare | 120°F | 125°F | 1 hr 25 min |
| Medium rare | 130°F | 135°F | 1 hr 35 min |
| Medium | 140°F | 145°F | 1 hr 45 min |
| Medium well | 150°F | 155°F | 1 hr 55 min |
| Well done | 155°F | 160°F | 2 hr |
Those first 2 columns are the useful part. One is when it comes out of the oven, the other is where it lands once it’s rested. That gap is carryover cooking and it catches people out all the time, which is why I wanted it written down rather than assumed. If you wait for 135 before pulling, you’ll be eating 140.
Weight gets you in the neighborhood, thickness tells you the truth. A long thin roast cooks faster than a short fat one of exactly the same weight, so I’d start checking about 20 minutes early.
For a round roast, medium rare is where I stop. Medium is lovely too. There just isn’t enough fat in this cut to go further and still have it be juicy, so I’d rather you had it pink.
How To Make Roast Beef Gravy
Those drippings in the bottom of the pan are the best thing in your kitchen and they’re going to become gravy while the roast rests.
Strain them into a saucepan, add 1 cup red wine, 1 cup beef broth, a sprig of rosemary and a crushed garlic clove or 2, and let it simmer for 2 to 3 minutes.
Then thicken it. Stir 1 tablespoon cornstarch together with 2 teaspoons water in a separate little bowl first, until it’s completely smooth, and whisk that in. Cornstarch added straight to hot liquid goes lumpy immediately and then you’ve got a whole situation on your hands.
Making this during the rest is my favorite bit of timing in the recipe. It gives you something useful to do with your hands instead of standing there staring at the beef.
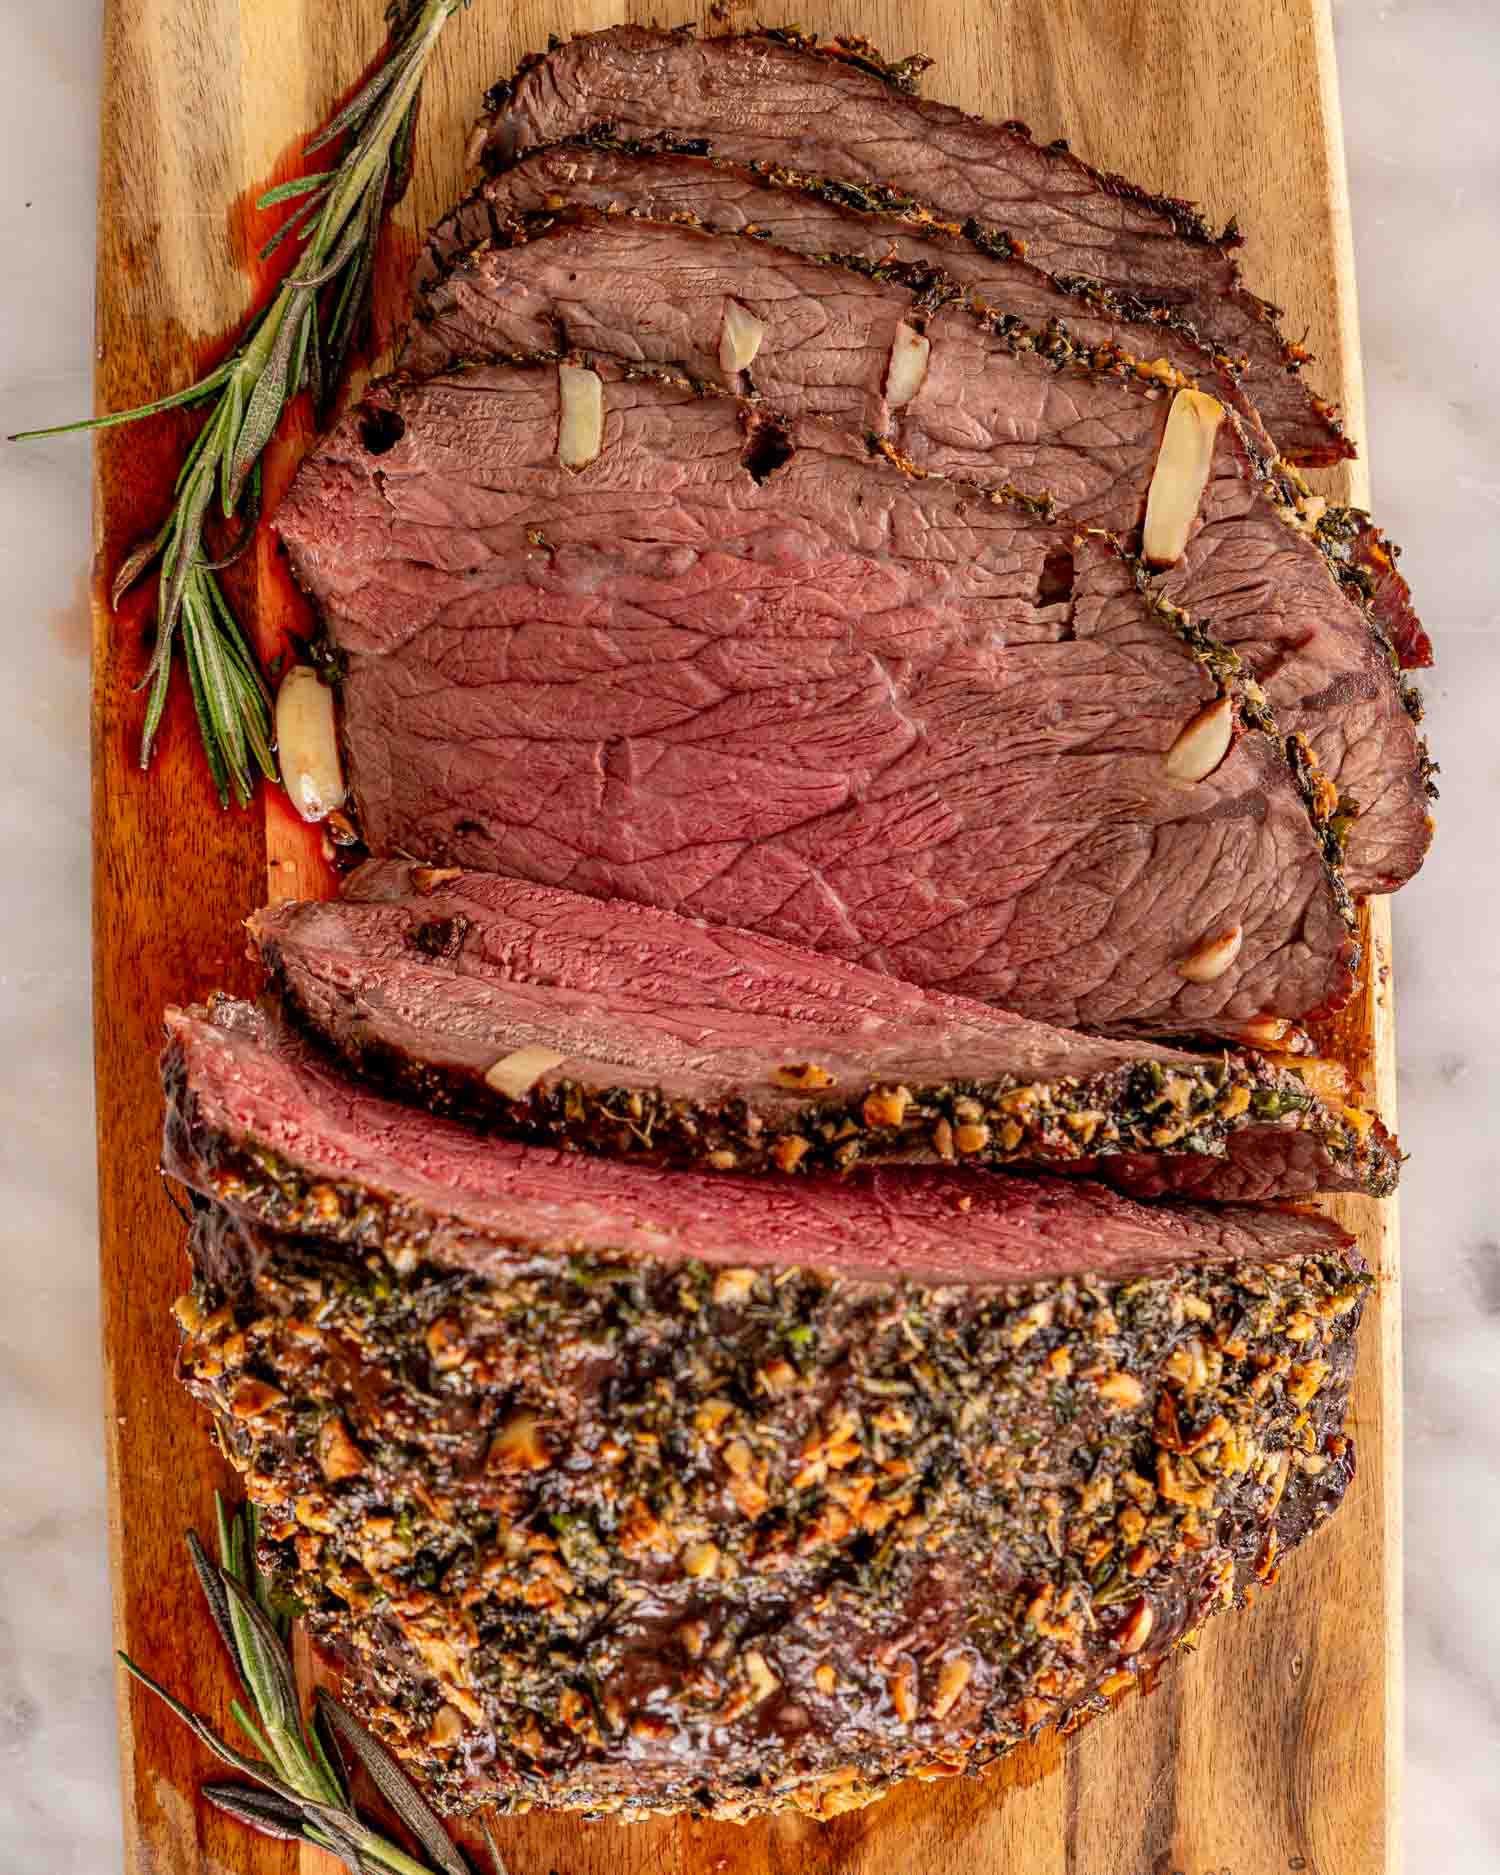
How To Slice Roast Beef
Across the grain, and thin. Look at the roast and you’ll see all the muscle fibers running in one direction. Your knife wants to go across them rather than alongside. When you cut with the grain those fibers stay long and intact, and then there’s a lot more chewing involved than anyone signed up for.
Thin matters more here than with almost any other cut, because round is lean and has real structure to it. Thin slices make it tender in a way thick ones just won’t. It’s the same reason deli roast beef is sliced nearly see through.
Longest sharpest knife you own, and long smooth strokes rather than sawing.
How To Serve Roast Beef
- Potatoes. I don’t really consider this optional, but you’re an adult. Roasted Potatoes with Spices if the oven’s on anyway, Instant Pot Mashed Potatoes if you want somewhere for the gravy to collect, or Caramelized Onion Gruyere Mashed Potatoes if you’re trying to impress somebody.
- Something green and a bit sharp. German Red Cabbage or Parmesan Roasted Broccoli. After a plate of beef and gravy a little acidity is very welcome.
- Bread, for the gravy. Quick Yeast Dinner Rolls or Garlic Knots. There will be gravy left over and it deserves better than the drain.
Leftover Roast Beef
A 4 pound roast feeds a crowd and then feeds you again, and I’d argue cold roast beef is better than hot roast beef. I’m happy to take that one to the mat.
- French Dip Sandwiches. The best possible use, and if you saved any gravy you’ve already got your jus sorted. Thin slices, crusty roll, happiness.
- A proper roast beef sandwich. Good bread, horseradish or a sharp mustard, something crunchy. The horseradish is the part that makes it, cutting right through all that richness.
- Beef hash. Diced roast beef, diced potato, onion, all crisped up together with an egg on top.
- Over salad. Thin slices on bitter greens with a mustardy vinaigrette. Makes leftovers feel like it was the plan all along.
- Stroganoff or a quick stir fry. Add it right at the end, off the heat. It’s already cooked and it doesn’t need any more.
Storage and Freezing
Fridge: 3 to 4 days in an airtight container. Keep it as a whole piece rather than slicing it all at once, since slices dry out much faster than a solid chunk.
Reheating: Gently, and low. Wrapped in foil, into a 250°F oven, then turn the oven off and leave it in there 10 to 15 minutes. A splash of broth or leftover gravy in the foil helps a lot. Anything hotter and it carries on cooking past where you stopped it.
Or eat it cold, which is what I’d do. Cold roast beef is a genuine pleasure and reheating is always a small step down.
Freezer: 2 to 3 months, cooled right down, wrapped in plastic and then foil. Thaw in the fridge for a day or 2 before reheating.
Other Recipes You’ll Love
- Prime Rib Roast – When it’s a proper occasion and the budget has stopped being a consideration.
- Air Fryer Roast Beef – Same idea, smaller roast, under an hour, no oven needed.
- French Dip Sandwiches – Where the leftovers are headed. You may as well plan for it.
- Beef Rouladen – The fussy German one, and worth every minute of it.
- Guinness Braised Short Ribs – For when you want beef but you want it falling apart instead of sliced.
- Braised Beef Short Ribs – The Craving Home Cooked version, no stout involved.
Before You Begin! If you make this, please leave a review and rating letting us know how you liked this recipe! This helps our business thrive & continue providing free recipes.
Roast Beef
Video
Ingredients
For the roast
- 4 pounds round roast (fat trimmed)
- ¼ cup olive oil
- 6 cloves garlic (chopped)
- 4 cloves garlic (cut into slivers)
- 1 tablespoon fresh basil (chopped)
- 1 tablespoon fresh rosemary (chopped)
- 1 teaspoon dried thyme
- 1 teaspoon salt
- 1 teaspoon black pepper
For the gravy
- 1 cup red wine
- 1 cup beef broth (low sodium)
- 1 sprig fresh rosemary
- 1-2 cloves garlic (crushed)
- 1 tablespoon cornstarch
- 2 teaspoons water
Before You Begin! If you make this, please leave a review and rating letting us know how you liked this recipe! This helps our business thrive & continue providing free recipes.
Instructions
- Take the 4 pound round roast out of the fridge at least 1 hour and no more than 2 hours before cooking.
- Preheat the oven to 450°F.
- Combine ¼ cup olive oil, 6 cloves chopped garlic, 1 tablespoon chopped basil, 1 tablespoon chopped rosemary, 1 teaspoon dried thyme, 1 teaspoon salt and 1 teaspoon pepper in a small bowl.
- Cut evenly spaced slits into the roast with a sharp knife and insert the 4 cloves of garlic slivers.
- Rub the herb mixture over the roast and place it in a roasting pan with a rack.
- Roast uncovered for 15 minutes at 450°F, then reduce to 325°F and roast for another 1 hour 45 minutes for medium, or 2 hours for well done. Go by internal temperature rather than time: pull the roast at 130°F for medium rare, 140°F for medium, or 150°F for medium well.
- Remove the roast, transfer it to a cutting board or platter, and rest it for 15 to 30 minutes before slicing. It will rise about 5°F as it rests.
- While the roast rests, make the gravy. Strain the pan drippings into a saucepan and add 1 cup red wine, 1 cup beef broth, 1 sprig rosemary and 1 to 2 crushed garlic cloves. Simmer for 2 to 3 minutes. Whisk 1 tablespoon cornstarch with 2 teaspoons water into a smooth slurry, then whisk it into the gravy to thicken.
- Slice the roast thinly against the grain and serve with the gravy.
Notes
- Use a meat thermometer. Cooking times vary with the shape of the roast and the accuracy of your oven. Internal temperature is the only reliable guide.
- Pull it before it reaches your target. The roast climbs about 5°F while resting. Pull at 130°F for a final 135°F medium rare.
- Round is a lean cut, so medium rare to medium is where it’s happiest. Past that it does start to dry out.
- Slice against the grain and slice it thin. This matters more on round than on any other cut.
- No rack? Lay thick slices of onion and carrot in the pan and sit the roast on those. They’ll lift it clear and flavor the drippings.
- Season ahead if you can. Rubbing and studding the roast the night before improves it. It still needs its hour on the counter before cooking.
Nutrition Information
Notice: Nutrition is auto-calculated for your convenience. Where relevant, we recommend using your own nutrition calculations.
What’s the best cut for roast beef?
Any of the round cuts: top round (inside round in Canada), bottom round (outside round), eye of round, or rump. Sirloin tip works too. They’re all lean, which is why they’re affordable and why I’d keep them at medium rare. Chuck is the one to save for braising.
Why did my roast beef turn out tough?
Two likely culprits, and the second one is good news. Either it went past medium, which happens fast on a lean cut. Or it was sliced with the grain instead of across it, which leaves the fibers long. That second one means the roast was fine all along and the knife was the problem, so check that before you decide you can’t cook.
Do I really need a meat thermometer?
Yes, and it’s the one thing I’d buy before anything else on this list. Cooking times depend on the shape of your roast and the mood of your oven, and temperature is the only thing that actually tells you what’s happening in the middle.
How long per pound?
Roughly 25 to 30 minutes per pound at 325°F for medium rare, after the first 15 minutes at 450°F. Use it to work out when to start, then let the thermometer make the final call.
Can I cook this without a rack?
Absolutely. Lay thick slices of onion and carrot in the pan and sit the roast on those. They lift it clear of the drippings and they’ll flavor your gravy, so it’s arguably an upgrade.
Why did my roast shrink so much?
Some shrinking is completely normal and it gets more dramatic the longer it cooks, as the muscle fibers tighten up and squeeze out moisture. A lot of shrinkage usually means it went well past medium.
Can I season it the night before?
Yes, and it’s better for it. Rub it, stud it with garlic, cover it and leave it in the fridge overnight. It’ll still want its hour on the counter before it goes in the oven.