Walnut Cookies
This post may contain affiliate links. Please read my disclosure policy.
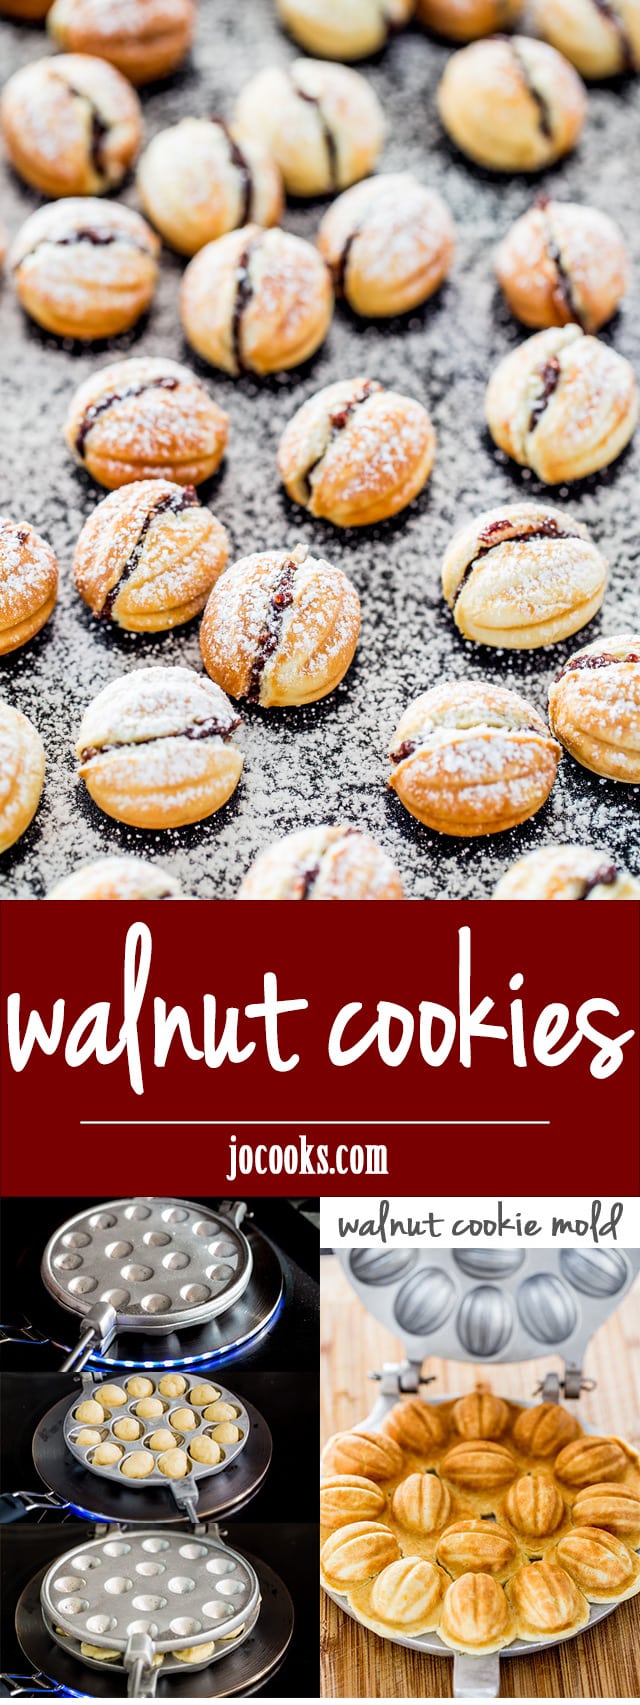
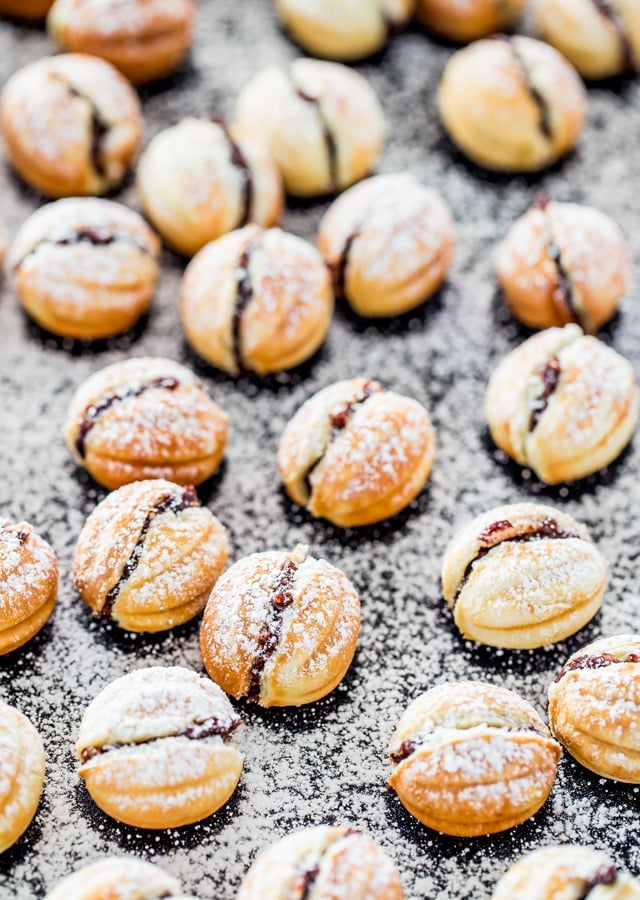
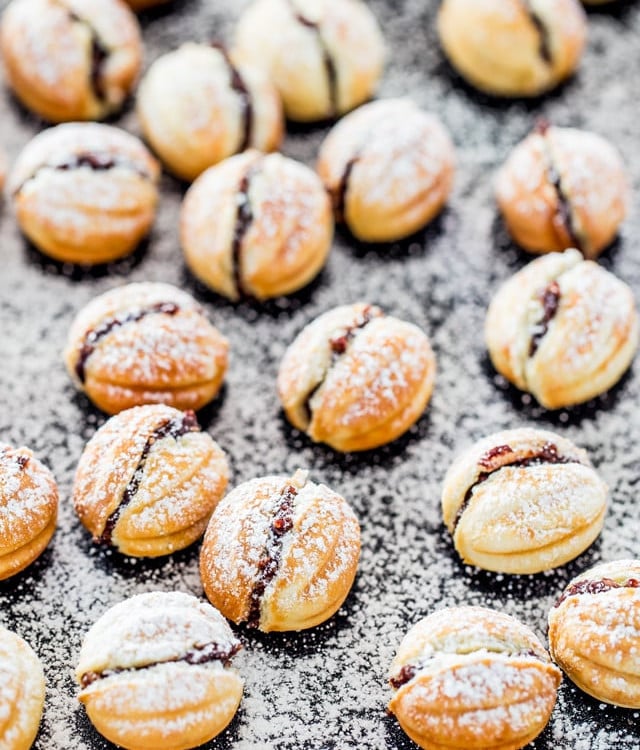
Walnut Cookies – these walnut shaped cookies are bursting with a delicious walnut and Nutella filling. Festive, delicious and so adorable.
I love this time of year because I get to bake and bake and bake until I can’t bake anymore. So that’s what I did this past weekend. Hung out with friends, baked and ate lots of cookies. Don’t you just love when you get stuck at home doing your all time favorite thing?
Among the many many cookies we made this weekend are these adorable walnut cookies. Aren’t they just the cutest? While they are a labor of love, they are totally worth it. Each little walnut cookie is a morsel that should be cherished and thoroughly enjoyed. They’re so good and so perfect.
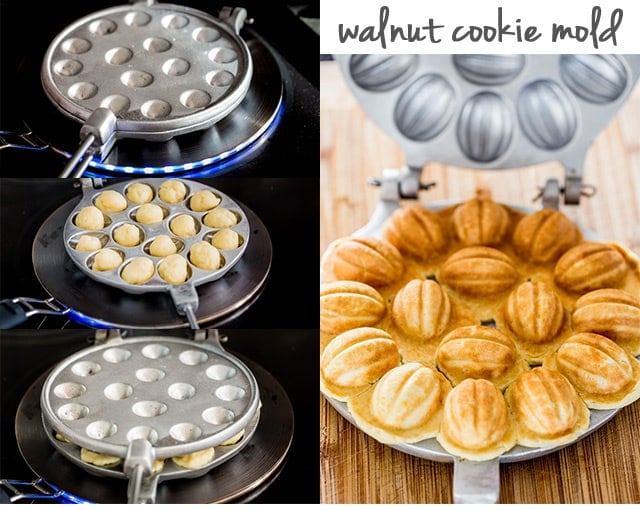
The dough is pretty simple to make, the labor of love starts when you actually have to cook these cookies, because you only make 16 shells at a time, but totally worth it, and really when you look at it, quite simple.
I ordered this mold off of Amazon and I have to admit I was a little intimidated at first. But once I read all those filling ingredients I knew that this recipe would be worth the elbow grease. And let me tell you the pay off is sweet.
What Are Oreshki?
This is a beloved little Russian sweet treat. We combine a shortbread-esque cookie with a sweet and drool worthy walnut and nutella filling. I bought these adorable little cookie molds that will ensure each and every cookie looks like a walnut – and tastes like one too.
Ingredients
Cookies
- Dry ingredients – All purpose flour, salt, and baking soda.
- Wet ingredients – Milk, unsalted butter, white sugar, egg yolks, vanilla extract, lemon juice and zest.
Filling
- Walnuts – Ground up fine, you can substitute this ingredient for other nuts if you’d like but the original is certainly something special!
- Nutella – I love this decadent chocolate hazelnut spread – I mean who doesn’t? You don’t have to go with name brand though if you’d prefer to use something a bit more budget friendly.
- Cocoa powder – Our filling today is rich and chocolaty, this ingredient will help highlight all those chocolate notes in our Nutella and round out the nuttiness nicely.
- Sugar – White granulated sugar will do just fine – no need to get fancy with it!
- Rum extract – This is totally an optional ingredient, but it really does add dimension to our filling which is never a bad thing!
- Milk – I just went with the same 2% that I used for the cookie dough.
- Icing sugar – For dusting beautifully over top of our completed little treats.
What Else Can I Fill My Cookies With?
The filling I made it using some of my favorite ingredients, walnuts and Nutella, but really you could fill these babies with anything, jam, dulce de leche, custard, whatever your favorite filling is. The sky is truly the limit!
How To Make Walnut Cookies
- Combine dry ingredients: In a bowl whisk together the flour, baking soda and salt. Set aside.
- Cream the butter: Add the butter, sugar and egg yolks to the bowl of your mixer, and cream everything together until light and fluffy. Add vanilla extract, lemon zest, juice, milk and beat until well incorporated.
- Form the dough: Add the flour mixture to the mixer, switch to the dough hook and mix until dough comes together. The dough should form into a ball and come clean from the side of the bowl. If it’s too sticky, add a bit more flour, starting with a tbsp at a time. If you’re using the walnut mold shown in the pictures, you’ll need to form the dough into small balls, about 1/2 an inch in diameter.
- Assemble the cookies: Spray your walnut mold with cooking spray, top and bottom, and preheat it over high heat, right on top of your stove. Place the dough balls into each walnut mold then press down to shape into walnut shells. Keep the mold pressed down and cook on top of the stove, turning it over to cook on both sides, about 3 minutes per side, until the cookies are set and lightly brown.
- Get the cookies ready for baking: Remove the cookies from the mold, they should come right off, and trim the edges. I just broke them off. Repeat by starting with step 5 again and cook remaining dough until all walnuts cookies are cooked.
- Form the filling: To make the filling whisk all the filling ingredients together.
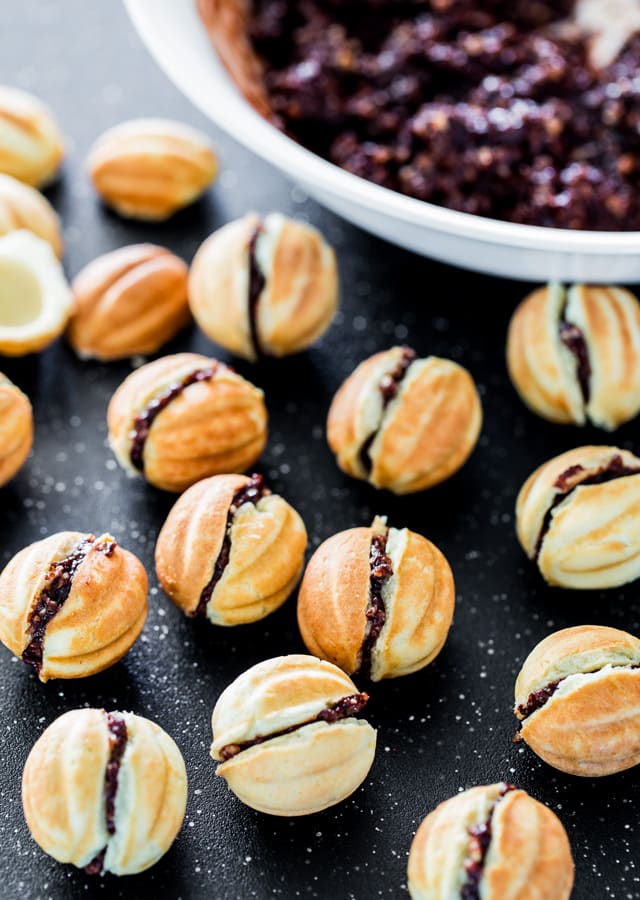
- Finish the cookies: Fill about 1 tsp of the filling into a walnut shell, then press another cookie shell on top. Repeat with remaining cookies and filling. When finished sprinkle cookies with icing sugar. Store in an airtight container in the fridge.
Not A Walnut Fan?
Now we may not see eye to eye, but I can accept that not everyone out there drools over these little nuts like I do. So if that’s the case feel free to use pecans, pistachios, almonds, or hazelnuts! If you’re feeling adventurous then combine any of the ones listed above, who knows you might just find a way to improve upon perfection!
Can’t Get A Hold Of The Right Pans?
These pans can be a little tough to get a hold of either in store or online, they just haven’t hit the main stream yet! You can always make these bad boys in little cake pop/doughnut hole pans, just follow the directions listed above just the same!

Leftovers
Be sure to store these in an airtight container at room temperature and your cookies will last for 2 – 3 weeks! This will ensure you keep the cookies soft and will prevent them from turning hard. If you don’t have an airtight container, add a slice of bread which will keep them soft. It works the same way as you do with brown sugar
Freezing
These cookies are perfect for freezing. You can either wrap them individually or place them together in an airtight container. They will last in the freezer for 3 months, just warm them back up in the oven and enjoy.
More Delicious Cookies To Try:
- Chocolate Sugar Cookies
- Classic Shortbread Cookies
- Red Velvet Kiss Cookies
- Chocolate Rumballs
- Snickerdoodle Cookies
- Lemon Shortbread Cookies
- Peanut Butter Cookies
Before You Begin! If you make this, please leave a review and rating letting us know how you liked this recipe! This helps our business thrive & continue providing free recipes.
Walnut Cookies
Ingredients
For Cookie Shells
- 3½ cups all-purpose flour
- 1 teaspoon baking soda
- ½ teaspoon salt
- 9 tablespoon butter (unsalted, at room temperature)
- ½ cup sugar
- 2 egg yolks
- 1 teaspoon vanilla extract (or 1 envelope vanilla sugar)
- juice and zest from 1 lemon
- ⅔ cup milk (I used 2%)
For Filling
- 2 cups walnuts (ground fine)
- ½ cup Nutella
- 3 tablespoon cocoa powder
- ¾ cup sugar
- 2 tablespoon rum extract
- ¼ cup milk
- icing sugar (for dusting, optional)
Before You Begin! If you make this, please leave a review and rating letting us know how you liked this recipe! This helps our business thrive & continue providing free recipes.
Instructions
- In a bowl whisk together the flour, baking soda and salt. Set aside.
- Add the butter, sugar and egg yolks to the bowl of your mixer, and cream everything together until light and fluffy. Add vanilla extract, lemon zest, juice, milk and beat until well incorporated.
- Add the flour mixture to the mixer, switch to the dough hook and mix until dough comes together. The dough should form into a ball and come clean from the side of the bowl. If it’s too sticky, add a bit more flour, starting with a tbsp at a time.
- If you're using the walnut mold shown in the pictures, you'll need to form the dough into small balls, about ½ an inch in diameter.
- Spray your walnut mold with cooking spray, top and bottom, and preheat it over high heat, right on top of your stove. Place the dough balls into each walnut mold then press down to shape into walnut shells. Keep the mold pressed down and cook on top of the stove, turning it over to cook on both sides, about 3 minutes per side, until the cookies are set and lightly brown.
- Remove the cookies from the mold, they should come right off, and trim the edges. I just broke them off.
- Repeat by starting with step 5 again and cook remaining dough until all walnuts cookies are cooked.
- To make the filling whisk all the filling ingredients together.
- Fill about 1 tsp of the filling into a walnut shell, then press another cookie shell on top. Repeat with remaining cookies and filling.
- When finished sprinkle cookies with icing sugar. Store in an airtight container in the fridge.
Equipment
Notes
- You can use any filling that you prefer. Jam, custard, dulce de leche, etc.
- Be sure to store these in an airtight container at room temperature and your cookies will last for 2 – 3 weeks! This will ensure you keep the cookies soft and will prevent them from turning hard. If you don’t have an airtight container, add a slice of bread which will keep them soft. It works the same way as you do with brown sugar.
- These cookies are perfect for freezing. You can either wrap them individually or place them together in an airtight container. They will last in the freezer for 3 months, just warm them back up in the oven and enjoy.
Nutrition Information
Notice: Nutrition is auto-calculated for your convenience. Where relevant, we recommend using your own nutrition calculations.
