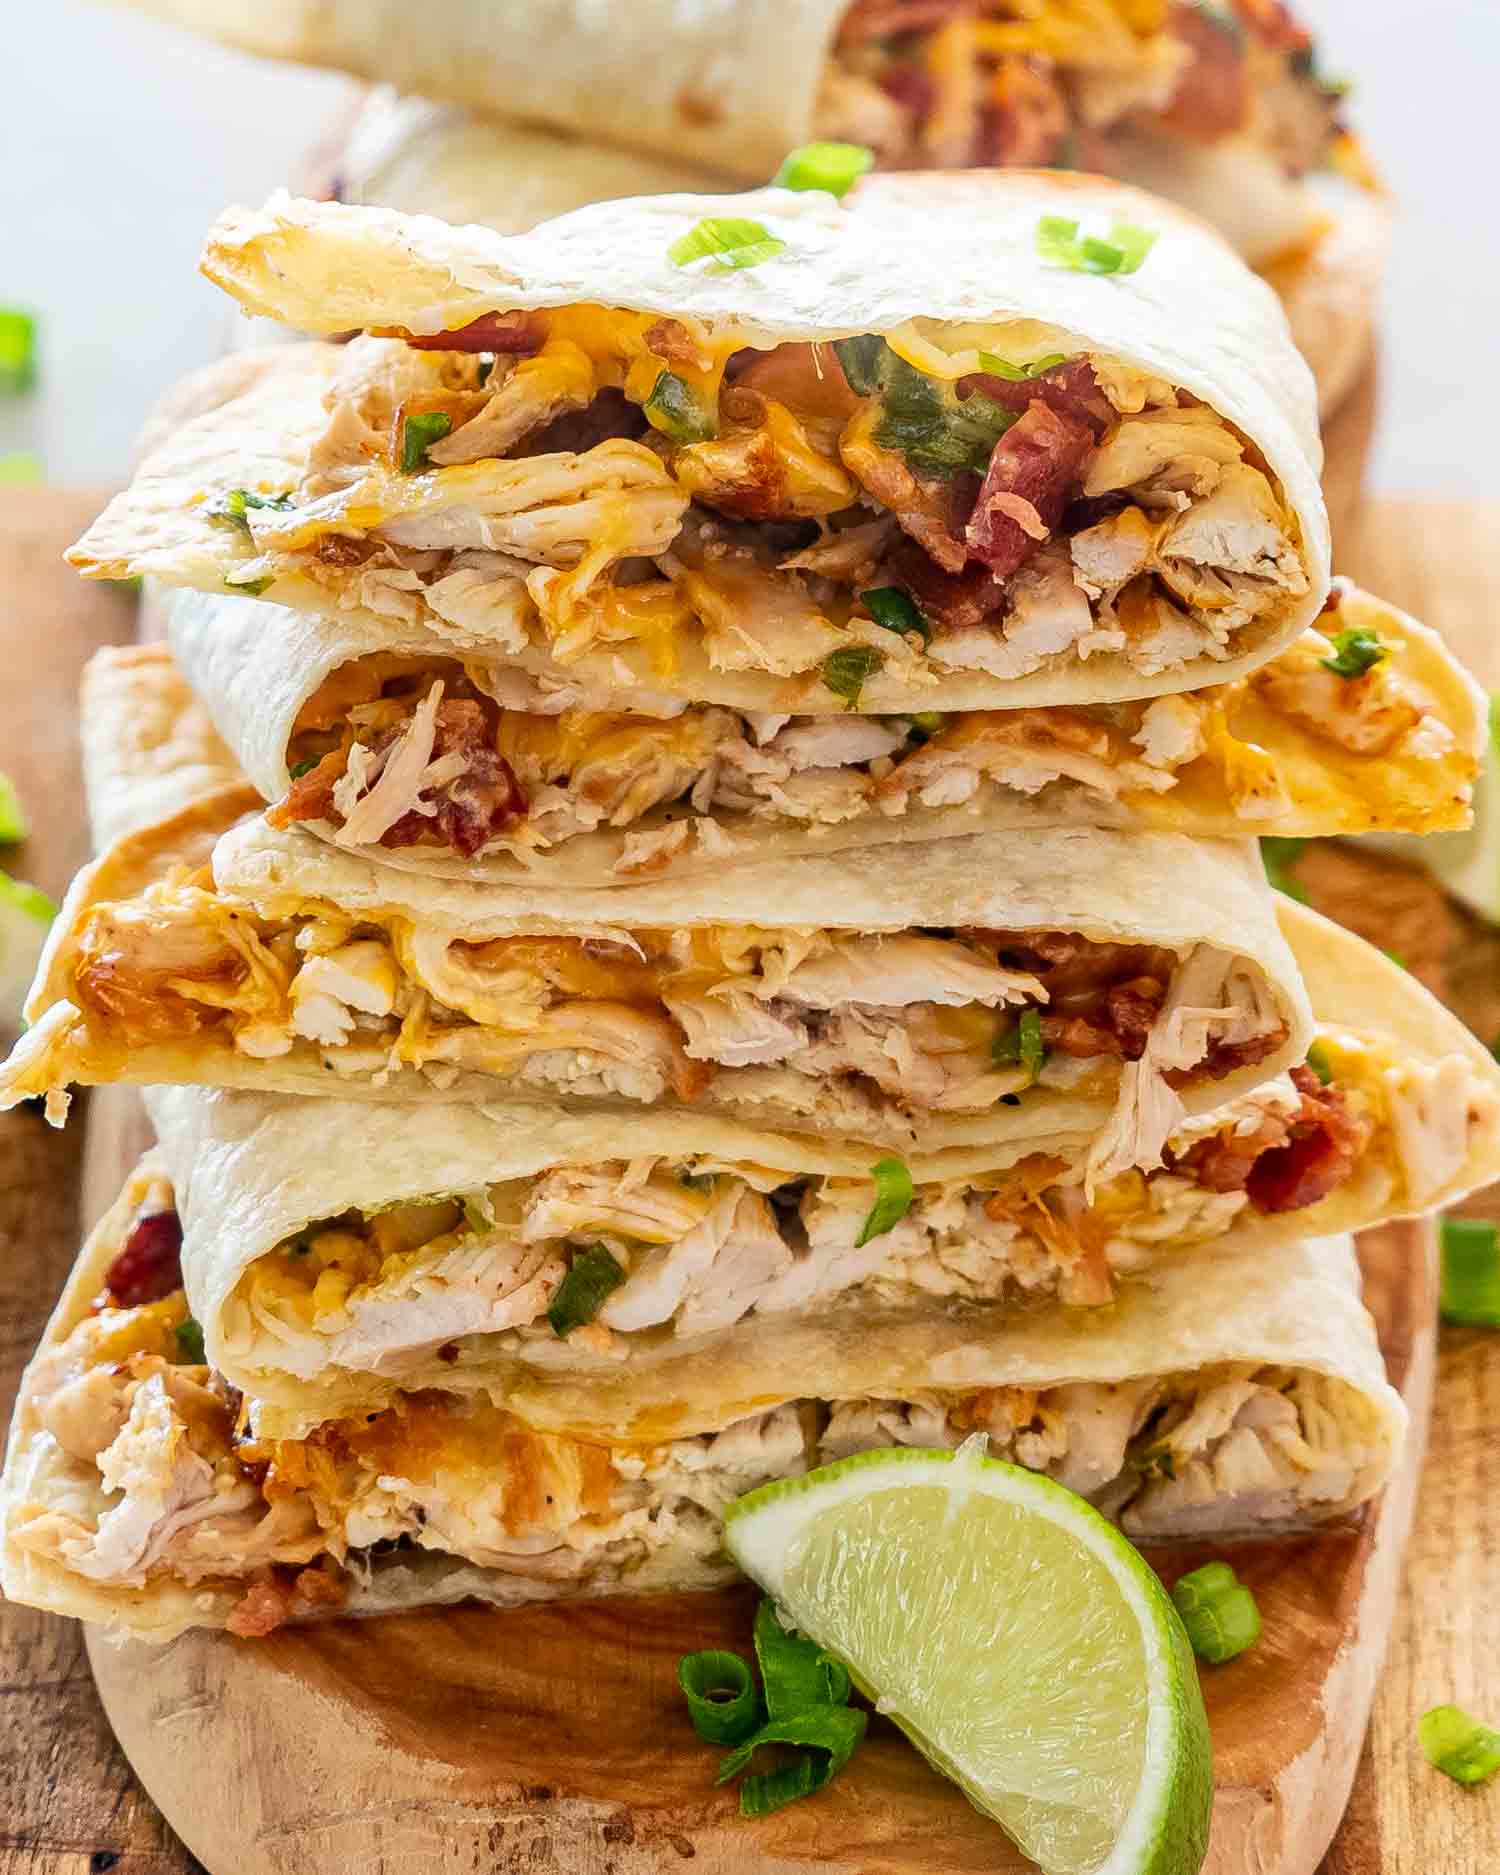
Chicken Quesadillas
This post may contain affiliate links. Please read my disclosure policy.

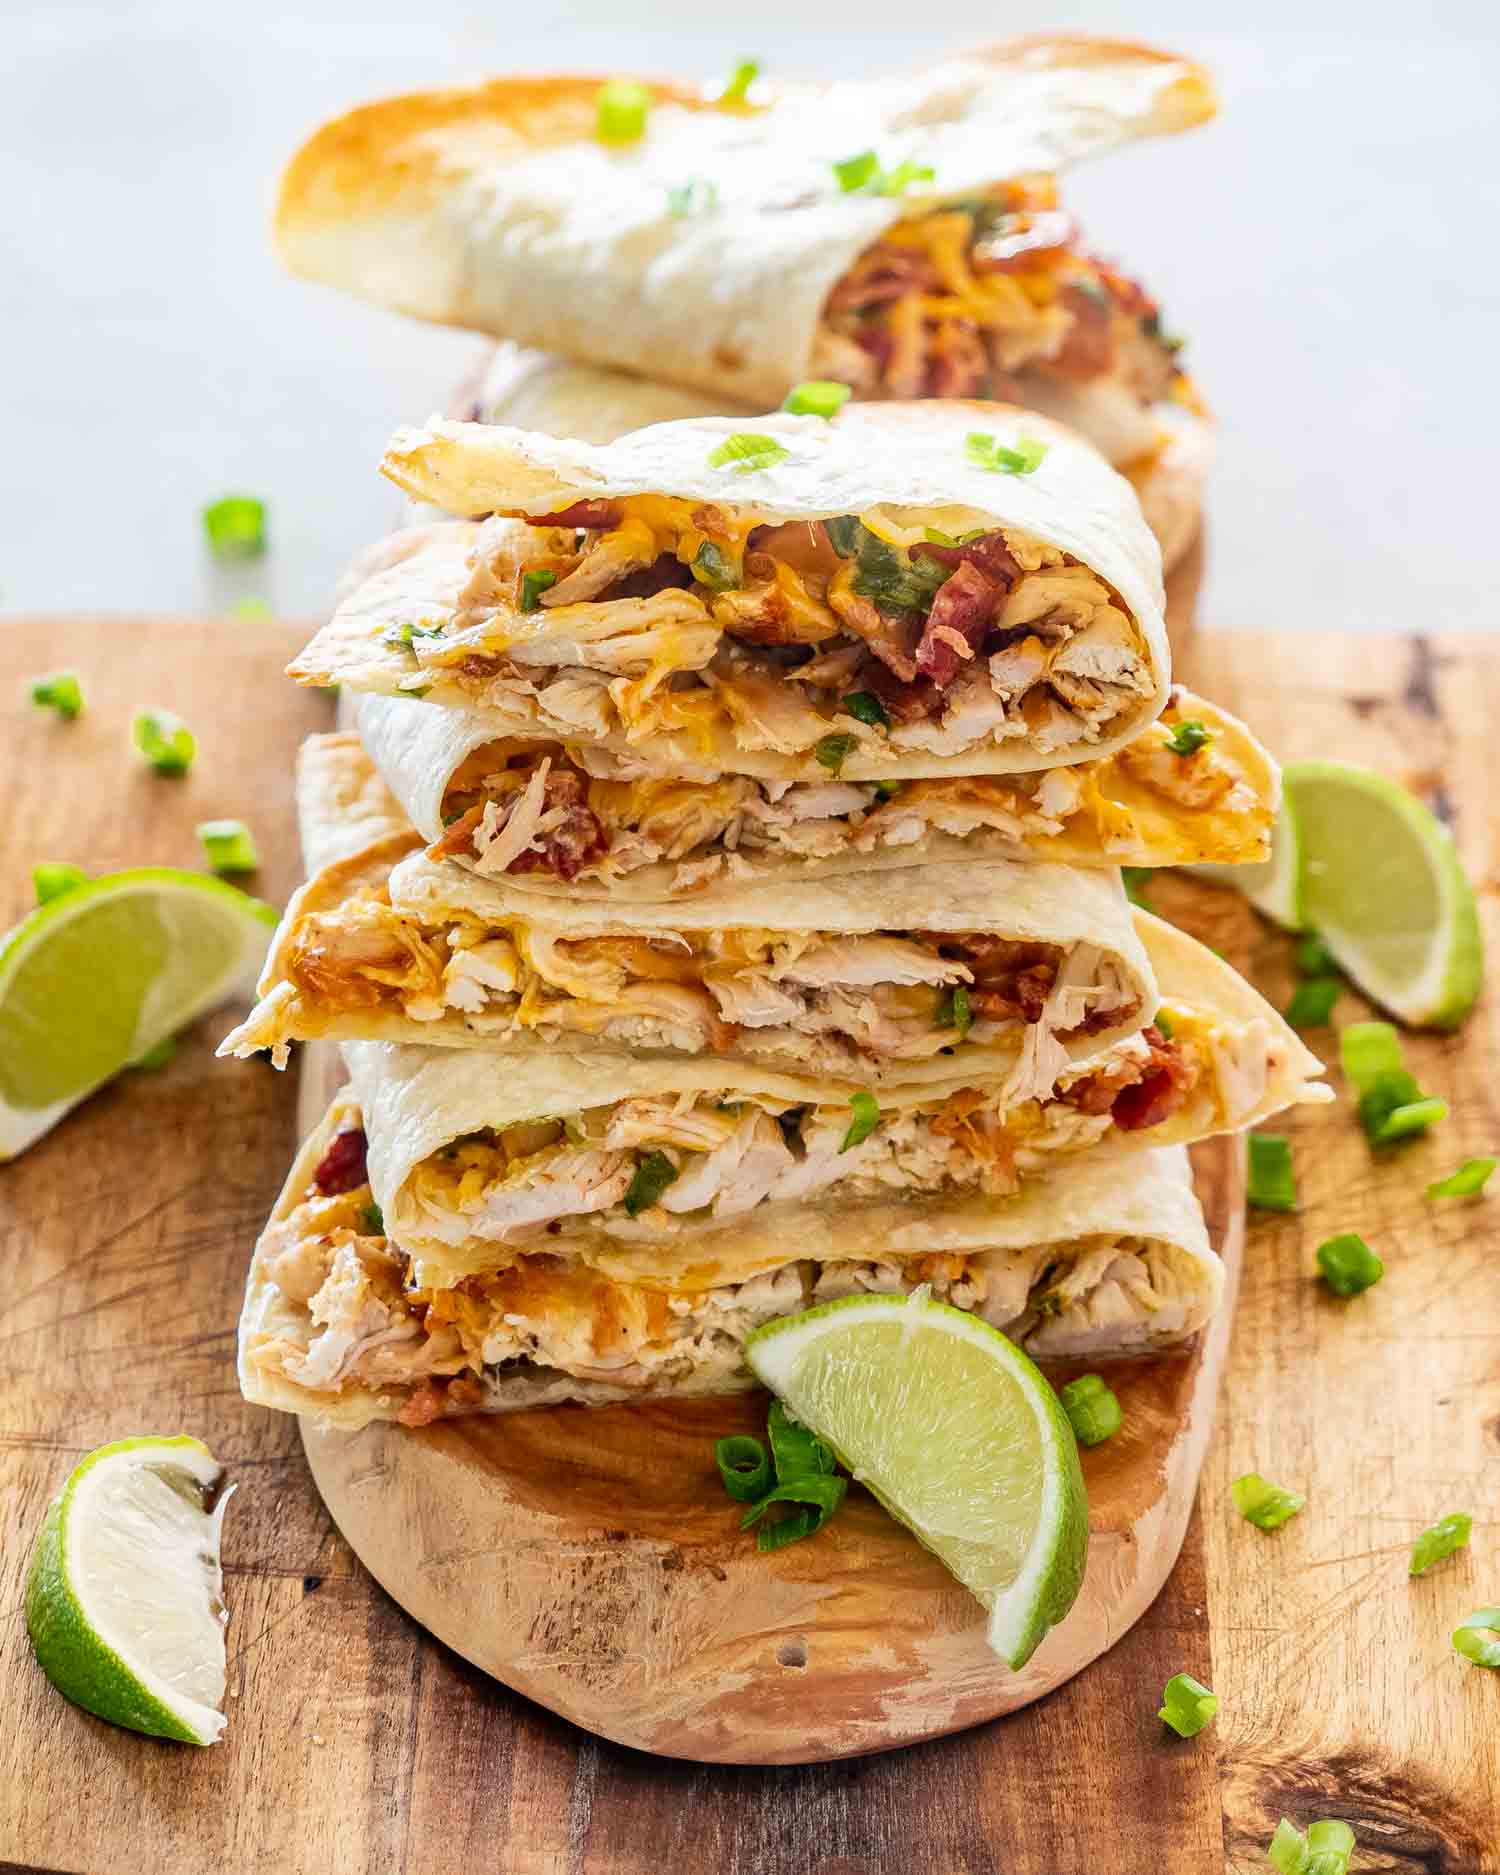
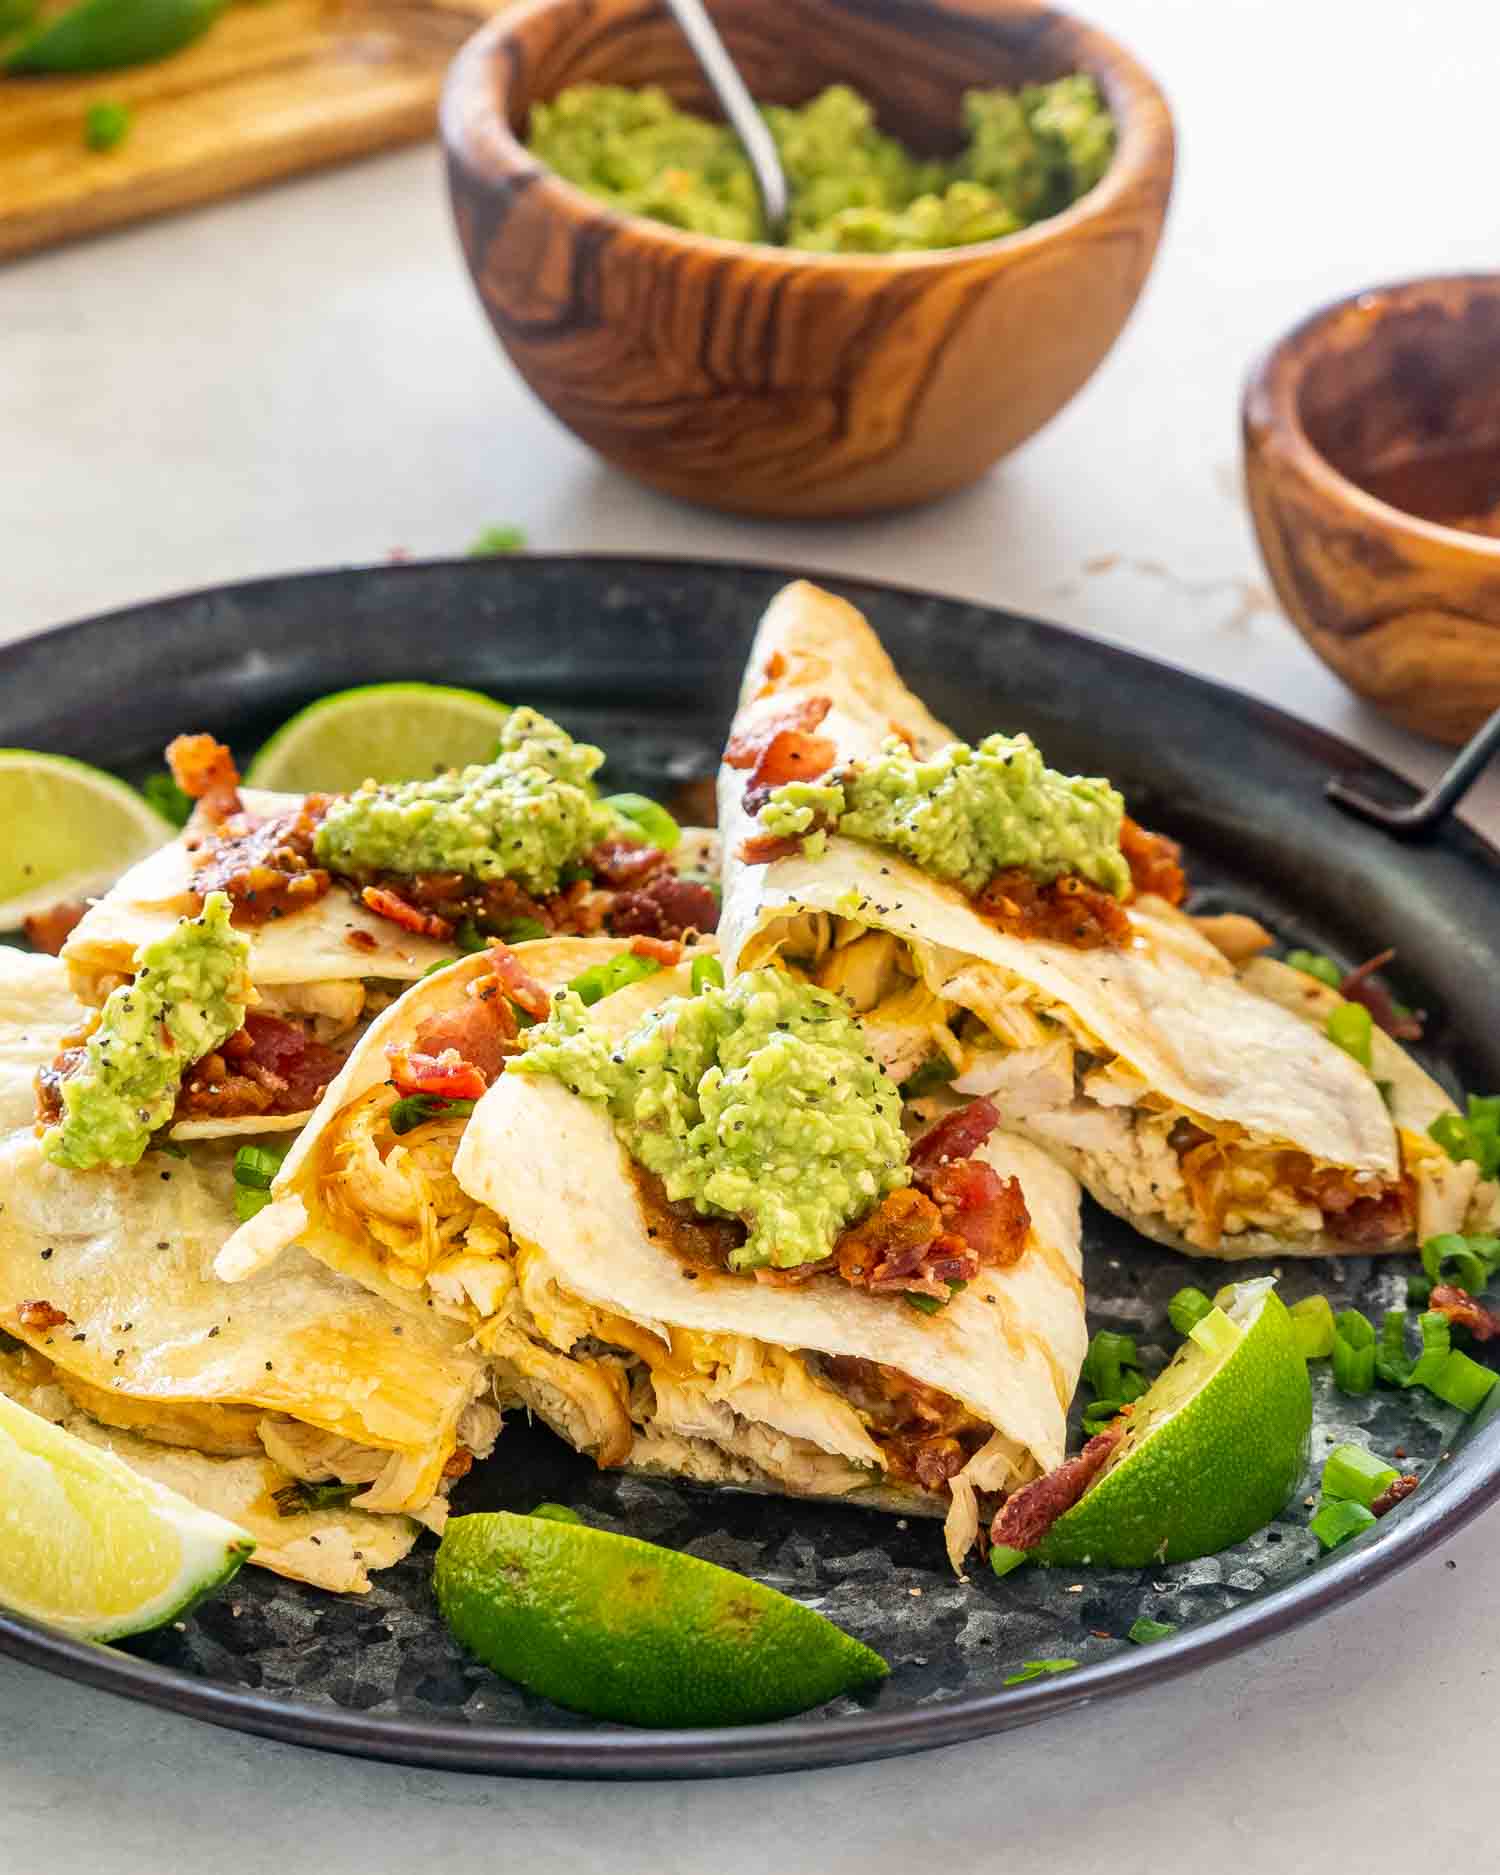
When it comes to a go-to lunch, these Chicken Quesadillas are my ultimate favorite. Crispy tortillas filled with juicy chicken, smoky bacon, and melty cheddar cheese, all topped with smashed avocado and a squeeze of lime—how could you go wrong? They’re quick, easy, and so packed with flavor that I can never make just one!
Before You Start
- Choose the Right Tortillas: Use large, soft flour tortillas for the best folding and filling. If you prefer gluten-free, opt for corn tortillas, but handle them carefully since they’re more delicate.
- Shred the Chicken While Warm: It’s easier to shred chicken when it’s still warm. Use two forks or even a hand mixer for quick results.
- Crispy Bacon Hack: For evenly cooked bacon, bake it on a wire rack over a baking sheet instead of frying. Less mess, and it stays flat!
- Cheese is the Glue: Spread a little cheese directly on the tortilla before adding other fillings. It acts as a glue to hold everything together when it melts.
- Prep Your Toppings: Smash the avocado and cut the lime before you start assembling so everything is ready when the quesadillas come out of the oven.
- Watch the Oven: Every oven is different, so keep an eye on the quesadillas as they bake. If they aren’t crisping up, broil them for 1-2 minutes at the end.
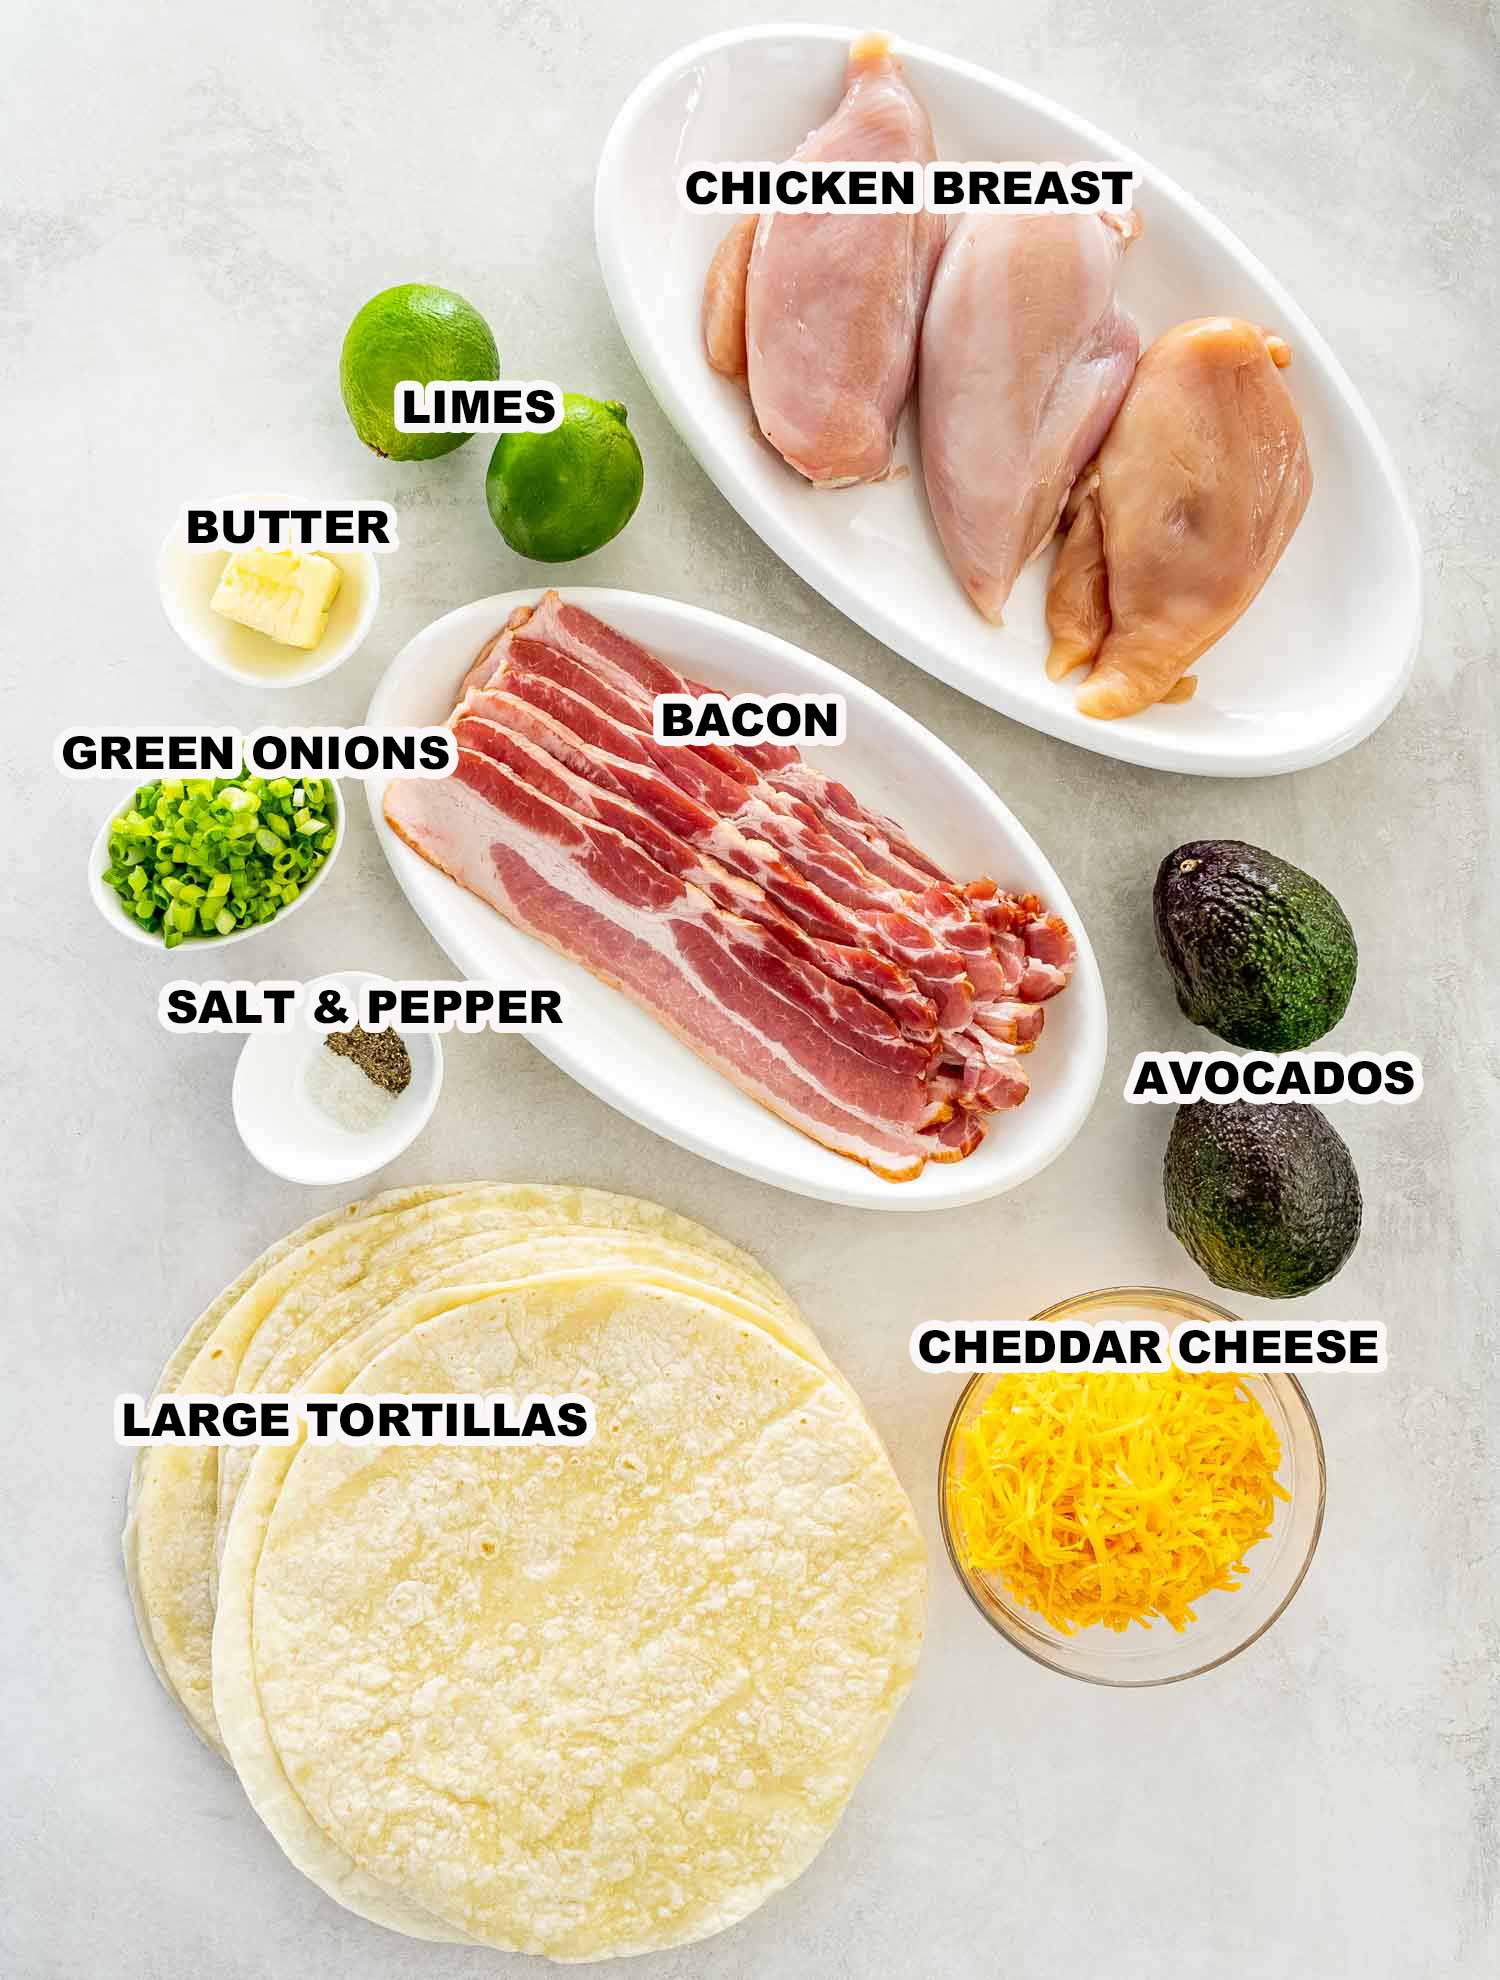
Ingredients You’ll Need
- Flour Tortillas – I used large sized flour tortillas but any size will work.
- Chicken – You will need boneless skinless chicken breasts for this recipe. You could also use boneless skinless chicken thighs if you prefer.
- Seasonings – Salt and black pepper are used to season.
- Green Onions – Also called scallions, green onions add a bit of mild onion flavor.
- Bacon – You will need cooked and crumbled crispy bacon.
- Avocado – Use ripe and ready to eat avocados for the best flavor.
- Cheddar Cheese – I use shredded mild cheddar cheese. Yet, other types of cheddar are yummy too as well as Monterey Jack cheese.
- Butter – Use unsalted butter to control the amount of added salt.
- Limes – Fresh lime juice is used to finish the chicken quesadillas and bring all the flavors together.
Don’t let the ingredient list fool you, this recipe is quick and easy. The proteins cook in just a few minutes and baking the quesadillas is a cinch!
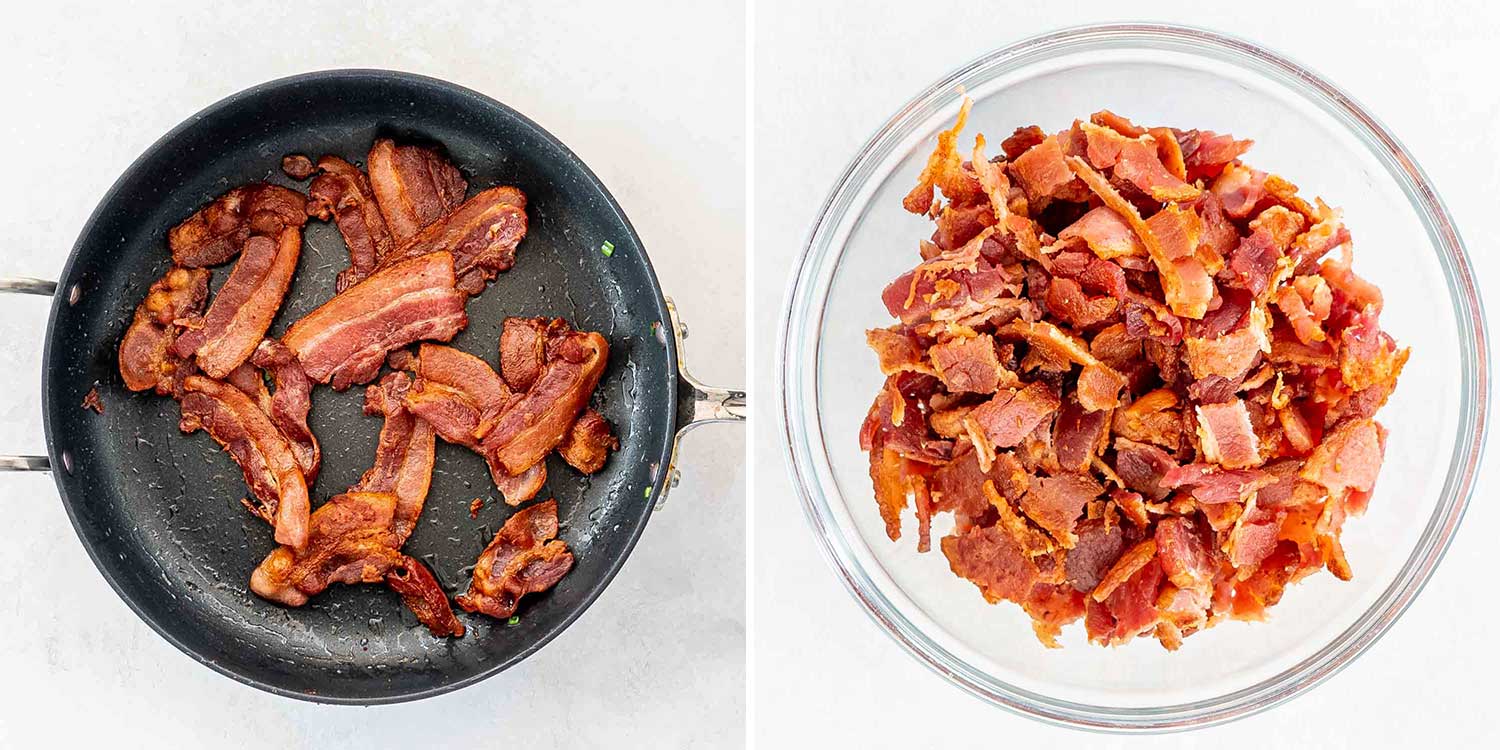
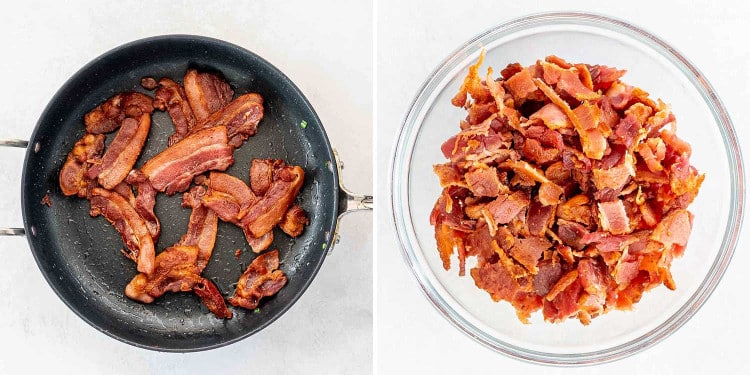
Before you can really dive into the quesadilla making part you need to cook what goes into them starting with the bacon. And for this recipe, you’ll need the bacon drippings so it should be cooked in a skillet on the stove on medium-low heat until it’s crispy. Next, place the cooked bacon on paper towels to reduce some of the fat and then crumble it into chunks. Now, remove all the bacon fat in the pan except about one teaspoon.

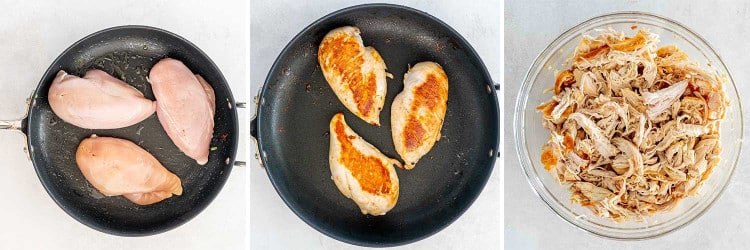
First, add the diced green onions to the pan and cook them for about 3 minutes to soften them up. Then add the chicken breast to the pan and cook it for about 5 to 7 minutes per side or until the chicken is cooked through. Then season with the salt and black pepper to finish. Finally, transfer the chicken to a bowl or cutting board and shred it using a couple forks.
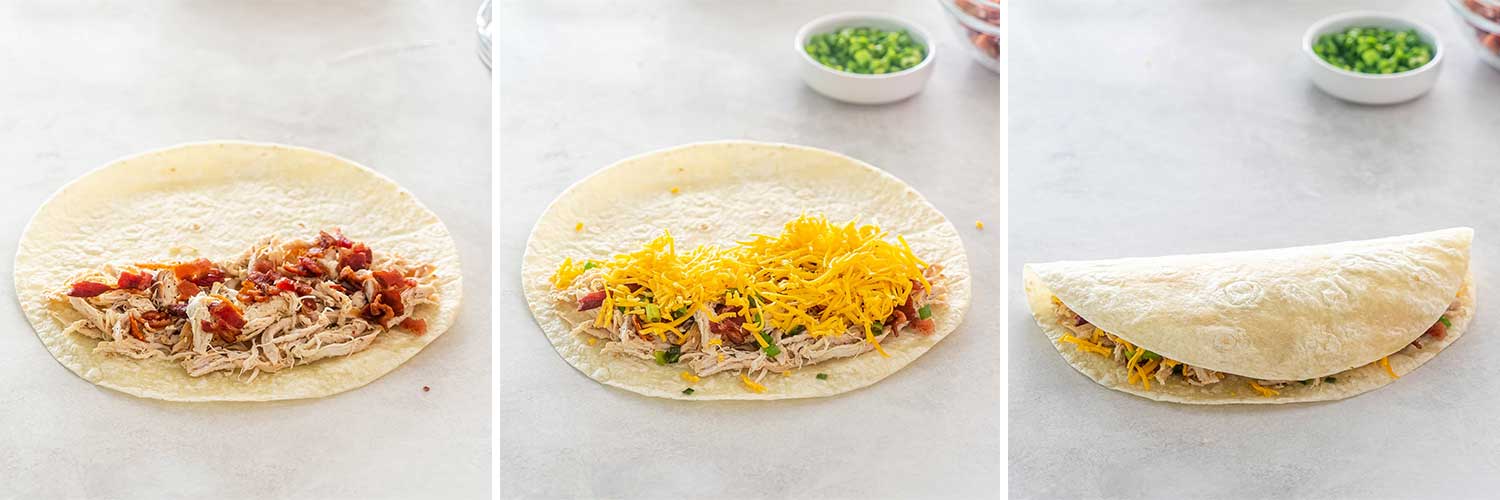
Preheat your oven first to 425°F (218°C) and get a baking sheet ready. Now, lay a flour tortilla flat on a cutting board and layer it with chicken on half of the tortilla, following by some bacon, green onions and cheddar cheese. Fold in half and press down on it gently. Place this on the baking sheet and repeat with remaining tortillas and ingredients. You should have enough ingredients for 4 quesadillas.
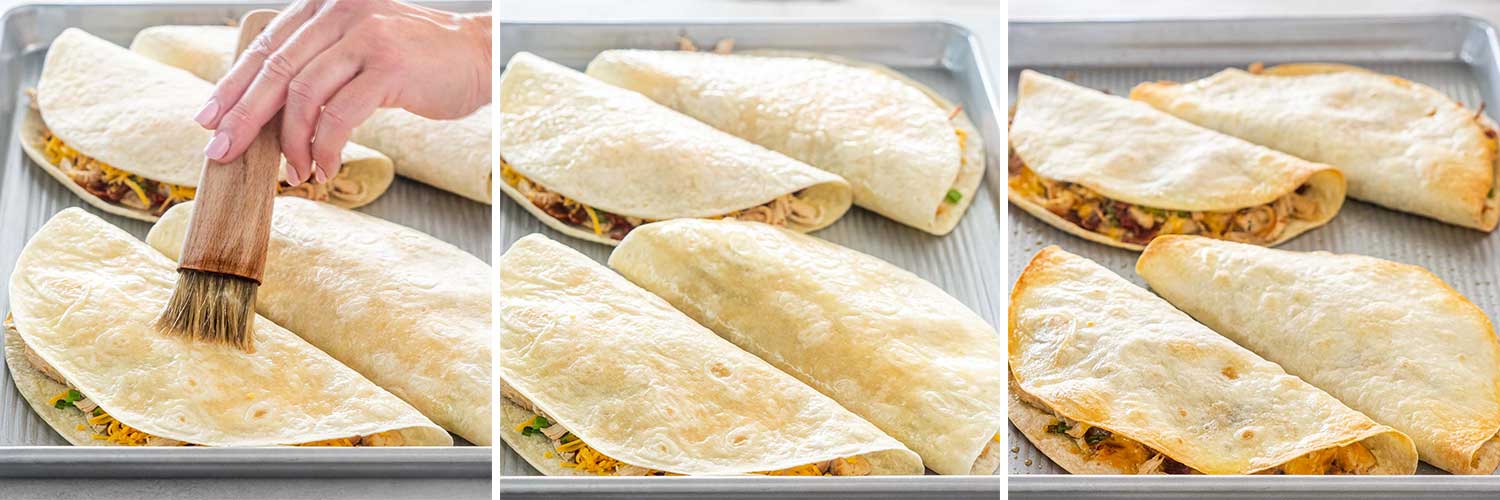
Brush the top of the quesadillas with a little bit of melted butter, transfer the baking sheet to the oven and bake for 8 to 10 minutes, turning them halfway through, if necessary. With my oven they crisped up on the bottom as well so I didn’t need to flip them over, but all ovens are different.
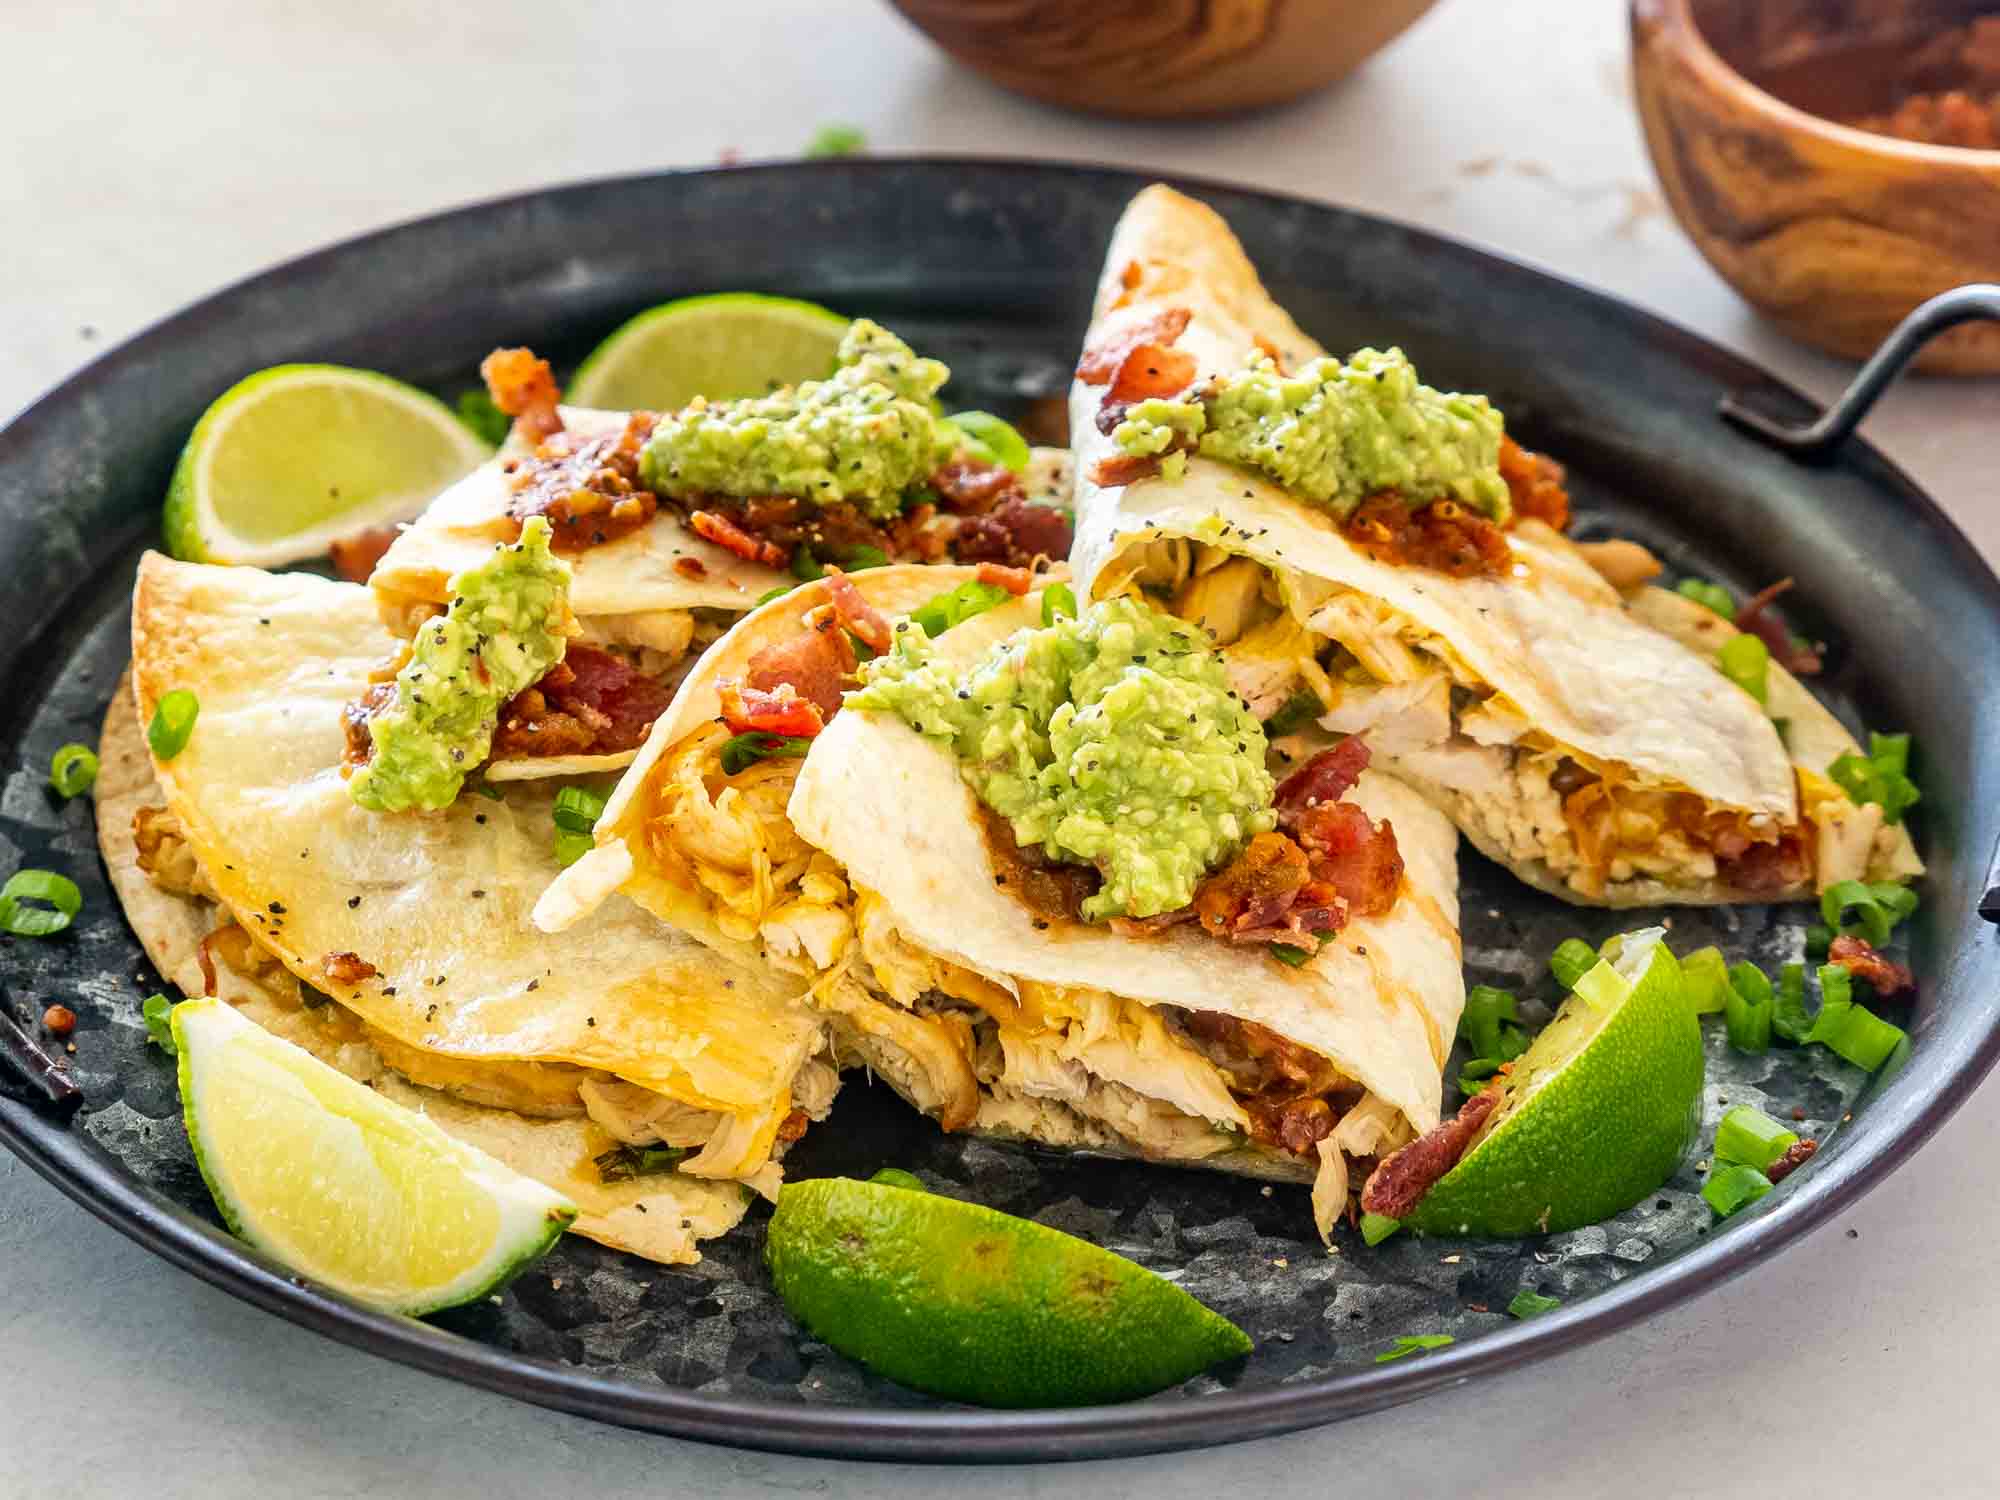
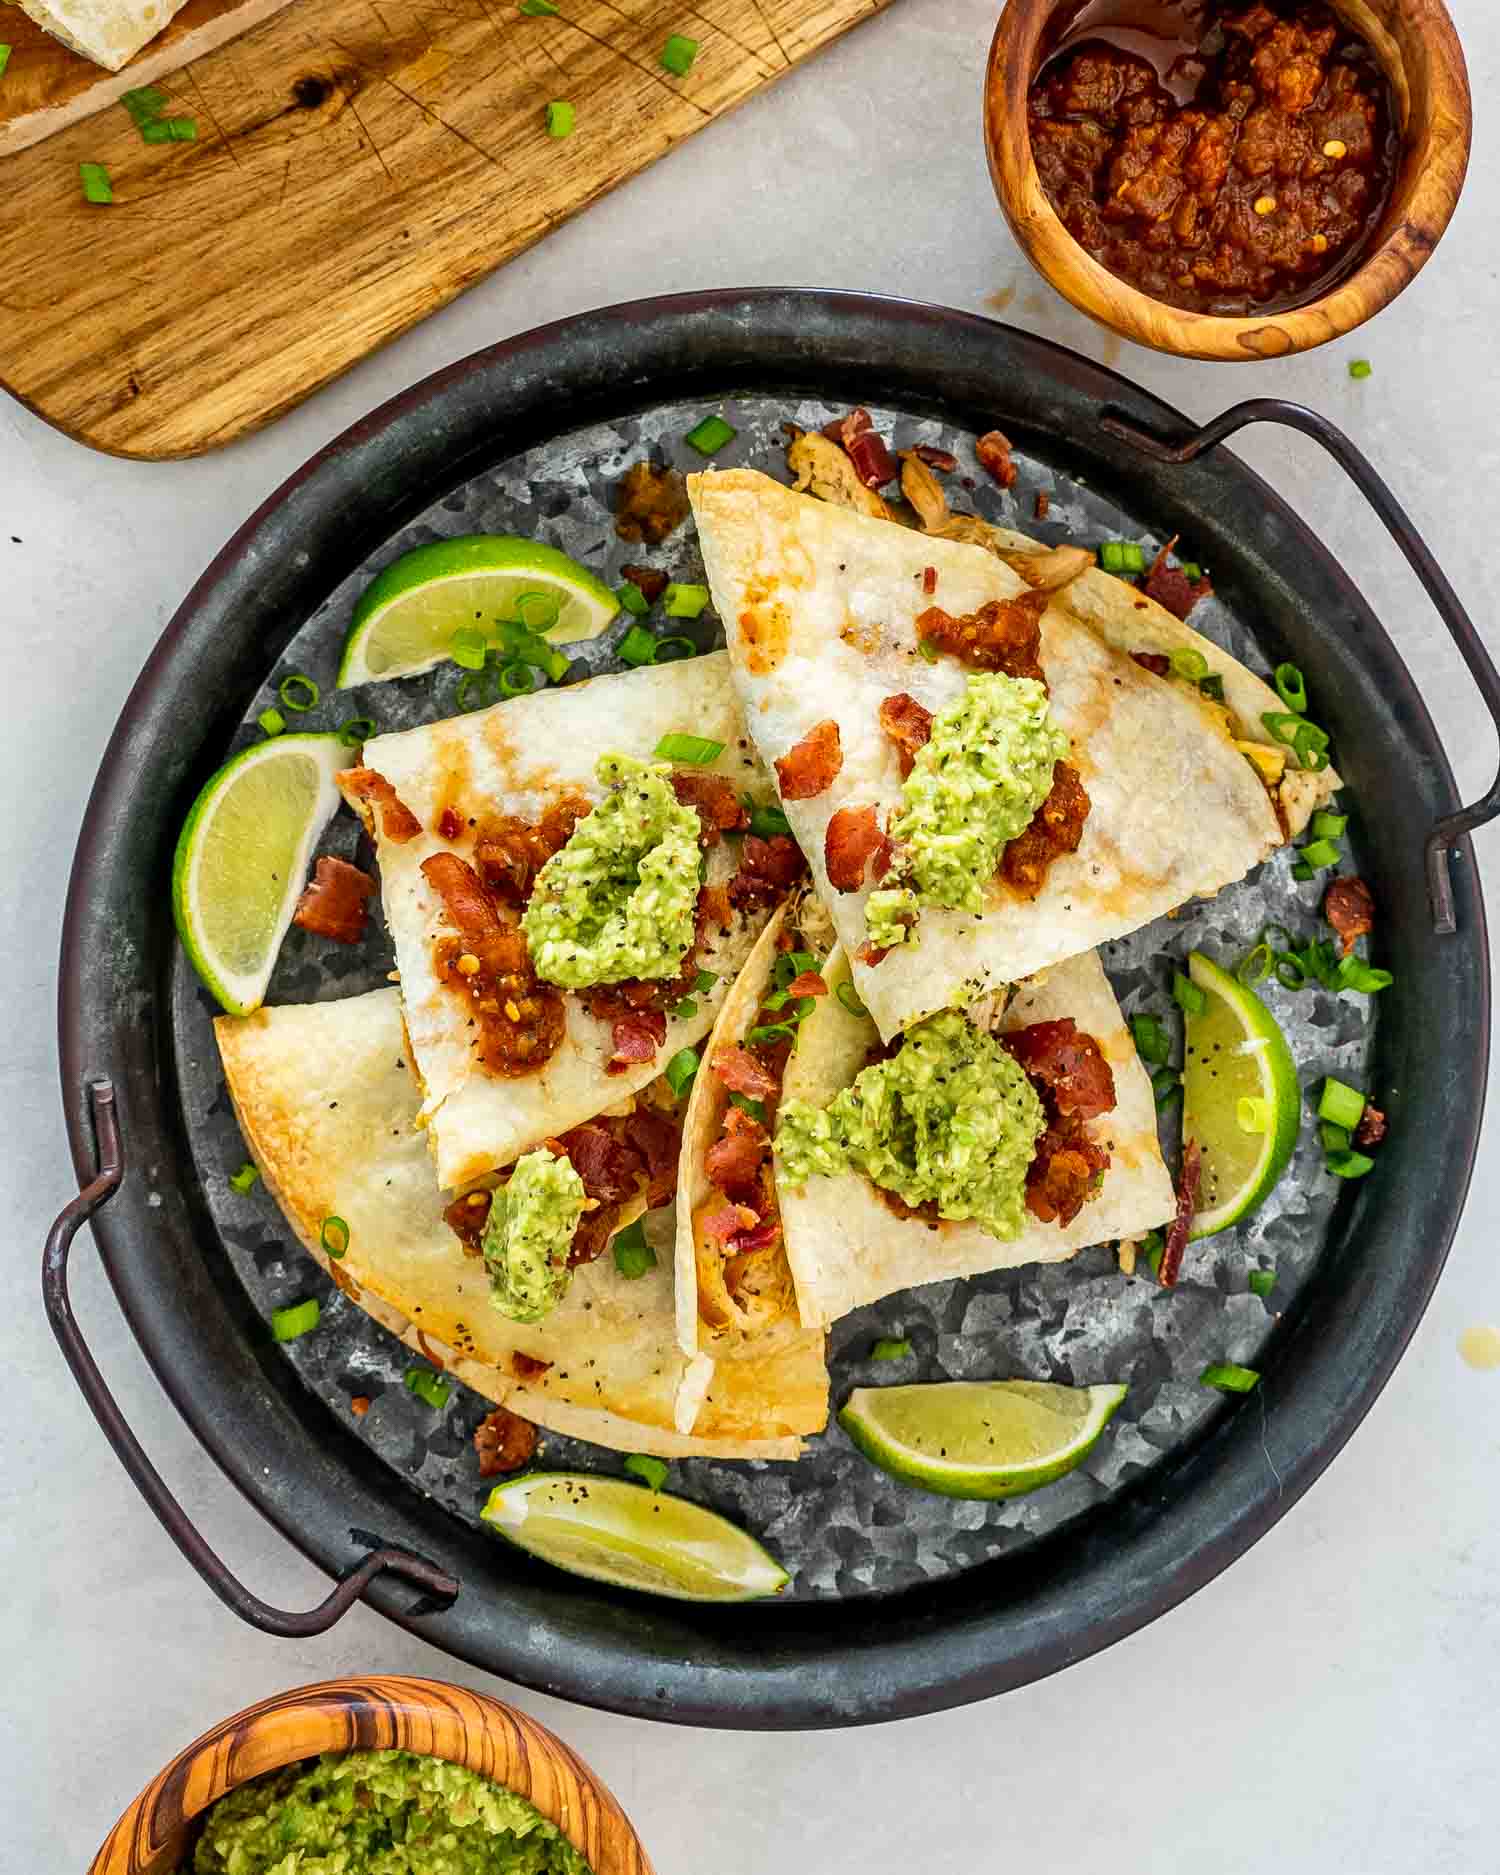
Carefully remove the quesadillas from the oven, cut in half, top them with some smashed avocado and squeeze some fresh limes over them. Serve them with a side of sour cream, and your favorite Homemade Salsa.
How To Serve
I love serving these Chicken Quesadillas with sides that add freshness and complement their rich, cheesy goodness. Here are my favorite pairings:
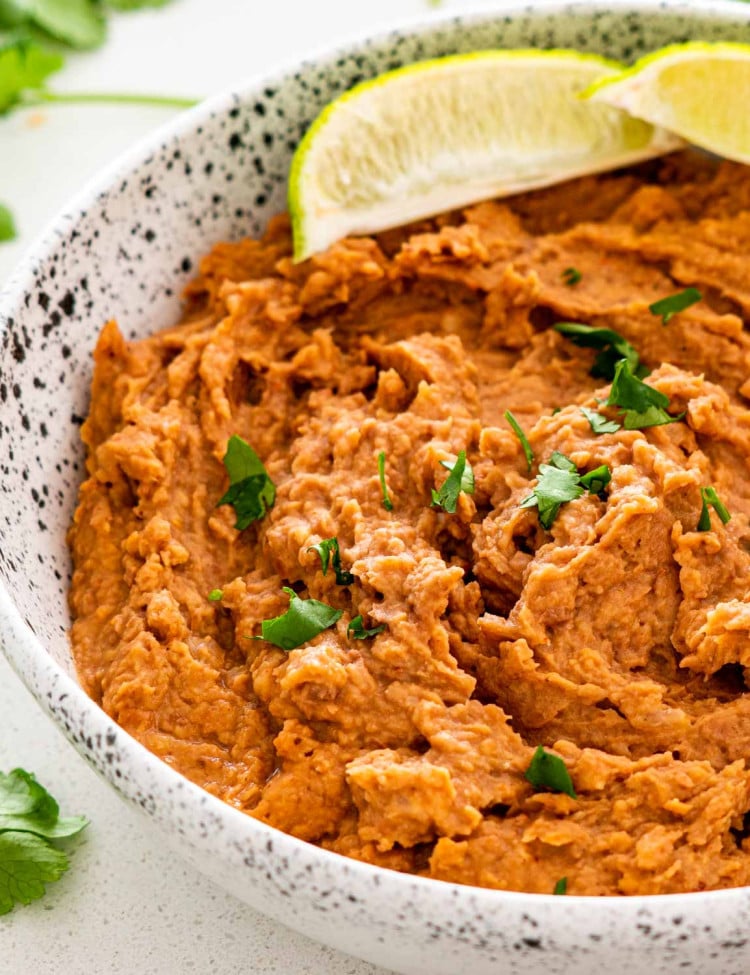
Refried Beans
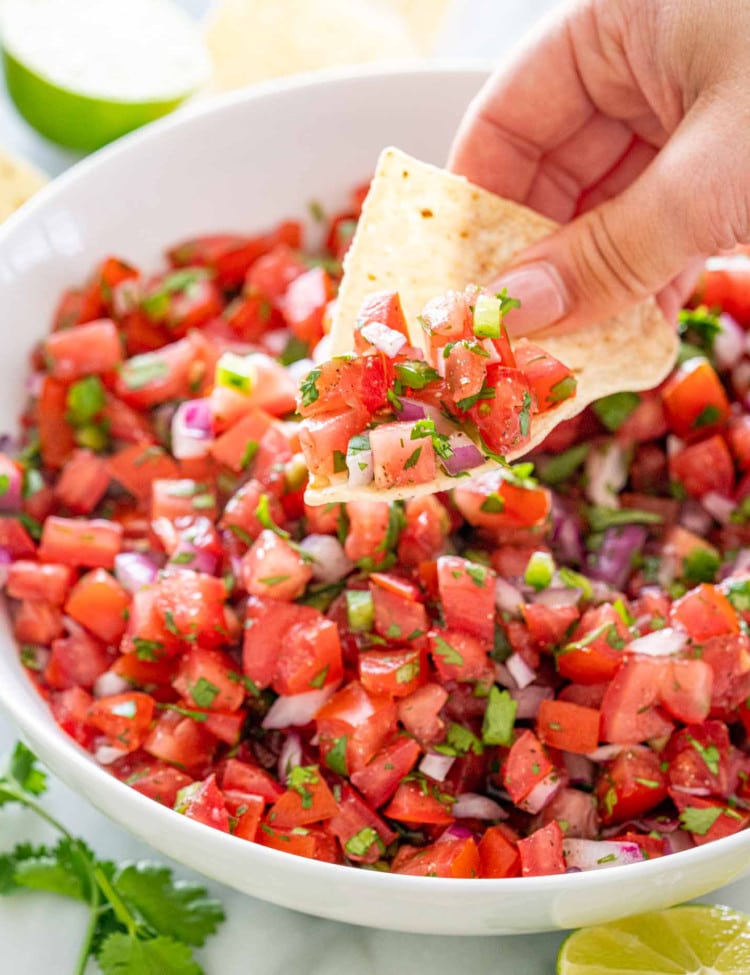
Pico de Gallo Recipe
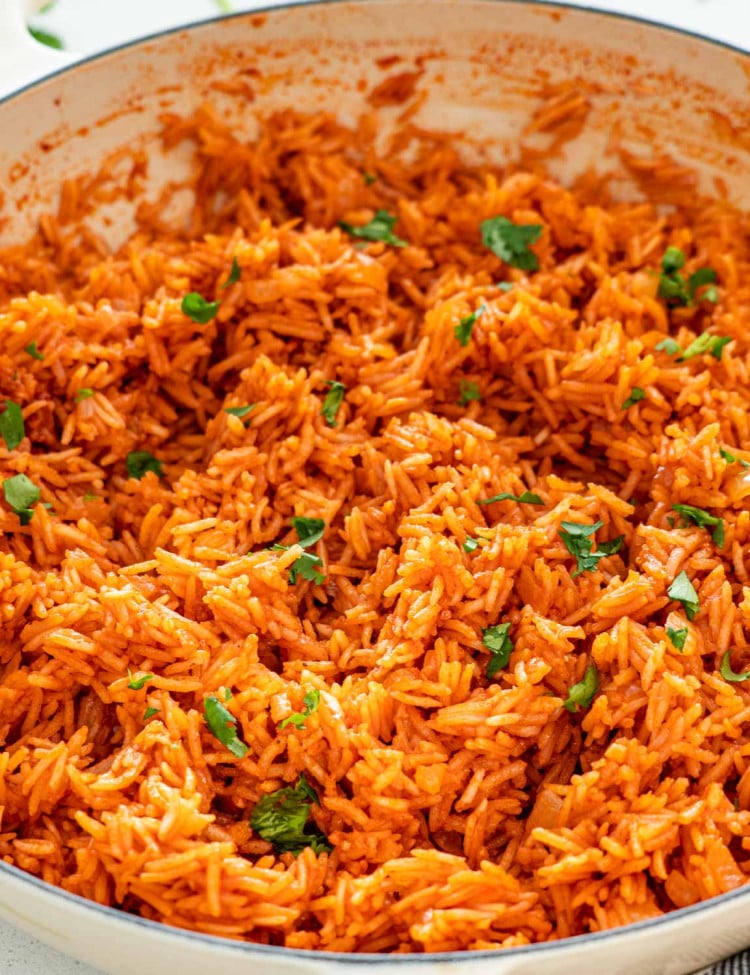
3 Ingredient Mexican Rice
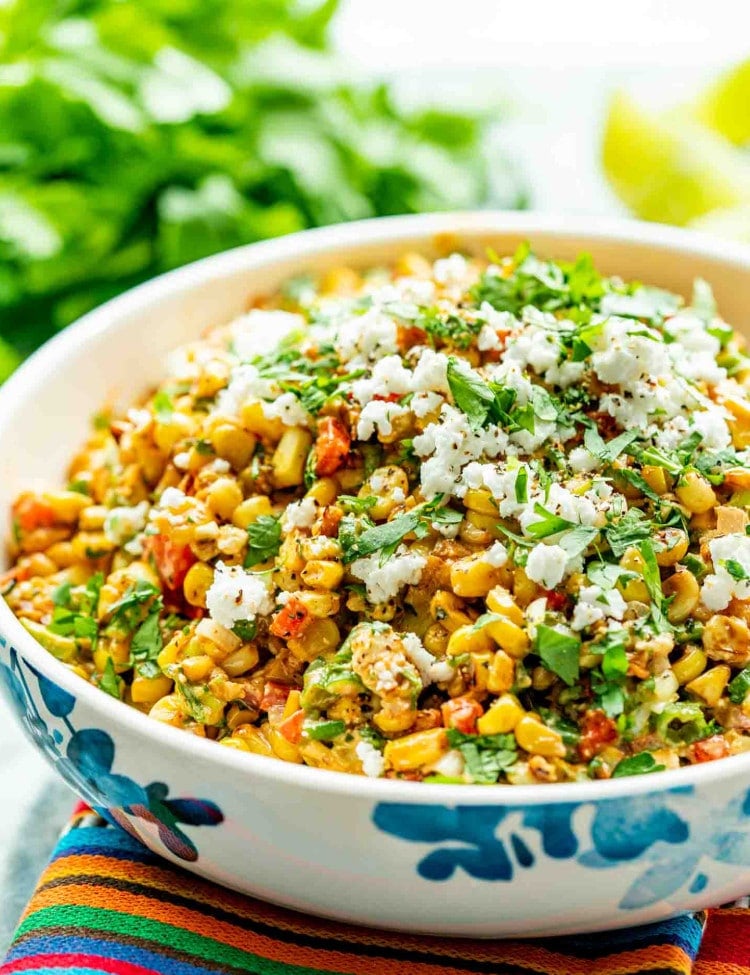
Mexican Street Corn Salad
Frequently Asked Questions
Can I use other fillings?
Yes, of course! The chicken can be replaced with any type of protein. Beef, pork, and shrimp are all yummy options. Feel free to try different cheeses too. As long as they melt, any cheese will work. You can also add some vegetables like corn, diced green and red bell pepper, or black beans if you like. As for spices, cumin, garlic powder, and oregano are super yummy. Even a dash of taco seasoning or hot sauce will add more flavor.
Can I make the quesadillas ahead of time?
Yes! Assemble the quesadillas and store them in the fridge, uncooked, for up to 1 day. Bake or cook them just before serving for the crispiest results.
How do I store leftover quesadillas?
Let the cooked quesadillas cool completely, then store them in an airtight container in the fridge for up to 3 days. Reheat them in the oven or on a skillet to keep them crispy.
Can I freeze quesadillas?
Absolutely! Wrap uncooked quesadillas tightly in plastic wrap or foil and freeze for up to 3 months. When you’re ready to cook, bake them straight from frozen, adding a few extra minutes to the cook time.
What’s the best way to reheat quesadillas?
Reheat quesadillas in a skillet over medium heat or in the oven at 375°F until the cheese melts and the tortilla crisps up again. You can also use an air fryer at 350°F for 3-5 minutes—this keeps the tortillas crispy without making them soggy. Avoid the microwave, as it tends to soften the tortilla.
Other Delicious Quesadillas To Try
- Sheet Pan Quesadilla
- Breakfast Quesadillas
- Salmon Quesadillas
- Buffalo Chicken Quesadillas
- Grilled Vegetable Quesadillas
- Cheesy Beef Quesadillas
- BBQ Chicken Mango Quesadillas
Before You Begin! If you make this, please leave a review and rating letting us know how you liked this recipe! This helps our business thrive & continue providing free recipes.

Chicken Quesadillas
Video
Ingredients
- 8 strips bacon
- ½ cup green onions (chopped)
- 3 medium chicken breasts (boneless, skinless)
- salt and pepper (to taste)
- 8 large flour tortillas
- 1 cup mild cheddar cheese (shredded)
- 2 tablespoons butter (melted)
- 1 to 2 avocado (smashed)
- 2 limes
Before You Begin! If you make this, please leave a review and rating letting us know how you liked this recipe! This helps our business thrive & continue providing free recipes.
Instructions
- Preheat the oven to 425°F (218°C) and get a baking sheet ready.
- Cook the bacon in a skillet until crisp. Transfer it to a paper towel lined plate to drain some of the fat. Discard the bacon fat from the pan except about one teaspoon.

- Add the diced green onion to the skillet and cook it for about 2 minutes to soften them up, then transfer them to a bowl and set aside. Then add the chicken breast to the pan and cook it for about 5 to 7 minutes per side or until the chicken is cooked through. Season with the salt and black pepper to finish. Finally, transfer the chicken to a bowl or cutting board and shred it using a couple forks.

- Lay a flour tortilla flat on a cutting board and layer it with chicken on half of the tortilla, following by some bacon, green onions and cheddar cheese. Fold in half and press down on it gently. Place this on the baking sheet and repeat with remaining tortillas and ingredients. You should have enough ingredients for 4 quesadillas.
- Brush the top of the quesadillas with a little bit of melted butter, transfer the baking sheet to the oven and bake for 8 to 10 minutes, turning them halfway through, if necessary. With my oven they crisped up on the bottom as well so I didn’t need to flip them over, but all ovens are different.
- Carefully remove the quesadillas from the oven, cut in half, top them with some smashed avocado and squeeze some fresh limes over them.


Equipment
Notes
- Don’t discard the bacon fat. The pan does not need to be cleaned between cooking the bacon and the chicken. Using just a teaspoon of the bacon drippings to cook the chicken adds loads of flavor.
- Make sure to watch your quesadillas in the oven, you don’t want the outsides to burn, you just want them nicely browned!
- Try different combinations of ingredients and customize this recipe to your liking. Make it your own!
- Leftover quesadillas will keep in the fridge for up to 5 days in an airtight container. To reheat, put them in the microwave for a few minutes on medium power or in a toaster oven at 350°F (177°C) for about 5 minutes.
- Chicken quesadillas can also be stored in the freezer for up to 3 months when wrapped well in plastic wrap. Then you can reheat them from frozen in the oven at 350°F (177°C) for about 15 to 20 minutes.
Nutrition Information
Notice: Nutrition is auto-calculated for your convenience. Where relevant, we recommend using your own nutrition calculations.
