Chocolate Waffles
This post may contain affiliate links. Please read my disclosure policy.
Crispy perfection on the outside, fluffy soft on the inside, and sweetened just enough to have you craving more, these divinely delicious Chocolate Waffles are amazing! You can top them with fruit and whipped cream for brunch or with ice cream and chocolate syrup for dessert! They are sure to become your new favorite versatile chocolatey sweet treat!

The Best Chocolate Waffle Recipe
If you’ve been on my blog before you probably already know I’m a chocolate lover! But I’m also a waffle lover! In fact, I love them even more than pancakes. I know it’s crazy right!?! Yet, I just love how waffles are light and crisp with each bite and have grid-like little pockets to hold all the butter, syrup, or ice cream!
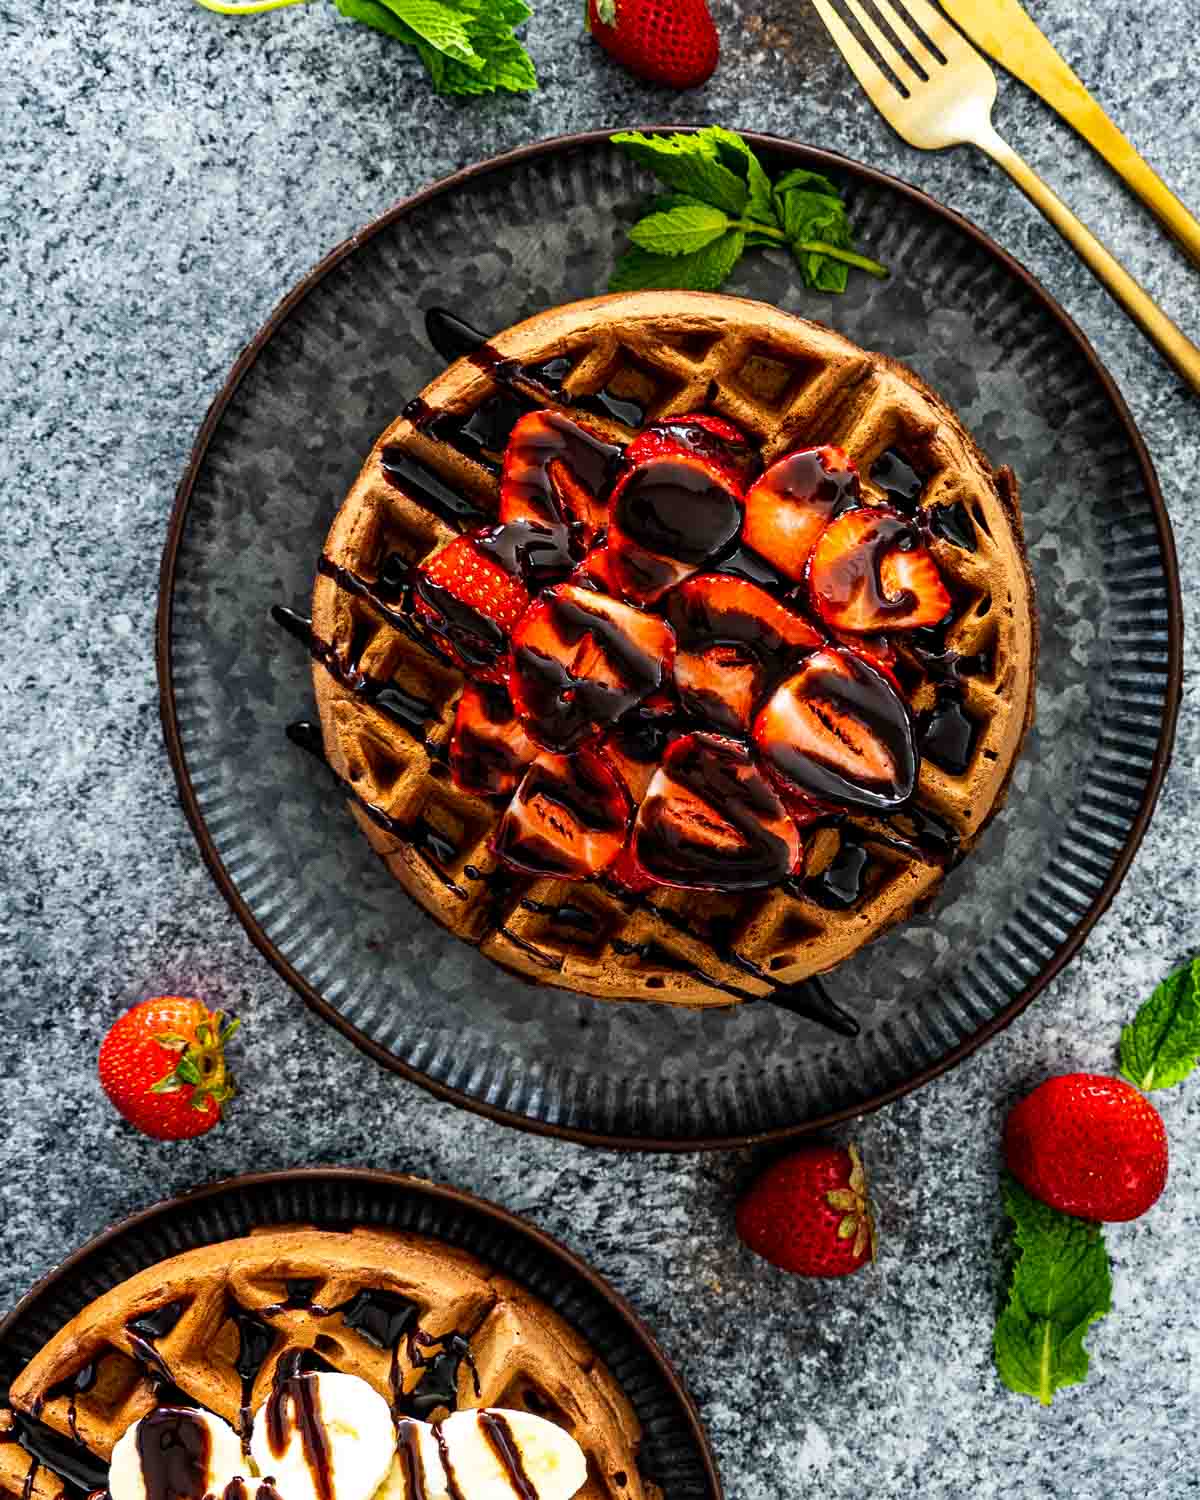
So putting together this delicious and easy chocolate waffles recipe was a no-brainer in my world! I simply took all the best parts of my favorite Belgian Waffles Recipe and switched it up a bit by adding some cocoa powder to add plenty of chocolatey goodness and a pinch more sugar. Then to finish, I topped them with some chocolate sauce, freshly sliced strawberries, and creamy vanilla ice cream.
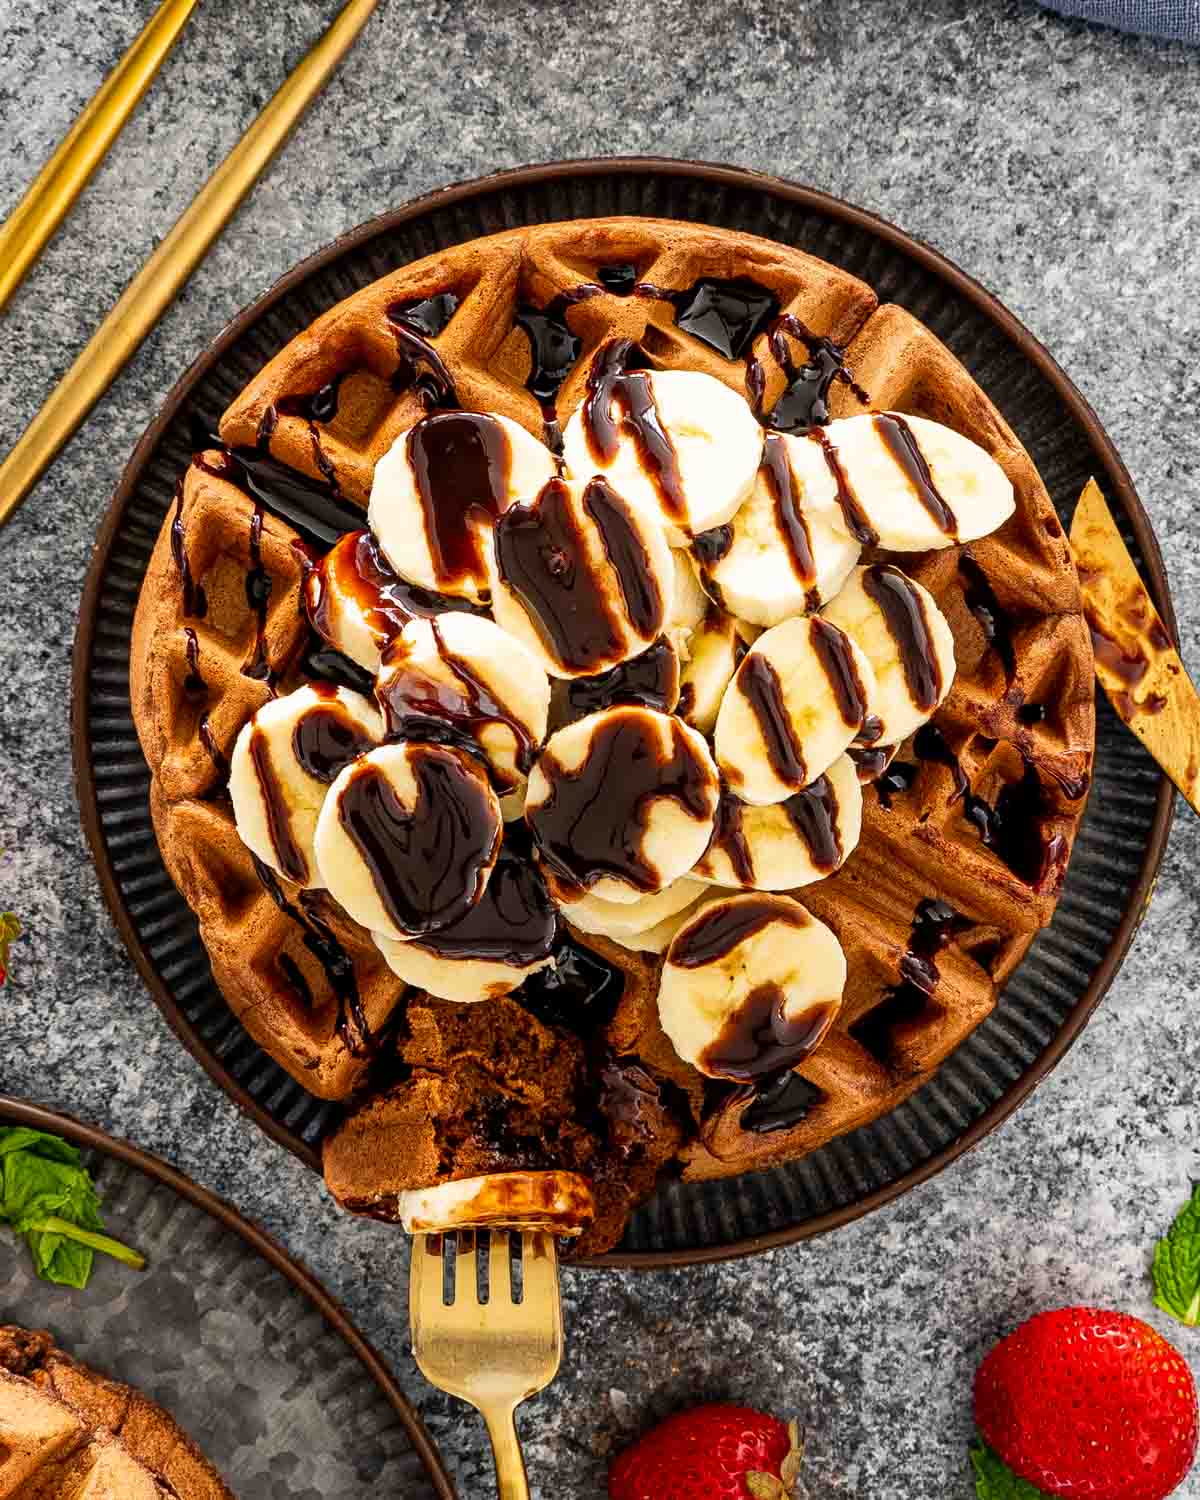
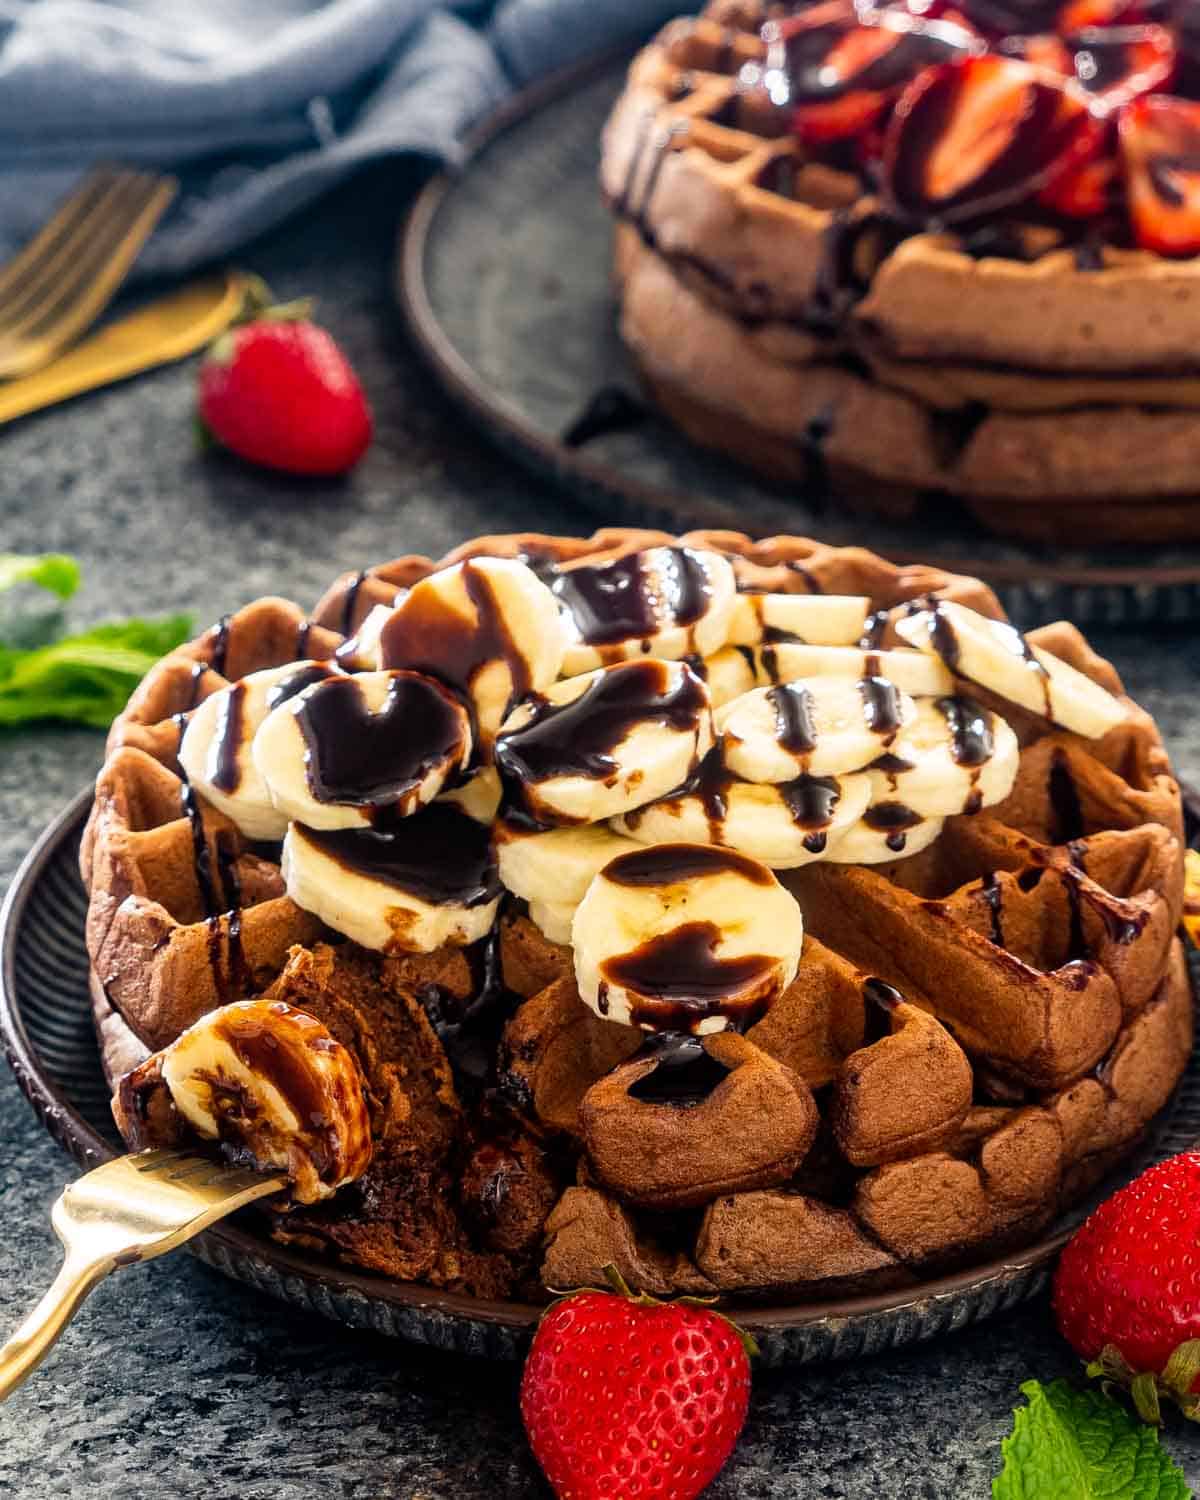
But you can top your waffles with anything you like! They are super versatile and can be served for breakfast, brunch, or as chocolate dessert waffles! One of my favorite ways to serve them for breakfast is topped with sliced banana and maple syrup. It’s simple, a little more nutritious, and kids love it! Or for the adults, serve with them after dinner with some whipped cream and a Chocolate Martini for the ultimate indulgent experience.
Why You’ll Love These Chocolate Waffles
- Chocolate Lover’s Brunch! If you like chocolate you will love these waffles! They aren’t too sweet but full of so much chocolate yumminess that will satisfy your sweet tooth.
- Easy To Make! No fancy ingredients are needed that will break the bank. You just need a waffle maker and about 20 minutes of your time. Easy peasy!
- Kid Favorite! Your kids will love these chocolate waffles with all the different topping options! And better yet, it’s a great recipe to have some fun with them in the kitchen.
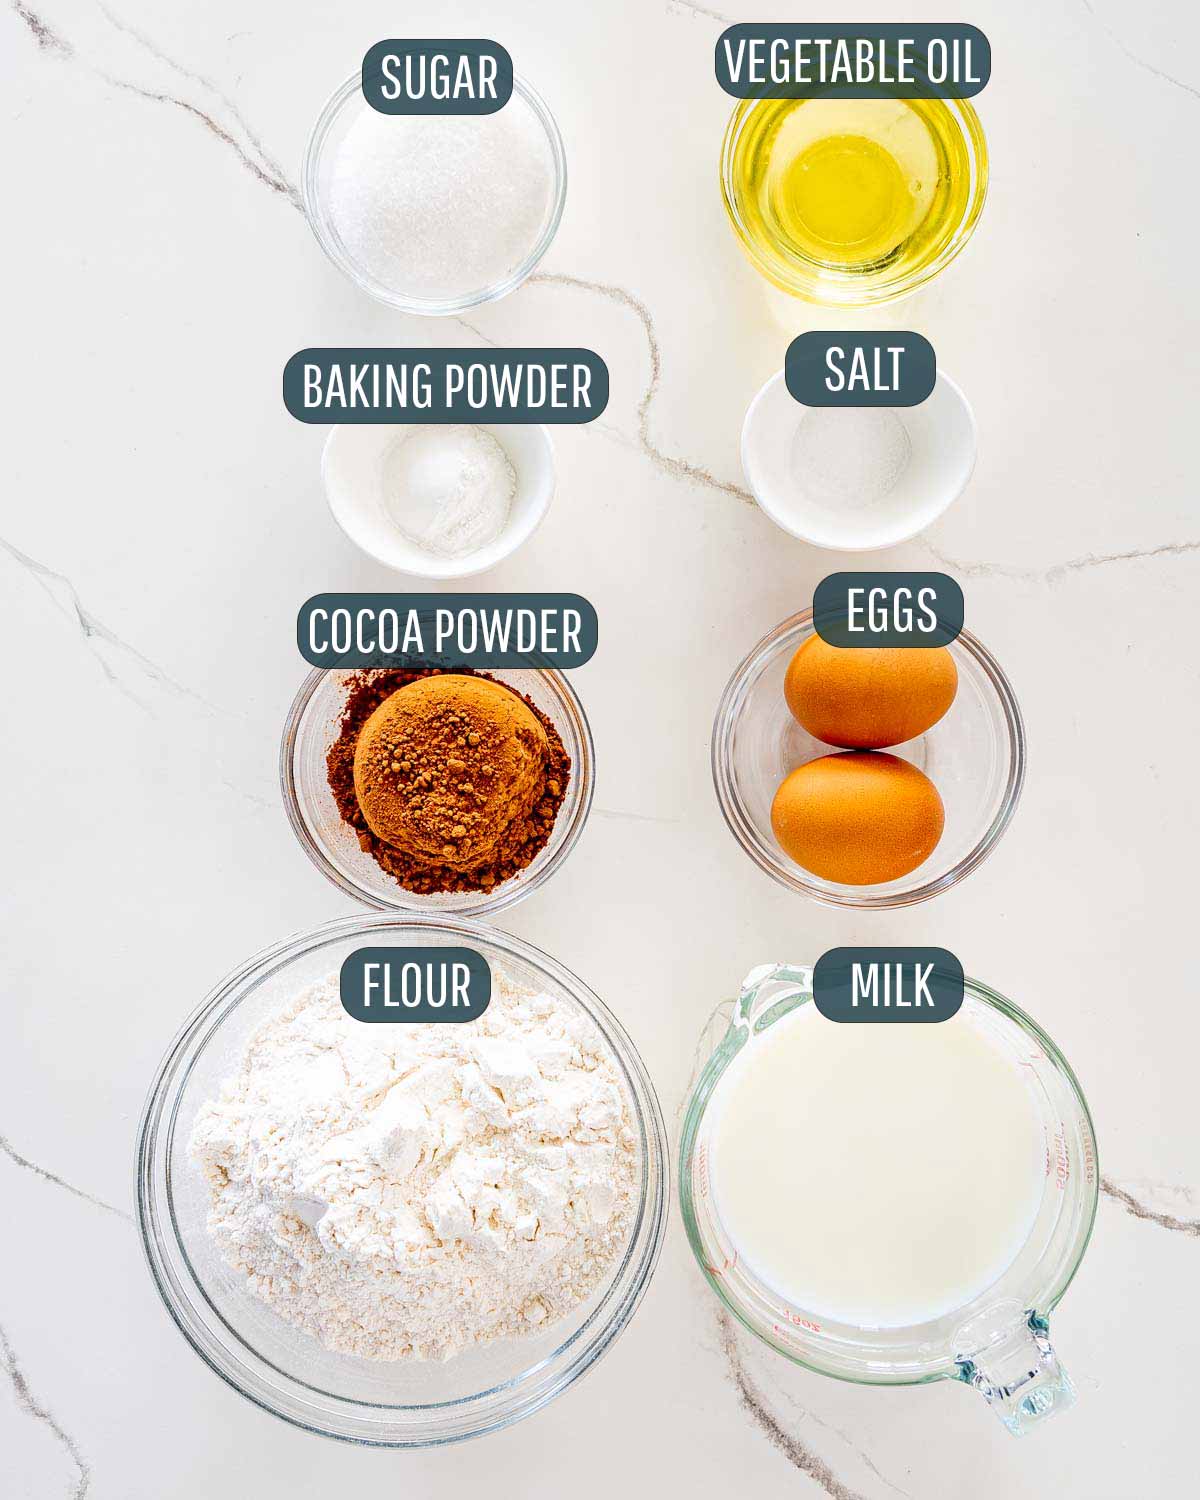
- Flour – Good old all-purpose flour is all you need.
- Cocoa powder – I like to use Dutch-process cocoa powder for the most chocolatey flavor.
- Baking powder – Used as a leavening agent it helps the waffles fluff up a bit.
- Sugar – I used granulated white sugar, but cane sugar or brown sugar will work too.
- Salt – Both enhances the flavor and balances the sweetness of the chocolate.
- Eggs – Used to bind the batter as well as give it richness.
- Milk – I’ve made these with lactose free milk, whole milk or 2%, but any type of milk will work including plant-based varieties.
- Vegetable oil – You can use canola, soybean, or any type of neutral oil that has no taste.
Making this recipe for chocolate waffles is so easy you’re going to wonder why you didn’t break out your waffle maker months ago! Once you mix together the simple batter, they take just minutes to cook, and then are ready to be served with all your favorite toppings!
Prep The Waffle Iron
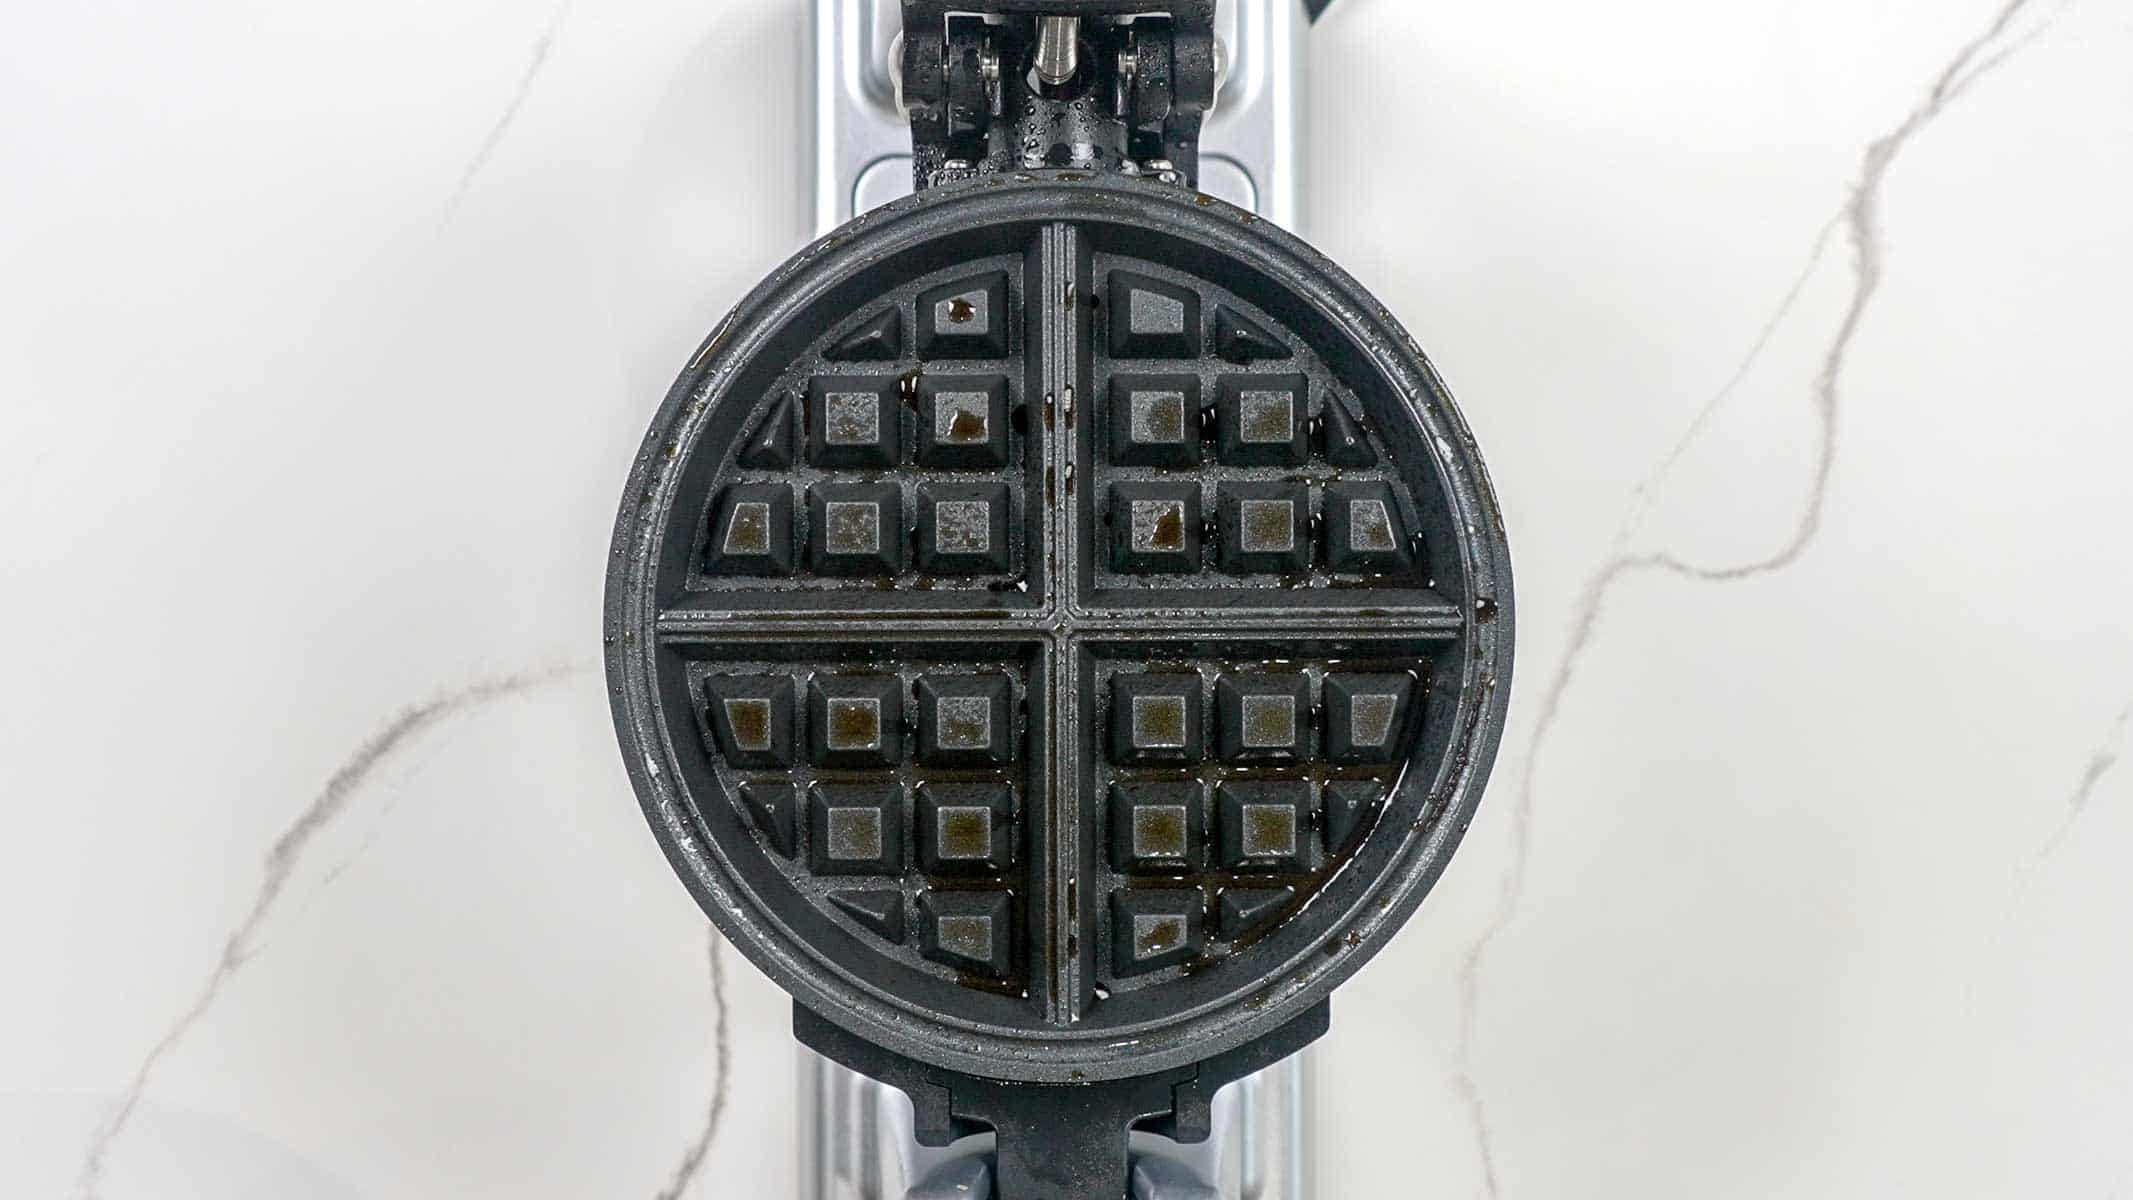
To begin, you’ll want to get your waffle iron all greased up and hot before you even make the waffle batter. So to start, spray the iron really well with nonstick cooking spray, turn it on, and then set it aside to heat up. You can also brush it with vegetable oil if you don’t have any nonstick cooking spray on hand.
Mix The Batter
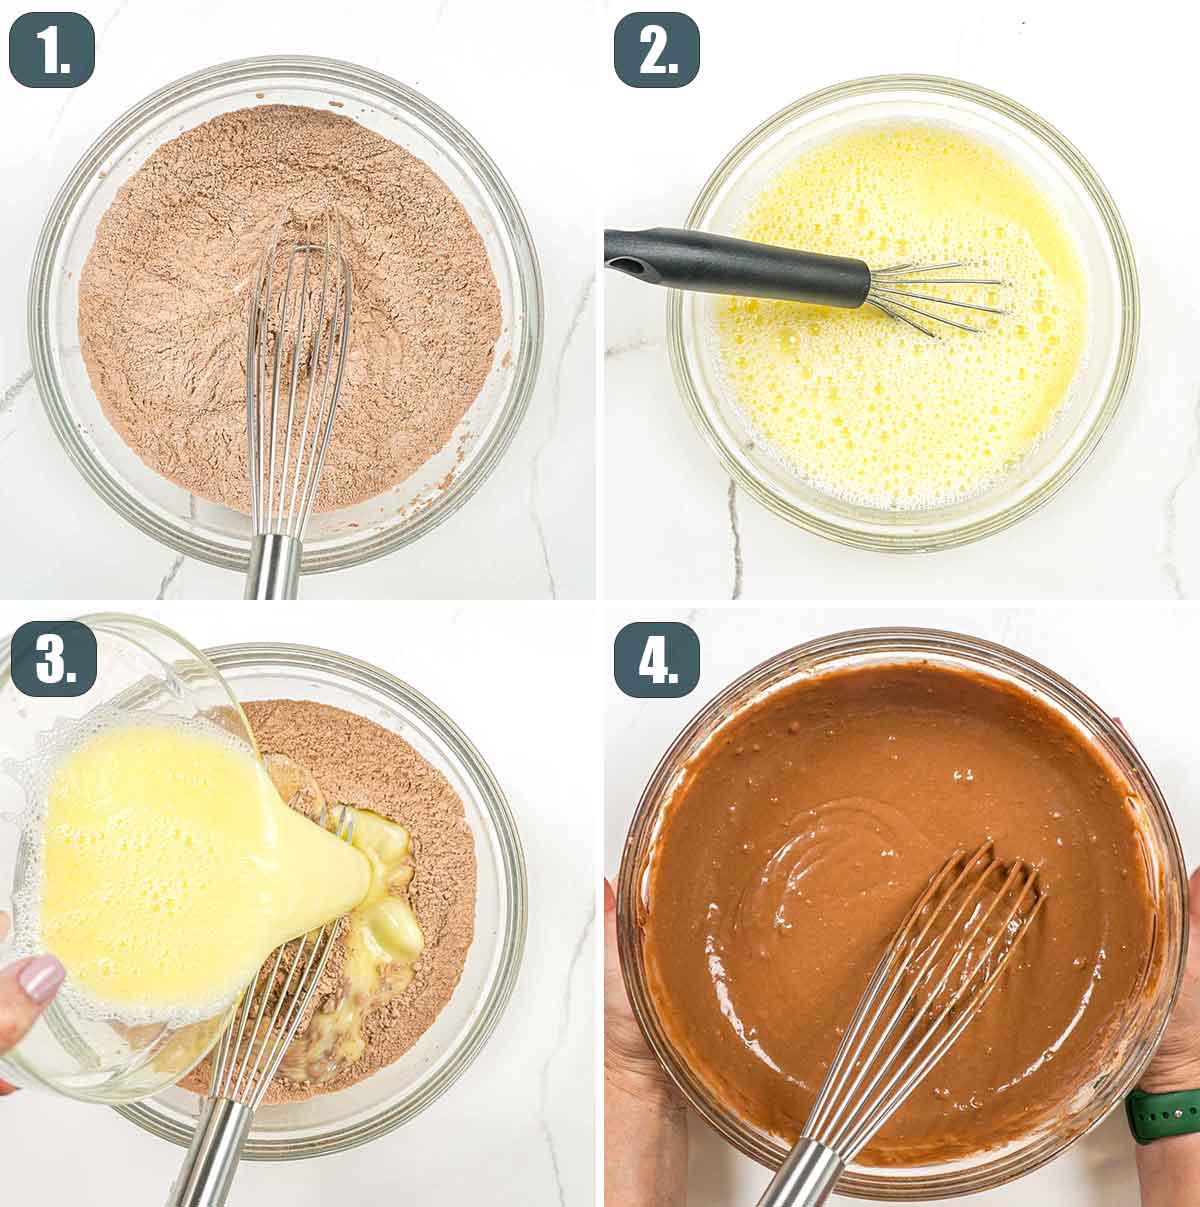
Making waffle batter is a simple process, but for the best results, it is important to first mix the dry and wet ingredients separately. So grab yourself a large bowl and then add the flour, cocoa powder, baking powder, sugar, and salt. Now, whisk all the dry ingredients together until they are well combined.
Next, whisk the eggs, milk, and vegetable oil together in a separate bowl. Then make a well in the flour mixture and pour in the wet ingredients. Now, mix it all together until it becomes nice and smooth. I usually do this by hand, but you can also use a mixer.
Make The Waffles
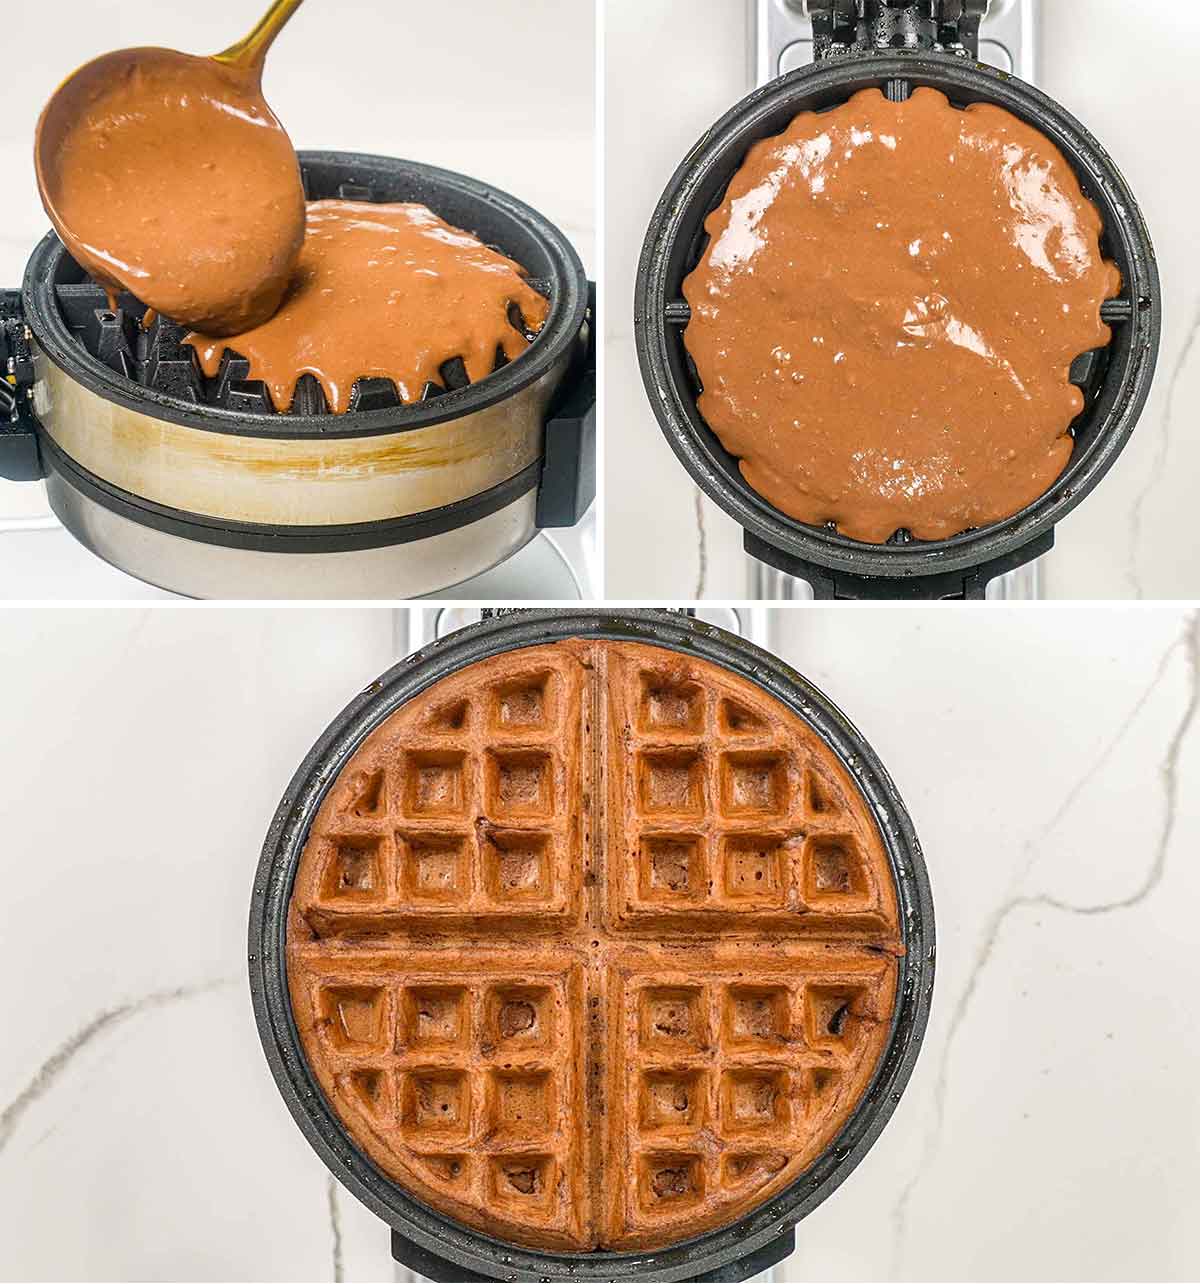
Once the batter is made, it’s time to do the fun part! Make the waffles! To do this, simply just pour a portion of the chocolate batter onto your hot waffle iron and cook according to the manufacturer’s directions. Every waffle iron is different so cooking times do vary.
Garnish And Serve
To serve, top the Belgian chocolate waffles with your favorite toppings like chocolate syrup, fresh berries, a scoop of ice cream, and a dollop of whipped cream! Or, you can even just serve them with some butter and maple syrup if you prefer. It’s totally up to you!


What Can I Add To My Chocolate Waffles?
This batter is really versatile so you can easily mix in things like chopped nuts, mini chocolate chips, or shredded coconut. You can even add about half a teaspoon vanilla extract or almond extract for another layer of flavor.
Can I Make Gluten Free Waffles?
Probably yes, but I’ve not tried. However, make sure to use a 1-to-1 gluten-free flour that has xanthan gum in it, which acts as a replacement for the gluten that is naturally in all-purpose flour.
Expert Tips
- Grease the iron well. Make sure that you spray the waffle iron well with nonstick cooking spray or the waffles may stick. This step is not really optional.
- Mix the batter well. You really need to mix the dry and wet ingredients together until the batter is silky smooth to prevent any raw lumps of flour in your waffles.
- Quality cocoa powder matters. This recipe highlights chocolate so for the yummiest most flavorful chocolate waffles it’s best to use a better quality Dutch processed cocoa powder.
How To Store Waffles
Leftover chocolate waffles will keep in the fridge for up to 4 days or in the freezer for up to 3 months. For storage in the freezer, the waffles need to be totally cooled off. Then stack them in freezer bags, squeeze out as much air, and tightly seal.
How To Reheat
Whether you’ve stored the waffles in the fridge or freezer the reheating process is the same. The easiest way is just to put them in the toaster like you would store bought waffles. You can also heat waffles in the microwave for about 30 seconds or in the oven at 350°F (177°C) for about 10 minutes.
Other Delicious Breakfast Recipes You Can Try
Before You Begin! If you make this, please leave a review and rating letting us know how you liked this recipe! This helps our business thrive & continue providing free recipes.

Chocolate Waffles
Video
Ingredients
- 1¾ cups all-purpose flour
- ½ cup cocoa powder
- 1 tablespoon baking powder
- ⅓ cup granulated sugar
- ½ teaspoon salt
- 2 large eggs
- 2 cup milk
- ½ cup vegetable oil
Before You Begin! If you make this, please leave a review and rating letting us know how you liked this recipe! This helps our business thrive & continue providing free recipes.
Instructions
- Prep Waffle Iron: Preheat your waffle iron, spray with non stick cooking spray and set aside.
- Mix Dry Ingredients: To a large bowl add the flour, cocoa powder, baking powder, sugar, salt and whisk until combined.
- Combine Wet Ingredients: In another bowl, whisk together the eggs with the milk and vegetable oil.
- Combine Wet And Dry Ingredients: Make a well in the flour mixture and pour in the wet ingredients. Mix using a hand mixer, until the batter is well combined and smooth.
- Cook: Pour the batter onto your hot waffle iron and cook according to manufacturer's directions.
- Finish & Serve: Serve immediately with chocolate syrup, berries/bananas and whipped cream or ice cream.
Notes
- Grease the iron well. Make sure that you spray the waffle iron well with nonstick cooking spray or the waffles may stick. This step is not really optional.
- Mix the batter well. You really need to mix the dry and wet ingredients together until the batter is silky smooth to prevent any raw lumps of flour in your waffles.
- Quality cocoa powder matters. This recipe highlights chocolate so for the yummiest most flavorful chocolate waffles it’s best to use a better quality Dutch processed cocoa powder.
- Leftover chocolate waffles will keep in the fridge for up to 4 days or in the freezer for up to 3 months. For storage in the freezer, the waffles need to be totally cooled off. Then stack them in freezer bags, squeeze out as much air, and tightly seal.
Nutrition Information
Notice: Nutrition is auto-calculated for your convenience. Where relevant, we recommend using your own nutrition calculations.
