Buttermilk Fried Chicken
This post may contain affiliate links. Please read my disclosure policy.
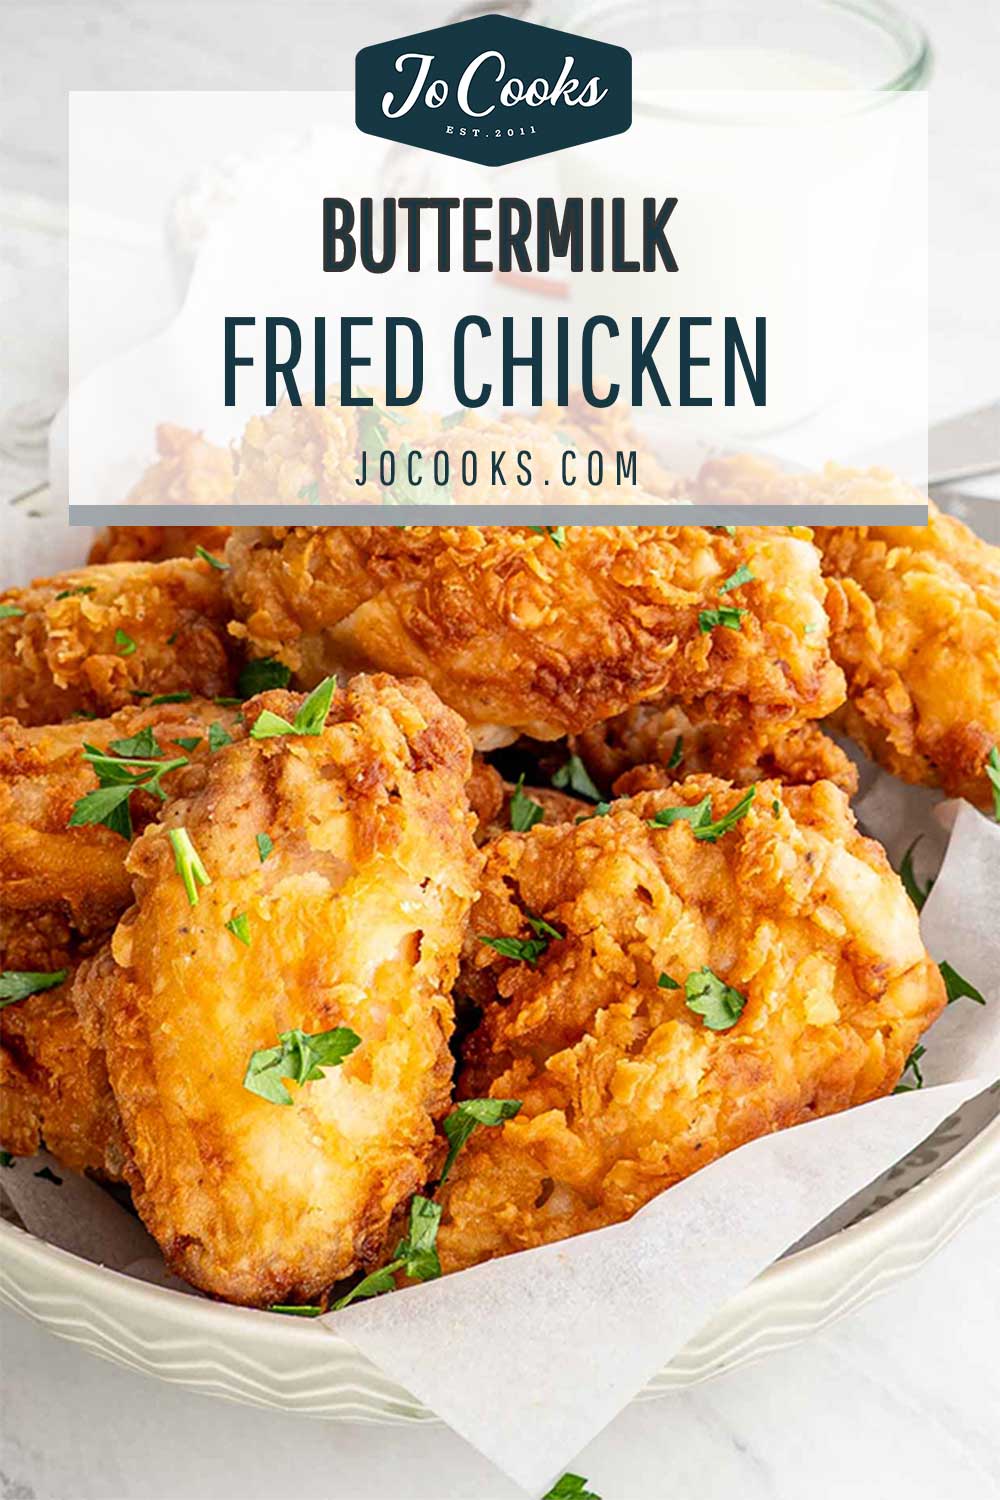
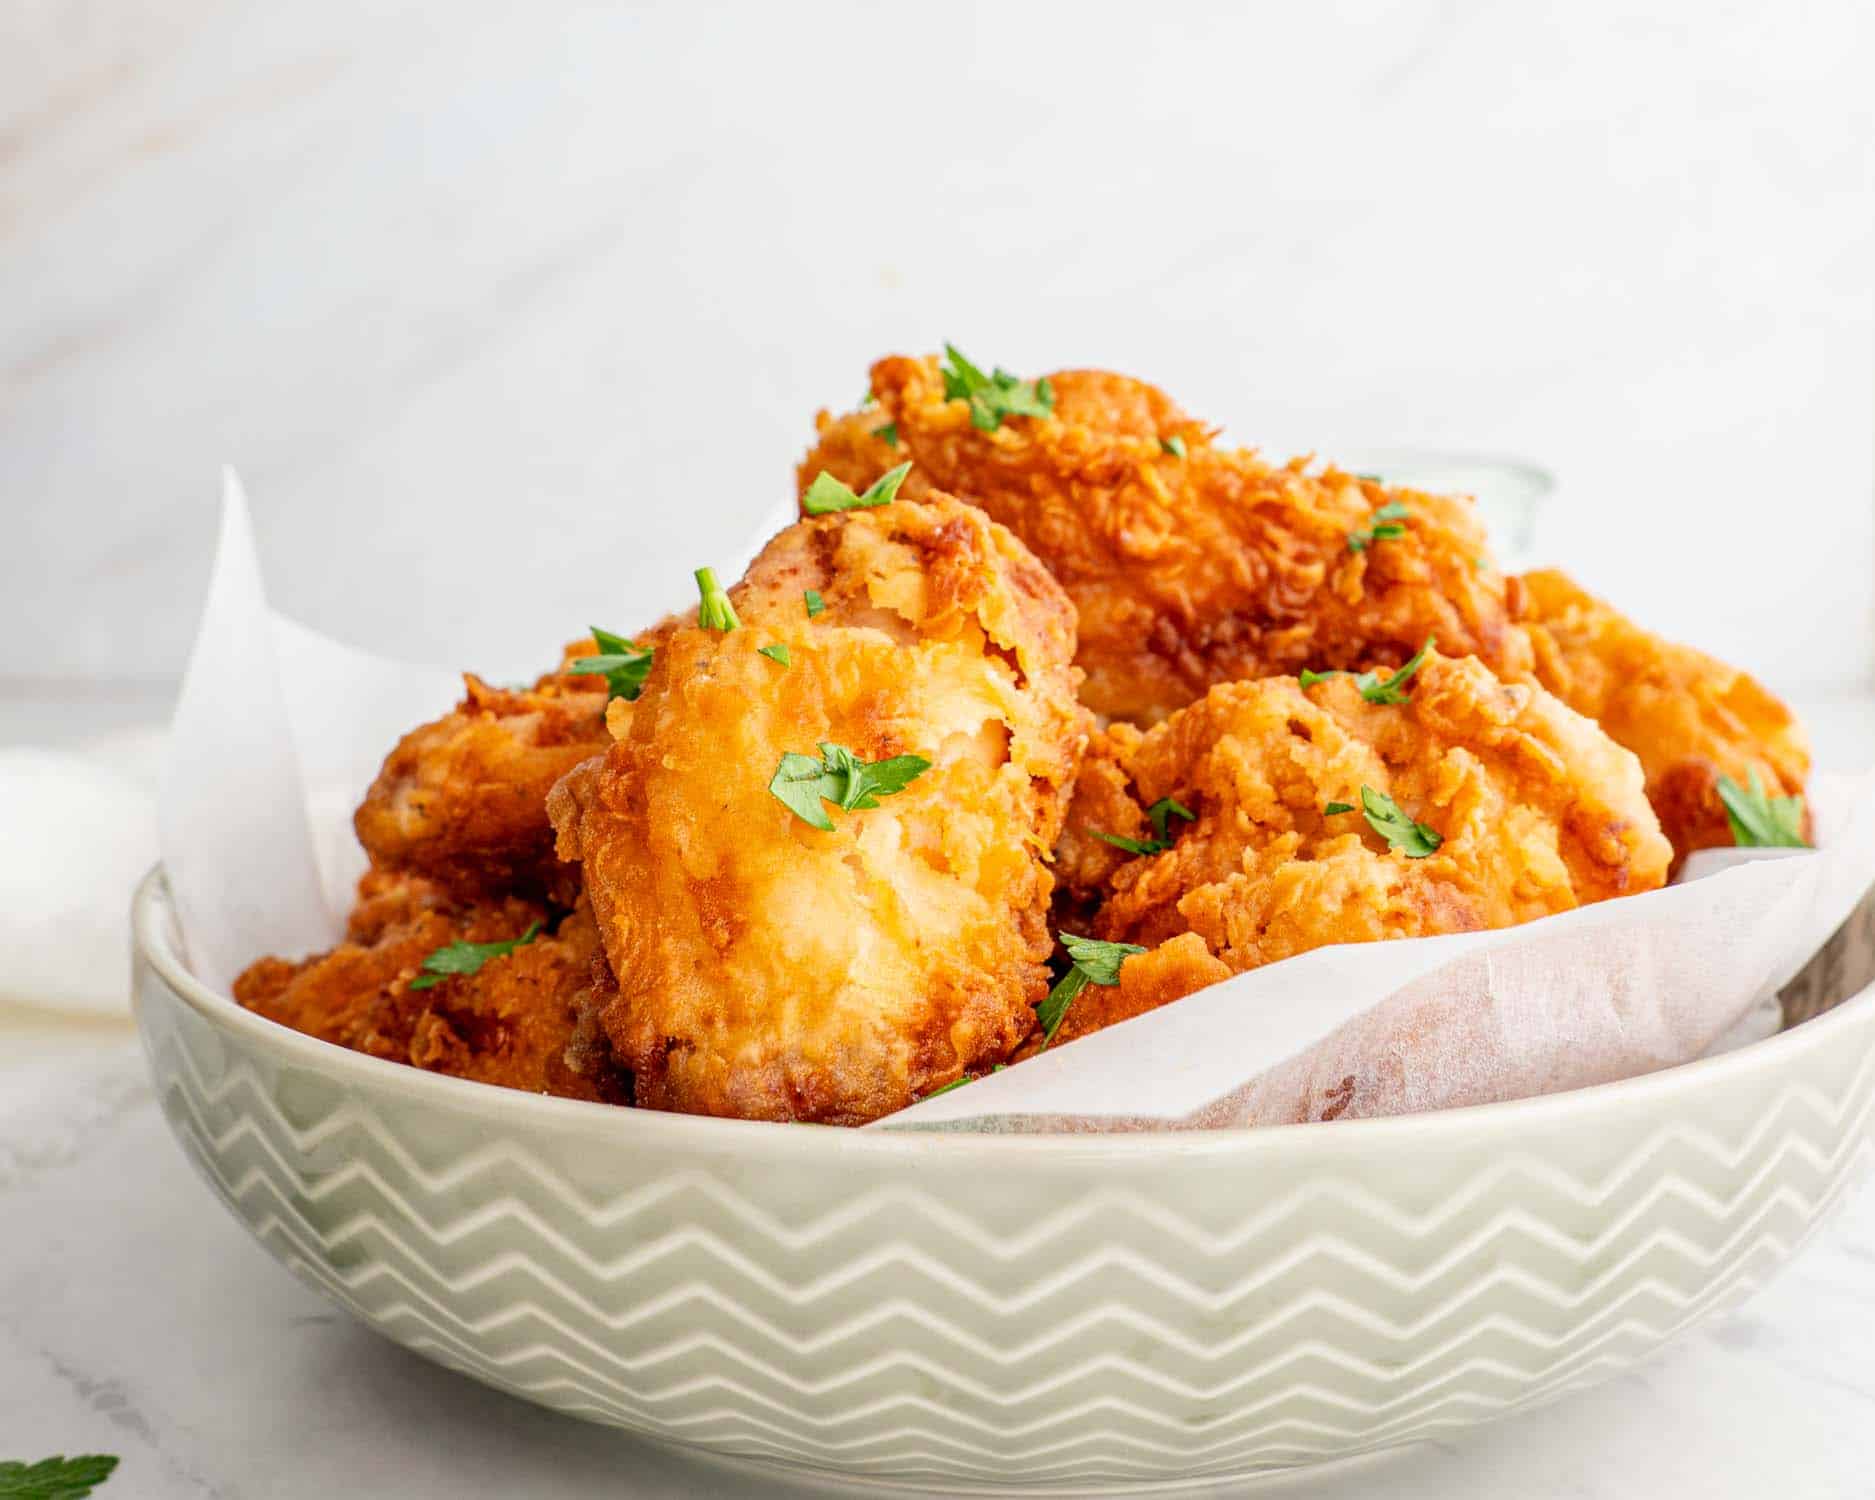
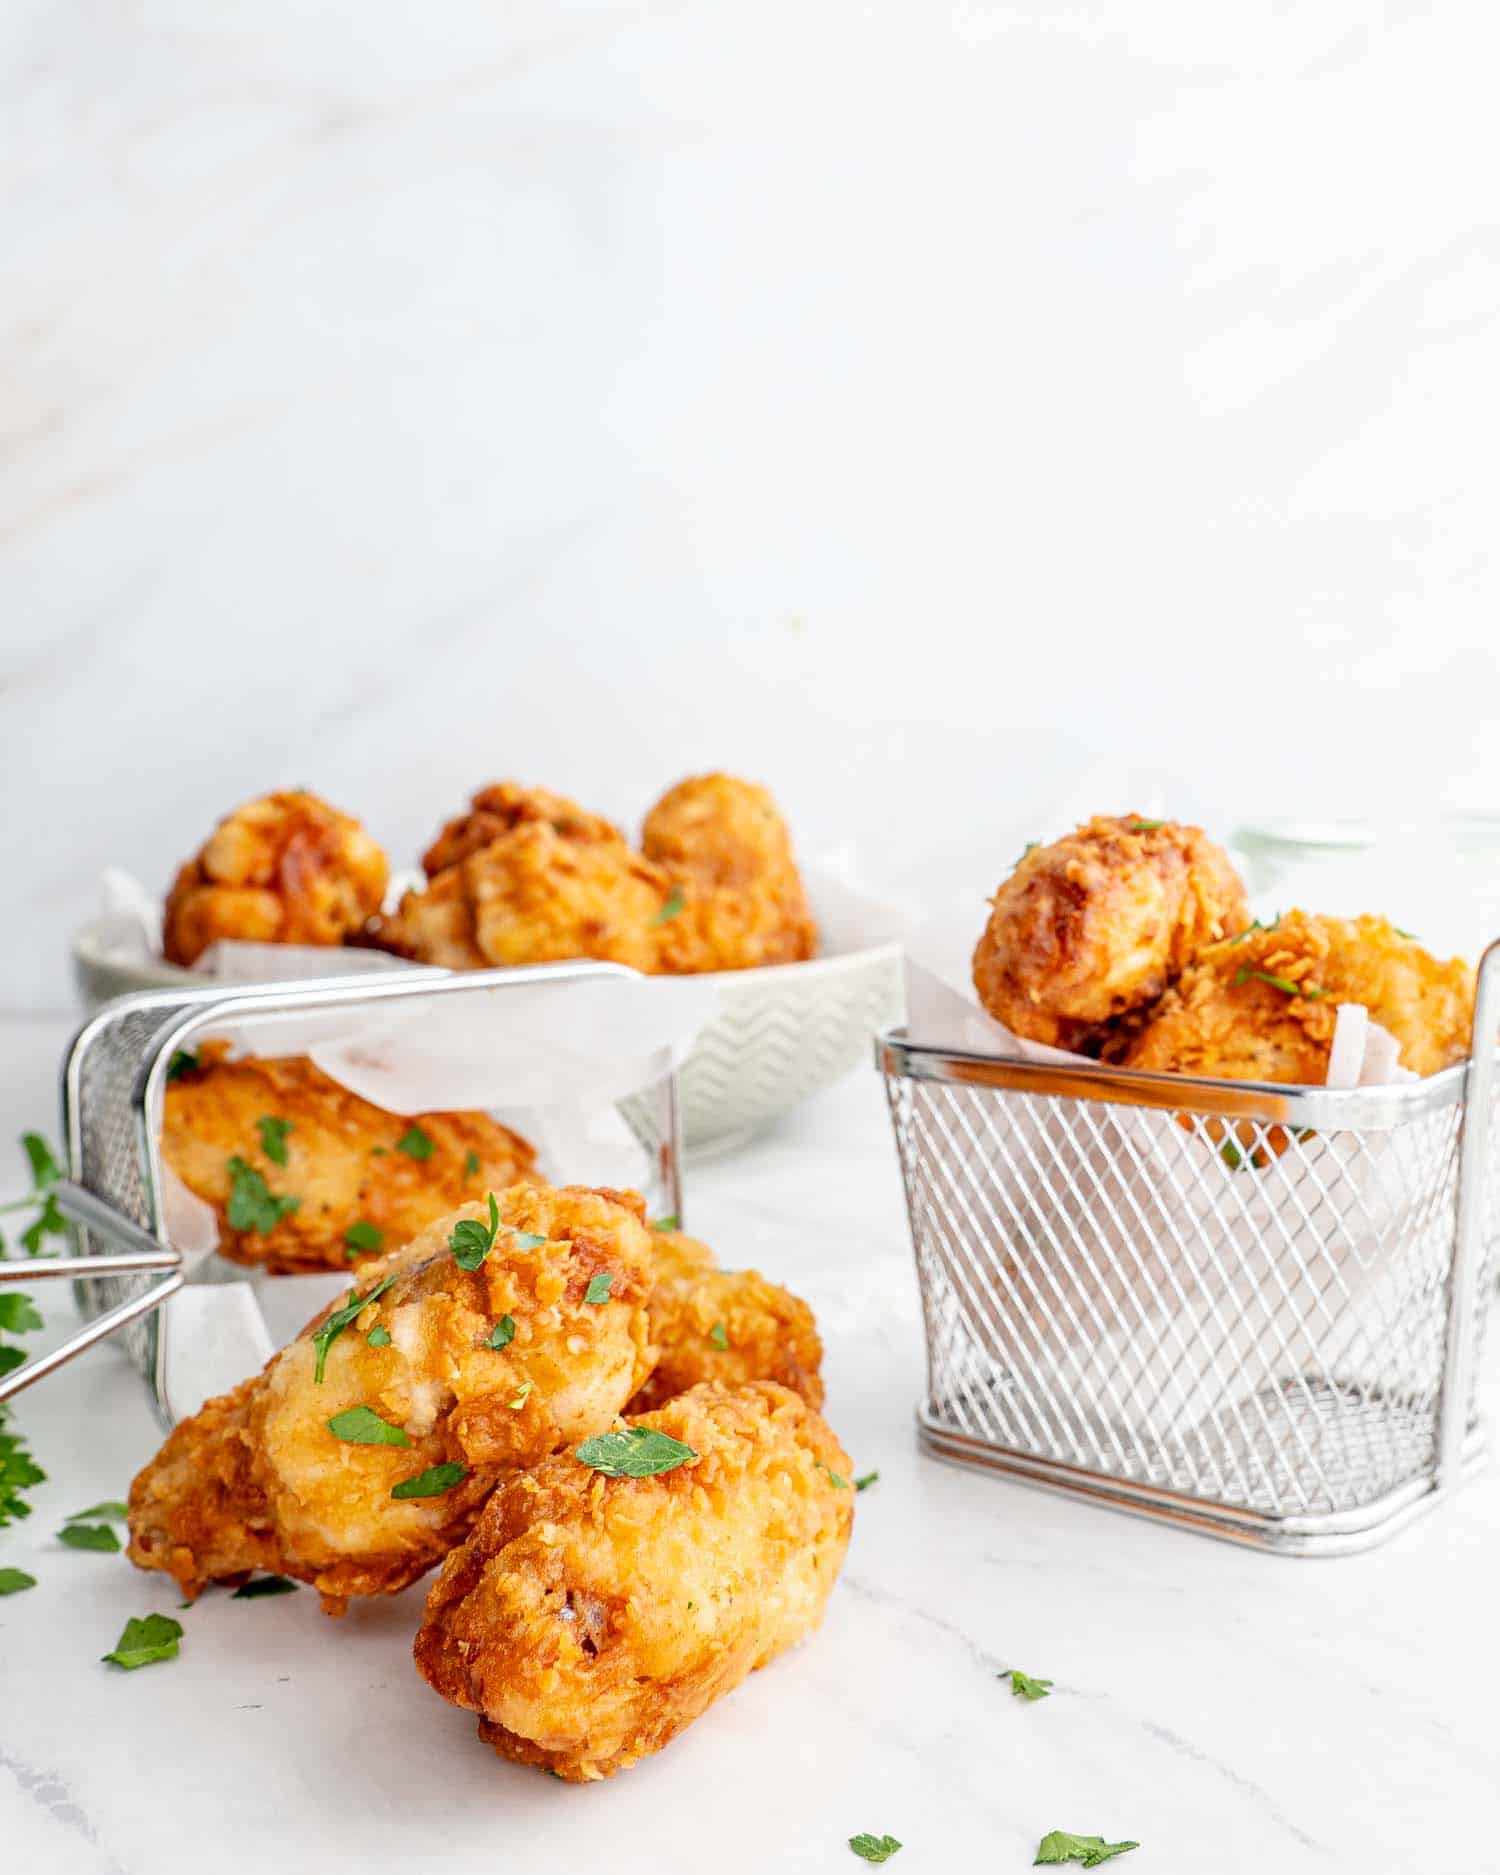
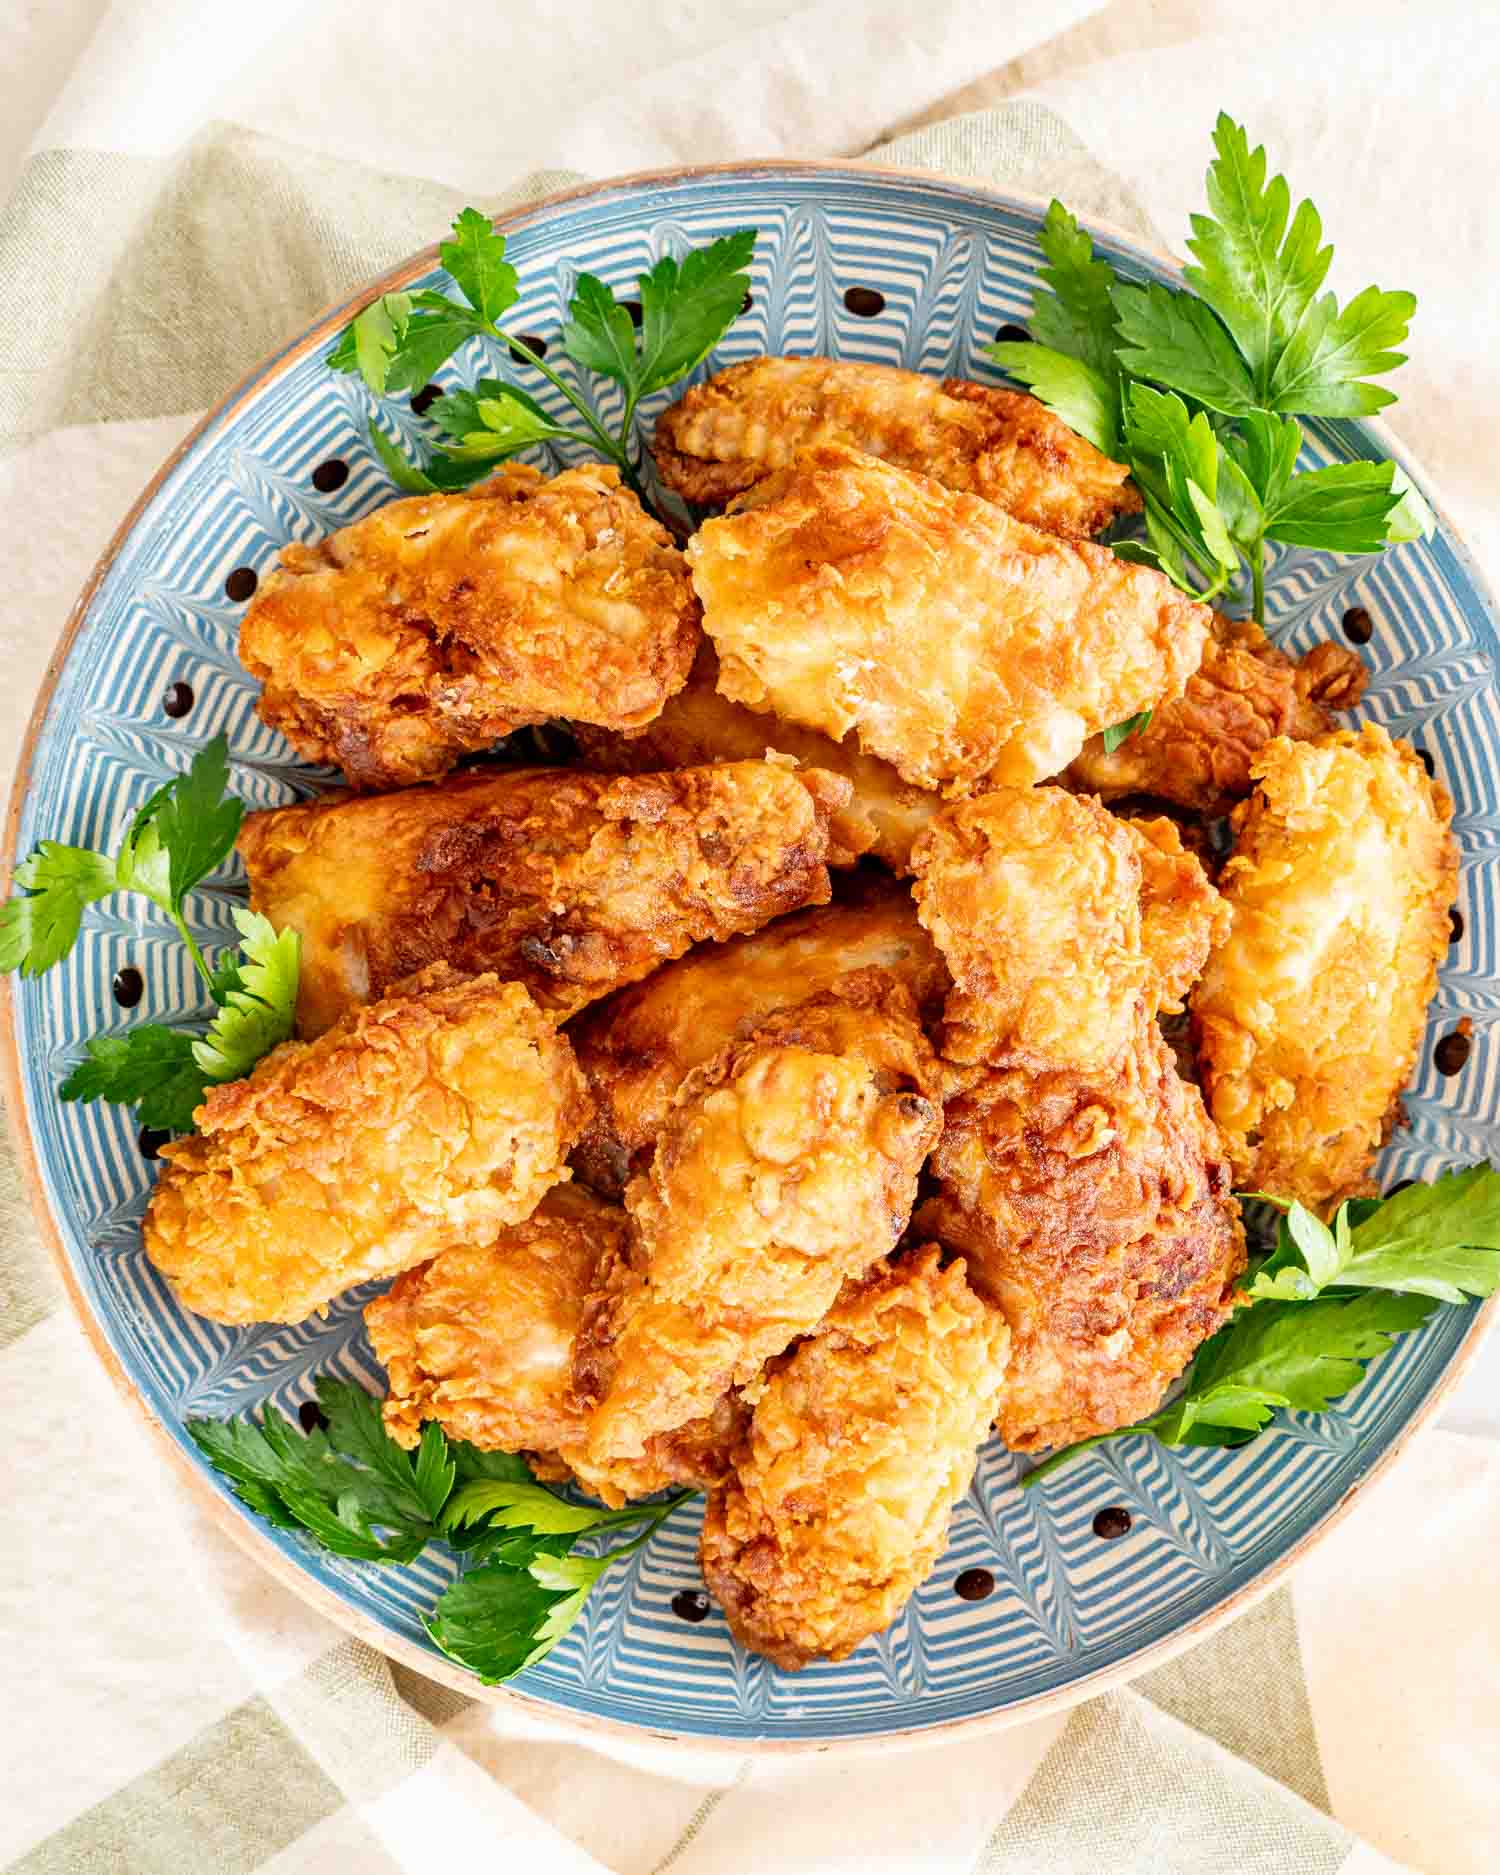
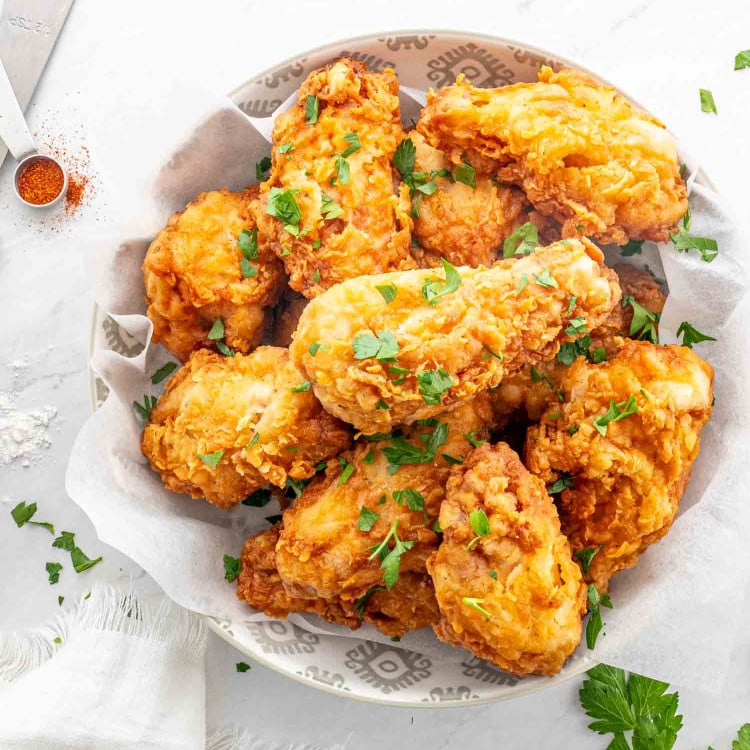
This Buttermilk Fried Chicken is everything you want, juicy on the inside, extra crispy on the outside, and packed with just the right amount of spice from paprika and a splash of hot sauce. It’s classic, cozy comfort food at its best, no plane ticket to the South required.
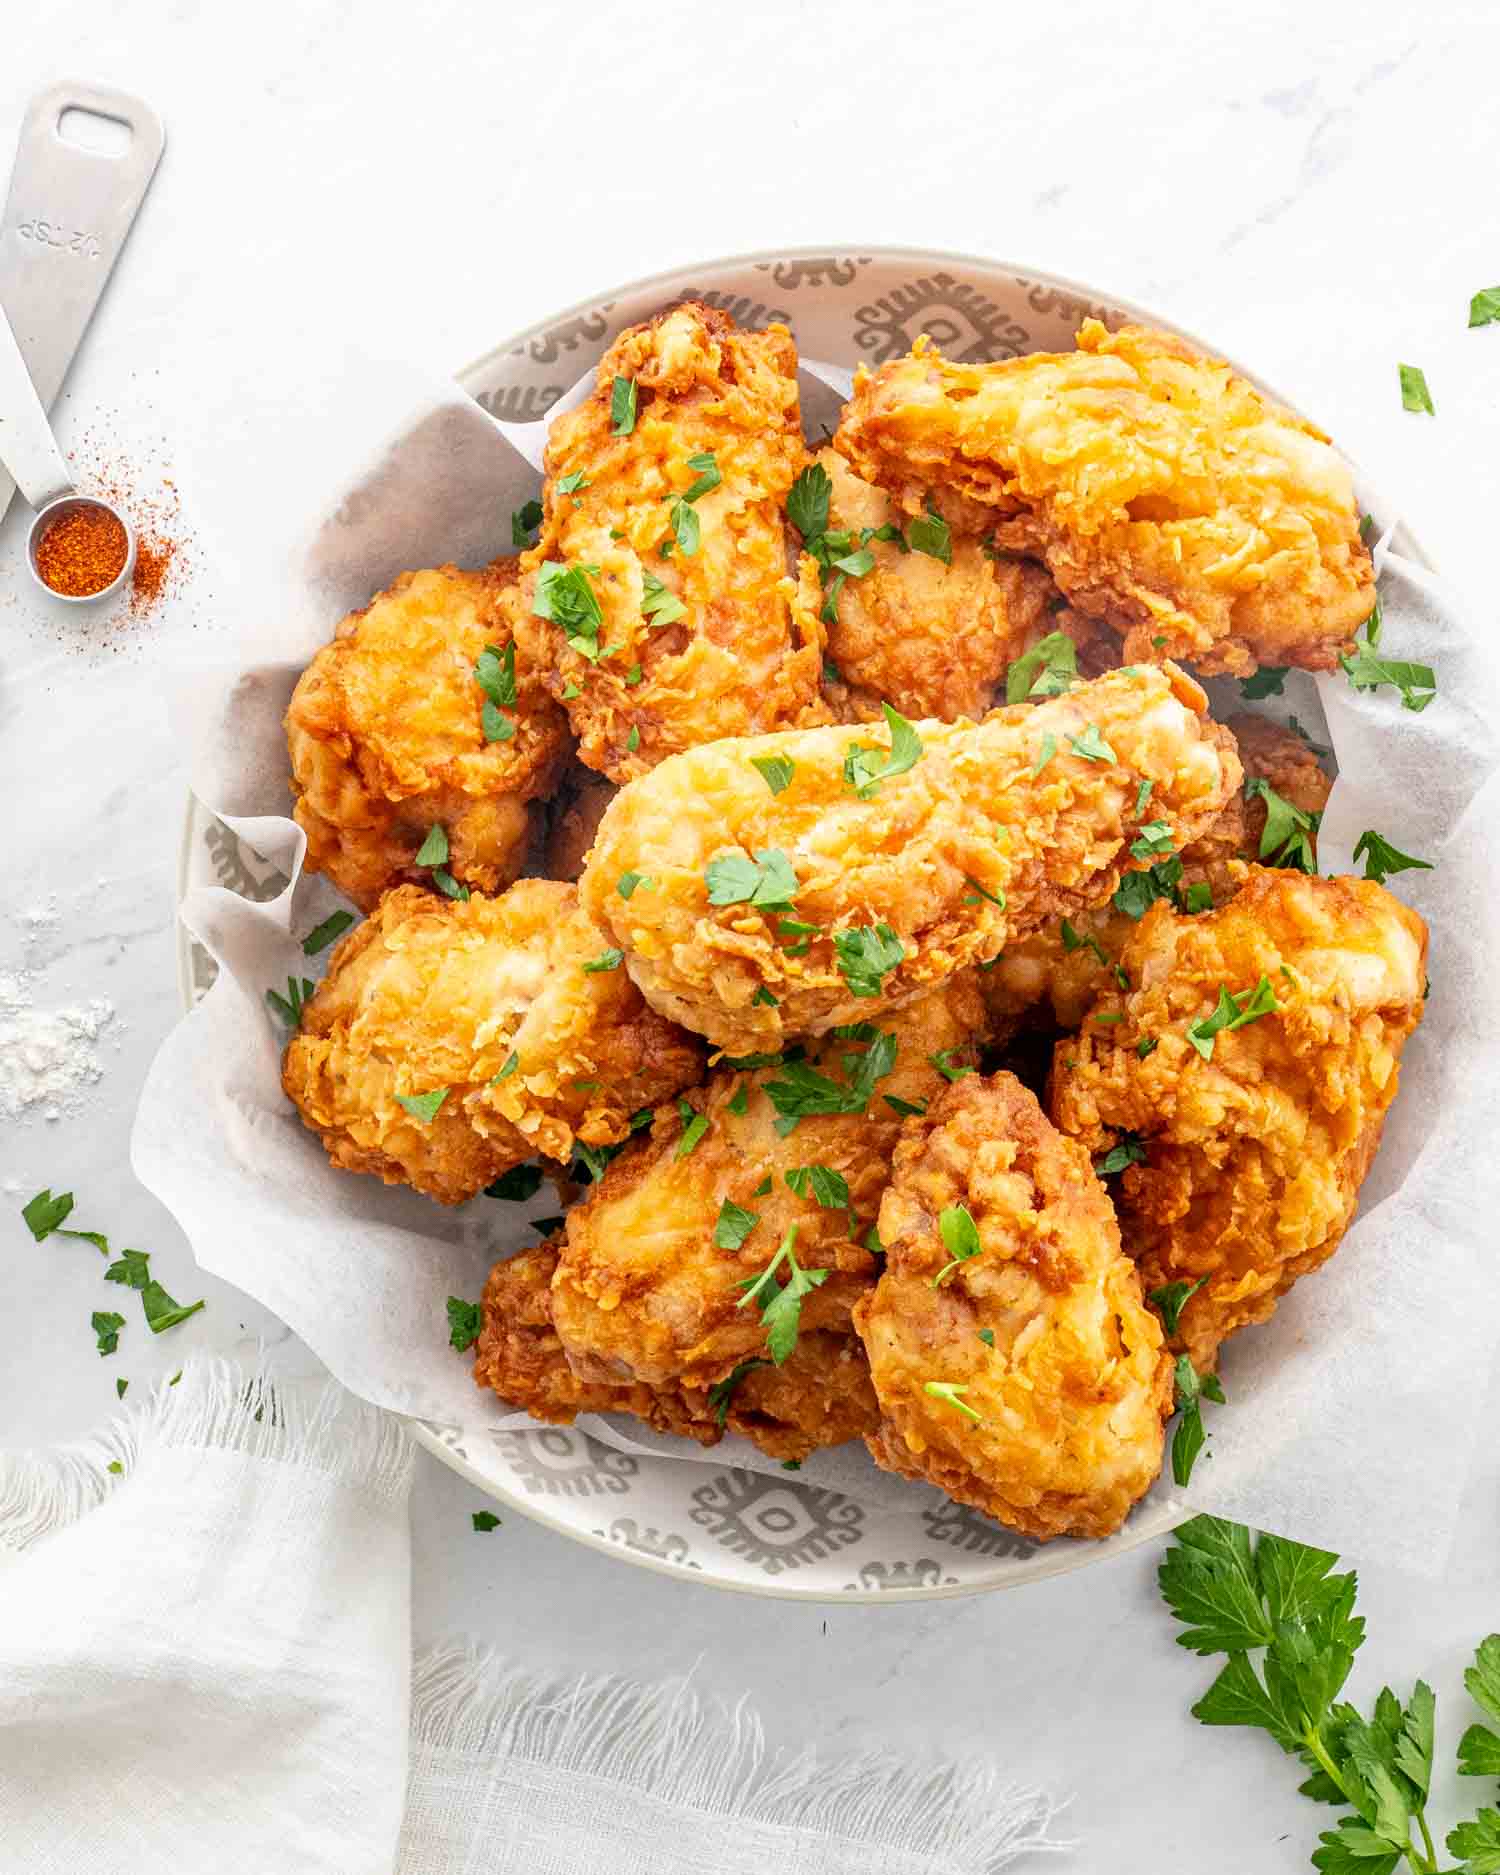
Everybody loves fried chicken, but let’s be honest, this Buttermilk Fried Chicken hits a little differently. It’s everything you want: juicy inside, crispy outside, with just enough heat from paprika and a splash of hot sauce to keep things interesting. Remo absolutely loves this, every time I make it, I have to guard the plate or he’ll start sneaking pieces before dinner even hits the table.
The secret’s in the buttermilk soak and double dredge, it keeps the chicken super tender on the inside while giving you that crazy-good, craggy, crispy crust you can’t fake. One bite and you’ll get it, this isn’t just good fried chicken. This is the kind of fried chicken you daydream about later.
Why You’ll Love This Fried Chicken
- Seriously crispy crust. Thanks to a buttermilk soak and double dredge, you get that crazy-good crunchy coating that actually stays crispy, no soggy sadness here.
- Big, bold flavor. A little heat from hot sauce and paprika, plus the tang from the buttermilk, means every bite actually tastes like something (not just fried batter).
- It’s pure comfort food. Whether it’s a Sunday family dinner or a random Tuesday night craving, nothing beats a plate of homemade fried chicken that feels like it came from your favorite diner, but better.

- Chicken pieces (wings, legs, thighs, or breast): The star of the dish. If desired, turkey or duck pieces can be used as an alternative.
- Buttermilk: Acts as a tenderizer, giving the chicken its soft and juicy texture inside. Yogurt or a mixture of milk with a touch of lemon juice can replace buttermilk in a pinch.
- Eggs: Helps in binding the flour to the chicken, ensuring an even and consistent crust. For an egg-free alternative, a flaxseed or chia seed mixture can be used.
- Paprika: Imparts a mild, smoky flavor to the chicken. For a different taste, smoked paprika or cayenne pepper can be used.
- Hot sauce: Adds a kick of spice and tanginess. Chili flakes or a dash of cayenne pepper can be used for a similar spicy effect.
- Salt & Pepper: Essential seasonings that heighten the natural flavors of the chicken. Feel free to adjust according to personal preference or explore with seasoned salts or freshly cracked peppercorns.
- Baking powder & Baking soda: Contribute to the crust’s crispiness by creating tiny bubbles when frying. If unavailable, you can skip these, though the texture might slightly vary.
- All-purpose flour: Provides the crunchy exterior of the chicken when fried. Gluten-free flour or cornstarch can be used for those with dietary restrictions.
- Vegetable oil: Used for frying, it ensures a golden-brown finish to the chicken. Other oils like canola or peanut oil can also be employed for frying.
Trust me, making this Buttermilk Fried Chicken is way easier than you’d think! Let’s get started.

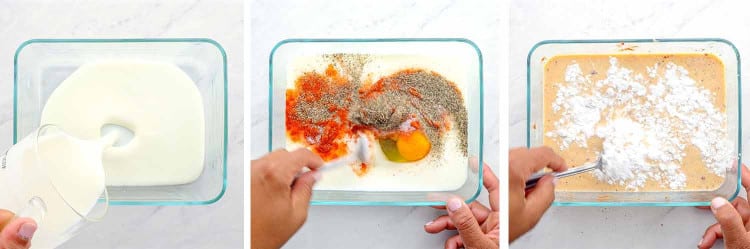
Alright, grab a big bowl. Pour in the buttermilk, toss in the eggs, paprika, hot sauce, a pinch of salt, and some pepper. Whisk it all up. Oh, and don’t forget the baking powder and soda! It’s gonna give our chicken that perfect crunch.
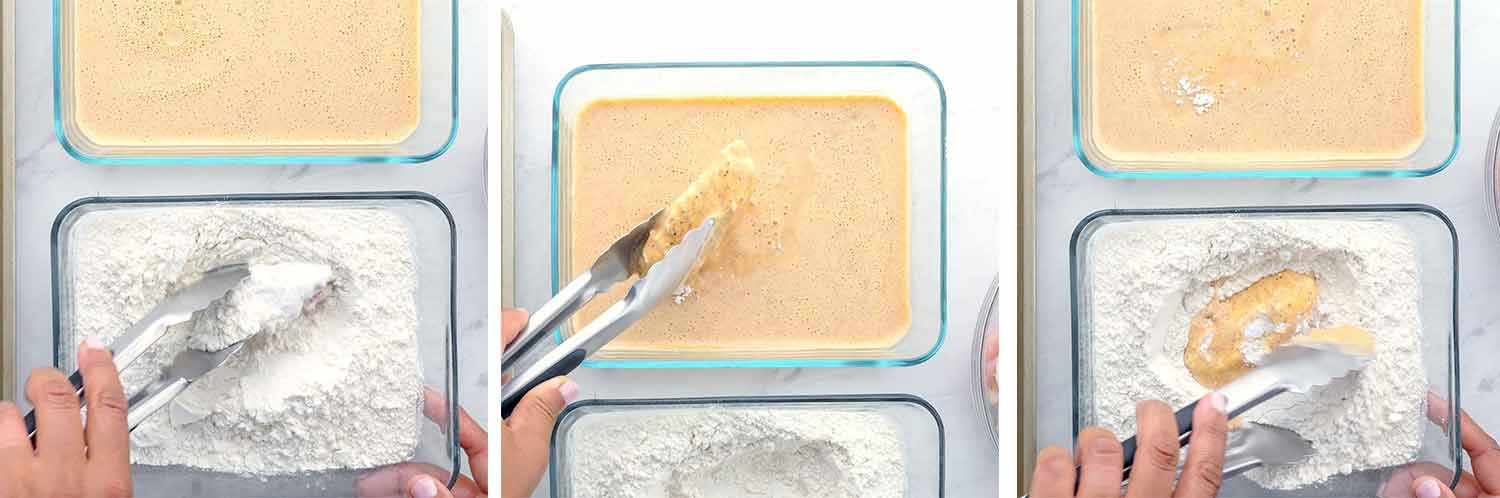
First off, give your chicken a good rinse and pat them dry with some paper towels. Now, lay out a dish and fill it with flour. Now, take each chicken piece, coat it in the flour, dunk it in the buttermilk mixture, and then back into the flour. Yeah, double-dipping! That’s our secret to an extra crispy crust.

Pour enough vegetable oil into a skillet or Dutch oven, about an inch deep. Heat it up till it’s around 350°F. You can test if it’s ready by dropping a tiny bit of flour in – if it sizzles, you’re good to go!
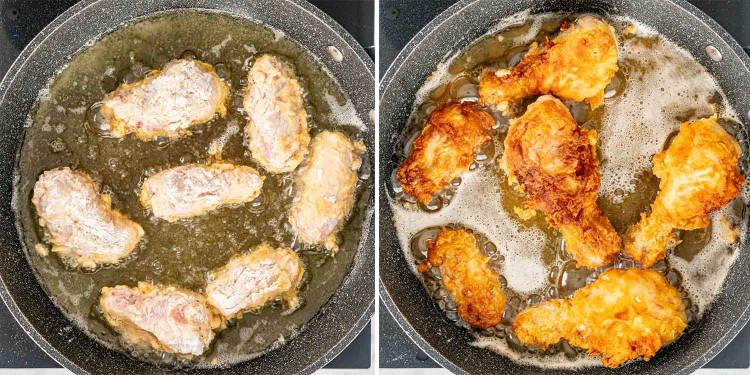
Time for the fun part! Place a few chicken pieces into the hot oil, but give them space, think of it like they’re sunbathing. Fry one side till it’s golden, which is about 7 minutes, then flip them over for another few minutes. Remember, we’re aiming for a perfect 165°F inside.
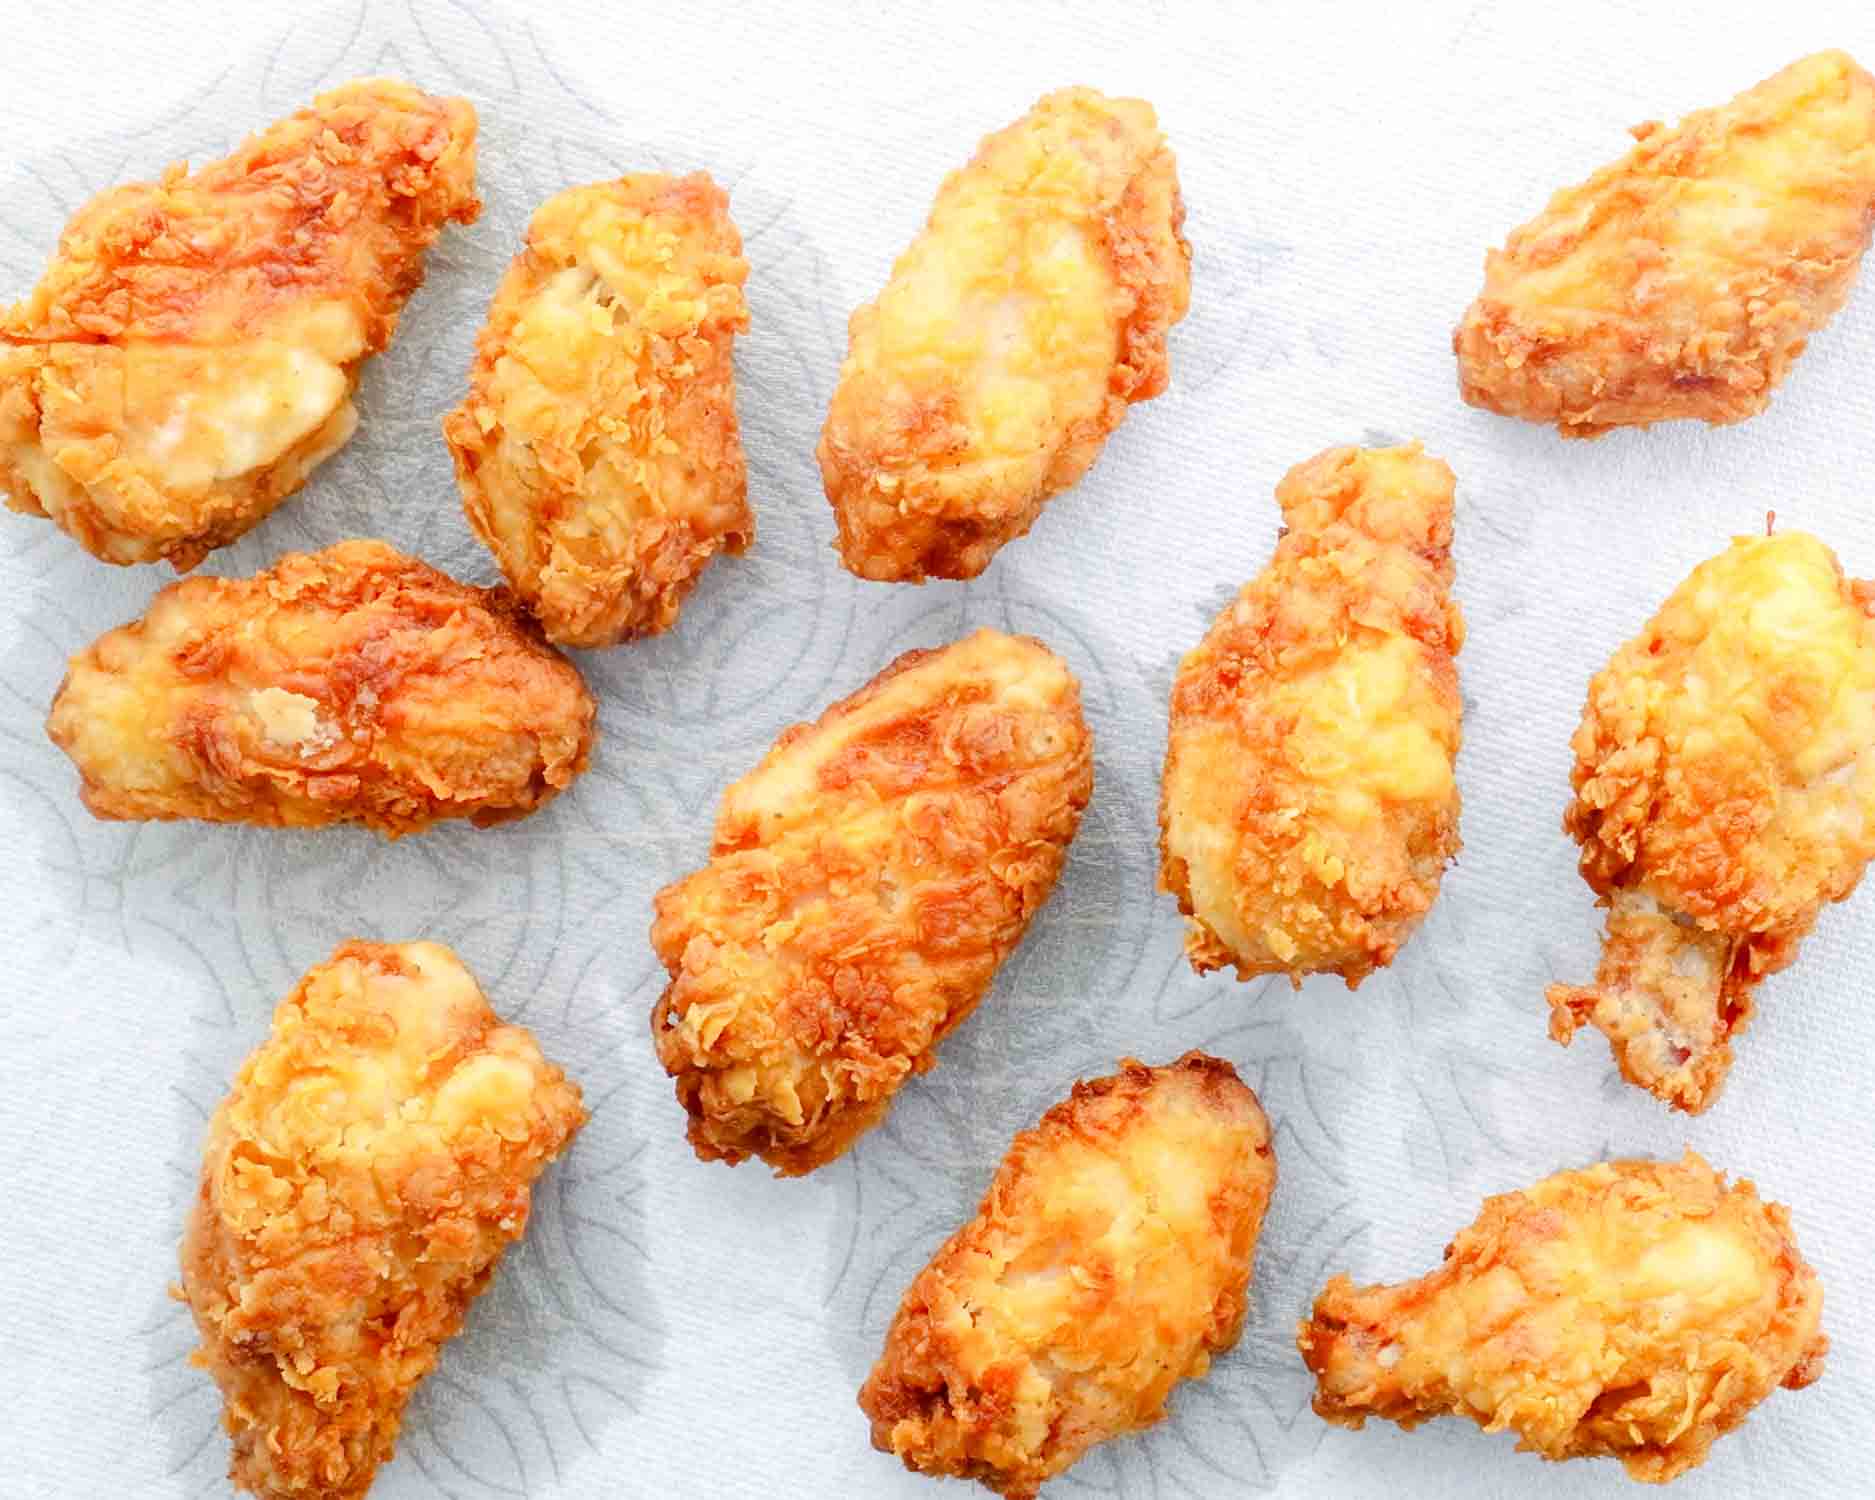
Once they’re gorgeously golden, place them on a plate with some paper towels. Let them chill for a bit (about 10 minutes) – they’ve been through a lot! After that, dig in and enjoy your masterpiece.
Frequently Asked Questions
What does buttermilk do to fried chicken?
Buttermilk acts as a tenderizer for the chicken. The mild acidity breaks down the protein, making the chicken juicy and tender. Plus, it gives the chicken a tangy flavor that pairs perfectly with the crispy crust.
Can I use boneless chicken for this recipe?
Absolutely! Boneless chicken will cook faster, so you’ll need to adjust the frying time. Just make sure to check that the internal temperature reaches 165°F.
What can I use as a substitute for buttermilk?
If you’re out of buttermilk, you can make a quick substitute by adding a tablespoon of lemon juice or white vinegar to a cup of regular milk. Let it sit for about 10 minutes, and it’ll curdle slightly, mimicking the consistency and acidity of buttermilk.
Why double-dip the chicken in flour and buttermilk?
Double-dipping is the key to that extra crispy crust! The first dip in flour helps the buttermilk mixture adhere better, and the second dip ensures a thick, crunchy outer layer.
Can I make this recipe in an air fryer?
Yes, you can! Check out my recipe for air fryer fried chicken for complete instructions.
Can I make this fried chicken in the oven?
Yes, you can! Oven-frying is a fantastic alternative for achieving that crispy texture without deep-frying in oil. Begin by marinating and coating the chicken with your buttermilk mixture and flour, as you would for traditional frying. Next, preheat your oven to 425°F (220°C). Instead of frying, place the chicken pieces on a wire rack set over a baking sheet, allowing heat to circulate around the chicken. Bake until golden and crispy, ensuring the chicken reaches an internal temperature of 165°F (74°C). The result? Crispy, delicious “fried” chicken without the added calories and mess of deep frying!

Serve With This
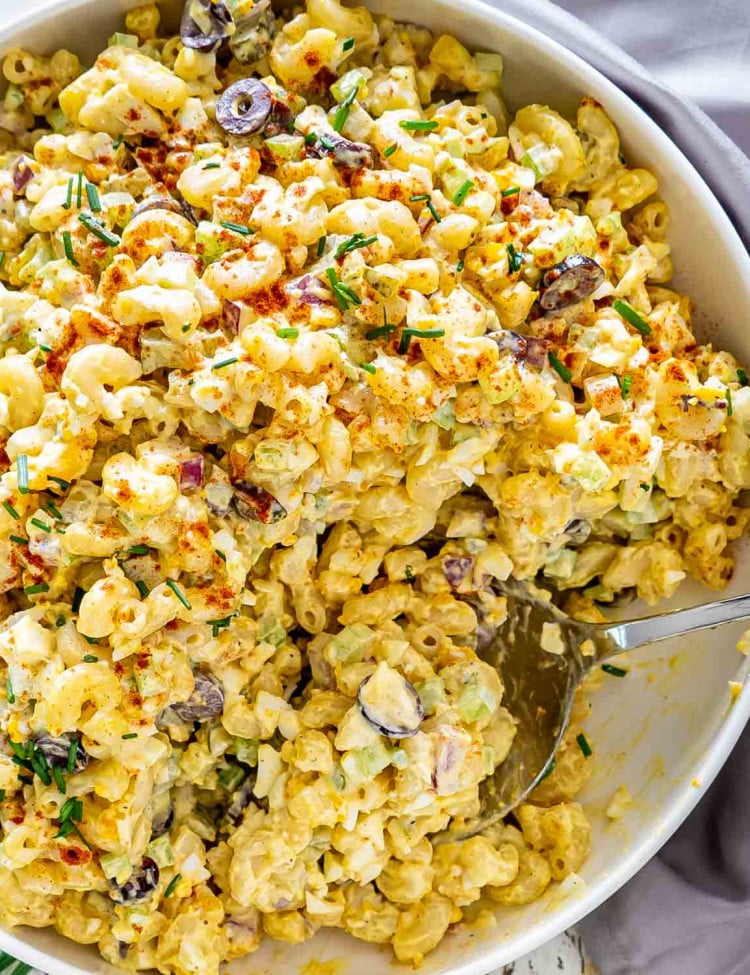
Deviled Egg Macaroni Salad
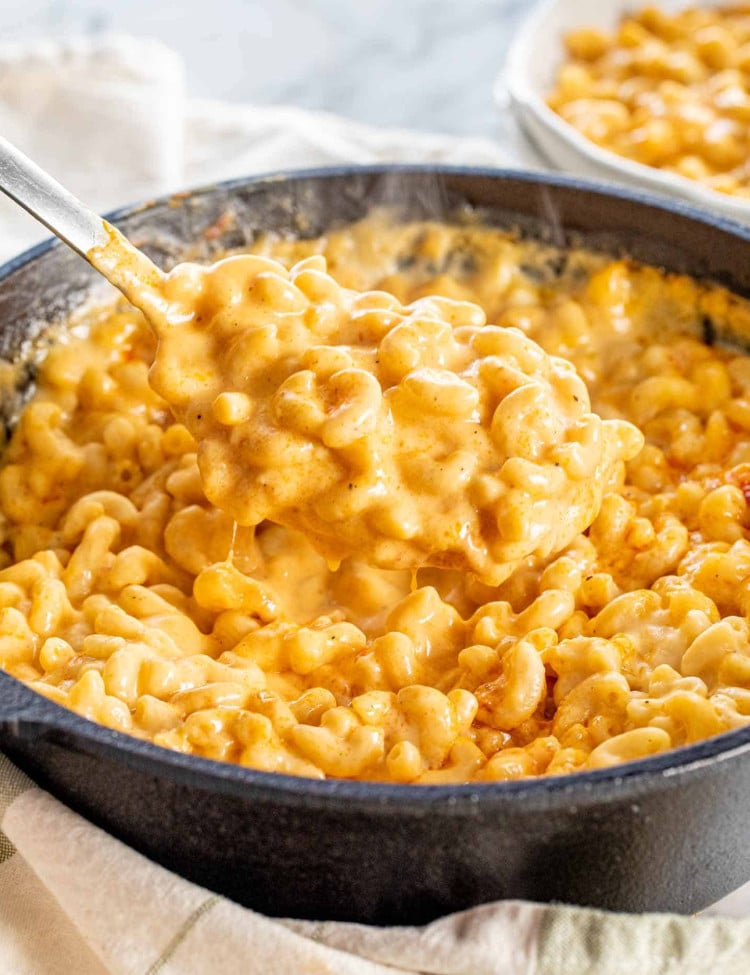
Baked Mac And Cheese

Classic Potato Salad
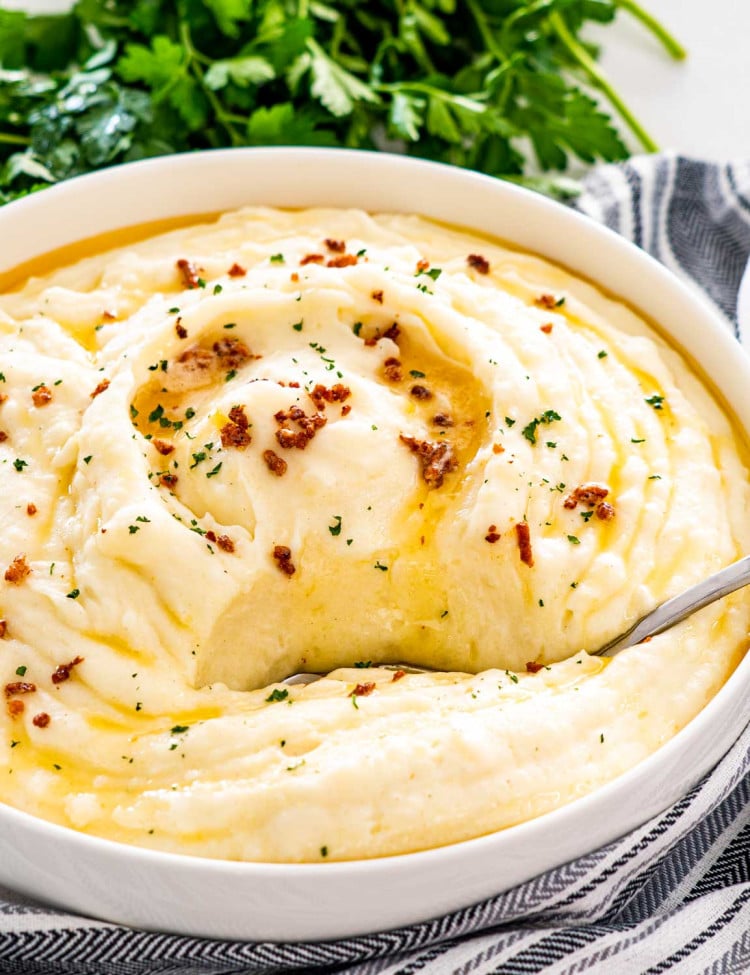
Brown Butter Mashed Potatoes
Expert Tips
- Marinate Overnight: For an even more flavorful and tender chicken, let the chicken pieces marinate in the buttermilk mixture overnight in the refrigerator. The longer soak will intensify the flavors and make the chicken incredibly tender.
- Temperature Control: Maintain a consistent oil temperature when frying. If the oil gets too hot, the outside will burn before the inside is cooked. If it’s too cool, the chicken will absorb more oil and become greasy. Use a thermometer to keep an eye on it!
- Resting Is Key: After dredging the chicken in flour, let it sit for about 10-15 minutes before frying. This step allows the flour to adhere better, ensuring a crispier crust.
- Avoid Overcrowding: Fry in batches to ensure even cooking. Overcrowding the pan can drop the oil’s temperature and make the chicken pieces stick together.
- Drain on a Rack: Instead of draining fried chicken on paper towels, place them on a wire rack set over a baking sheet. This method prevents the chicken from getting soggy and keeps that crust perfectly crispy.
Storage
To store leftover buttermilk fried chicken, first let it cool completely to room temperature. Once cooled, transfer the chicken to an airtight container or wrap it securely in aluminum foil or plastic wrap. It can then be stored in the refrigerator for up to 3-4 days.
If you’re planning on keeping it longer, you can freeze the fried chicken. Place the cooled chicken pieces on a baking sheet, making sure they’re not touching, and freeze for about an hour. After they’re frozen, transfer them to freezer bags, removing as much air as possible, and they should keep well for up to 3 months. When you’re ready to enjoy them again, reheat in the oven to regain that crispy texture.
Craving More Chicken? Try These Recipes:
- Bang Bang Chicken
- Coconut Chicken
- Chicken Poppers
- Cuban Chicharrones de Pollo
- Harissa Roasted Chicken and Potatoes
- Best Fried Chicken Sandwich
Before You Begin! If you make this, please leave a review and rating letting us know how you liked this recipe! This helps our business thrive & continue providing free recipes.
Buttermilk Fried Chicken
Video
Ingredients
- 2 pounds chicken wings (chicken legs, thighs or chicken breast)
- 2 cups buttermilk
- 2 eggs
- 1 teaspoon paprika
- 1 teaspoon hot sauce
- 1 teaspoon salt (or to taste)
- 1 teaspoon pepper (or to taste)
- 2 teaspoon baking powder
- 1½ teaspoon baking soda
- 2 cups all-purpose flour
- vegetable oil ( for frying)
Before You Begin! If you make this, please leave a review and rating letting us know how you liked this recipe! This helps our business thrive & continue providing free recipes.
Instructions
- Wash the chicken and pat it dry with paper towels.
- To a large bowl add the buttermilk, eggs, paprika, hot sauce, salt, pepper and whisk until combined. Whisk in the baking powder and baking soda. In a shallow dish add the flour.

- First dredge the chicken in the flour on all sides, then dip into the buttermilk mixture and make sure it's coated well all around. Dredge the chicken in flour one more time, then place the chicken on a plate or rack, and repeat with all chicken pieces. If your flour gets too dirty just throw it out and start with fresh flour.
- Add enough oil to a deep skillet or Dutch oven, at least an inch deep and heat over medium-high heat until it reaches 350℉. It should take about 15 minutes.
- Place a few pieces of chicken in the skillet but make sure they do not touch, you want about 1 inch space in between them. For 1 pound of chicken you will have to do this in a 2 batches. Fry on the first side for about 7 minutes or until golden brown, then flip the chicken and cook for another 3 to 5 minutes on the second side. The chicken is done when it reaches an internal temperature of 165 F degrees, or a total of 12 to 15 minutes.

- Transfer the chicken to a plate lined with paper towels to soak up some of the oil. Cool for about 10 minutes before serving.


Equipment
Notes
- Buttermilk Substitute: If you’re out of buttermilk, combine 1 cup of milk with 1 tablespoon of lemon juice or white vinegar. Let it sit for 10 minutes, then it’s ready to use.
- Optimal Oil Temperature: Keeping the oil at 350°F is crucial for perfect frying. Too hot, and the chicken will burn outside before cooking inside. Too cool, and it will absorb too much oil, becoming soggy.
- Chicken Size Matters: Smaller pieces of chicken will cook more quickly than larger ones. Adjust your frying time accordingly.
- Resting is Key: Letting the chicken rest on a wire rack instead of a paper towel helps it stay crispy.
- Seasoning Tip: For an extra flavor kick, consider adding garlic powder or cayenne pepper to the flour mixture.
Nutrition Information
Notice: Nutrition is auto-calculated for your convenience. Where relevant, we recommend using your own nutrition calculations.
