Buttermilk Fried Chicken
This post may contain affiliate links. Please read my disclosure policy.
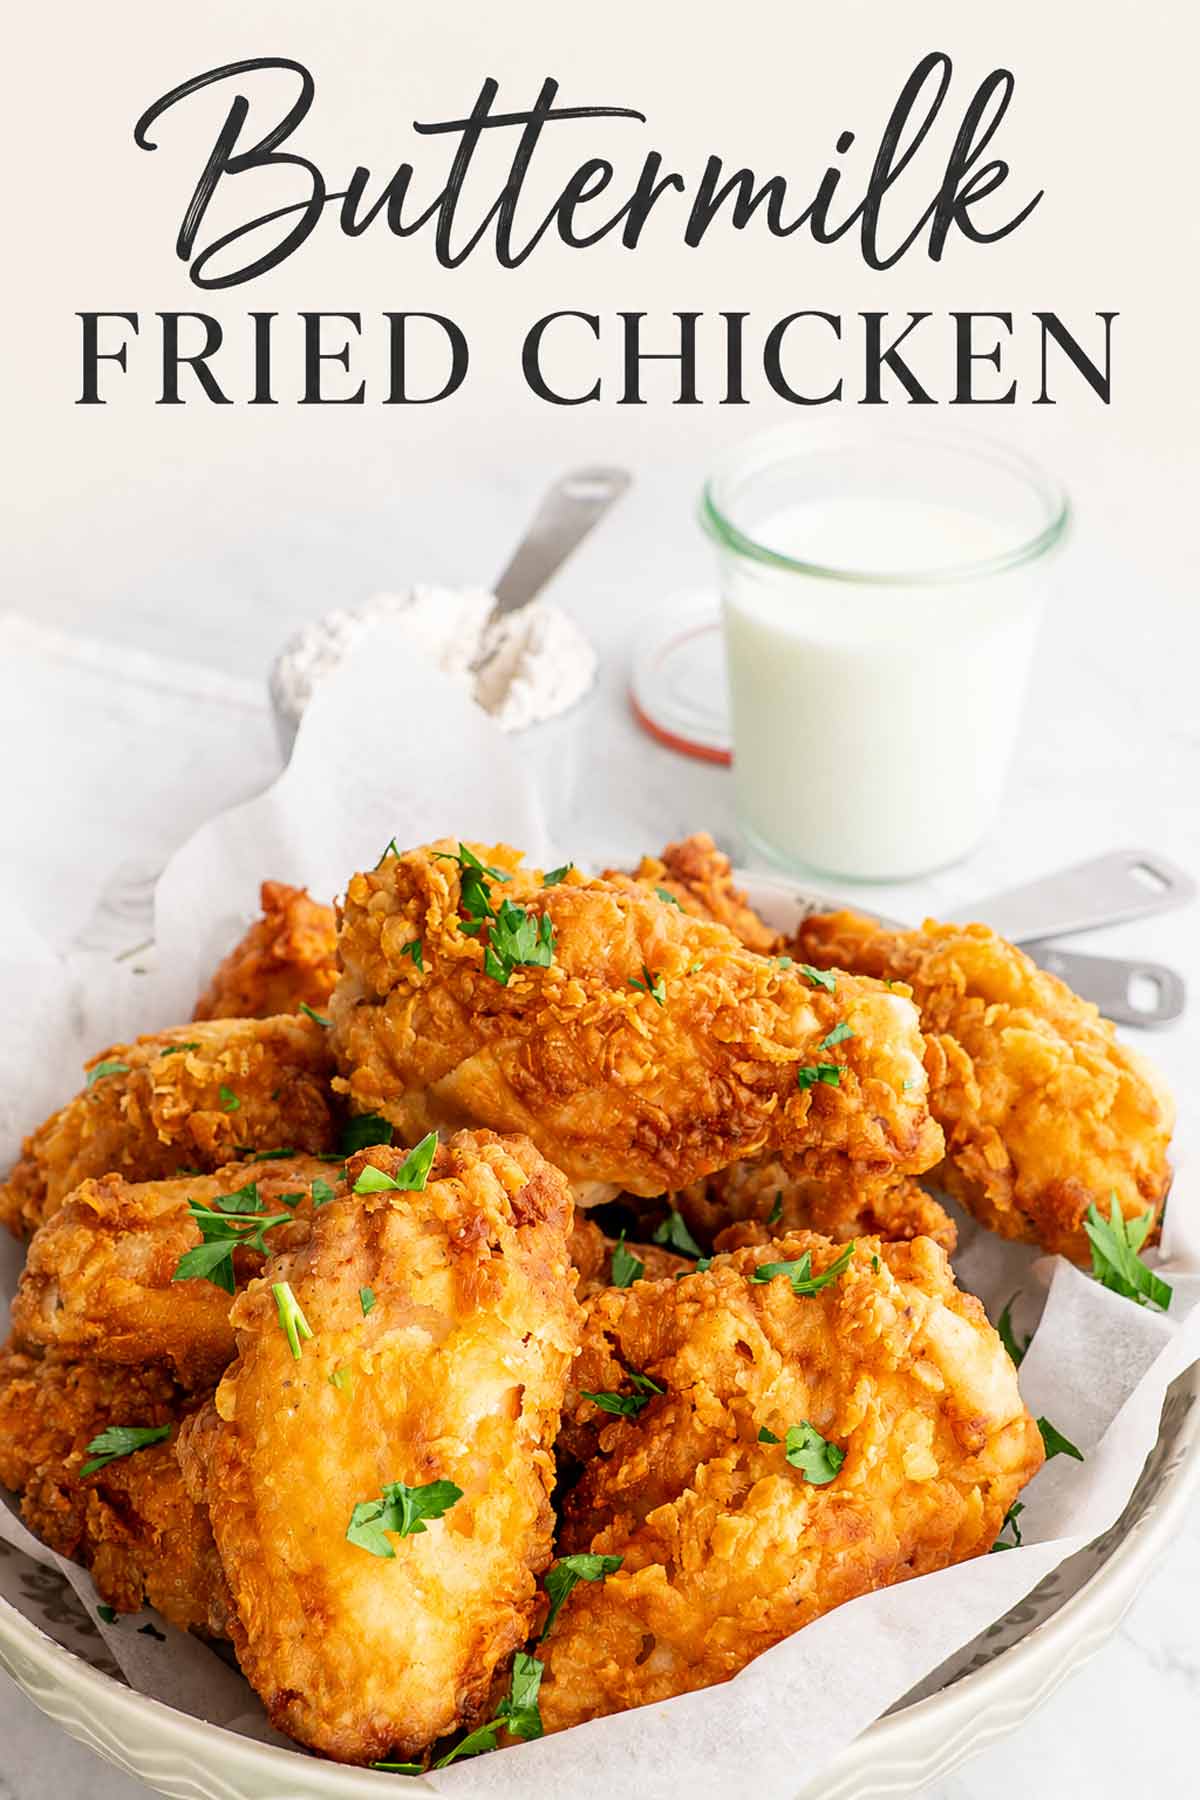
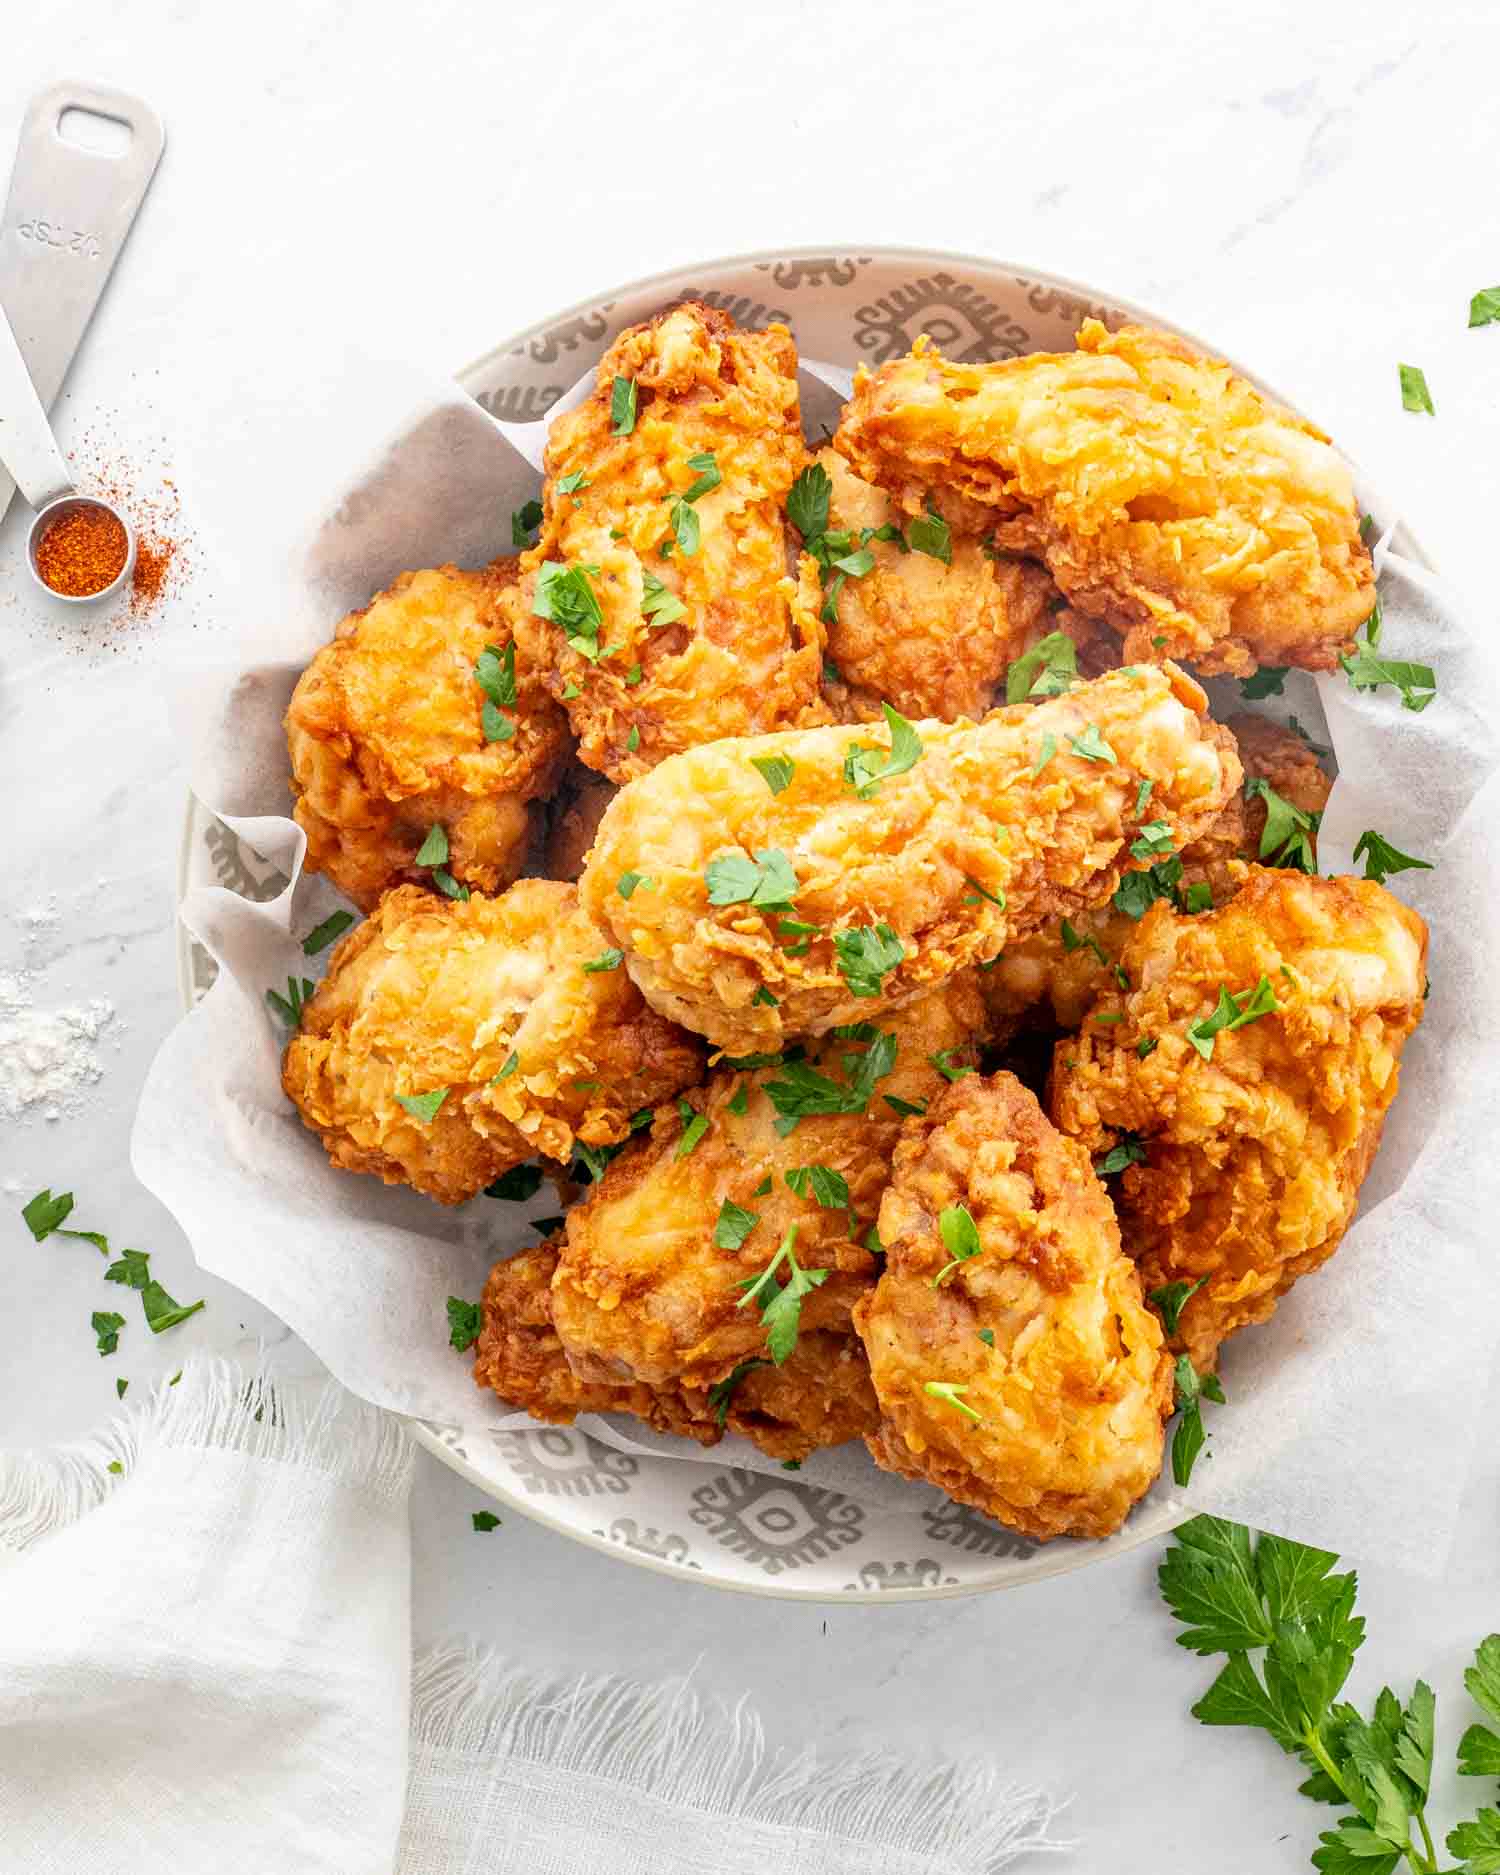
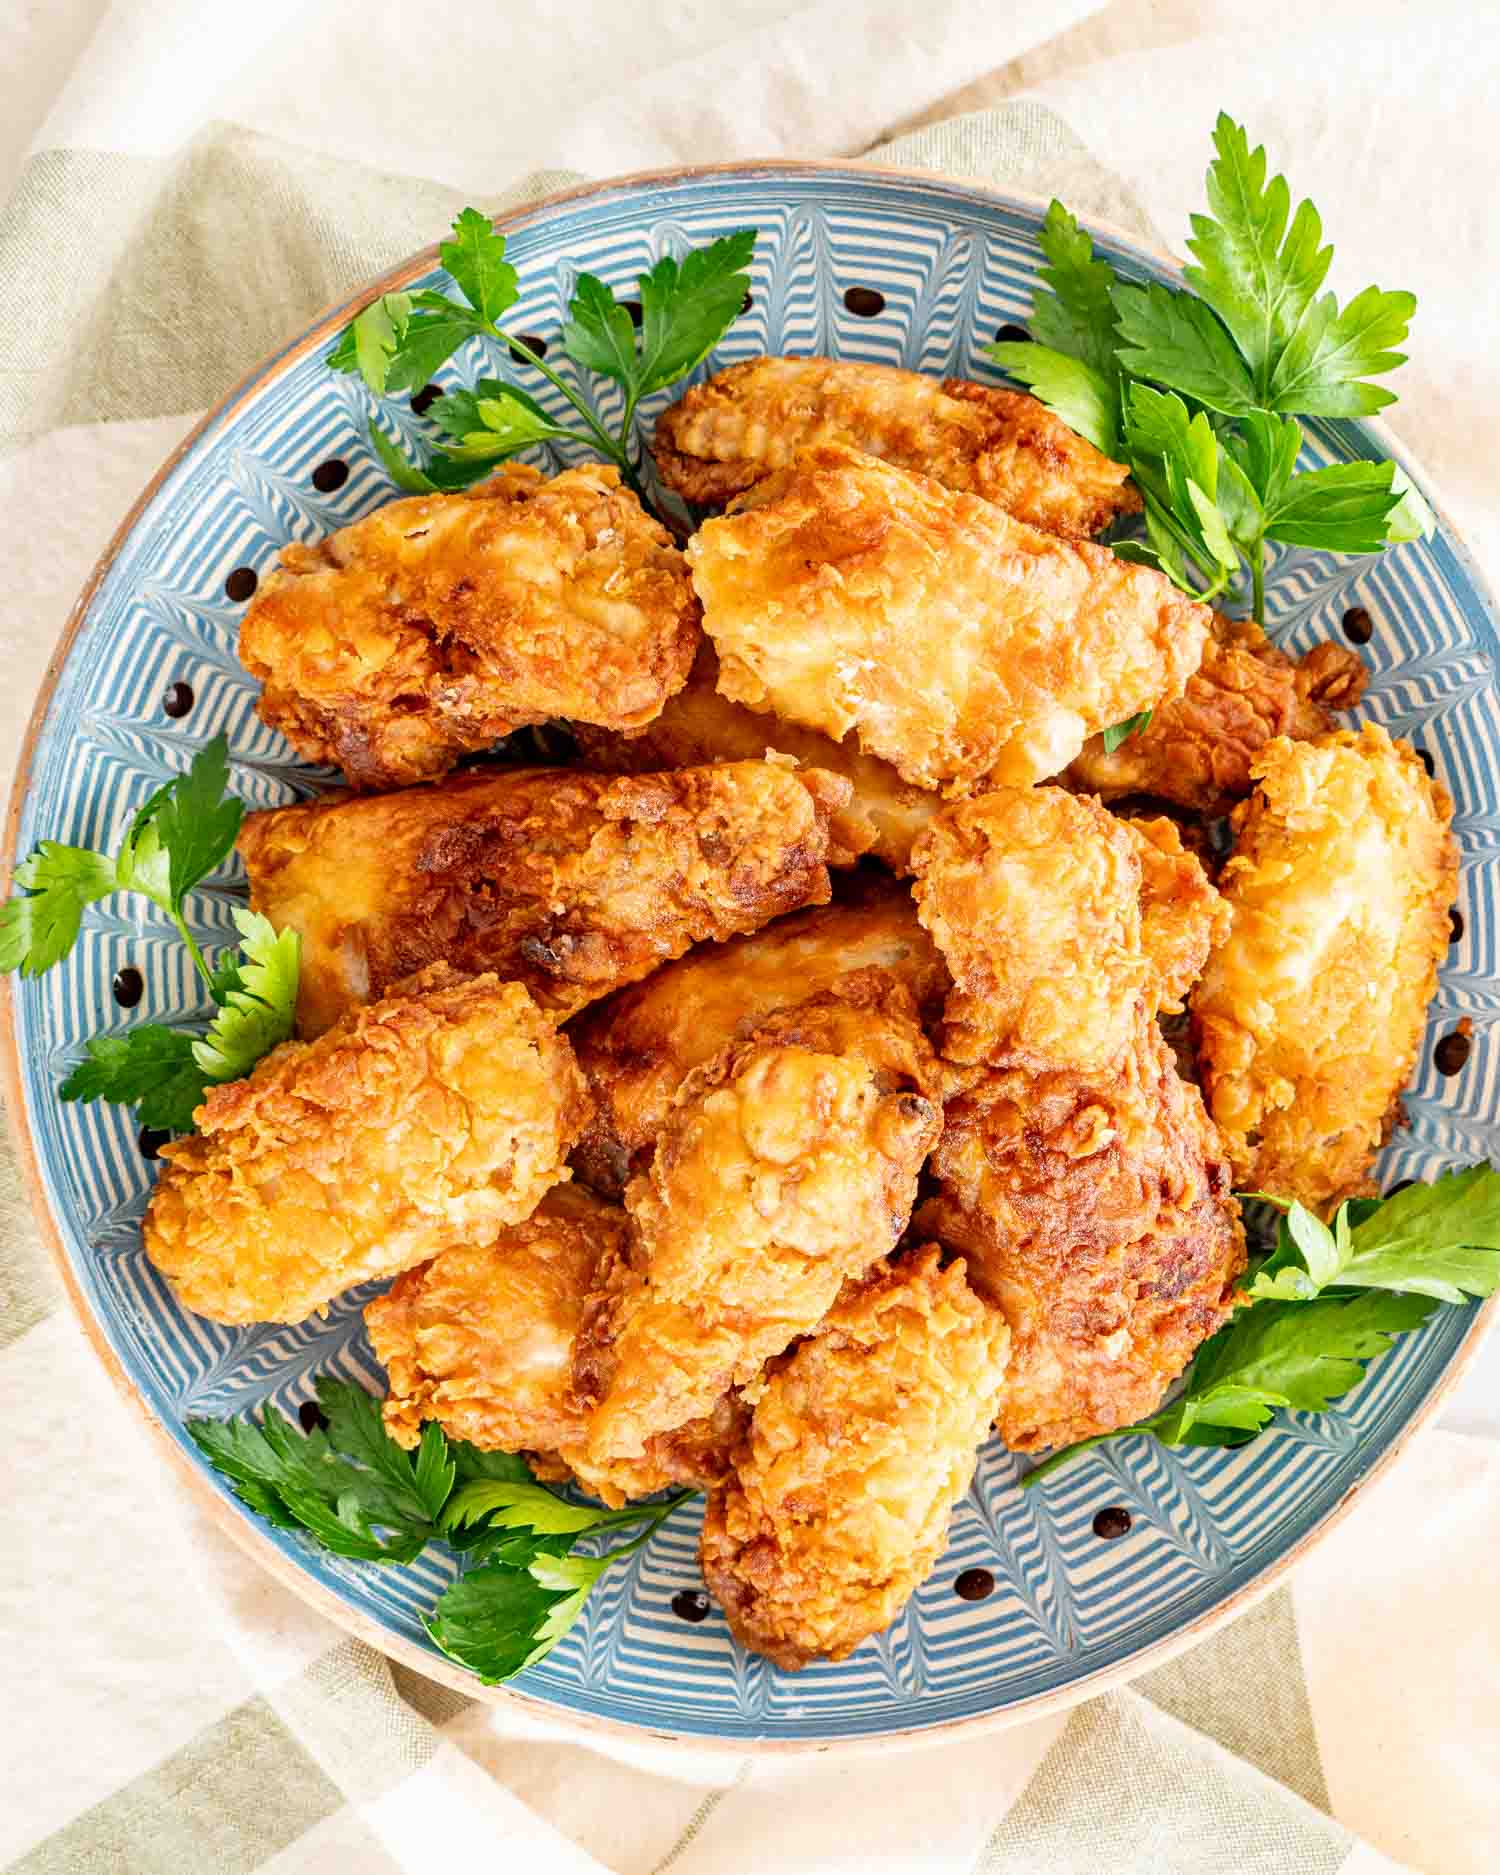
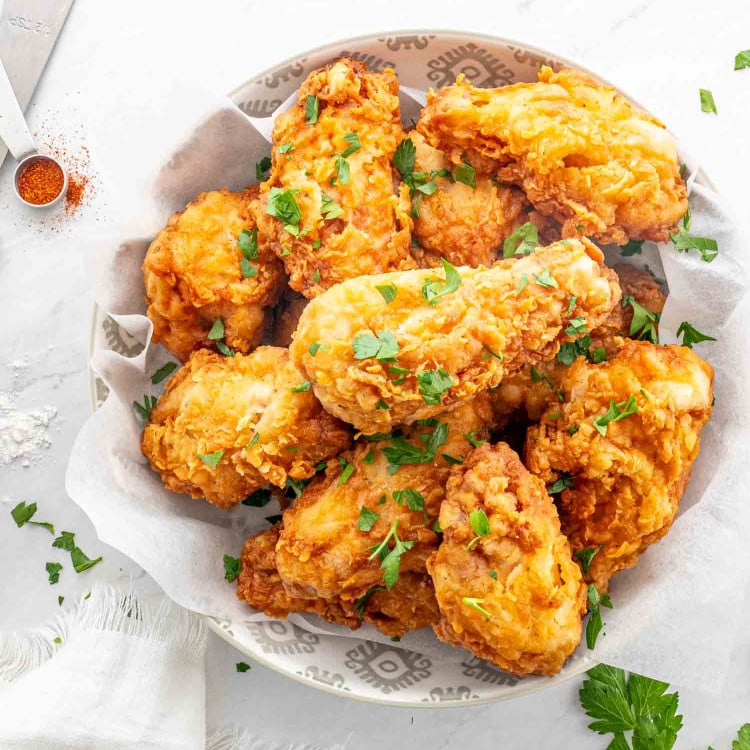
This Buttermilk Fried Chicken has a craggy, golden crust that shatters when you bite into it, and juicy meat underneath. The double dredge is what does it, and it only takes about 4 extra minutes. Genuinely worth heating a pot of oil for.
My Buttermilk Fried Chicken Recipe
I’ve been making this since 2012, which means I’ve fried a truly ridiculous amount of chicken over the years. It’s still the version I come back to.
The magic is the double dredge. Flour, then the buttermilk mixture, then flour again. That second pass builds craggy little ridges all over the surface, and craggy is the goal. A smooth coating gives you a smooth crunch. A craggy one gives you way more crispy edges per bite.
There’s baking powder and baking soda in the buttermilk too, which fizz on contact and make the coating lighter than you’d expect. I love a recipe with a bit of chemistry in it.
Remo has no patience for the resting step. Every time I make this, I end up guarding the plate while he picks at it and pretends he isn’t.
Why The Double Dredge Matters So Much
If you take one thing from this recipe, take this.
Most fried chicken goes wet, then dry. Buttermilk, then flour, into the oil. That gives you a smooth even coating and a perfectly nice crunch.
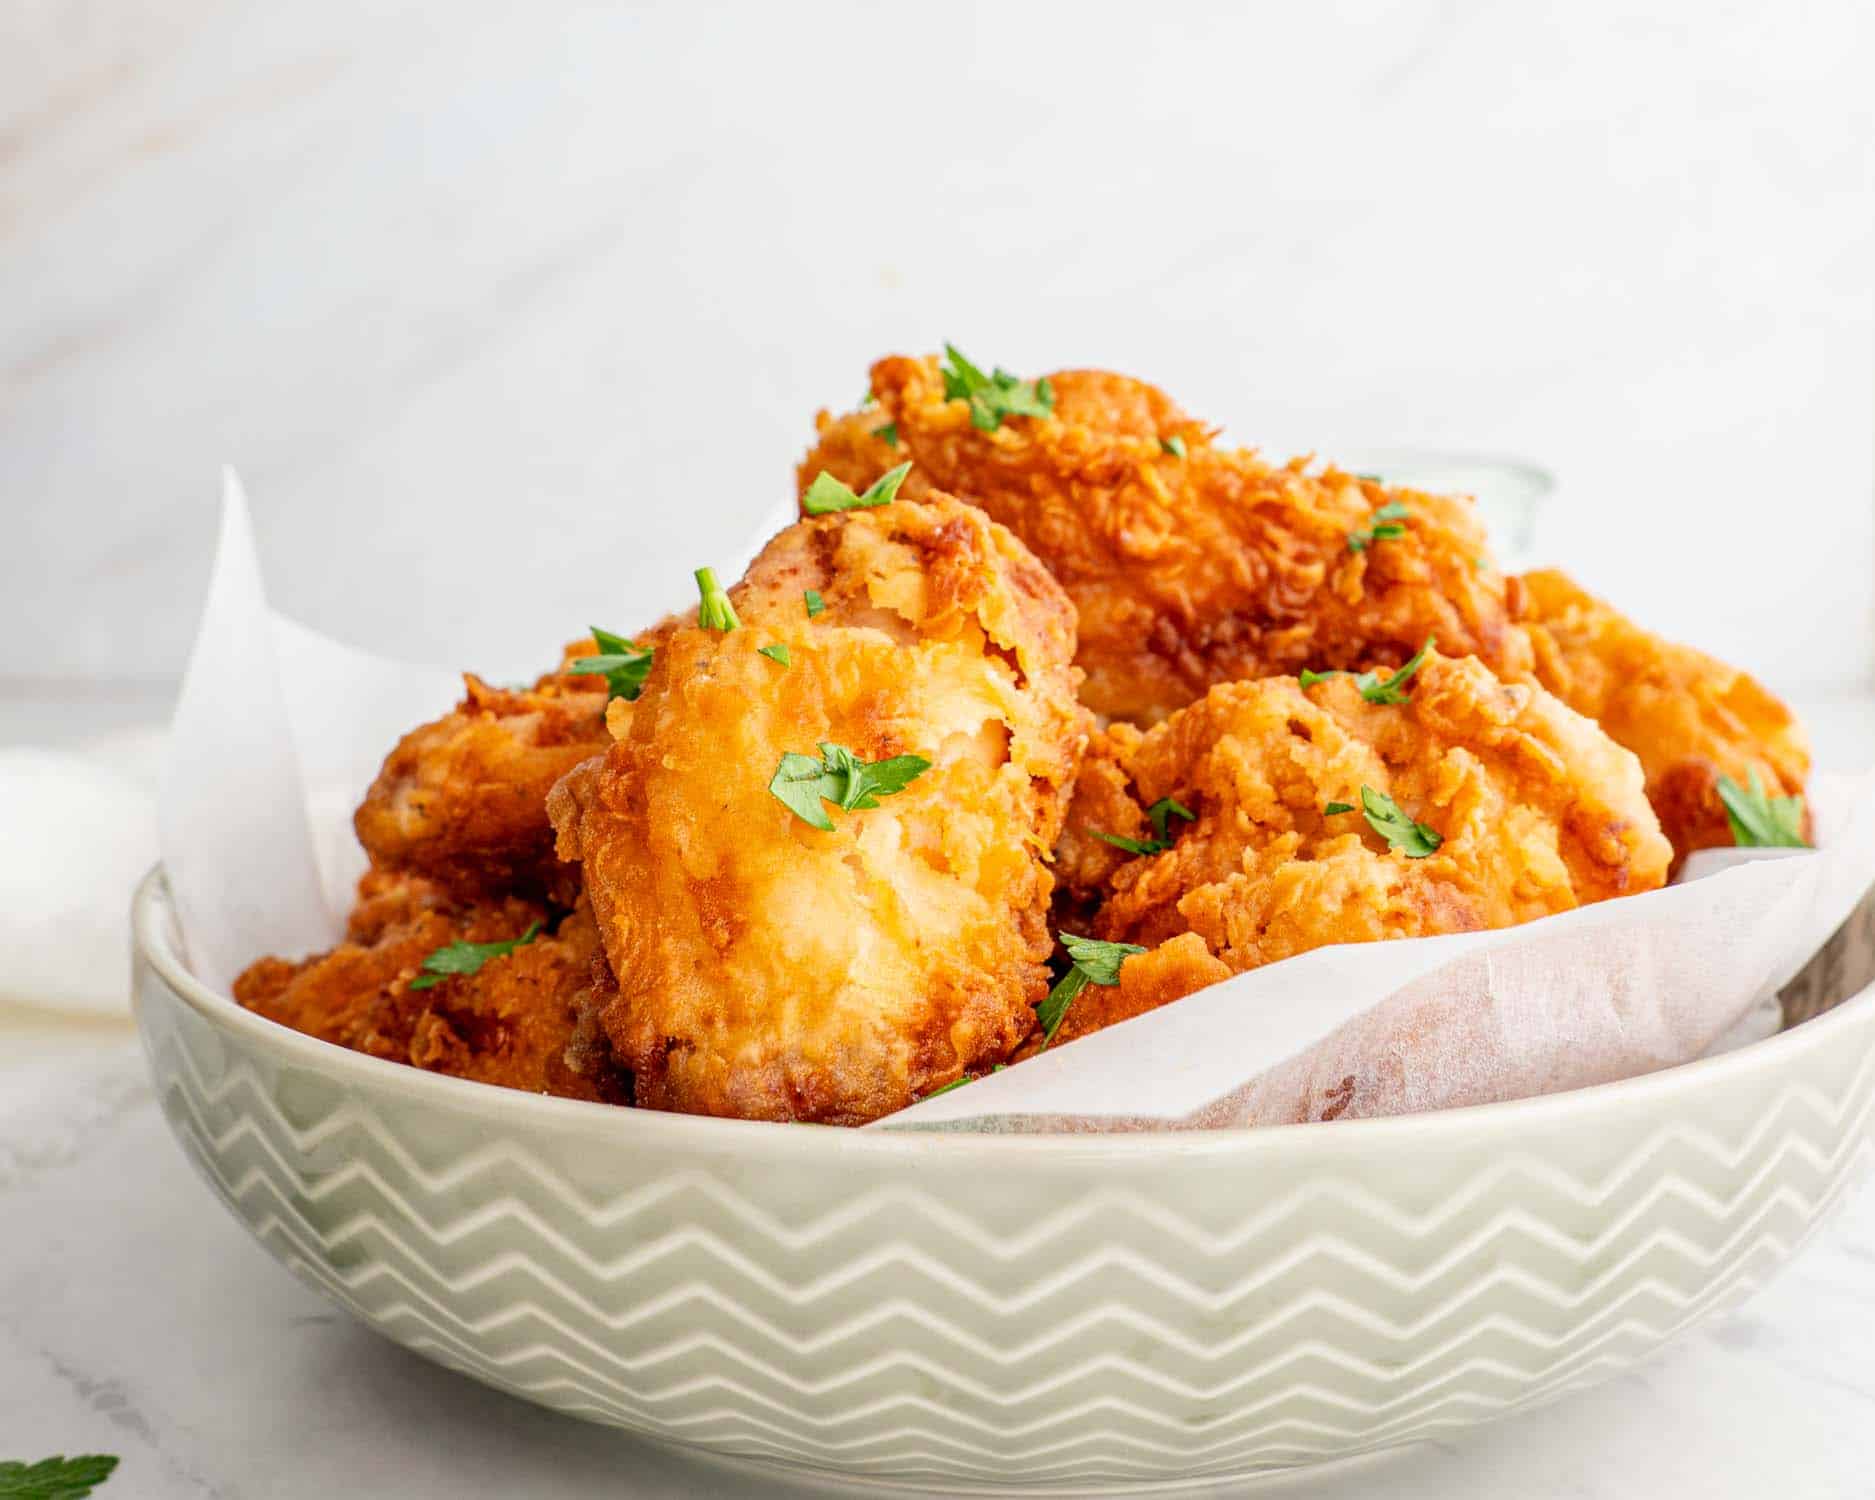
The double dredge goes dry, wet, dry. Flour first, then the buttermilk mixture, then flour again. That first layer of flour gives the buttermilk something to grab onto, and the second layer piles up on all those damp uneven patches. What you end up with is a surface covered in ridges and lumps and little jagged bits.
Every one of those bits gets its own crispy edge in the oil. More surface area, more crunch, more of those craggy nuggets that fall off onto the plate and get eaten straight away. That’s the whole thing, and it costs you 4 extra minutes.
One practical note: your flour will get gluey partway through. That’s normal. Throw it out and start with fresh, because clumpy flour gives you a patchy coating.
Do You Need To Soak The Chicken Overnight?
Not for this one. Plenty of buttermilk fried chicken recipes have you soak the chicken for hours first, and it’s a good technique. My version uses the buttermilk mixture as the wet layer in the dredge instead. That means you can decide you want fried chicken at 5 o’clock and be eating it at 6.
If you’ve planned ahead and want to soak it anyway, hold back about a cup of the buttermilk mixture for dredging. Let the chicken sit in the rest for 4 hours or overnight, then let the excess drip off and dredge as usual.
It comes out a little more tender that way. Both versions are good. The unsoaked one happens far more often in my kitchen.
Ingredients in Buttermilk Fried Chicken

- Chicken pieces (2 pounds, wings, legs, thighs, or breast): Bone in with the skin on is what you want. The bone keeps things juicy and the skin gives the coating something to hold onto. Thighs and drumsticks are the most forgiving, since dark meat has a wider window before it dries out. If you’re using breasts, cut them in half so they cook through before the crust goes too far.
- Buttermilk (2 cups): The tang is doing real flavor work here, not just tenderizing. No buttermilk? Stir 1 tablespoon of lemon juice or white vinegar into a cup of milk and give it 10 minutes to curdle. Plain yogurt thinned with a little milk works too.
- Eggs (2): These are the glue. They thicken the wet layer so it clings properly instead of sliding off, which is a big part of why the coating stays put.
- Paprika (1 teaspoon): Warmth and a nice color in the crust. Smoked paprika is a good swap if you want a bit of a barbecue thing going on.
- Hot sauce (1 teaspoon): This isn’t really about heat. A teaspoon across 2 pounds of chicken adds tang and depth more than fire. Use more if you want it spicy.
- Salt (1 teaspoon) and black pepper (1 teaspoon): A full teaspoon of pepper sounds like a lot. It isn’t. Fried chicken needs more seasoning than feels reasonable, because a good chunk of it stays behind in the flour.
- Baking powder (2 teaspoons) and baking soda (1½ teaspoons): Here’s the fun bit. The soda hits the acidic buttermilk and starts fizzing straight away, and all those tiny bubbles make the coating lighter and crisper. You’ll see it foam up when you whisk. That’s it working.
- All purpose flour (2 cups): Plain flour, and you’ll want the full 2 cups even though it looks like too much, because the double dredge goes through a lot. Swap in a cup of cornstarch for half the flour if you want an even lighter crust.
- Vegetable oil (for frying): Neutral, with a high smoke point. Canola and peanut oil both work well. Peanut is the classic choice for fried chicken and it does taste slightly better, but only slightly, and it costs a lot more.
How To Make Buttermilk Fried Chicken
Get the chicken ready. Pat the pieces properly dry with paper towels. Don’t rinse them first, because that splashes raw chicken water around your sink and counters and it doesn’t make anything cleaner. Dry is what matters, since a wet surface turns that first layer of flour to paste instead of letting it stick.

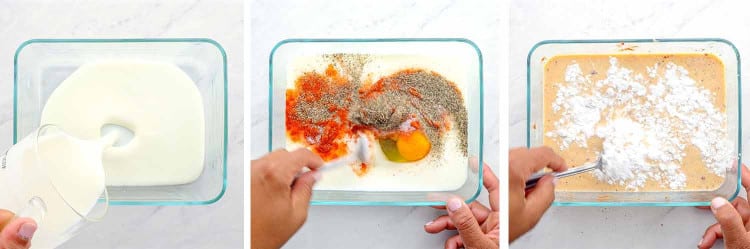
Make the buttermilk mixture. Big bowl. Buttermilk, eggs, paprika, hot sauce, salt, and pepper, whisked until smooth. Then whisk in the baking powder and baking soda and watch it foam up. That’s the reaction that makes your coating light, and it’s very satisfying to see.
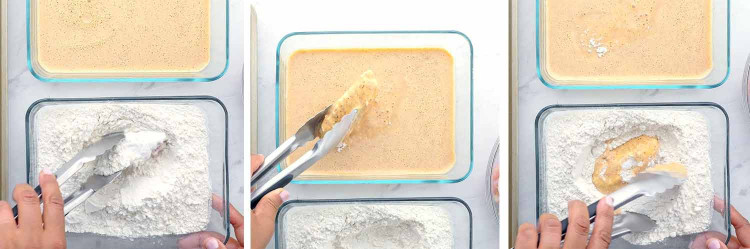
Set up the dredging station. A shallow dish of flour right beside the buttermilk bowl. This is the part where you accept that one hand is about to get extremely messy. Use one hand for dry and one for wet if you’re organized. I never manage it.
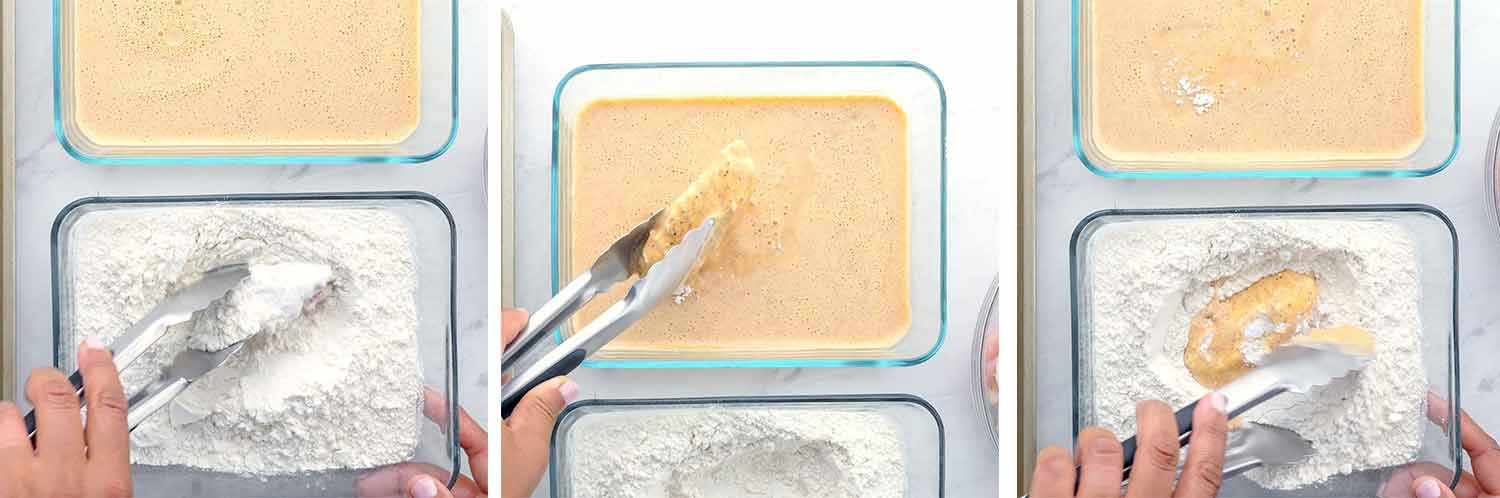
Double dredge each piece. Flour first, all over. Then into the buttermilk mixture, coated thoroughly. Then back into the flour. Press it on a bit at the end so it really grabs hold. Set each piece on a plate or rack as you go.
Let them sit 10 to 15 minutes before they go anywhere near the oil. The coating hydrates and settles onto the chicken, and it’s much less likely to slide off in the pan. Easiest 15 minutes of improvement in the whole recipe, and it’s a good window to get your oil up to temperature.
Heat the oil to 350°F. At least an inch deep in a deep skillet or Dutch oven, over medium high. Takes about 15 minutes. Use a thermometer if you have one, because temperature is the single biggest factor in whether this goes well. No thermometer? Drop a pinch of flour in. Steady sizzling means you’re there. Violent sputtering means it’s too hot.
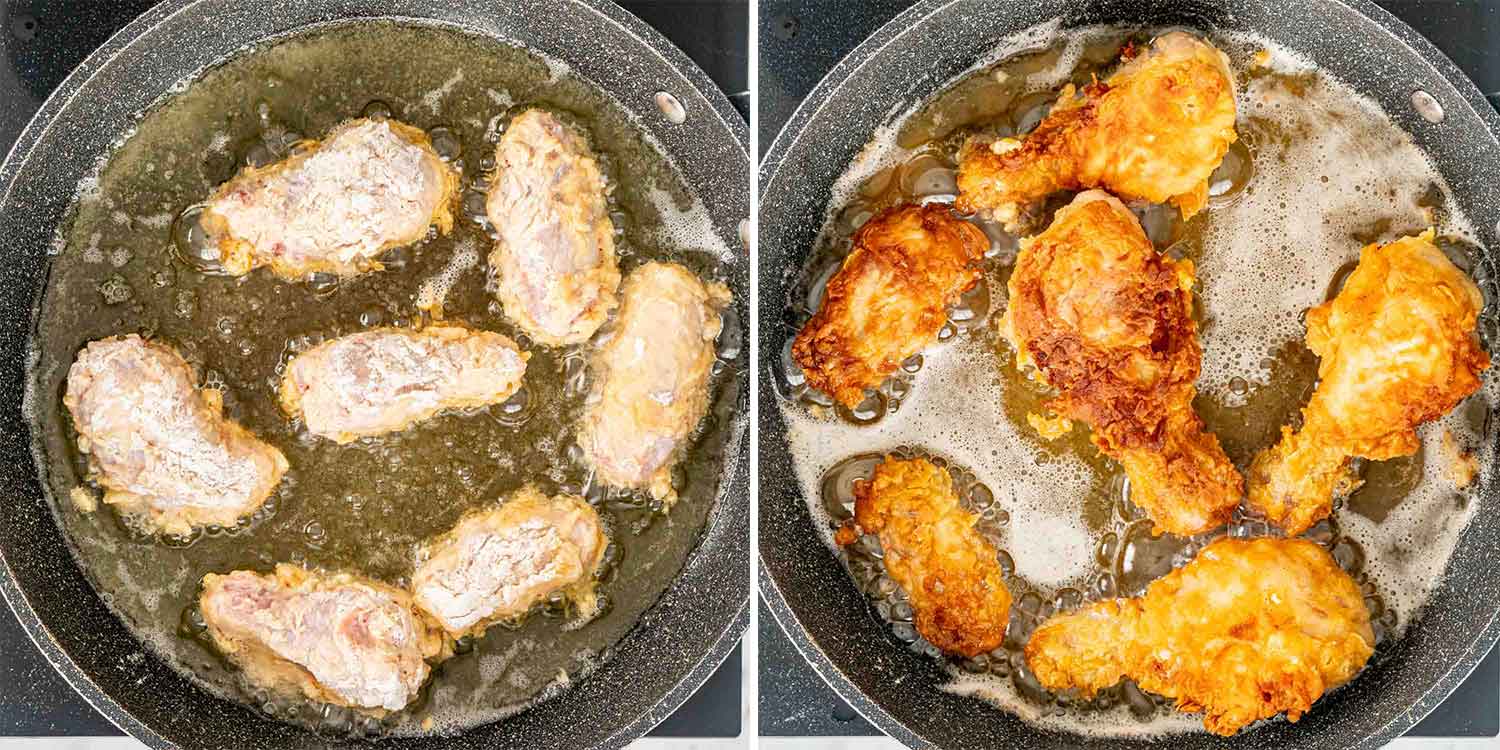
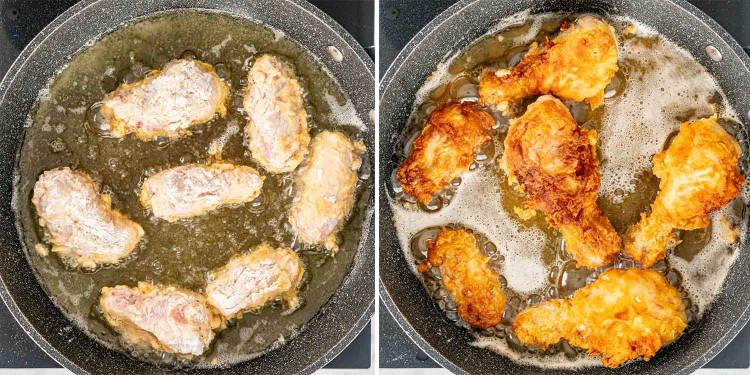
Fry in batches with space between the pieces. About an inch apart, no touching. Crowding drops the oil temperature and you get greasy chicken instead of crispy chicken. About 7 minutes on the first side until deeply golden, then flip for another 3 to 5. You’re looking for 165°F inside, roughly 12 to 15 minutes total.
Rest on a wire rack, not on paper towels. Paper traps steam underneath and the bottom of your crust goes soft. A rack over a baking sheet keeps air moving all the way around. Ten minutes and it’s ready.
Why Your Coating Falls Off
This is the number one fried chicken problem and it’s almost always one of these 4 things.
- The chicken was wet. Moisture on the surface turns that first layer of flour to paste and the whole coating slides off in the oil. Pat it properly dry.
- You didn’t let it rest after dredging. Straight from the flour into the pan means the coating hasn’t had a chance to hydrate and grip. Ten to 15 minutes fixes it.
- The oil wasn’t hot enough. At 350°F the crust sets almost immediately and locks itself on. Too cool and it sits there getting soggy and loose before it firms up.
- You moved it too much. Put the chicken in and leave it alone. Poking, nudging, and flipping early all knock the coating off before it’s set. One flip, that’s all it needs.
Oil, Temperature, And Batches
How much oil: at least an inch, enough that the pieces are halfway submerged. You don’t need to deep fry this, but shallow oil gives you uneven color.
Which oil: canola, vegetable, or peanut. All neutral with high smoke points. Peanut is traditional for fried chicken and does taste marginally better. Olive oil isn’t right for this and it’ll start smoking well before you get to 350°F.
Temperature is everything. It’ll drop the moment cold chicken hits it, which is normal. What matters is that it climbs back to around 350°F. If it’s stuck at 300°F you’re absorbing oil rather than crisping. At 400°F your crust burns before the middle cooks.
Between batches: let the oil come back up to temperature before the next round. Skim out any loose bits of coating floating around, because they’ll burn and turn everything bitter.
Keeping it warm: a 200°F oven with the chicken on a wire rack. It’ll hold happily for 30 minutes without going soft, which means everyone eats at once instead of in shifts.
Variations
Season the flour too. My favorite variation and the one I’d try first. Add a teaspoon each of garlic powder and onion powder to the flour, plus cayenne if you want heat. The wet mix is well seasoned already, but seasoning the dry side puts flavor right in the crust.
Nashville hot. Whisk a few tablespoons of the hot frying oil with cayenne, brown sugar, garlic powder, and paprika, then brush it over the chicken the second it comes out.
Extra crisp. Swap 1 cup of the flour for cornstarch. Lighter, crisper, and it holds up better if the chicken has to sit.
Gluten free. A cup for cup gluten free flour blend works well here, and using cornstarch for half of it works even better.
Chicken tenders. Same method, much faster. About 3 to 4 minutes per side, and watch them closely because they go from done to overdone quickly.
What To Serve With This
Fried chicken wants soft, creamy things next to it, because half the pleasure is the contrast. Mac and cheese is my first choice every time. Mashed potatoes work just as well.
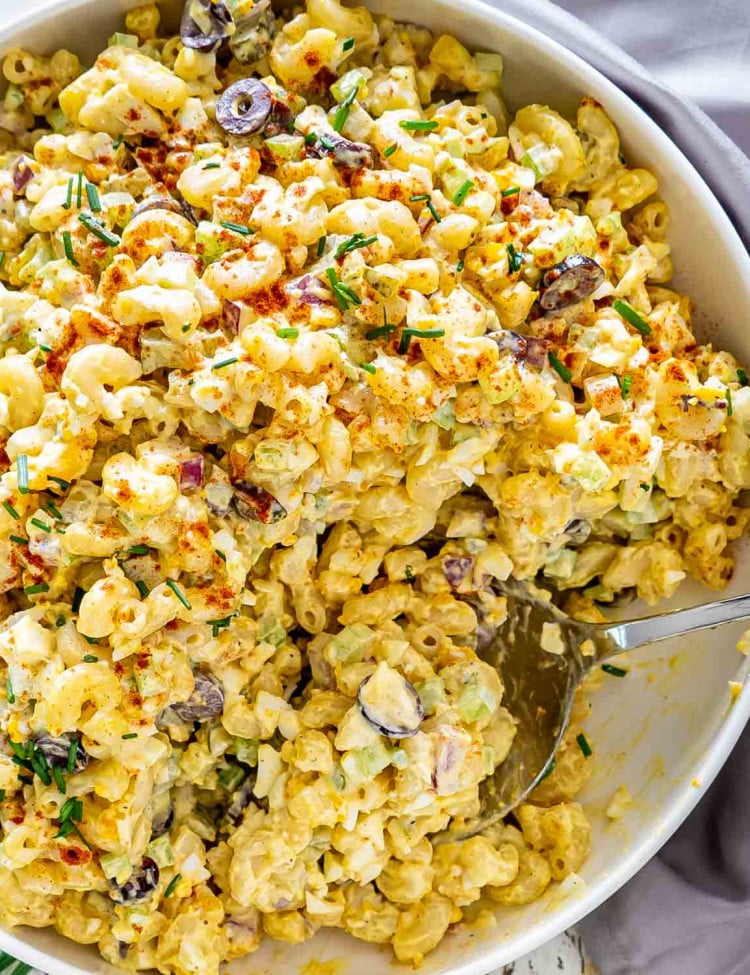
Deviled Egg Macaroni Salad
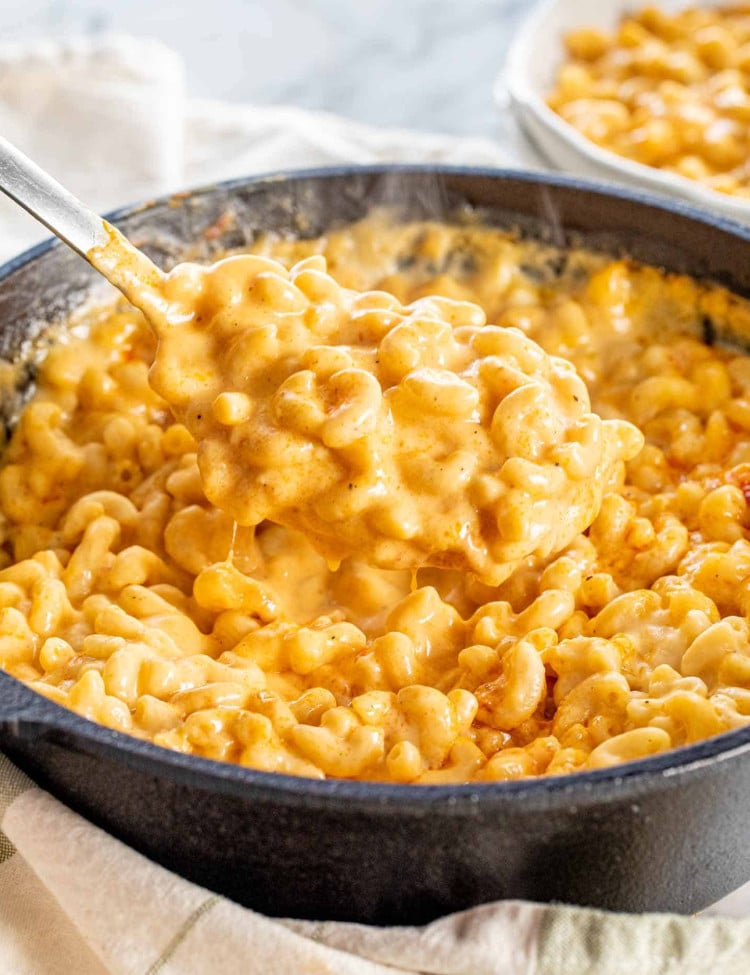
Baked Mac And Cheese
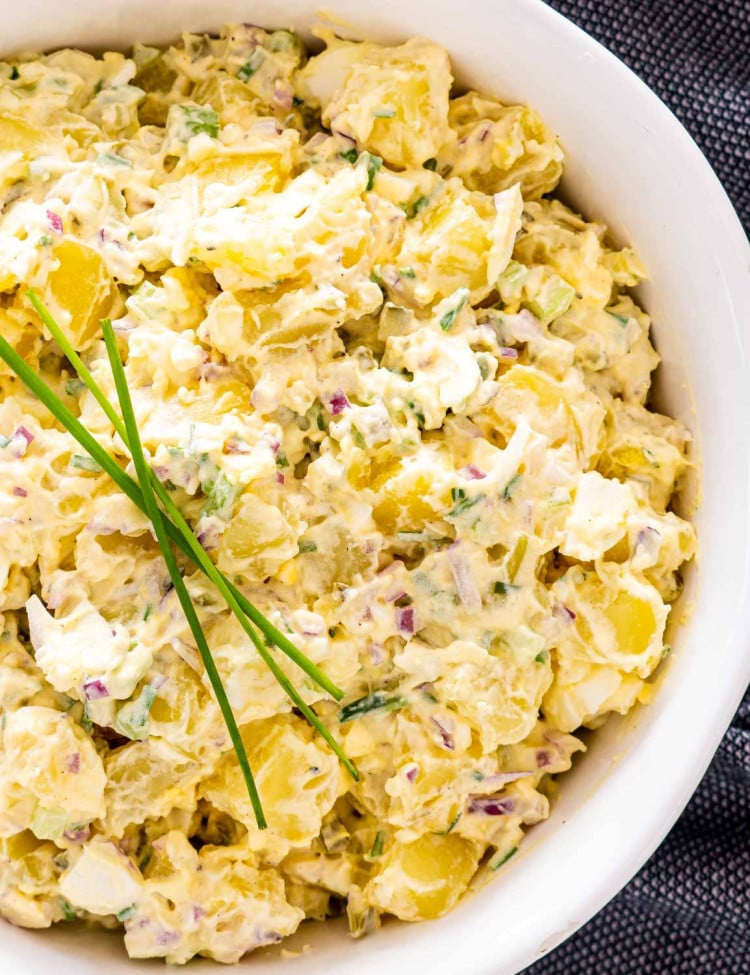
Classic Potato Salad
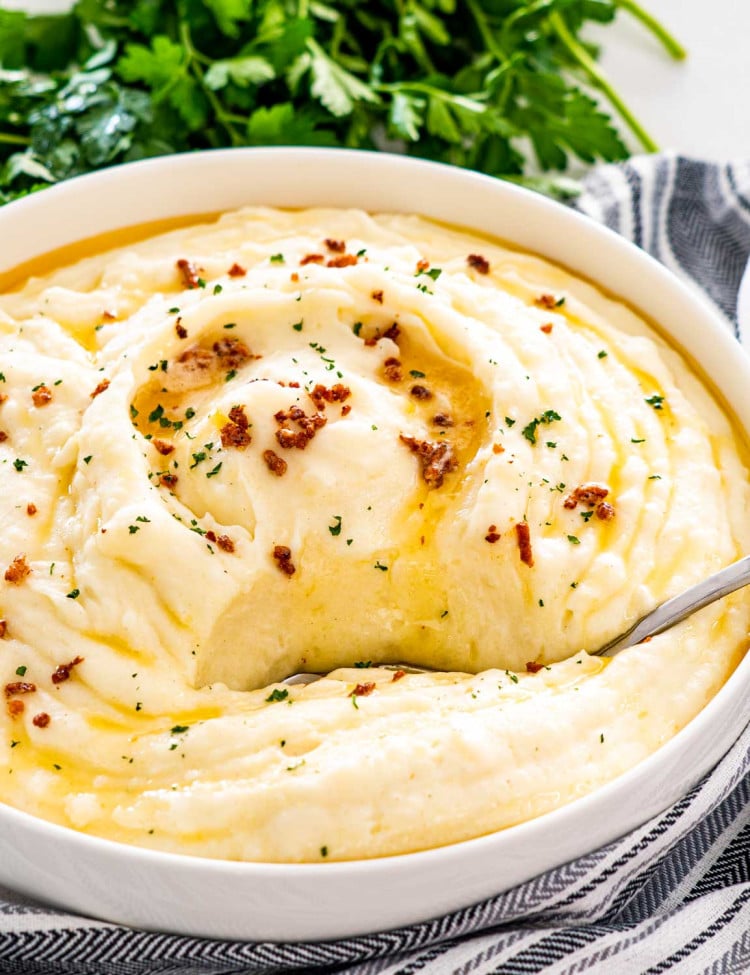
Brown Butter Mashed Potatoes
Make Ahead And Storage
Make ahead: you can dredge the chicken up to 4 hours early and keep it on a rack in the fridge. The coating actually grips better for the wait. What you can’t do is fry it ahead and expect the same result, because fried chicken is at its best within about 20 minutes of leaving the pan.
Fridge: 3 to 4 days in an airtight container. Let it cool completely first, because warm chicken in a sealed container steams itself soft.
Freezer: freeze the cooked pieces on a baking sheet for an hour so they’re not touching, then move them to freezer bags. 3 months.
Reheating, and this part matters: oven only. 375°F on a wire rack over a baking sheet for 15 to 20 minutes, or 350°F in an air fryer for 8 to 10. The dry heat drives moisture back out of the coating and it crisps up again. The microwave turns fried chicken soft and rubbery and there’s no fixing it after that.
Craving More Chicken? Try These Recipes:
- Bang Bang Chicken
- Coconut Chicken
- Chicken Poppers
- Cuban Chicharrones de Pollo
- Harissa Roasted Chicken and Potatoes
- Best Fried Chicken Sandwich
Before You Begin! If you make this, please leave a review and rating letting us know how you liked this recipe! This helps our business thrive & continue providing free recipes.
Buttermilk Fried Chicken
Video
Ingredients
- 2 pounds chicken wings (chicken legs, thighs or chicken breast)
- 2 cups buttermilk
- 2 eggs
- 1 teaspoon paprika
- 1 teaspoon hot sauce
- 1 teaspoon salt (or to taste)
- 1 teaspoon pepper (or to taste)
- 2 teaspoon baking powder
- 1½ teaspoon baking soda
- 2 cups all-purpose flour
- vegetable oil ( for frying)
Before You Begin! If you make this, please leave a review and rating letting us know how you liked this recipe! This helps our business thrive & continue providing free recipes.
Instructions
- Pat the 2 pounds chicken pieces completely dry with paper towels. Don't rinse them first. A dry surface is what lets the flour grip.
- In a large bowl, whisk together the 2 cups buttermilk, 2 eggs, 1 teaspoon paprika, 1 teaspoon hot sauce, 1 teaspoon salt, and 1 teaspoon pepper until smooth. Whisk in the 2 teaspoons baking powder and 1½ teaspoons baking soda. It'll foam up, and that's what you want. Add the 2 cups all purpose flour to a shallow dish and set it beside the buttermilk bowl.

- Dredge each piece of chicken in the flour on all sides, dip it into the buttermilk mixture until fully coated, then dredge it in the flour a second time. Press the flour on so it grabs hold. Set each piece on a wire rack as you go. If the flour gets clumpy partway through, throw it out and start with fresh. Let the dredged chicken rest on the rack for 10 to 15 minutes. This lets the coating settle so it doesn't slide off in the oil.
- Add enough vegetable oil to a deep skillet or Dutch oven to come at least 1 inch up the sides. Heat over medium high until it reaches 350°F, about 15 minutes.
- Fry the chicken in batches, leaving about 1 inch of space between the pieces. Don't crowd the pan. Fry the first side for about 7 minutes until deeply golden, then flip and cook another 3 to 5 minutes, until the internal temperature reaches 165°F. Total time is roughly 12 to 15 minutes per batch. Let the oil come back up to 350°F between batches.

- Transfer the chicken to a wire rack set over a baking sheet, not to paper towels. Rest for 10 minutes before serving.
Equipment
Notes
- Pat the chicken dry: don’t rinse it first. A dry surface is what lets the first layer of flour grip instead of turning to paste.
- The double dredge: flour, then buttermilk mixture, then flour again. Those craggy ridges are where the crunch comes from.
- Rest before frying: 10 to 15 minutes on a rack after dredging. The coating settles and it’s far less likely to slide off in the oil.
- Oil temperature: 350°F, and use a thermometer if you have one. Too hot burns the crust, too cool gives you greasy chicken.
- Fry in batches: about 1 inch of space between pieces. Crowding drops the oil temperature.
- Rest on a rack, not paper towels: paper traps steam and softens the bottom of the crust.
- Fresh flour: if the dredging flour goes clumpy partway through, throw it out and start fresh.
- Reheating: oven or air fryer at 375°F on a rack. Not the microwave.
Nutrition Information
Notice: Nutrition is auto-calculated for your convenience. Where relevant, we recommend using your own nutrition calculations.
Frequently Asked Questions
What does buttermilk actually do here?
Two things. The acidity gently tenderizes the chicken, and the tang gives the coating a flavor plain milk can’t. It’s also thick enough to cling properly during the dredge, which is half the battle.
Do I have to soak the chicken overnight?
Not for my version. I use the buttermilk as the wet layer in the dredge rather than as a marinade, so you can decide to make this at 5 and eat at 6. If you’ve planned ahead and want to soak it, hold back a cup of the mixture for dredging and let the chicken sit in the rest for 4 hours or overnight.
Why is my coating falling off?
Usually wet chicken, or not resting it after dredging, or oil that isn’t hot enough. Pat the pieces properly dry, give them 10 to 15 minutes on a rack after the second flour dip, and make sure your oil is at 350°F.
Can I use boneless chicken?
Sure, and it cooks faster so keep an eye on it. Boneless thighs run about 5 to 6 minutes a side. I prefer bone in because the meat stays juicier, but boneless is easier to eat and I get the appeal.
What oil should I use?
Canola, vegetable, or peanut oil. All neutral with high smoke points. Peanut is the classic and it’s marginally better, but I wouldn’t make a special trip for it.
Can I make it in the air fryer or the oven?
You can, and I’ve got a whole air fryer fried chicken recipe if that’s your plan. For the oven, dredge as usual, spray the pieces well with oil, and bake at 425°F on a wire rack until they hit 165°F. It’s good. It isn’t the same, and I’d rather be straight with you about that.
How do I reheat it and keep it crispy?
Oven or air fryer, always. 375°F on a wire rack for 15 to 20 minutes. Not the microwave.