Easy Homemade Naan
This post may contain affiliate links. Please read my disclosure policy.

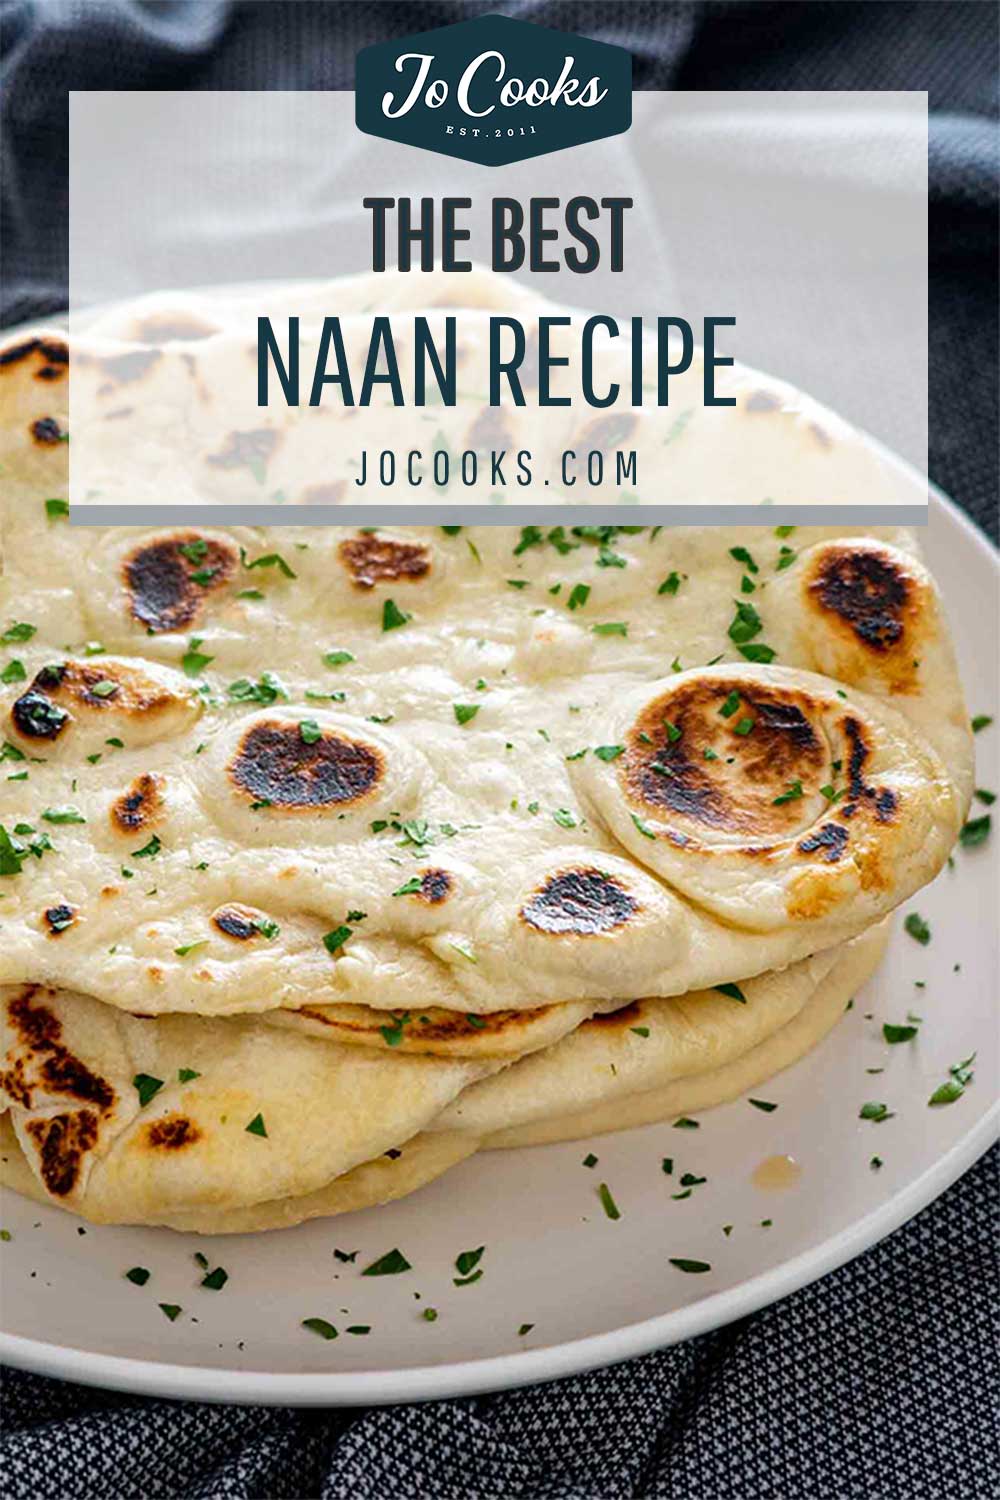
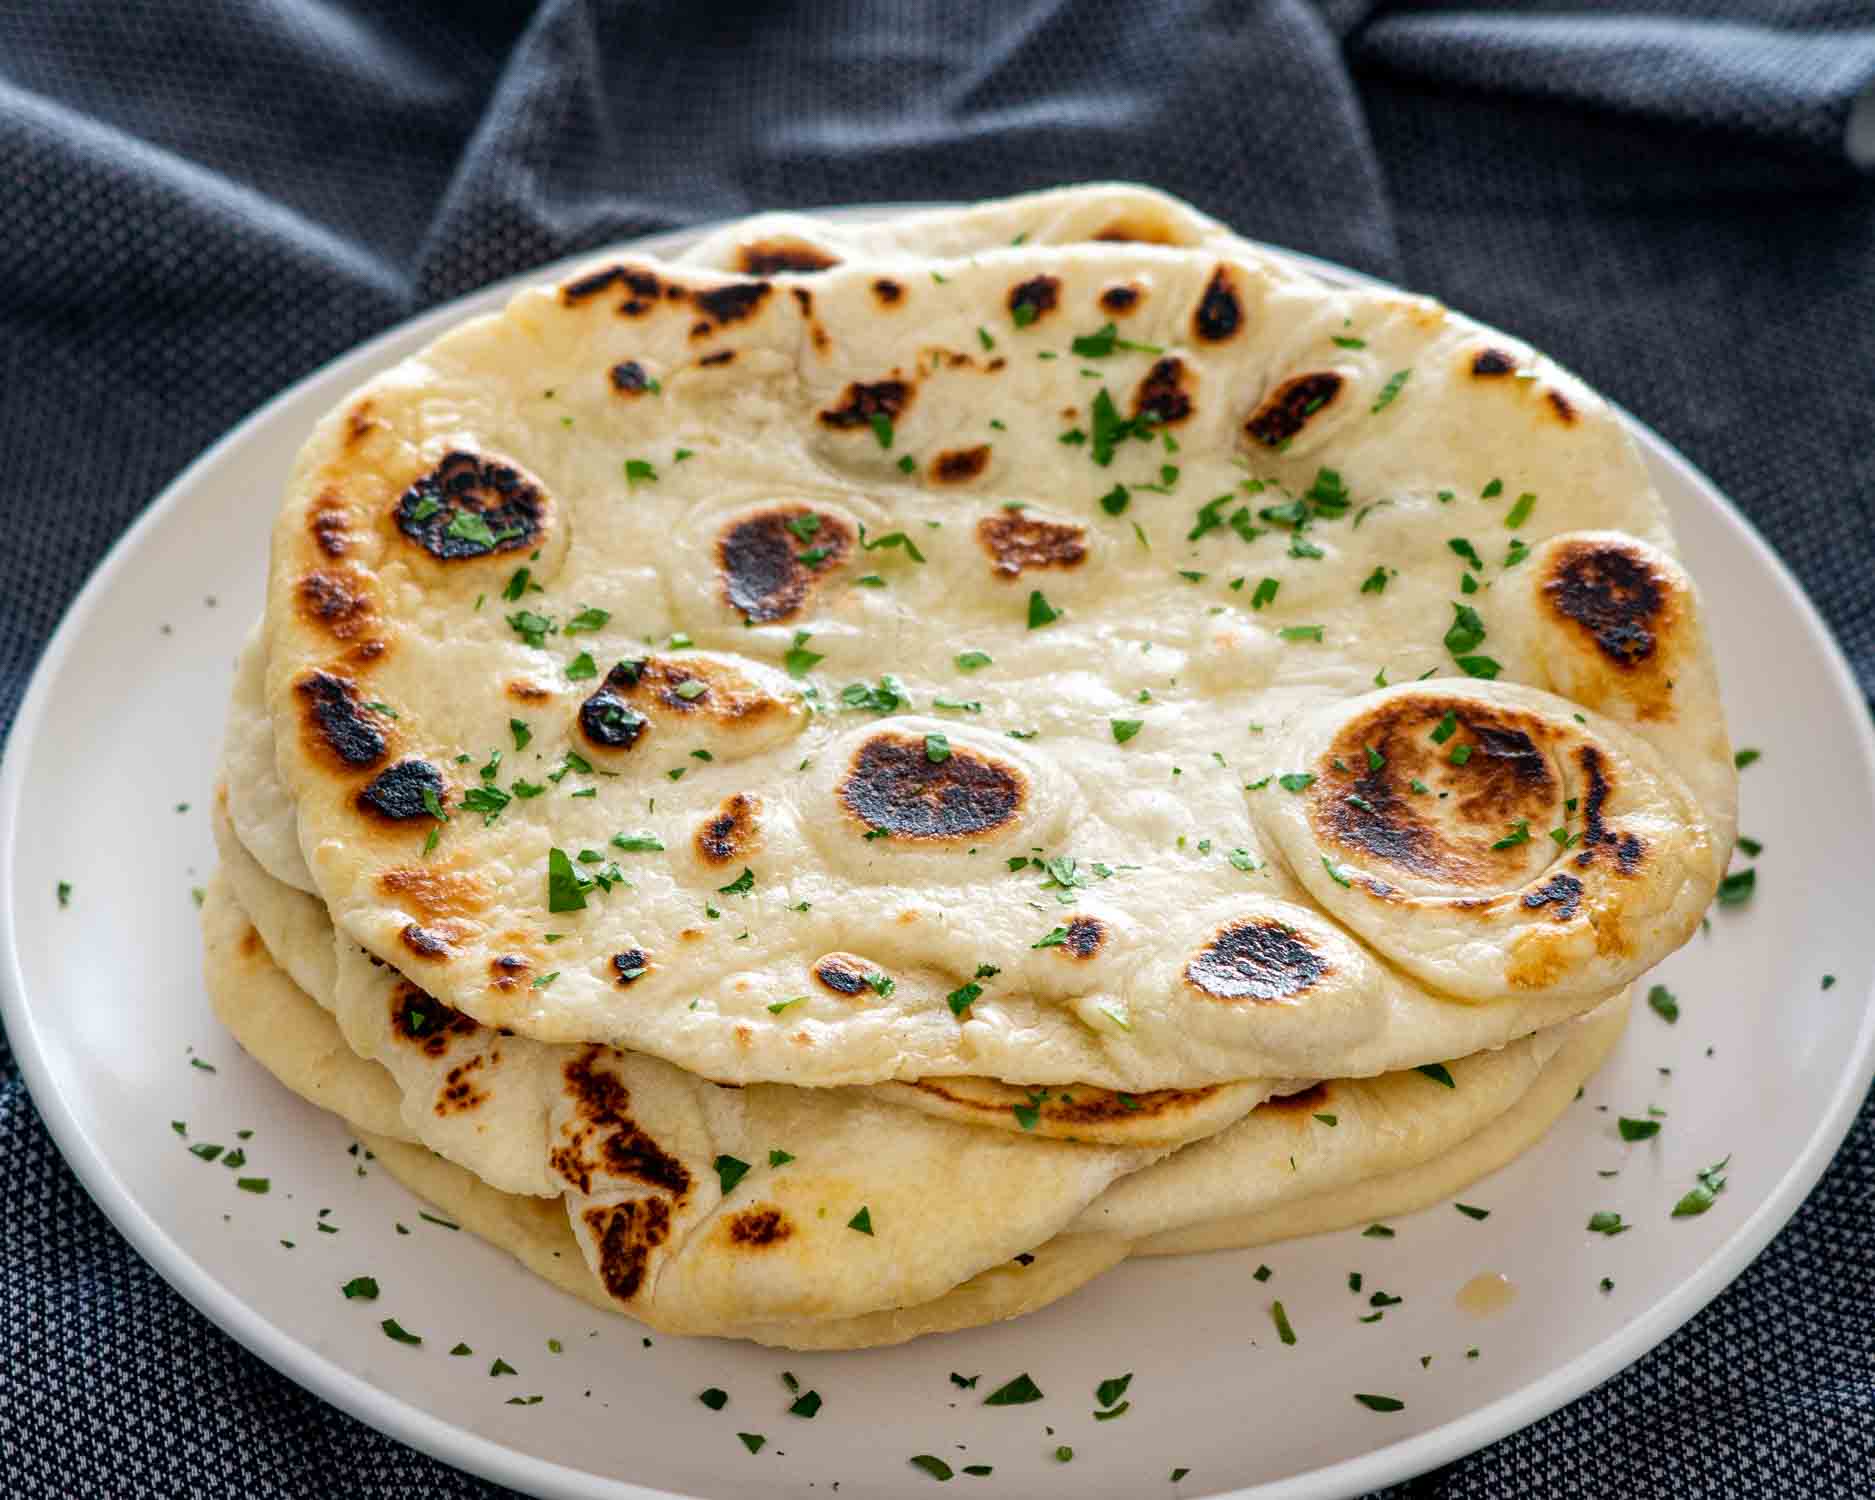
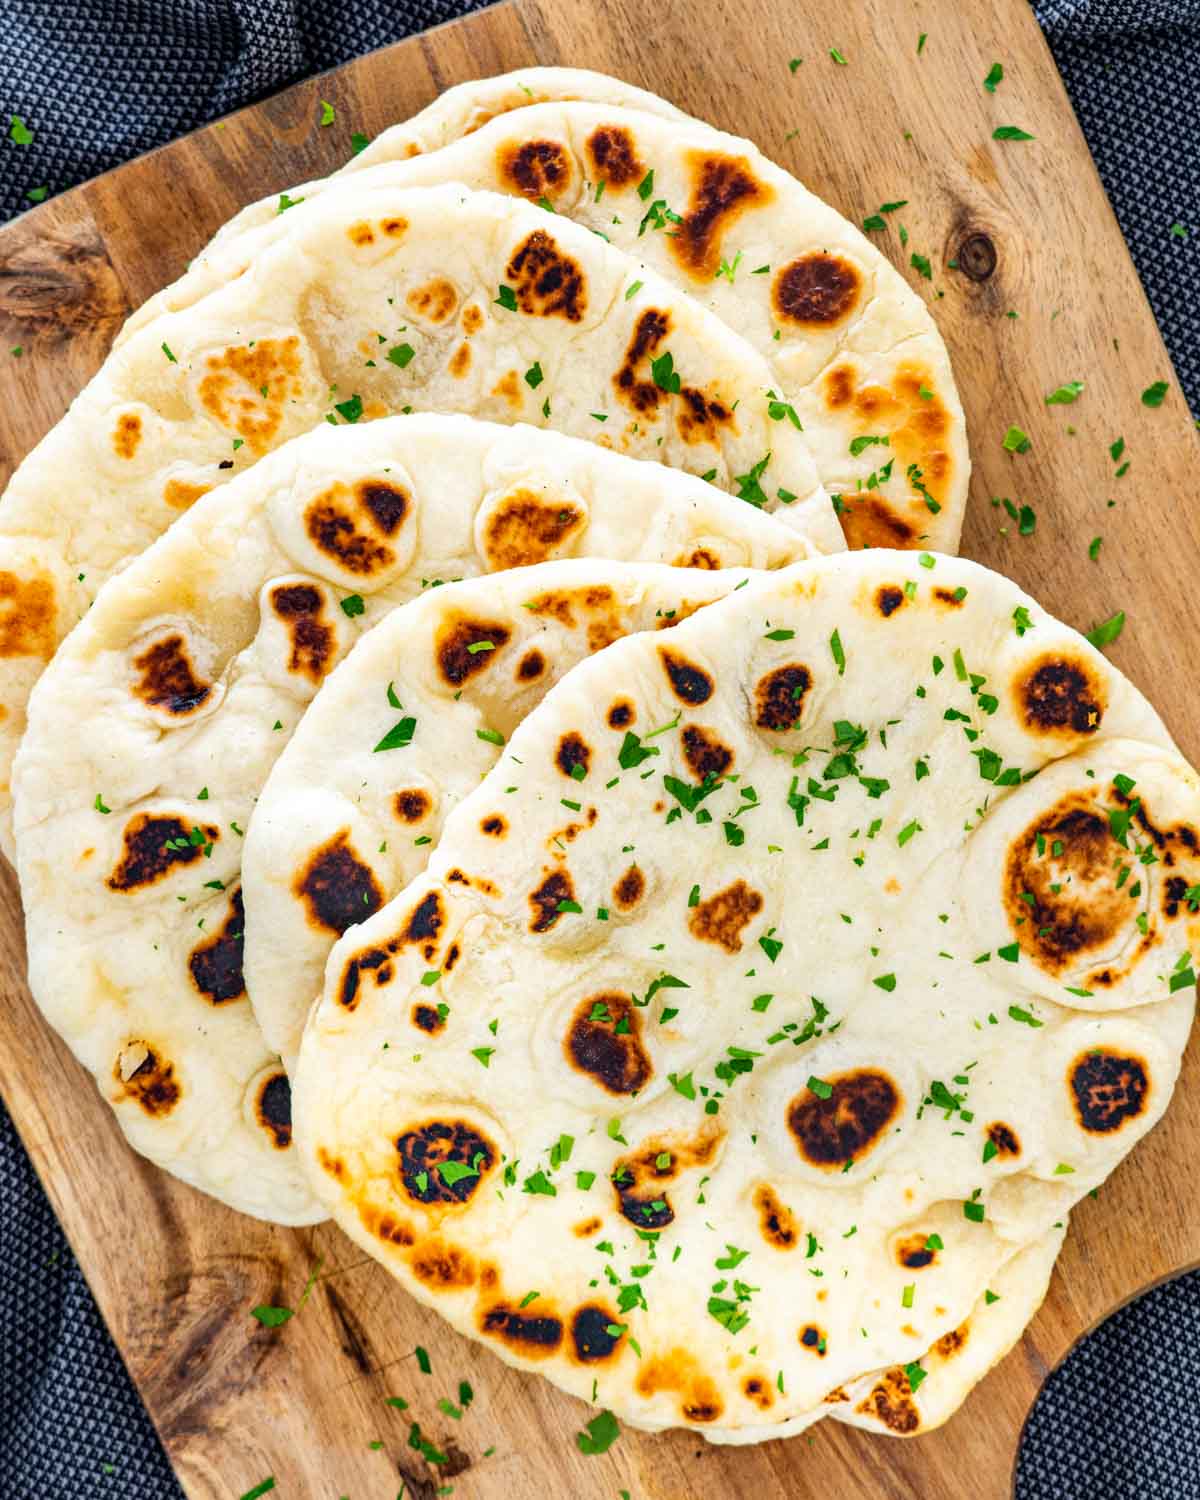
Easy Homemade Naan – soft, warm, and buttery flatbread that’s pan cooked to bubbly, golden perfection. No tandoor, no problem.

Originally shared in September 2017. Updated with new step-by-step photos, video, and clearer instructions to make sure your naan turns out soft, fluffy, and restaurant worthy every single time.

Restaurant Style Naan, No Takeout Required
I’ve made a lot of bread in my day, fluffy rolls, crusty loaves, even the occasional emergency focaccia, but naan? Naan is my soft spot. It’s the bread I always order at Indian restaurants, then immediately regret not ordering more of. It’s chewy, warm, slightly tangy, and perfect for scooping up all the good stuff, curries, hummus, sauces, or honestly just melted butter.
I’ve been making this for years now, tweaking little things here and there until I landed on a version that I’ll happily eat plain, straight out of the pan. This easy homemade naan is pan cooked, no fancy oven needed, and comes out soft and bubbly with those signature golden spots. Brush it with butter, add a little parsley if you want, and just like that, you’ve made flatbread magic.
Why You’ll Love This Easy Homemade Naan
- Soft, Chewy, Buttery Bliss. This isn’t dry, cardboard flatbread. This is warm, pillowy, pan cooked perfection.
- No Special Equipment Needed. No tandoor? No problem. A hot skillet is all you need.
- Pairs With Everything. Curries, soups, saucy pastas, or just a slab of butter, this naan’s a team player.
- Tested, Tweaked, Foolproof. I’ve made this so many times I could roll it out in my sleep (and probably have).
- Freezer-Friendly. Make a batch, stash it away, and enjoy warm naan on demand. You’re welcome.
- Use fresh yeast. If your yeast doesn’t foam after a few minutes, it’s probably dead. Toss it and start again, it’s not worth wasting the rest of the ingredients.
- Water temp. Aim for lukewarm, around 105–110°F. Too cold = no rise. Too hot = yeast funeral.
- Yogurt is key. It gives the naan that soft, slightly tangy bite. Greek yogurt works best, but regular plain yogurt is fine too.
- Don’t skip the rest time. That dough needs at least 30 minutes to rise. No shortcuts here unless you want sad, dense naan.
- Cooking oil vs butter. You’ll cook them in oil, but the magic happens when you brush them with melted butter after, do it while they’re hot so it soaks right in.
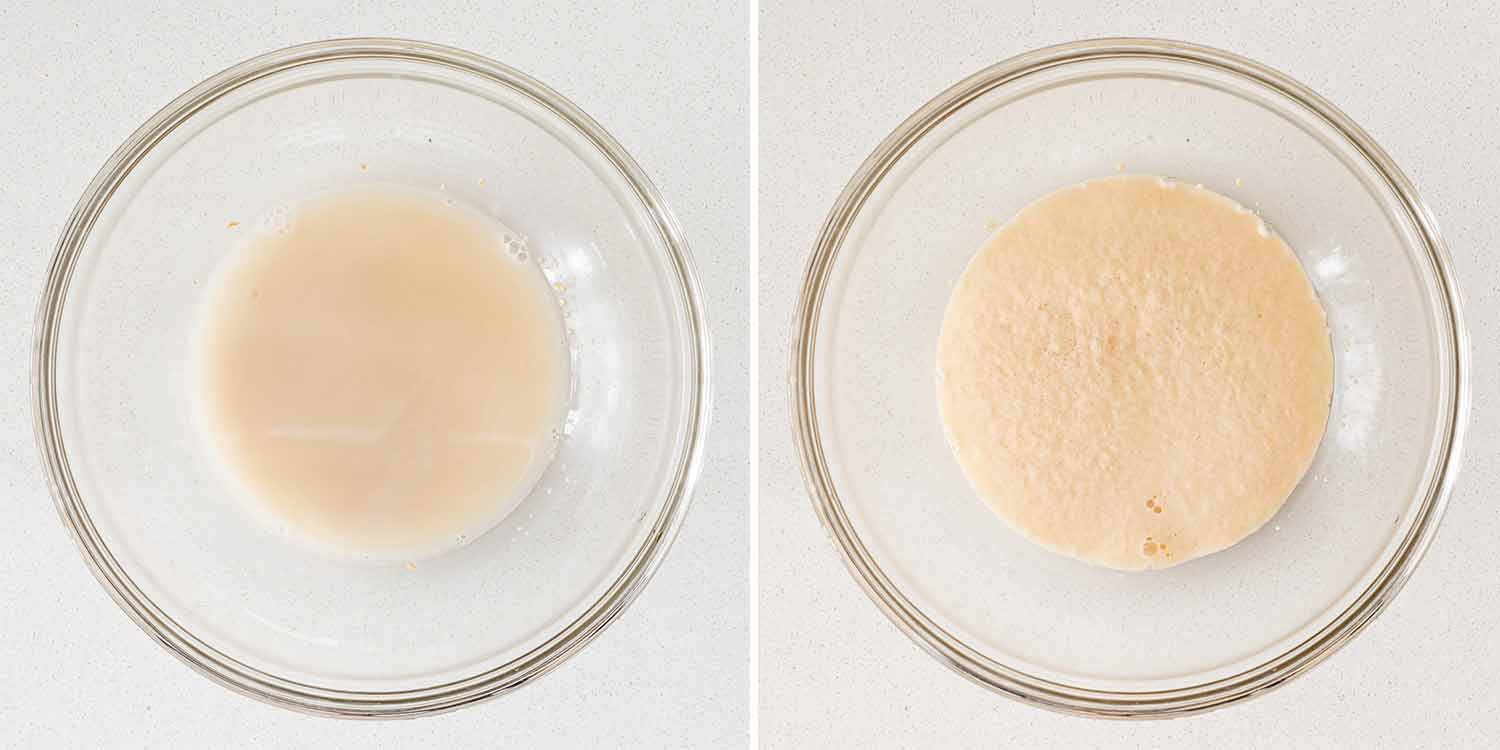
In a medium bowl, whisk together the yeast, sugar, and warm water. Let it sit for about 5–10 minutes until it looks foamy on top. No foam? Start over, your yeast might be expired or the water too hot.
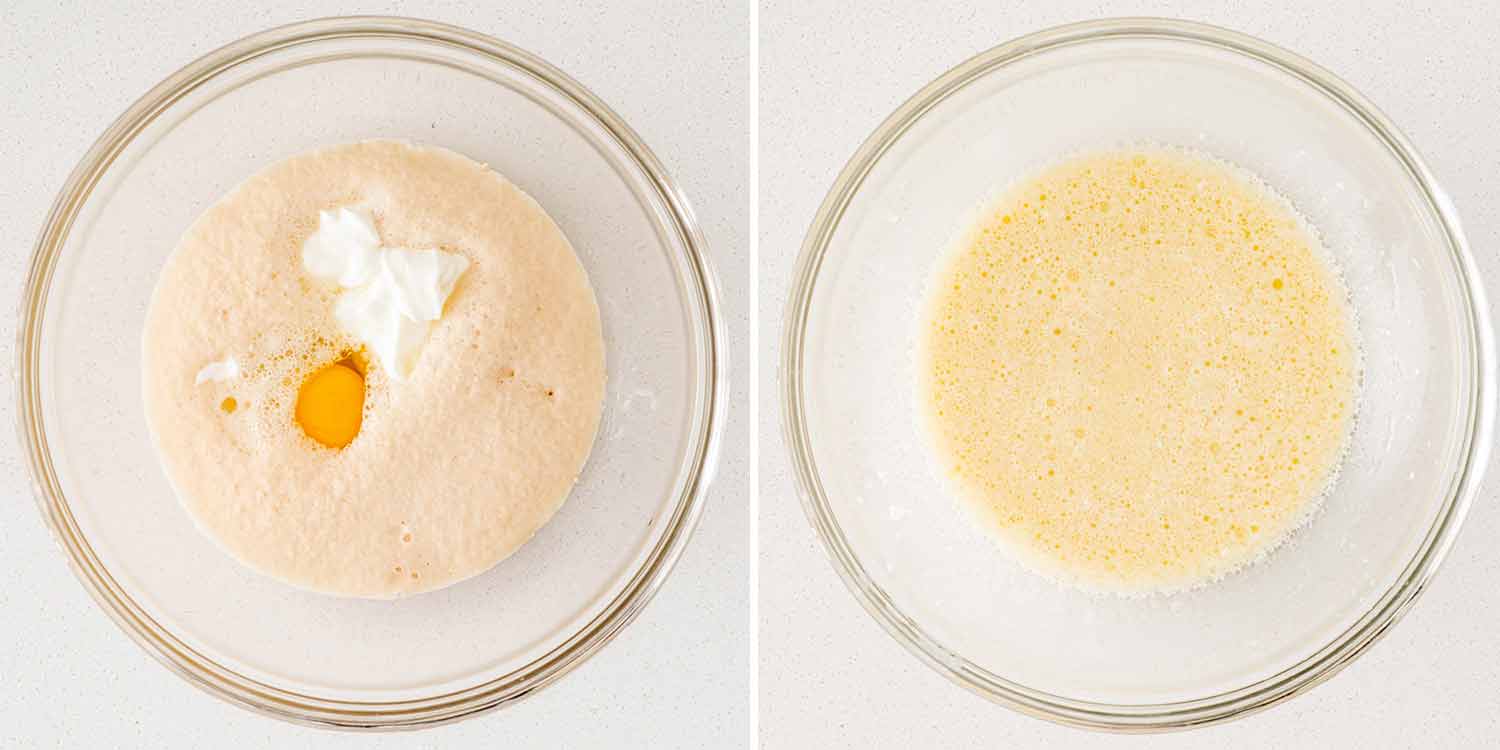
Add the oil, yogurt, and egg to that same bowl. Whisk it all together. This is the mixture that makes the naan soft and flavorful.

In your stand mixer bowl, combine flour and salt. Pour in the wet mixture and mix on low until it all comes together into a dough. If it’s sticky, add a little more flour, just enough to make it soft and easy to handle.
Place the dough in a lightly oiled bowl, cover it with a towel or plastic wrap, and let it rise in a warm spot for 30 minutes to 1 hour. I like popping it into a turned-off oven that was preheated to low, it speeds things up. You’re aiming for doubled in size.
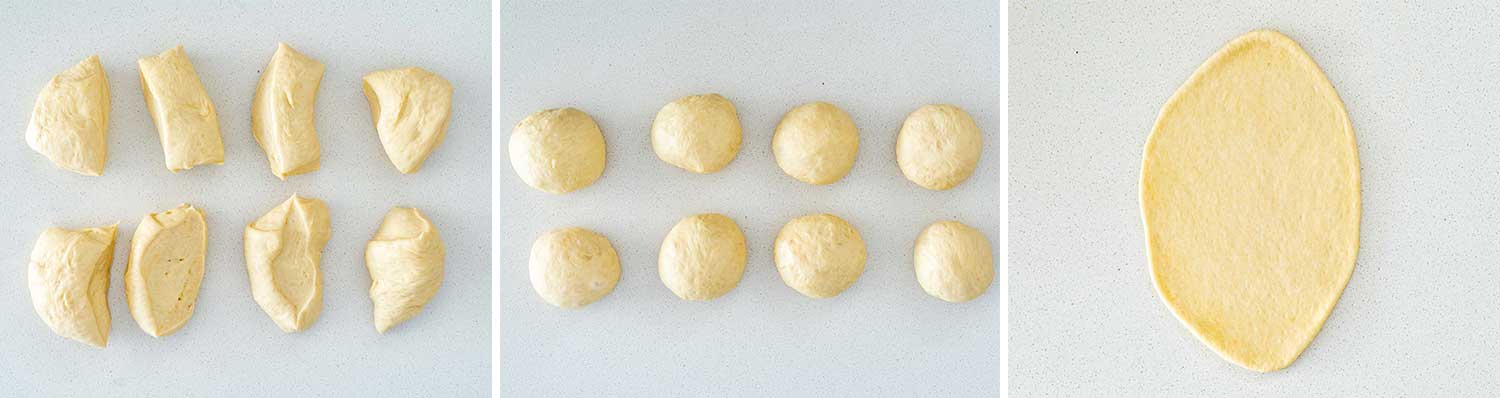
Once the dough has risen, punch it down gently and divide it into 8 equal pieces. Roll each one into a ball, then flatten and roll out into rounds about ⅓ inch thick and 5 inches wide. (Not perfect circles? Even better.)

Heat a cast iron skillet over medium-high heat with a teaspoon of oil. Once hot, add one dough round and cook for about 1 minute, until bubbles puff up and the bottom gets golden spots. Flip and cook the other side. Repeat with the rest.
As they come off the skillet, brush each naan with melted butter while they’re still hot so it soaks in. Sprinkle with chopped parsley if you want. (Or not. I’m not the butter police.)
Serving Suggestions
This naan goes with everything. Here are some of my favorite things to serve it with:

Lentil Soup

Coconut Chicken Curry
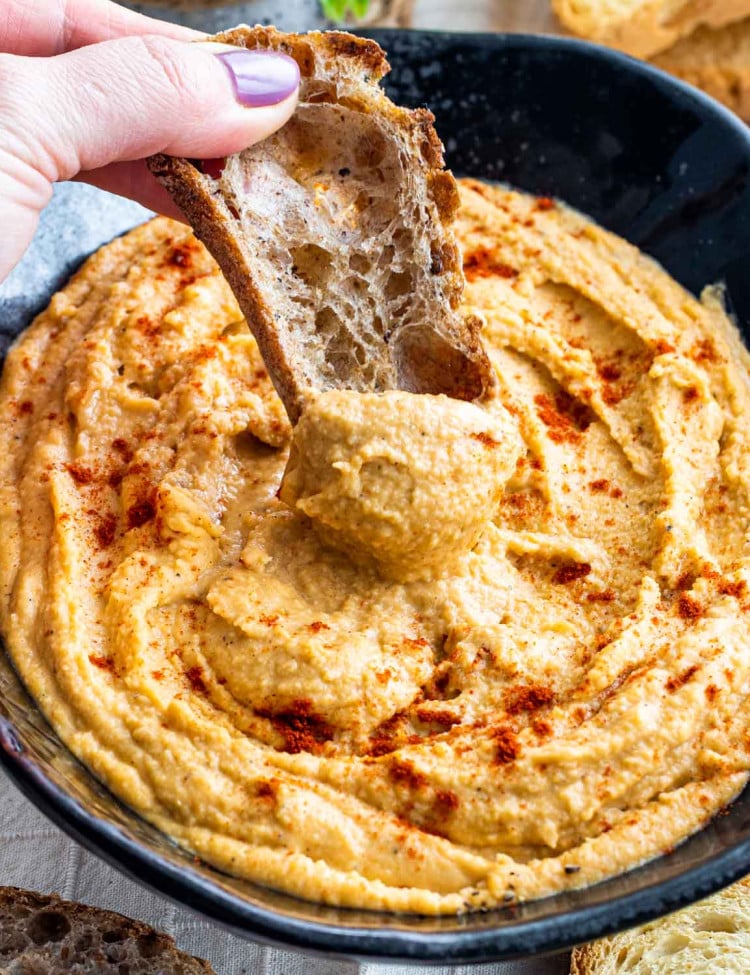
Red Lentil Hummus

Indian Lentil Curry

Frequently Asked Questions
What’s the difference between naan and pita?
Naan is softer, fluffier, and richer, thanks to the yogurt and egg in the dough. Pita is more neutral and often used as a pocket bread. Naan is the one that steals the spotlight (and your attention) at the dinner table.
Do I need a cast iron skillet?
It’s not mandatory, but it’s highly recommended. Cast iron holds heat like a champ and gives you those signature charred bubbles. A heavy-bottomed nonstick pan works too, just make sure it gets hot.
Why didn’t my dough rise?
Nine times out of ten, it’s the yeast. Make sure it hasn’t expired and your water is the right temp, 105–110°F is ideal. Too hot and you’ll kill it, too cold and it won’t activate. (Also, don’t skip the sugar, it feeds the yeast.)
Can I cook this on a grill?
Absolutely! Brush one side with oil, toss it straight onto a hot grill, and cook like you would in a skillet. You’ll get amazing smoky flavor and killer grill marks. Just keep an eye on it, it cooks fast.
Can I freeze the dough or cooked naan?
Yes and yes. You can freeze the dough after it rises, just portion it into balls, wrap tightly, and thaw overnight in the fridge before rolling out. Cooked naan can be frozen too, stack with parchment between and reheat in a dry skillet or toaster oven.
Can I make this gluten-free?
You can try using a 1:1 gluten-free flour blend, but just a heads up, it won’t be quite the same texture. Soft and chewy naan is all about that gluten network.
Can I flavor the dough?
Totally! Mix in minced garlic, chopped herbs, or a pinch of cumin, turmeric, or chili flakes right into the dough.
Storage + Freezing
- Room Temp: Let the naan cool completely, then store in an airtight bag or container at room temperature for up to 3 days. Keep it wrapped in a clean towel if you’re serving the same day, it’ll stay soft and warm longer.
- Freezer: Freeze cooked naan in a zip-top bag with parchment between each piece (so they don’t stick). They’ll keep beautifully for up to 2 months. To reheat, just toss one into a hot dry skillet for 1–2 minutes or warm in the oven at 350°F (177°C) until soft.
- Pro Tip: Brush with fresh butter after reheating to bring back that just-cooked vibe. It makes all the difference.
Try These Recipes Next
Before You Begin! If you make this, please leave a review and rating letting us know how you liked this recipe! This helps our business thrive & continue providing free recipes.

Easy Homemade Naan
Video
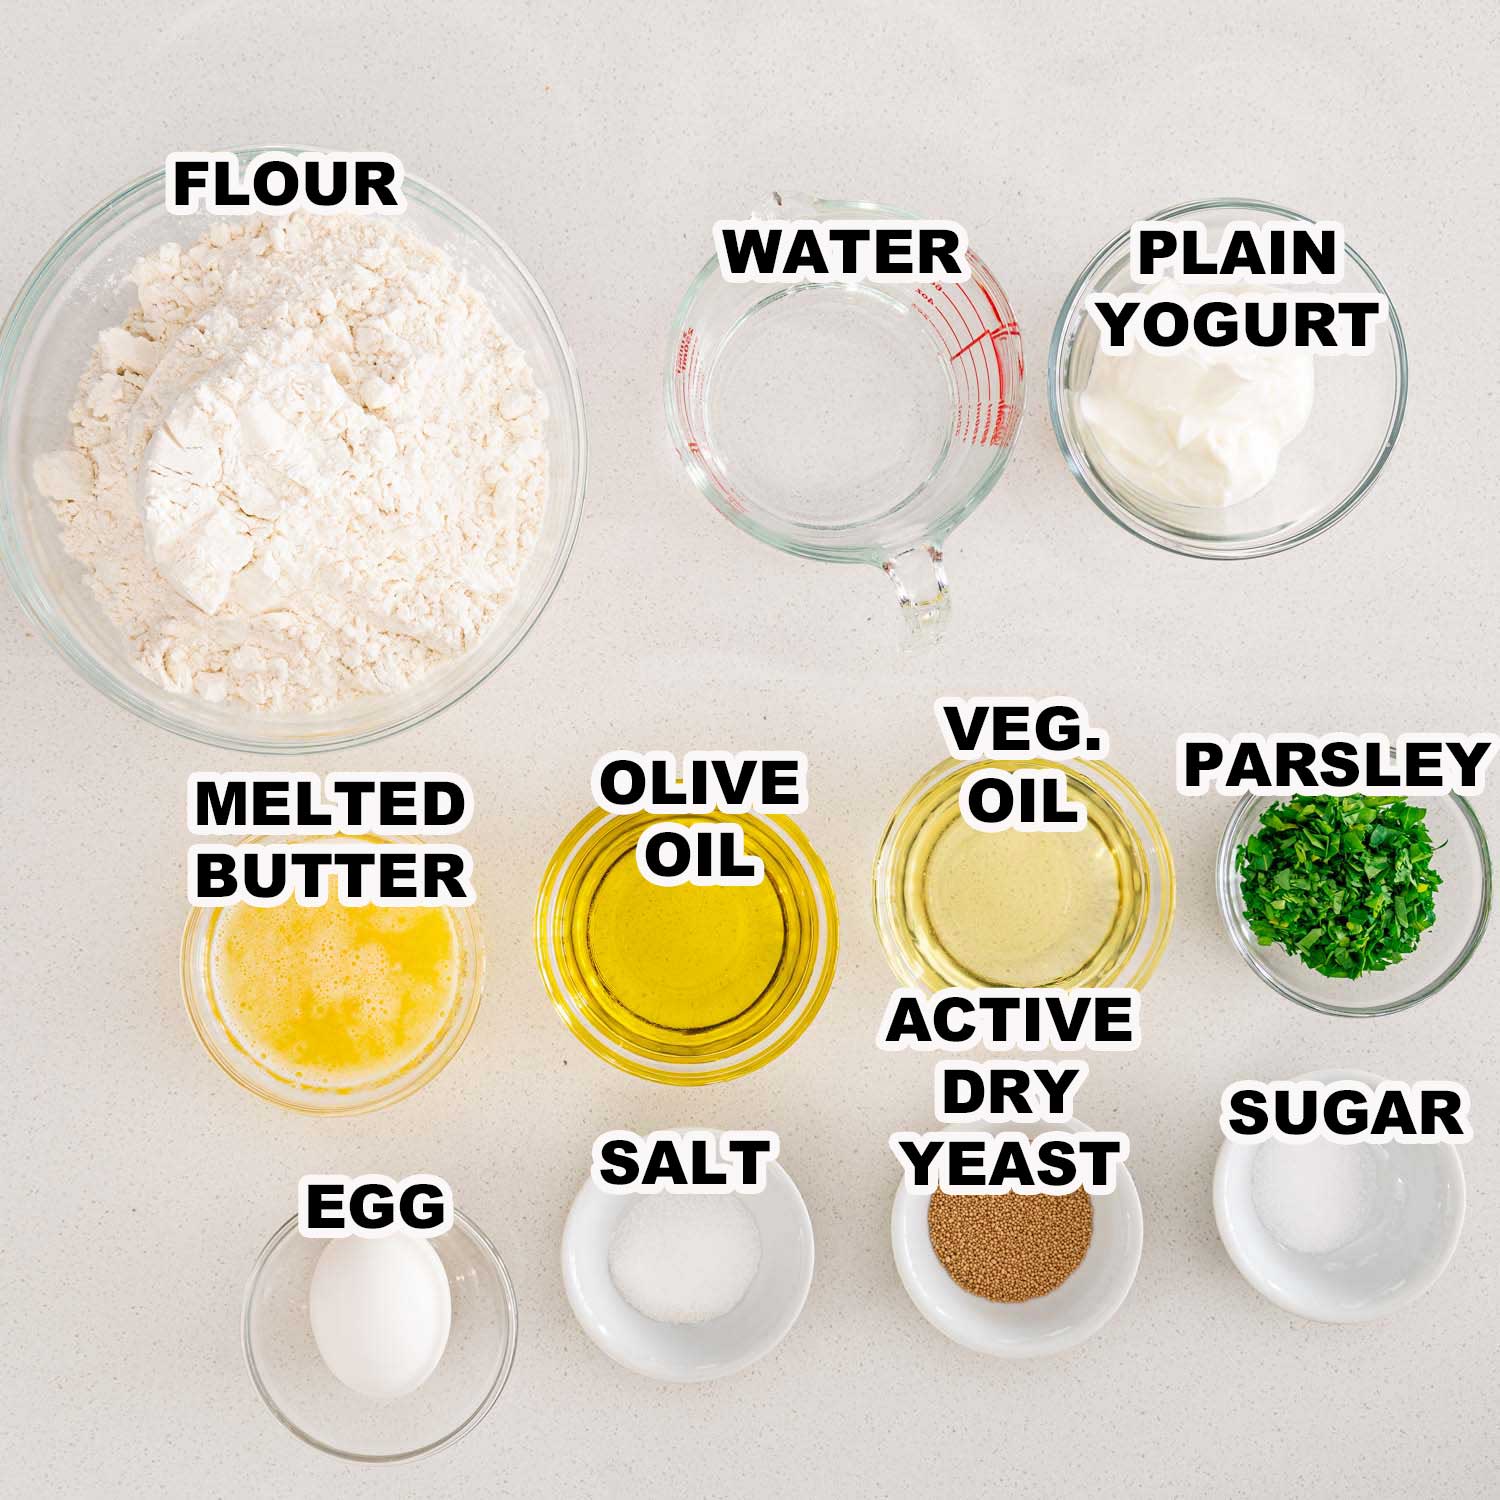
Ingredients
For Dough
- 2 teaspoon active dry yeast
- 1 teaspoon sugar
- ½ cup water (lukewarm)
- ¼ cup vegetable oil
- 1 egg (large)
- ¼ cup yogurt (plain)
- 2½ cups all-purpose flour
- ½ teaspoon salt
Other
- 12 teaspoon olive oil
- 4 tablespoon butter (melted)
- 2 tablespoon parsley (chopped)
Before You Begin! If you make this, please leave a review and rating letting us know how you liked this recipe! This helps our business thrive & continue providing free recipes.
Instructions
- If your oven has a proof setting, preheat it to the proof option, otherwise turn on your oven to the lowest heat, mine is around 170°F. Turn it off once it's come to that heat.
- In a medium bowl, combine the yeast, sugar and water. Lightly whisk it all together, then let it sit for about 5 to 10 minutes or until the yeast dissolves and starts to foam.
- To the same bowl, add the oil, yogurt, egg and whisk well. Set aside.
- To the bowl of your mixer, combine the flour with the salt. Add the yeast mixture and mix for a couple minutes, until the dough comes clean from the sides of the bowl. If the dough is too wet, add a bit more flour, starting with a tablespoon at a time. The dough should be nice and soft but not sticky.
- Place the dough in an oiled bowl and cover it with a clean kitchen towel or plastic wrap. Place the bowl inside the preheated oven and allow the dough to rise for about 30 minutes to 1 hour or until doubled in size. I use this trick all the time to speed up the rising time. Mine only took about 40 minutes, so the time depends on your yeast and your environment.
- After it rises, cut the dough into 8 equal pieces and shape each piece into a small ball.
- Heat a large cast iron skillet over medium-high heat and add about 1 tsp of olive oil. Roll out one ball at a time until it's about 1/3 inch thick and about 5 inches in diameter. Add the piece of rolled dough to the hot skillet and cook for about 1 minute. The skillet should be very hot, so you'll see bubbles forming as you cook the dough on the first side. Flip the dough and cook the other side until the bottom is golden.
- Repeat with remaining dough until all of the pieces are cooked. Keep the naan covered in a towel so that it doesn't dry out. When all of them are cooked, brush each one with the melted butter and garnish with some parsley.
Equipment
Notes
- Yeast check: If it doesn’t foam, don’t use it, your naan won’t rise properly.
- Sticky dough? Add flour 1 tablespoon at a time until it’s soft but no longer sticking.
- Cast iron = best results, but any heavy pan will do the job.
- Brush with melted butter while hot so it soaks in, game changer.
- Freeze leftovers! They reheat beautifully and make the best lazy day bread.
Nutrition Information
Notice: Nutrition is auto-calculated for your convenience. Where relevant, we recommend using your own nutrition calculations.
