Beer Can Chicken
This post may contain affiliate links. Please read my disclosure policy.
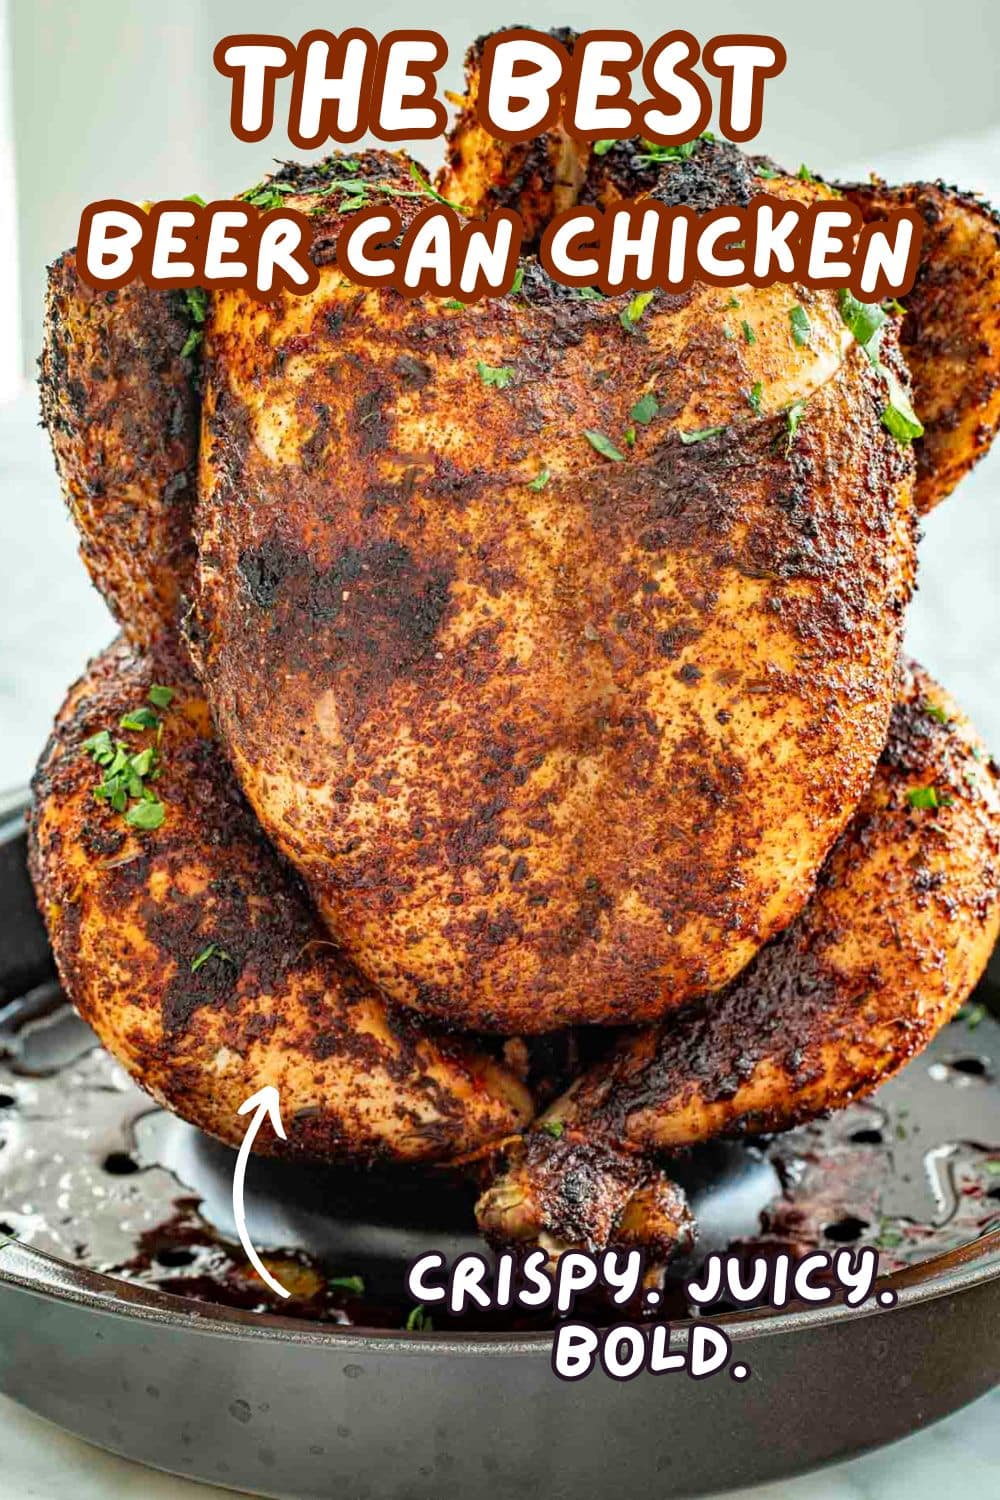
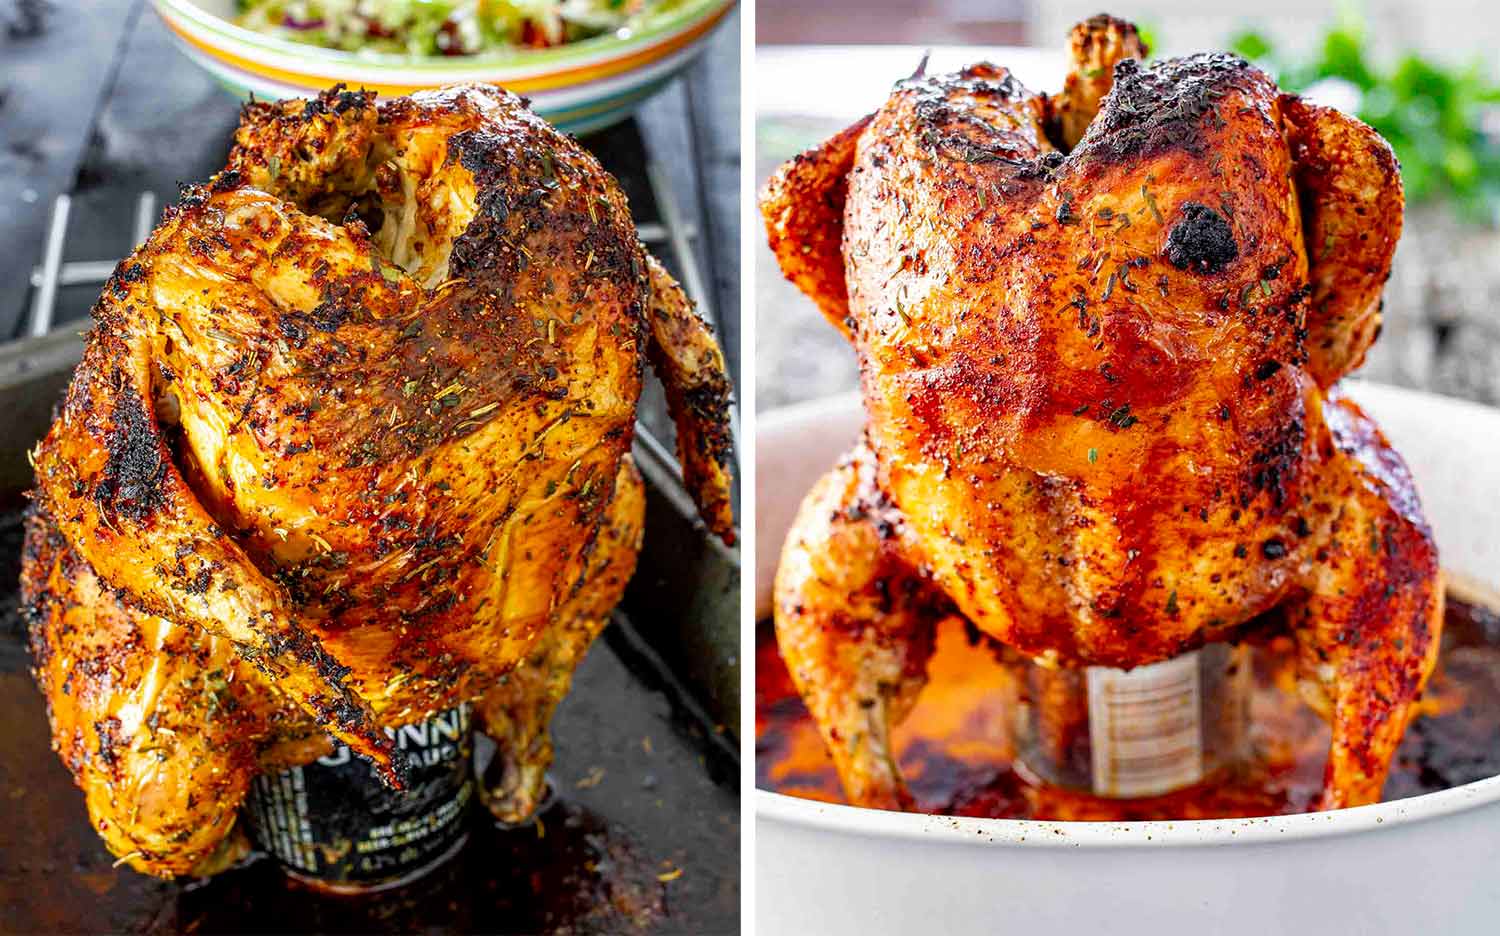
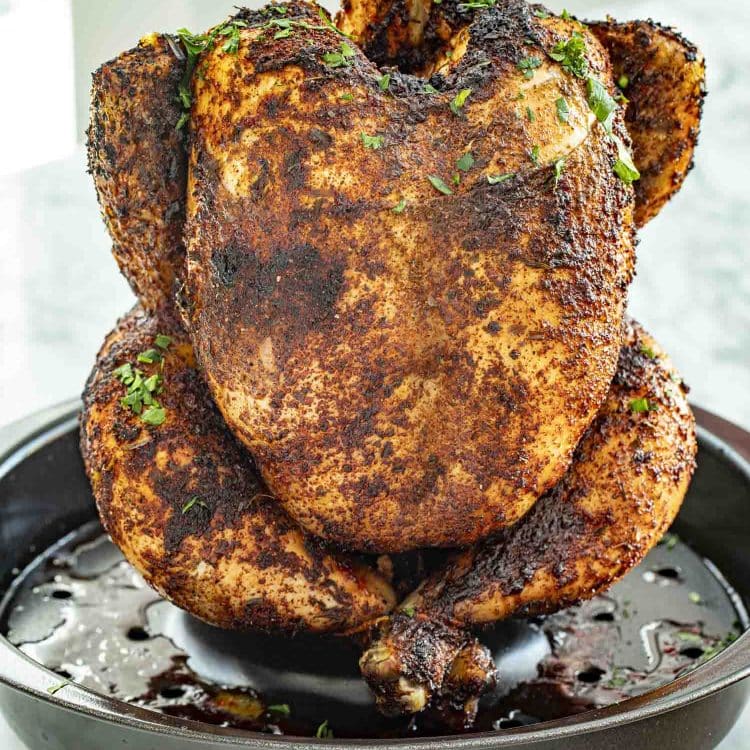
Beer Can Chicken – crispy skin, juicy meat, and a can of beer holding it all together. Ridiculous? Yes. Delicious? Also yes.


Crispy, Juicy Beer Can Chicken
Beer can chicken has quietly become one of those go-to meals in our house, the kind that gets requested often, especially when comfort food’s on the brain. I’ve made it for lazy Sundays, casual dinners, even a few impromptu “just because” meals. It’s simple, juicy, full of flavor, and somehow feels a little special even though it’s the easiest thing to pull off. The doodles? They just pace around the oven like it owes them something.
Over the years, I’ve made this chicken every way you can imagine. I’ve balanced it on baking sheets, nestled it into casserole dishes, even propped it up MacGyver-style when the can wobbled mid-roast. It always worked, but it wasn’t always graceful. Then I found a beer can pan with a little holder built in, and suddenly, it felt like I leveled up. No more toppled chickens, no more slipping cans, just beautifully roasted chicken, every single time.
WOW WOW WOW! Never made beer can chicken, but always wanted to. This DID NOT disappoint. I used a bigger bird (almost 7lbs) but it still only took 1 hr 15 mins. Soooo moist!! Will be making this over and over again!! ~Channe
Why You’ll Love This Beer Can Chicken
- Juicy, every time: The steam from the beer keeps the chicken unbelievably moist without needing to brine or babysit it.
- Crispy skin, top to bottom: No soggy bottoms here, this upright method gets the whole bird golden and crisp.
- Works in the oven or on the grill: Rain or shine, you’ve got options.
- Minimal prep, big payoff: Mix a rub, pop a can, roast. It basically cooks itself.
- Leftovers? Amazing. Sandwiches, salads, wraps, this chicken keeps on giving.
Amazing results! I had a similar recioe I’ve use, but the taste of these ingredients is much better! Loved it!! ~Colleen

Before You Start: Tips & Ingredient Notes
- Use a sturdy pan if you’ve got one. You can make this in a baking sheet or a small casserole dish, I’ve done both, but balancing the chicken upright can be a bit complicated. These days I use a beer can chicken pan that holds the can in place, and honestly, it just makes things less stressful.
- Choose a smaller bird. Somewhere between 3–4 pounds is the sweet spot. Bigger chickens tend to tip, cook unevenly, or worse, get stuck on the can. Trust me, it’s not fun wrestling a greasy chicken off a half empty beer.
- Beer matters less than you think. Use whatever’s in the fridge. I’ve tried everything from Pilsners to IPAs, this is not the time to stress about craft notes or malt balance. The beer steams and keeps it moist; you won’t taste it much.
- Spices: don’t be shy. This rub works, but if you’re feeling bold, mix it up. Try thyme, cumin, oregano, this is your bird, make it yours. Just don’t skip the brown sugar. It’s the secret to that beautiful caramelized skin.
- Grill or oven? Your call. This works great on a gas grill or in the oven, just follow the same general timing and keep an eye on your thermometer. You’re aiming for 165°F (75°C) in the thickest part of the thigh.
We absolutely love this beer can chicken. This recipe is on regular rotation in our house! Once when short of time, I split my whole chicken into eight pieces and simply roasted it in the oven – it was done to perfection in 40 minutes on 220 C. And nearly as good as the BBQ version! ~Chay
Crank your oven to 425°F (220°C). If you’re using a roasting pan with a beer can holder, great. If not, place a small roasting pan on a baking sheet to catch any drips (and prevent oven drama).
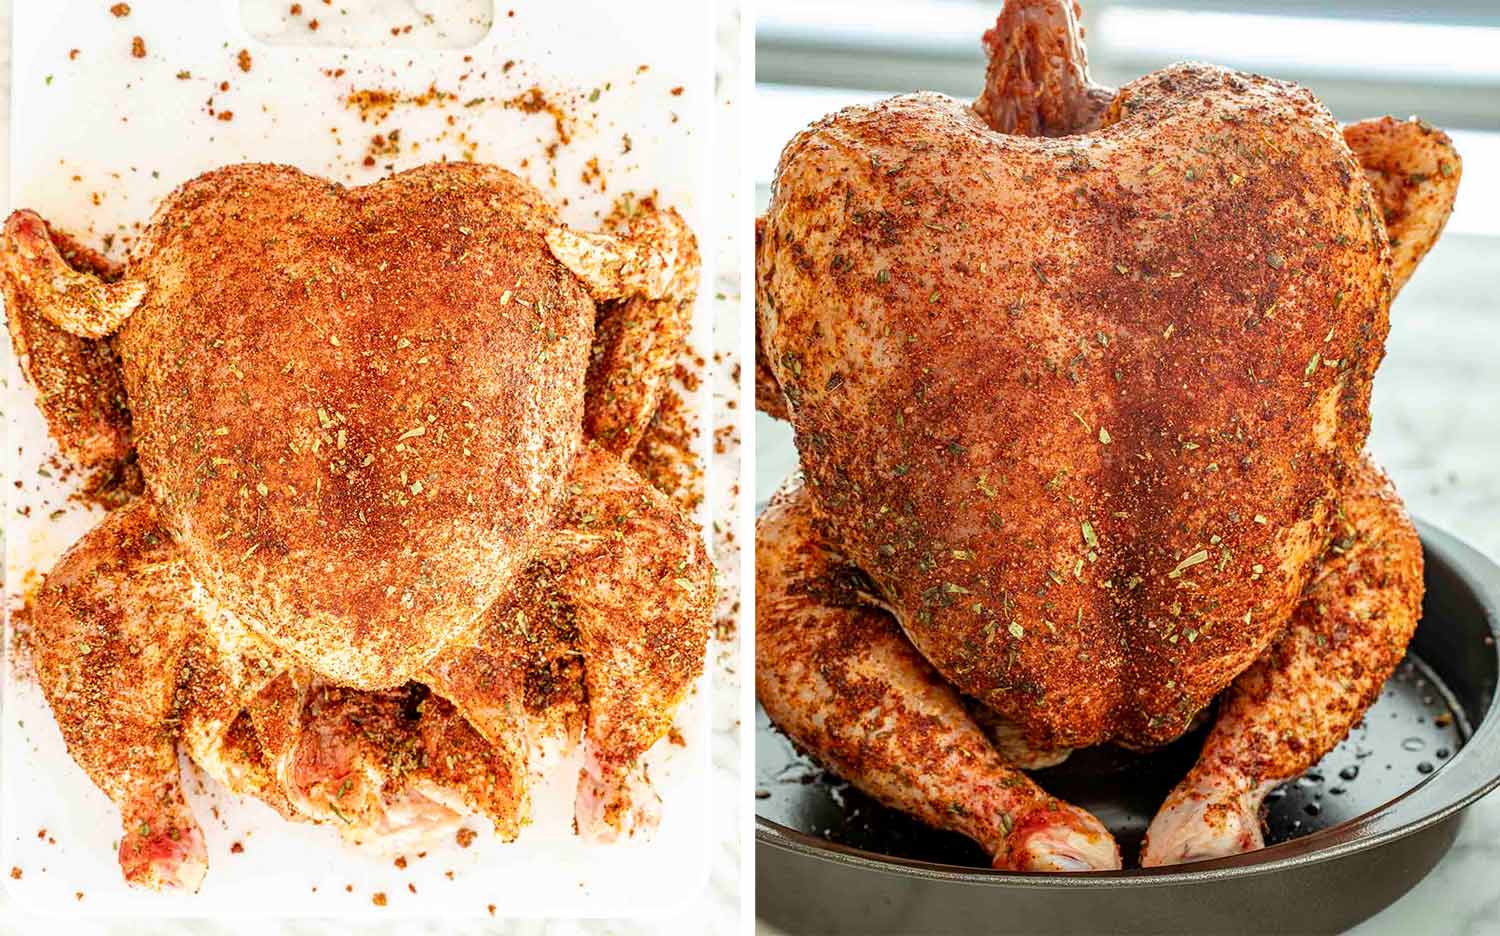
In a bowl, mix together the rub: brown sugar, smoked paprika, tarragon, garlic powder, chili powder, salt, and pepper. Drizzle the olive oil all over the chicken and massage it in like you mean it. Then coat it with the rub, every nook, every cranny.
Crack open the beer and pour out about ¼ of it (or sip it, no judgment). Place the can in the center of your pan or beer can holder. Carefully lower the chicken onto the beer can so it’s sitting upright.
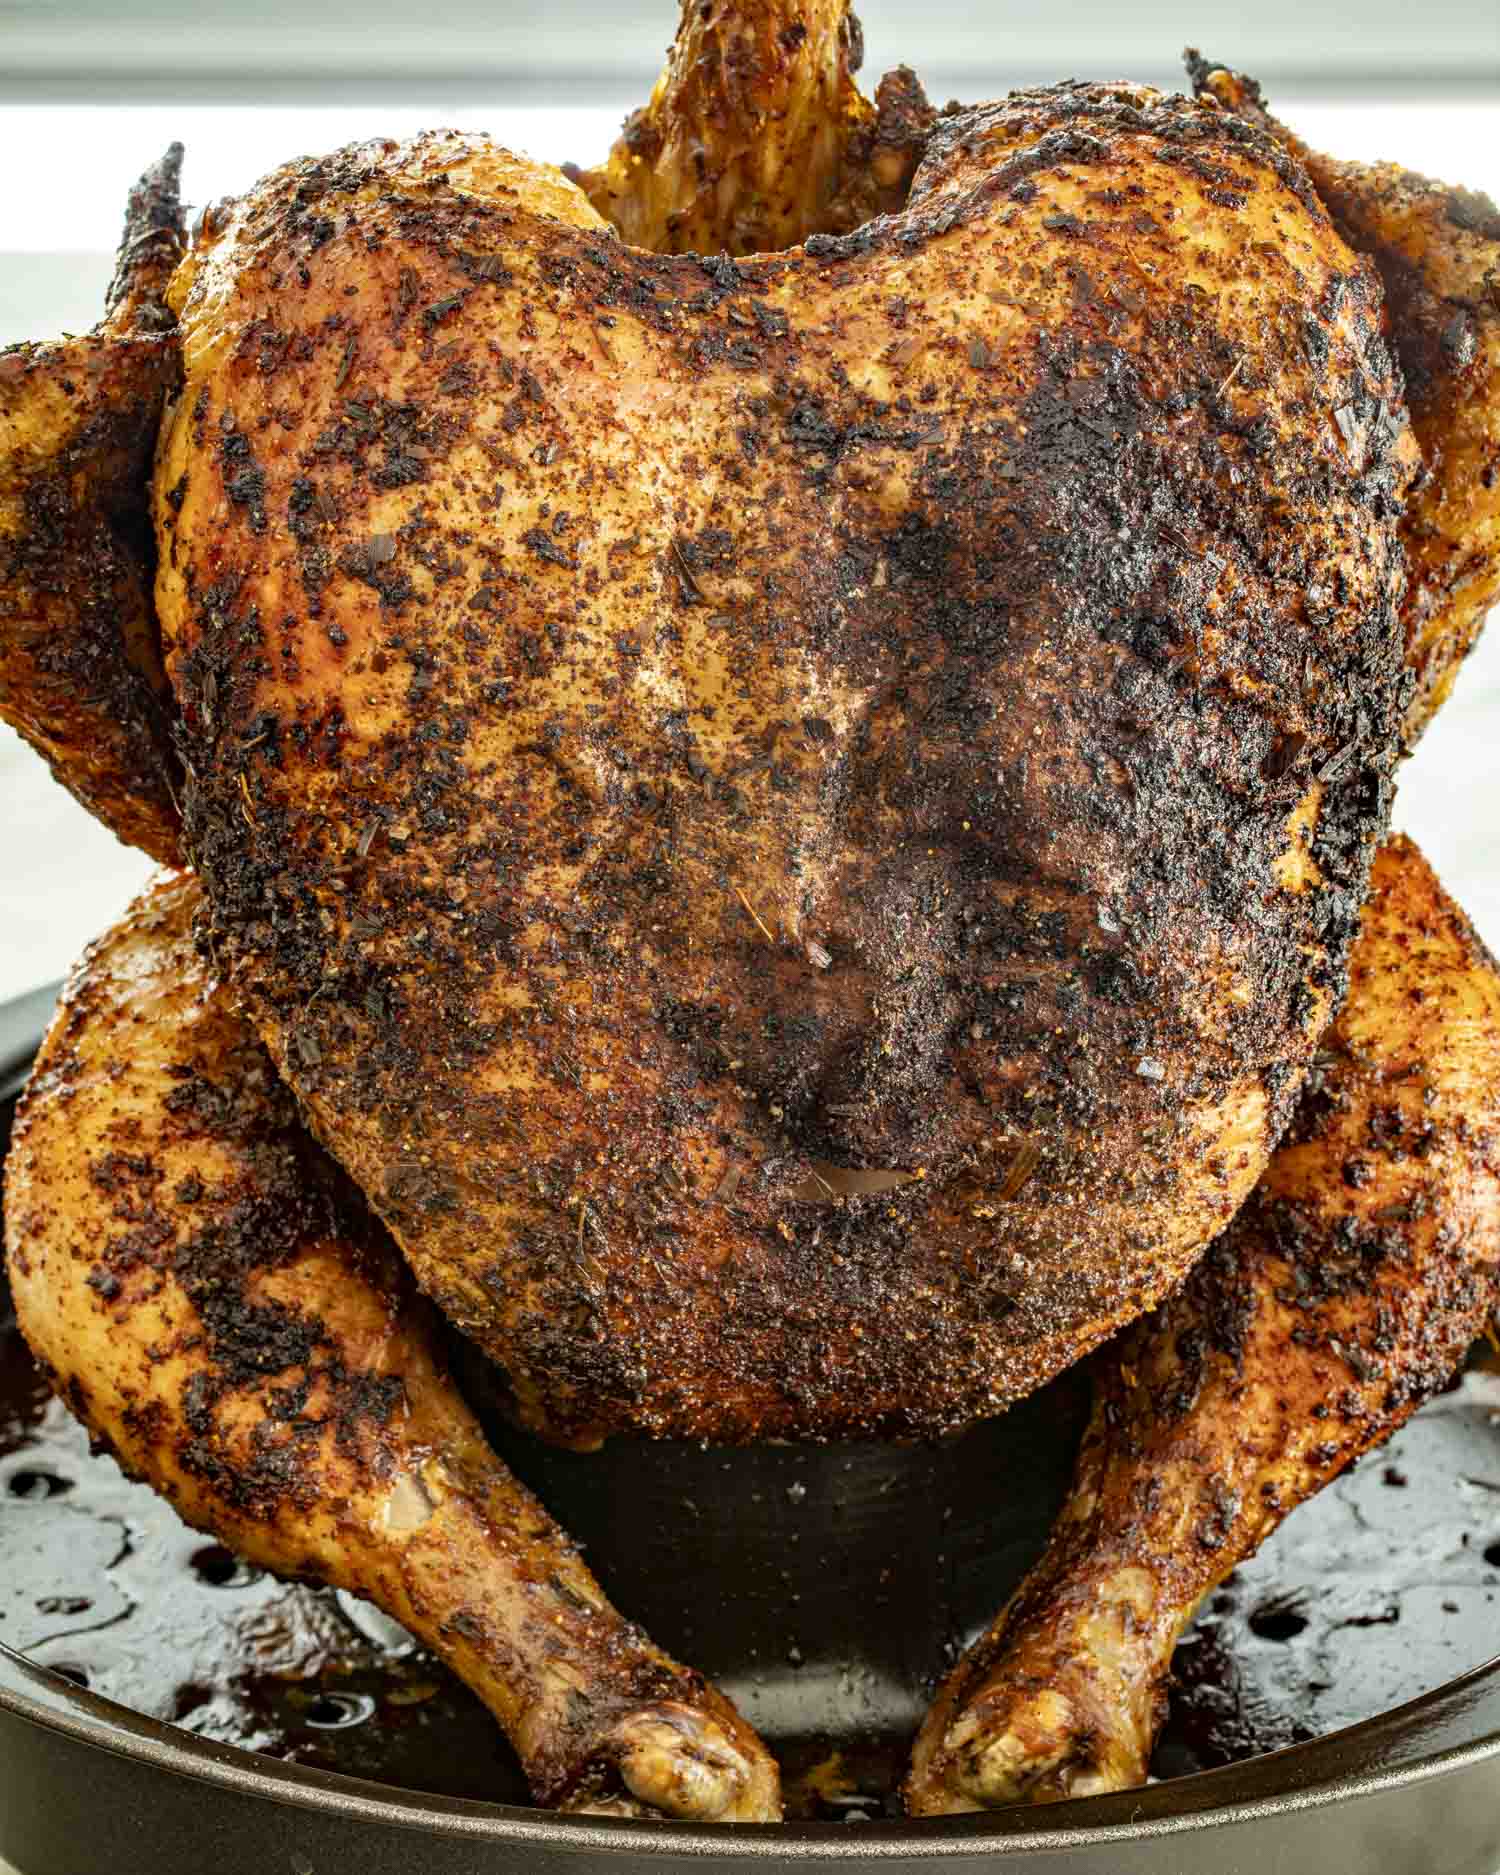
Transfer the pan to the oven and roast for about 1 hour and 15 minutes, or until the skin is golden and a thermometer reads 165°F (75°C) in the thickest part of the thigh. Once out of the oven, don’t carve right away. Tent it with foil and let it rest for 15 minutes, this locks in the juices.
Can You Use a Regular Pan?
Absolutely. I’ve made this in a baking sheet (yep, the chicken wobbled a bit) and in a snug white casserole dish that did a better job keeping it upright. You don’t need anything fancy, just be prepared for a little balancing act.
That said, if you plan to make this often, a beer can chicken pan makes things so much easier. No tipping. No stress.
Want to Grill It Instead?
You can absolutely make this on the grill, it turns out just as crispy and juicy.
- Preheat your gas grill to medium-high heat (all burners on).
- Prep the chicken just like in the oven version, rub, oil, and all.
- Pour out a bit of the beer and set the can in a roasting pan or directly on the grill if you’re brave.
- Lower the chicken onto the beer can, use the legs to help it stand.
- Close the lid and grill for about 1 hour, checking after 45 minutes and then every 10–15 minutes.
- Internal temp should be 165°F (75°C) in the thigh.
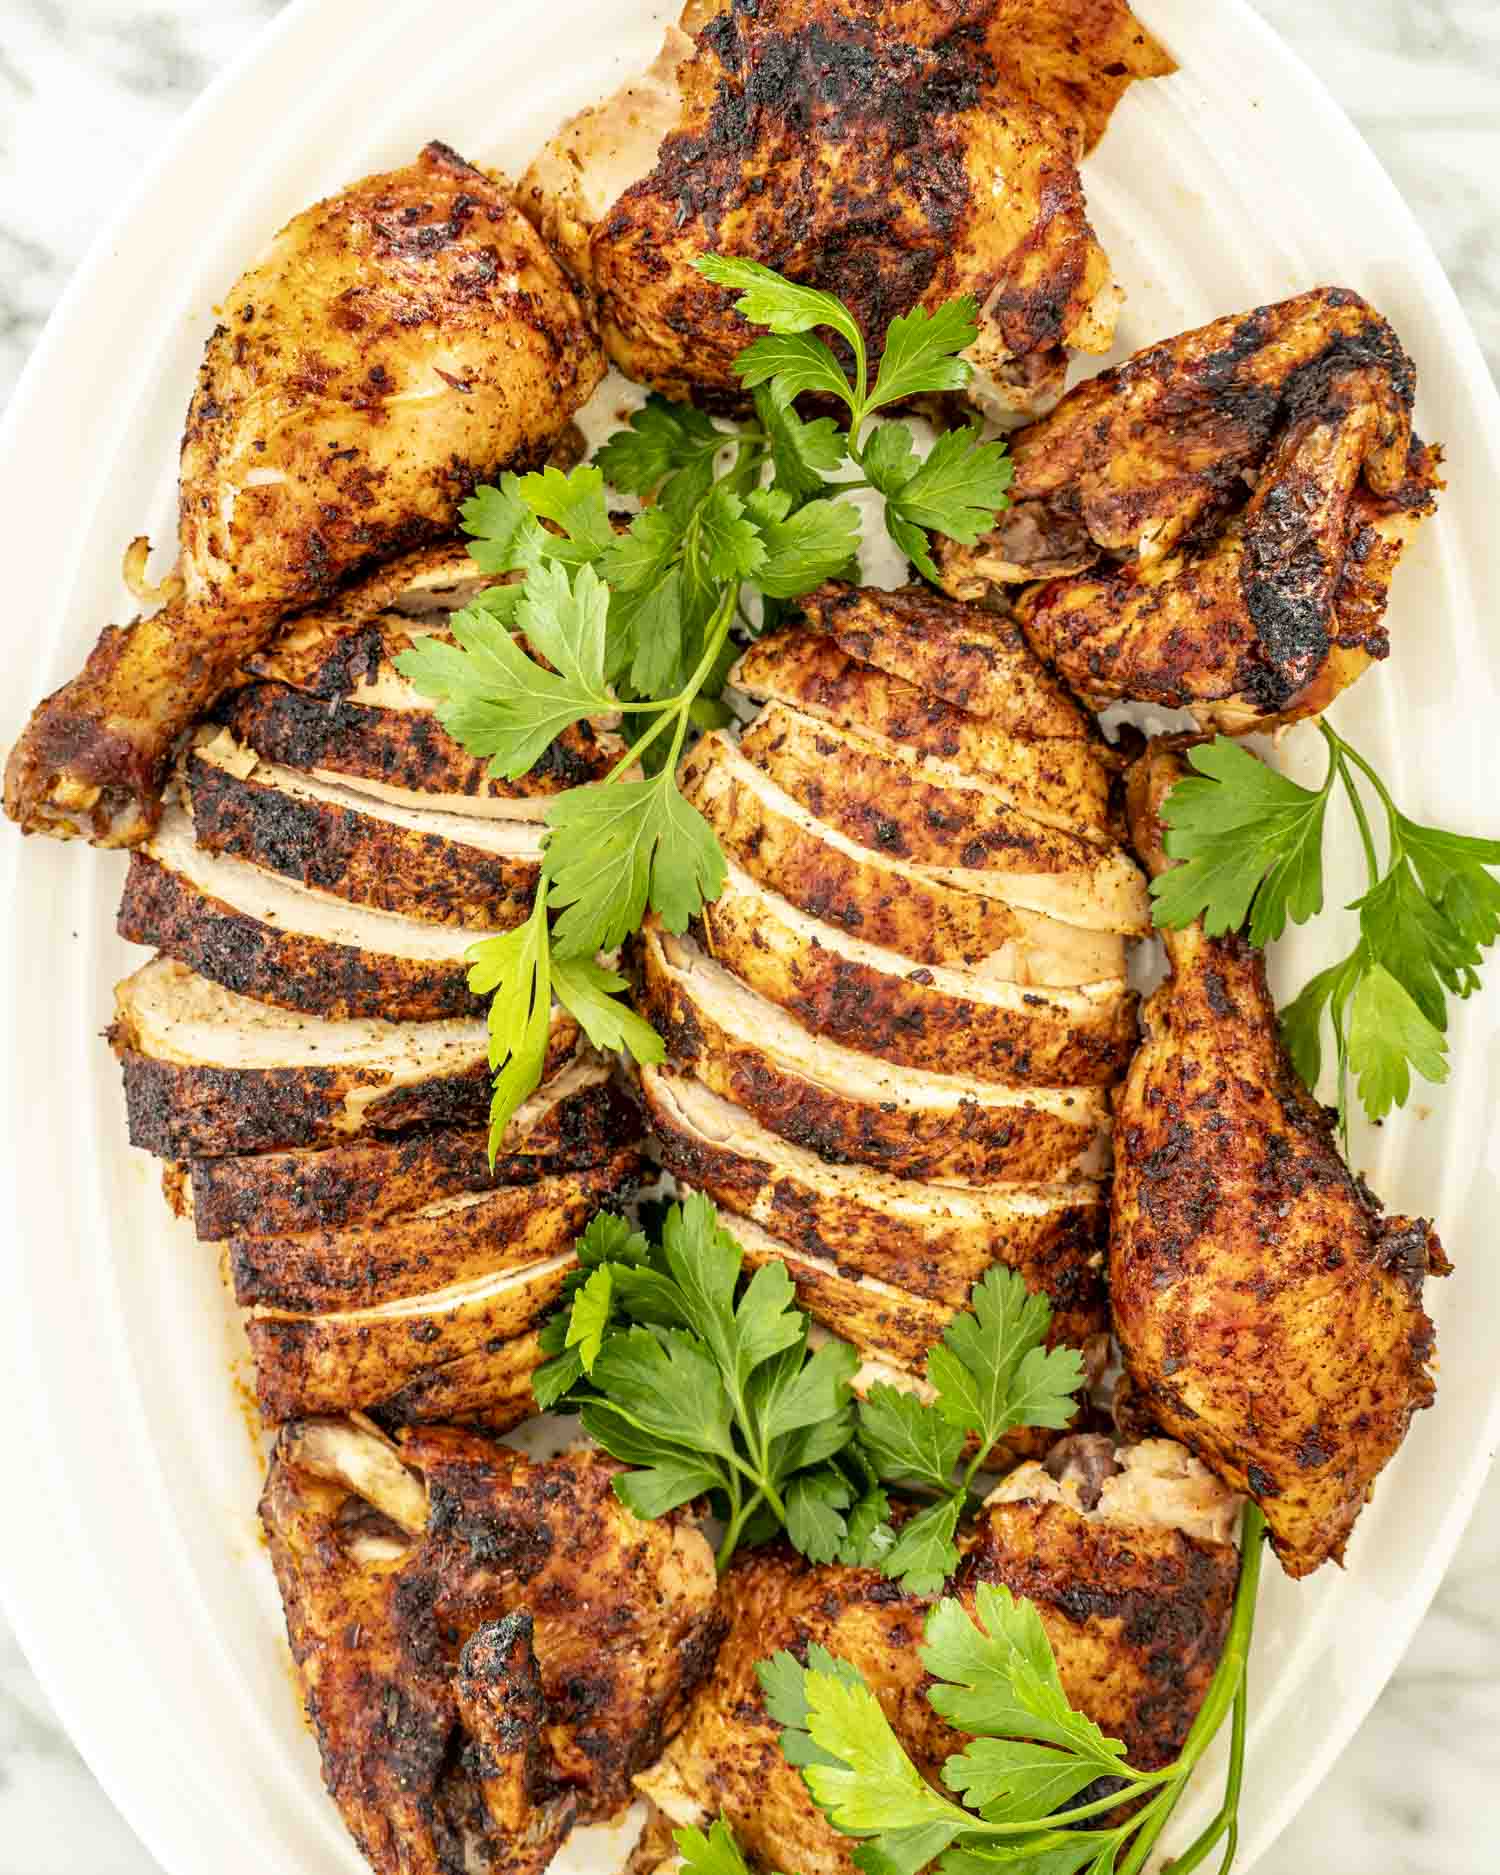
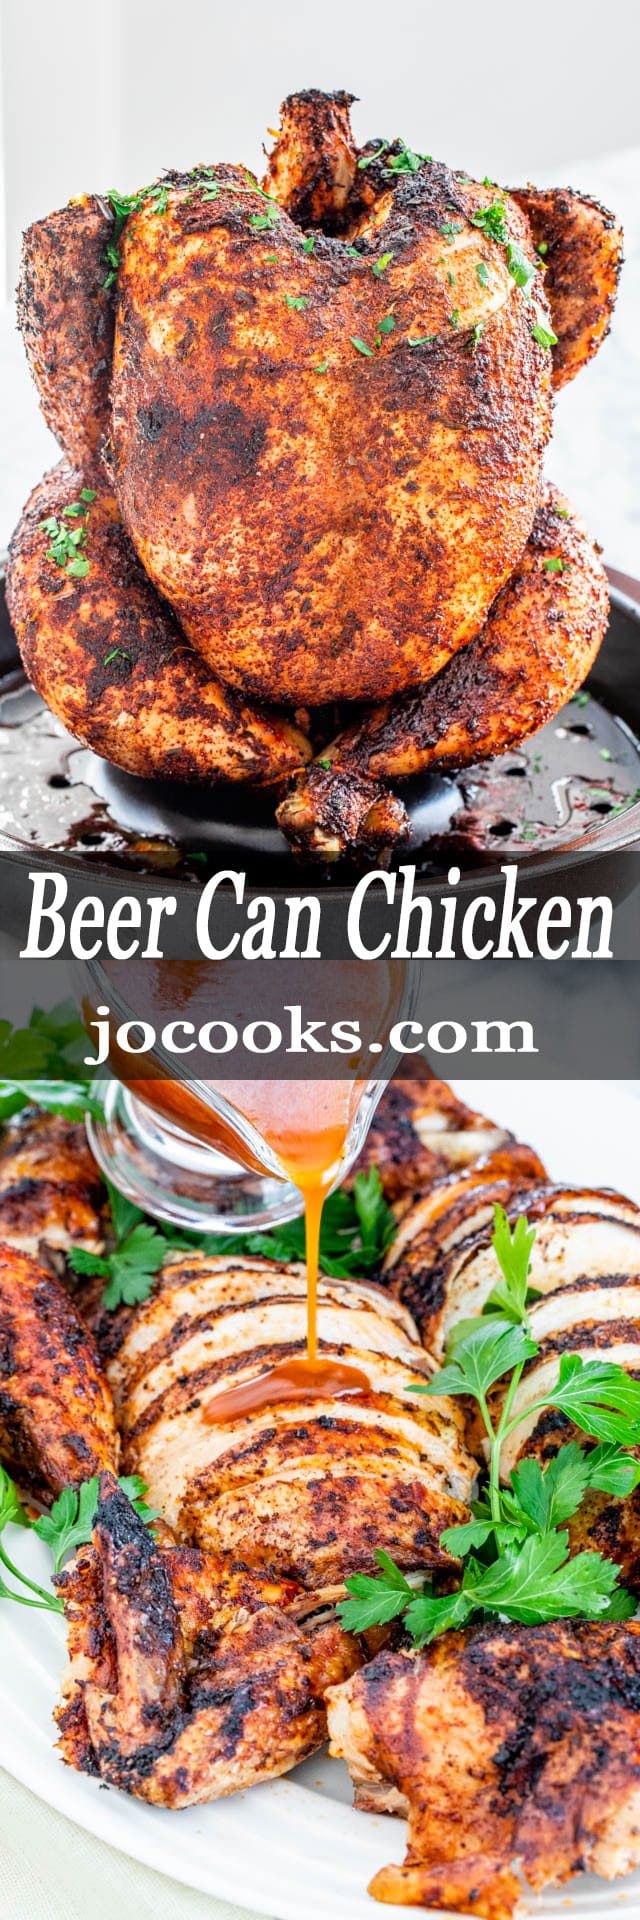
How To Serve Beer Can Chicken
This chicken doesn’t need much, it’s juicy, flavorful, and doesn’t need a lot of extras. But here’s how I usually round it out for a proper meal:
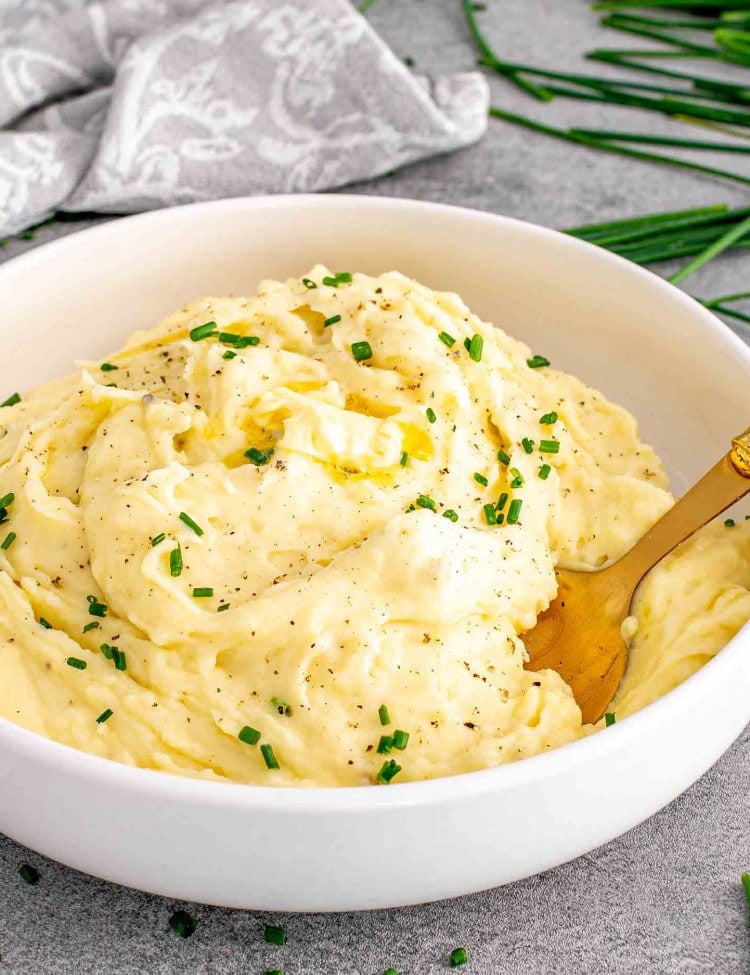
Roasted Garlic Mashed Potatoes
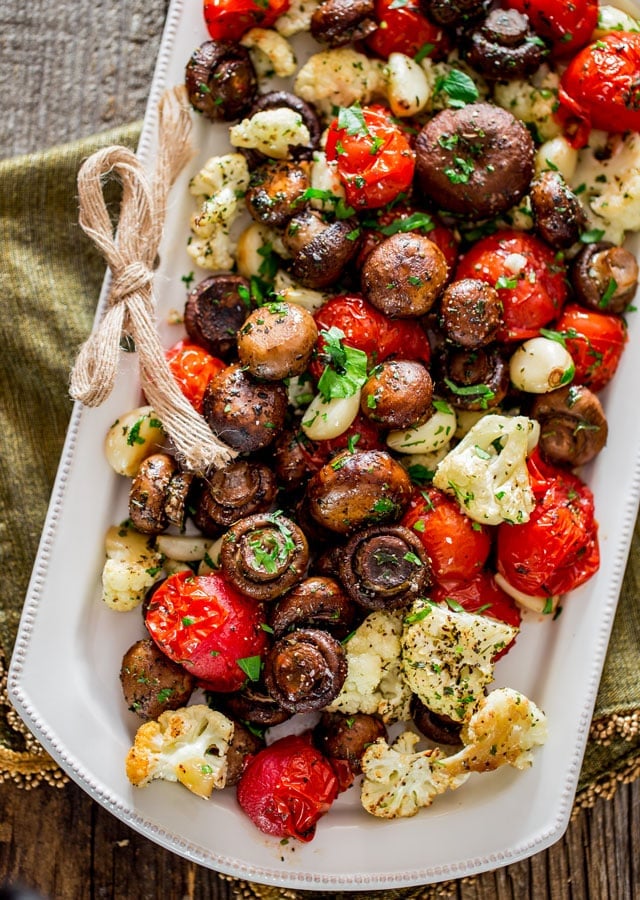
Italian Roasted Mushrooms and Veggies
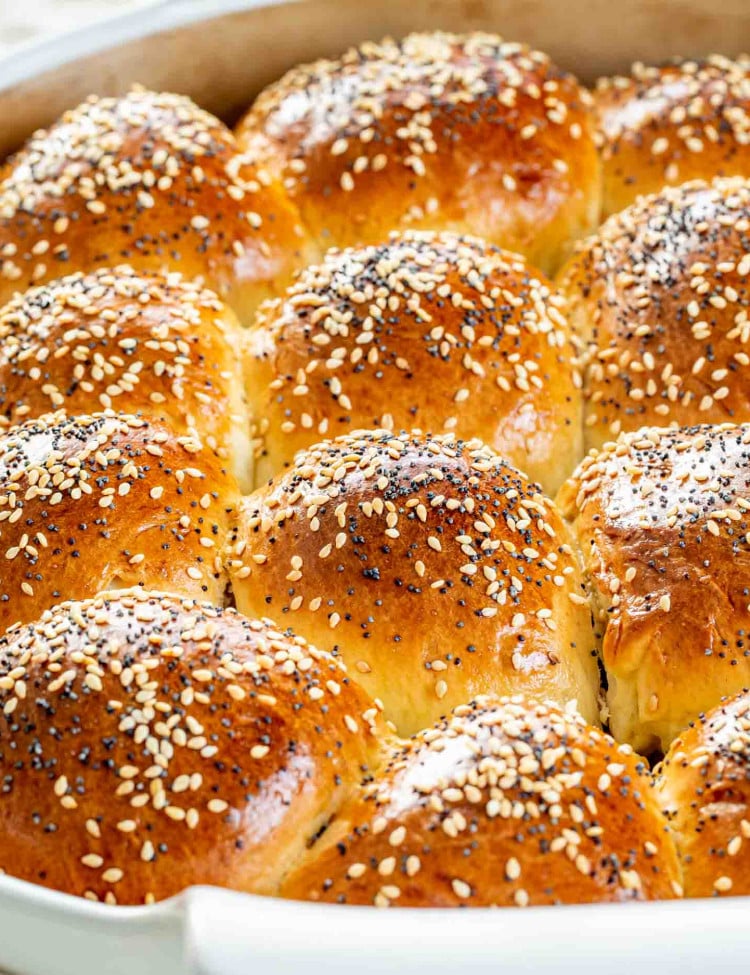
Classic Dinner Rolls

Easy Homemade Coleslaw Recipe
Frequently Asked Questions
Can I really use any kind of beer?
Yes! Use whatever you’ve got, lager, IPA, light beer. You won’t taste it much, so no need to be fancy.
What if I don’t have a beer can holder?
Totally fine. A baking sheet or casserole dish works, just know the chicken might wobble. Been there, cleaned that.
Does it have to be a whole chicken?
Yep. This method only works with a whole bird since the can goes inside the cavity. No shortcuts here.
Can I prep it ahead of time?
Yes! You can season and refrigerate the chicken up to a day ahead. Just let it sit at room temp 30 minutes before roasting.
How do I know it’s done?
Use a meat thermometer. You’re looking for 165°F (75°C) in the thickest part of the thigh. Juices should run clear.
Will the can explode in the oven?
Nope. The beer steams gently and helps keep the chicken moist. Just don’t use glass bottles or overfill the can.
Storage & Reheating
- Fridge: Store leftover chicken in an airtight container for up to 5 days.
- Freezer: Wrap tightly and freeze for up to 3 months. I usually slice it off the bone first, it thaws quicker.
- To reheat: Microwave for a couple minutes, or reheat in a 350°F (175°C) oven for about 15 minutes until warmed through. Add a splash of broth if it looks dry.

Try These Chicken Recipes Next
Originally shared in 2015, this Beer Can Chicken has been a staple in my kitchen ever since. It’s crispy, juicy, and still one of the easiest ways I know to impress with minimal effort.
Before You Begin! If you make this, please leave a review and rating letting us know how you liked this recipe! This helps our business thrive & continue providing free recipes.
Beer Can Chicken
Video
Ingredients
- 1 whole chicken (3 – 4 pound chicken)
- 1 can beer (12 ounce, I've used Sleeman's honey brown, Pilsner, Coor's light, use what you got)
- 3 tablespoons olive oil
For the rub
- 1 tablespoon brown sugar (packed)
- 1 tablespoon tarragon (dried)
- 1 teaspoon salt
- 1 teaspoon black pepper
- 1 tablespoon smoked paprika
- 1 teaspoon garlic powder
- ½ teaspoon chili powder
Before You Begin! If you make this, please leave a review and rating letting us know how you liked this recipe! This helps our business thrive & continue providing free recipes.
Instructions
- Preheat oven to 425℉. Place a small roasting pan on a baking dish to prevent making a total mess of your oven.
- Remove any giblets from the chicken if it has any and pat it dry with paper towels.
- Open the can of beer and pour about ¼ of it into the roasting pan and set the can of beer in the center of the roasting pan.
- Mix all the rub ingredients together in a bowl.
- Drizzle the olive oil over the chicken and rub it in all over. Sprinkle over the rub and use your hands to massage all the rub into all the nooks and crannies.
- Carefully, place the chicken upright over the beer can. Use the chicken legs to support its body and it acts like a tripod, preventing the chicken from falling over.
- Transfer the roasting pan to the oven. Bake for about 1 hour and 15 minutes or until golden and cooked through. To check to see if it's done, insert a knife into the thickest part of the thigh, and the juices should run clear. To properly test if the chicken is cooked through, use a meat thermometer to check and make sure the internal temperature of the chicken is 165℉/75℃ degrees.
- Carefully lift the chicken off the can. To make this easier, have someone else help you remove the chicken while you hold the beer can.
- Transfer the chicken to a cutting board and cover with aluminum foil. Let it sit for 15 minutes before carving it.
Notes
- Beer Can Setup: You can make this in a baking sheet or casserole dish, been there, cleaned that up, but a beer can roasting stand seriously helps with stability.
- Beer Type: Any beer works! I’ve used light, dark, fruity, you name it. Don’t overthink it.
- Gravy: Don’t throw away those pan juices, use them to make a delicious gravy. In a small bowl whisk together 1 tablespoon of cornstarch with 1 tbsp of water. Add this right in the roasting pan and whisk over medium-high heat. Bring to simmer and cook until liquid thickens. Season with salt and pepper as needed.
- Leftovers: Store in an airtight container in the fridge up to 5 days or freeze up to 3 months. Reheat covered in the oven at 325°F (165°C) to keep it moist.
Nutrition Information
Notice: Nutrition is auto-calculated for your convenience. Where relevant, we recommend using your own nutrition calculations.
