Homemade Chocolate Pudding
This post may contain affiliate links. Please read my disclosure policy.
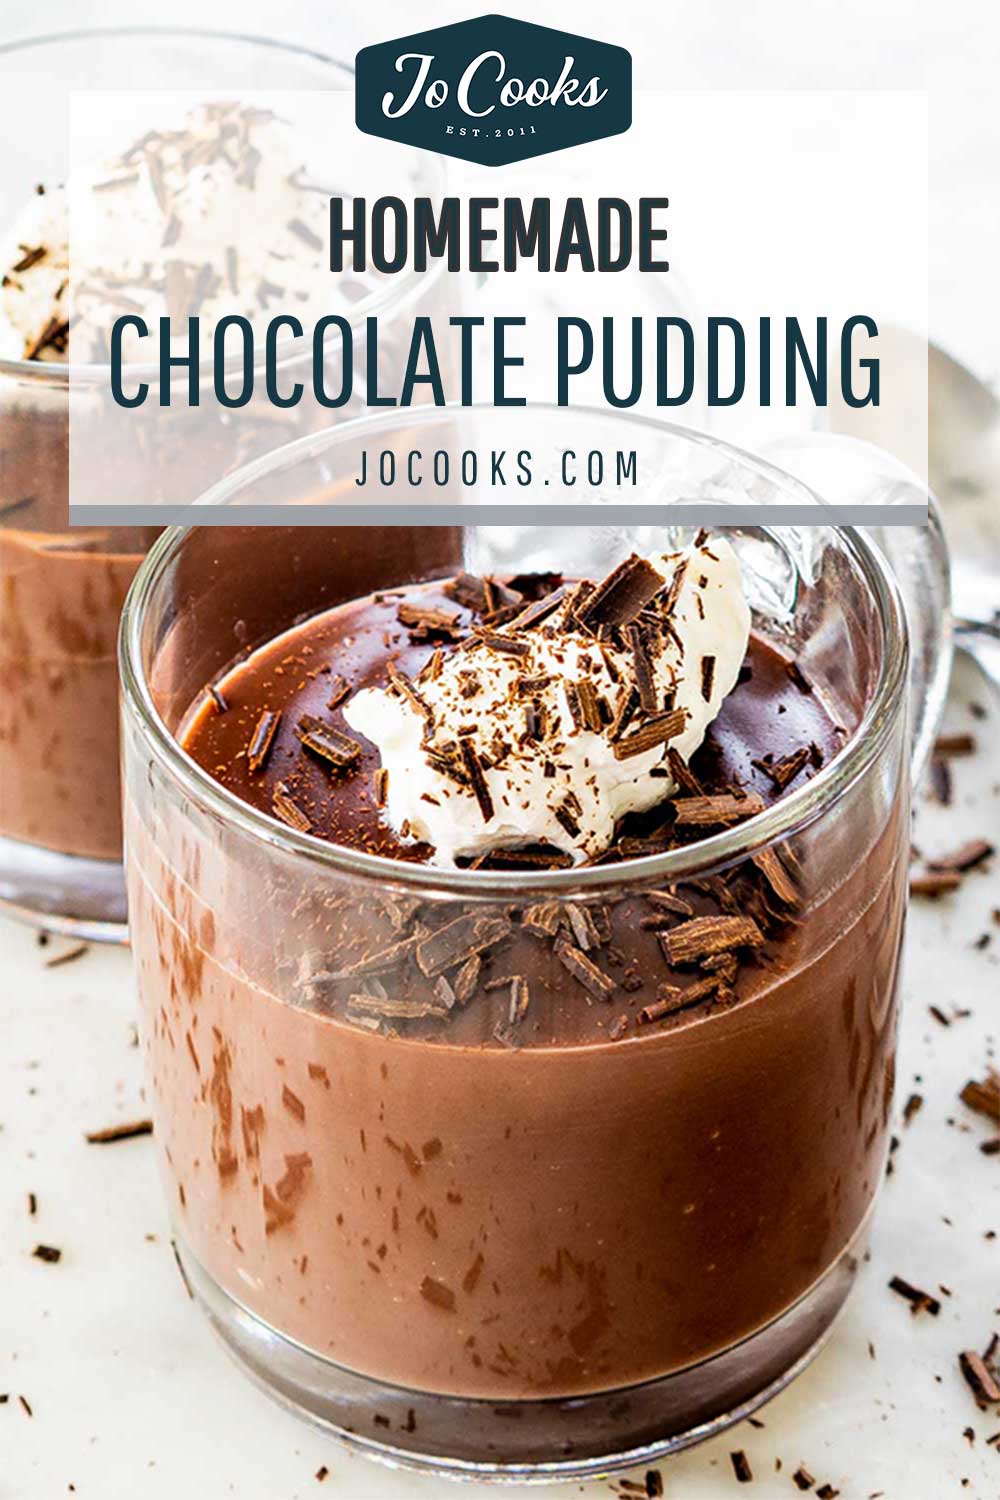
Learn how to make Homemade Chocolate Pudding from scratch! This recipe uses staple ingredients to whip up this simple sweet treat and just a few minutes of your day. You can take one more item off your grocery list!
The Best Chocolate Pudding Recipe
Pudding is such an embarrassingly easy recipe to master, I don’t know if you’ll ever go back to the boxed variety. The ingredient list is so short, so basic, and the only skill required of you is whisking. It’s the type of dessert you can enjoy as basic or extravagantly topped as you like!
You can also use this recipe to whip up other layered desserts such as trifles. Everything is better homemade, right? This is a dessert that has always been close to my heart. Topped with some berries and whipped cream? Now that’s a treat! What a wonderfully easy recipe you’d even be proud to serve guests.
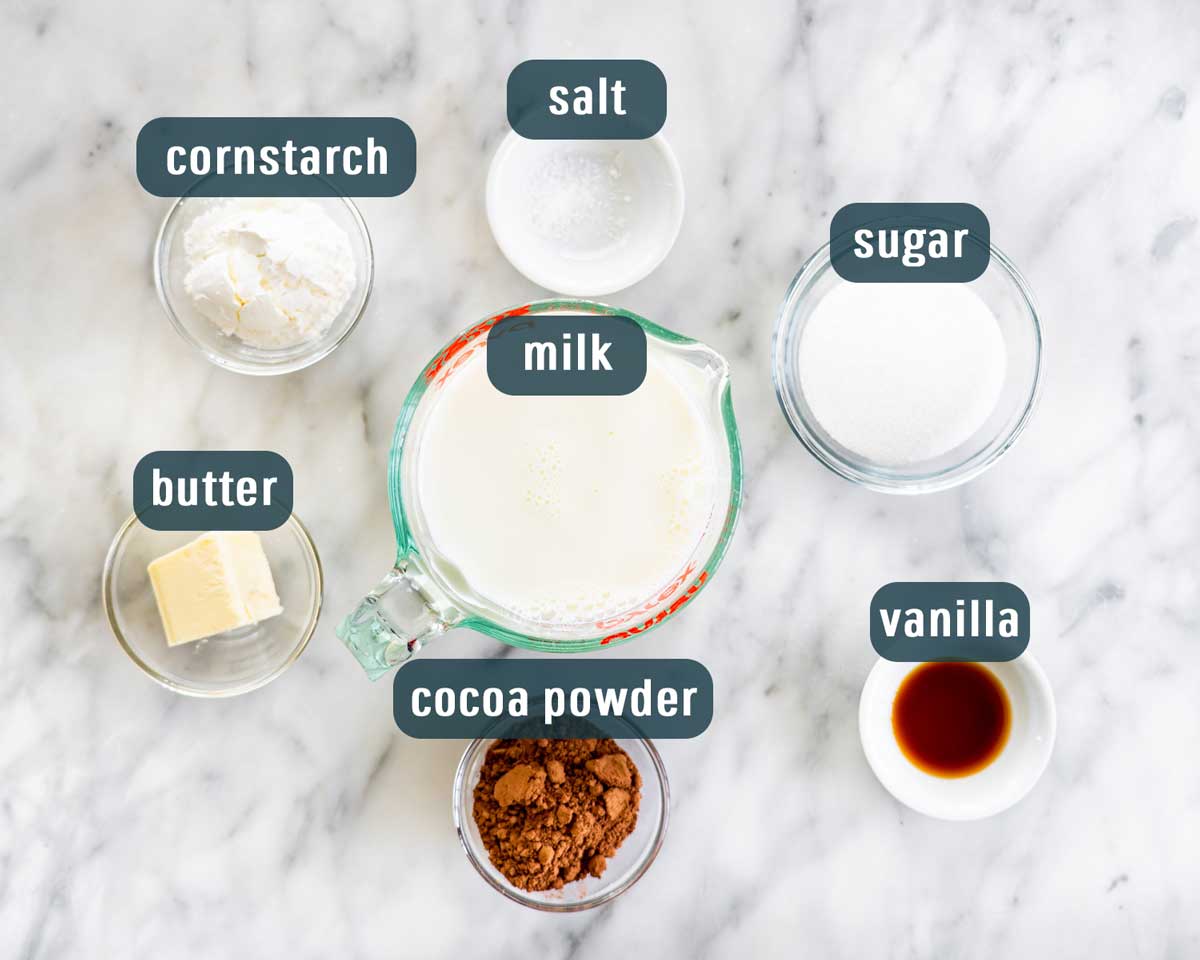
- Cornstarch – This is what will thicken your pudding while keeping it creamy and smooth.
- Cocoa powder – Unsweetened. Any brand you like best.
- Sugar – Granulated works best.
- Salt – Just a little to bring out all the flavors.
- Milk – Any type of milk, even non-dairy alternatives, will work.
- Butter – Unsalted.
- Vanilla – Extract, paste, or fresh vanilla bean.
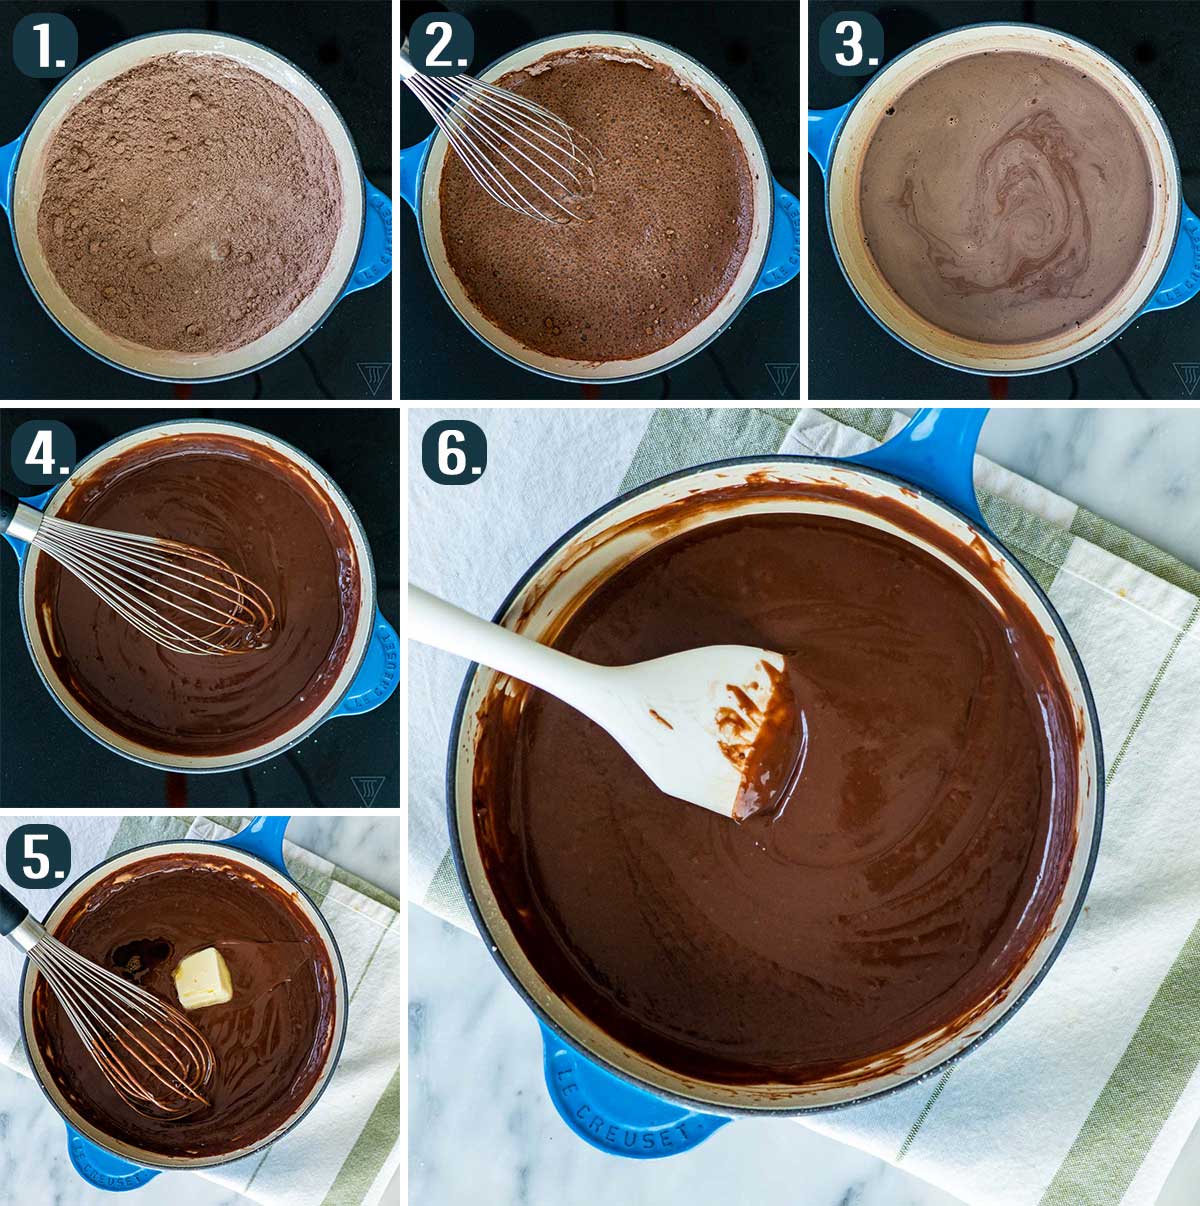
- Mix the dry ingredients: Whisk the cornstarch, cocoa powder, sugar, and salt together in a saucepan.
- Bring to a boil: Whisk the milk, cold, into the saucepan. Turn the heat onto medium. Continue to whisk constantly making sure to scrape the sides of the pot, until the mixture comes to a boil.
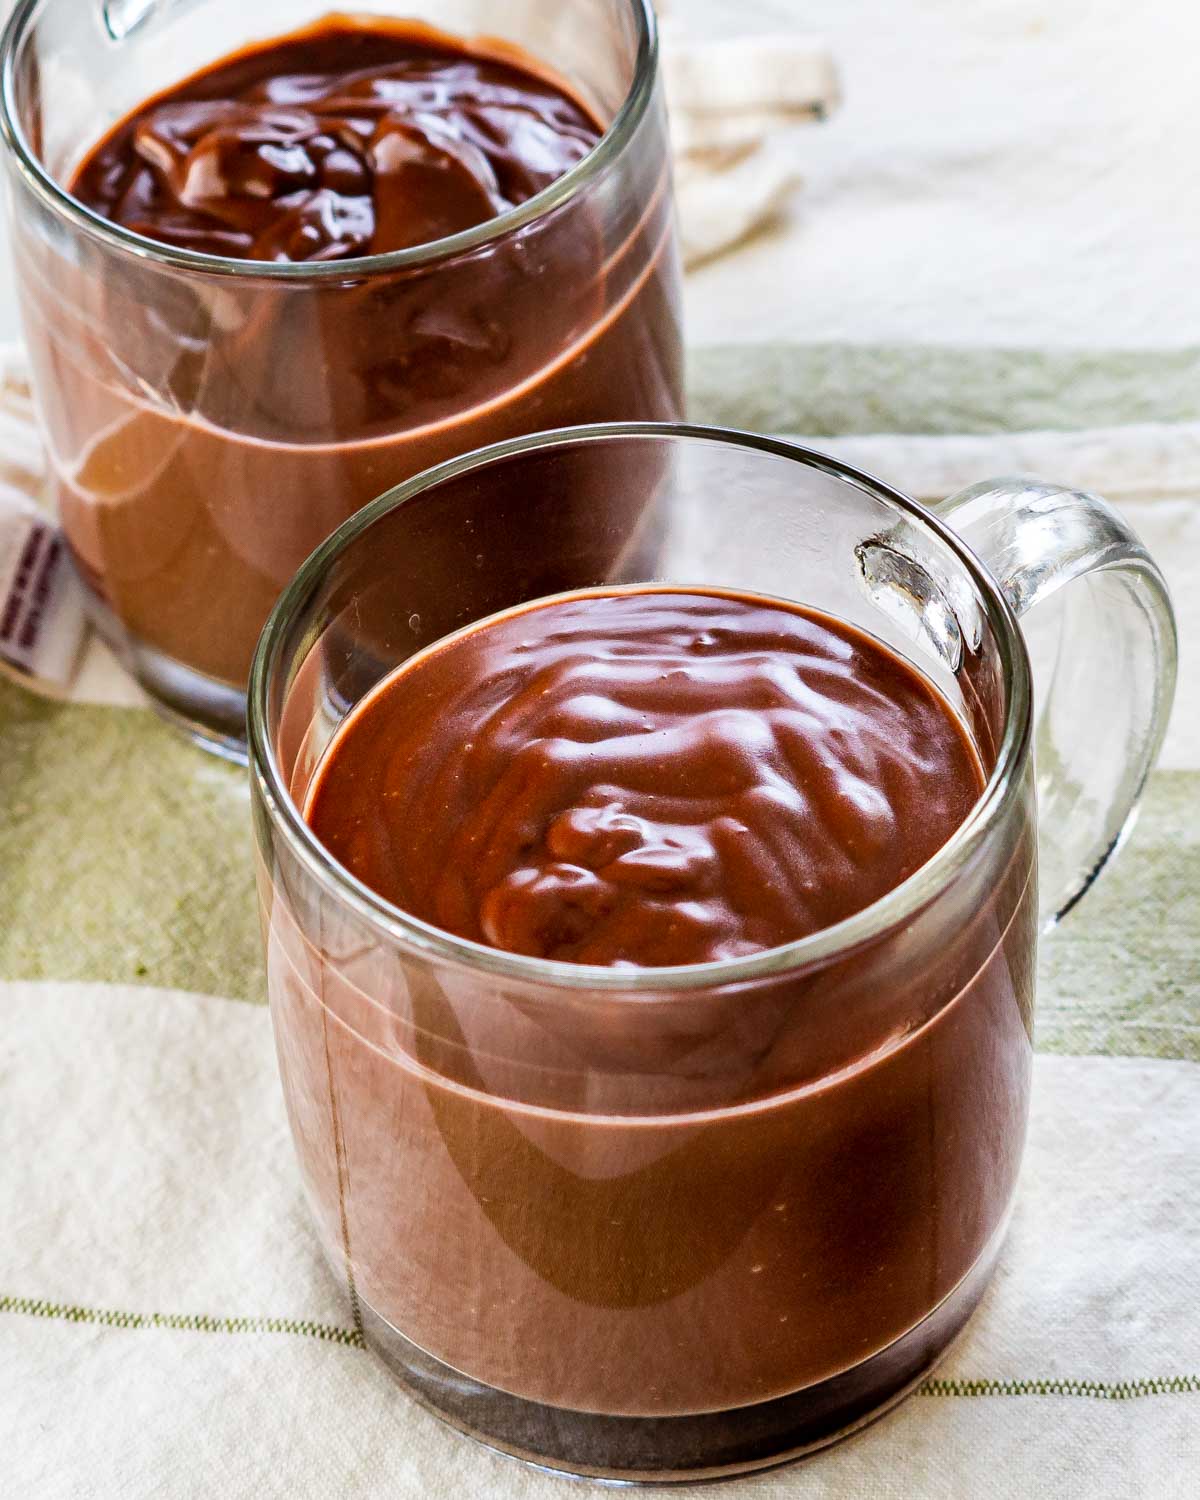
- Thicken: Continue to whisk while the pudding boils for 1 minute, then remove the pot from the heat. Stir in the butter and the vanilla until the butter melts. Divide the pudding into 2 heat safe bowls or glasses. Take 2 sheets of plastic wrap and cover the pudding, pressing the plastic wrap against the surface of the pudding to prevent a skin.
- Set: Refrigerate for 1-2 hours or until chilled and set.
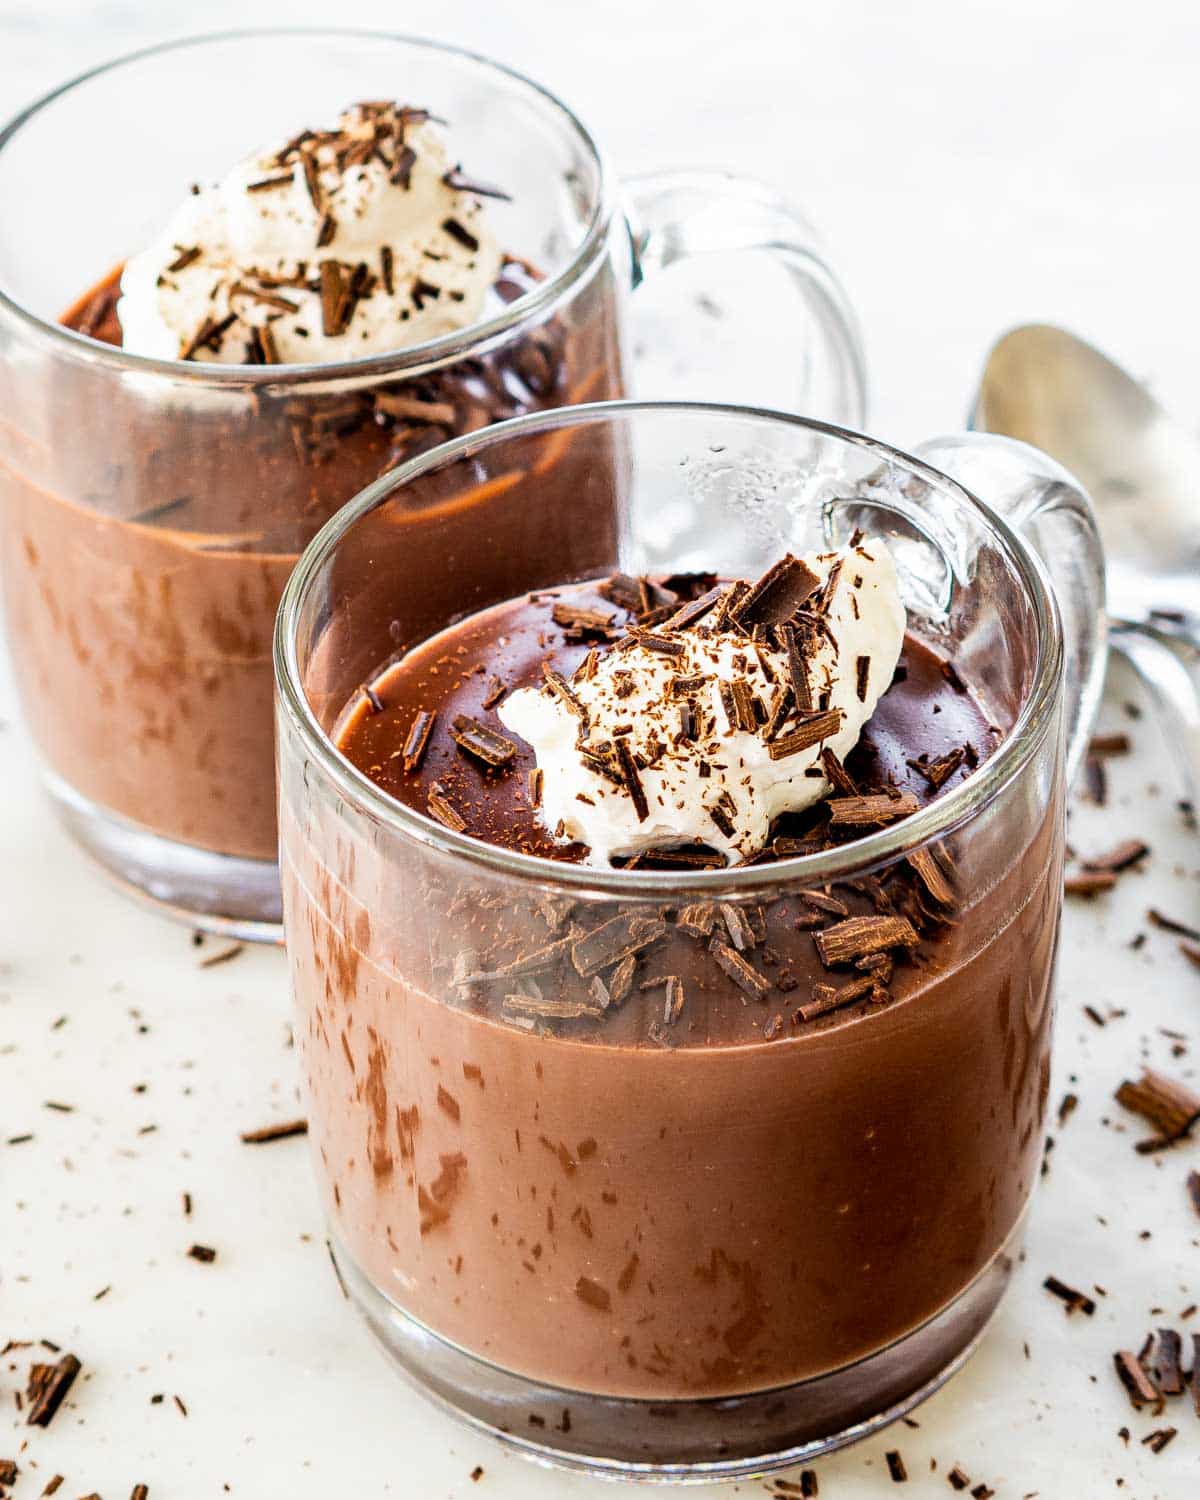
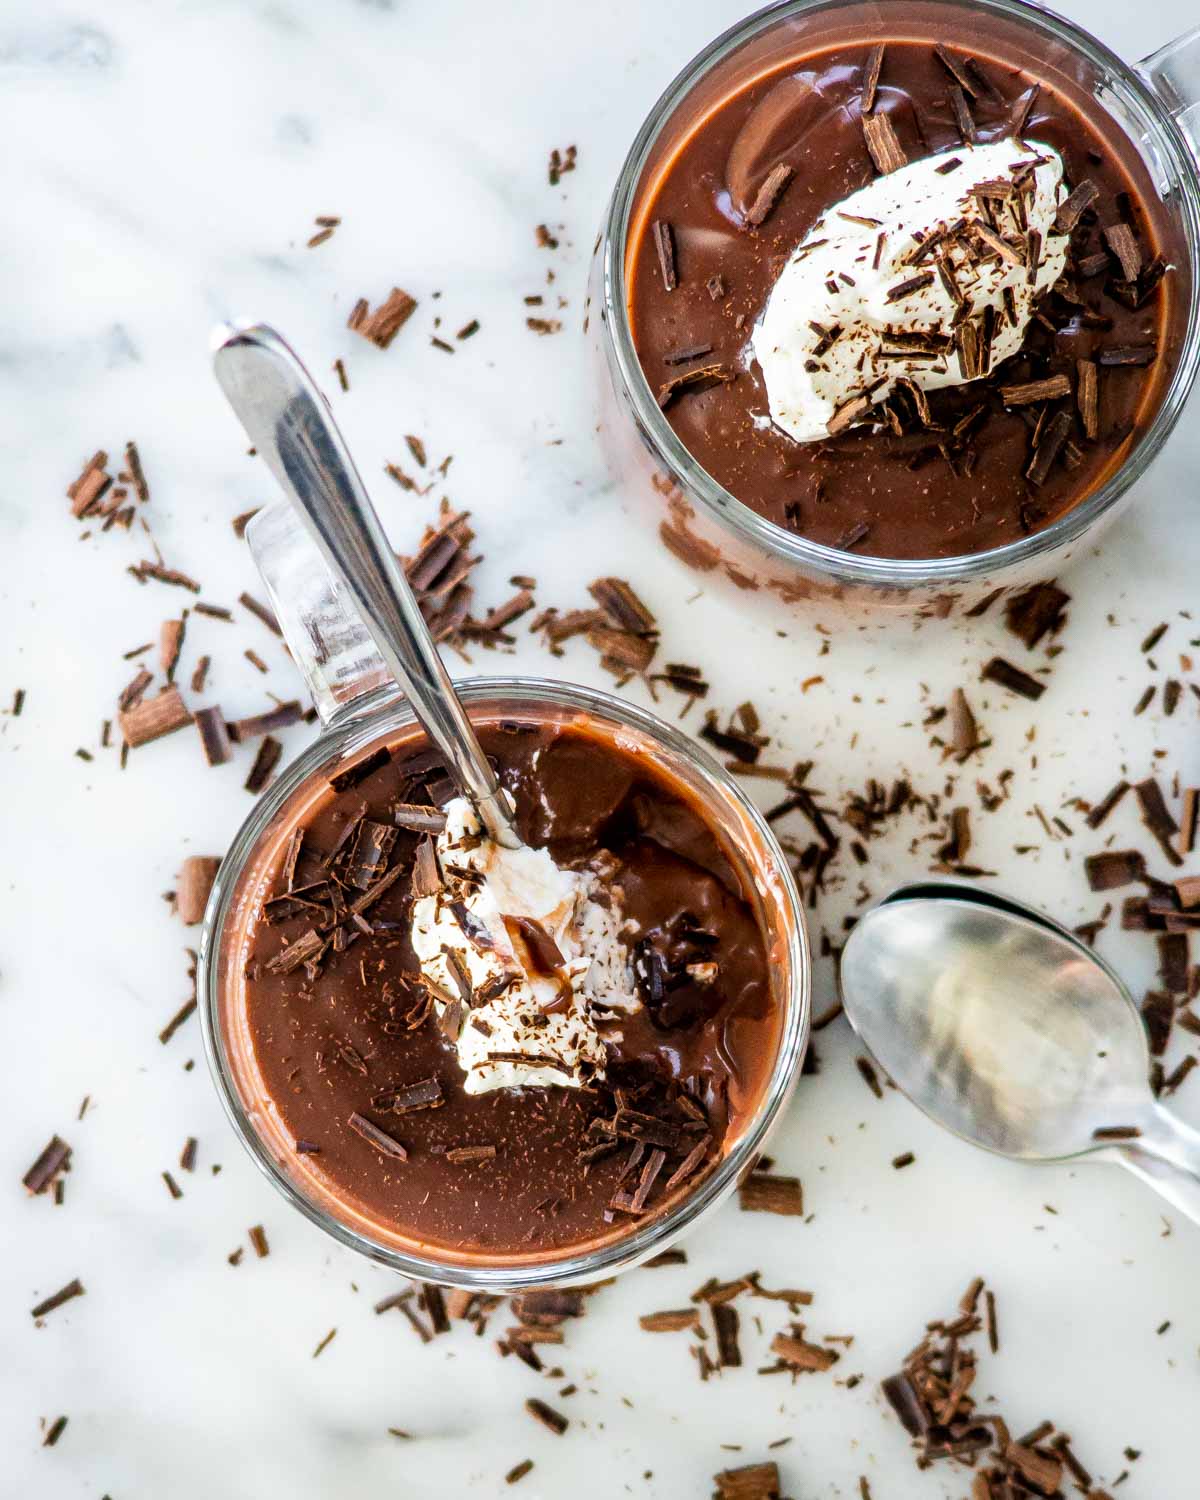
How To Serve
You’ve gone through the trouble of making your own glorious chocolate pudding from scratch, you can’t just leave it bare! Here are my favorite toppings to dress your pudding up the way it deserves:
- Whipped cream
- Chocolate shavings
- Berries
- Cherries
- Bananas
- Crushed nuts
- Crushed graham crackers or nilla wafers
- Sprinkles
I don’t suggest using acidic fruits such as pineapple, kiwi, peaches, oranges, or grapefruit as they can cause the pudding to break down a bit and sweat.
What Can I Make With My Chocolate Pudding?
Here are some of my favorite simple desserts made with pudding! You can substitute this chocolate pudding for any flavor called for in these recipes and it will taste fantastic:
Leftovers
I suggest storing your chocolate pudding with plastic wrap pressed against the surface of your pudding. This will keep leftovers fresh for as long as possible without forming a skin. Your pudding will last up to 7 days refrigerated.
I don’t suggest freezing your pudding. This will affect the texture after it thaws and will become much softer. This recipe is best enjoyed fresh!
Did you love this recipe? Try these:
- Homemade Vanilla Pudding
- Chocolate Waffles
- Easy Tiramisu
- Cheesecake Recipe
- Pumpkin Delight
- Nanaimo Bars
- Homemade Rocky Road Ice Cream
- Instant Pot Rice Pudding
- Chocolate Truffles
Before You Begin! If you make this, please leave a review and rating letting us know how you liked this recipe! This helps our business thrive & continue providing free recipes.

Homemade Chocolate Pudding
Video
Ingredients
- 3 tablespoon cornstarch
- ¼ cup cocoa powder
- ⅓ cup sugar (granulated)
- ⅛ teaspoon salt (or to taste)
- 2 cups milk
- 2 tablespoon butter (unsalted)
- 1 teaspoon vanilla extract
Before You Begin! If you make this, please leave a review and rating letting us know how you liked this recipe! This helps our business thrive & continue providing free recipes.
Instructions
- Mix the dry ingredients: Whisk the cornstarch, cocoa powder, sugar, and salt together in a saucepan.
- Bring to a boil: Whisk the milk, cold, into the saucepan. Turn the heat onto medium. Continue to whisk constantly making sure to scrape the sides of the pot, until the mixture comes to a boil.
- Thicken: Continue to whisk while the pudding boils for 1 minute, then remove the pot from the heat. Stir in the butter and the vanilla until the butter melts. Divide the pudding into 2 heat safe bowls or glasses. Take 2 sheets of plastic wrap and cover the pudding, pressing the plastic wrap against the surface of the pudding to prevent a skin.
- Set: Refrigerate for 1-2 hours or until chilled and set.
Equipment
Notes
- I suggest storing your pudding with plastic wrap pressed against the surface of your pudding. This will keep leftovers fresh for as long as possible without forming a skin. Your pudding will last up to 7 days refrigerated.
- I don’t suggest freezing your pudding. This will affect the texture after it thaws and will become much softer. This recipe is best enjoyed fresh!
Nutrition Information
Notice: Nutrition is auto-calculated for your convenience. Where relevant, we recommend using your own nutrition calculations.
